Overview
This article provides guidance for unarchiving library objects in Resolver.
 Note:
Note:
The instructions provided below are not suitable for assessment objects. For more information on how to identify if the object is an assessment object, please refer to the Assessment Instances Overview article. If you require assistance unarchiving an assessed object or you are unsure if an object is a library object, please contact Support.
User Account Requirements
The user account used to log into Resolver must have Administrator permission to access Admin Overview.
Related Information/Setup
For more information on unarchiving objects in Resolver, please refer to the following articles:
- Edit or Delete a Workflow State
- State Triggers & Transitions Overview
- Adding Form Elements to a Standard Form
- Edit or Delete a Role
- Workflow Permissions
Navigation
- From the Home screen, click the Administration icon.
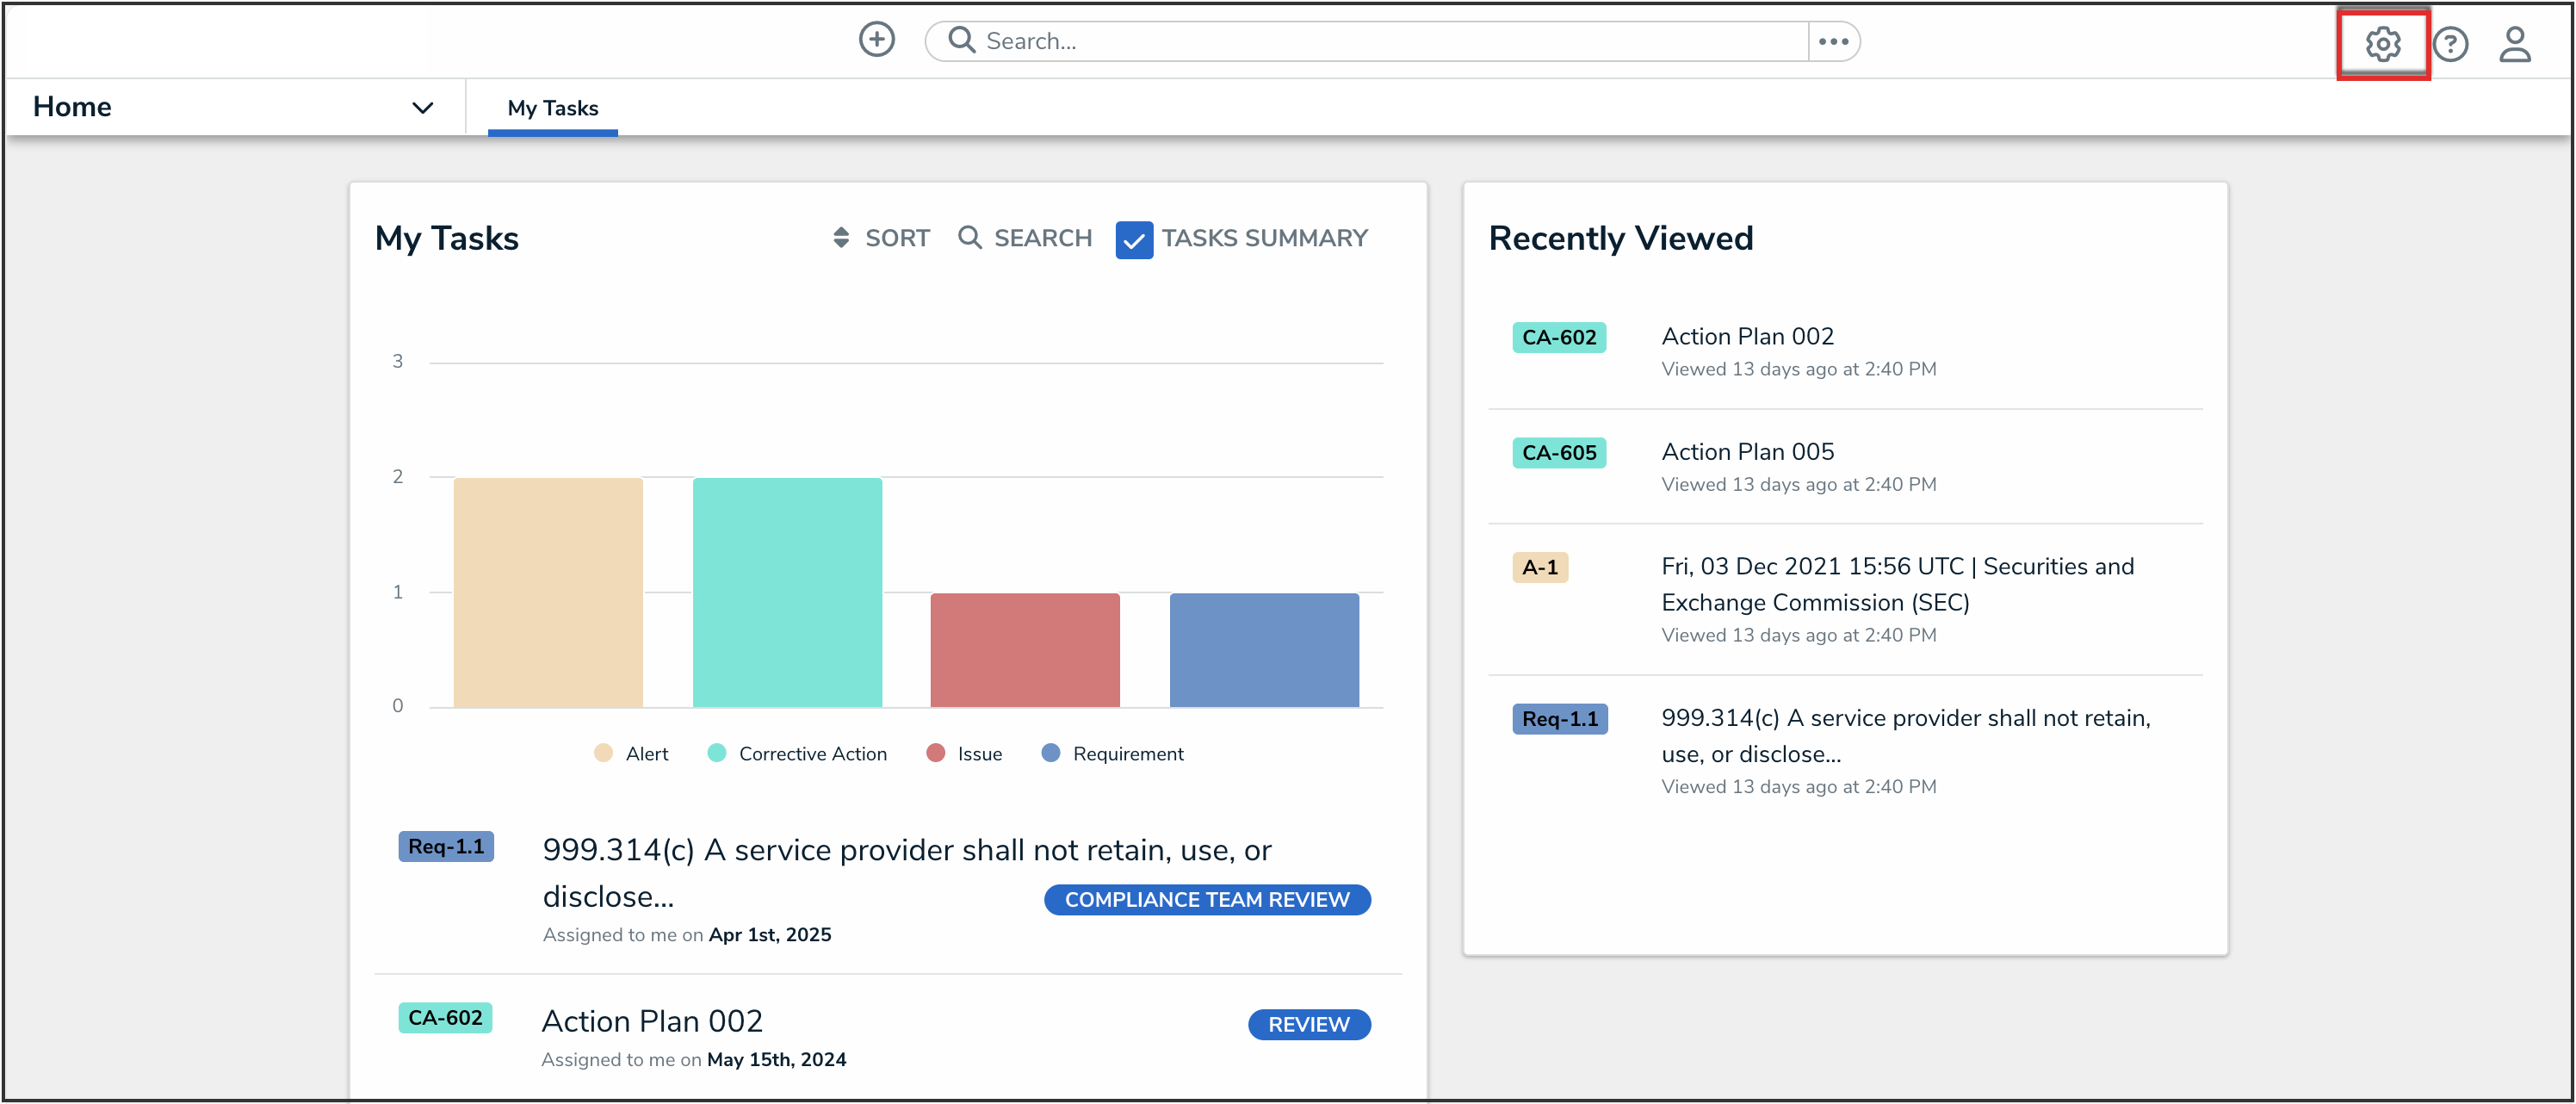
Administration Icon

- From the Administrator settings menu, click Admin Overview.
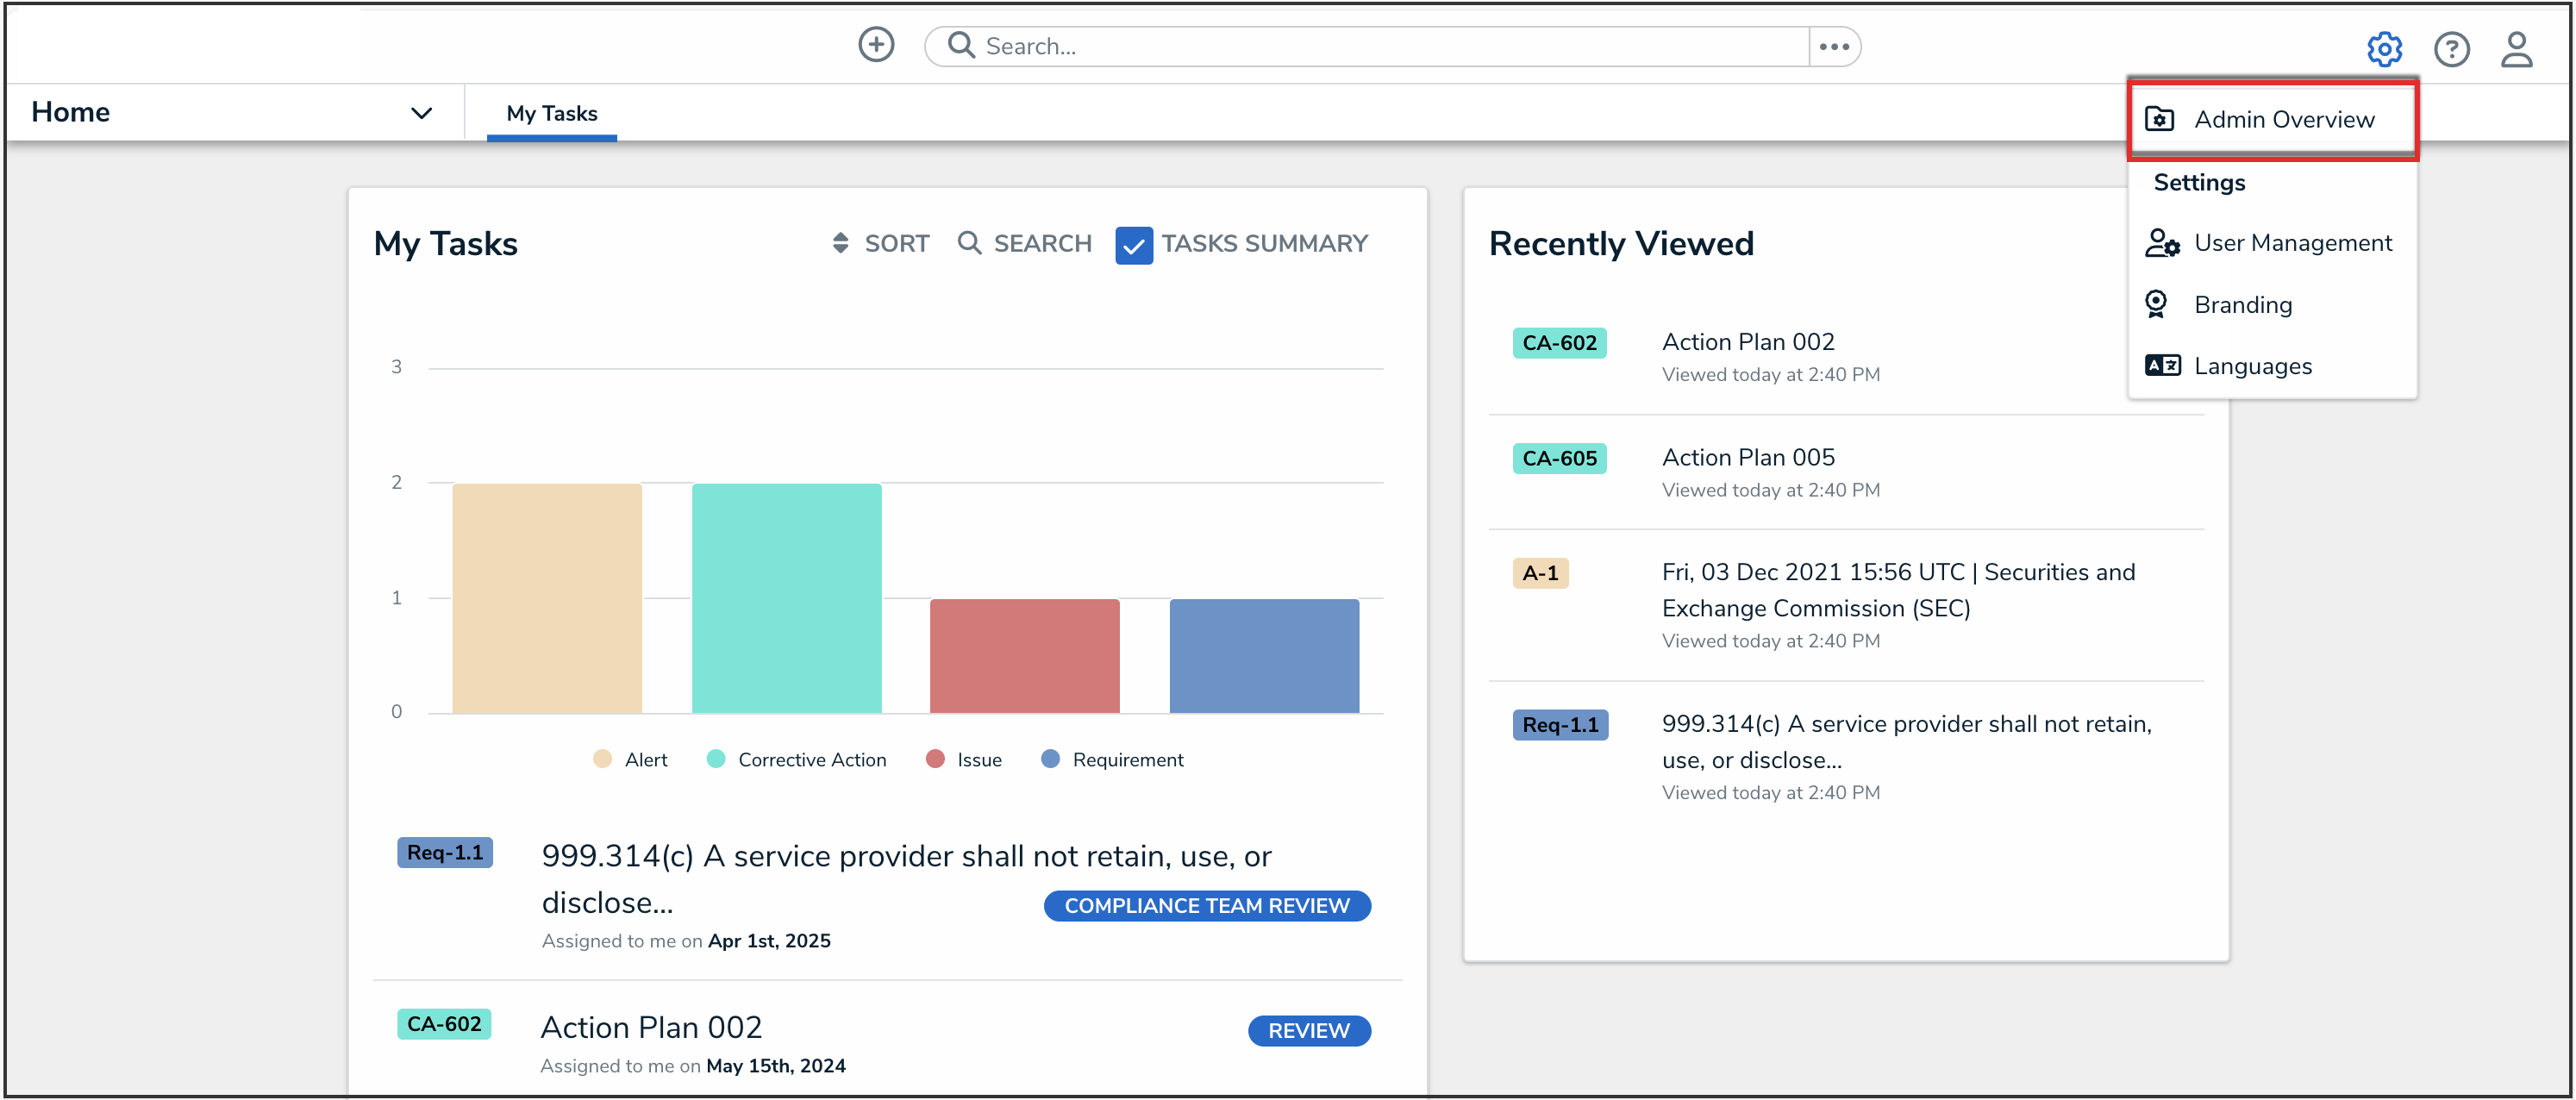
Administrator Settings Menu

- From the Admin Overview screen, click the Object Types tile under the Data Model section.
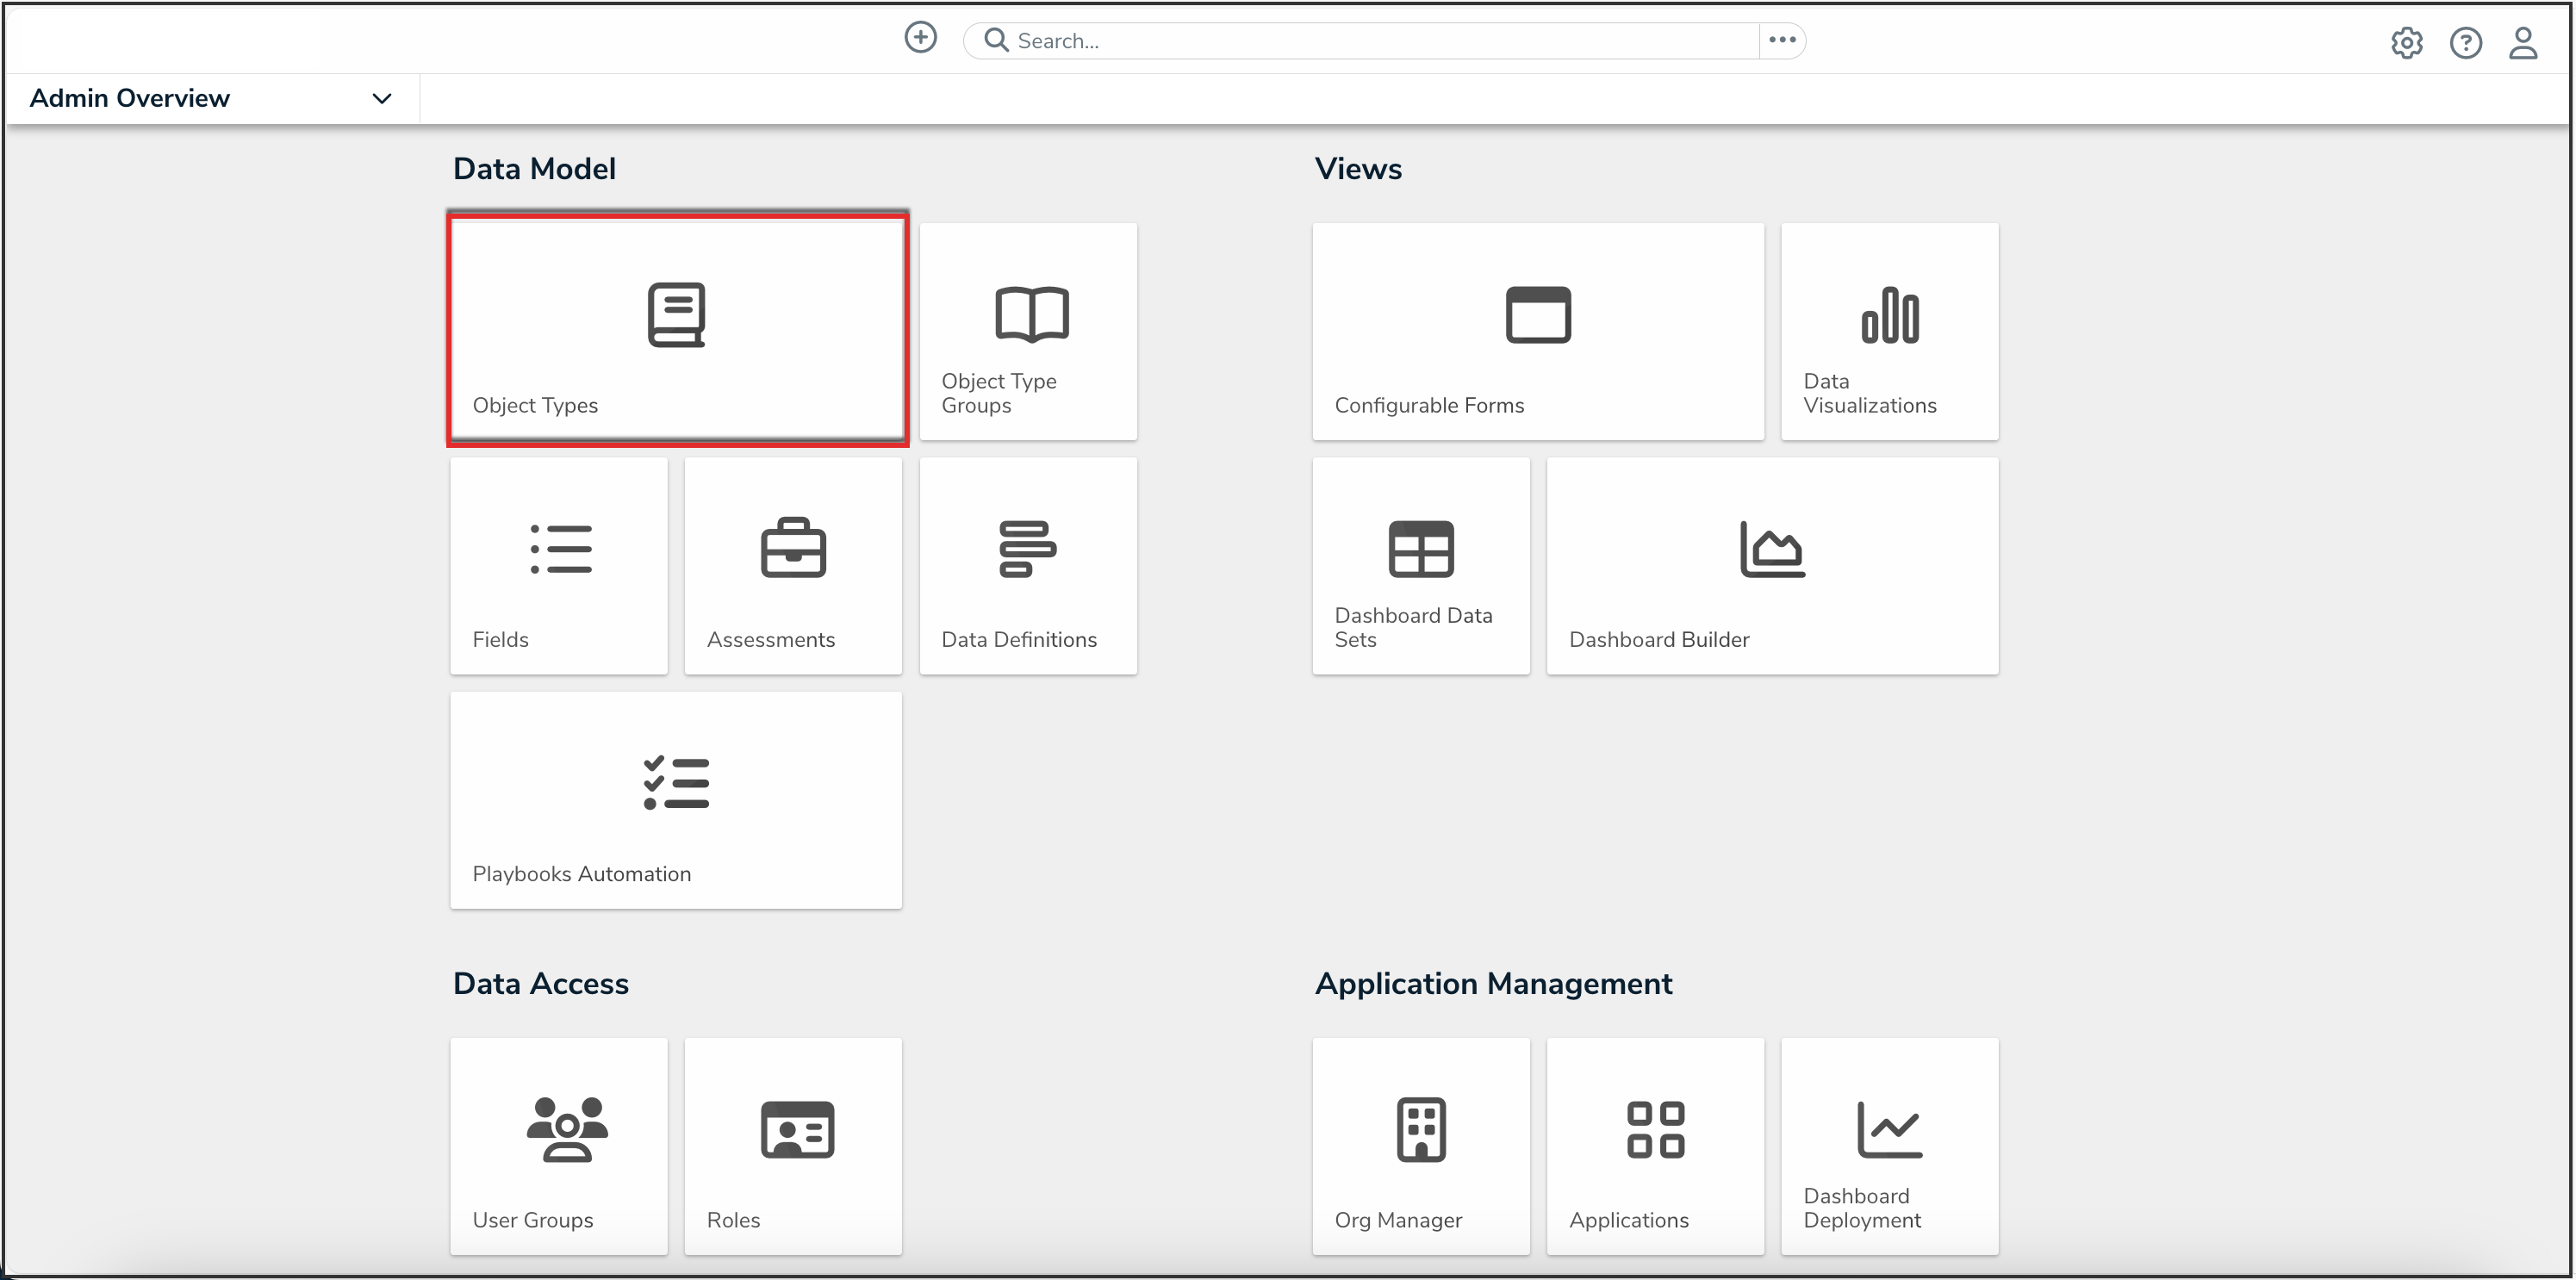
Object Types Tile

- On the Object Types screen, from the list of object types, click the object type with the library object that you want to unarchive.
Unarchiving Library Objects
- From the Edit Object Type screen, click the Configure Workflow button.
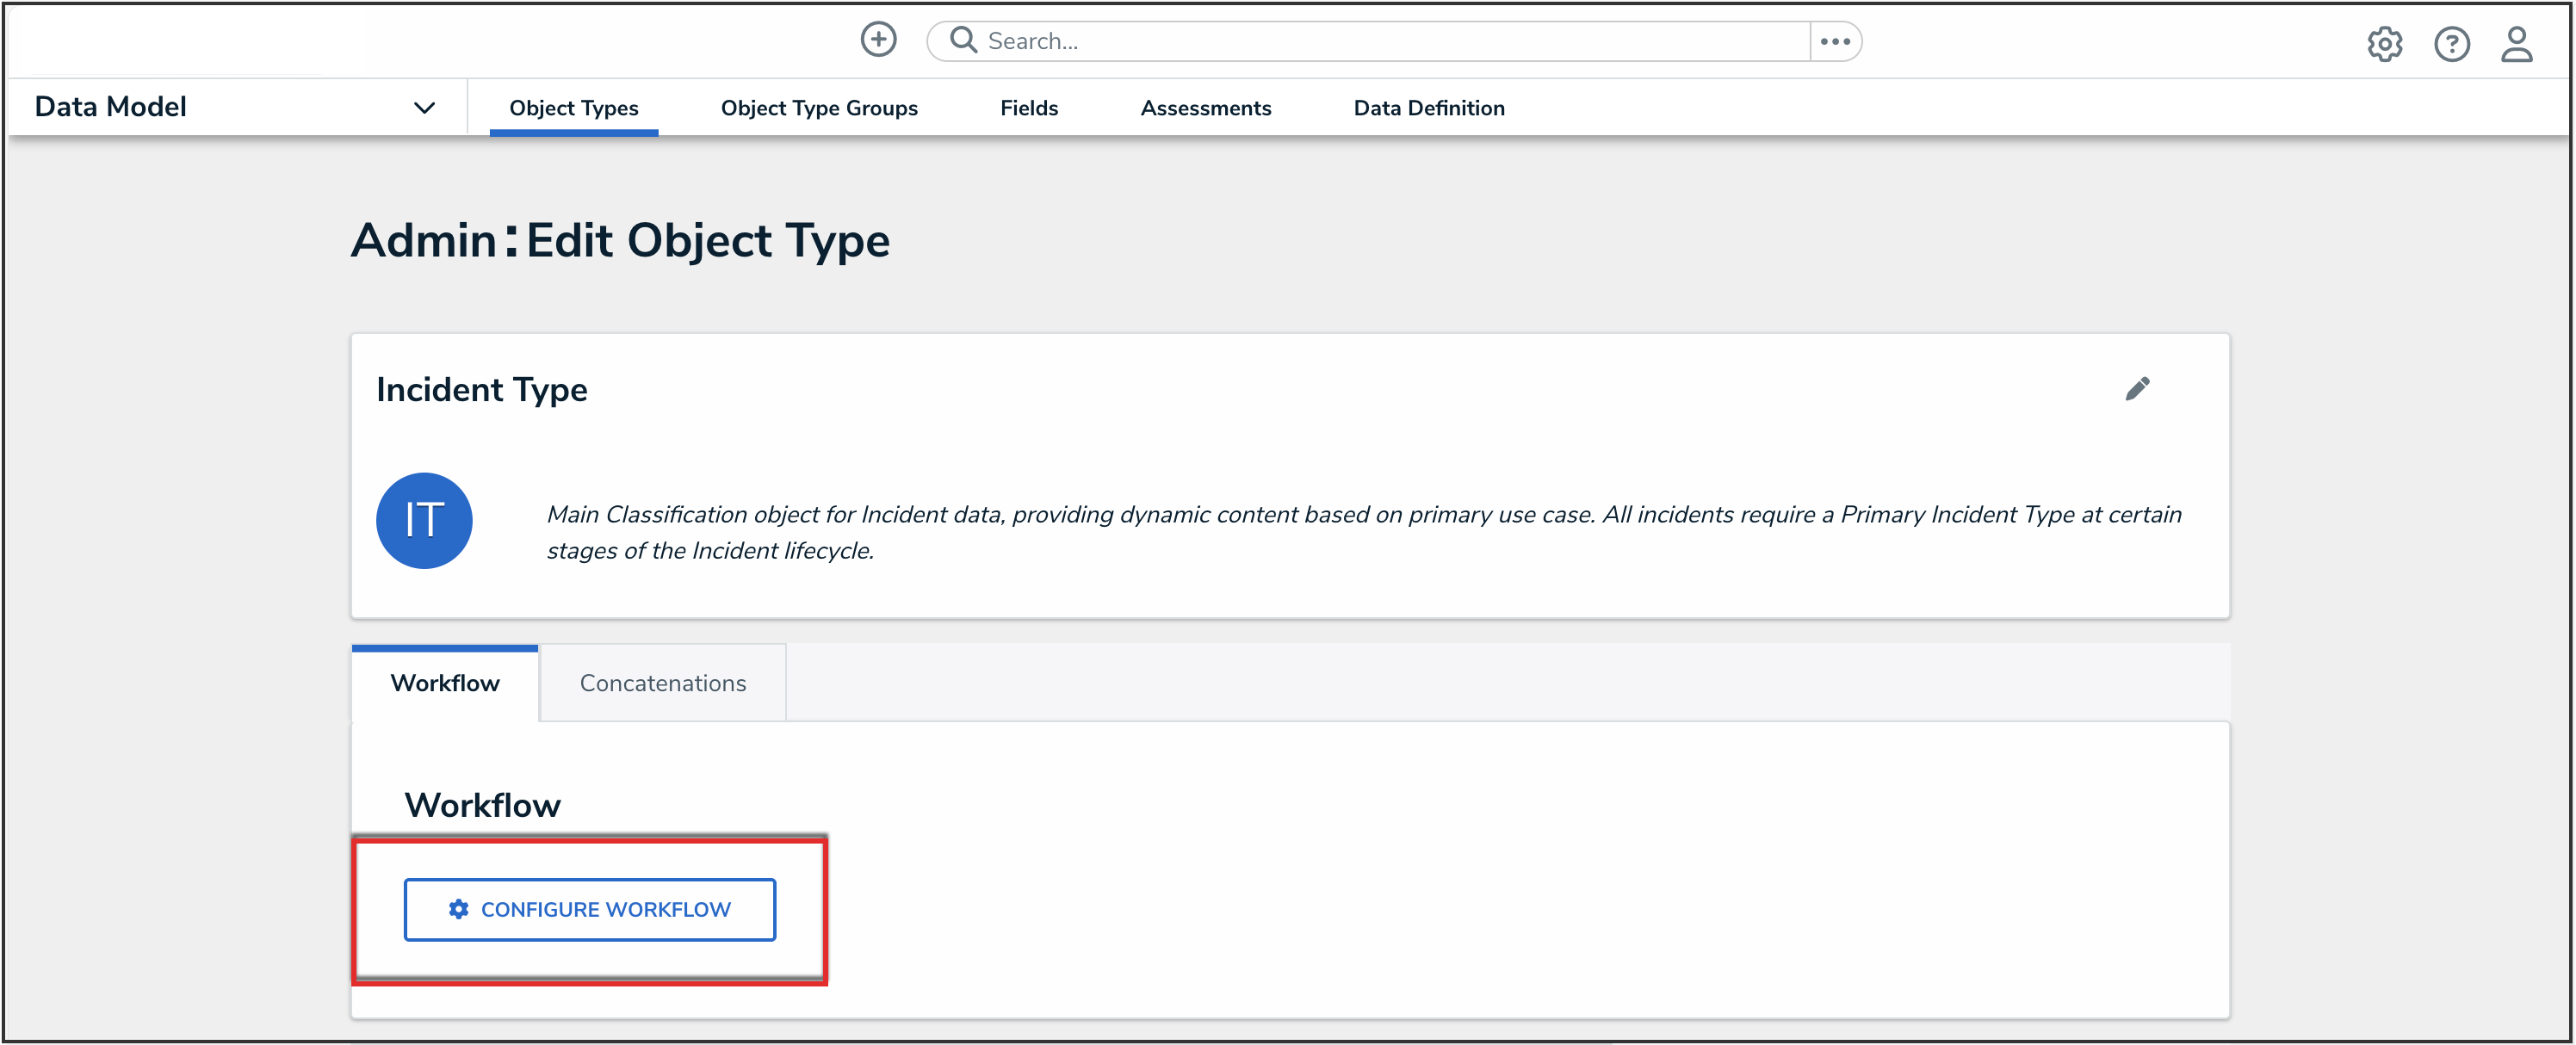
Configure Workflow Button

- In the Archived state, click the Add Trigger button.
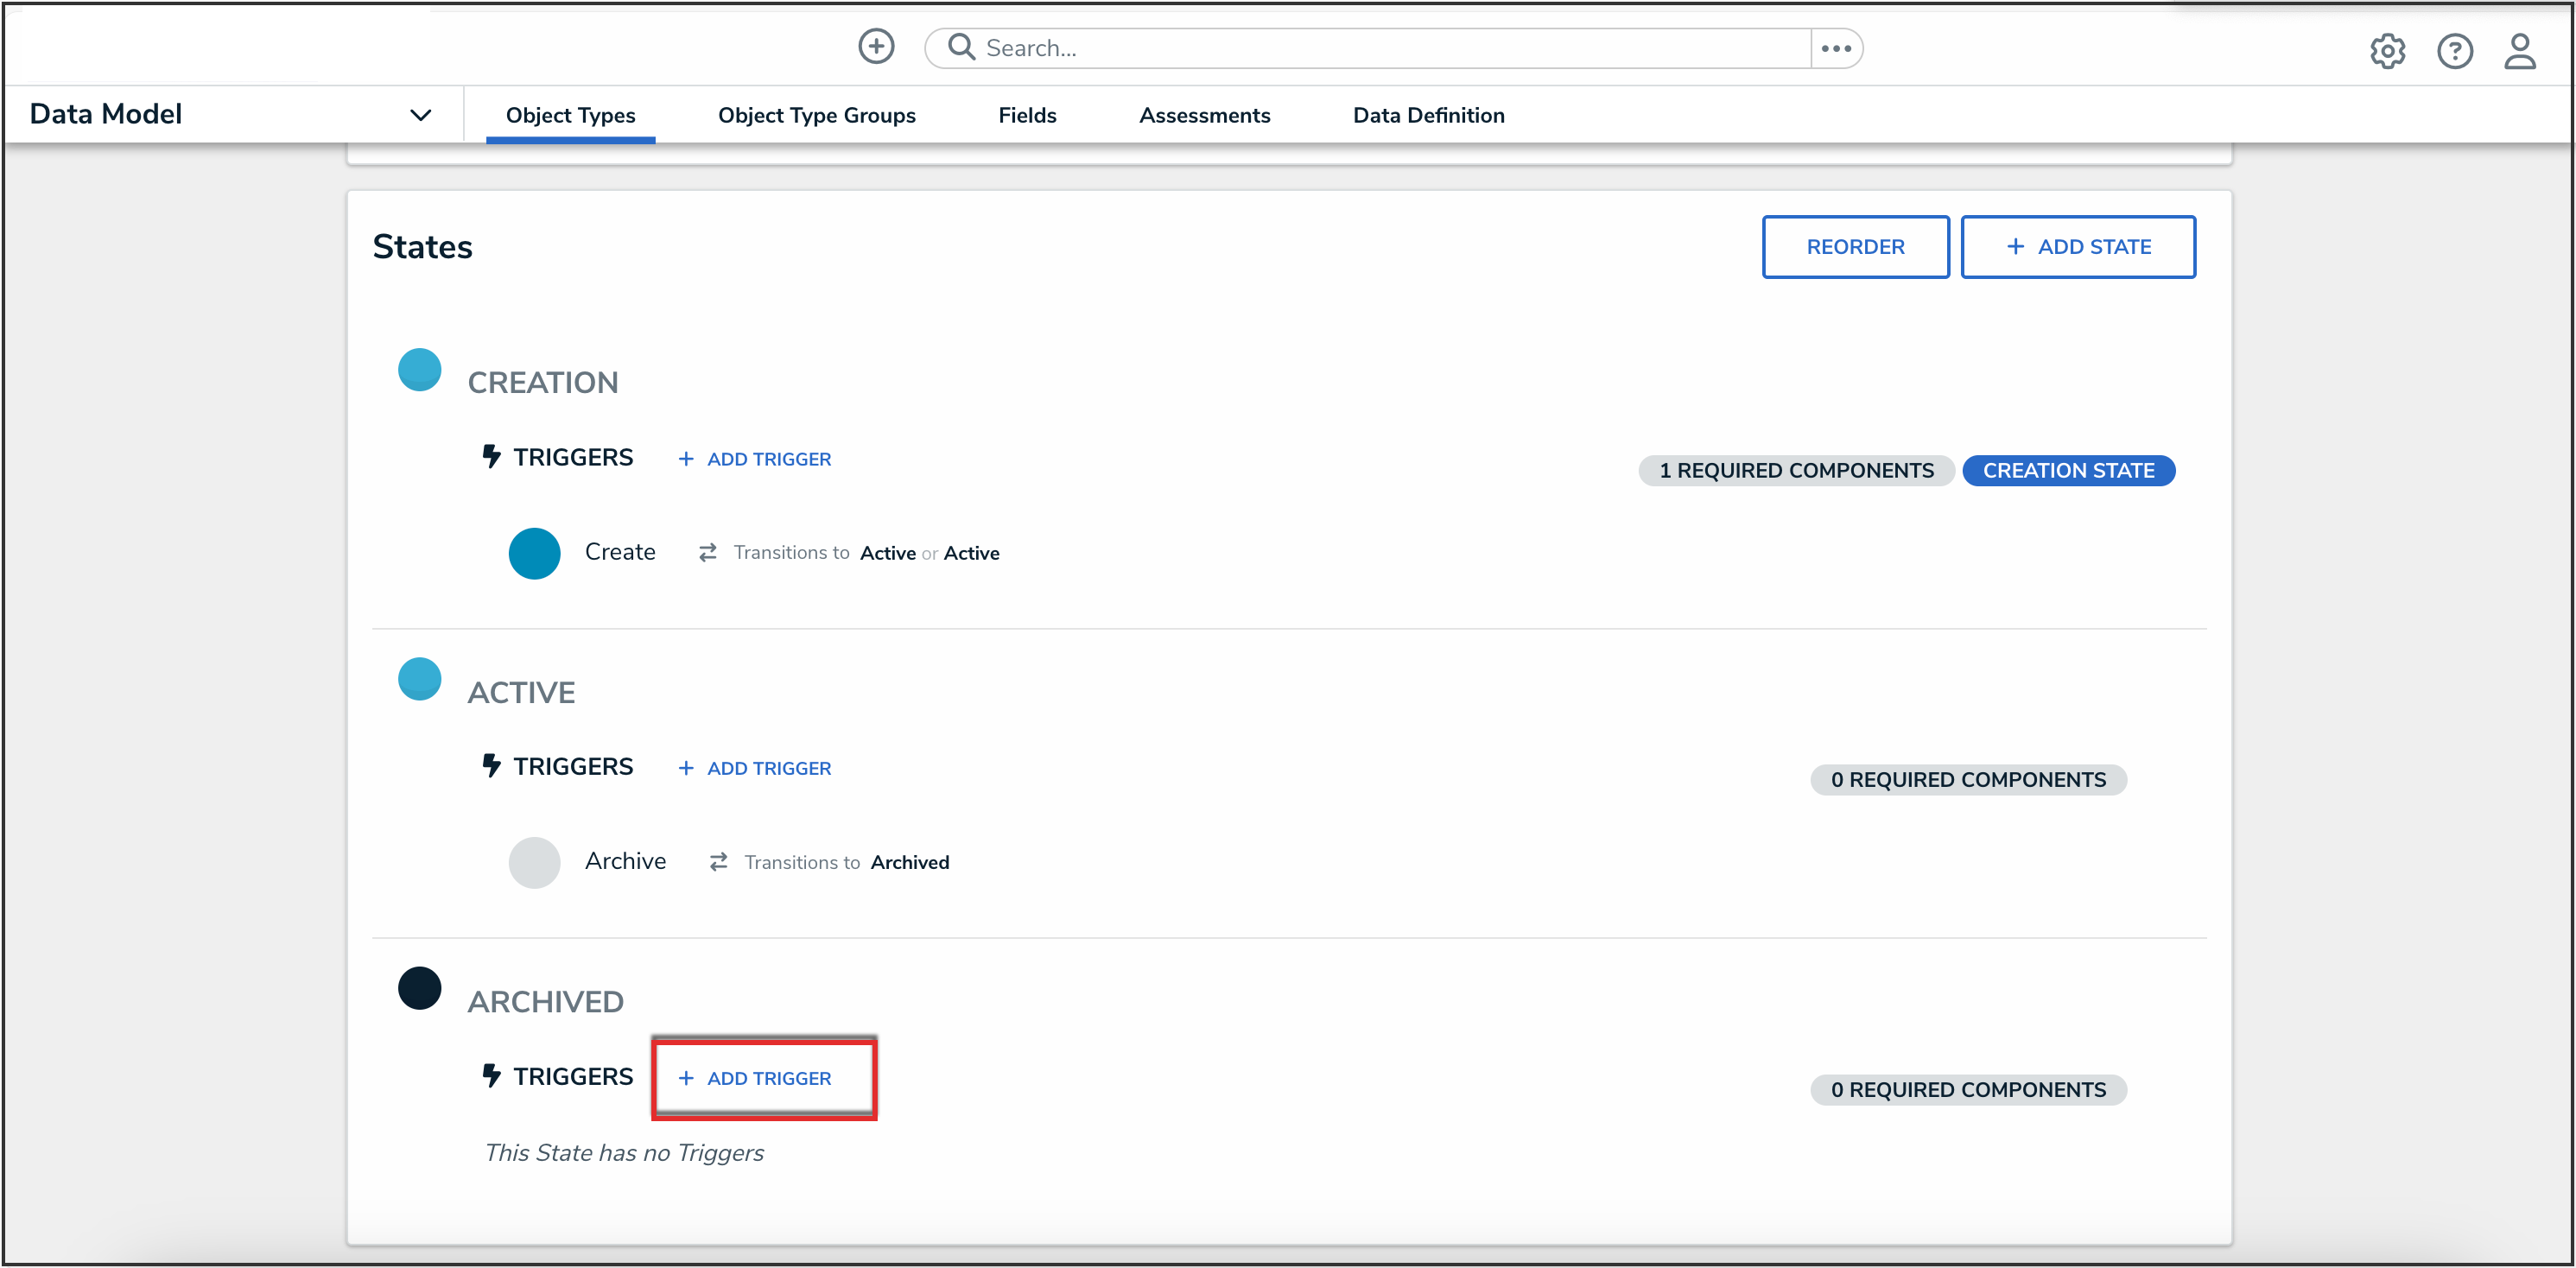
Add Trigger Button

- In the Add Trigger pop-up, from the Type drop-down, select Button.
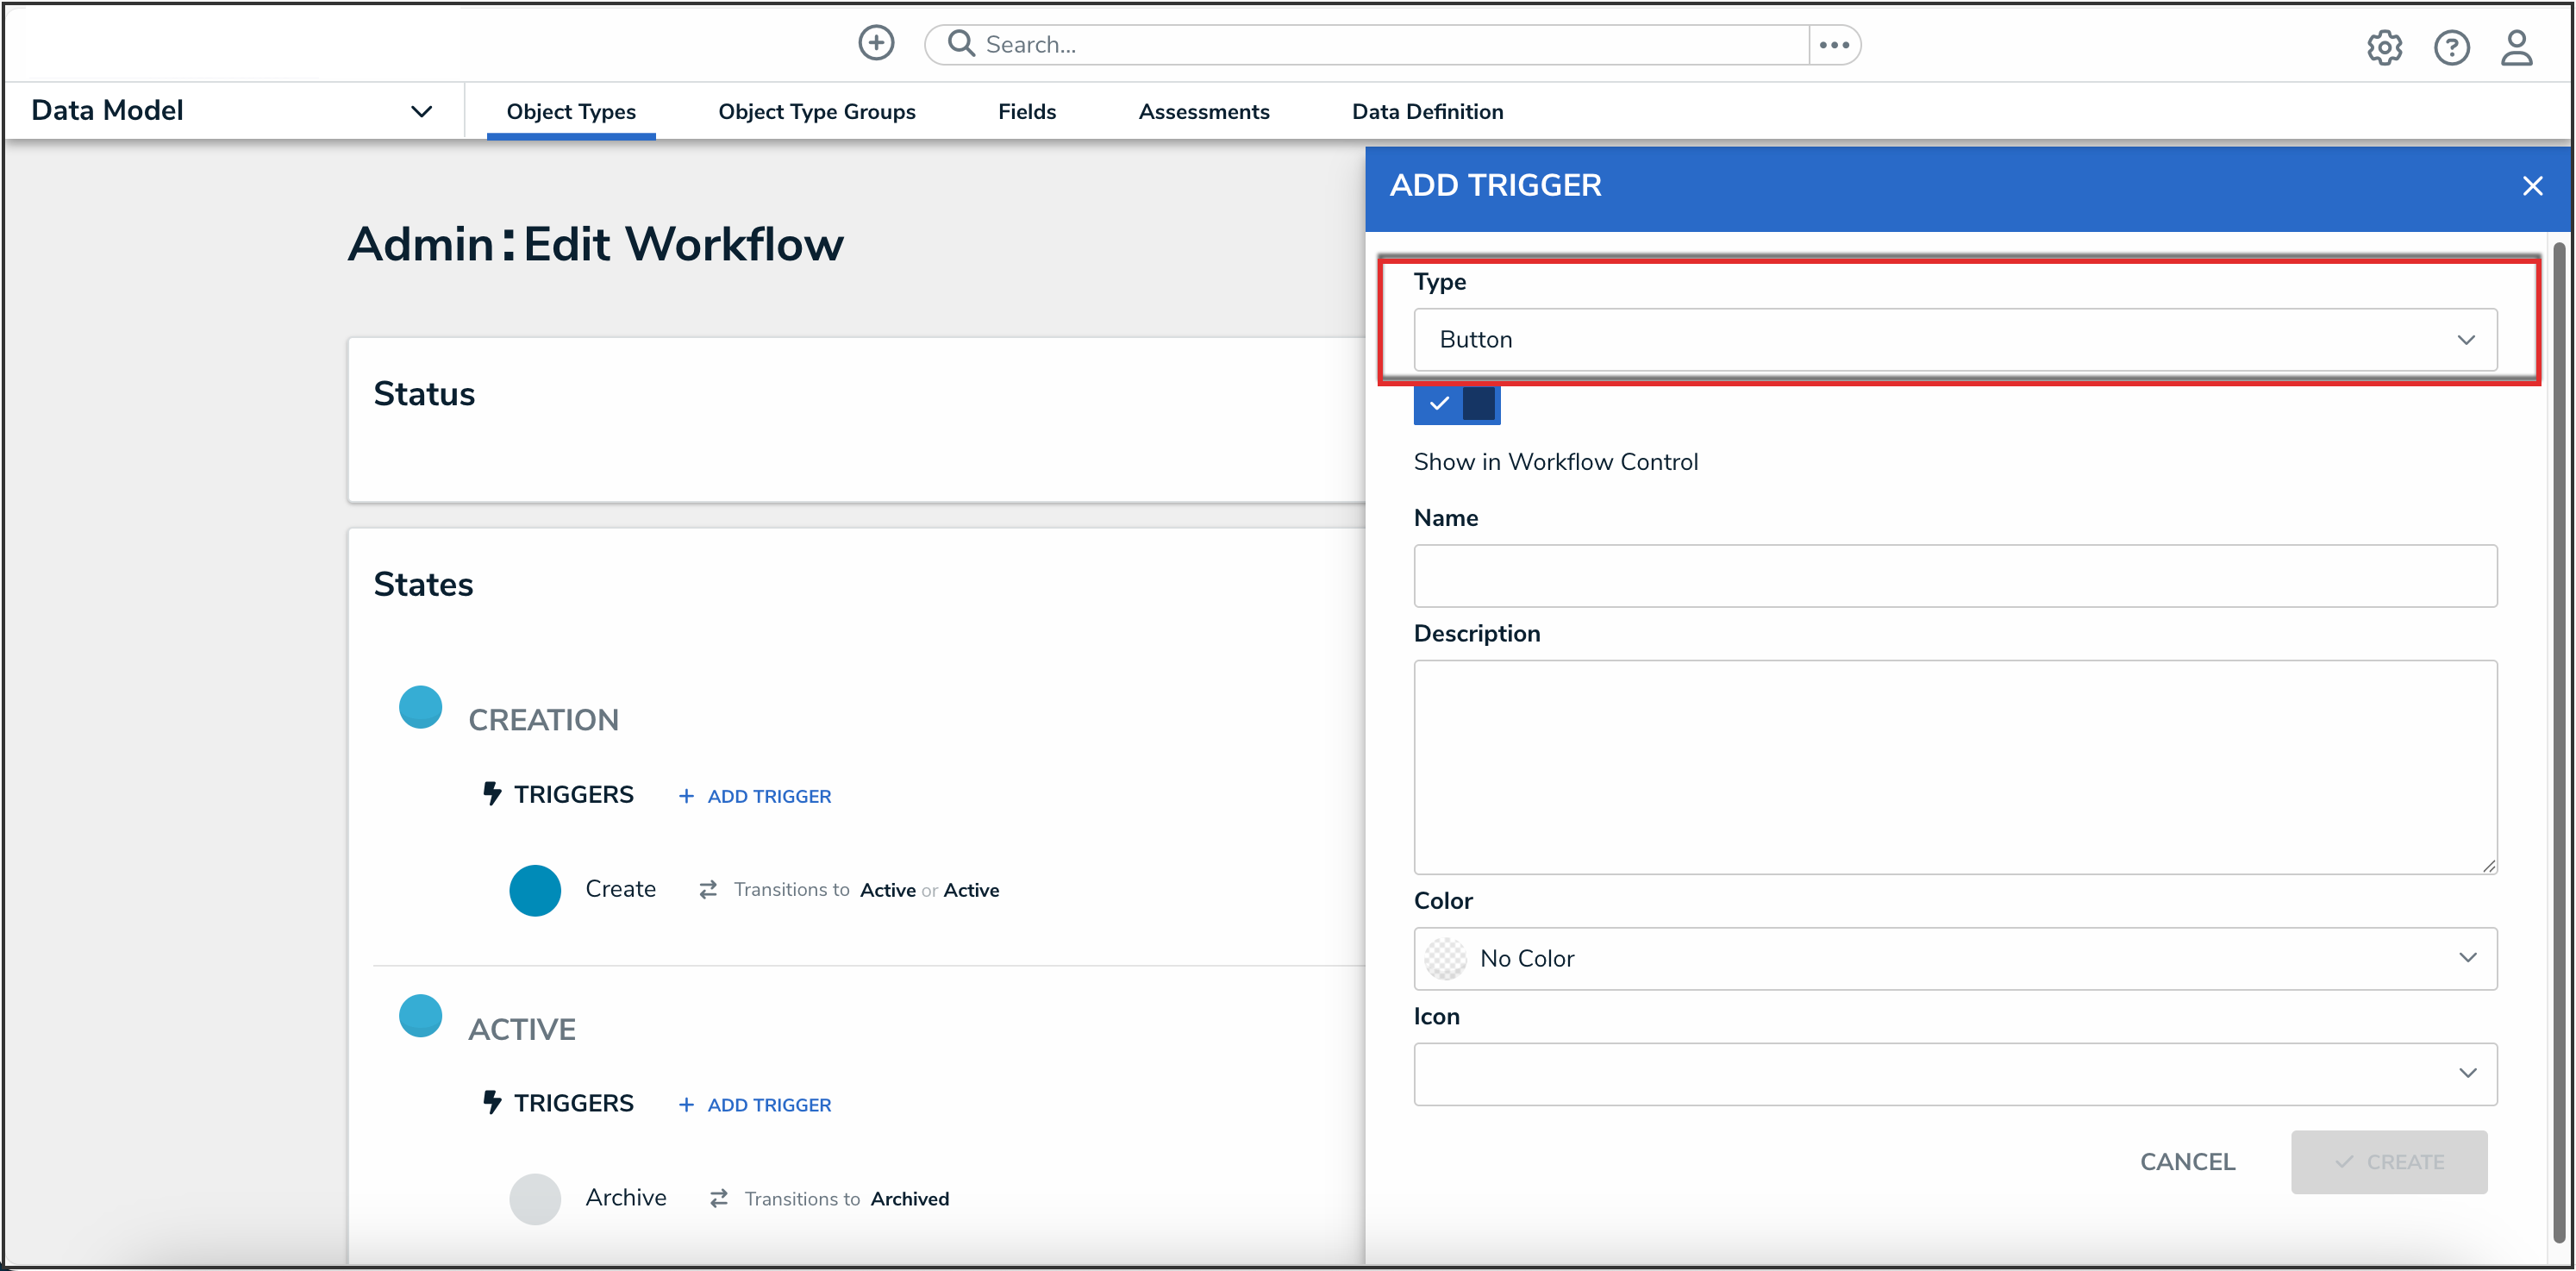
Type Drop-Down

- In the Name field, enter a name for the button.
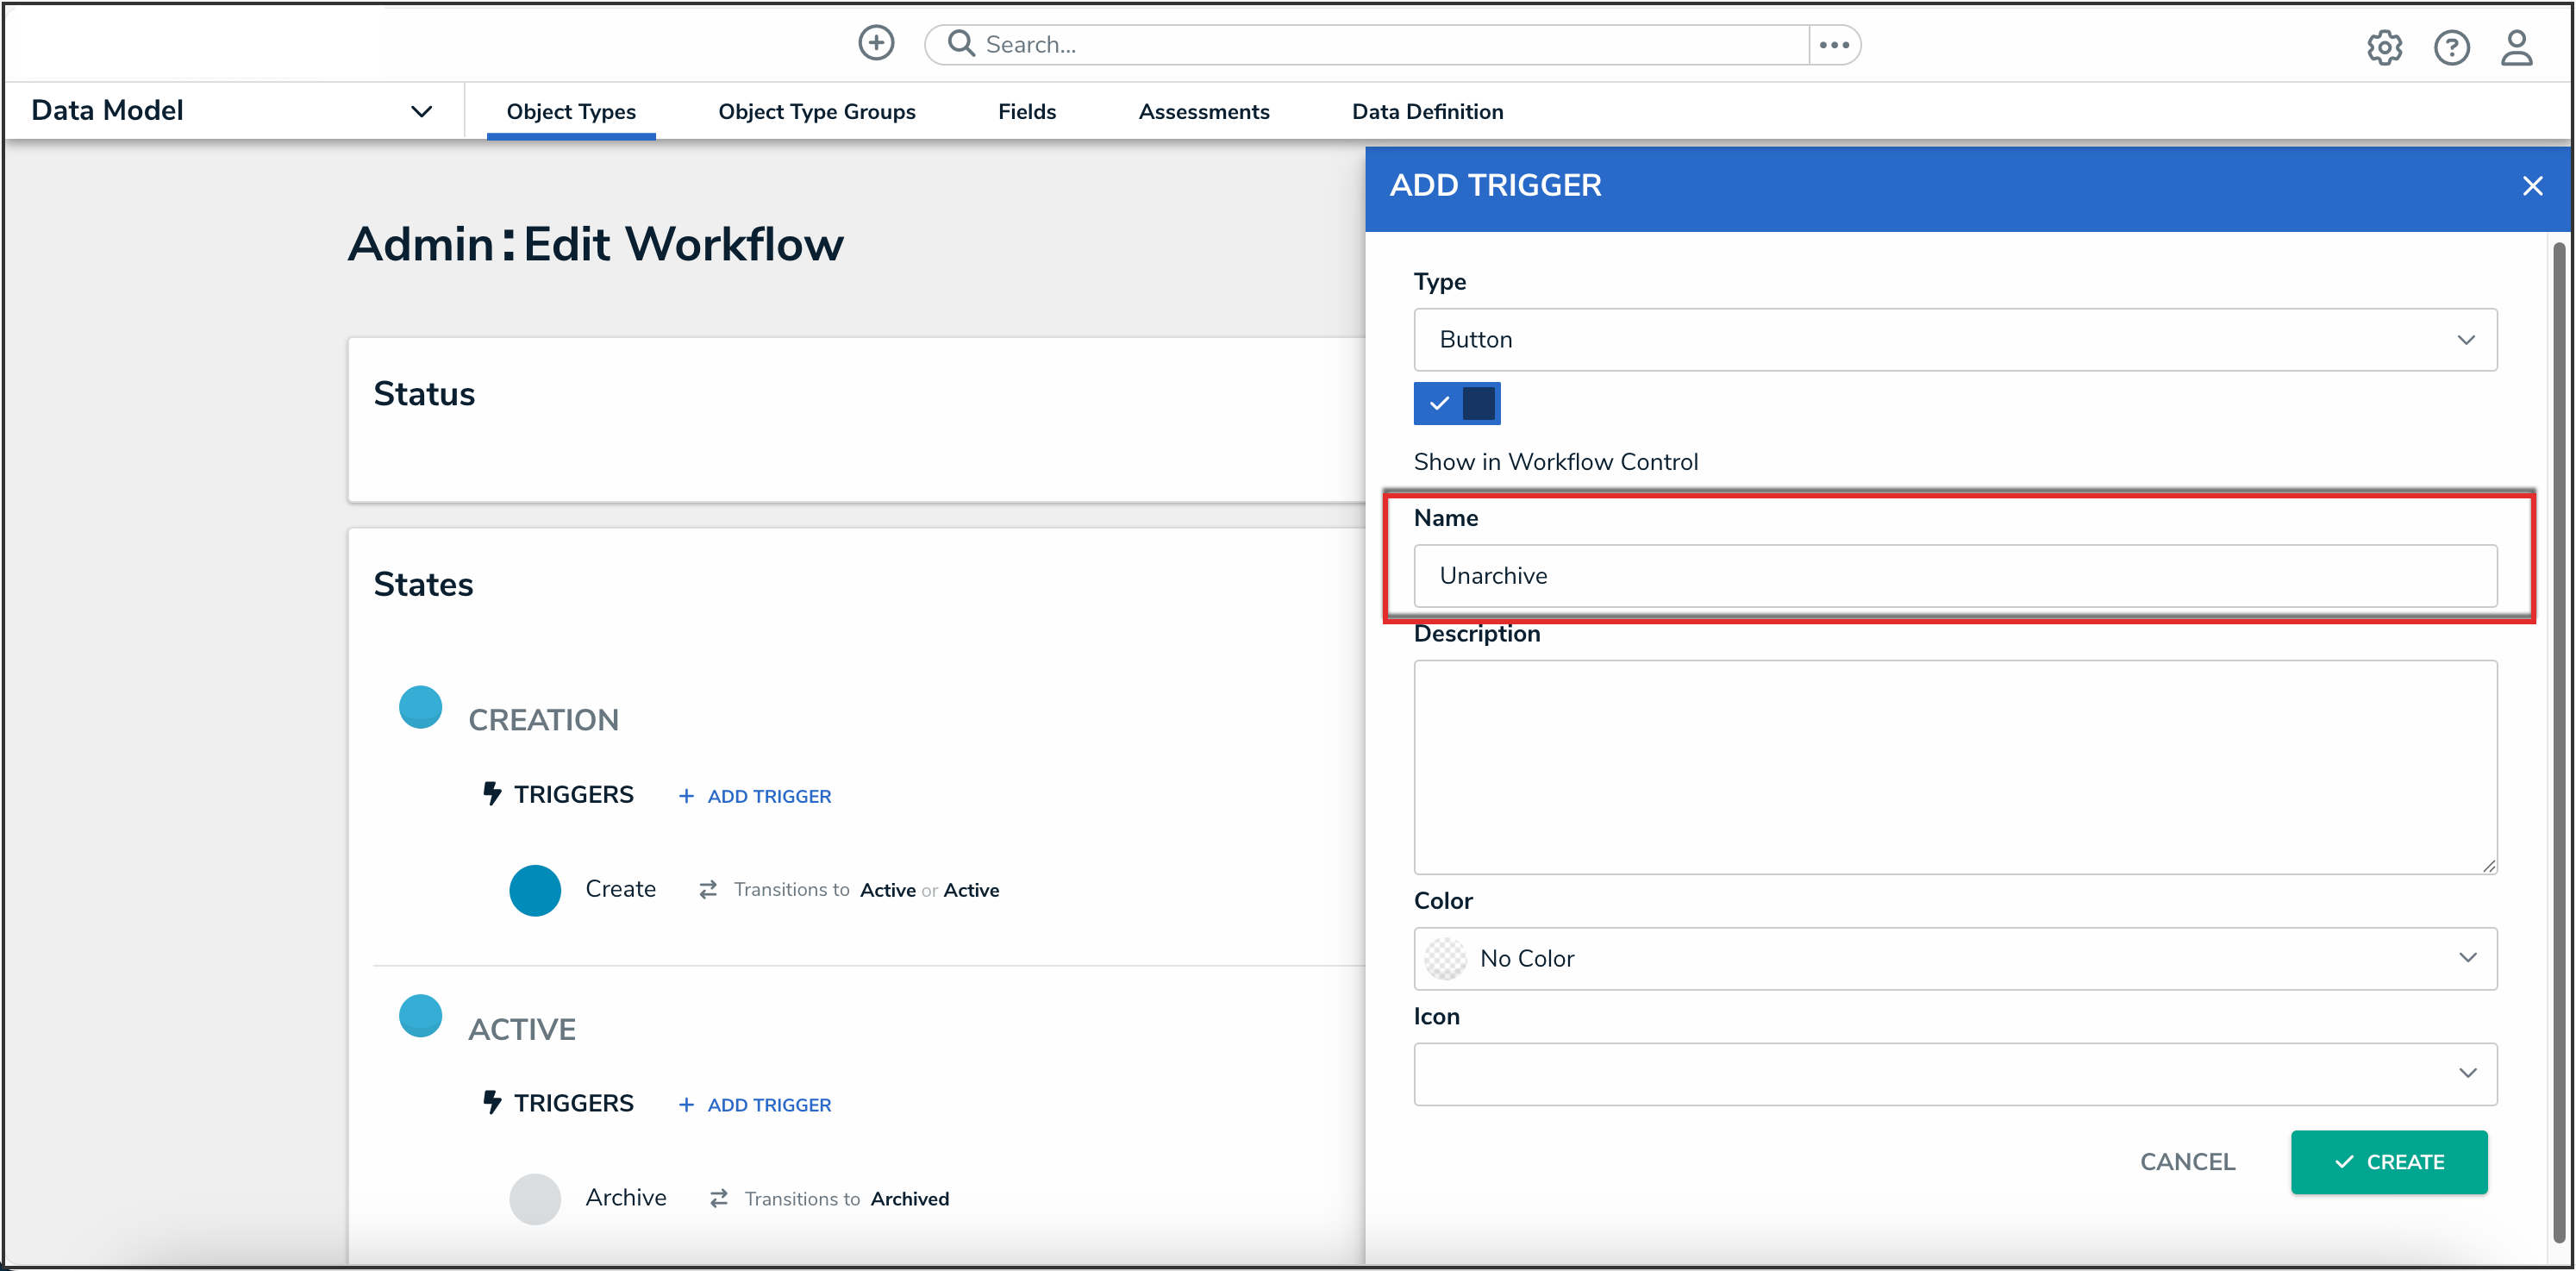
Name Field
- (Optional): Add a description, and select a color and icon for the button.
- Click the Create button.
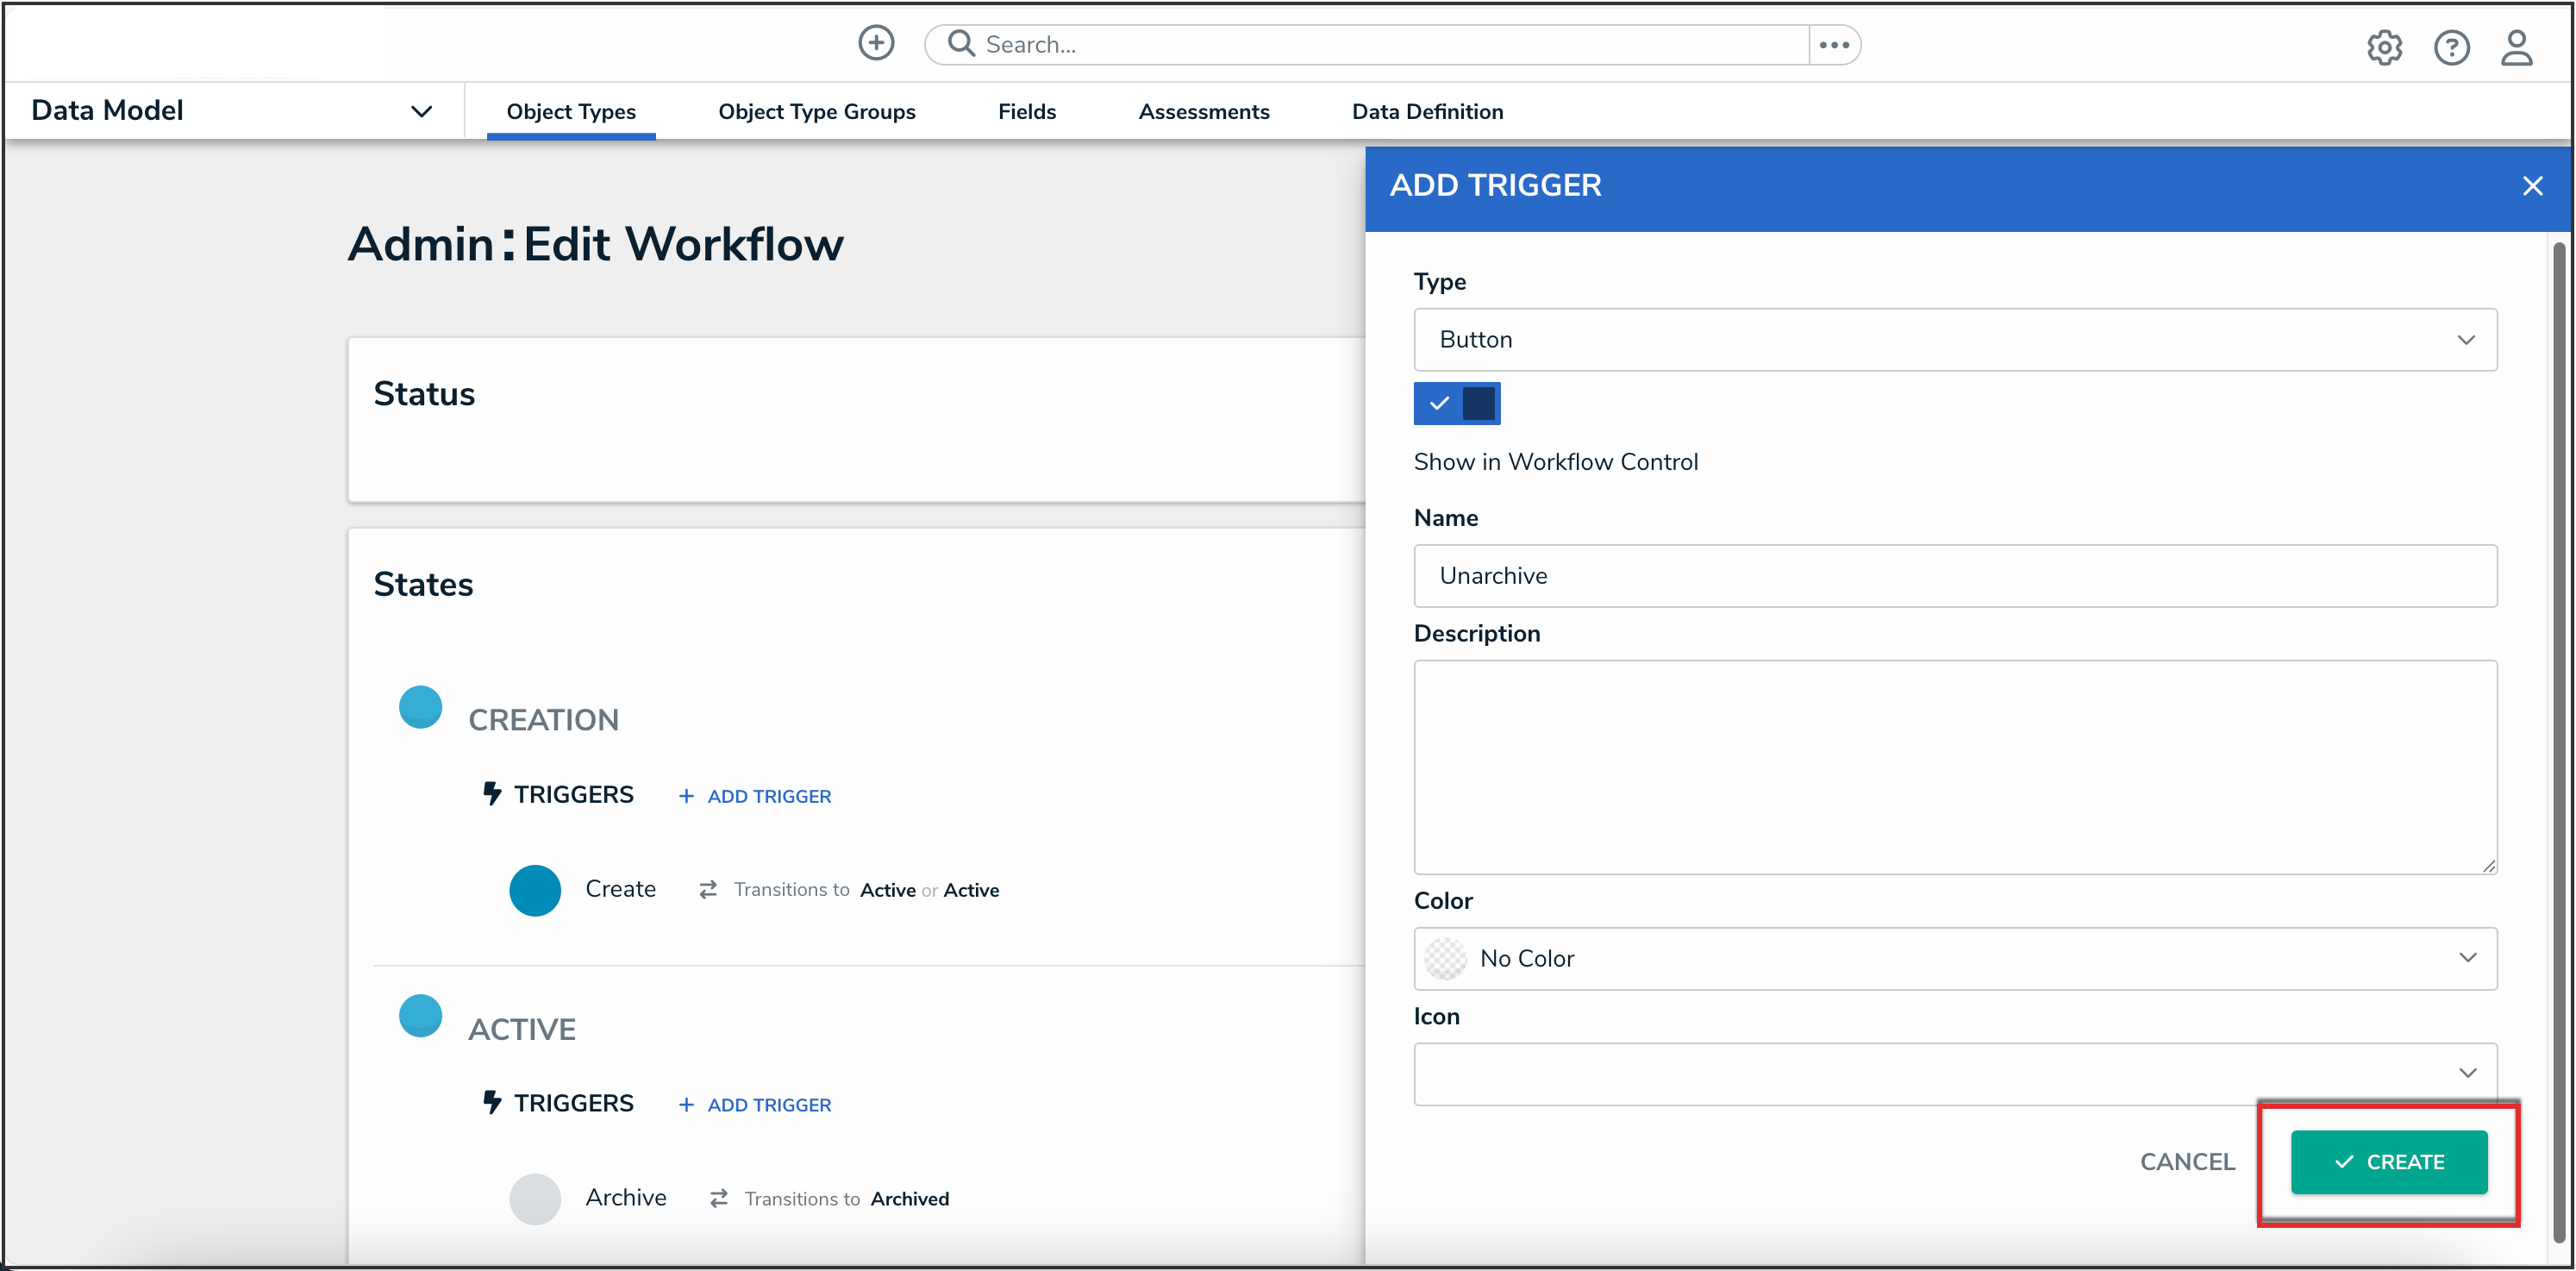
Create Button


- From the Edit Trigger pop-up, click the Add Transition button.
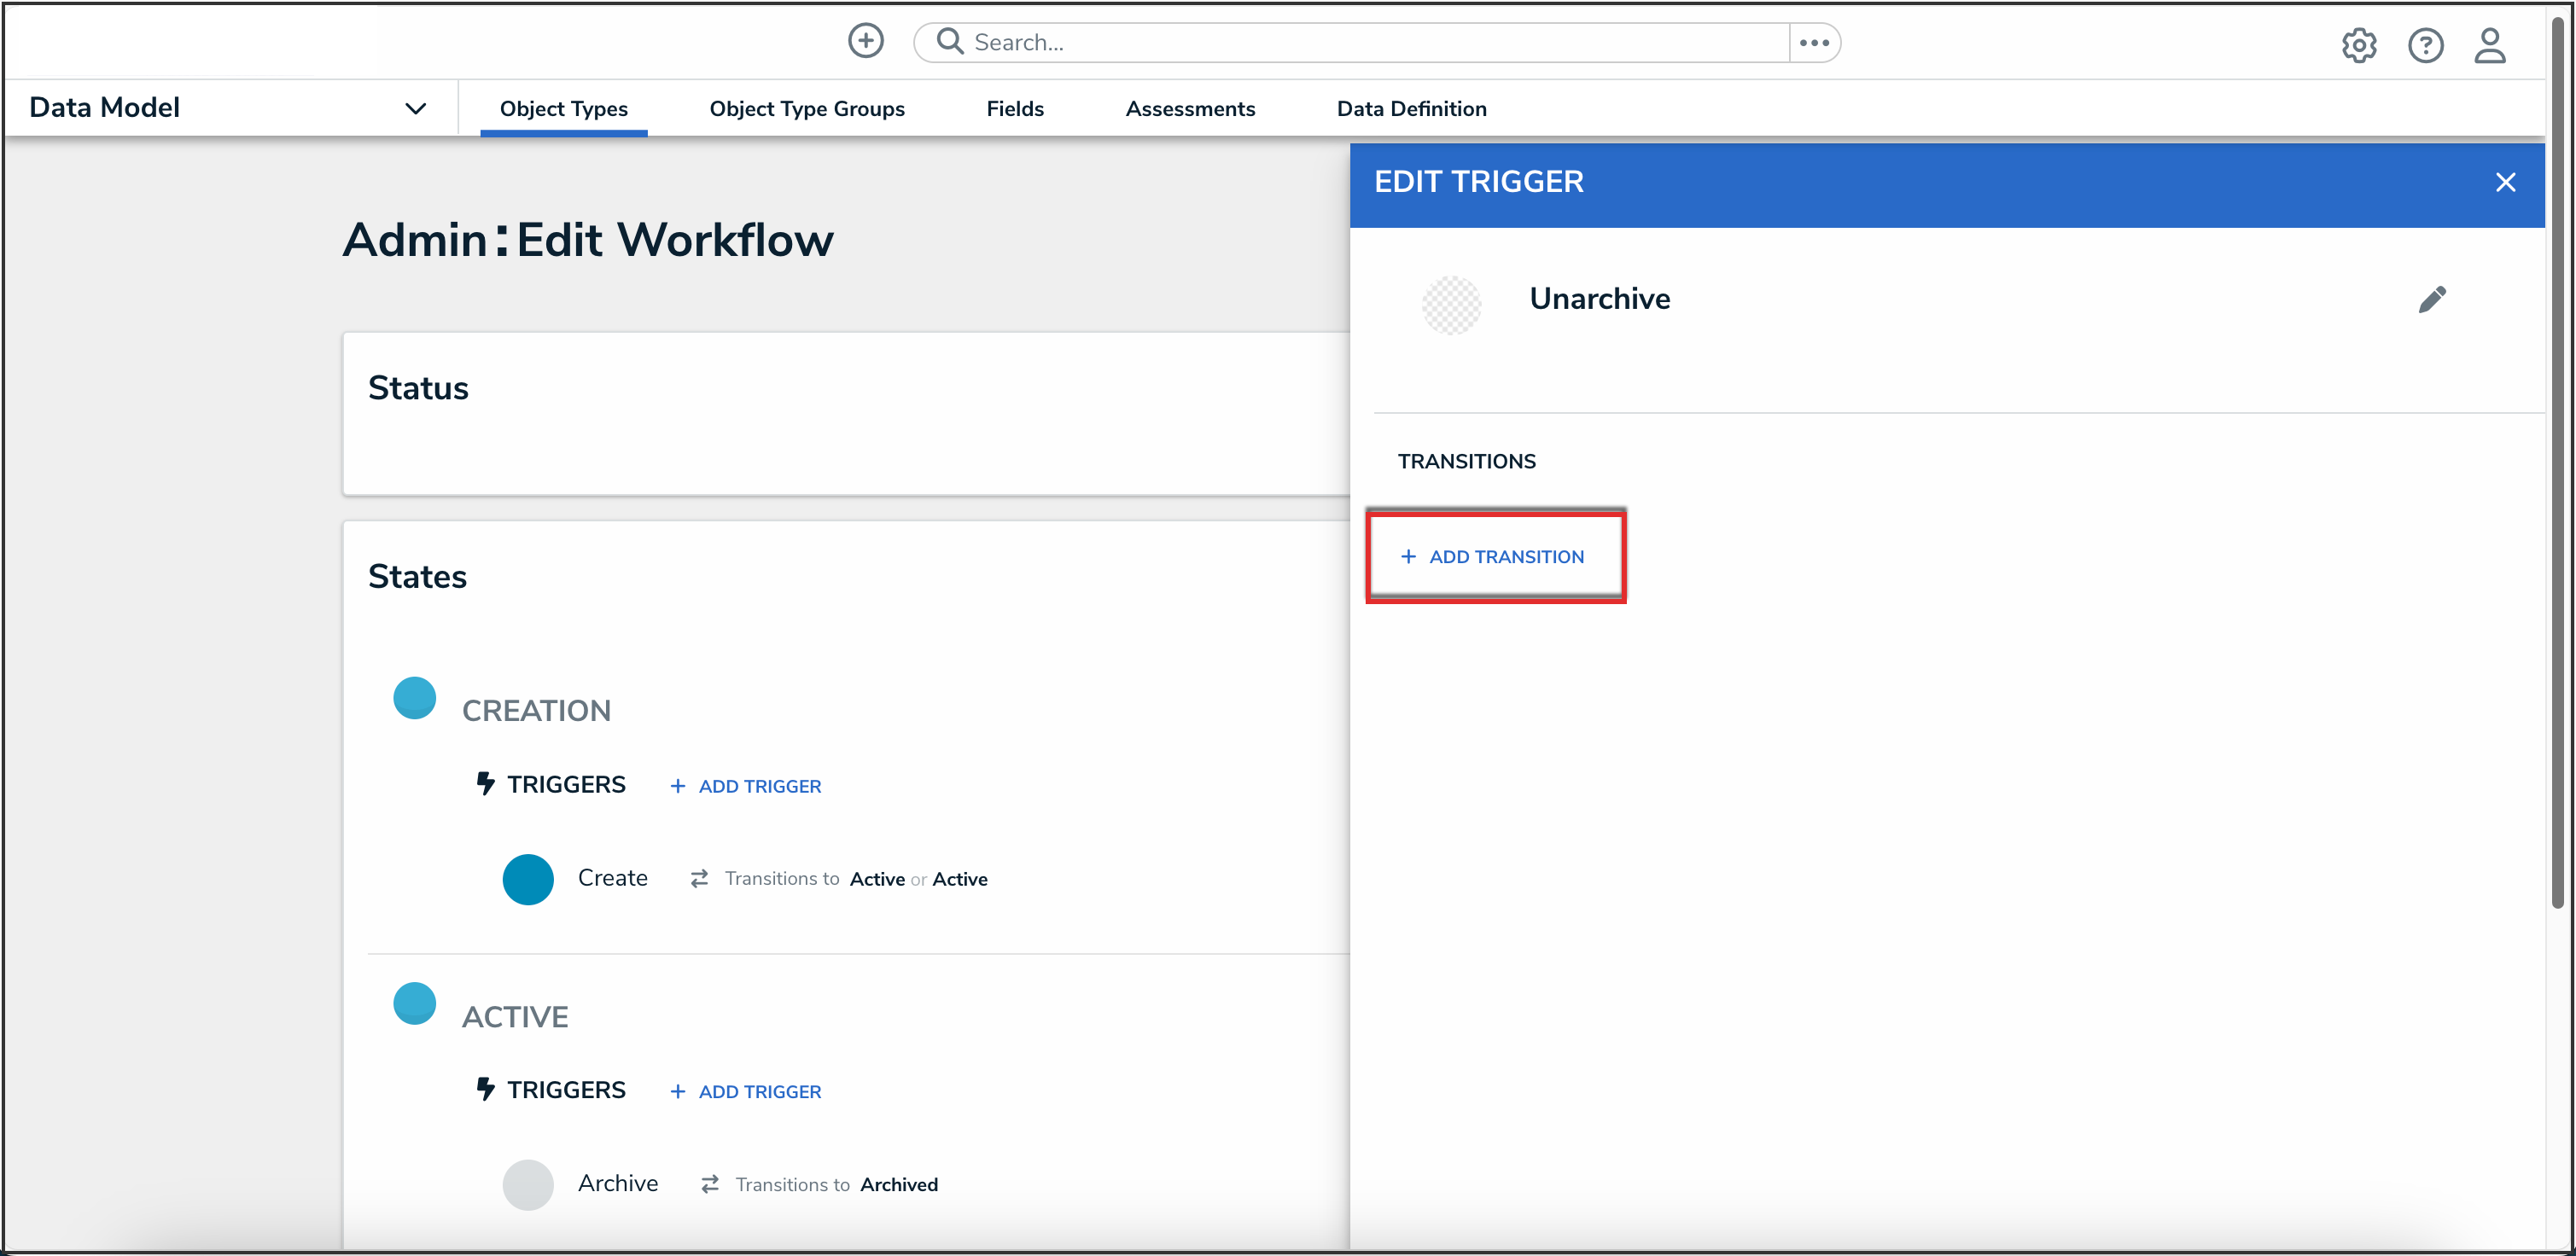
Add Transition Button
- In the Name field, enter a name for the transition.
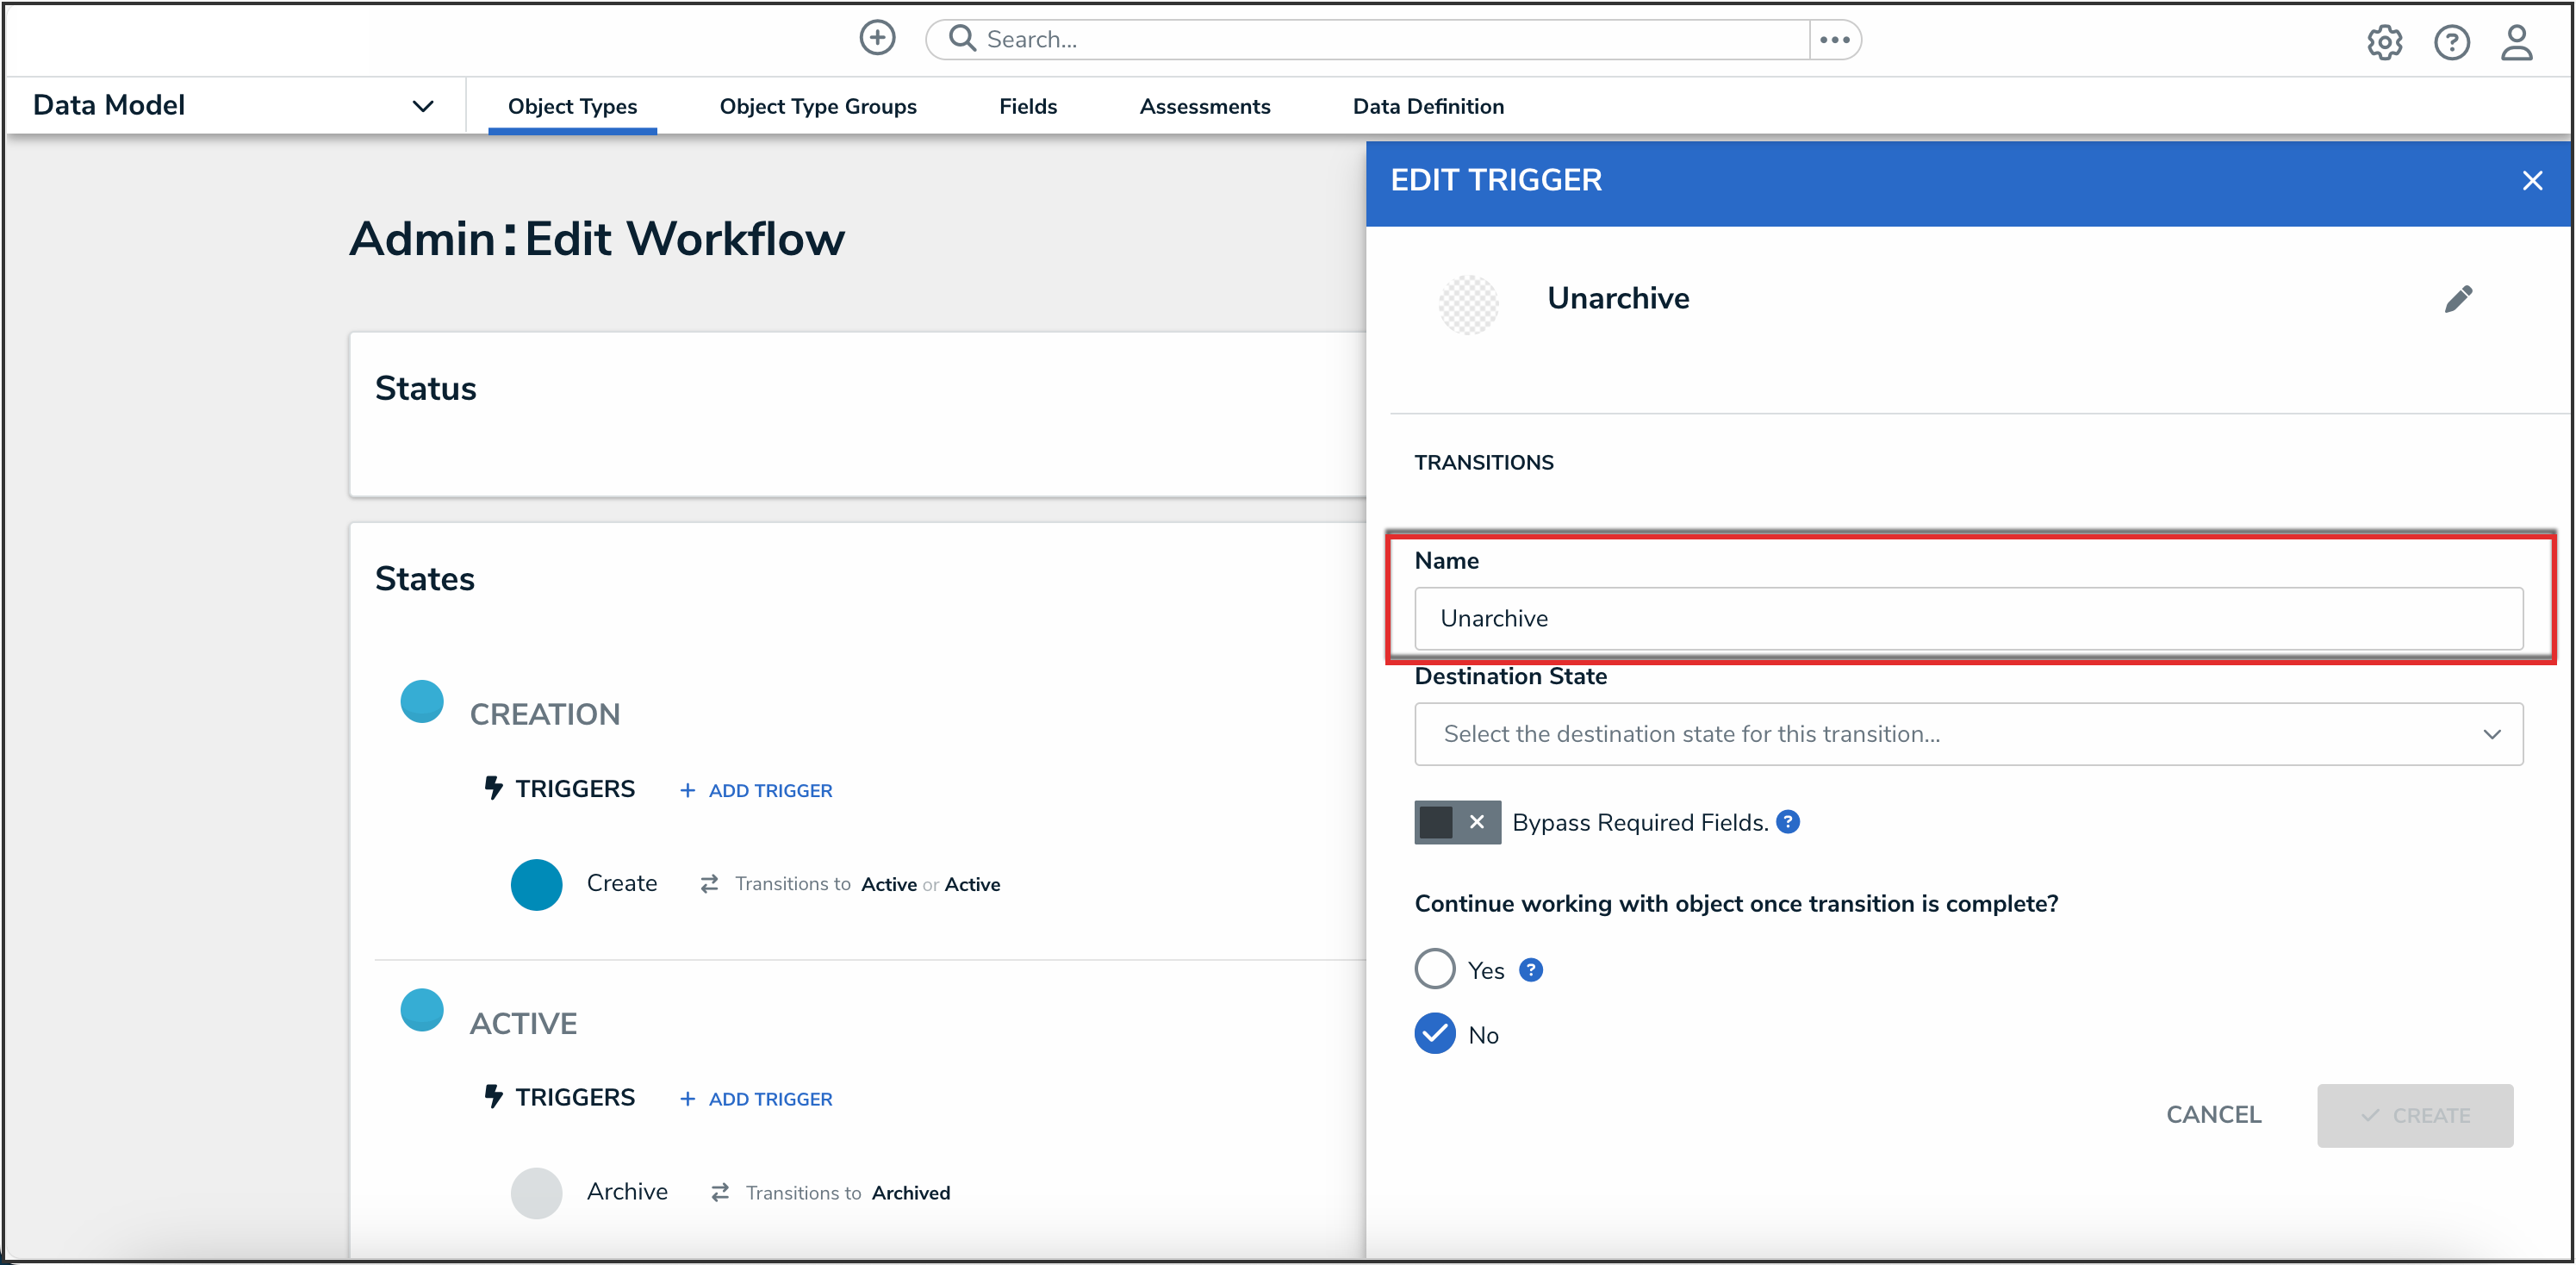
Name Field

- From the Destination State drop-down, select the desired workflow state the object will transition to.
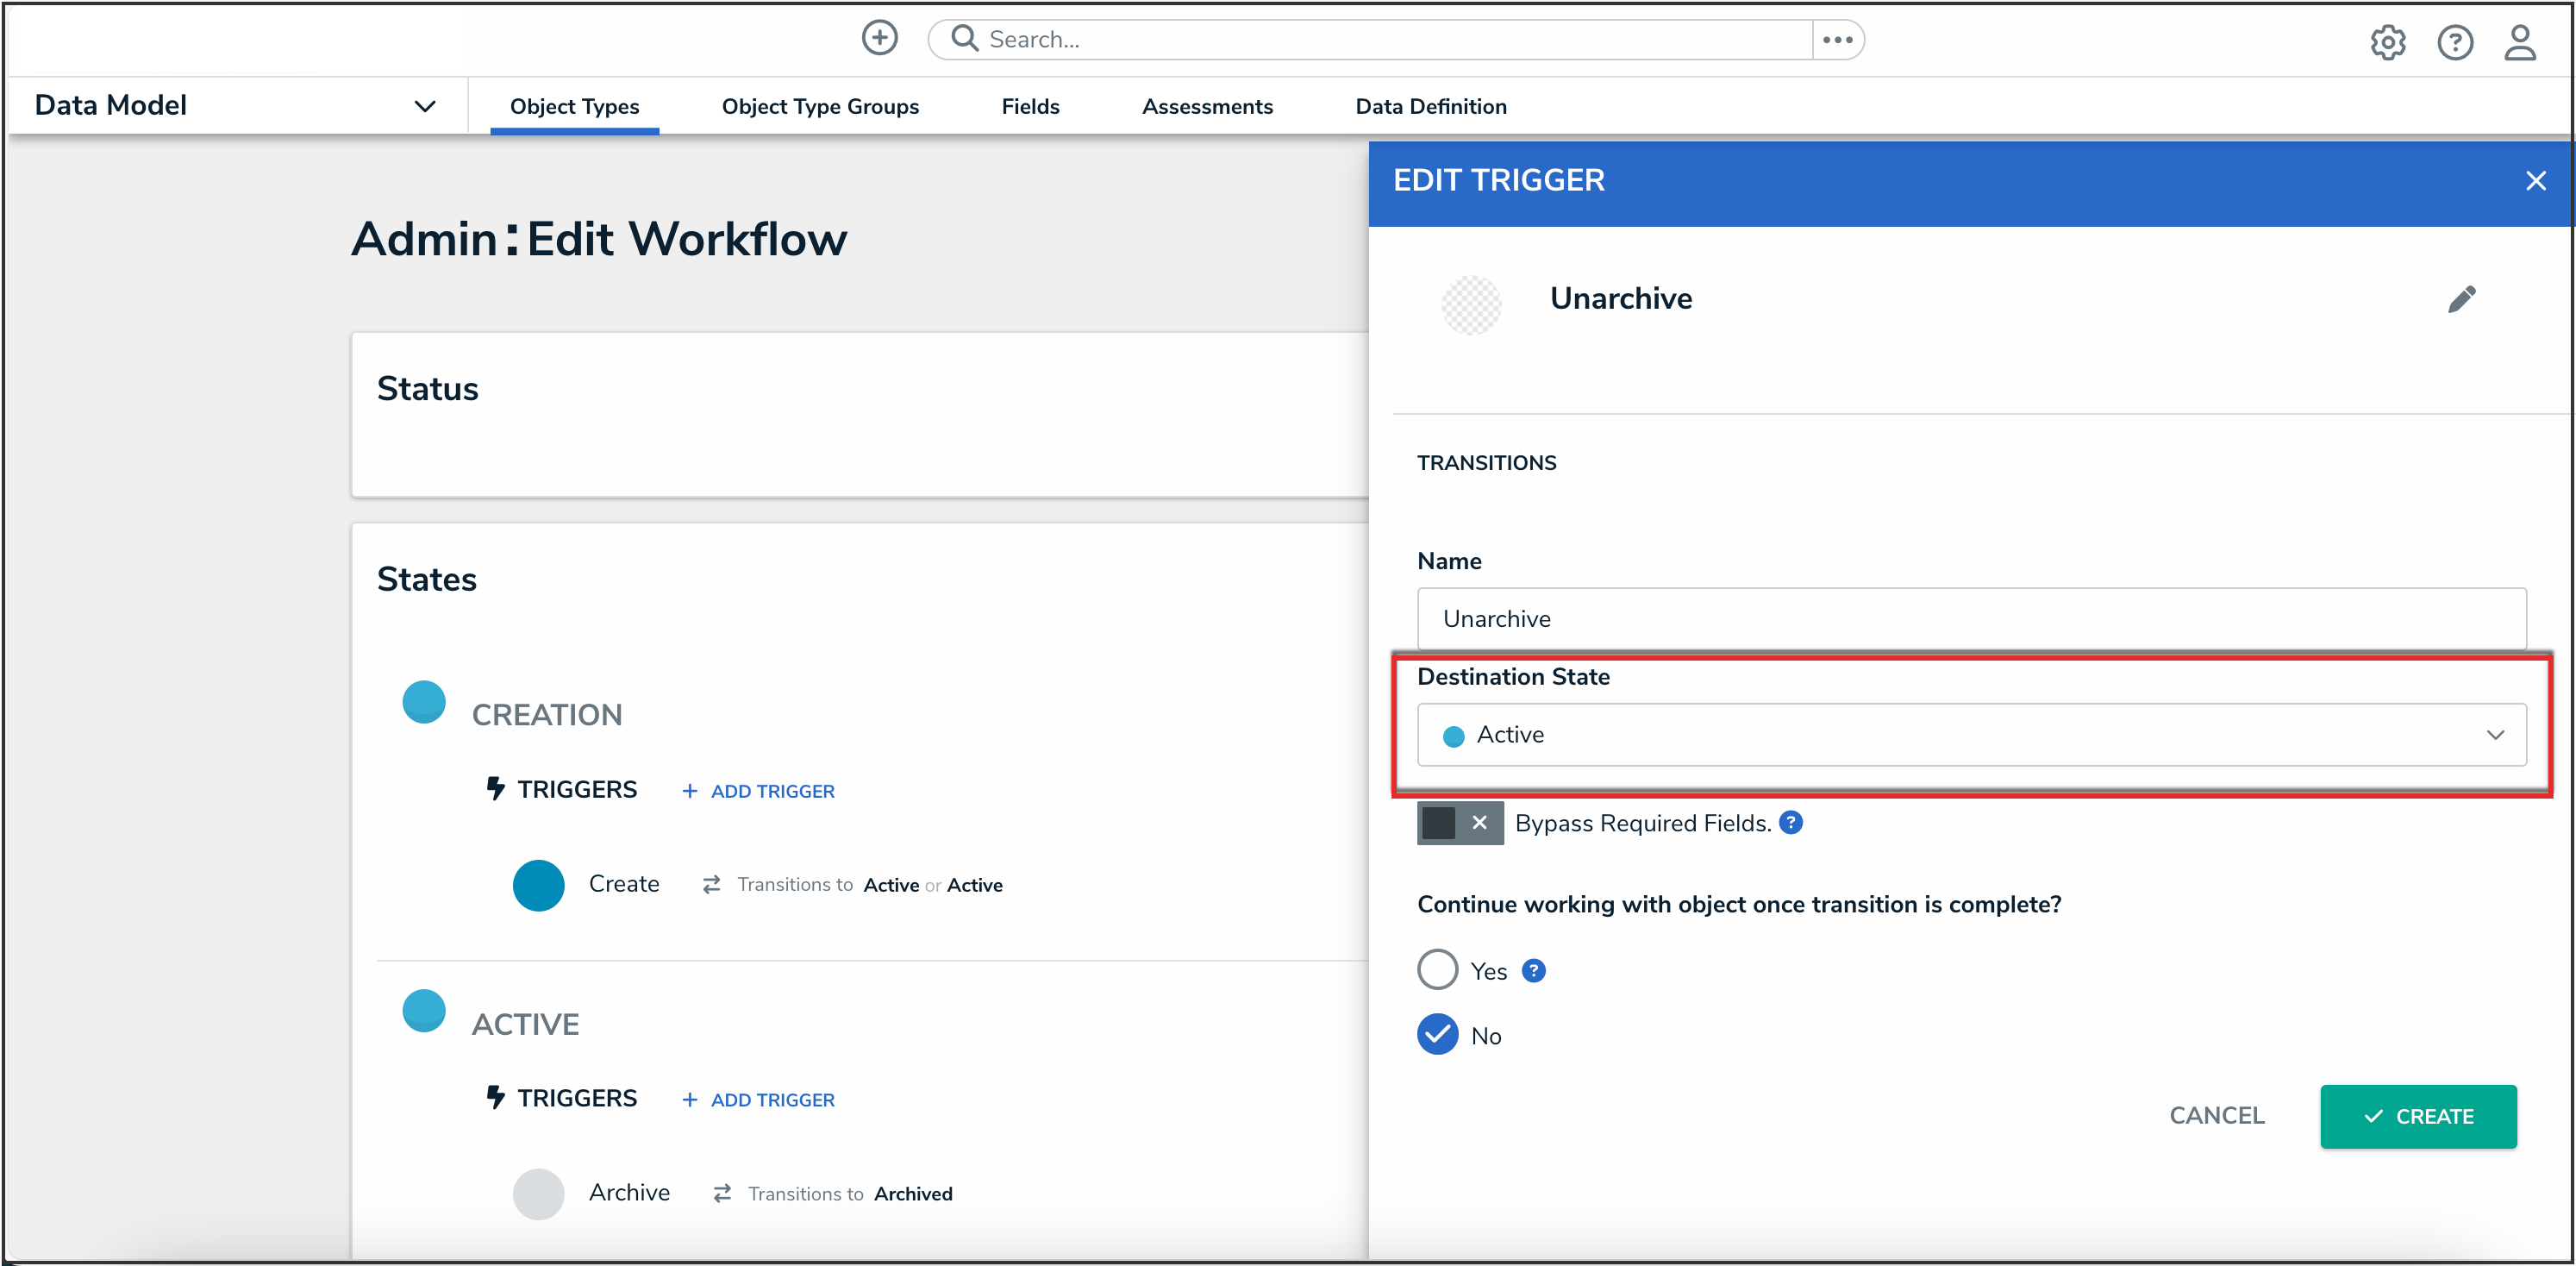
Destination State Drop-Down

- (Optional): Click the Bypass Required Fields toggle switch to turn it on to allow users to transition the form to the next state, bypassing the required fields selected in the Required Components section.
- (Optional): Under the Continue working with object once transition is complete? section, select the Yes radio button if a transition to the same form or another form is required when a user triggers a form transition, or select the No radio button if no transition is required.
- Click the Create button.
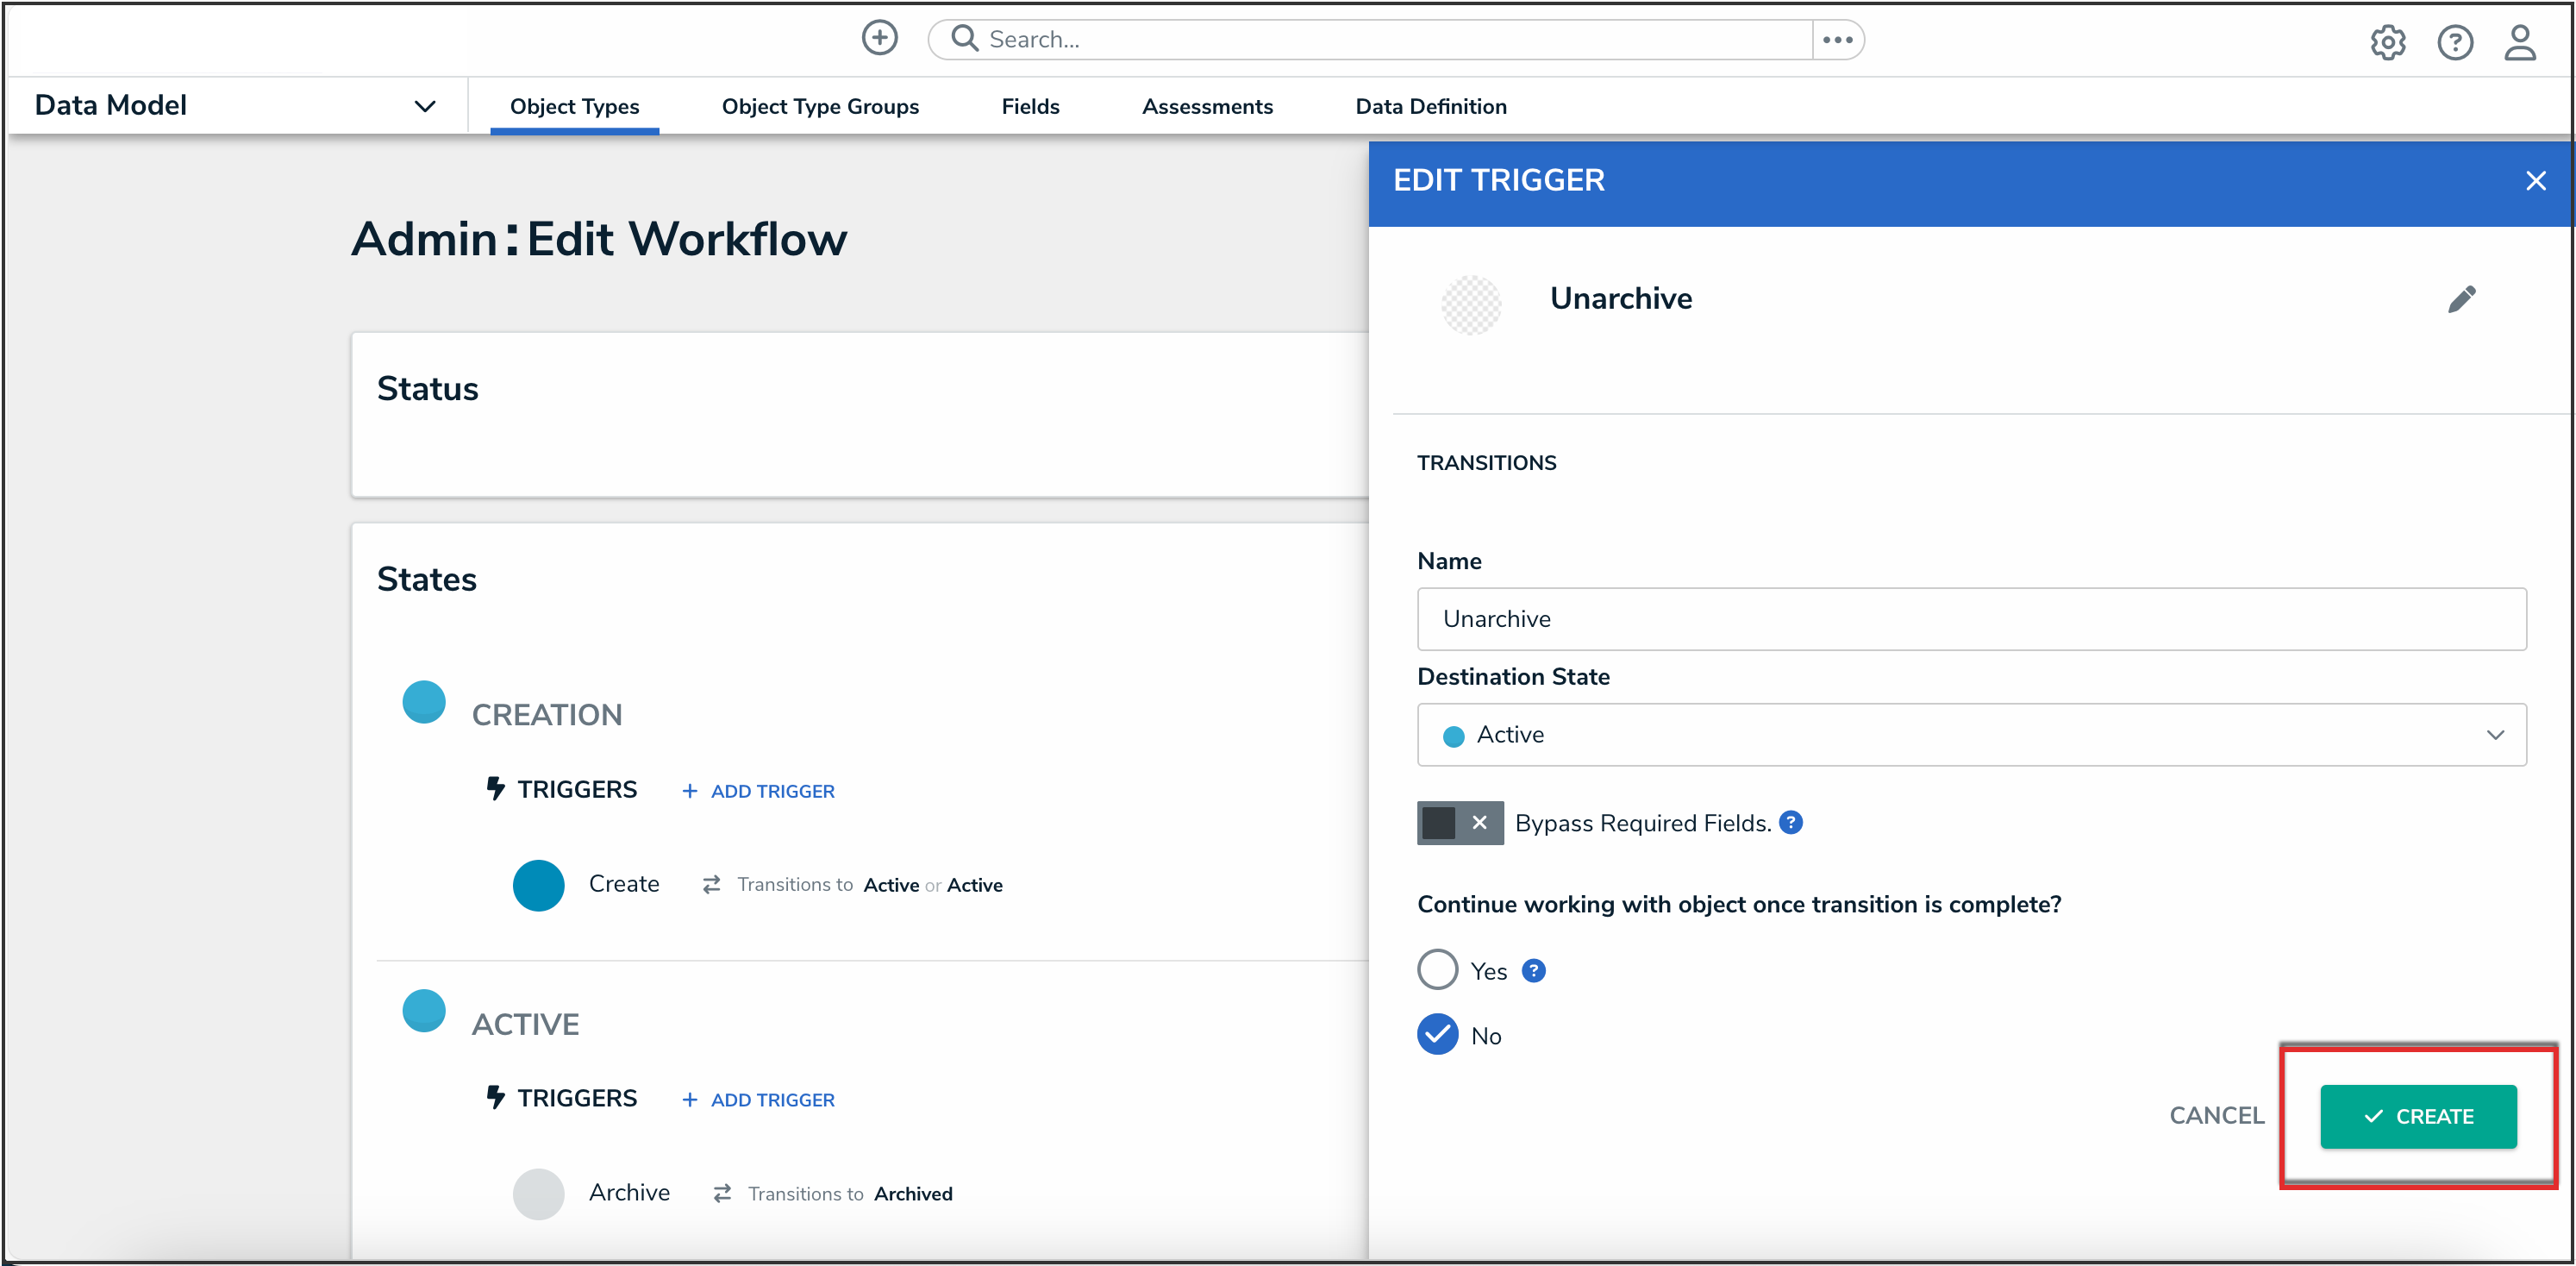
Create Button

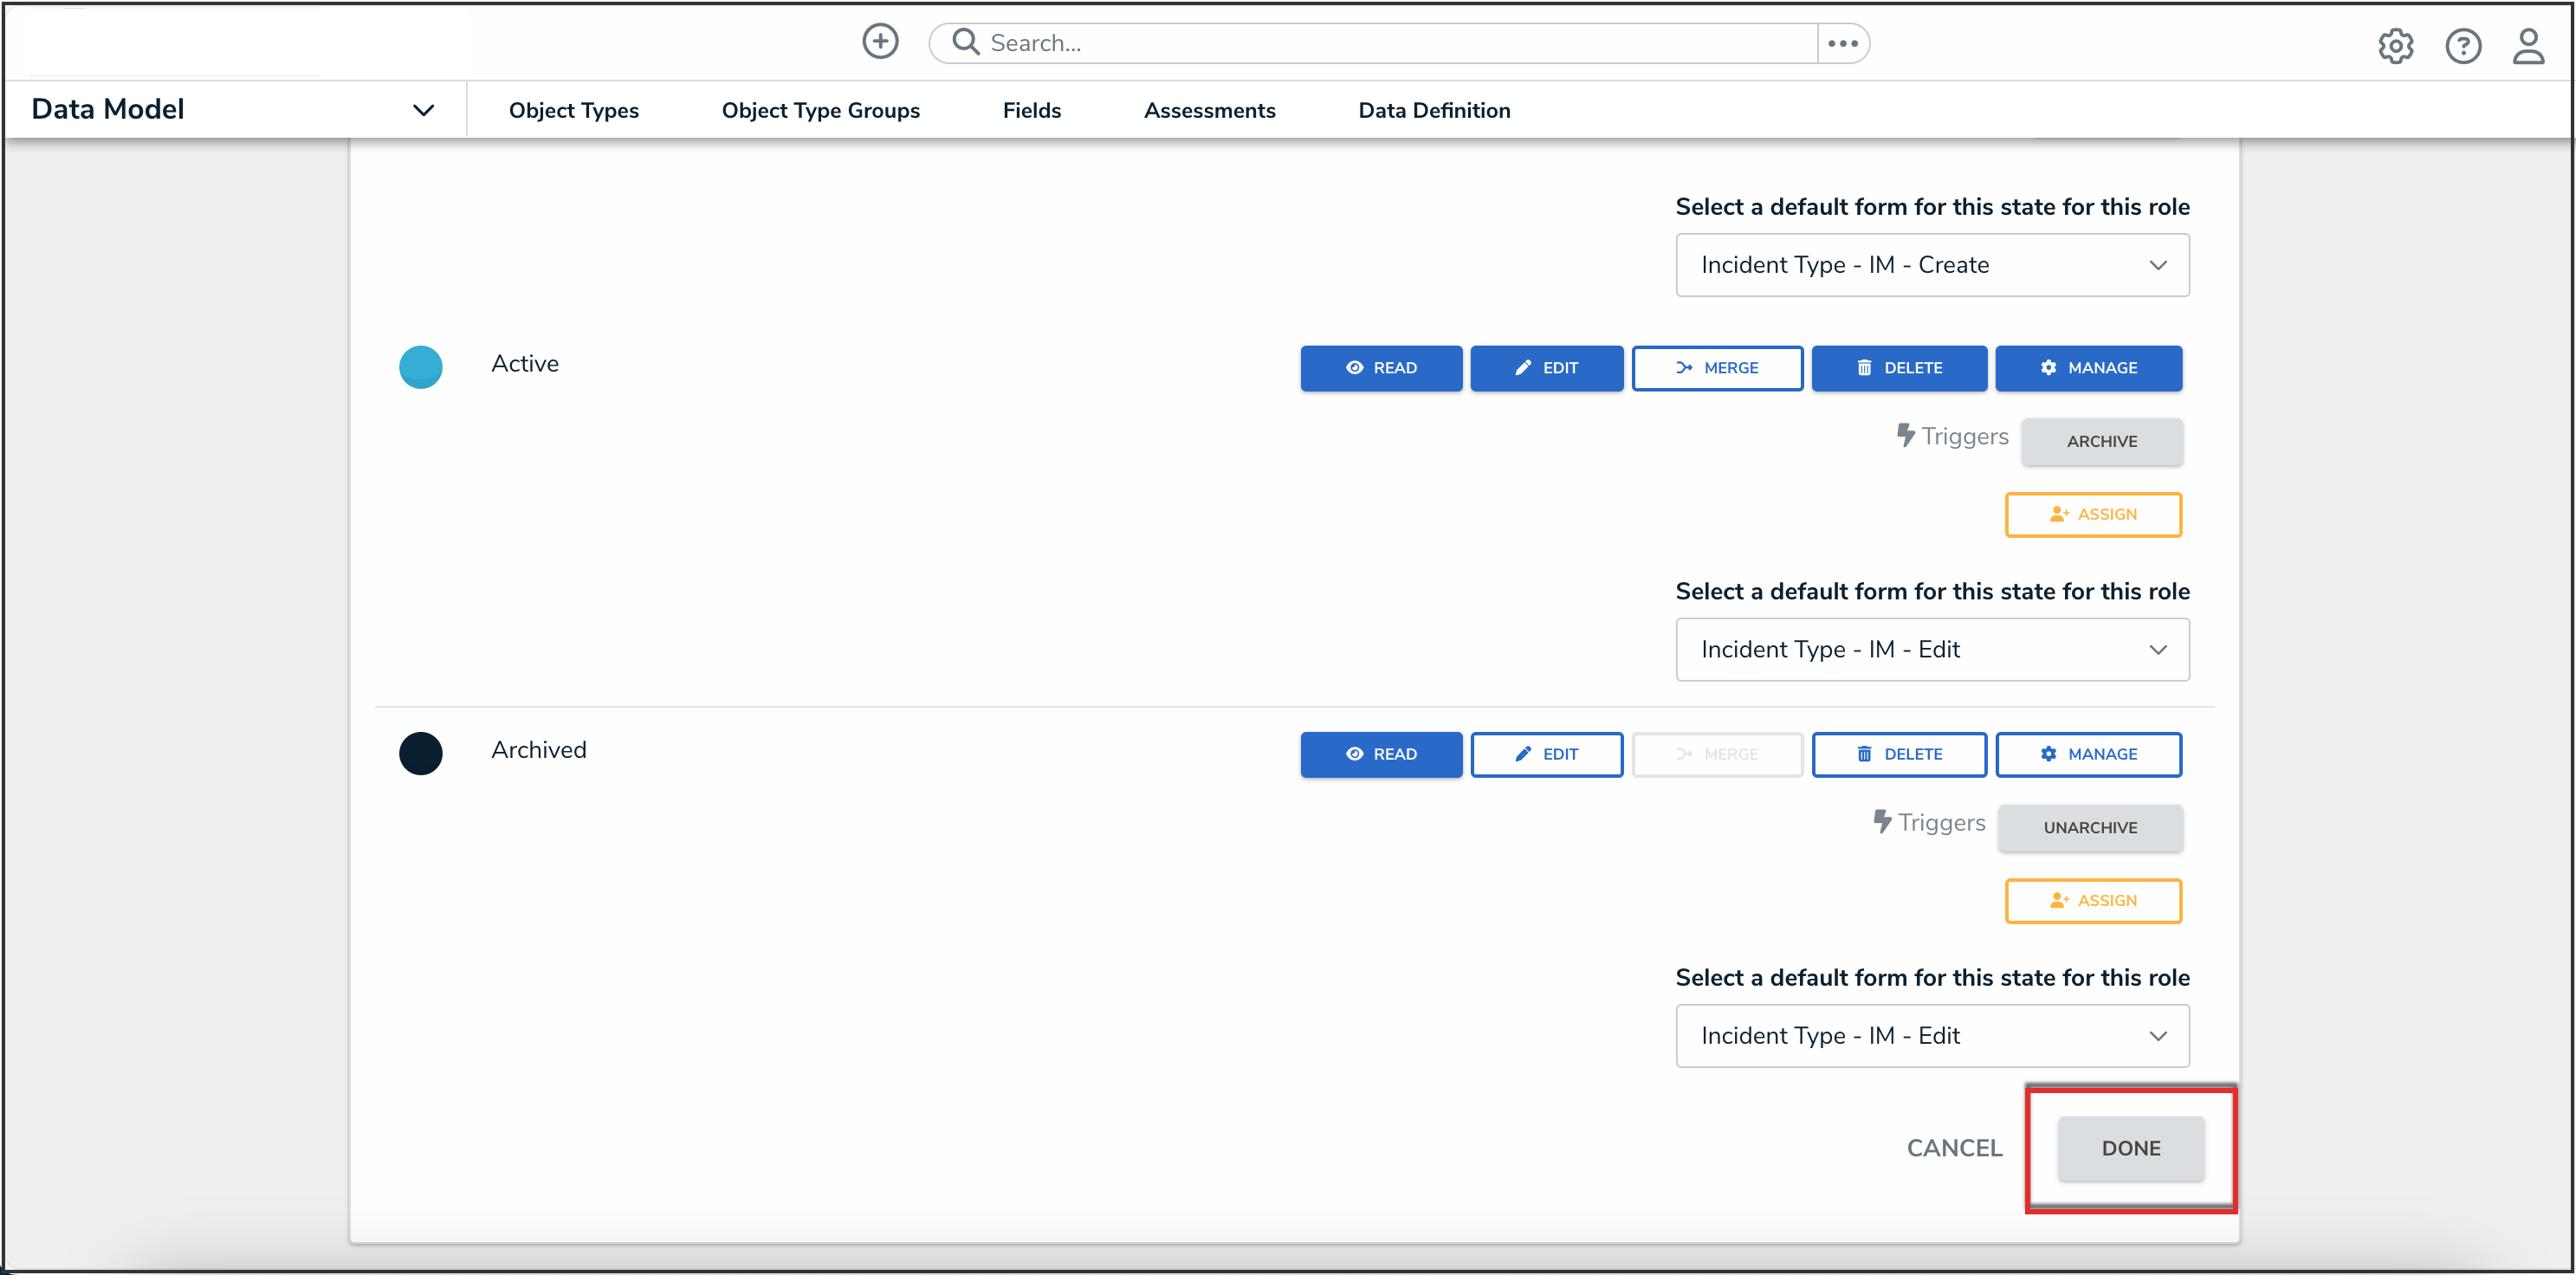
- Click the Done button to save your changes.
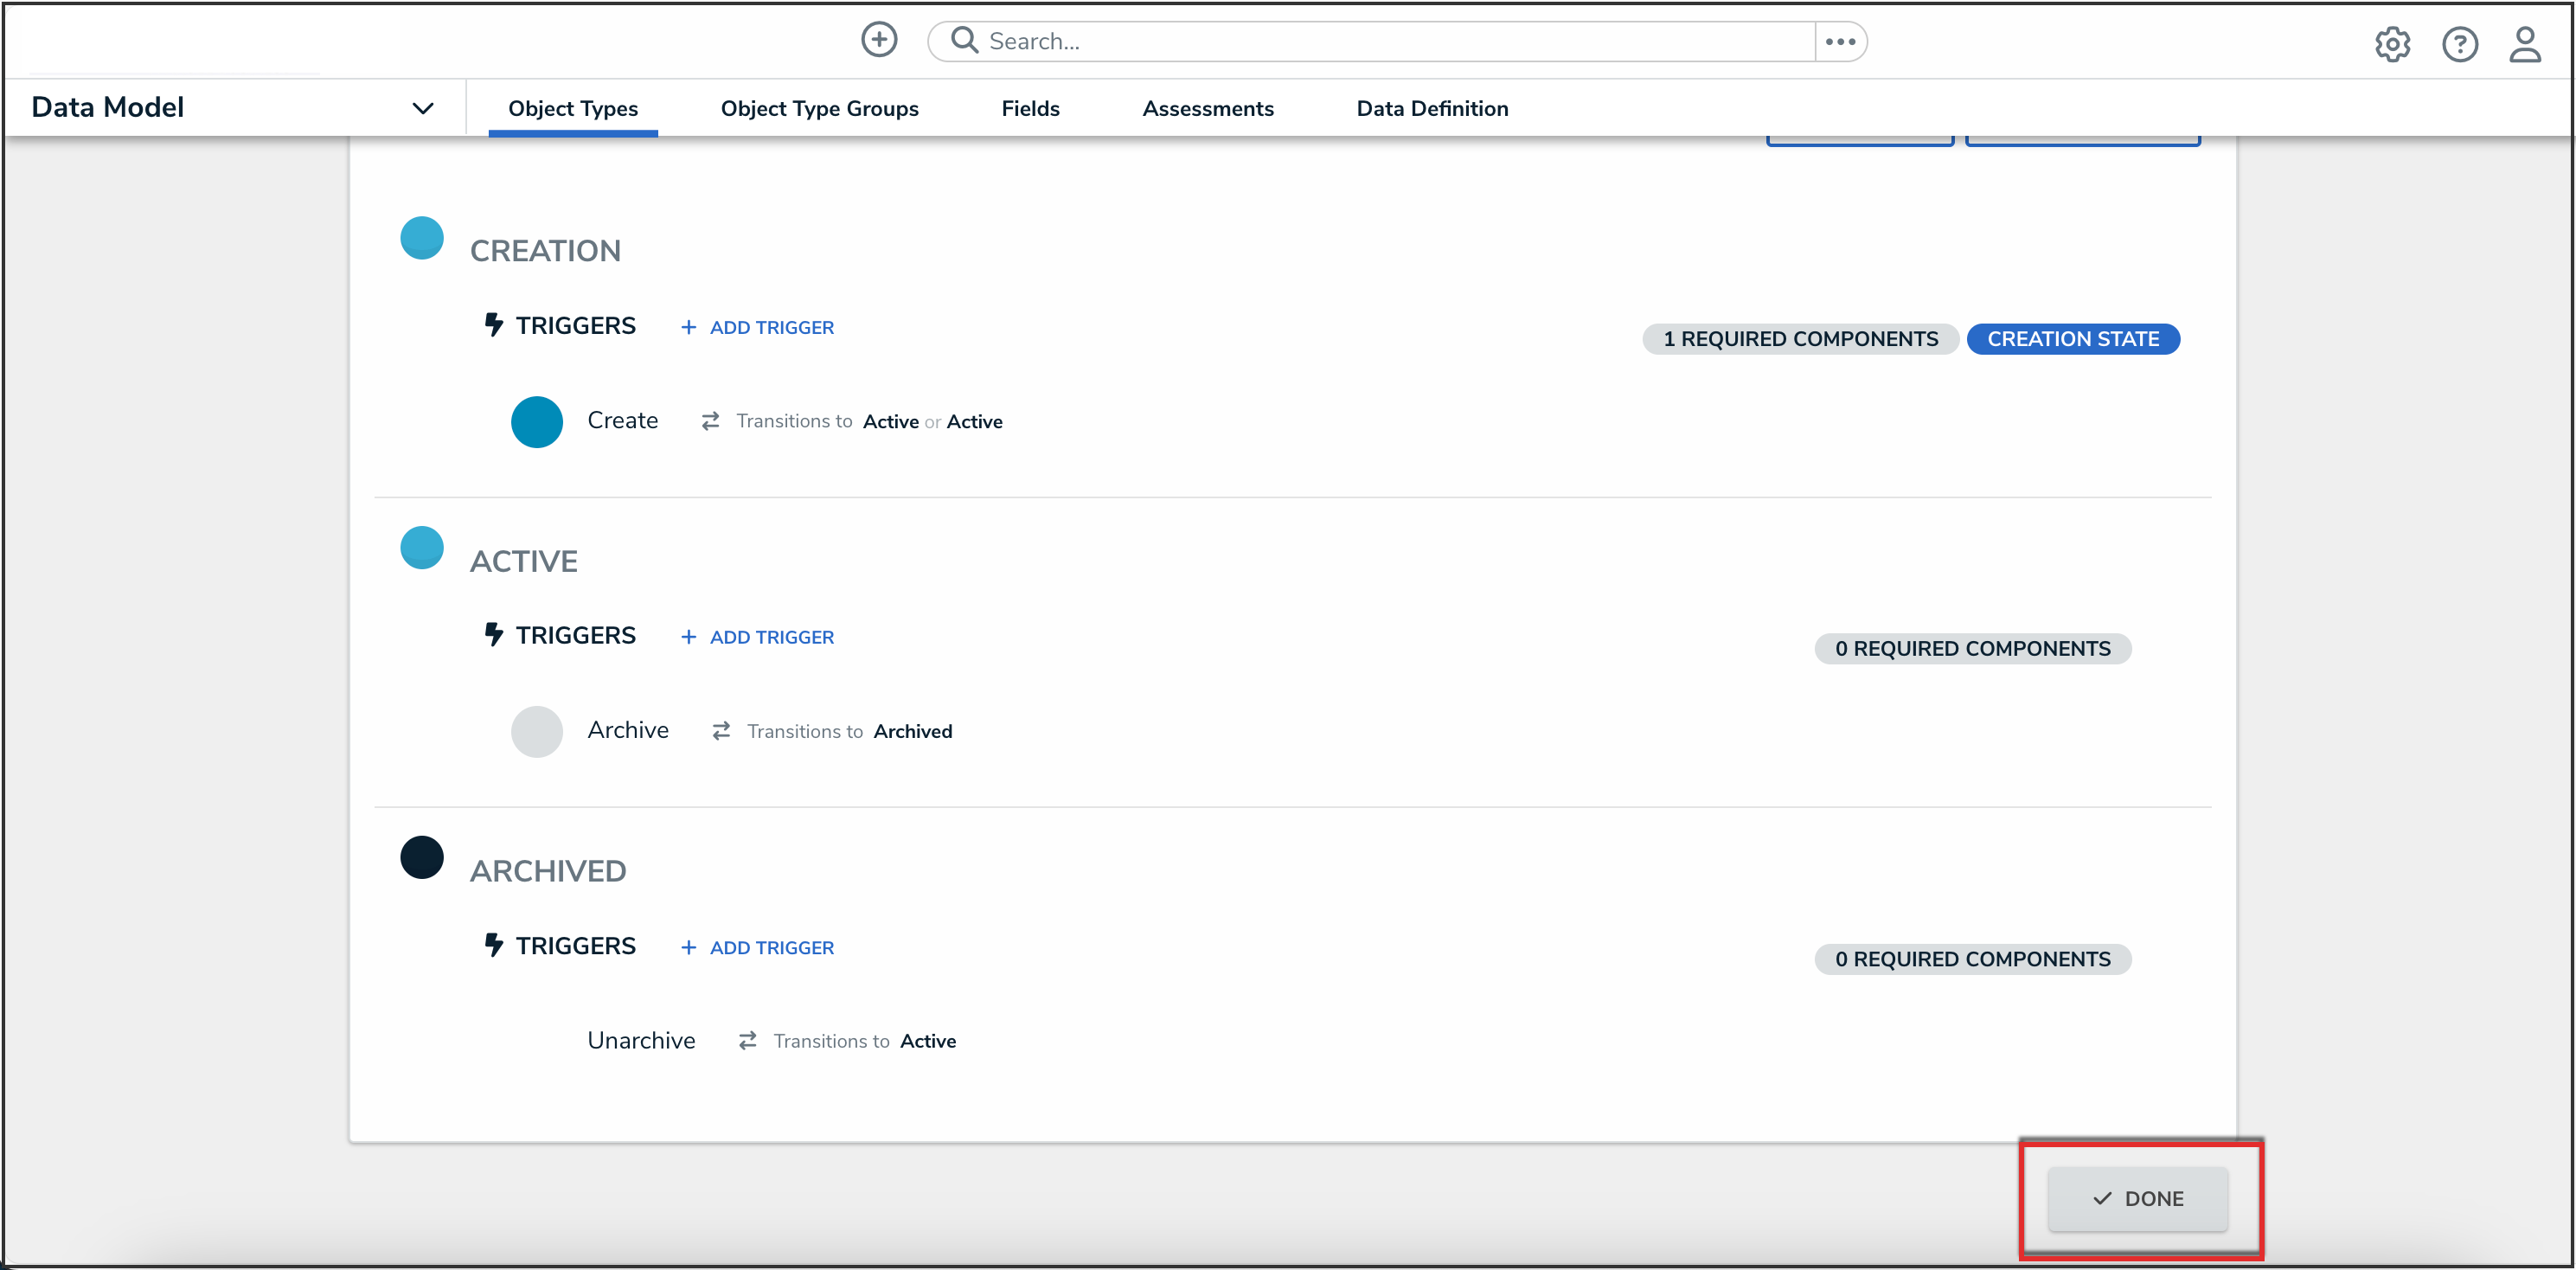
Done Button
- Navigate to an object of the same object type you want to add the option to unarchive.
- From the object, click the More Actions icon, and then click the Edit Form Template button.
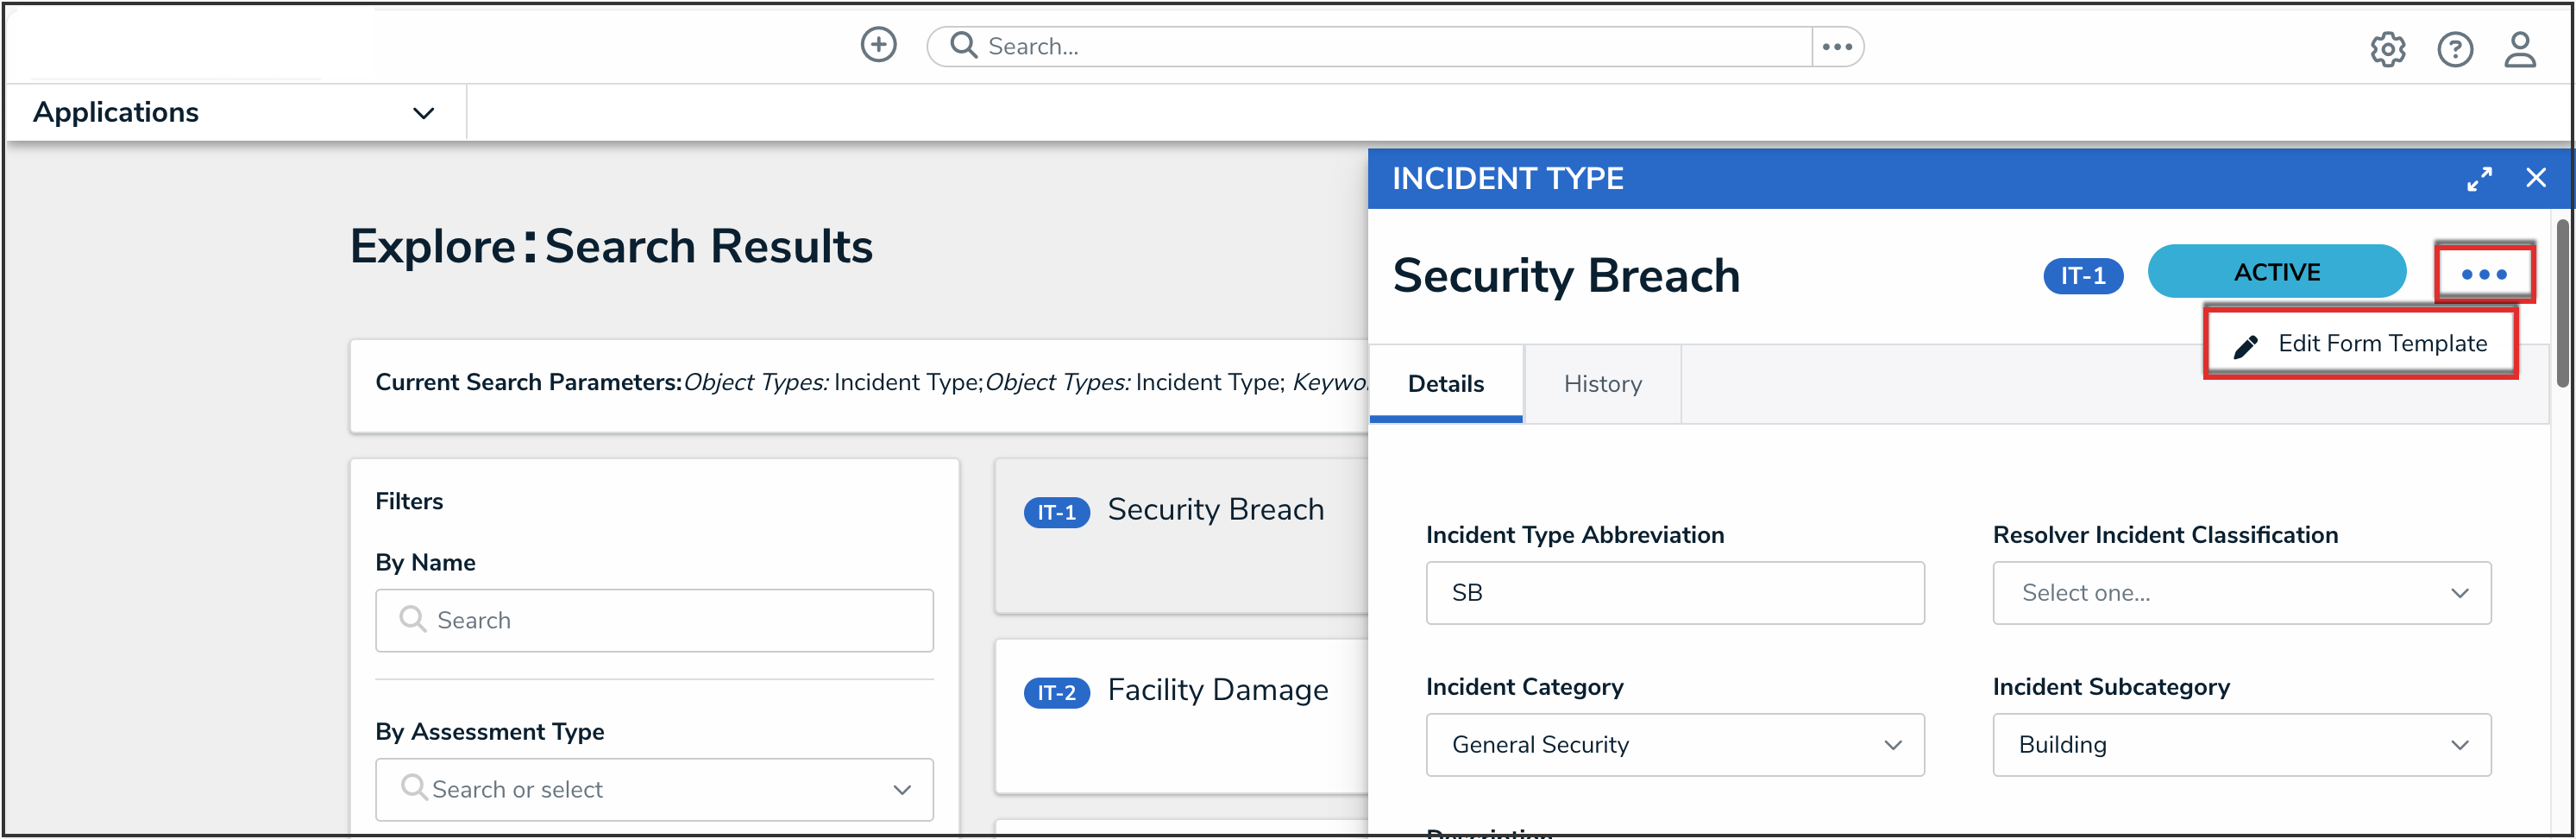
Edit Form Template Button


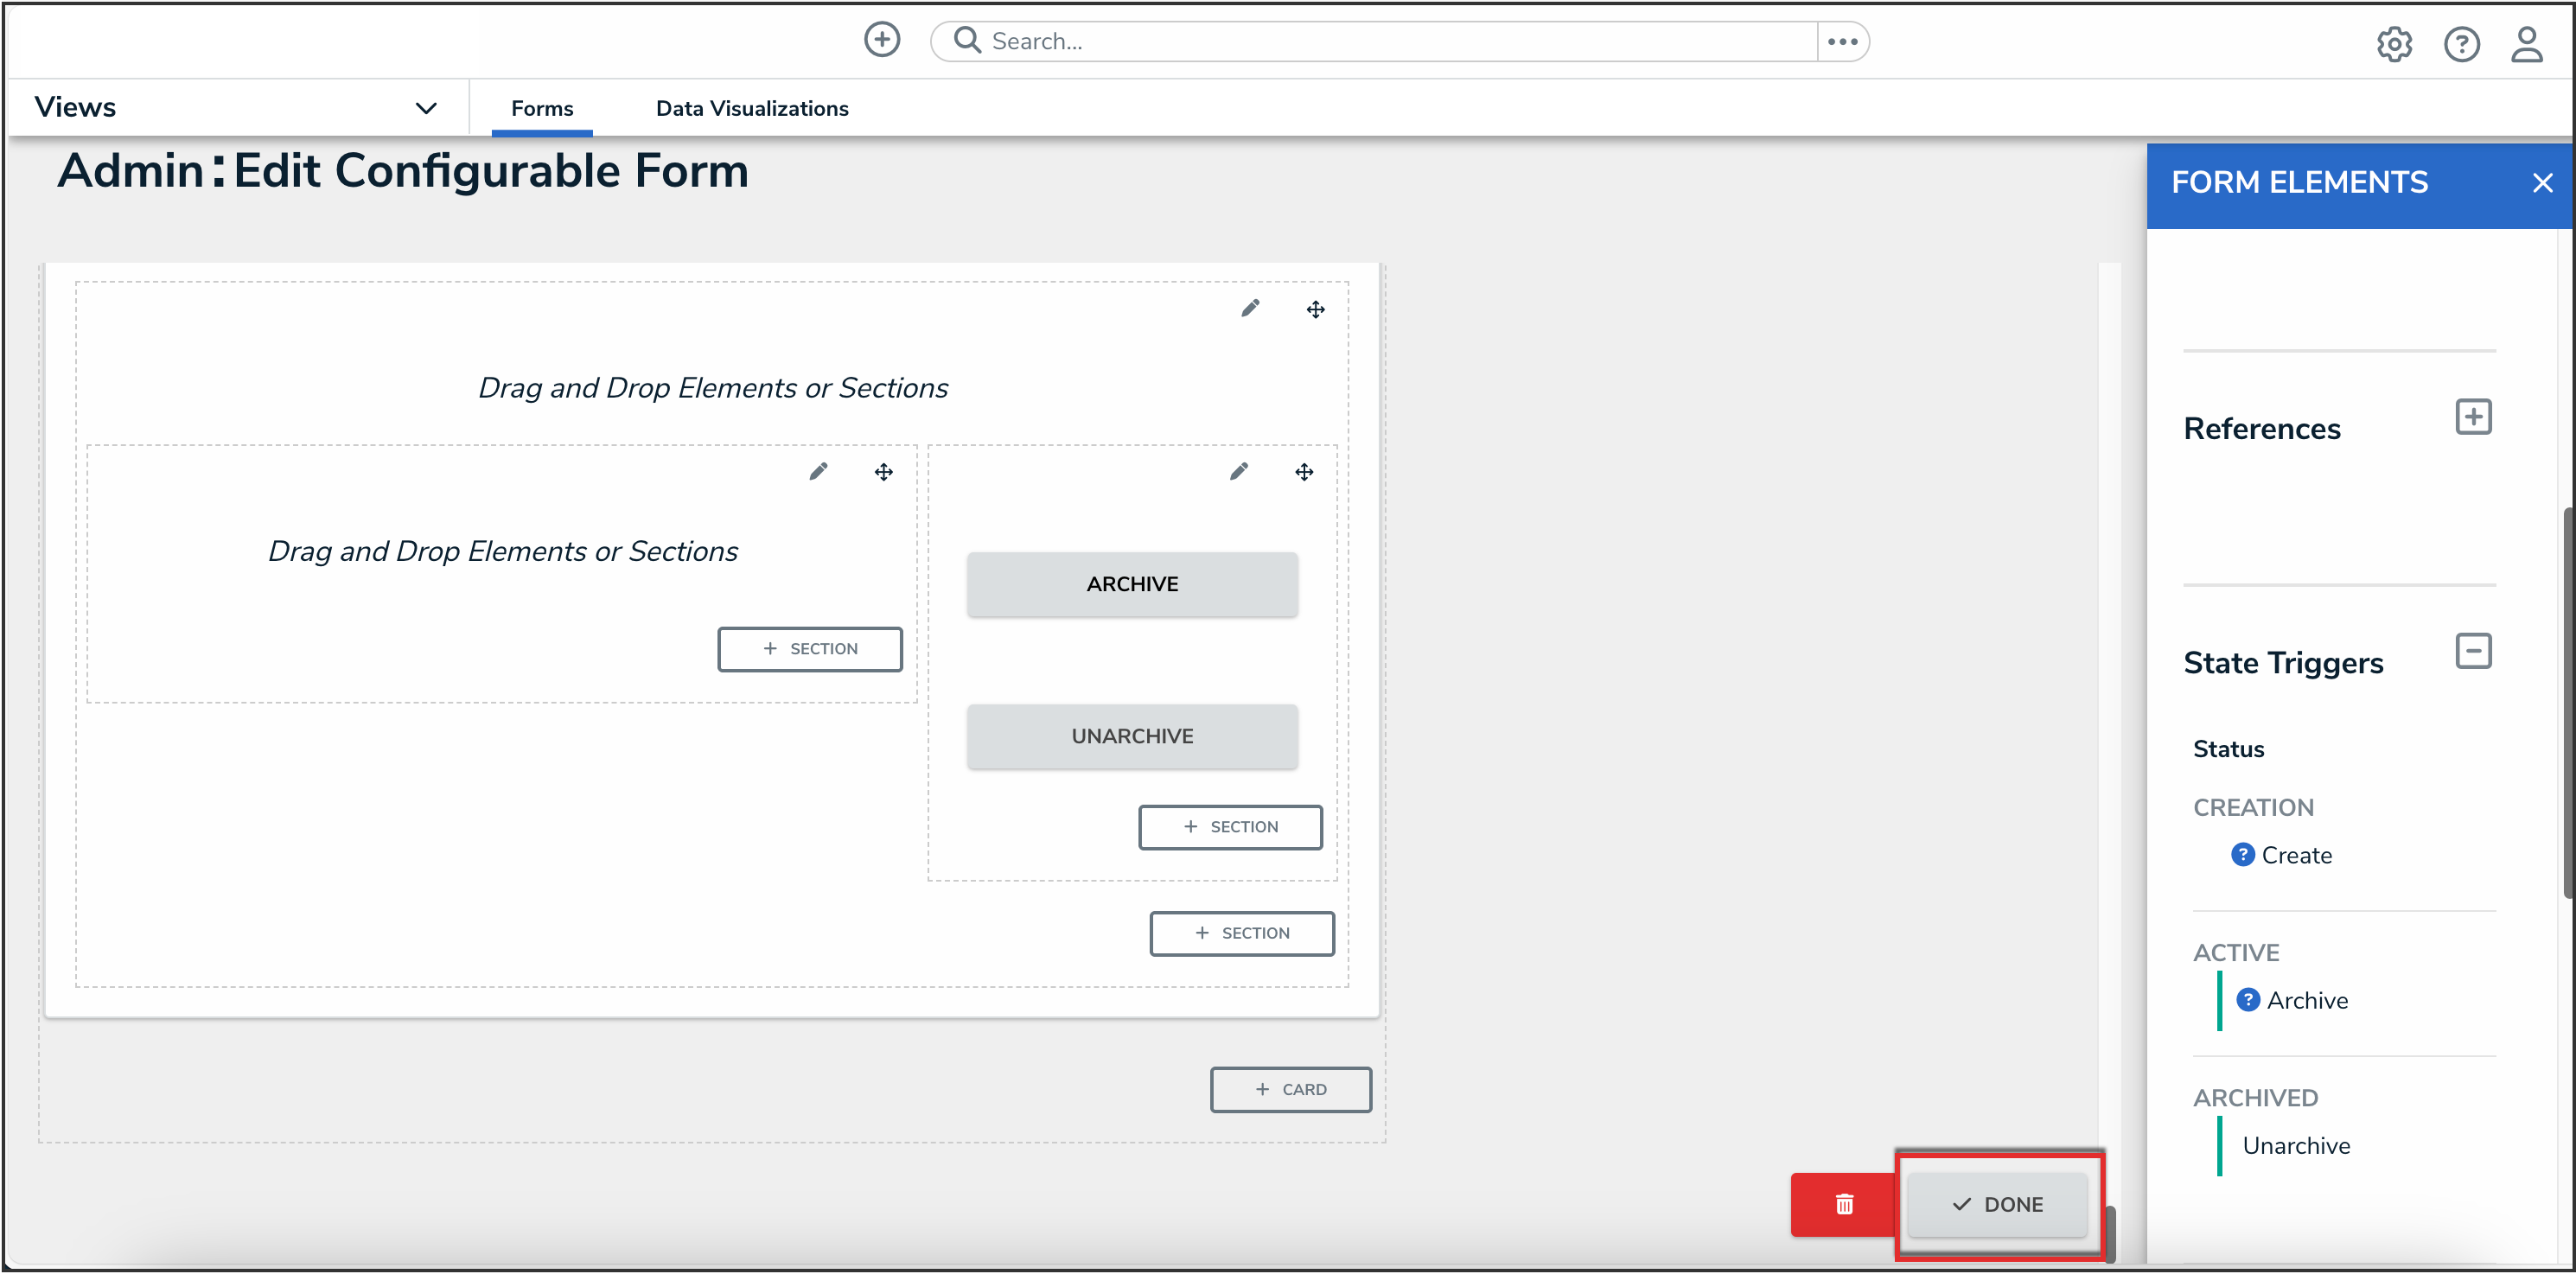
- In the Form Elements panel, under State Triggers, add the button created in Step 6 to the form.
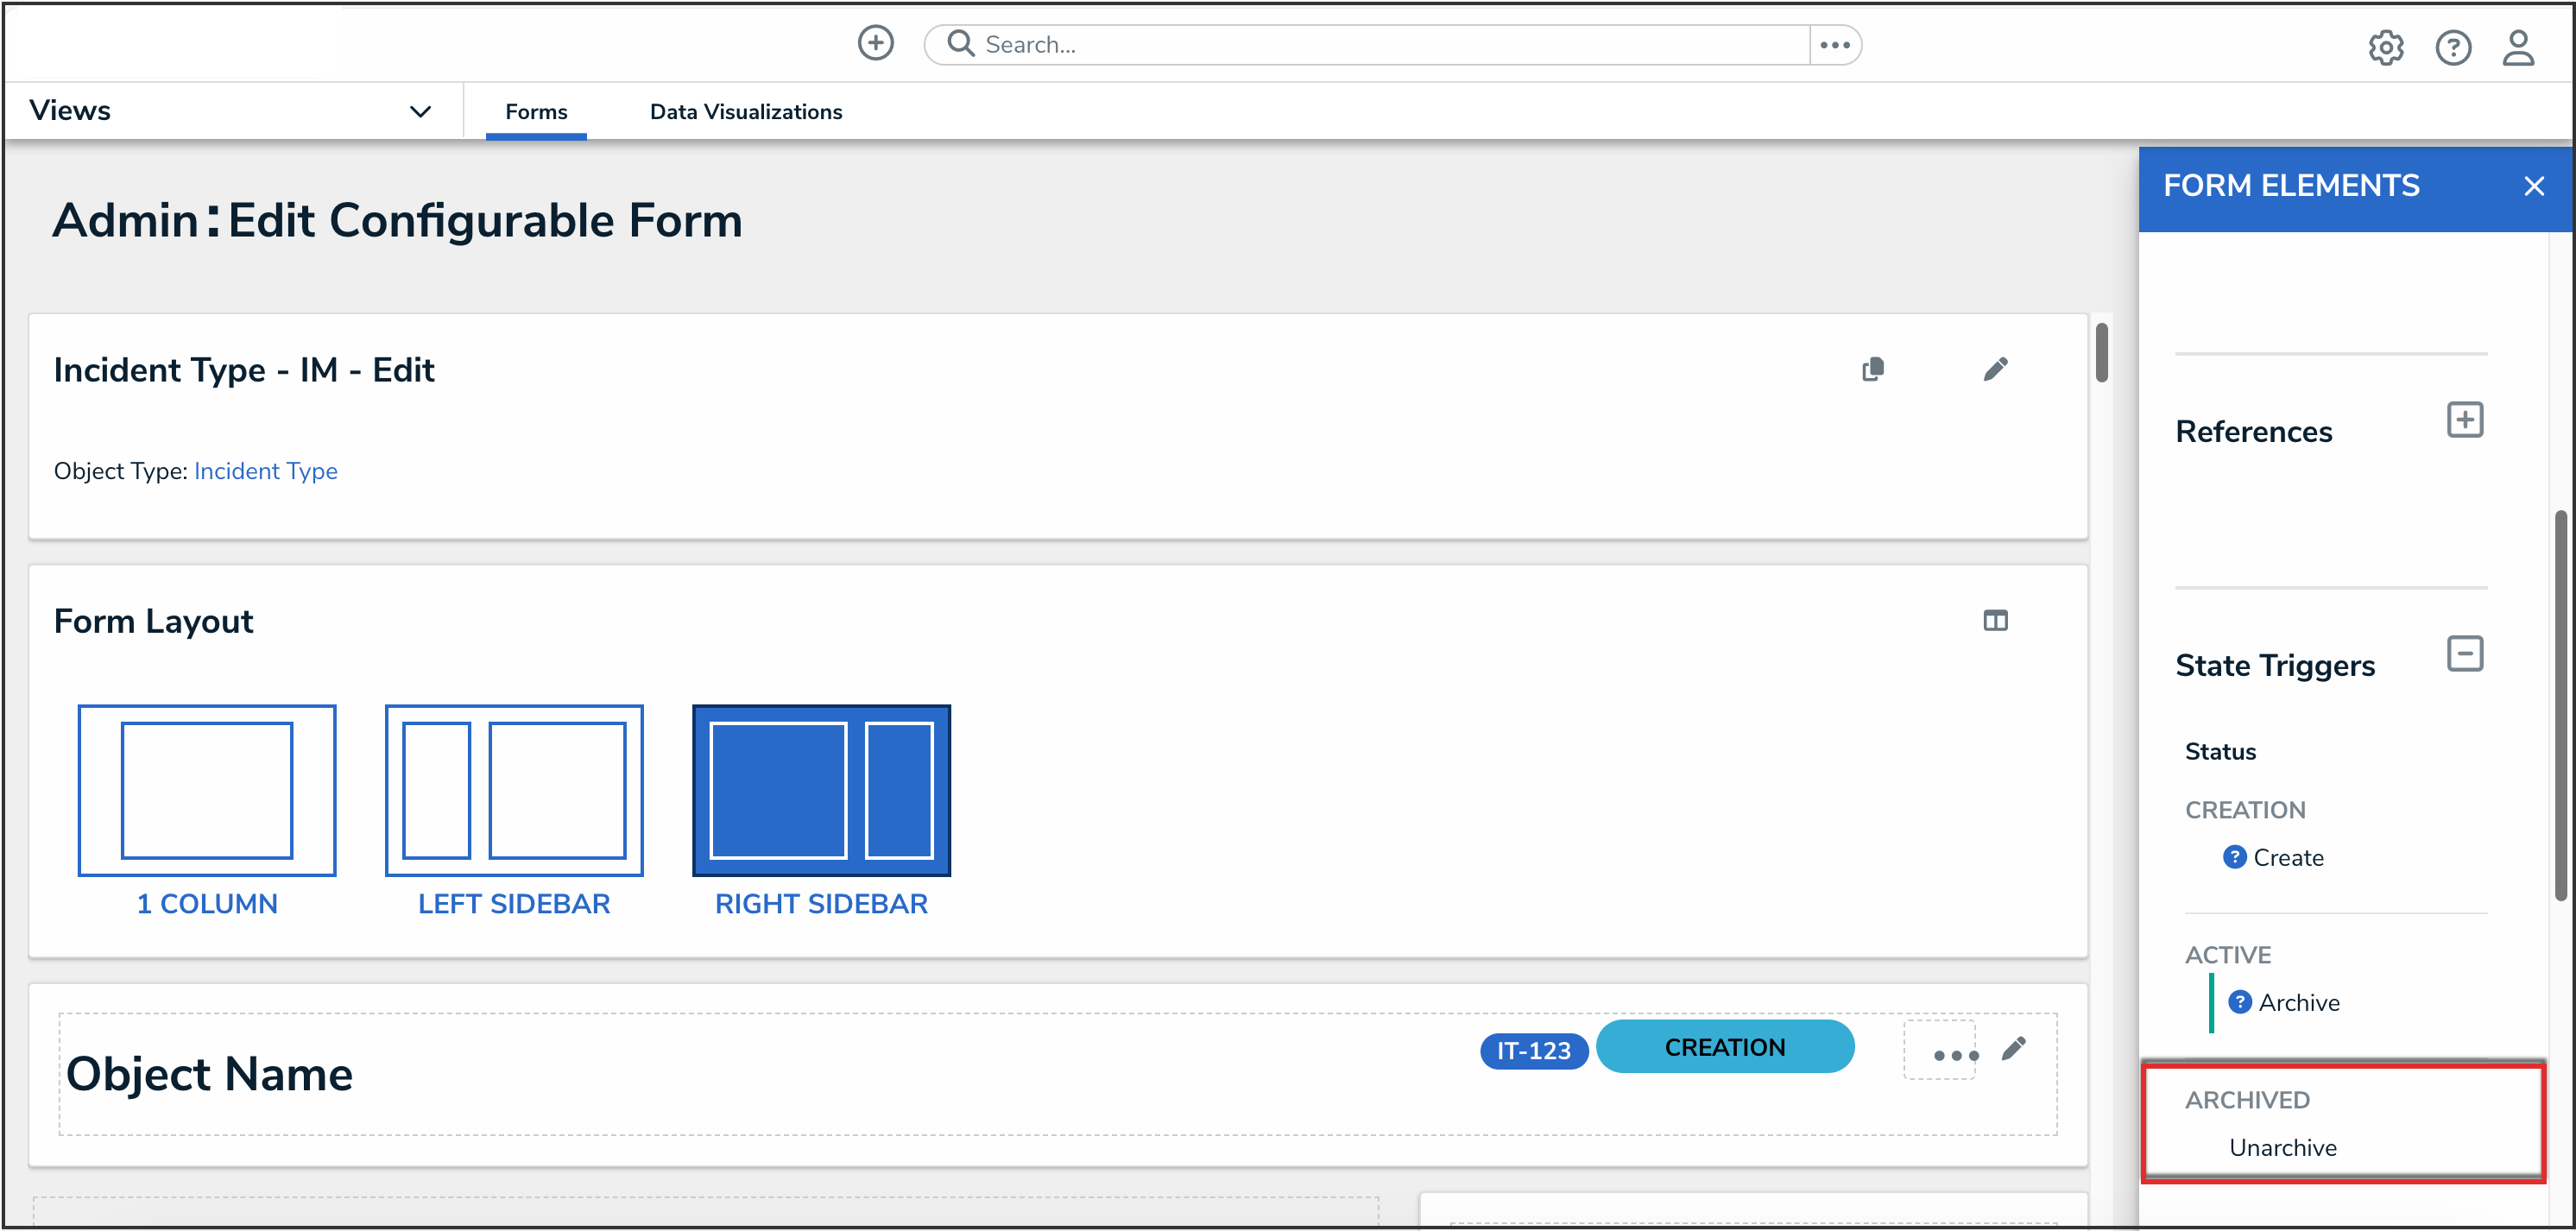
Form Elements - State Triggers

- Click the Done button to save the changes to the form.
Done Button

- Navigate back to the Admin Overview screen, and click the Roles tile under the Data Access section.
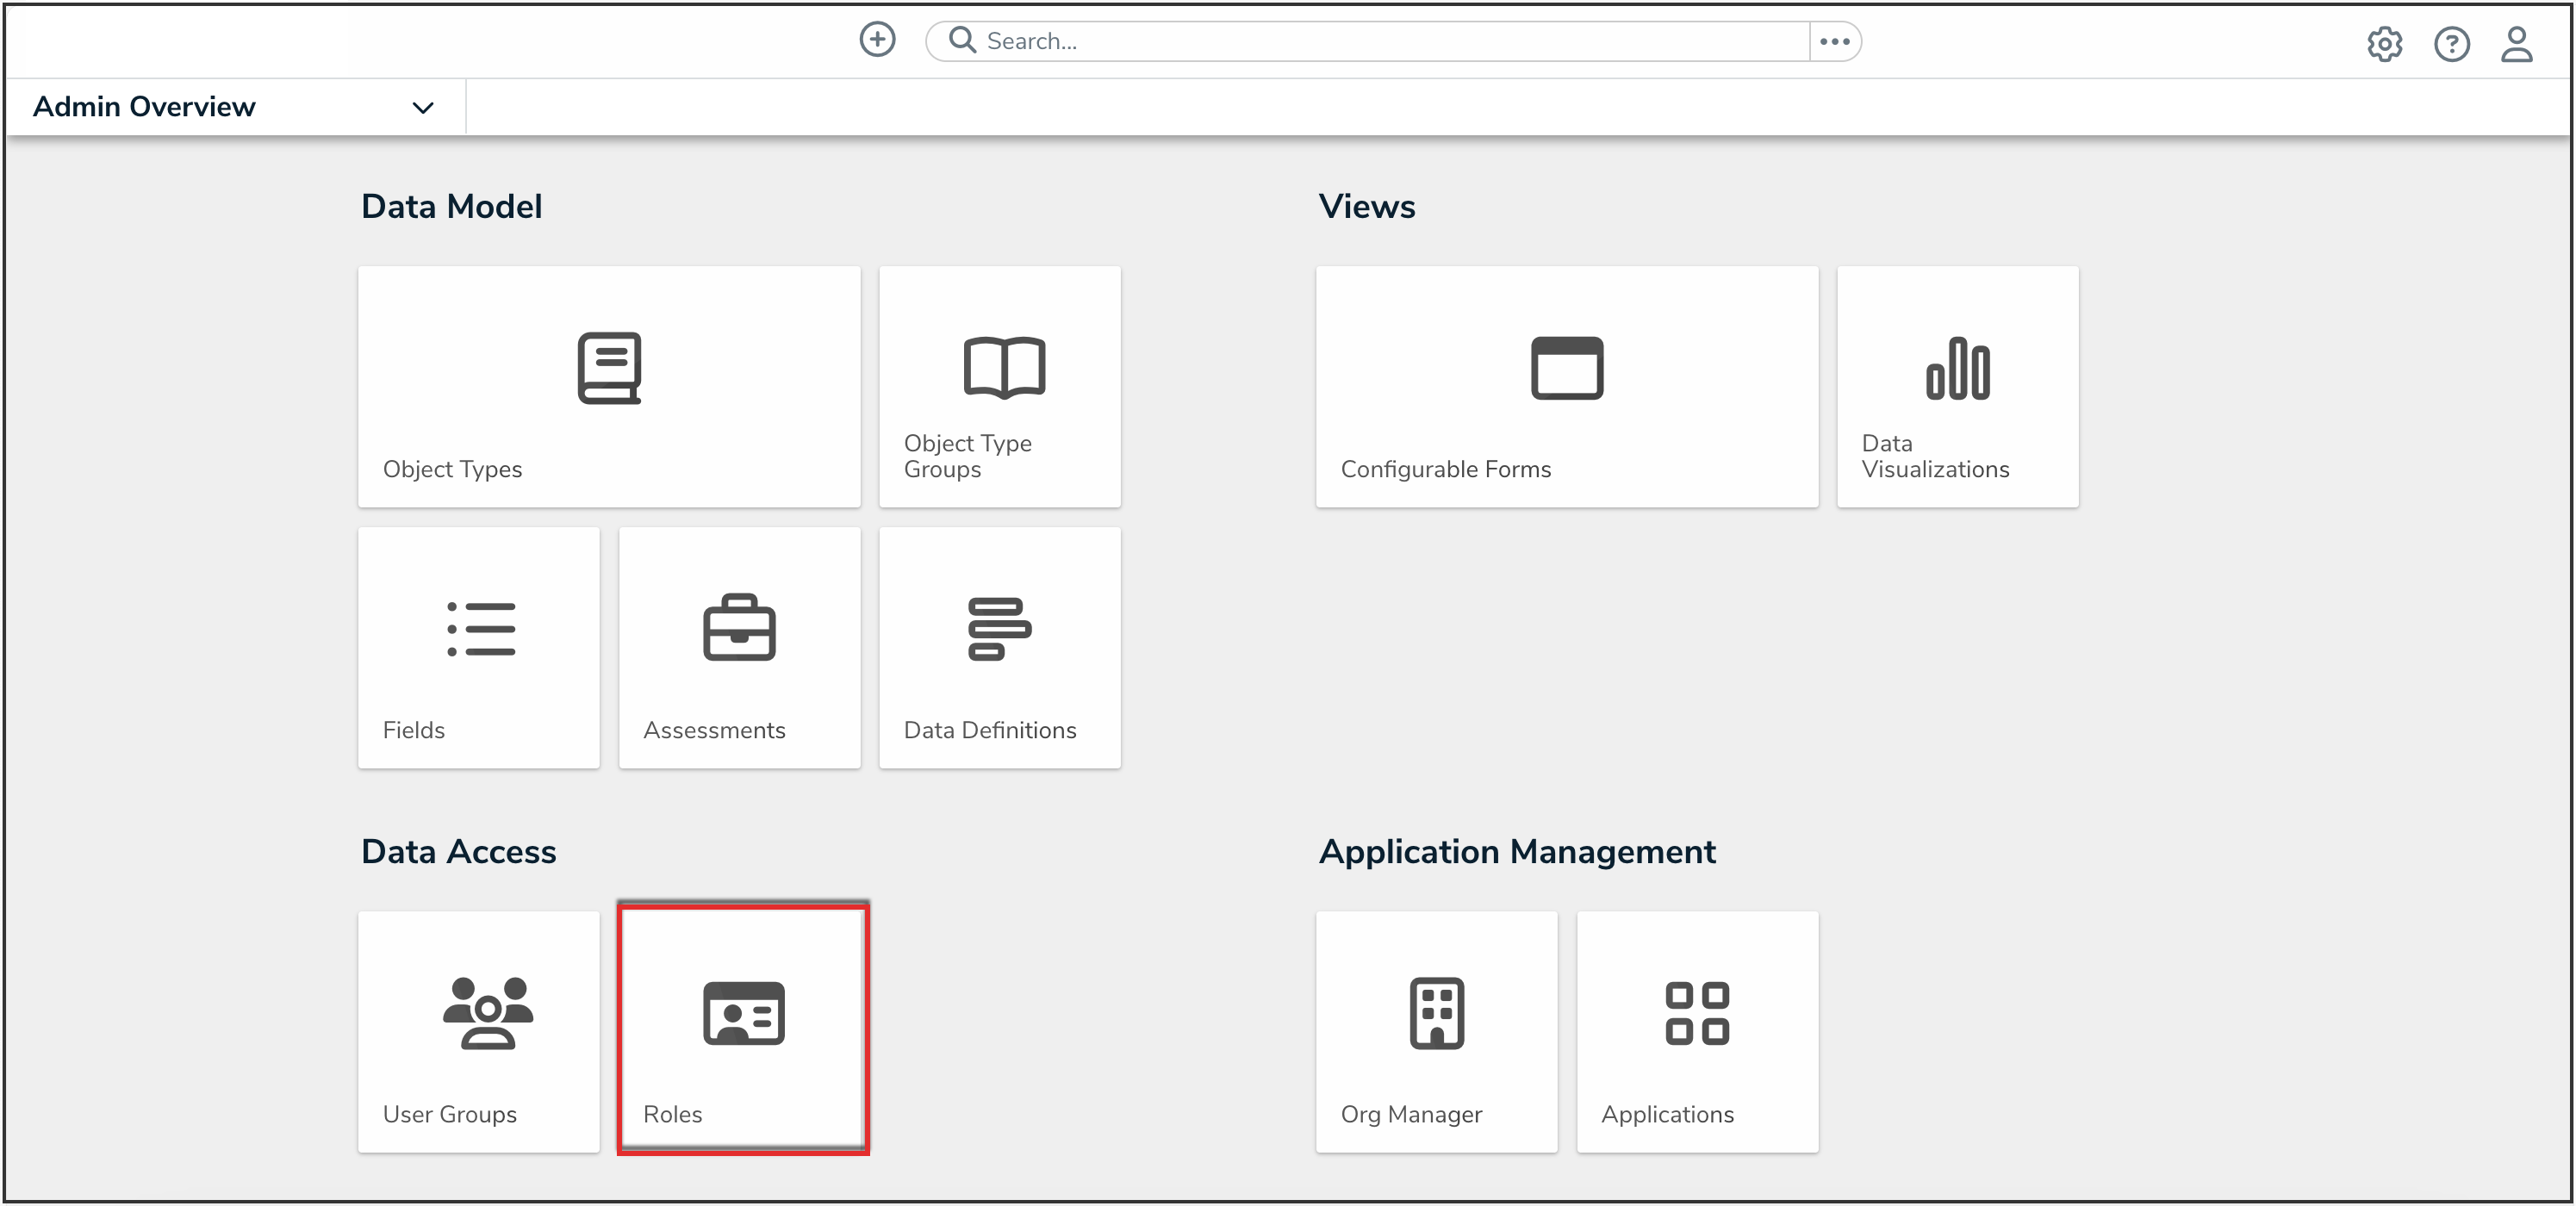
Roles Tile
- In the search bar on the Roles screen, search and open the appropriate role.
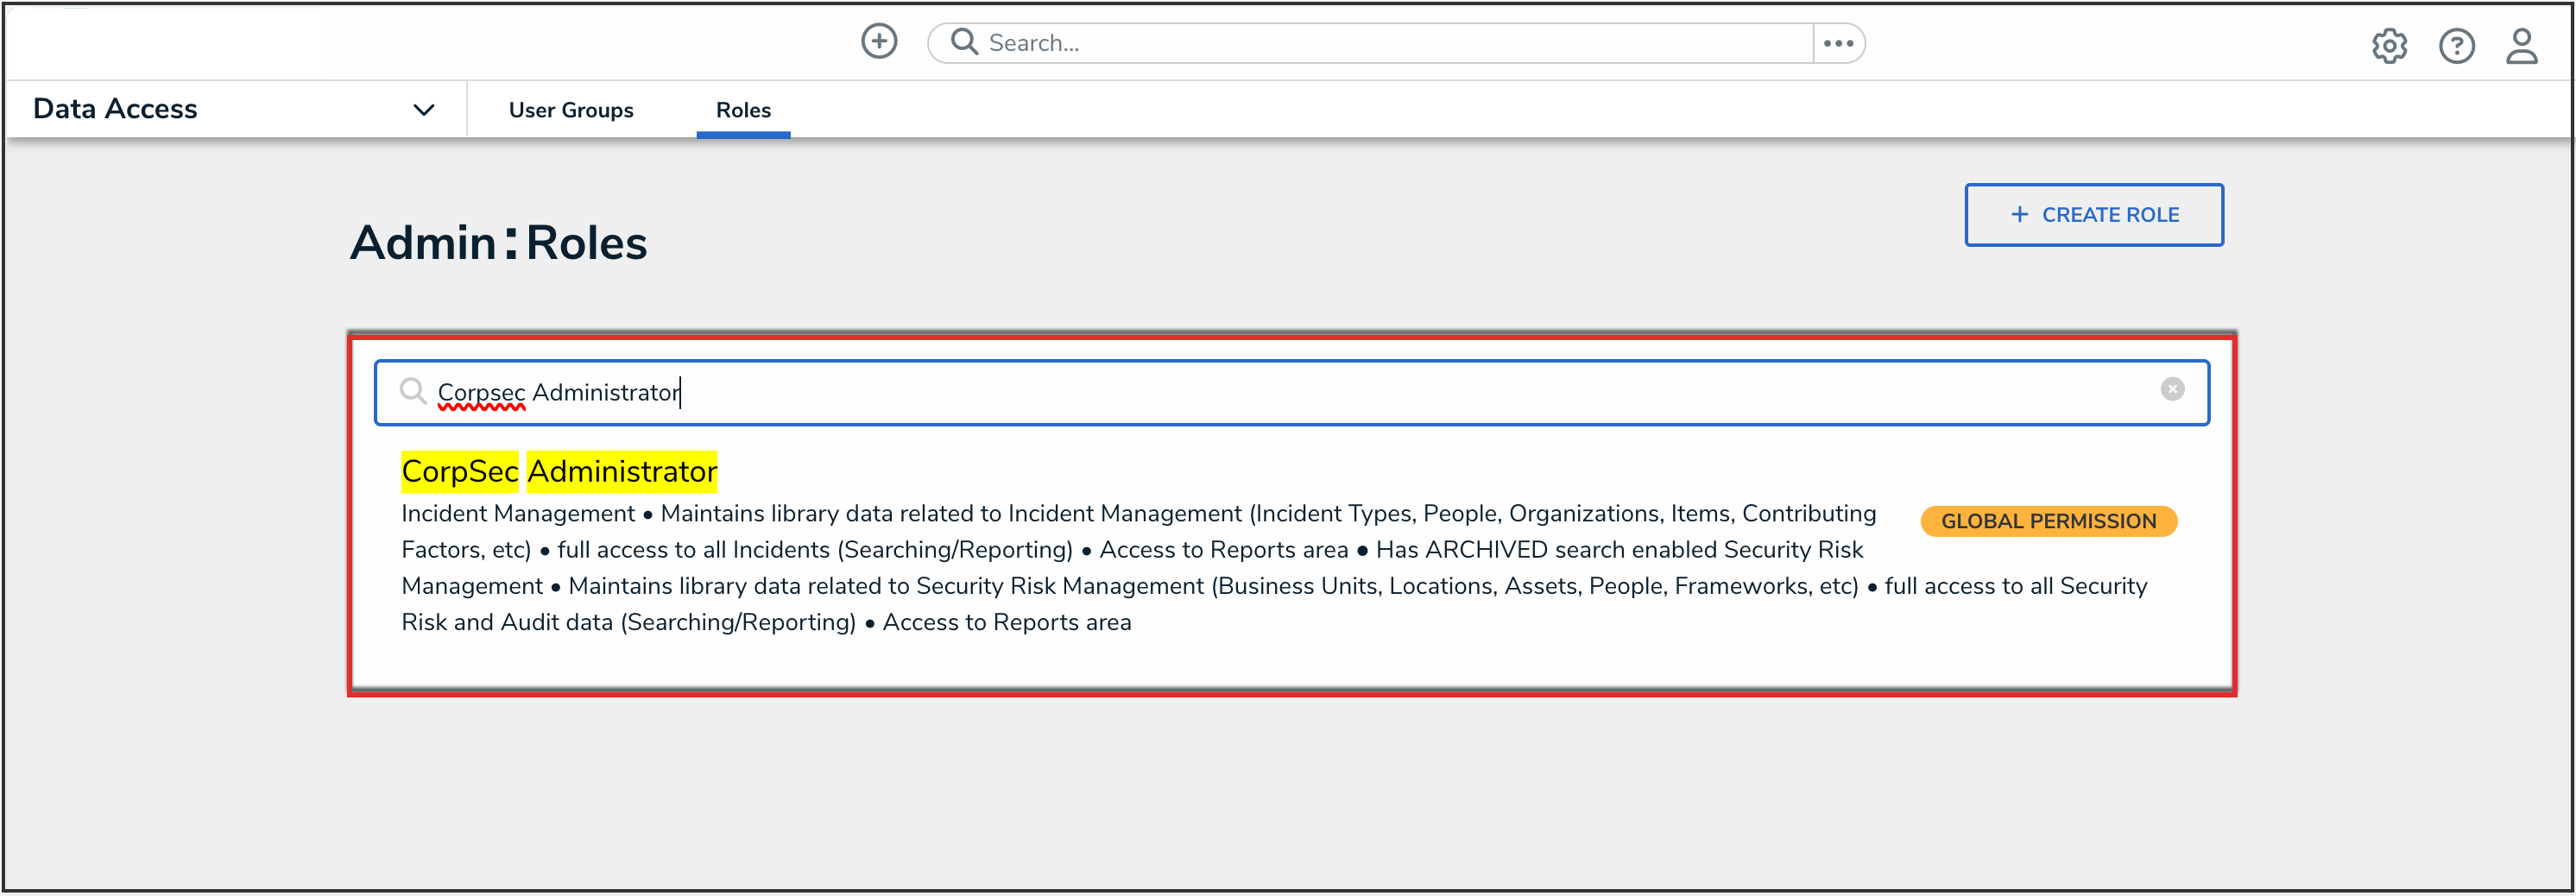
Search Roles


- On the Edit Role screen, in the Object Types section, click the object type from Step 1 to open it.
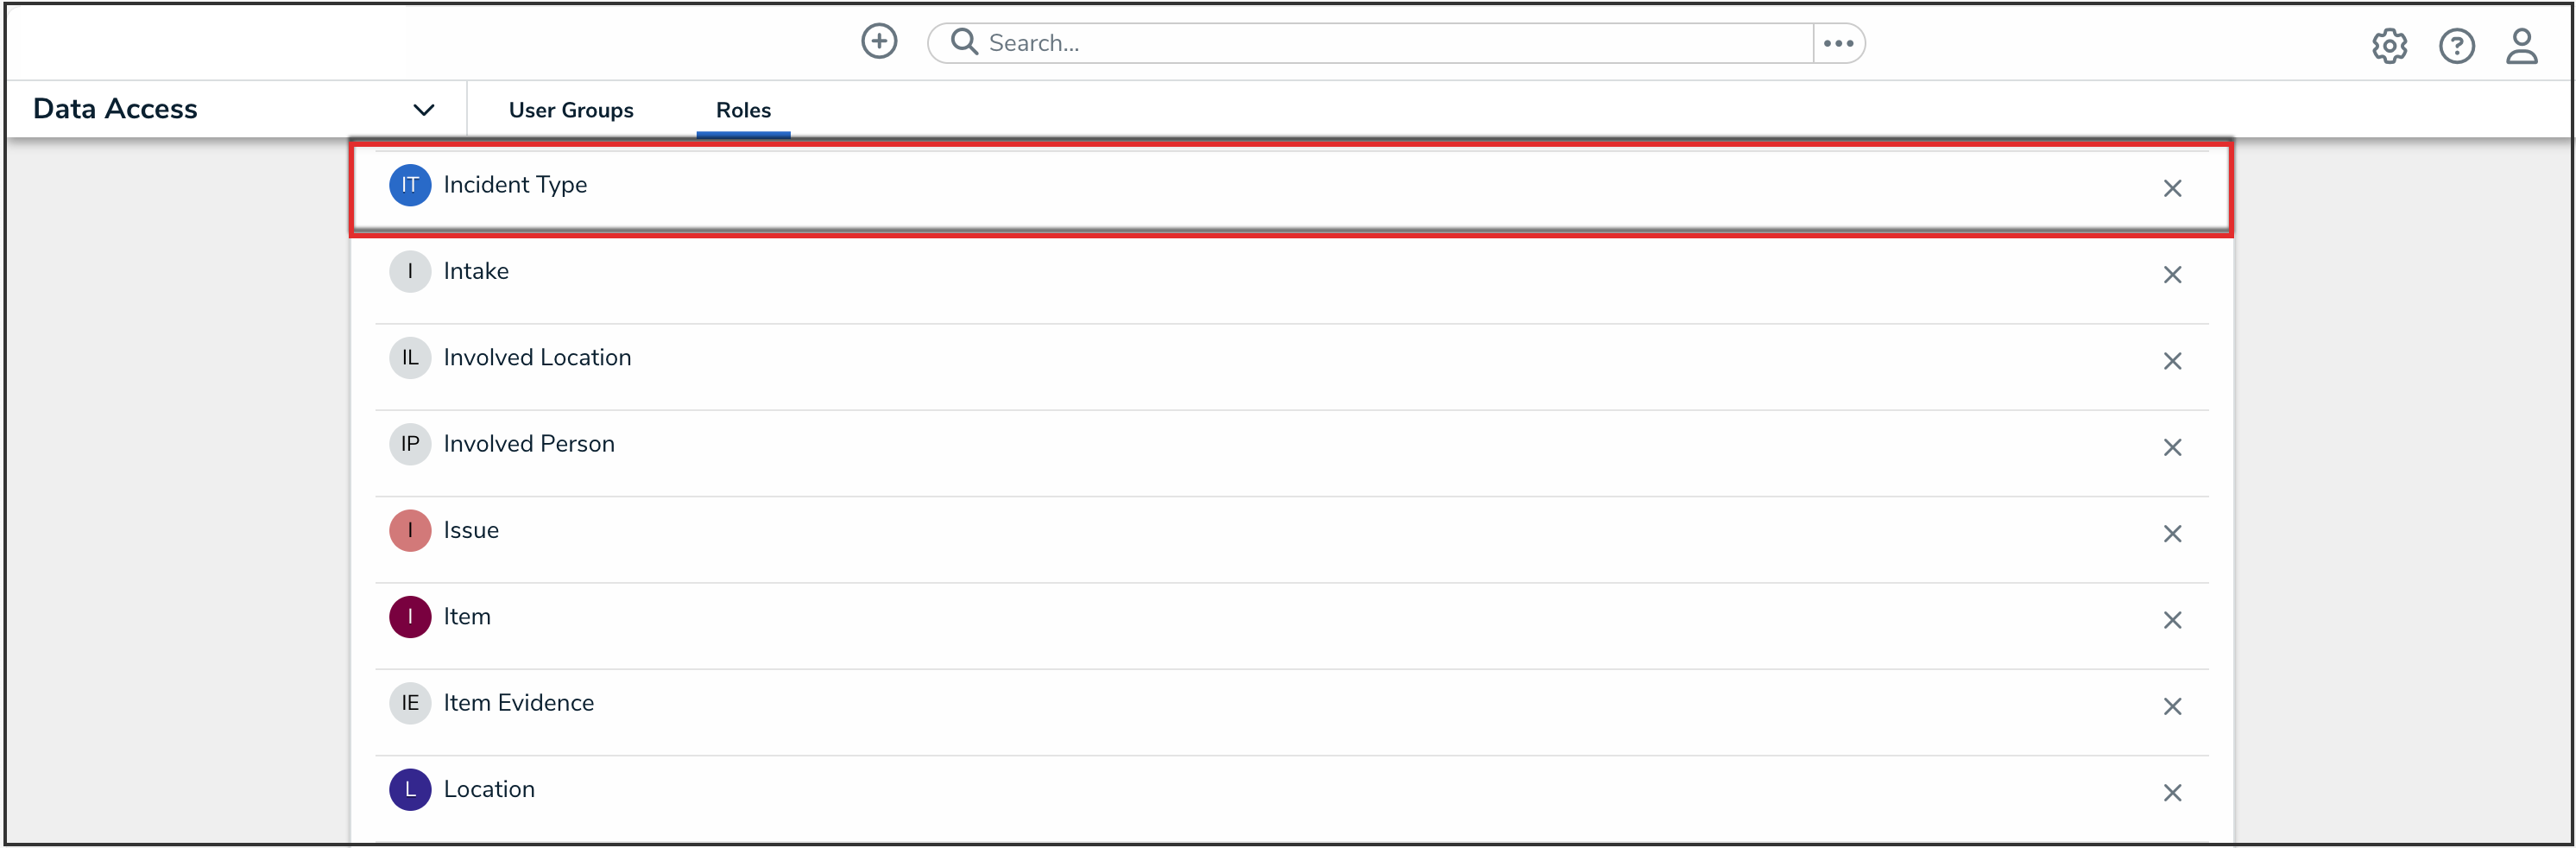
Incident Object Type
- In the Archived state, click the button added in Step 6 to enable it.
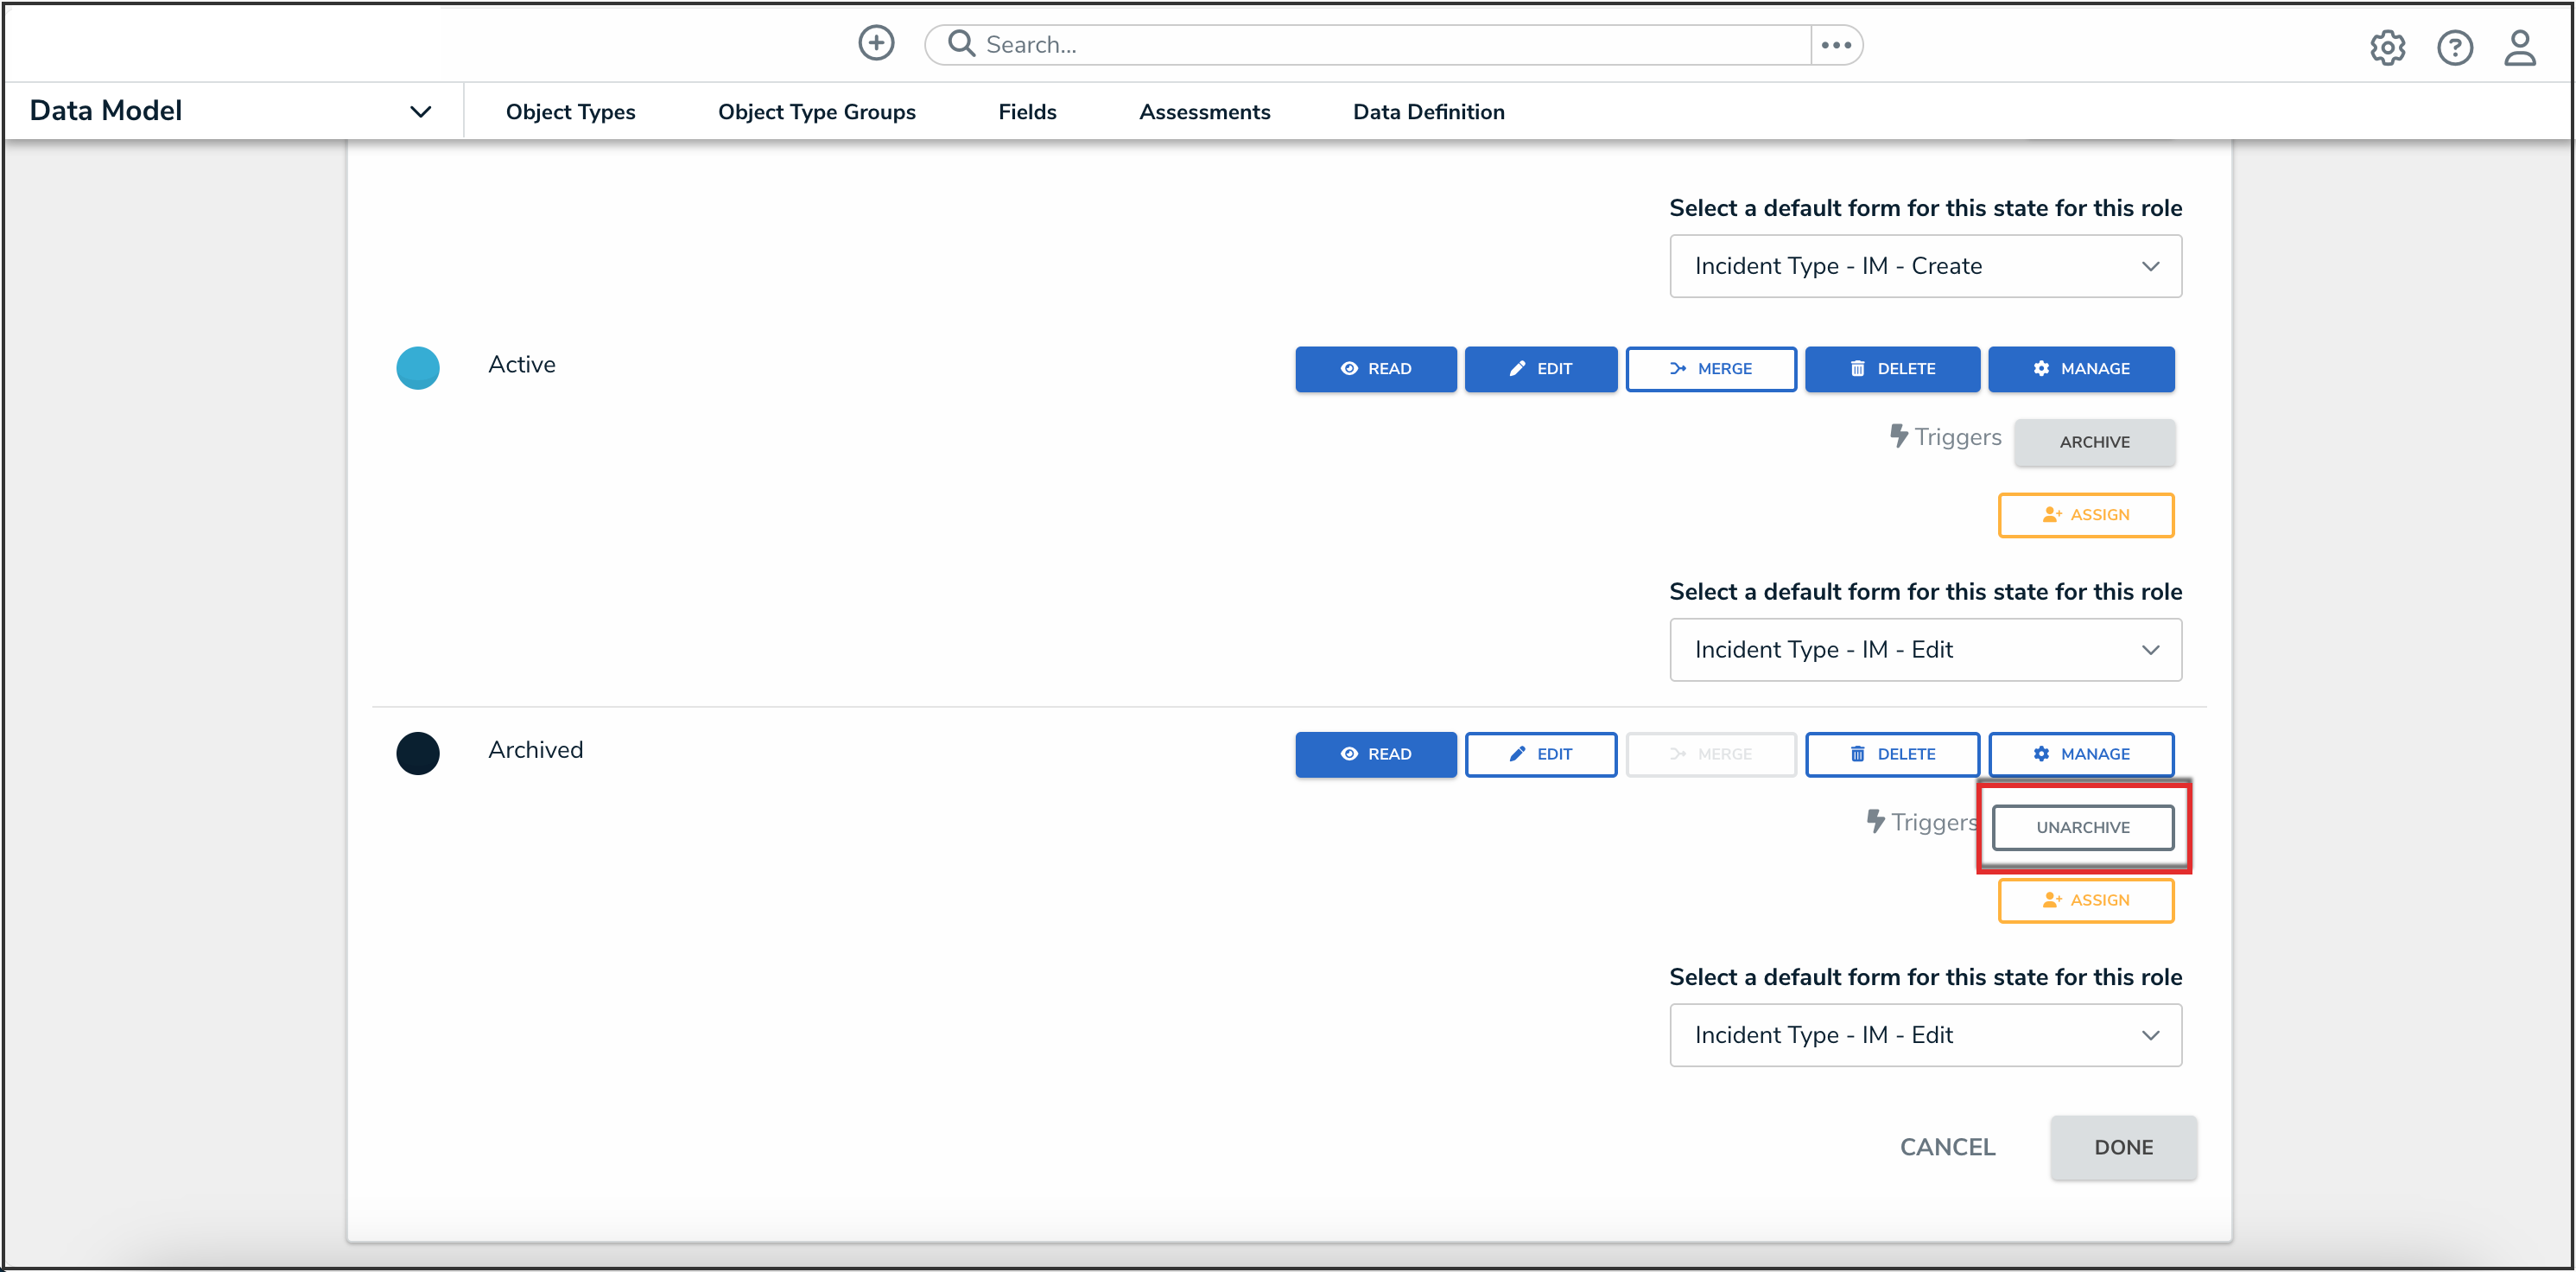
UnarchiveTrigger
- Click the Done button to save your changes.
Done Button


