Overview
The PDF Output Options on a report allows you to configure a header, logo, and/or footer that will appear on reports exported into PDF files. Logos will appear at the top-left of the PDF file, and headers appear above any free form text and report elements.
Related Information/Setup
Please refer to the Exporting a Report article for more information on how to export a report as a PDF.
Navigation
- From the Home screen, click the Home dropdown.
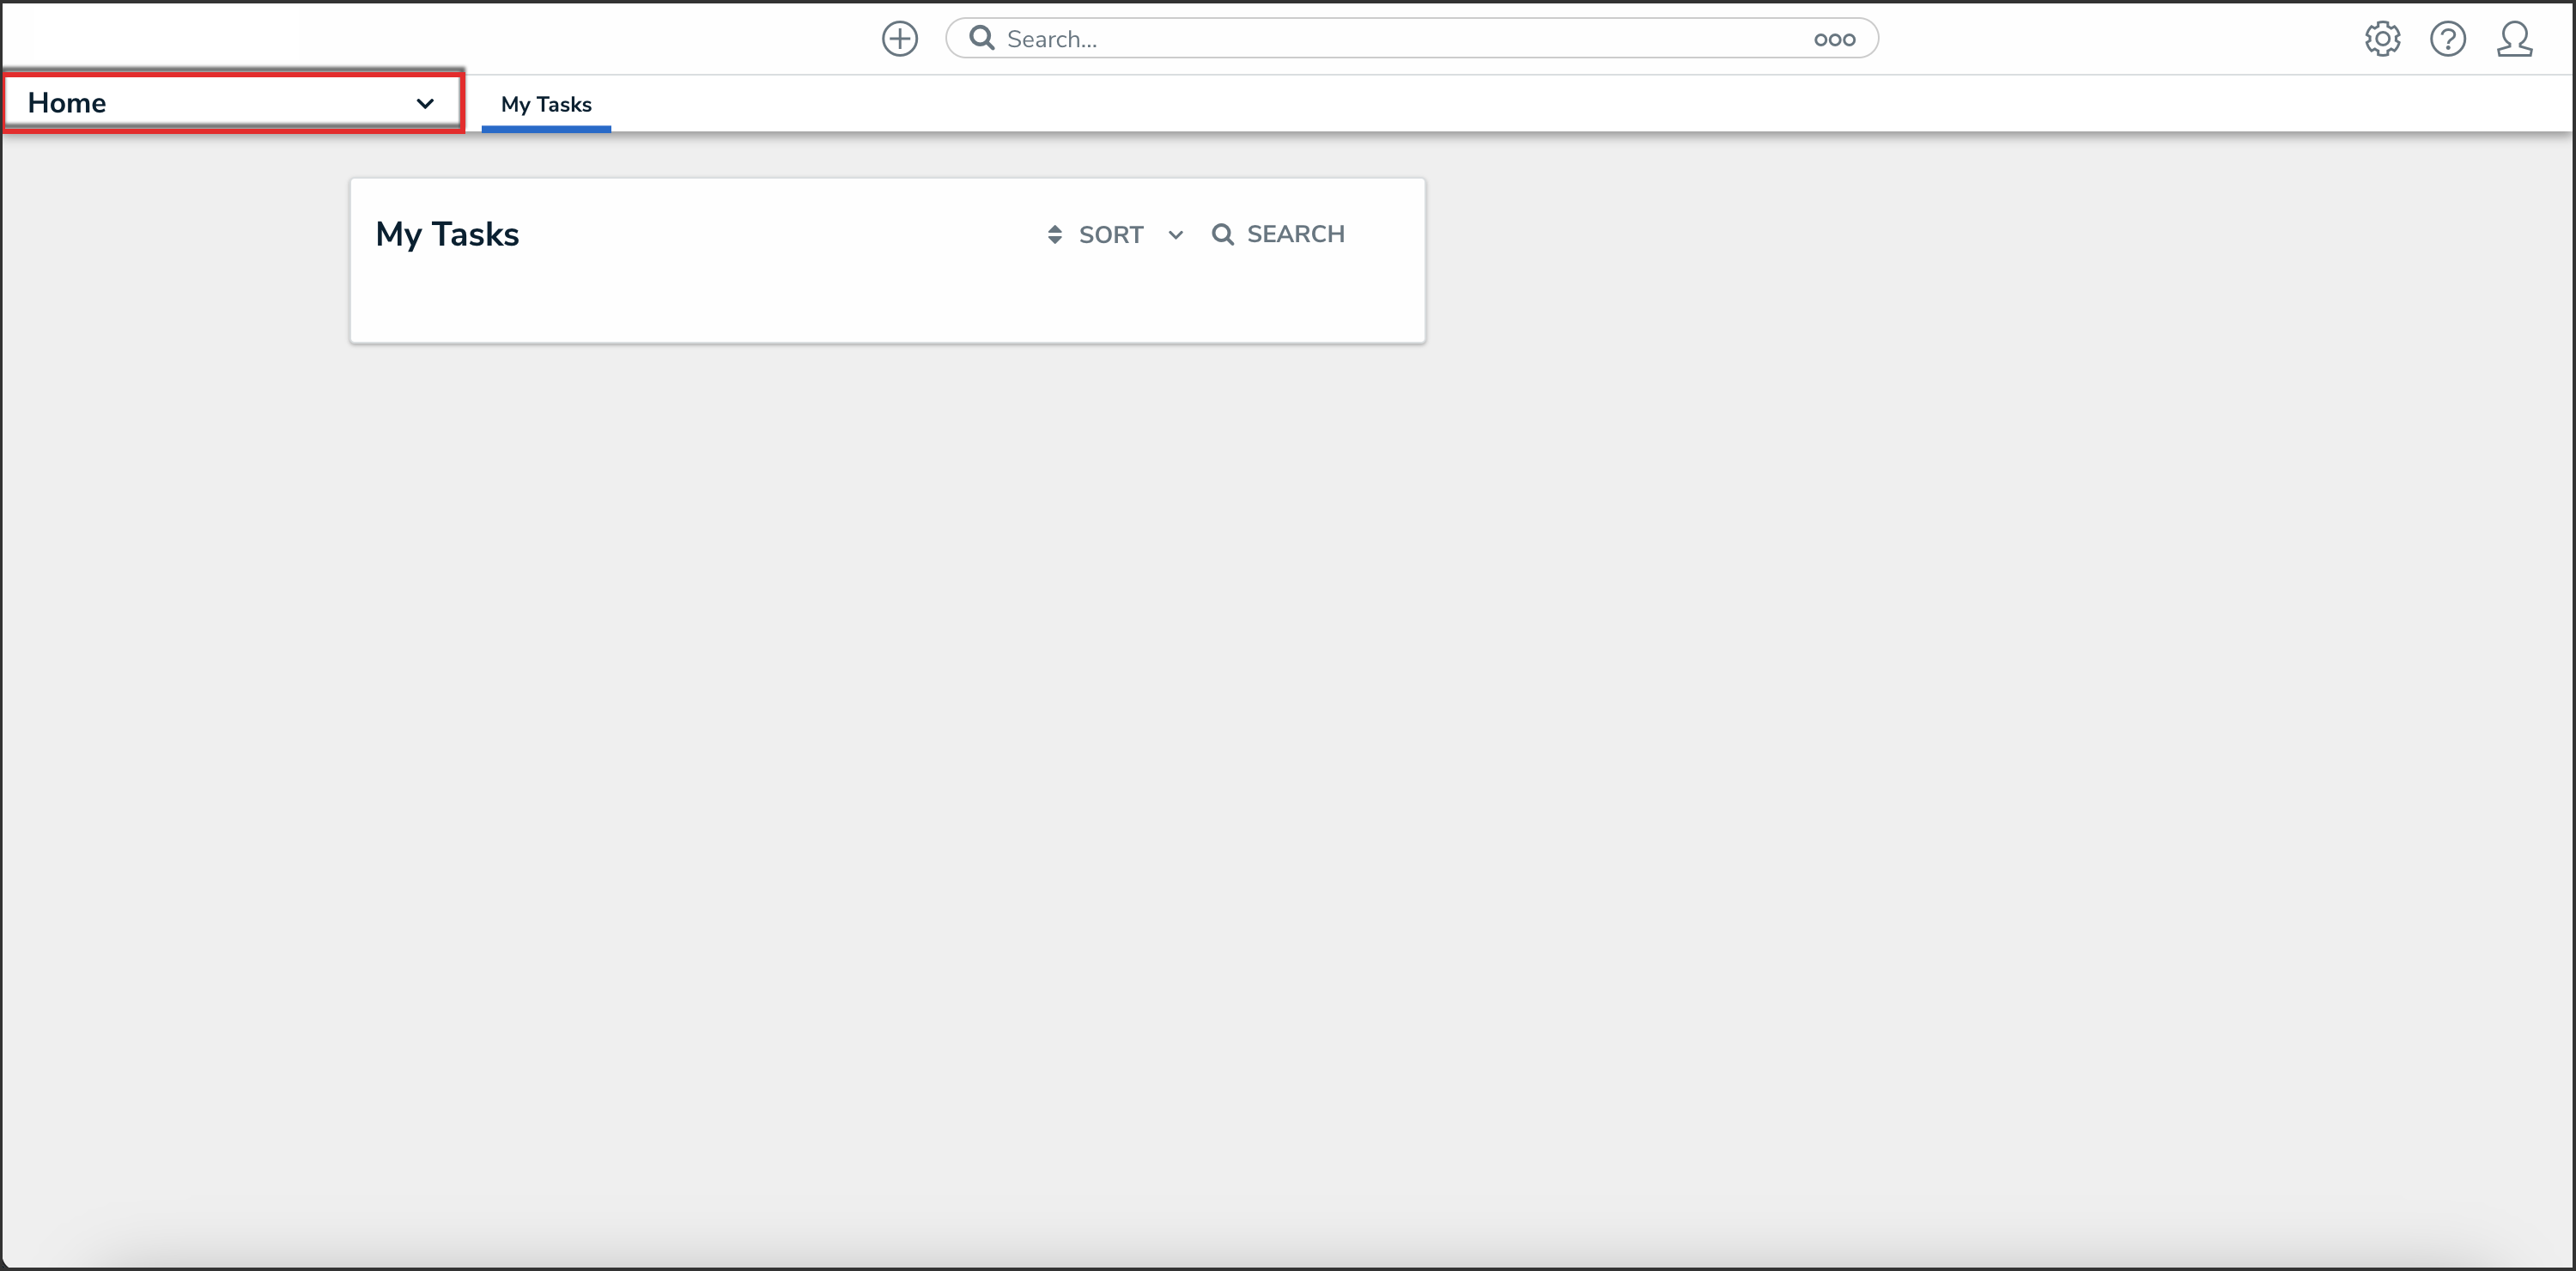
Home Dropdown
- From the Home dropdown, select the Reports application.
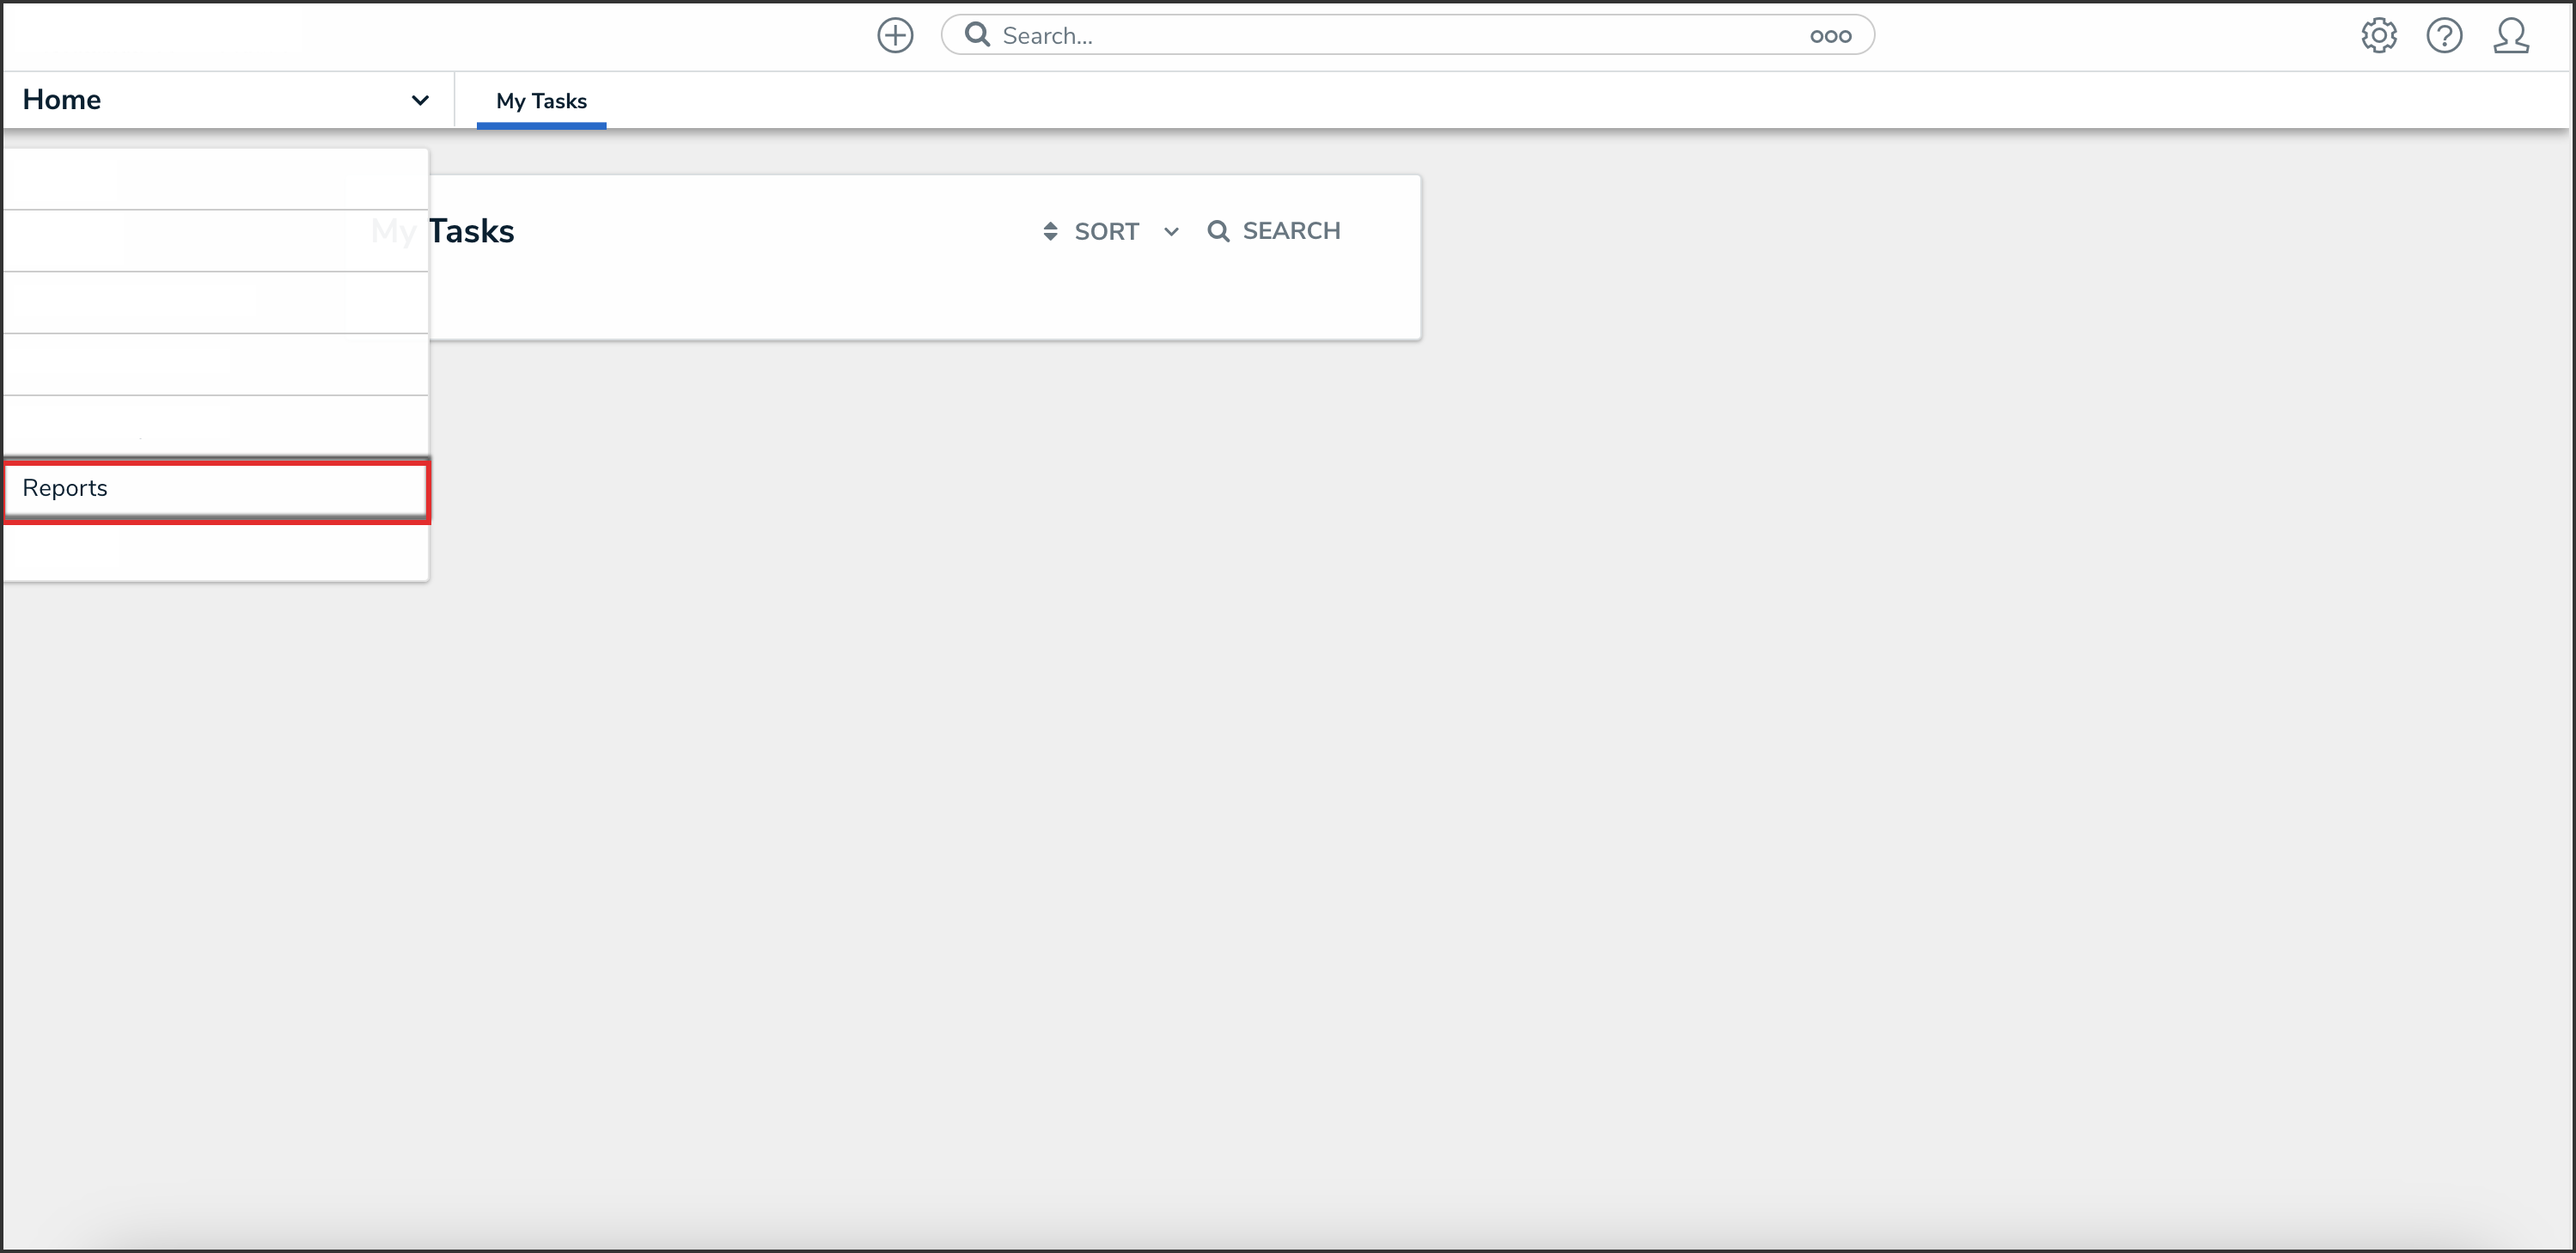
Reports Application
- From the list of reports, click the report that you want to add a header and footer to.
Report Name
Configuring the Report Header and Footer on a PDF Export
- From the report you want to add a header and footer to, click the Edit Report Template icon.

Edit Report Template Icon
- Under the Report Canvas section, click the Export Output Options button.

Export Output Options Button
- To include a header on the report, from the Header tab, enter text in the Title field.

Title Field
- To include a logo, upload an image using the Image Upload tool, then paste the link in the Logo field. Logo images uploaded through the Image Upload tool are automatically resized to fit within the header.
![]()
Logo Field
- Select one of the following options for the header:
- Click the Show header on first page only toggle switch to turn it on to show the header on the first page of the report.

Show Header on First Page Only Toggle Switch
- Click the Show header on all pages toggle switch to turn it on to show the header on all pages of the report.
 Note:
Note:
When the Show header on all pages toggle switch is on, the Show header on first page only toggle switch will be automatically deactivated.

Show Header on All Pages Toggle Switch
- Click the Show report title and anchor on first page toggle switch to turn it on to show the report title and the anchor object type on the first page of the report.

Show Report Title and Anchor on First Page Toggle Switch
- To include a footer on the report, from the Footer tab, select one of the following options:
- Click the Show report timestamp on last page only toggle switch to turn it on to show the timestamp in the footer of the last page only.

Show Report Timestamp on Last Page Only Toggle Switch
- Click the Show report timestamp on all pages toggle switch to turn it on to show the timestamp in the footer of all the pages of the report.

Show Report Timestamp on All Pages Toggle Switch
- Click the Done button.

Done Button
