For the latest information please see our new Help Center
here
Import Devices
Last Modified on 06/01/2020 5:35 pm EDT
If necessary, you can import up to 1 million devices into Connect using a CSV spreadsheet which can be accessed by contacting Resolver Support.
If you wish to add tags to your imported devices, the tags must already exist in Connect. See the previous sections in this chapter for instructions on creating tags.
You can also use the import feature to update existing devices, provided the Connector Alias and External ID (device ID) entered in the spreadsheet matches the registered device. Any other values entered in the remainder of the columns will add new data or overwrite existing data.
To import devices using the spreadsheet:
Open the ImportDevice.csv file.A blank copy of the ImportDevice.csv spreadsheet.
Optional: Enter the connector alias associated with the device in the cell below the Connector Alias column (e.g. Lenel OnGuard). If you’re updating an existing device, this column is mandatory and can be obtained from the Connectorspage or the Connector column on the Devices page.
Enter either Access Control or Camera in the cell below the Device Type column.
Enter the name of the device in the cell below the Device Name column (e.g. Main Entrance).
Enter the device ID in the cell below the External ID column. The device ID can be retrieved from the source system. If you’re updating an existing device, the ID can be obtained from the Device ID column on the Devices page.
Optional: Enter the name of the Dispatch location or indoor location the device should be linked to. If you’re specifying an indoor location, separate each location with a > symbol (e.g. Benjamin Building > First Floor).
If you want to use a device in a rule that will create a new dispatch, you must assign a Dispatch location to that device. If you also want device icons to appear in the Map and Location panels in Dispatch, you must link then map the device(s) to a Dispatch location.
Optional: To map the device and place an icon on the Dispatch location or indoor location image, enter the X and Y coordinates for the area on the image where the icon should be placed in the CoordinateX and CoordinateY columns.
For accuracy, it’s recommended that you first import your devices, leaving the CoordinateX and CoordinateY columns blank, then map the devices using the Device Mappingtool.
Optional: Enter one or more tags in the Tags column. If you’re entering multiple tags, separate them with a semi-colon. Tags must already exist in Connect in order to be successfully saved to imported devices.
Follow steps 2-8 above to continue adding devices as needed.A completed ImportDevice.csv spreadsheet.
Click File > Save to save your changes.
If necessary, log into Connect and click Devices to display the Devices page.
Click Import Devices in the top-right corner of the page to display the Import Devices screen.The Import Devices button.
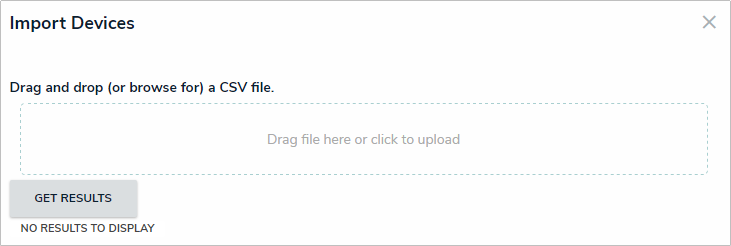
Drag and drop the ImportDevice.csv file to the upload area or click the upload area to browse for and upload the file.
The devices will automatically be imported into Connect once the ImportDevice.csv file has been uploaded.
The Import Devices screen.
From the Import Devices screen, click Get Results to review the number of devices that were added, skipped, or updated. If any devices were skipped, review the error message(s), make the required corrections, then re-upload the file to upload the missing devices.The results of a new import. If any devices were skipped, error messages will appear.
Refresh your browser to display the newly imported devices.


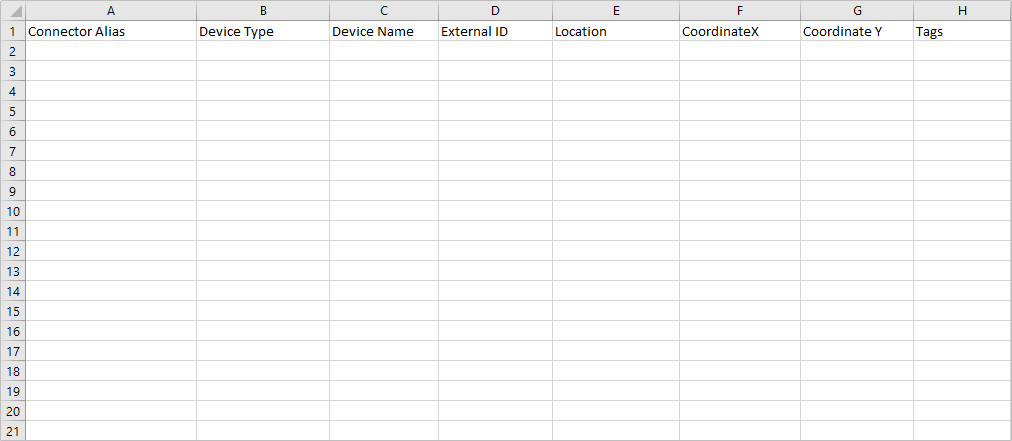 A blank copy of the ImportDevice.csv spreadsheet.
 A completed ImportDevice.csv spreadsheet.
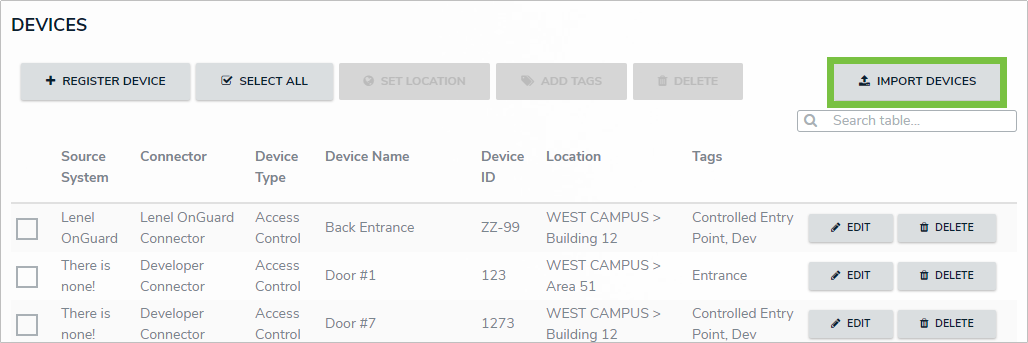 The Import Devices button.
 The Import Devices screen.
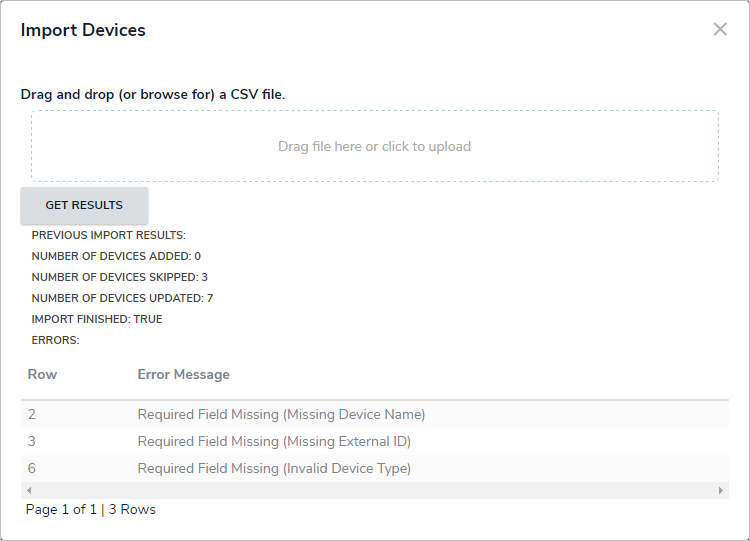 The results of a new import. If any devices were skipped, error messages will appear.


