Overview
User groups control the data users and system applications a user can access. Assigning a user to a user group allows the user access to the data connected to the user group.
If your organization is using Lightweight Direct Access Protocol (LDAP), you must use LDAP to add and remove users from user groups. Any users added or removed from a user group within Resolver will be reverted to a state before the change during the next LDAP sync.
User Account Requirements
Your user account must have Administrator privileges to add a user to a user group.
Required Information/Setup
You will need to create a new user before you can add a user to a user group. Please follow the link below for instructions on how to create a new user or create a new Dispatch user:
You will also need to log into Resolver to add a user to a user group. Please follow the link below for instructions on how to log into Resolver:
Navigation
- From the Home screen, click the Administration icon.
![]()
Administration Icon
- From the Administrator settings menu, click Admin Overview.
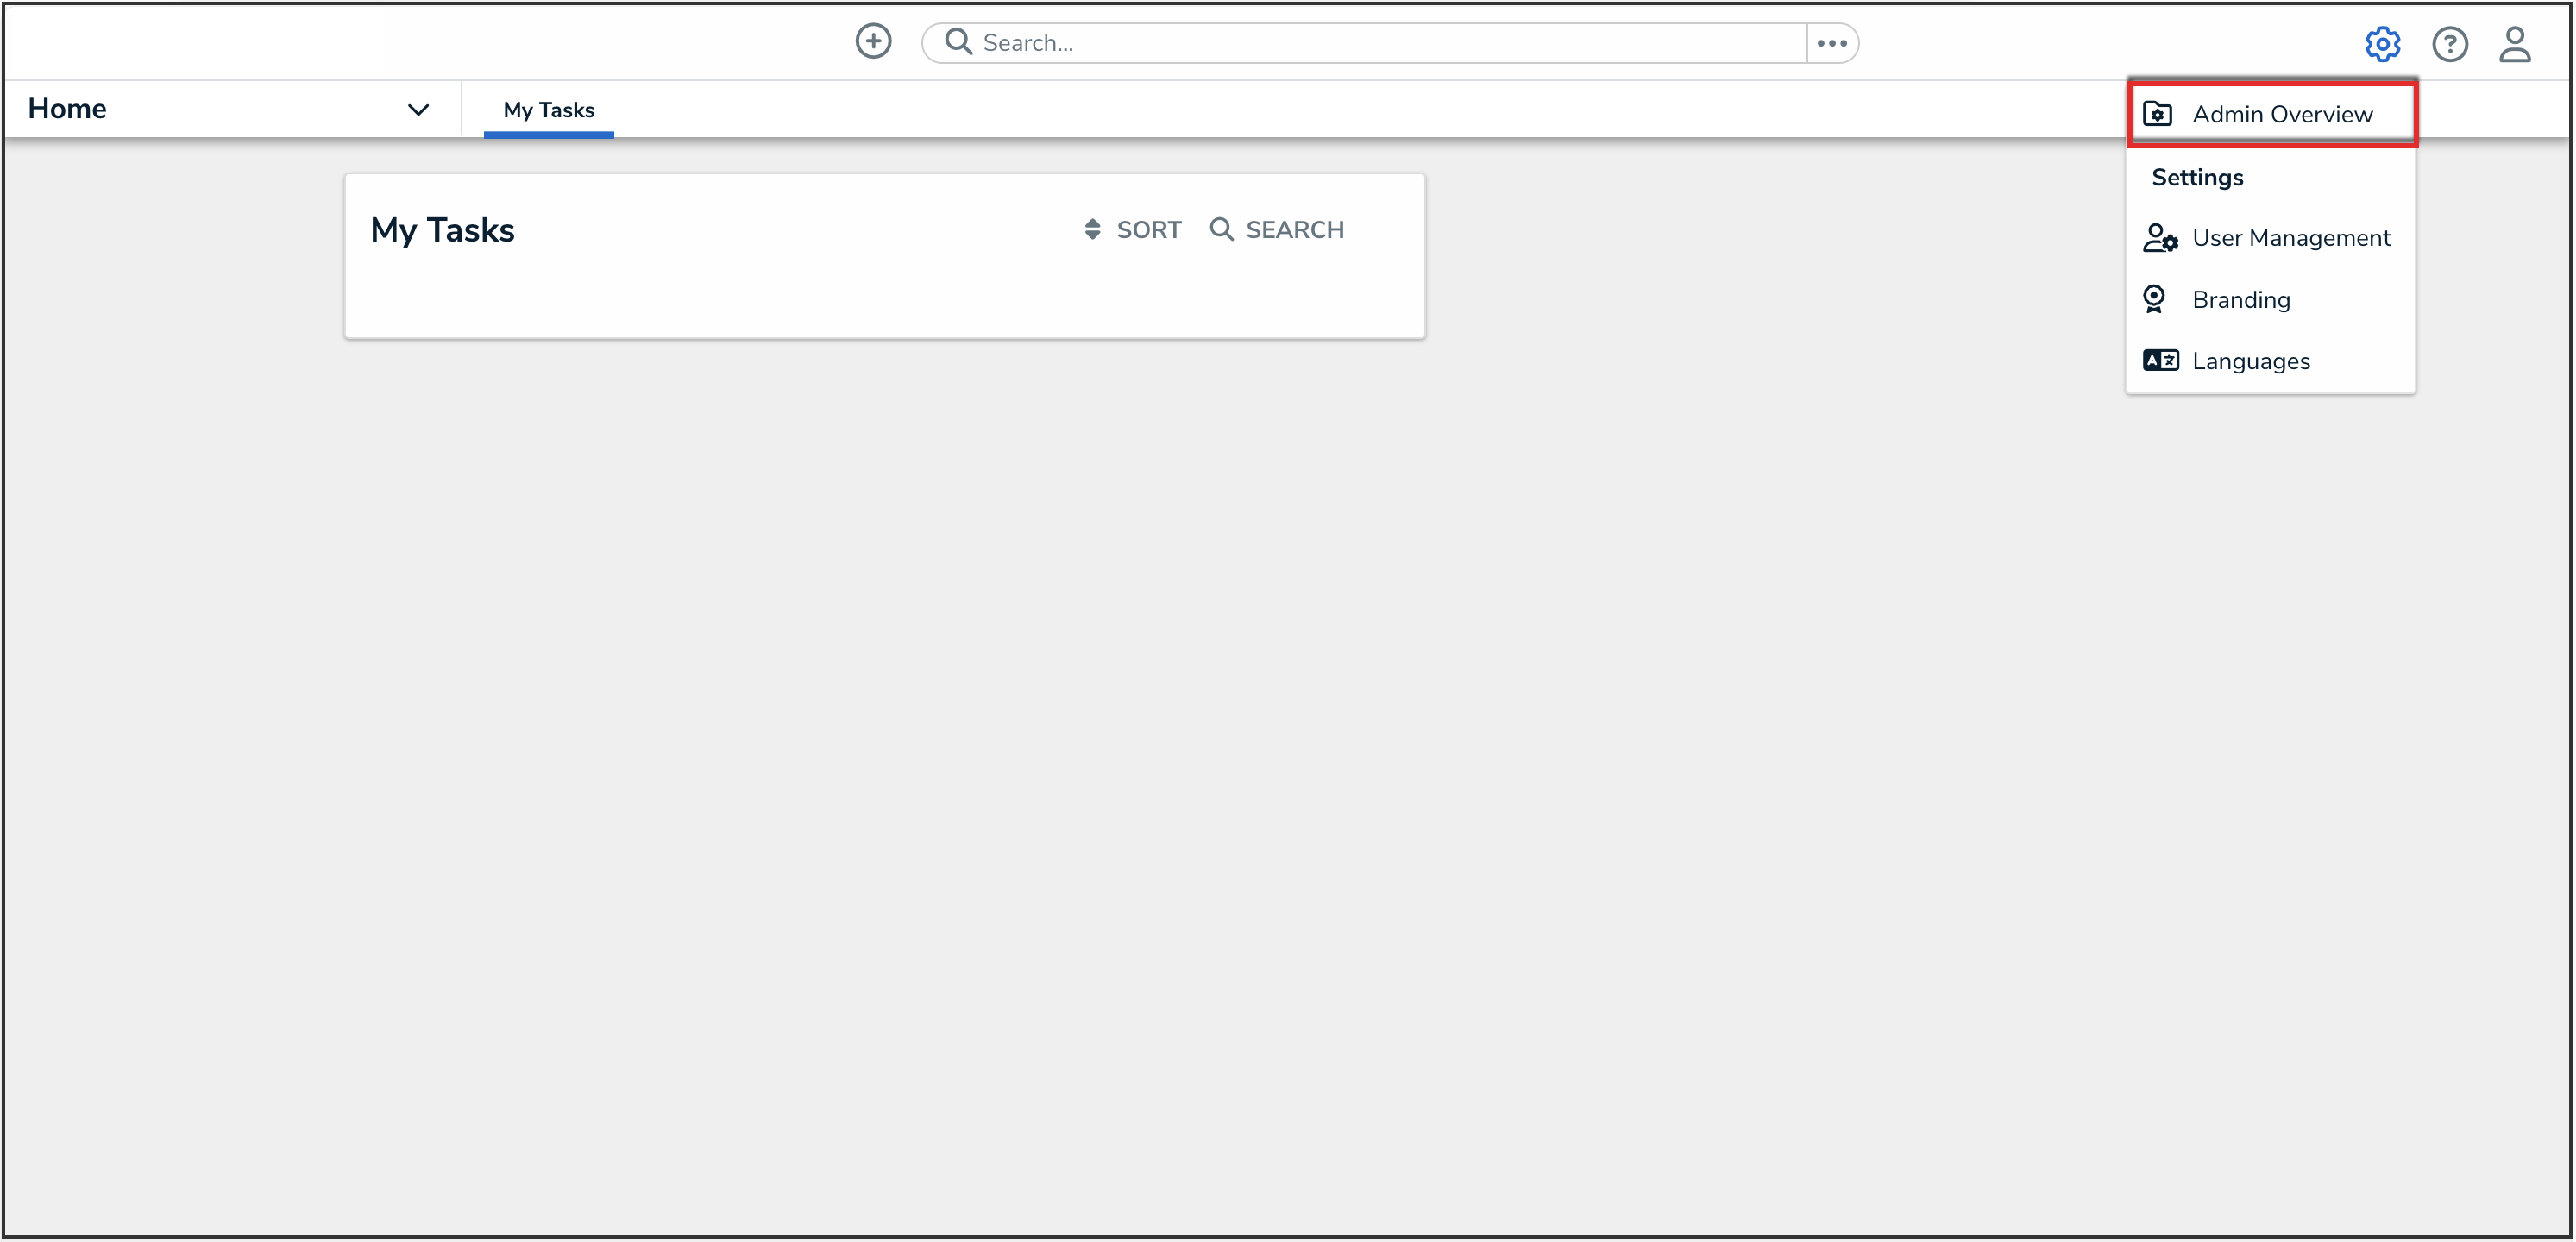
Administrator Settings Menu

- From the Admin Overview screen, click the User Groups tile under the Data Access section.

User Groups Tile
- From the User Groups screen, enter a user group name or keyword in the Search field.

User Groups Screen
 Tip:
Tip:
You can tell how many users are assigned to a user group on the user group screen by referring to the number on the right side of a user group column.
- Click the name of the user group that you want to add a user to.
Adding a User to a User Group
- From the Edit User Group screen, enter a user's name in the Users field and click the user's name from the drop-down list. Continue adding more users as required.

Users Field
 Note:
Note:
Users can be assigned to more than one user group at a time.
- Click the Add Selected button to add the selected user to the user group.

Add Selected Button
Note:
Users who are logged in at the time they are added to or removed from a user group will need to log out and then log back in before the changes are applied.
- Click the Done button to save your changes.
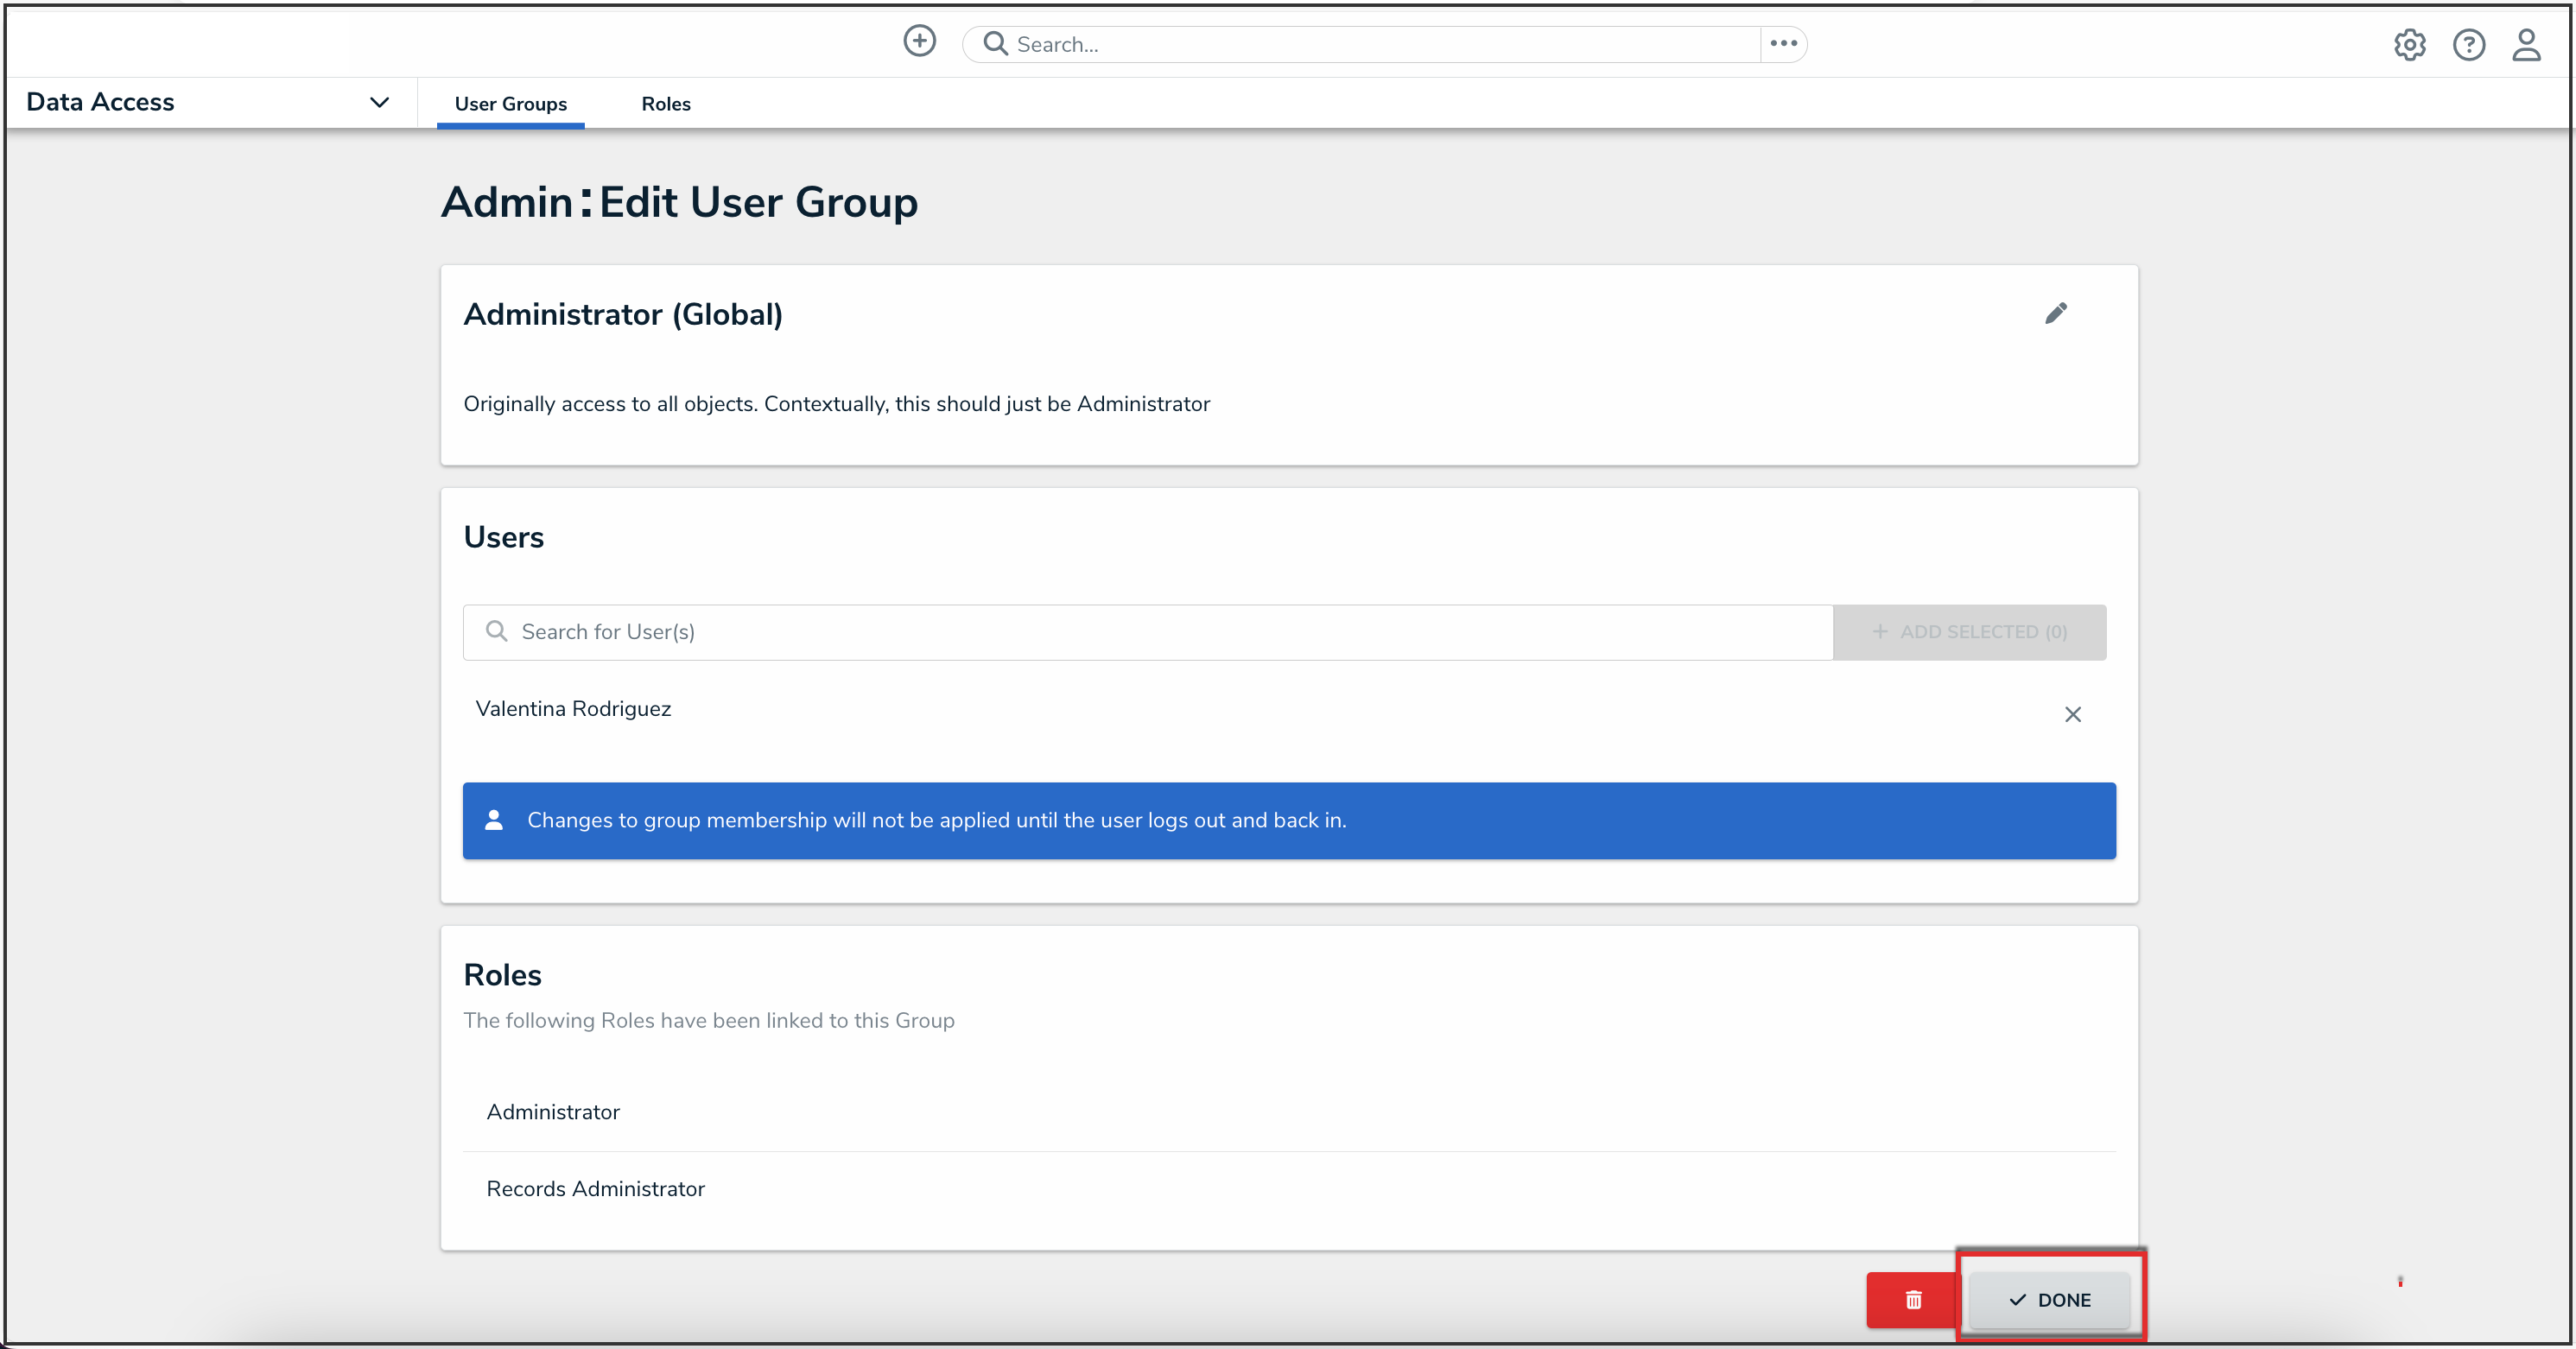
Done Button
