Overview
An Administrator can make changes to a user group or delete a user group. A user group organizes users into specific groups based on their organizational role (e.g., Employee, Management, etc.). Adding users to a user group allows an Administrator to assign multiple users within a user group to a role by assigning the user group to a role instead of manually assigning a role to each user.
If your organization uses LDAP, adding or removing users on a user group will need to be done from LDAP. If changes are made in Resolver, any changes will revert during the next LDAP sync.
User Account Requirements
The user account you use to log into Resolver must have Administrator permission to access the Admin Overview screen.
Related Information/Setup
Please read the User Group Overview article for more information regarding user groups.
Please read the Configure & Run the LDAP Sync Tool article for more information regarding LPAD.
Navigation
- From the Home screen, click the Administration icon.
![]()
Administration Icon
- From the Administrator settings menu, click Admin Overview.
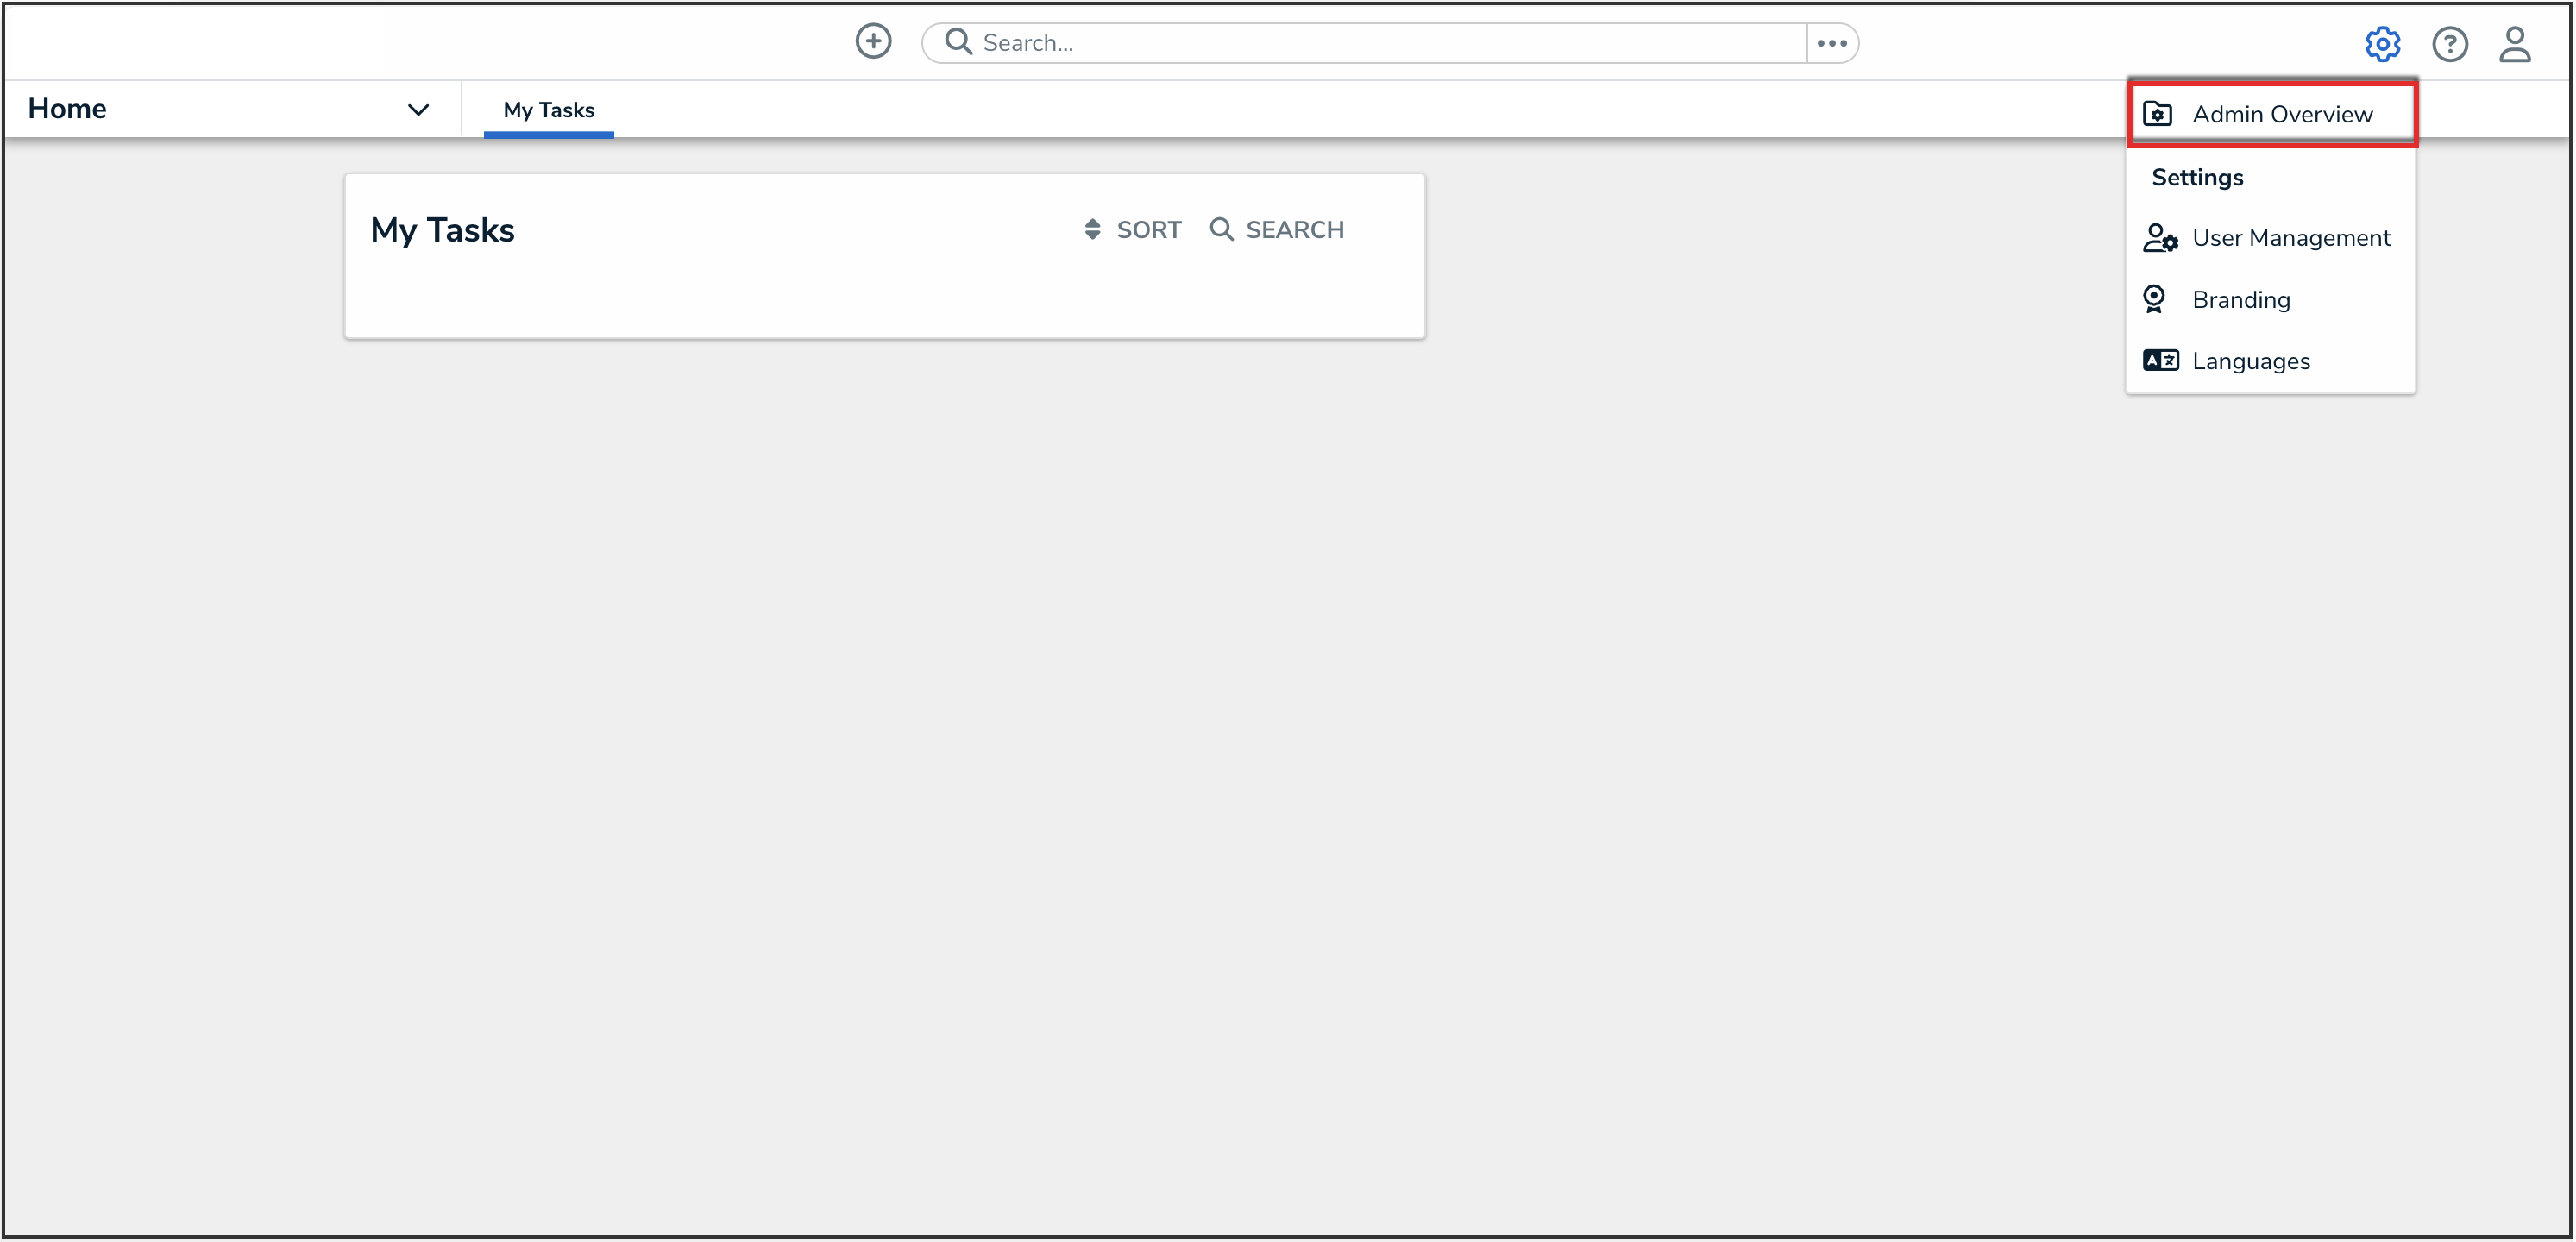
Administrator Settings Menu

- From the Admin Overview screen, click the User Groups tile under the People section.

User Groups Tile
- From the User Groups screen, enter a user group name or keyword in the Search field.

User Groups Screen

- Click the name of the user group that you want to edit or delete.
Editing a User Group
- From the Edit User Groups screen, click the Edit icon to edit the user group's Name and Description fields.

Edit Icon
- From the Users section, you can add users to the user group. Please read the Add a User to a User Group article for more information.
- To remove a user from the user group, click the Remove icon beside the user's name.
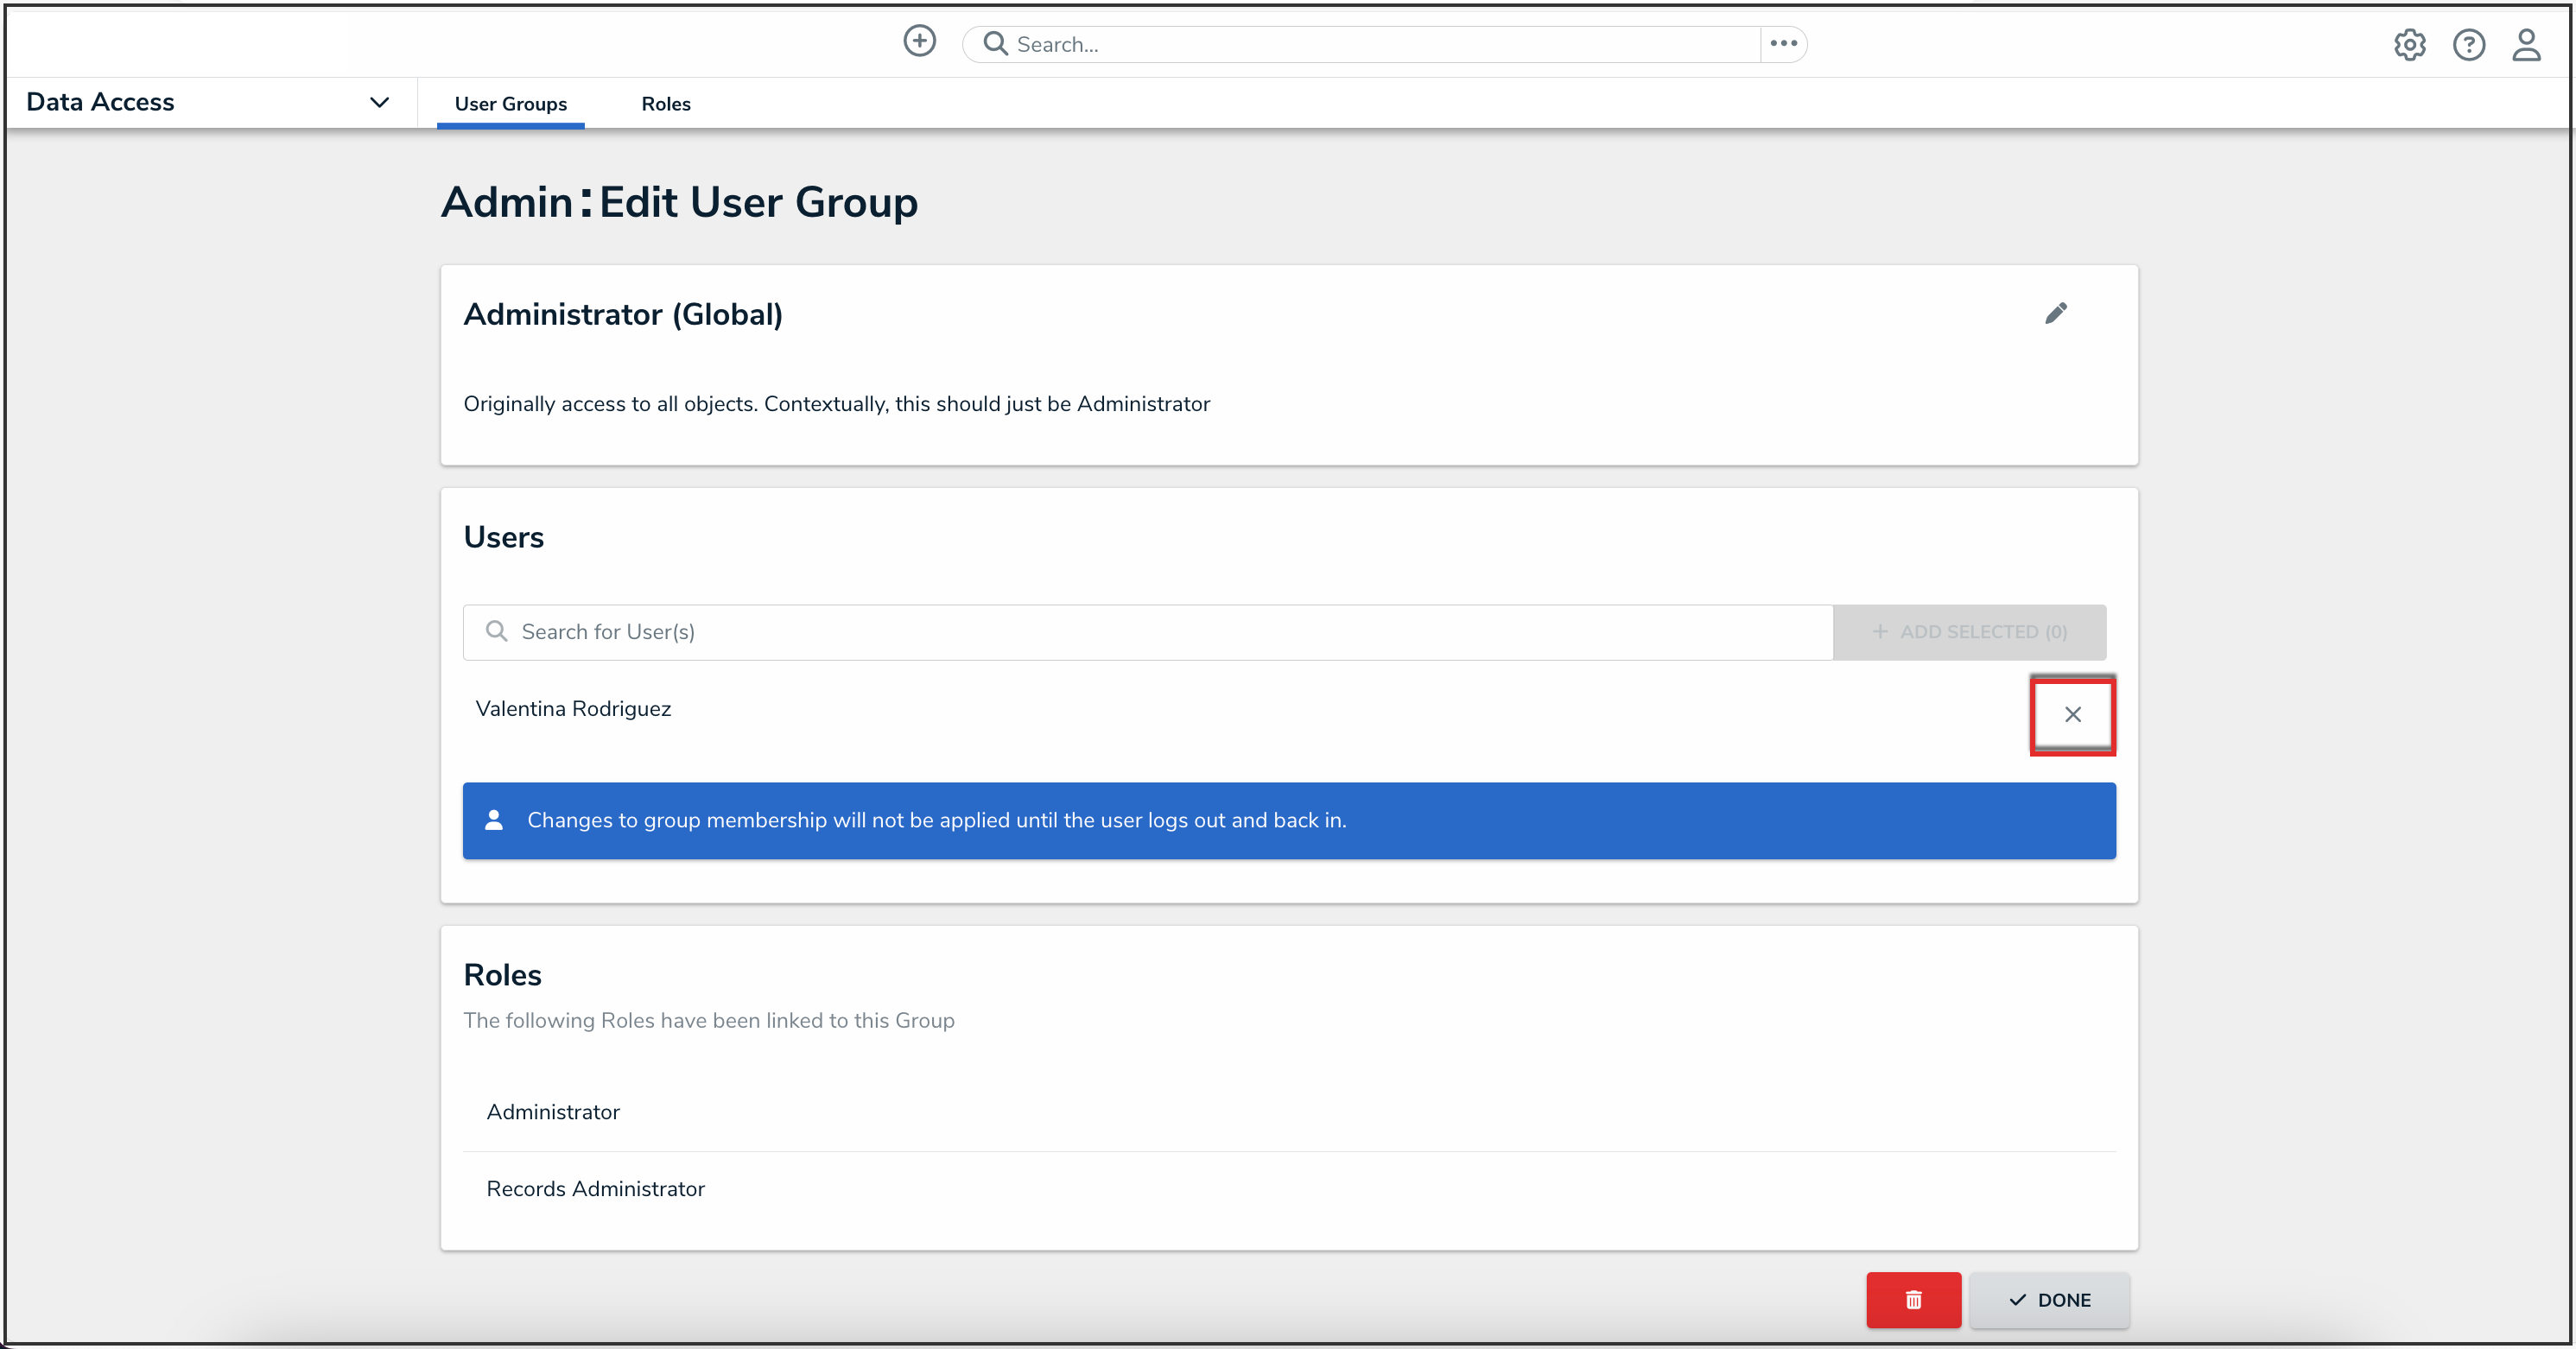
Remove Icon
- Click the Remove button from the Remove user? pop-up.


Remove Button
- Click the Done button to save your changes.
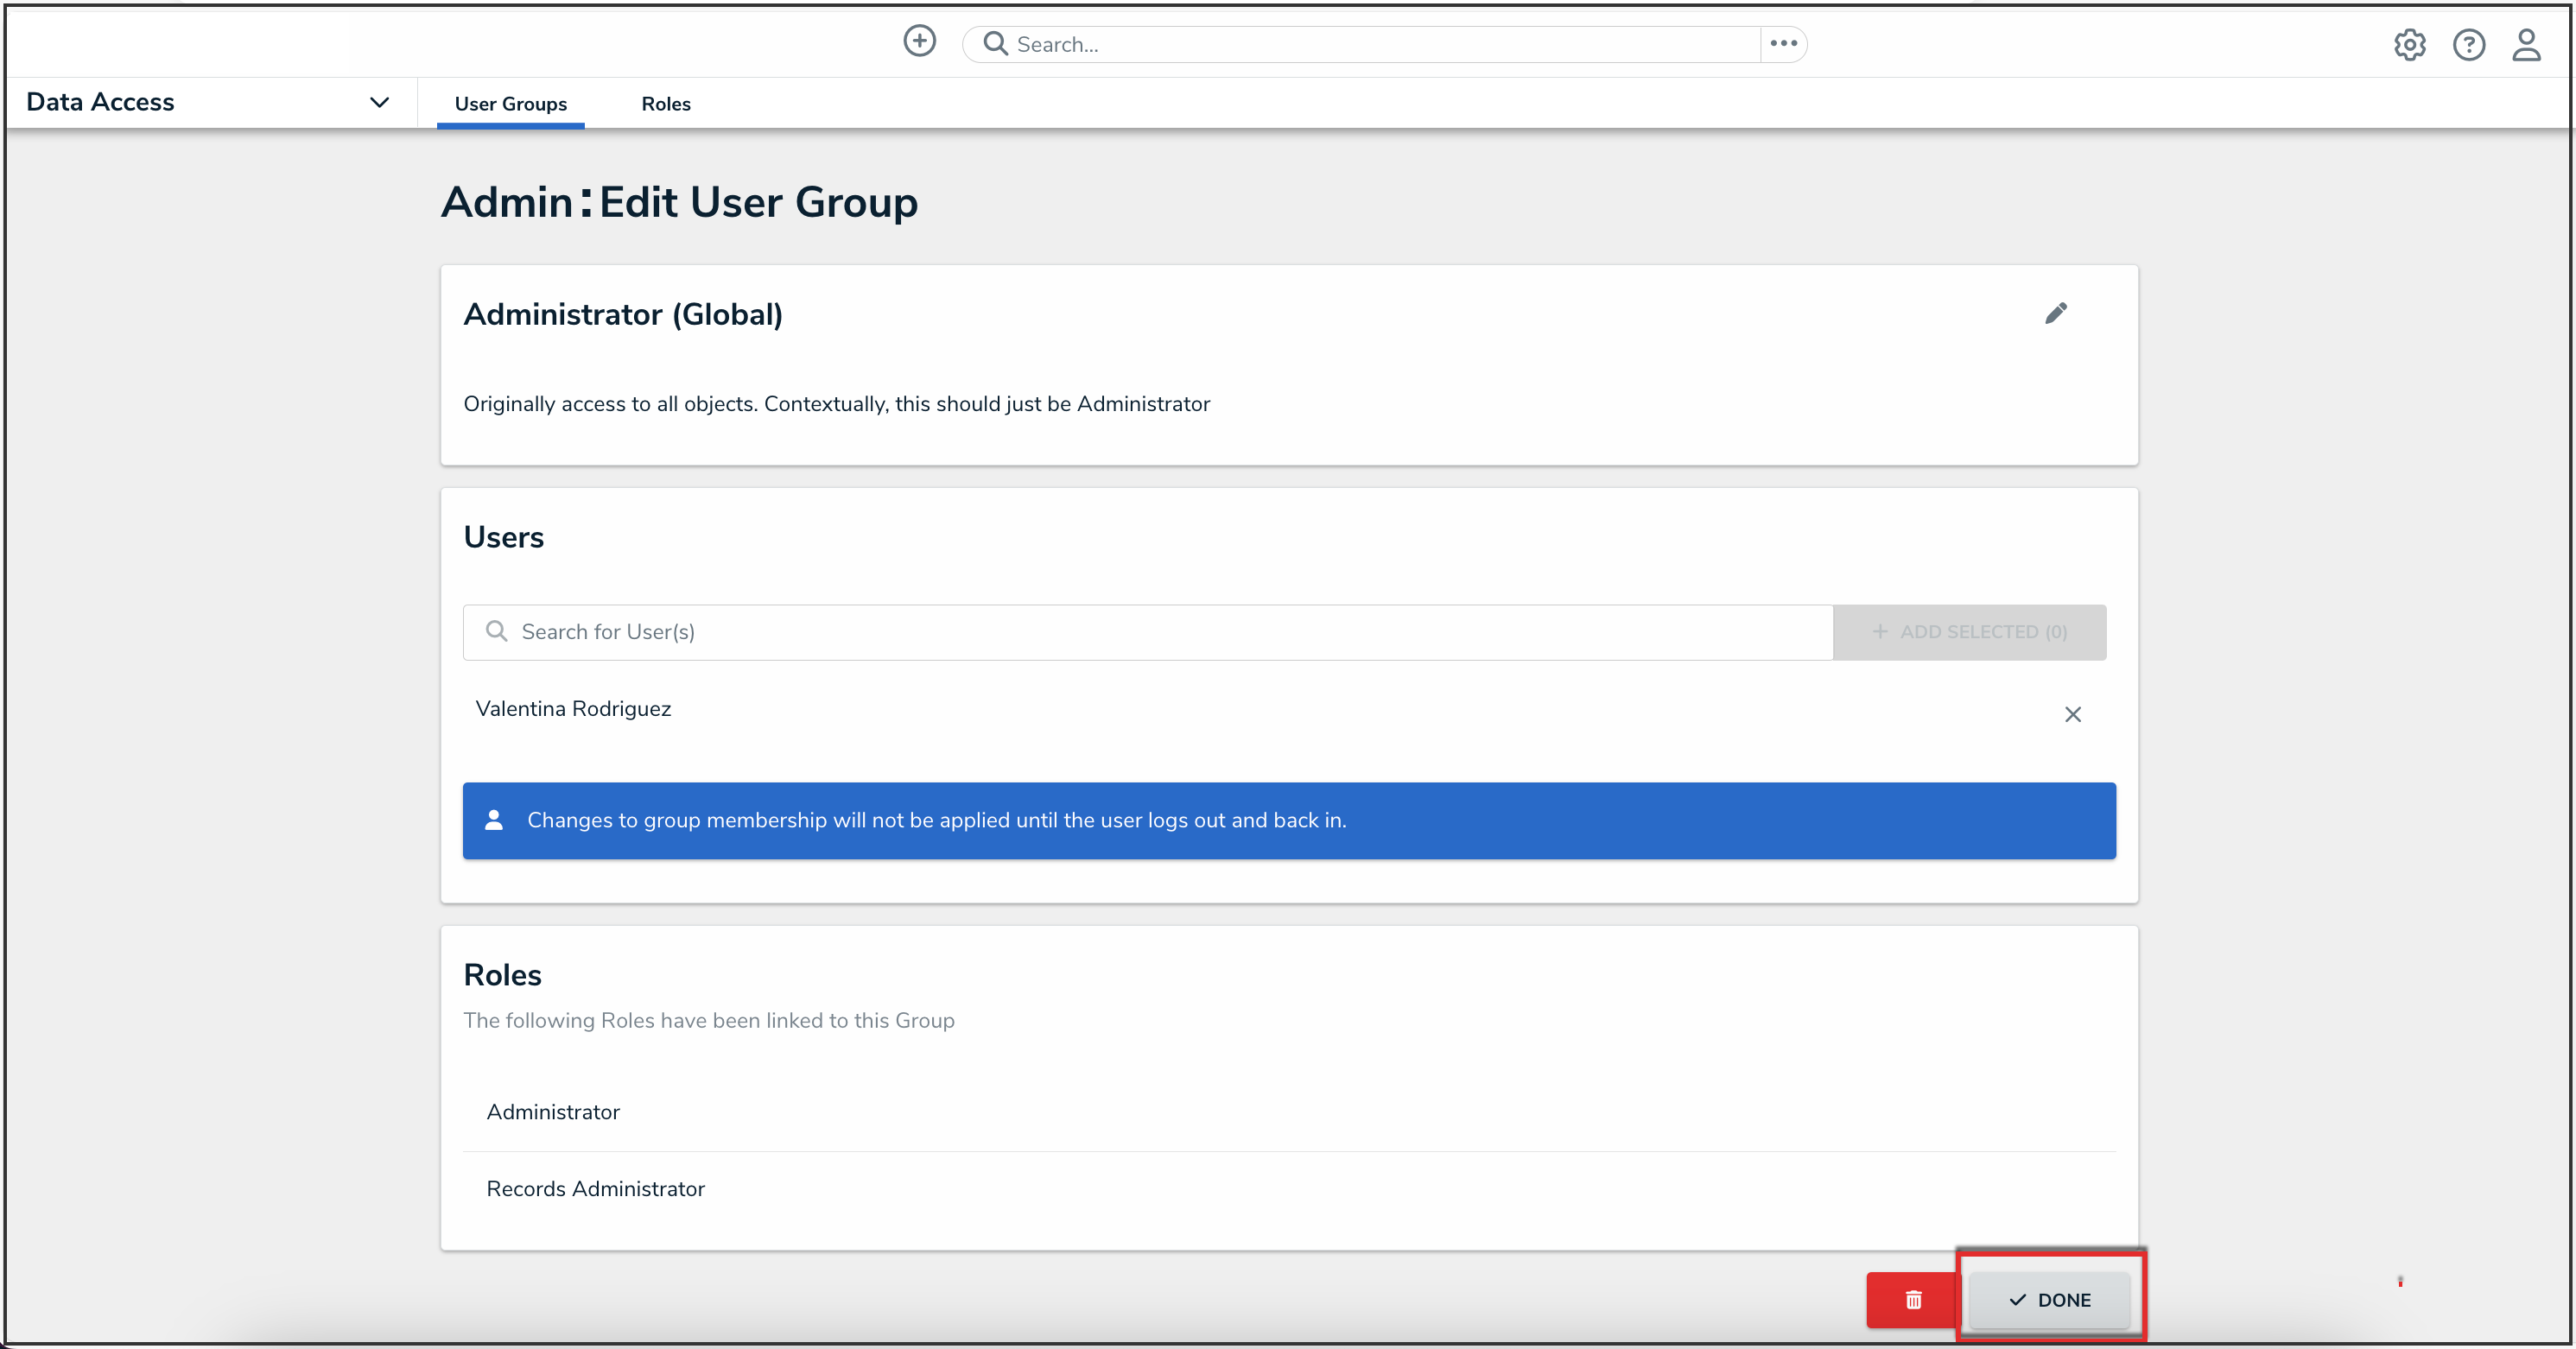
Done Button

Deleting a User Group
- From the Edit User Group screen, scroll to the bottom of the screen and select the Delete icon.

Delete Icon
- Click the Delete button from the Delete user group? pop-up.
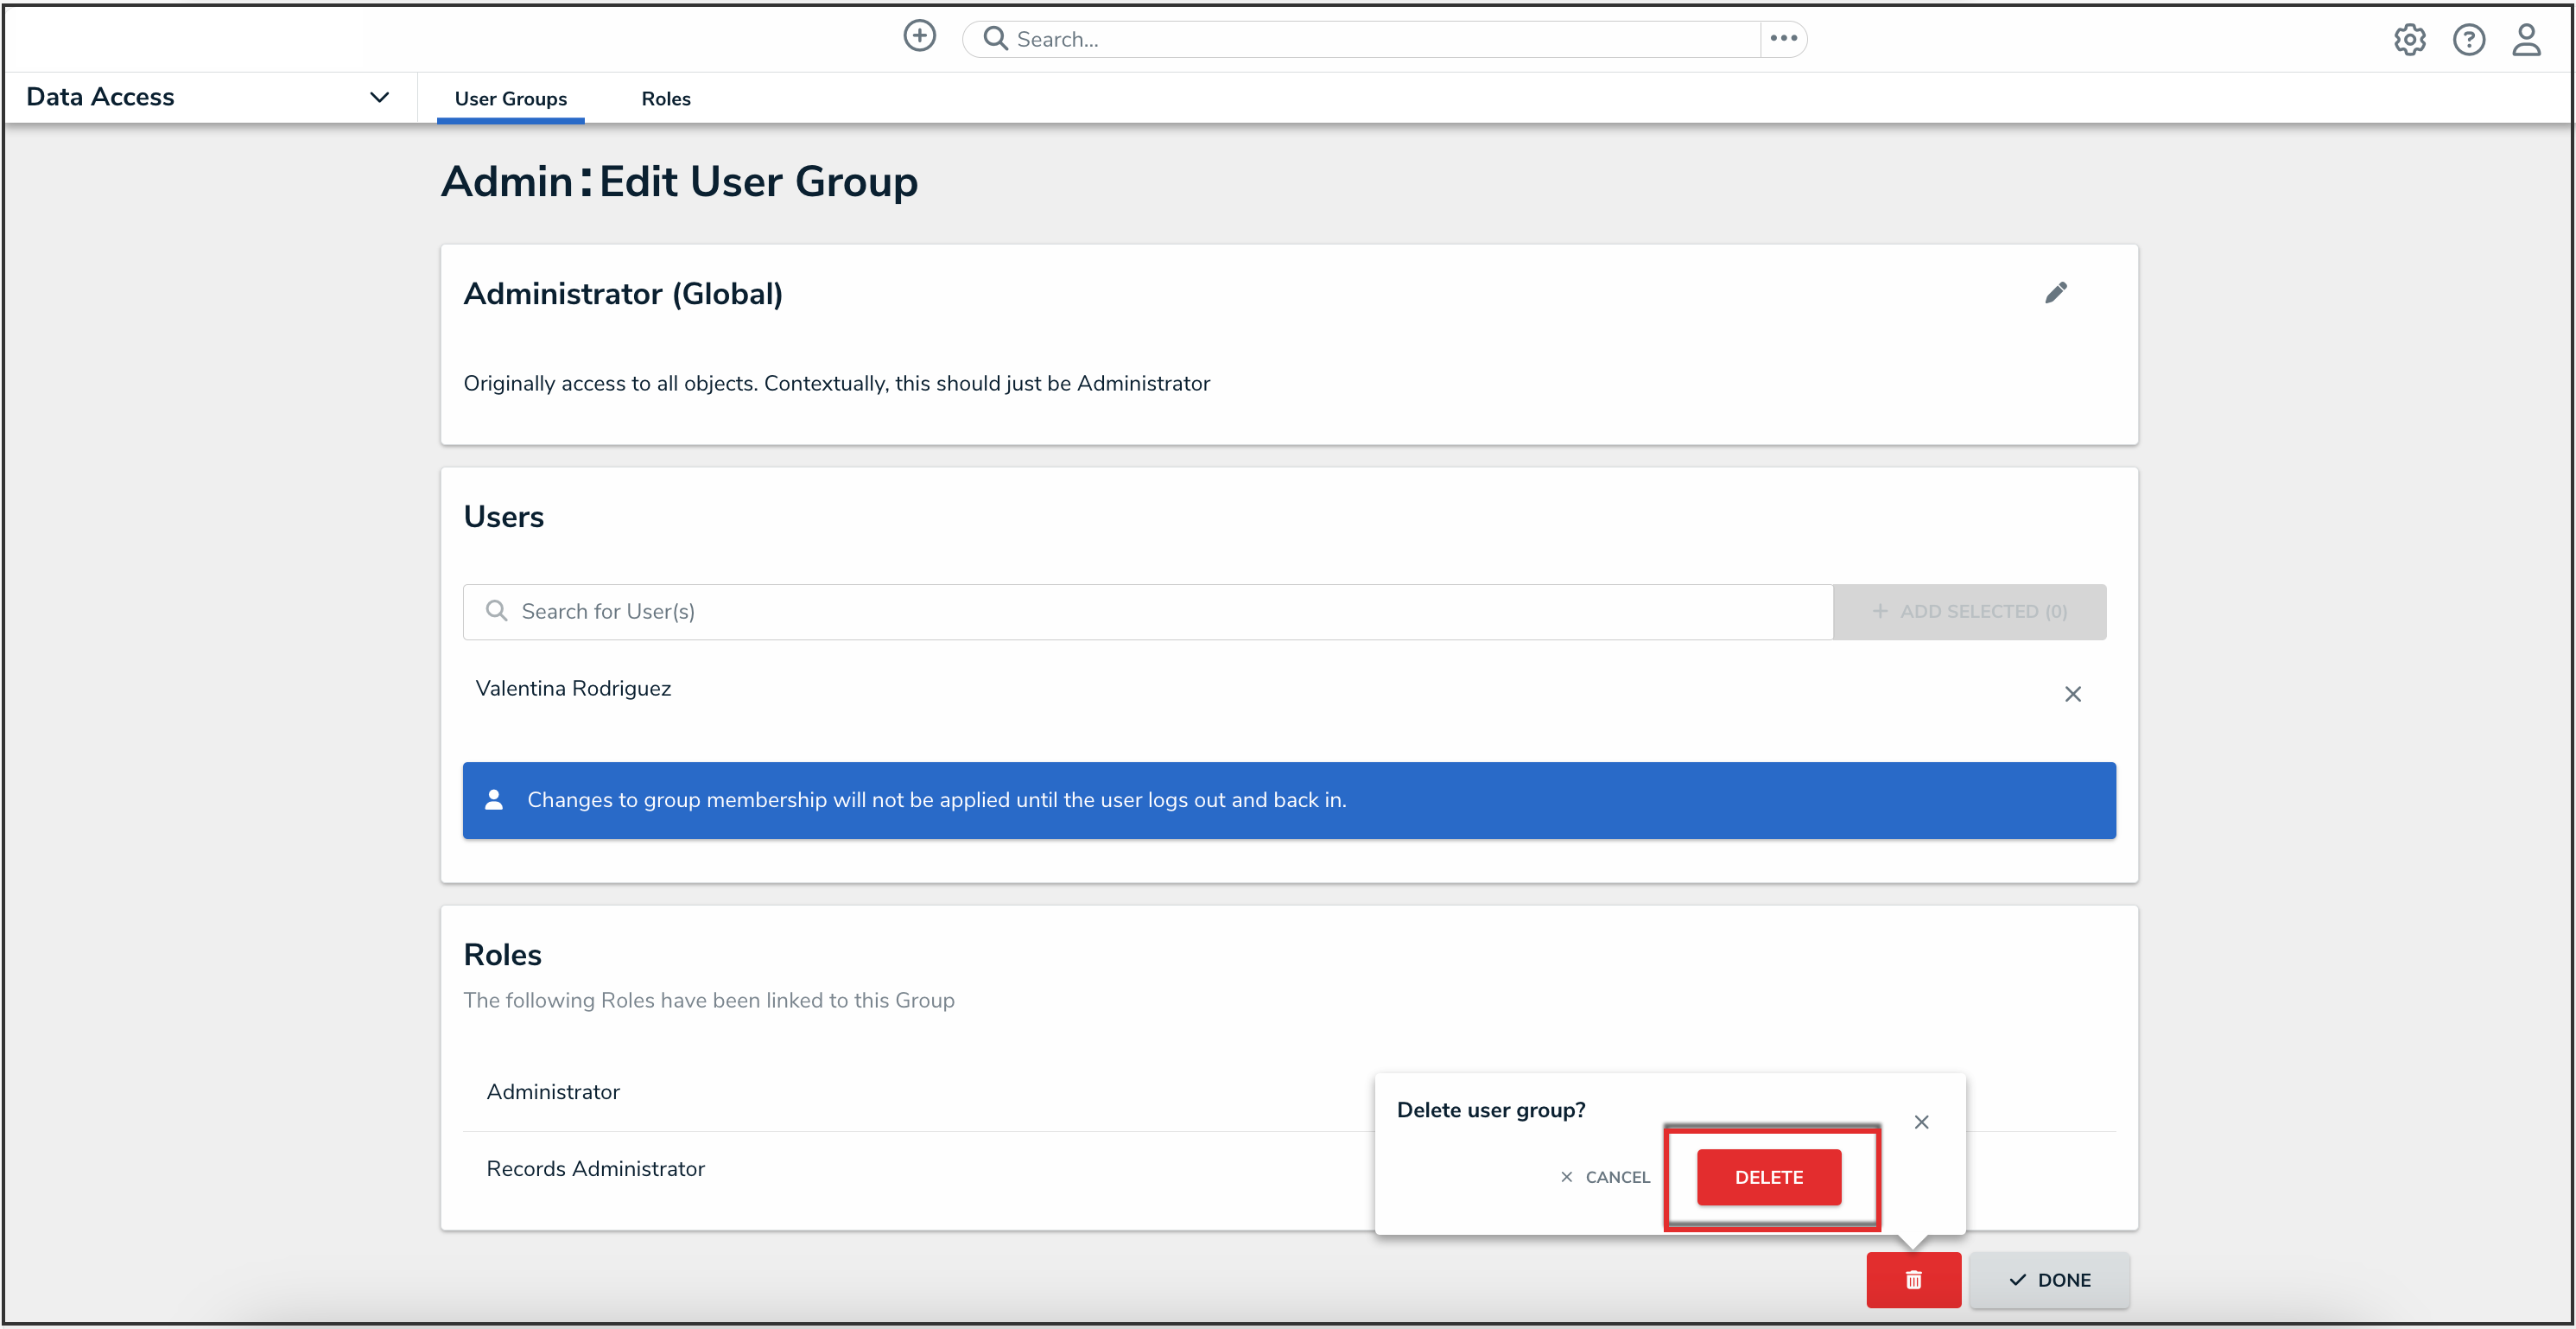
Delete Button
