Overview
Administrators can edit or delete object types from their Orgs.
 Warning:
If any data has been saved to or associated with an object type, it’s strongly recommended that you do not delete it.
User Account Requirements
The user must have Administrator permissions in order to edit or delete an object type.
Related Information/Setup
Please refer to the Object Types Overview article for more information on object types.
Please refer to the Delete an Object article to learn more about deleting objects before deleting an object type.
Please see the Edit or Delete a State article for further information on editing an object type's workflow.
Please refer to the Add Concatenation to an Object Type article for further information on editing an object type's concatenation.
Navigation
- From the Home screen, click the Administration icon.
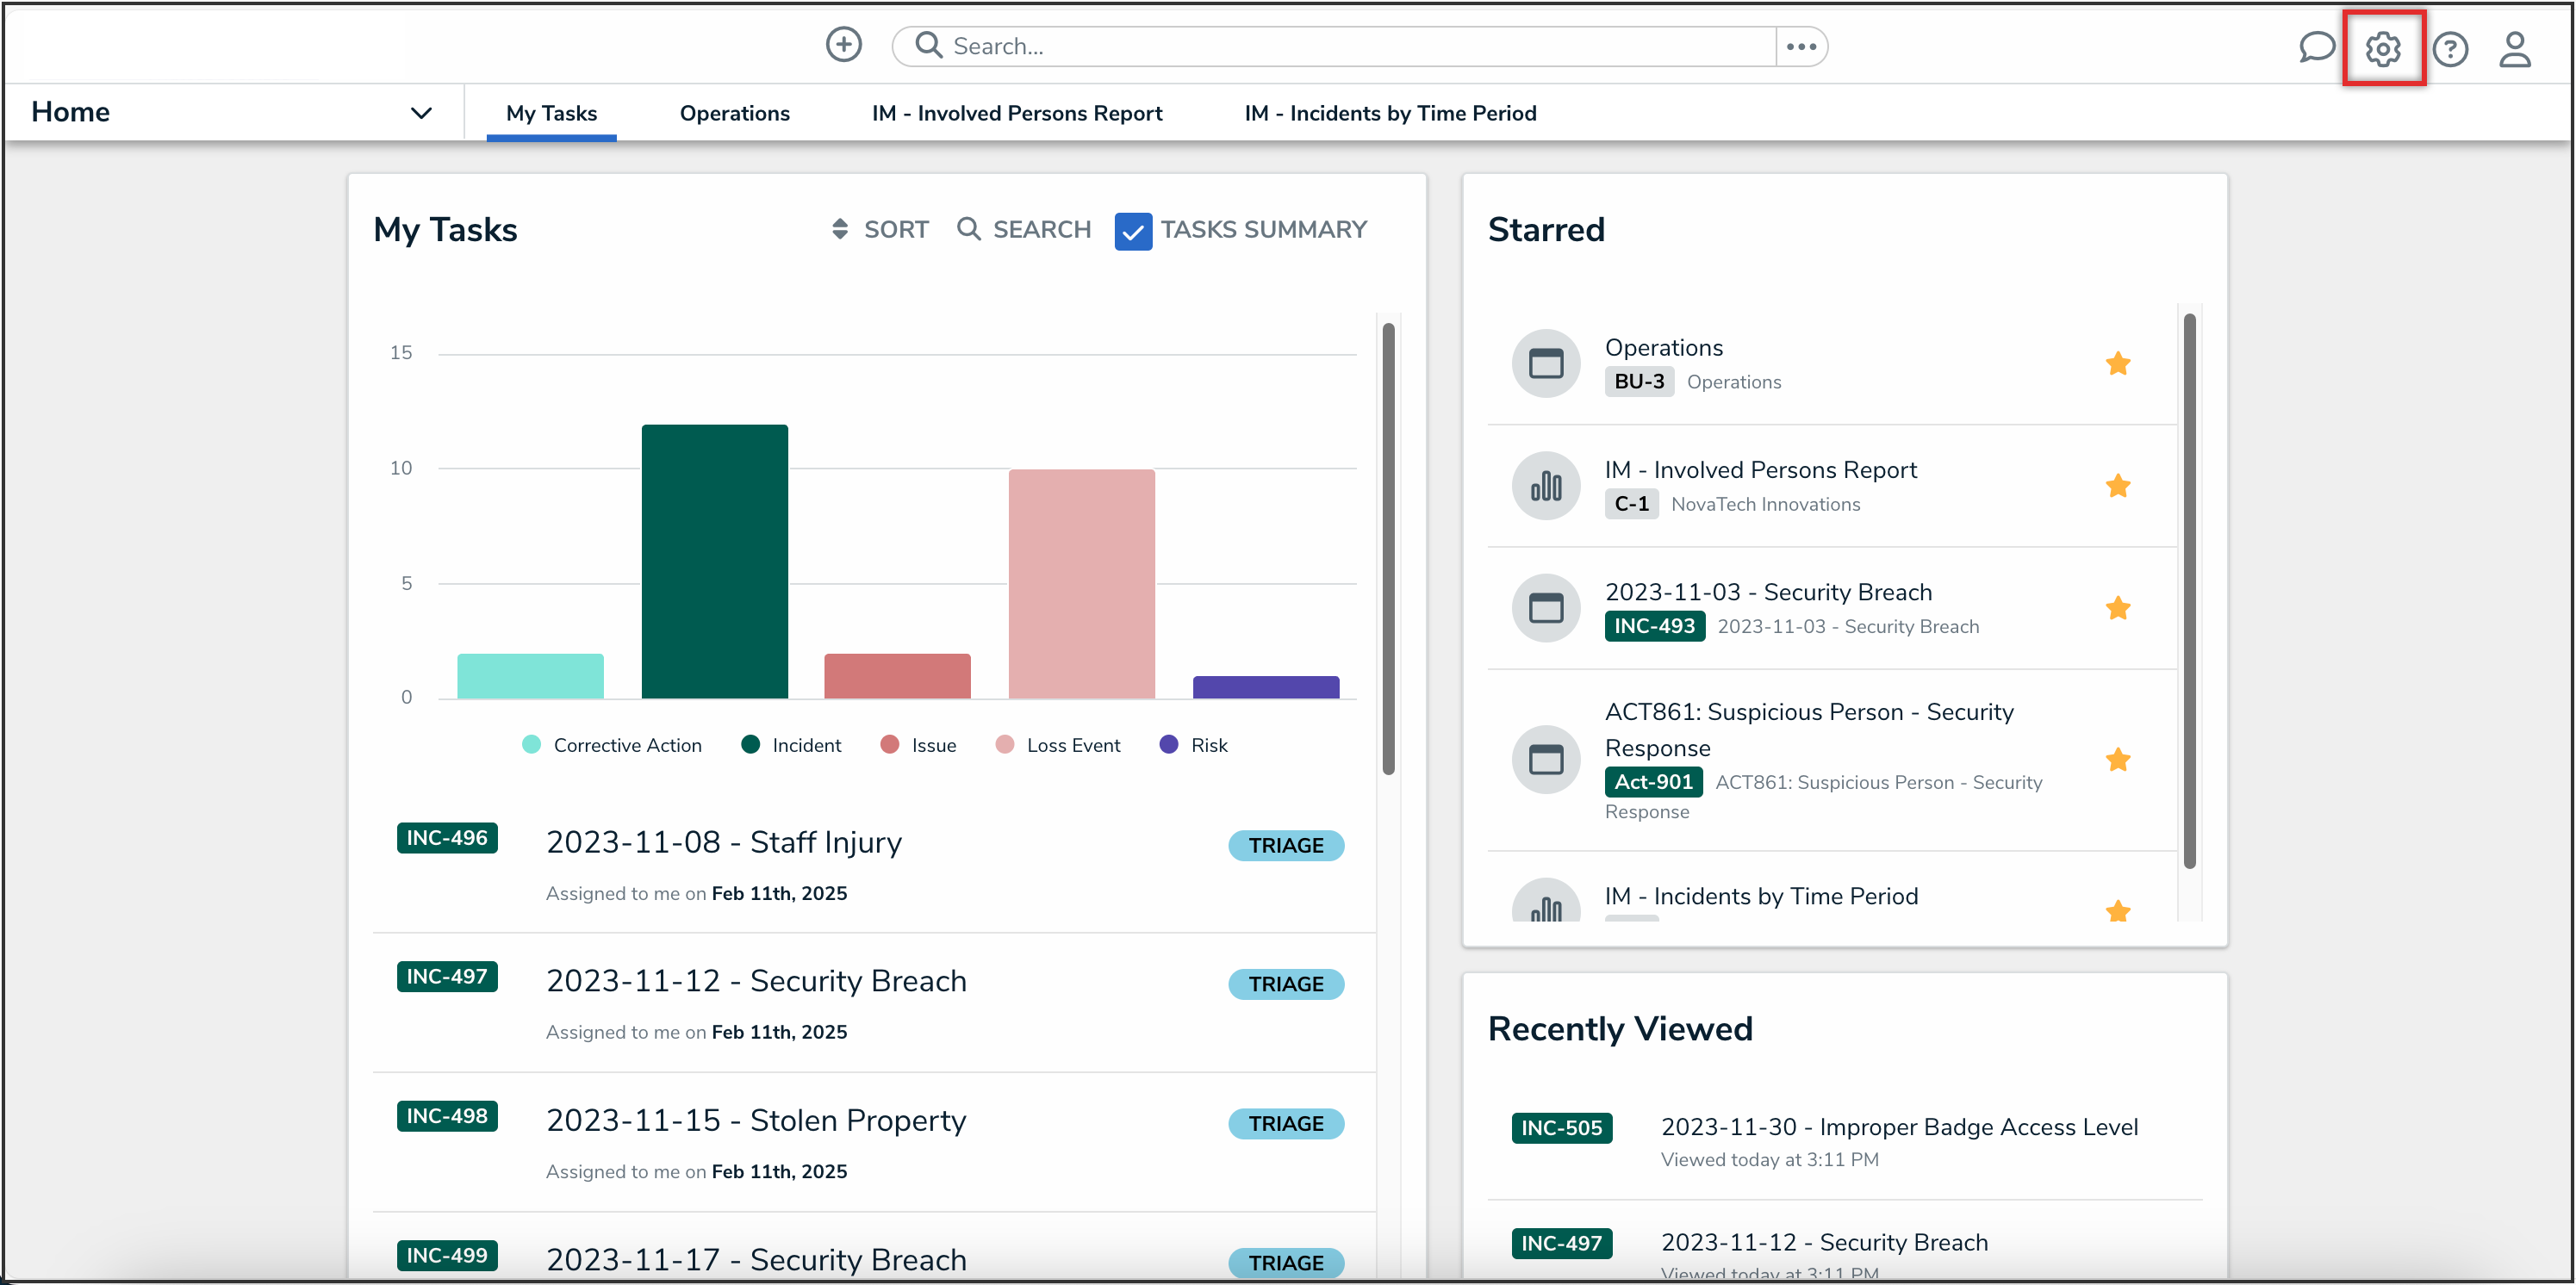
Administration Icon
- From the Administrator settings menu, click the Admin Overview link.
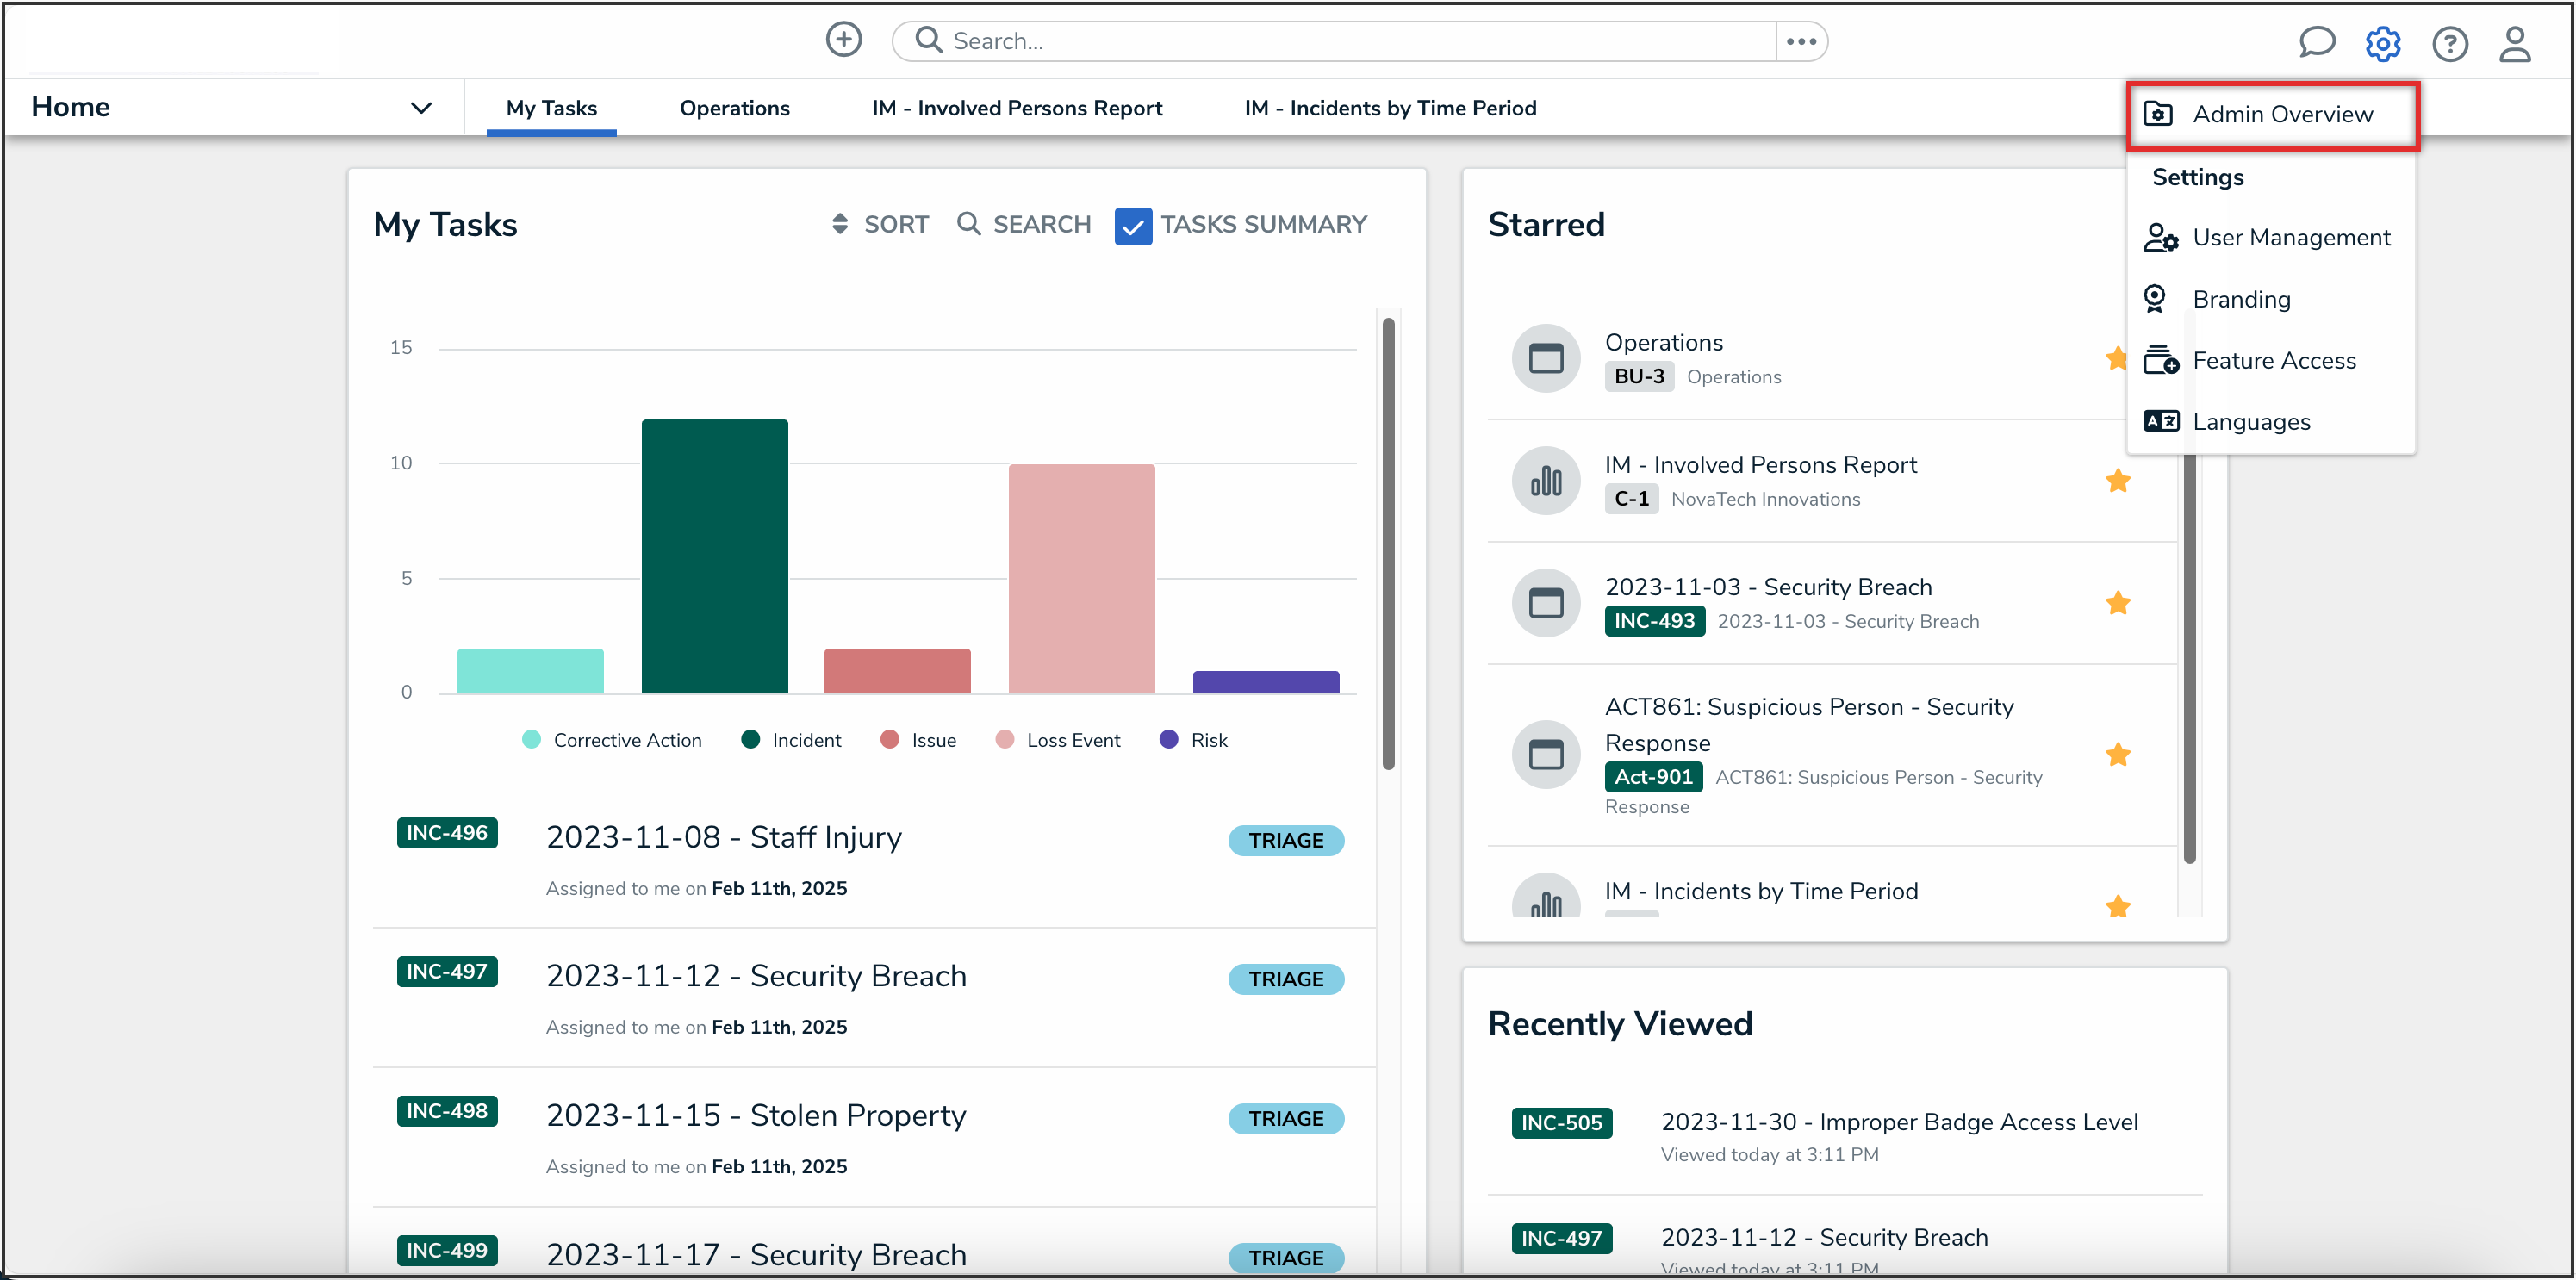
Admin Overview Link
- From the Admin Overview screen, click the Object Types tile under the Data Model section.
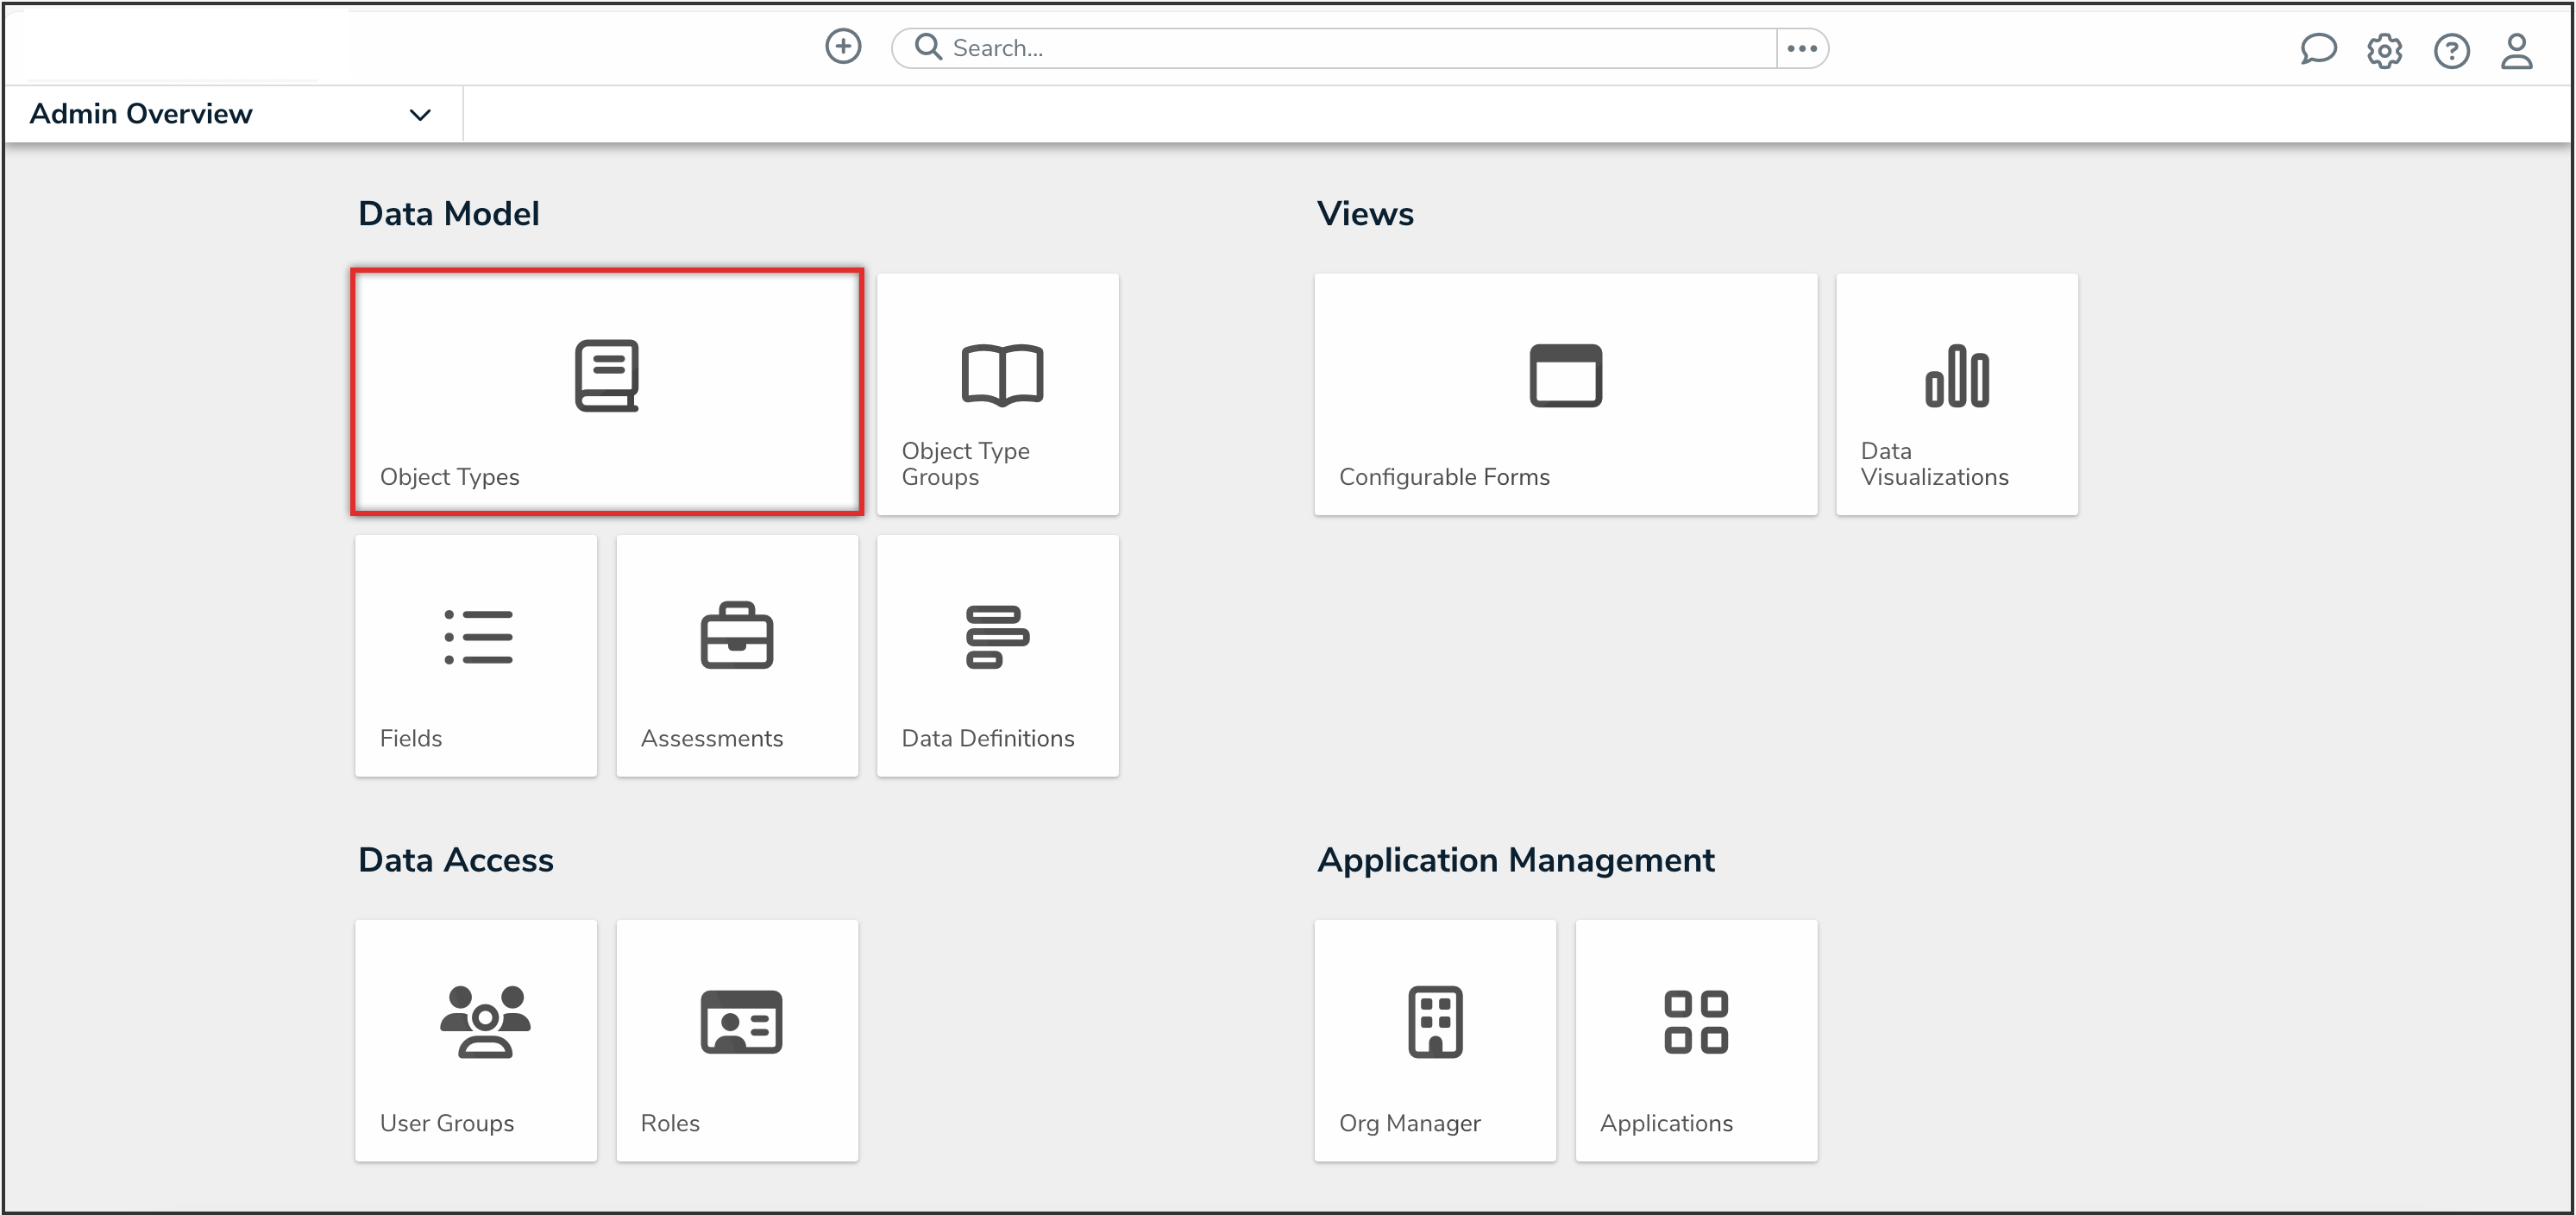
Object Types Tile
- From the Admin: Object Types screen, click the object type that you want to edit or delete.

Object Types

Editing an Object Type
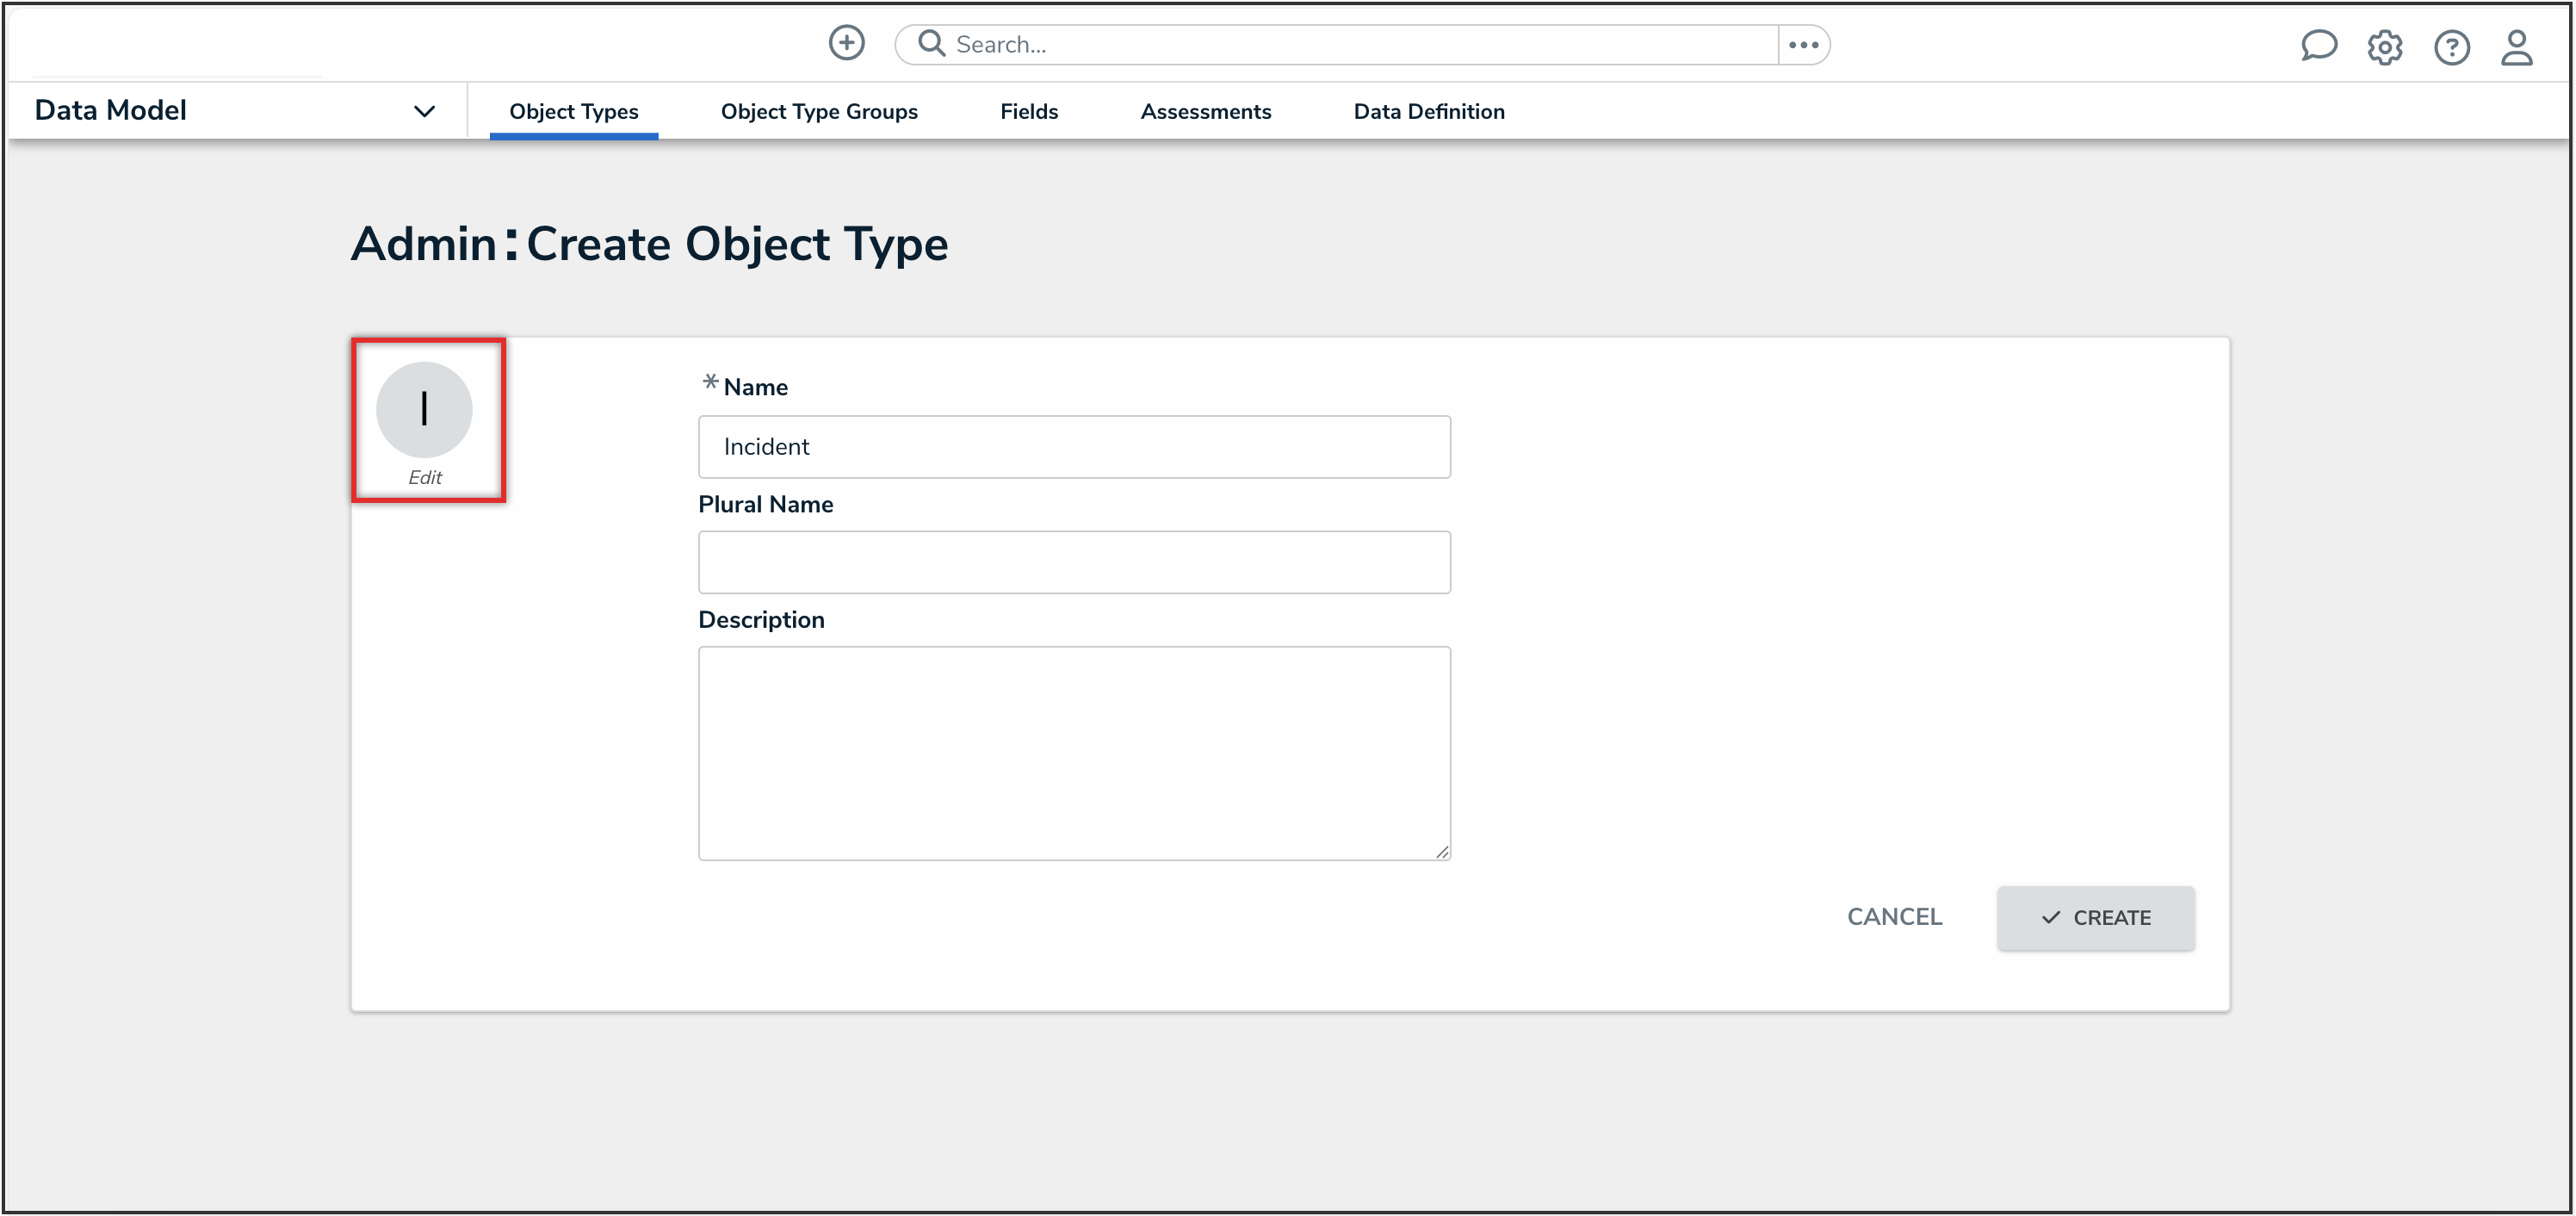
- From the Admin: Edit Object Type screen, click the Edit icon beside the object type’s name to edit the object type’s name, description, or monogram.
![]()
Edit Object Type Icon
- Edit the object type's Name, Plural Name, and Description by clicking on a corresponding field and entering a new value.

Edit Name Fields
- (Optional): To edit the object type monogram:
- Click the monogram icon to the left of the Name field.
Monogram
- In the Customize Monogram pop-up, enter 1 to 3 characters in the Monogram field.
- Click the Pick a color dropdown menu to reveal the color picker. You can also type a hex color into this field to select a color.
- Click the Done button.
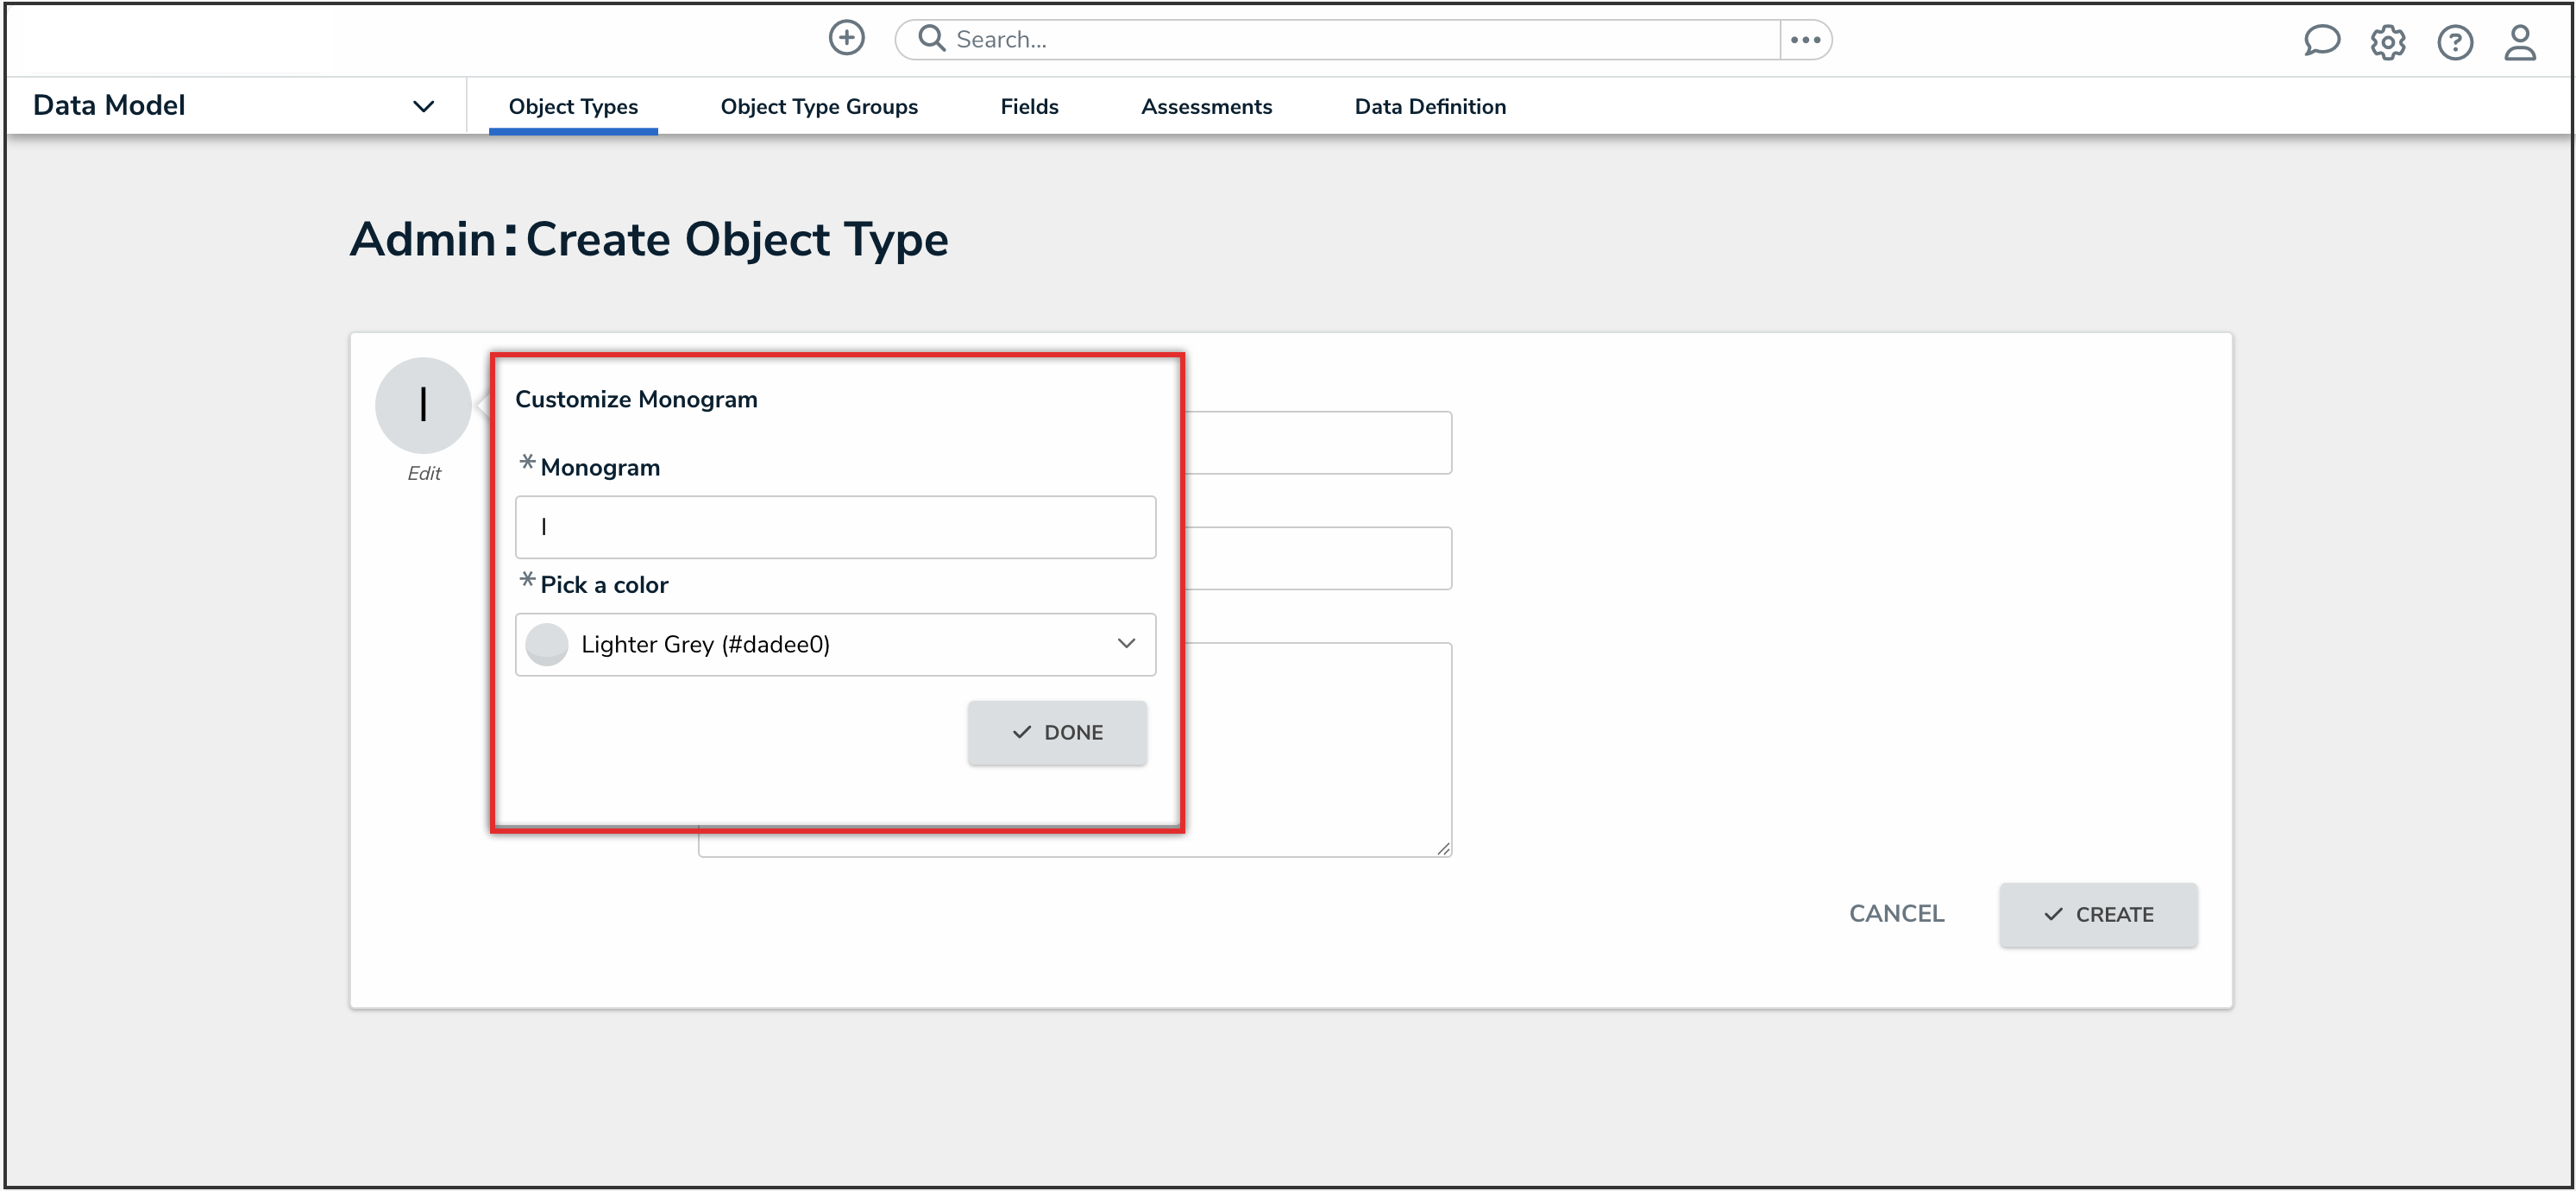
Customize Monogram Pop-Up
- Click the monogram icon to the left of the Name field.


- From the Workflow tab, click the Configure Workflow button to edit the object type's workflow. Please see the Edit or Delete a State article for further instruction.

Configure Workflow Button
- From the Concatenations tab, click the Configure Name Concatenation or Configure Description Concatenation links to edit a concatenation. Please refer to the Add Concatenation to an Object Type article for further information on editing an object type's concatenation.

Concatenation Links
- From the Views Configuration tab, you can edit the due date for the object type that is displayed in the My Tasks card. See the Adding a Due Date to an Object Type article for further instruction.
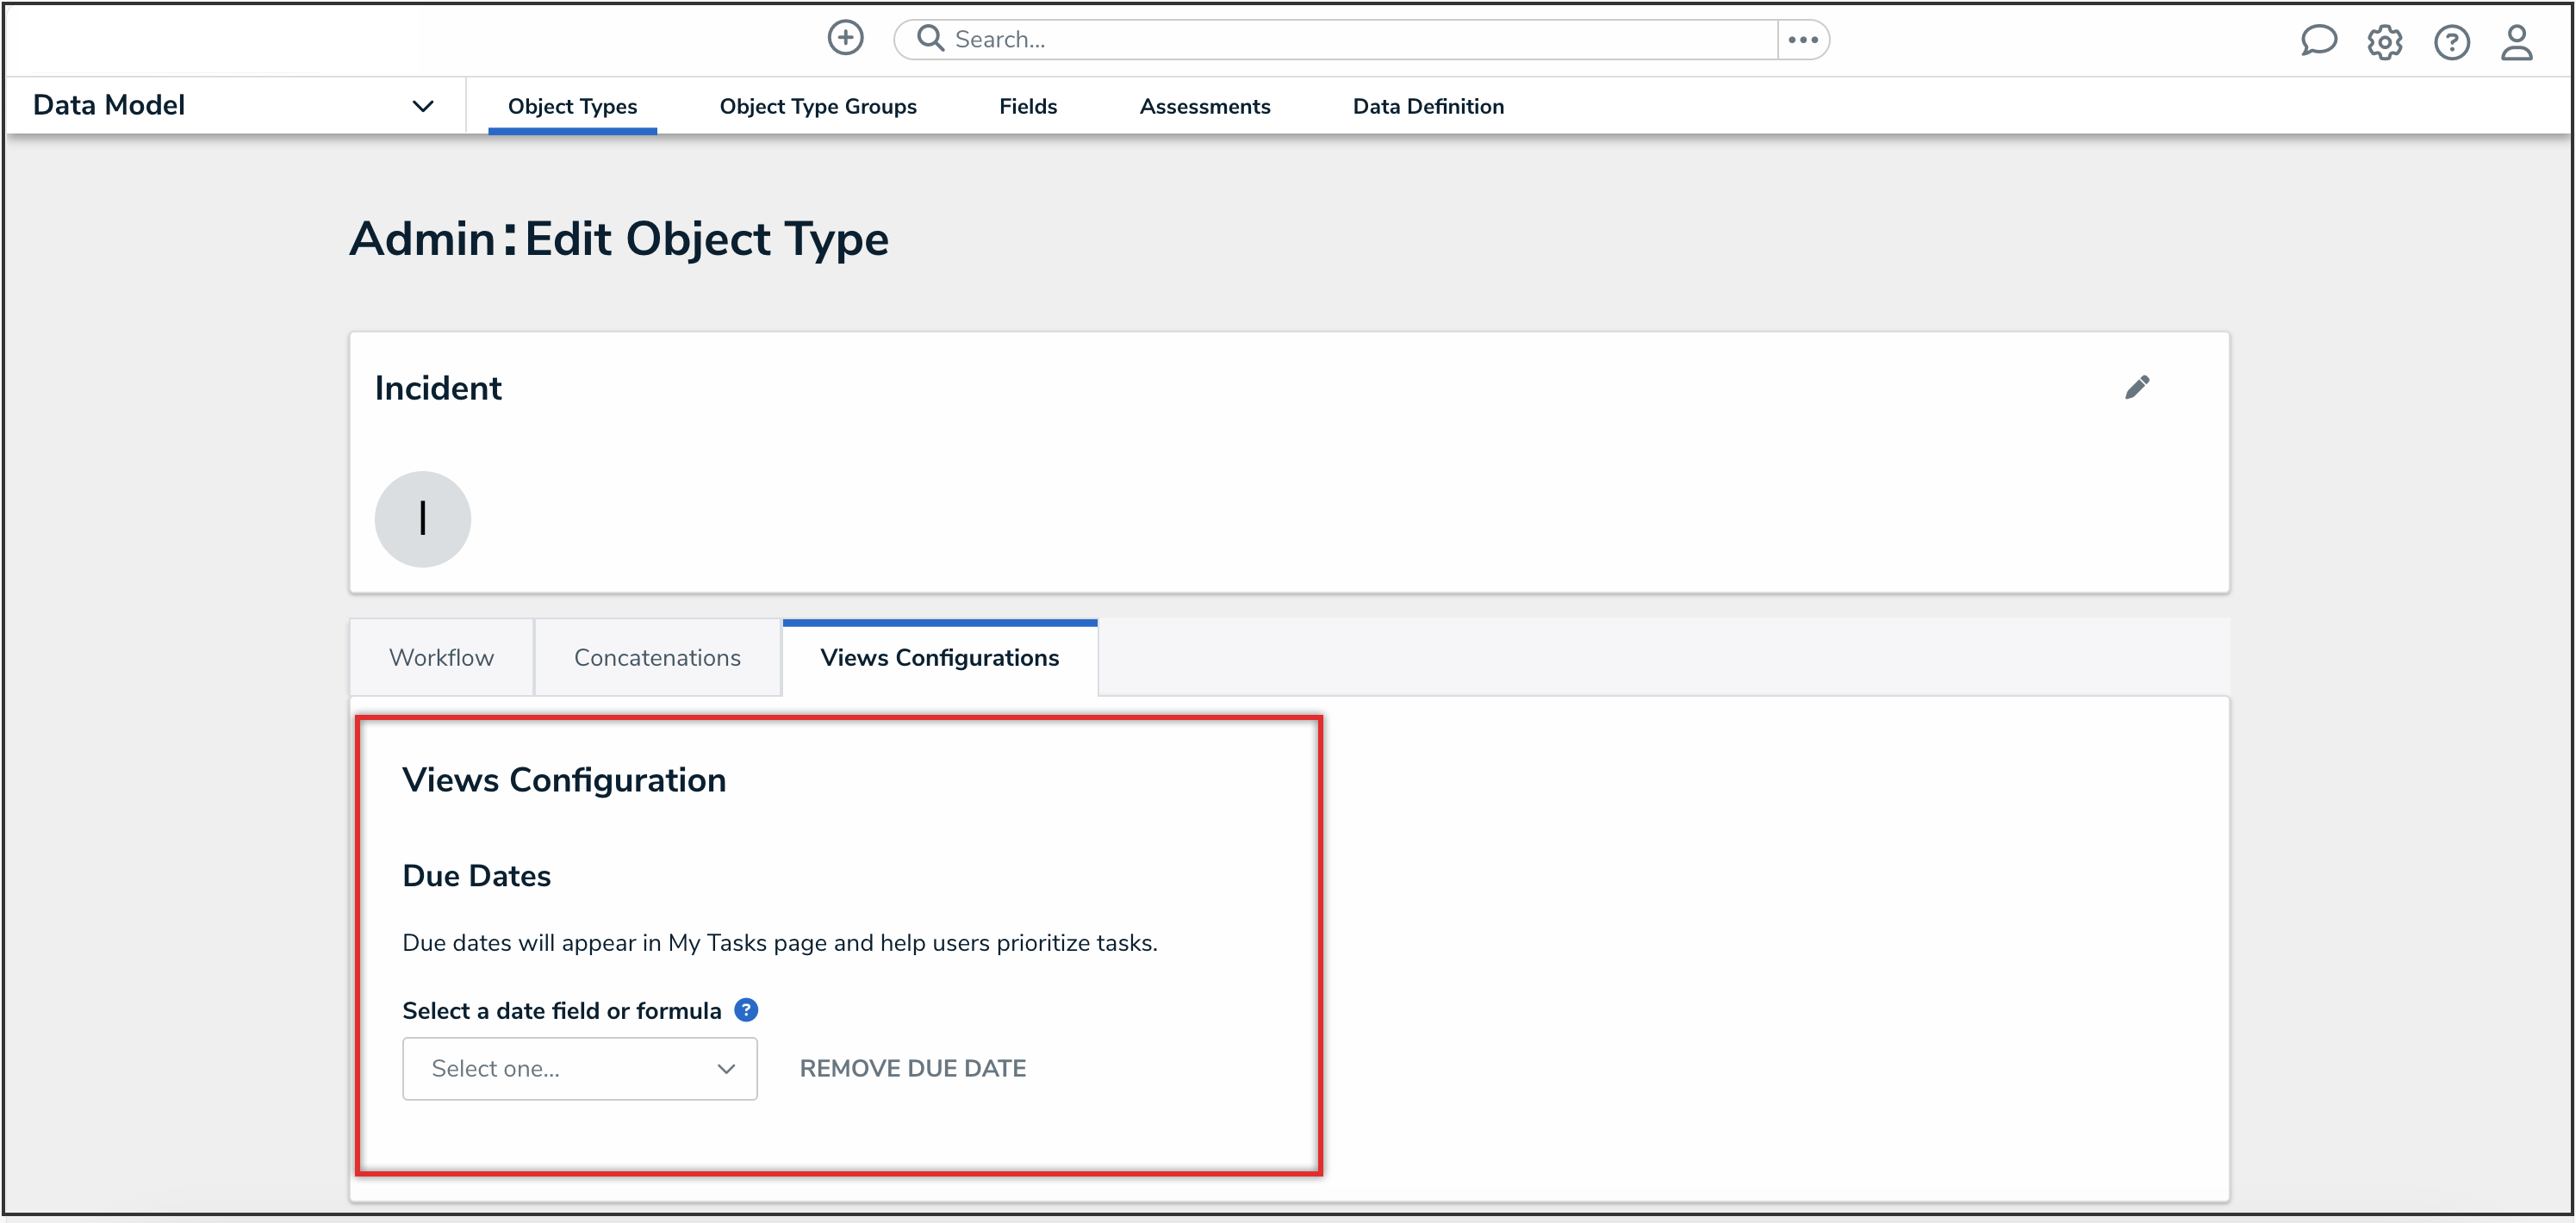
Views Configuration Tab

- Click the tabs to edit, add, or delete the components added to the object type.
- Overview Tab: The Overview tab summarizes the related forms, object type groups, activities, applications, reports, and report definition connected to the object type.
- Fields Tab: The Fields tab displays the fields that are connected to the object type. The Fields tab allows you to add fields to or unlink fields from the object type. Please refer to the Add Fields to an Object Type article for information on adding a field to an object type.
- Formulas Tab: The Formulas tab displays the formulas connected to the object type. The Formulas tab allows you to add fields to or delete formulas from the object type. Please refer to the Create Formulas on an Object Type article for information on adding a formula to an object type.
- Relationships Tab: The Relationships tab displays the relationships connected to the object type. The Relationships tab allows you to add relationships to or delete relationships from the object type. Please refer to the Create Relationships on an Object Type article for information on adding a relationship to an object type.
- References Tab: The References tab displays the object type's references which indicates that an object is connected to another object through a relationship.
- Roles Tab: The Roles tab displays the roles connected to the object type. The Roles tab allows you to add fields to or delete formulas from the object type. Please refer to the Add Roles to an Object Type article for information on adding a role to an object type.
- Click a Field, Formula, Relationship, or Role link (under its corresponding tab) to edit an existing object connected to the object type.

Formula Link
- Click the Delete or Unlink icon to delete or remove the corresponding object from the object type.
![]()
Delete Icon
- Click the Done button when you are finished.

Done Button
Deleting an Object Type
- Before deleting an object type, you must delete all objects associated with it.
- To delete the object type, click the Delete icon.

Delete Icon
- Click the Delete button to confirm.

Delete Button