- API keys are used to authenticate requests to the Resolver Core API without entering user credentials.
- API keys never expire, with no need to establish or maintain a session.
- API keys are tied to the user's org account. This means that if a user doesn't have permission to perform an action in Core, they won't be able to do it through the API.
- Only admins and super admins can create API keys. Admins can only create keys for orgs on which they're an admin.
- For security purposes, API keys are not stored. If you misplace the key, it cannot be retrieved and must be regenerated.
- It's possible to create API keys to impersonate other users; however, only super admins can enable this feature. See the Impersonation section of Use an API Key article for more information.
- Only active users of the same org as the API key user can be impersonated.
- Any call can be made using an API key while impersonating another user; however, only three endpoints in the Swagger user interface support this:
- POST /data/file/file in the file resource;
- POST /data/object/{objectID}/file/{fileID} in the object resource; and
- POST /creation/import/json in the dataImport resource.
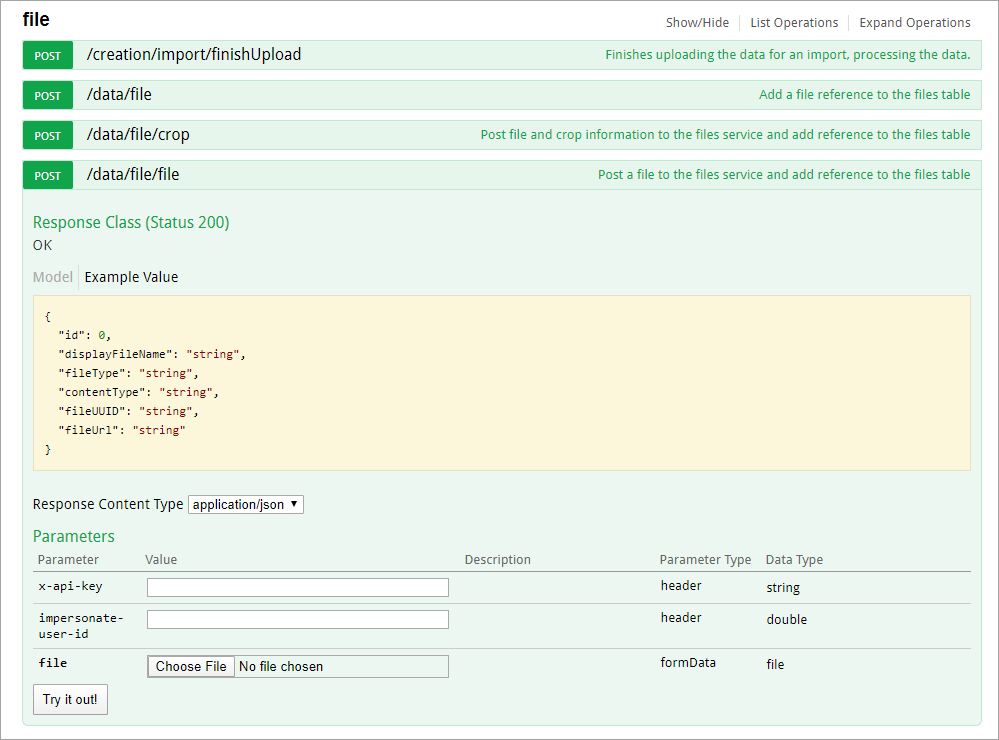 The file endpoint.
API keys can be used to authenticate requests in Core while impersonating another user; however, note the following:
Impersonation can only be enabled by a member of Resolver Support at the time the key was created. Should you wish to enable impersonation, contact Resolver Support to create a new API key.
Any user can be impersonated, provided you've obtained their user ID and the user is active in the org the API key was created for.
Actions performed while impersonating using an API key are captured in the audit trail as "[API User's Name] impersonating [Impersonated User's Name]".
If a user is impersonated using an external system (integration), the Modified By property on an object will show "[API User's Name]", but would still be captured in the audit trail as "[API User's Name] impersonating [Impersonated User's Name]".
To impersonate a user with an API key, open a supported endpoint in Swagger, enter the API key in the x-api-key field and the ID of the user to be impersonated in the impersonate-user-id field. The user ID can be obtained from the address bar of your browser after navigating to the Edit User page for the user (e.g., 1732).
 The Edit User page. The user ID is displayed in the address bar.
Overview
API keys are used to authenticate requests to the Resolver API without entering user credentials.
User Account Requirements
The user must have Administrator permissions to access the Admin Overview screen.
Related Information/Setup
Please refer to the API Key Overview article for more information on using API keys in Resolver.
Navigation
-
From the Home screen, click the Administration icon.
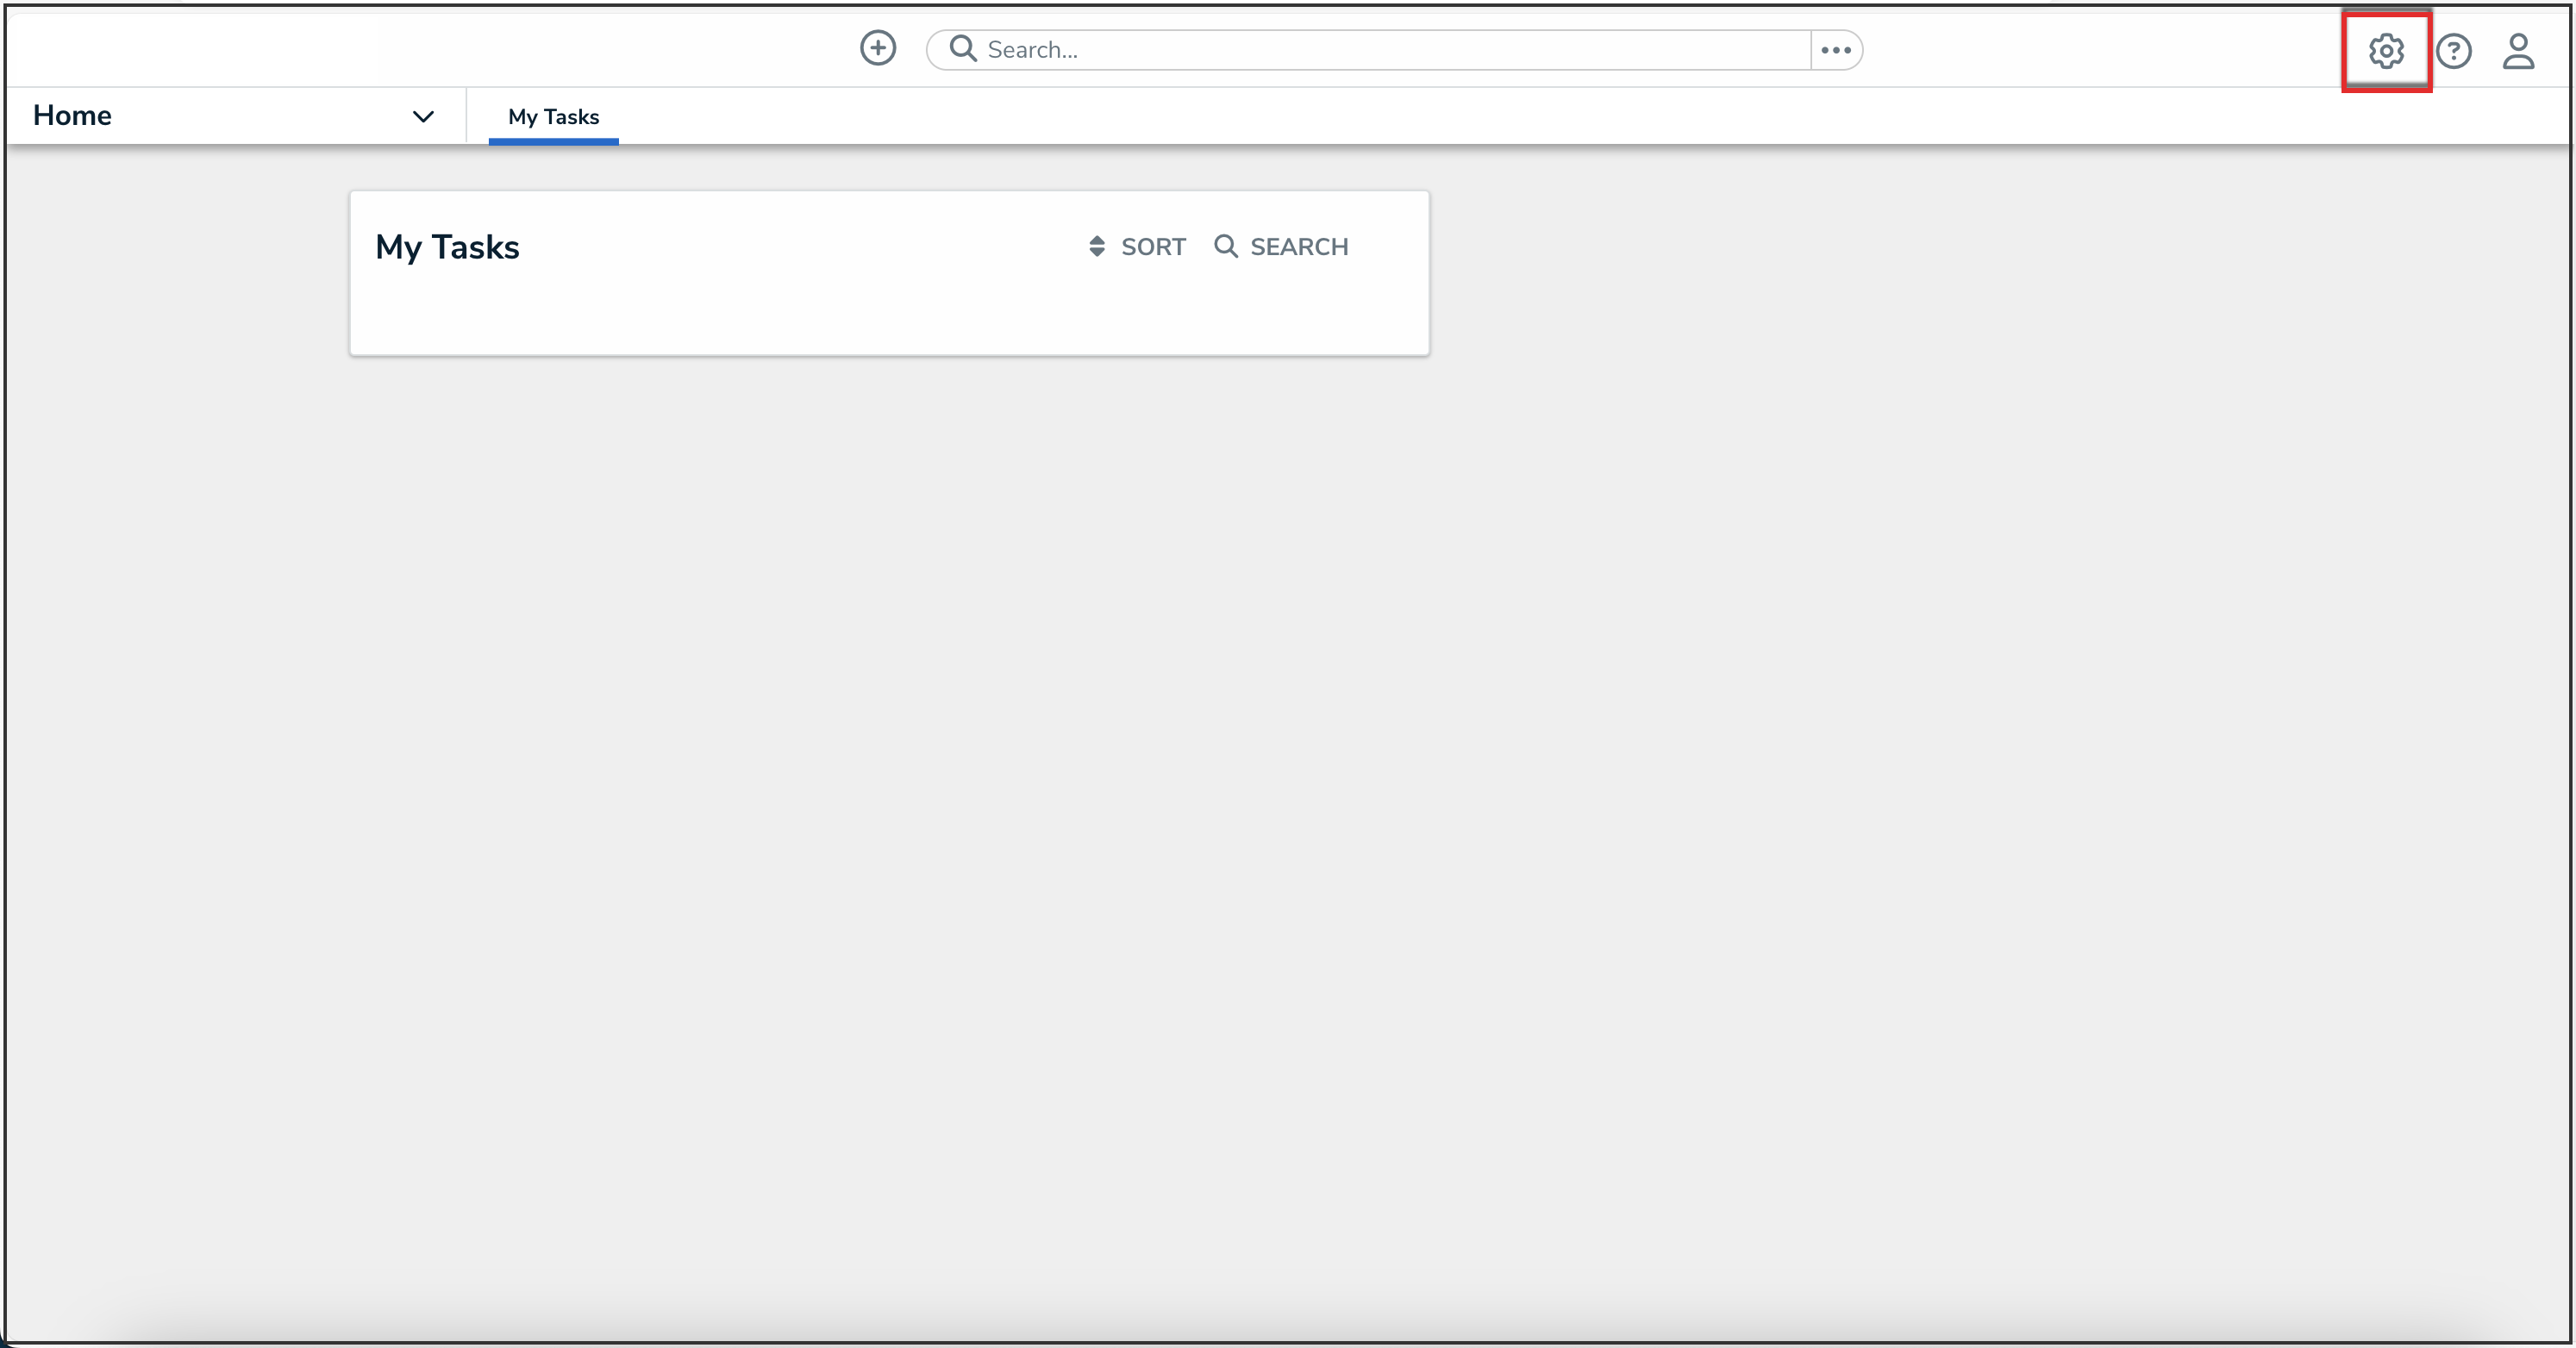
Administration Icon
- From the Administrator Settings menu, click User Management.
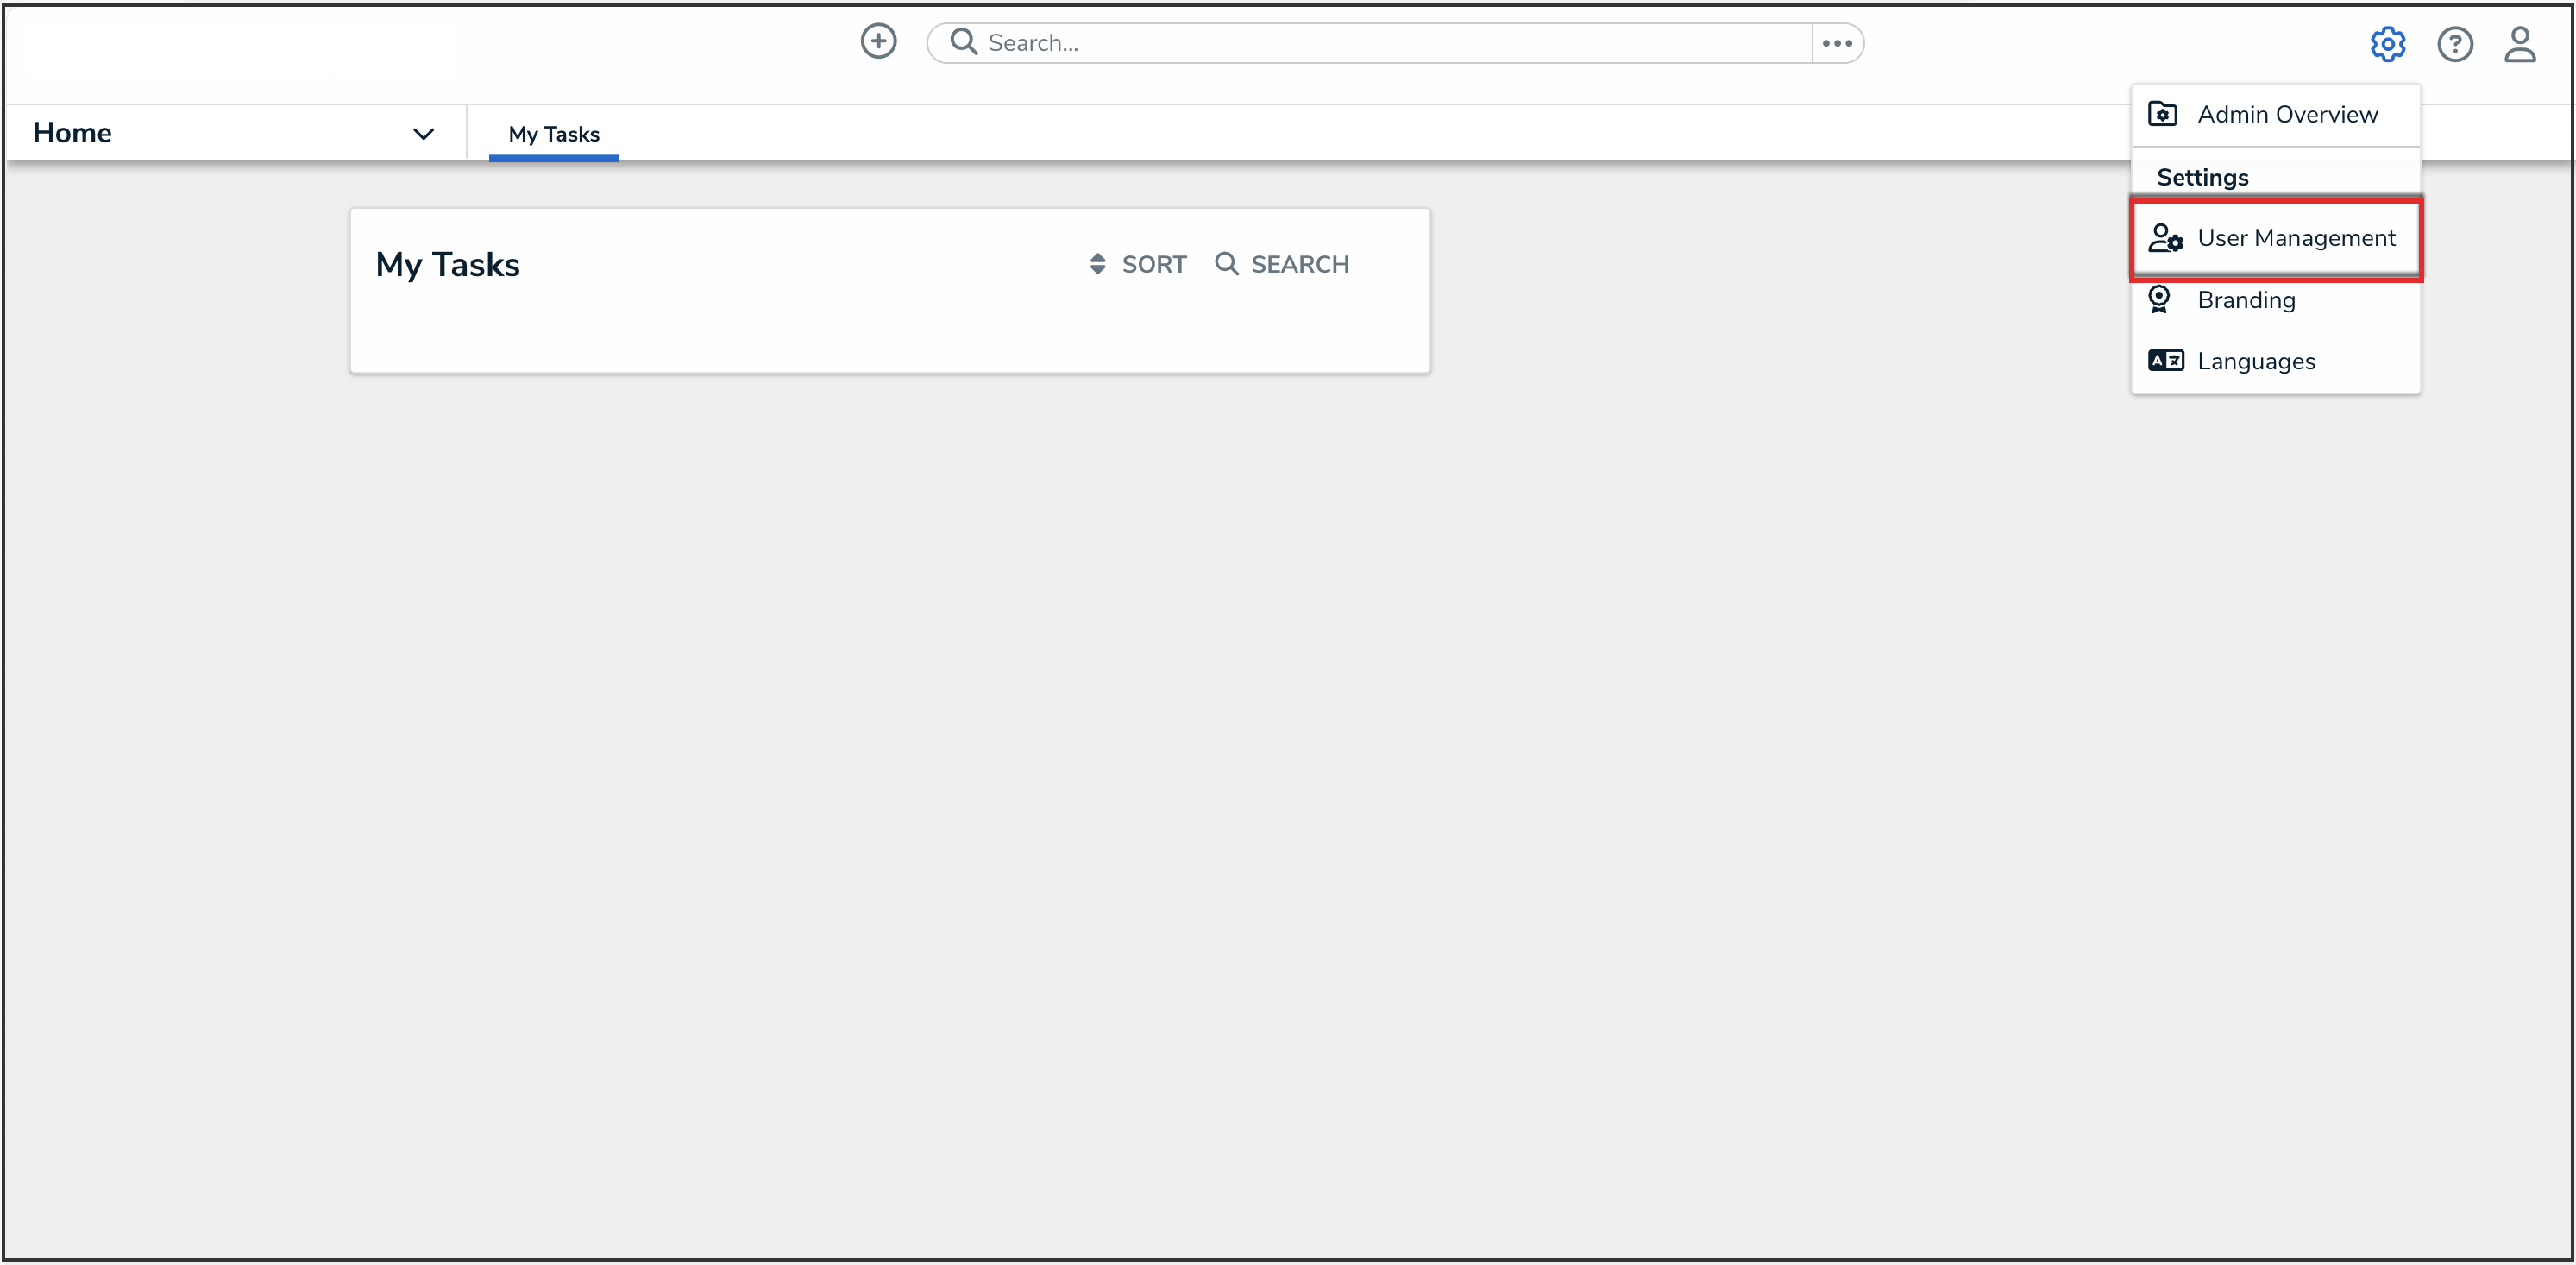
Administrator Settings Menu
- Click the Create User button.

Create User Button
Creating an API Key
For added security, it's recommended that the Admin setting is not enabled for API users unless Administrator privileges are needed to complete the required API calls.
- Follow the steps to create a new user.
- From the Edit User page, record the account's internal ID from the address bar of your browser (e.g., 247595).

Account Internal ID
-
From the Home screen, click the Administration icon.

Administration Icon
- From the Administrator Settings menu, click Admin Overview.
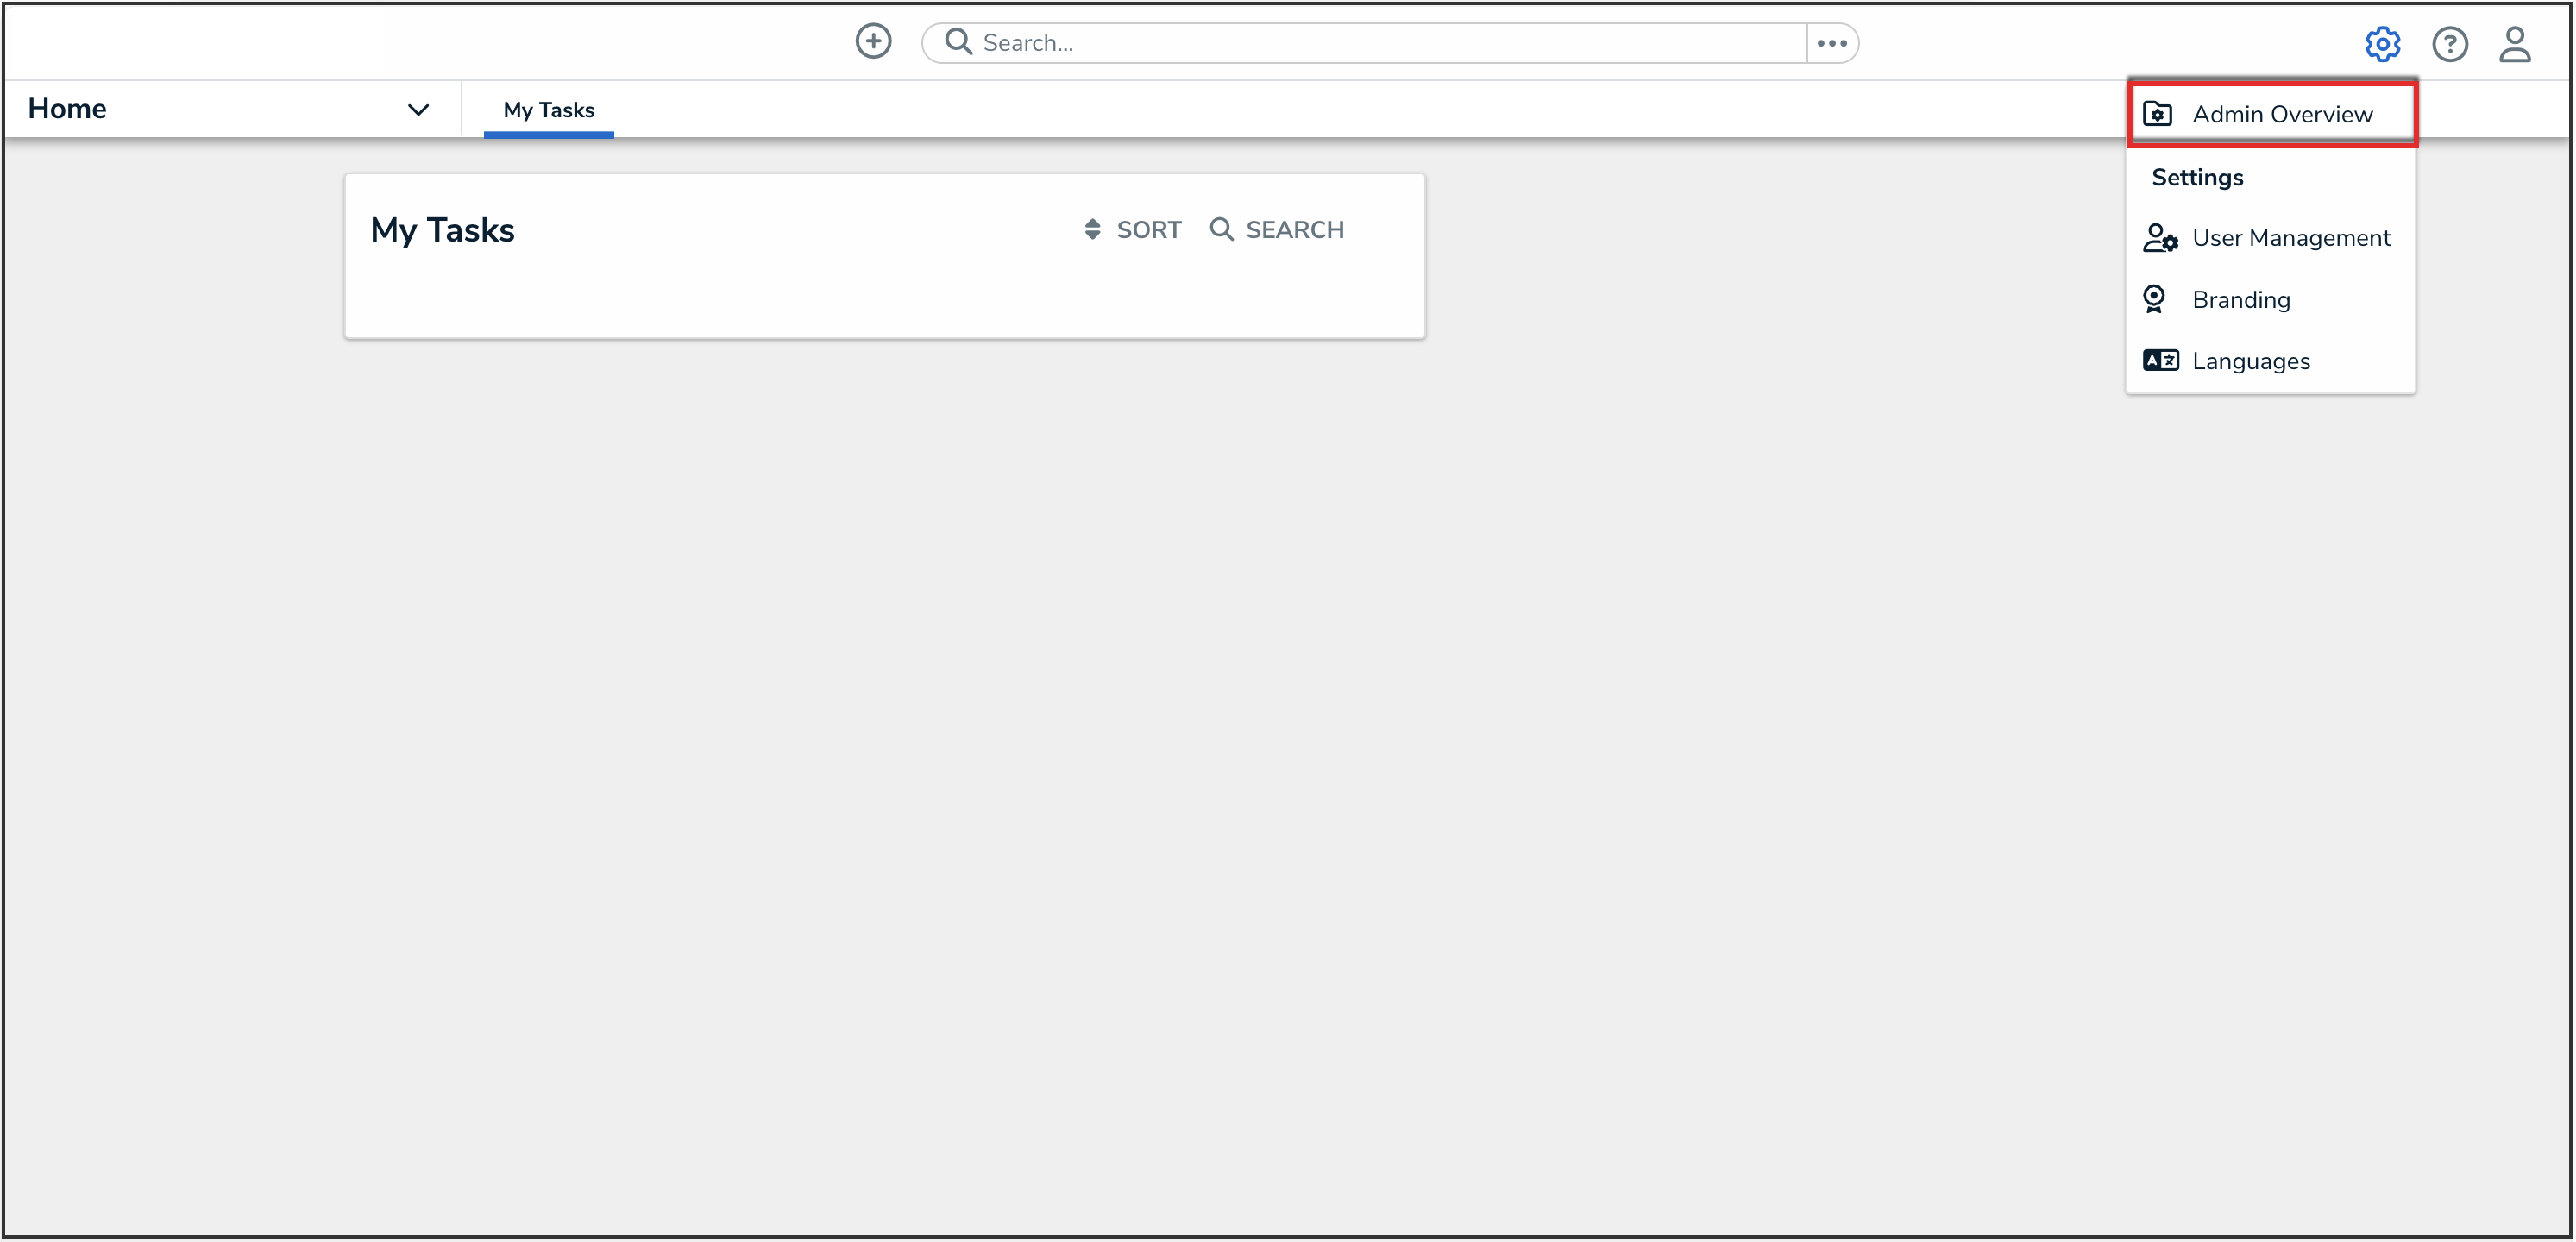
Administrator Settings Menu
- From the Admin Overview screen, click the Swagger Docs tile in the Tools section.
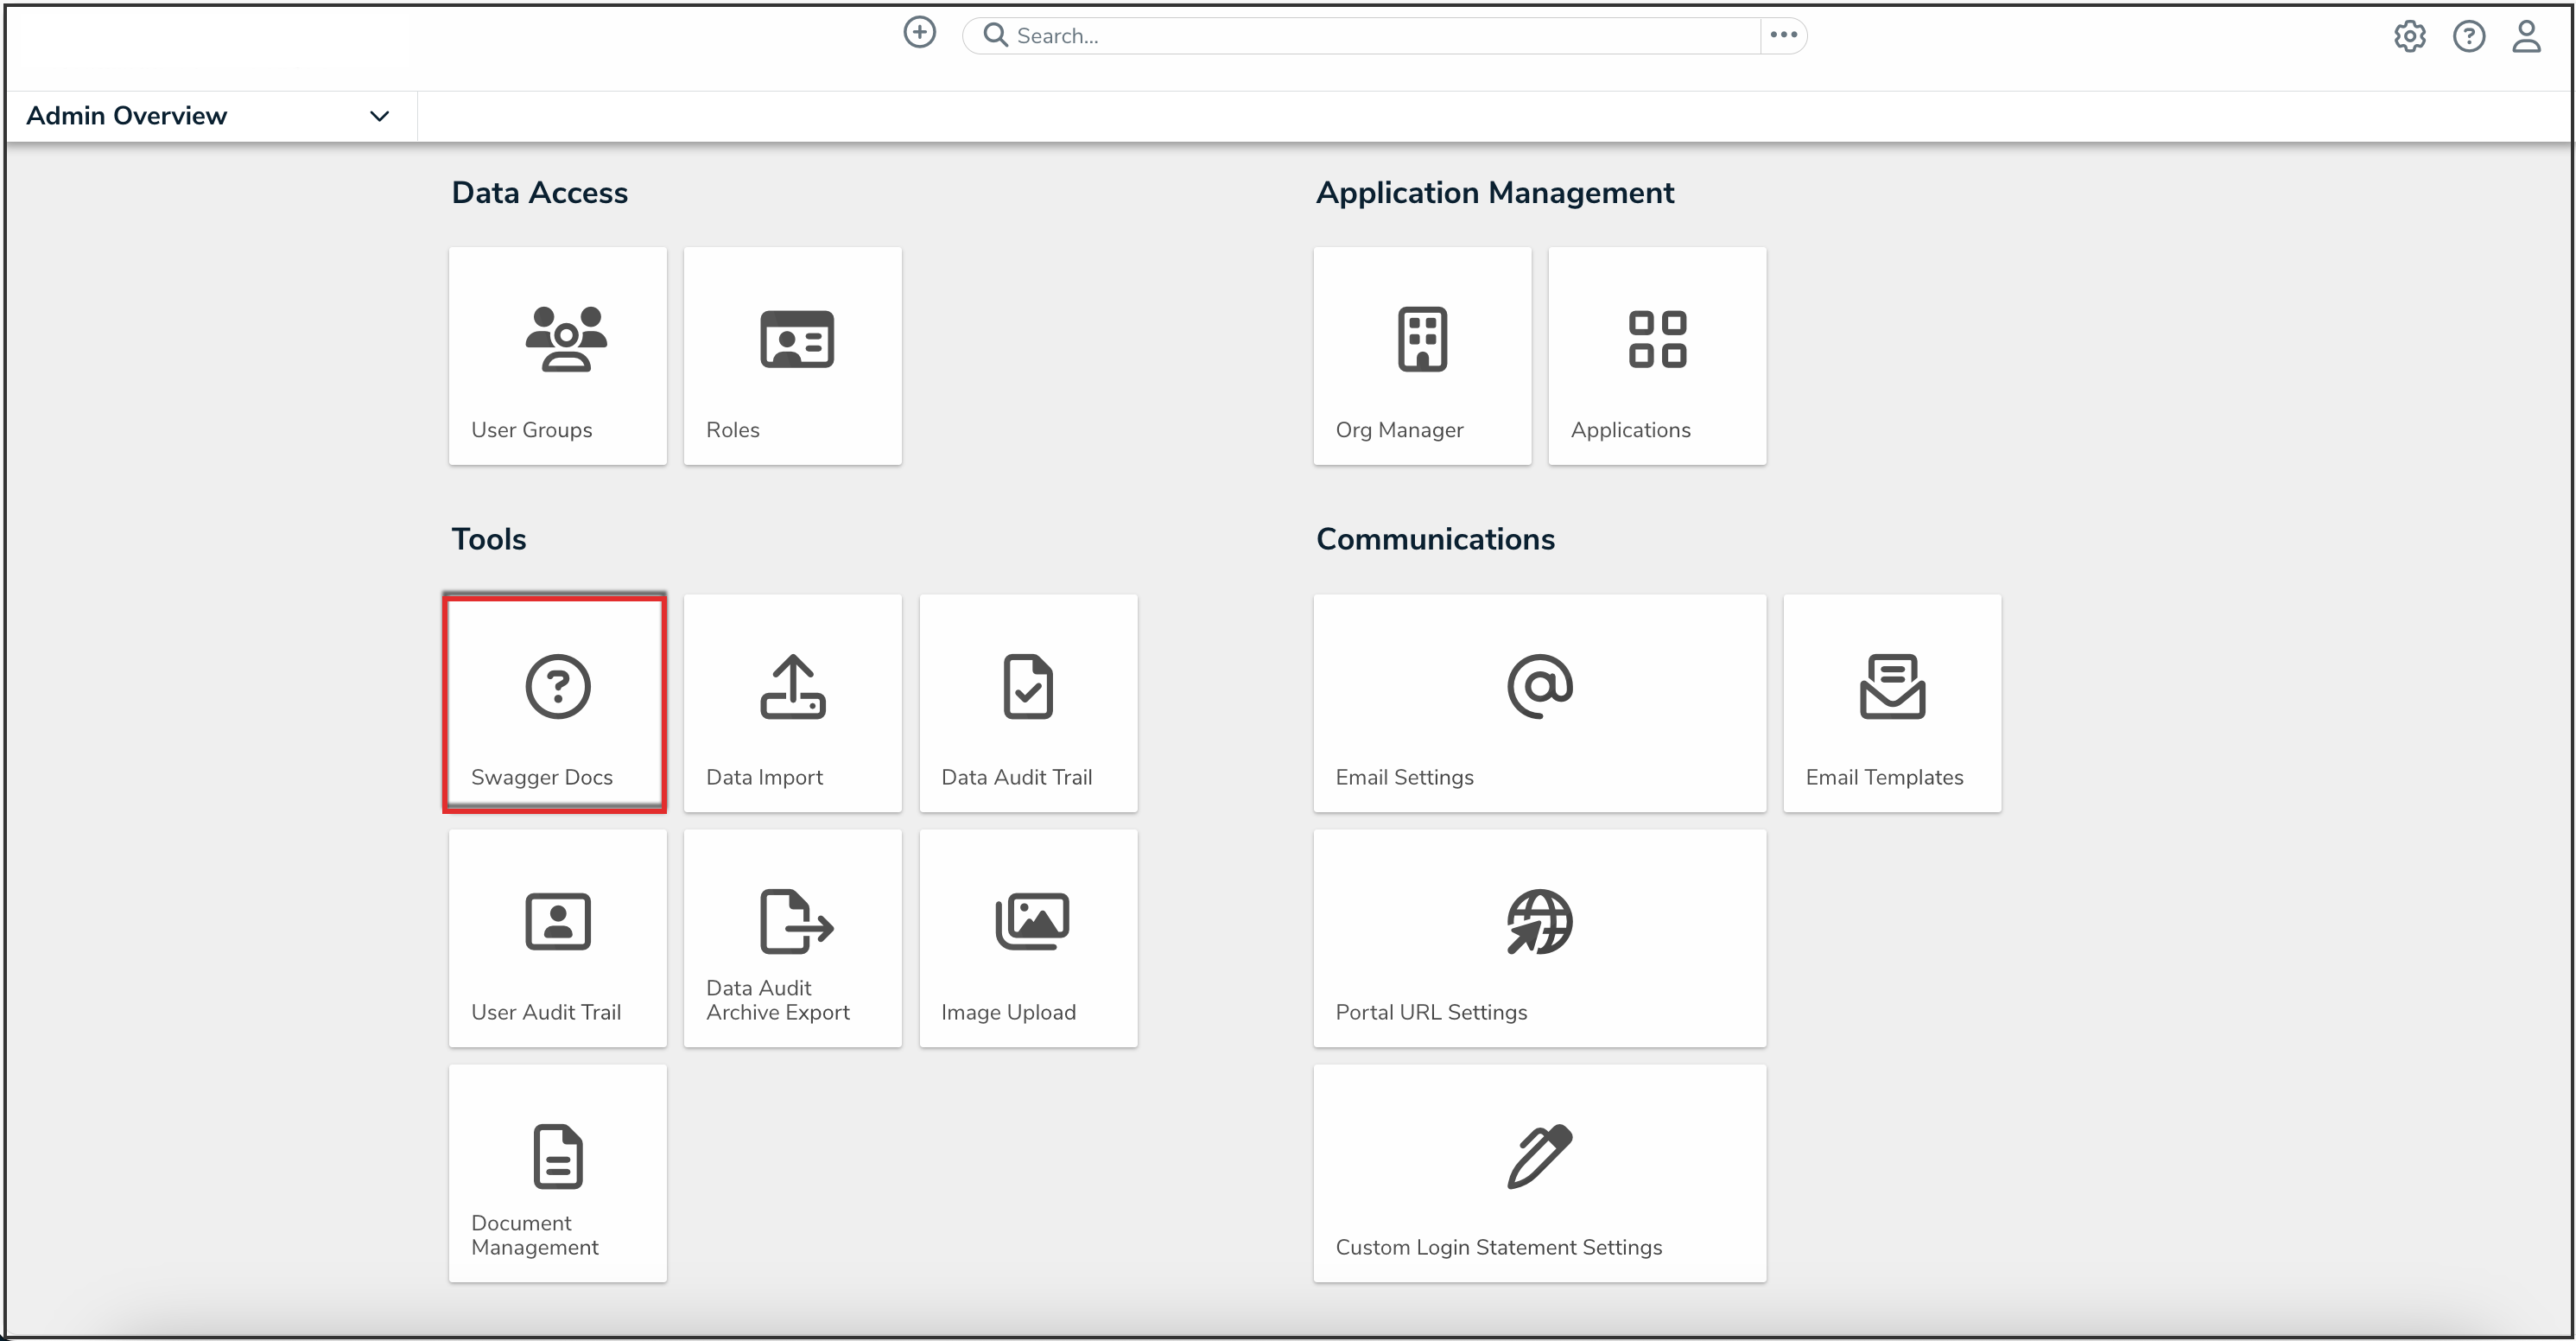
Swagger Docs Tile
- From the Admin: Help screen, enter the keyword user in the search text box, then click the User topic from the results.
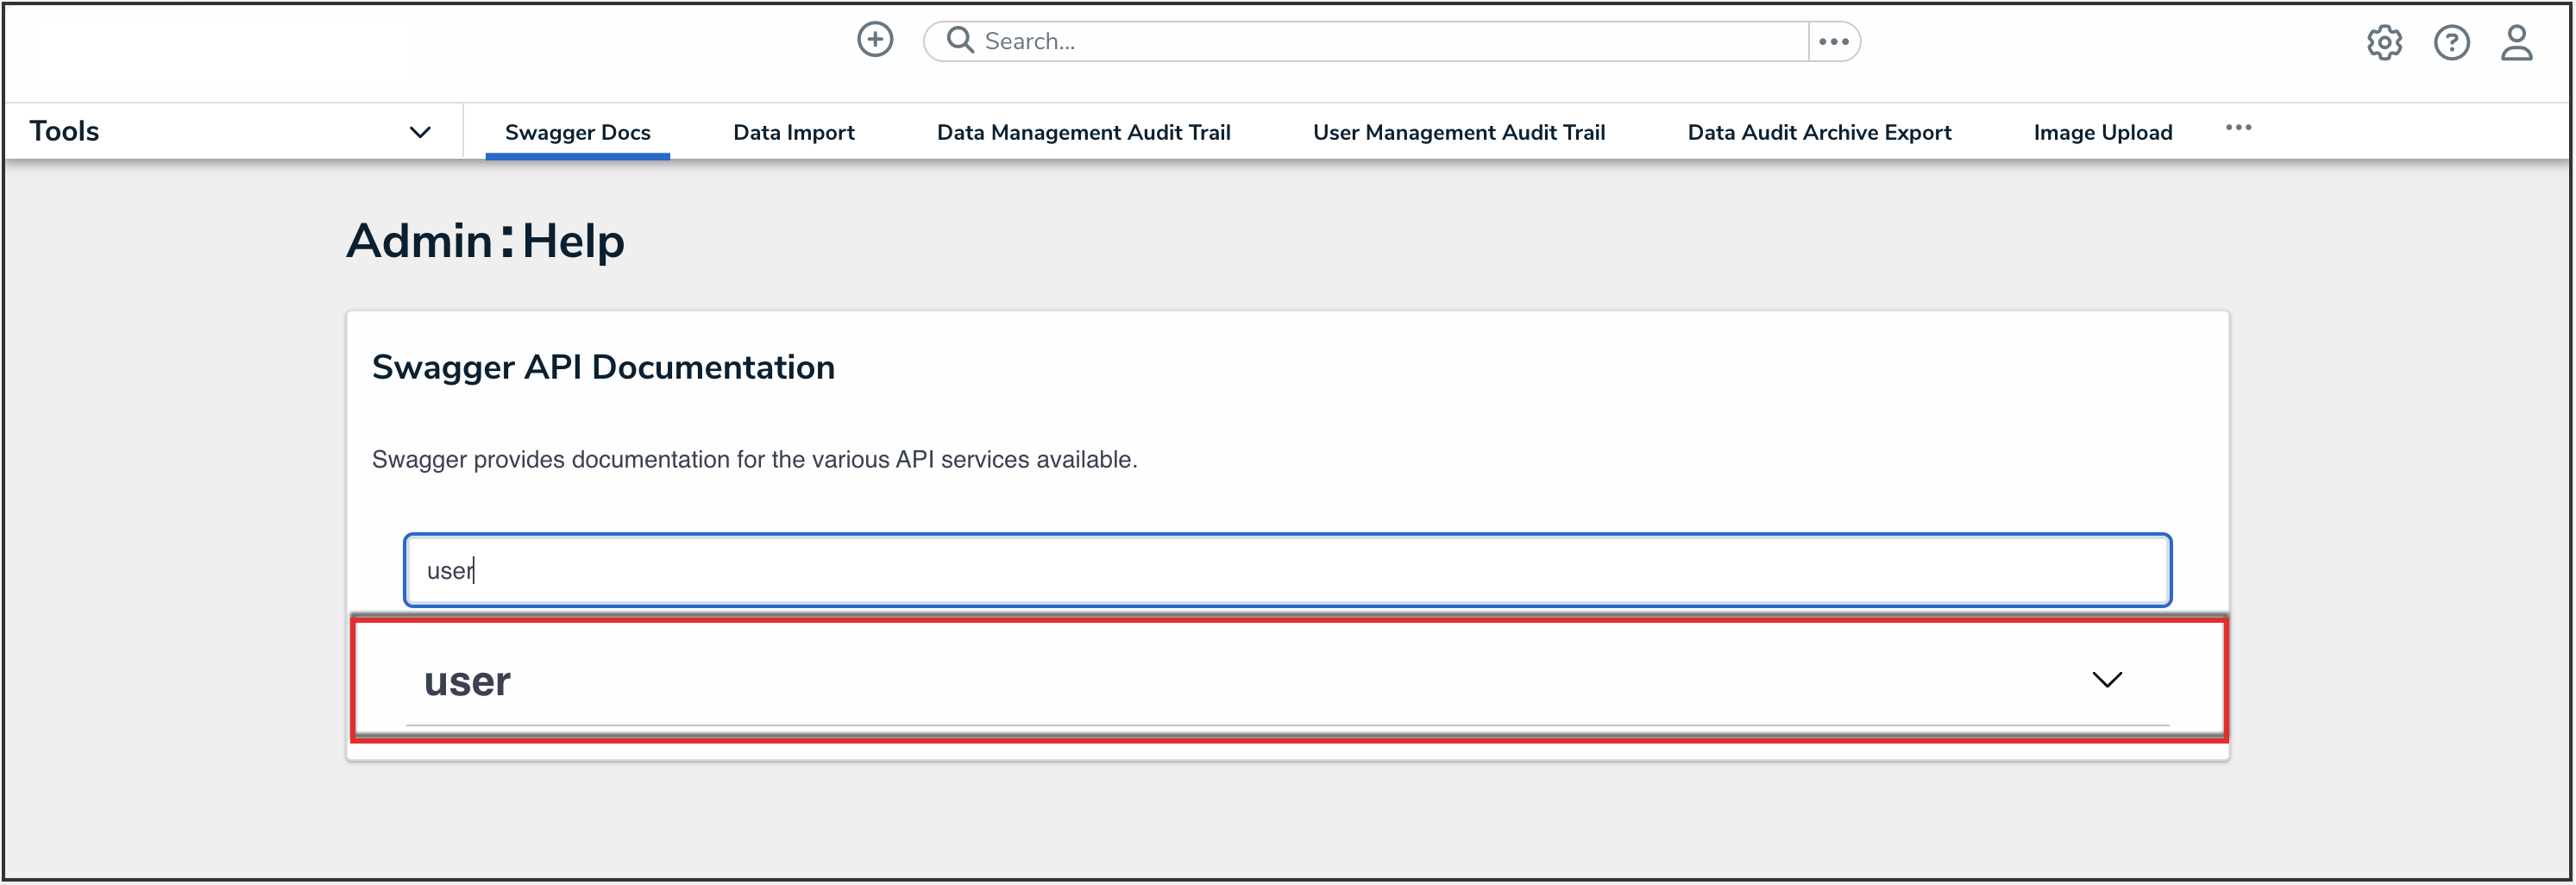
User API Topic
- Click the GET /user/users/me (who am I?) endpoint to open the parameters.
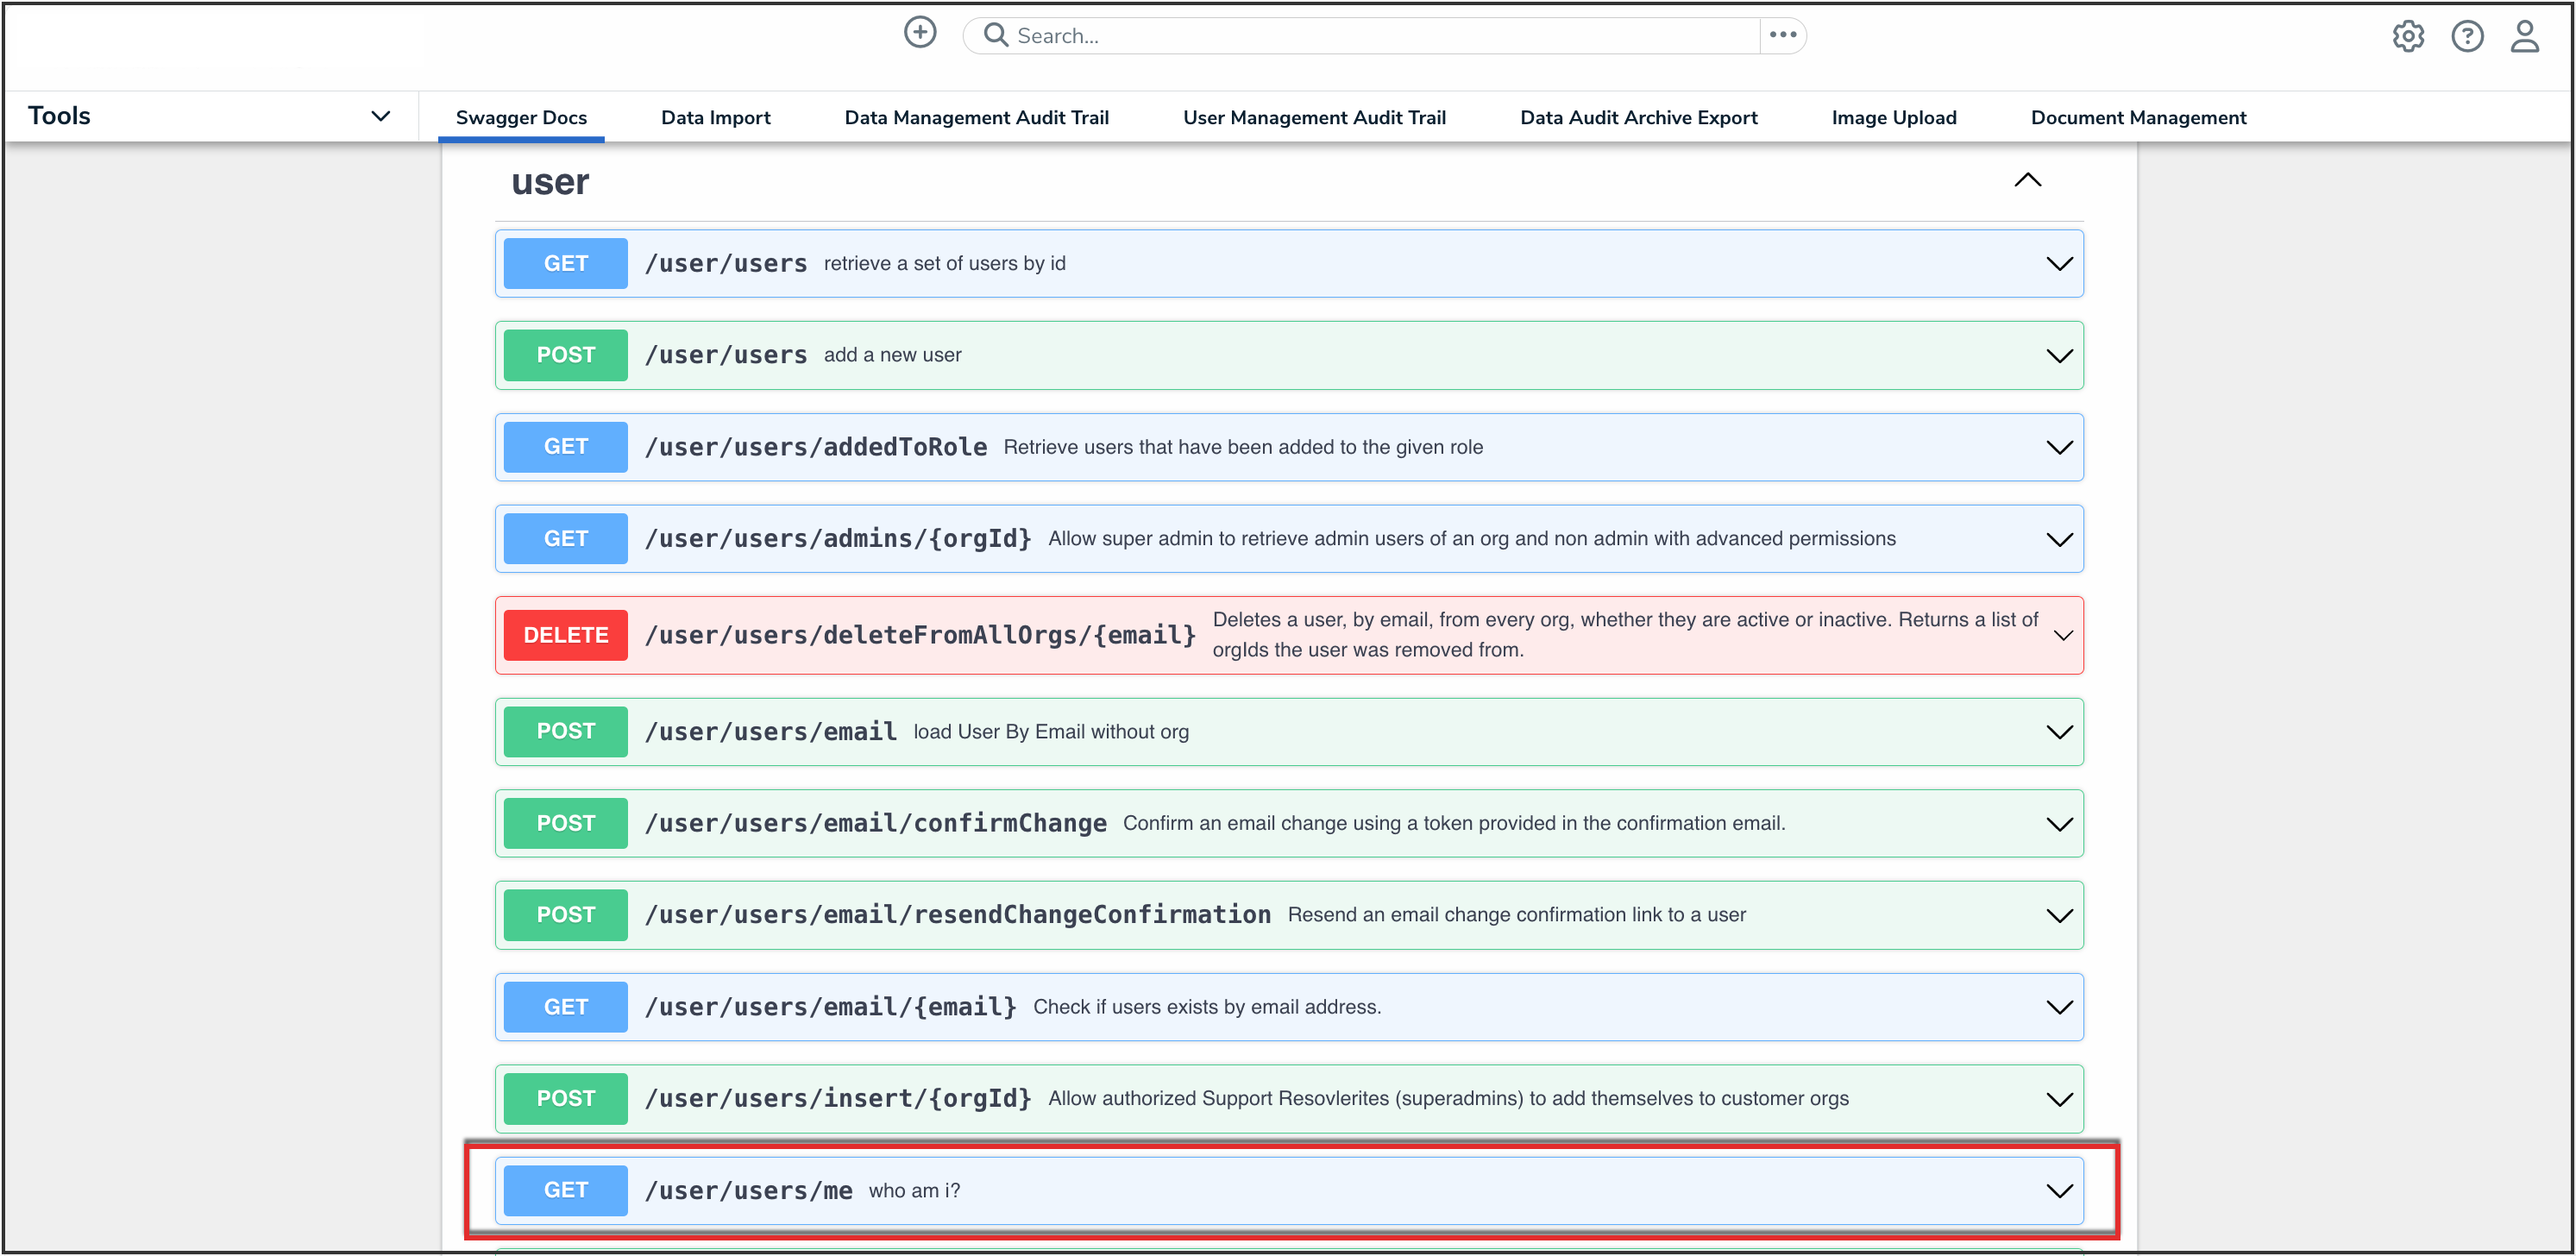
API Endpoint
- Click the Execute button.

Execute Button
- Record or copy the id number to your clipboard from the currentOrg section. This is the current org's internal ID.
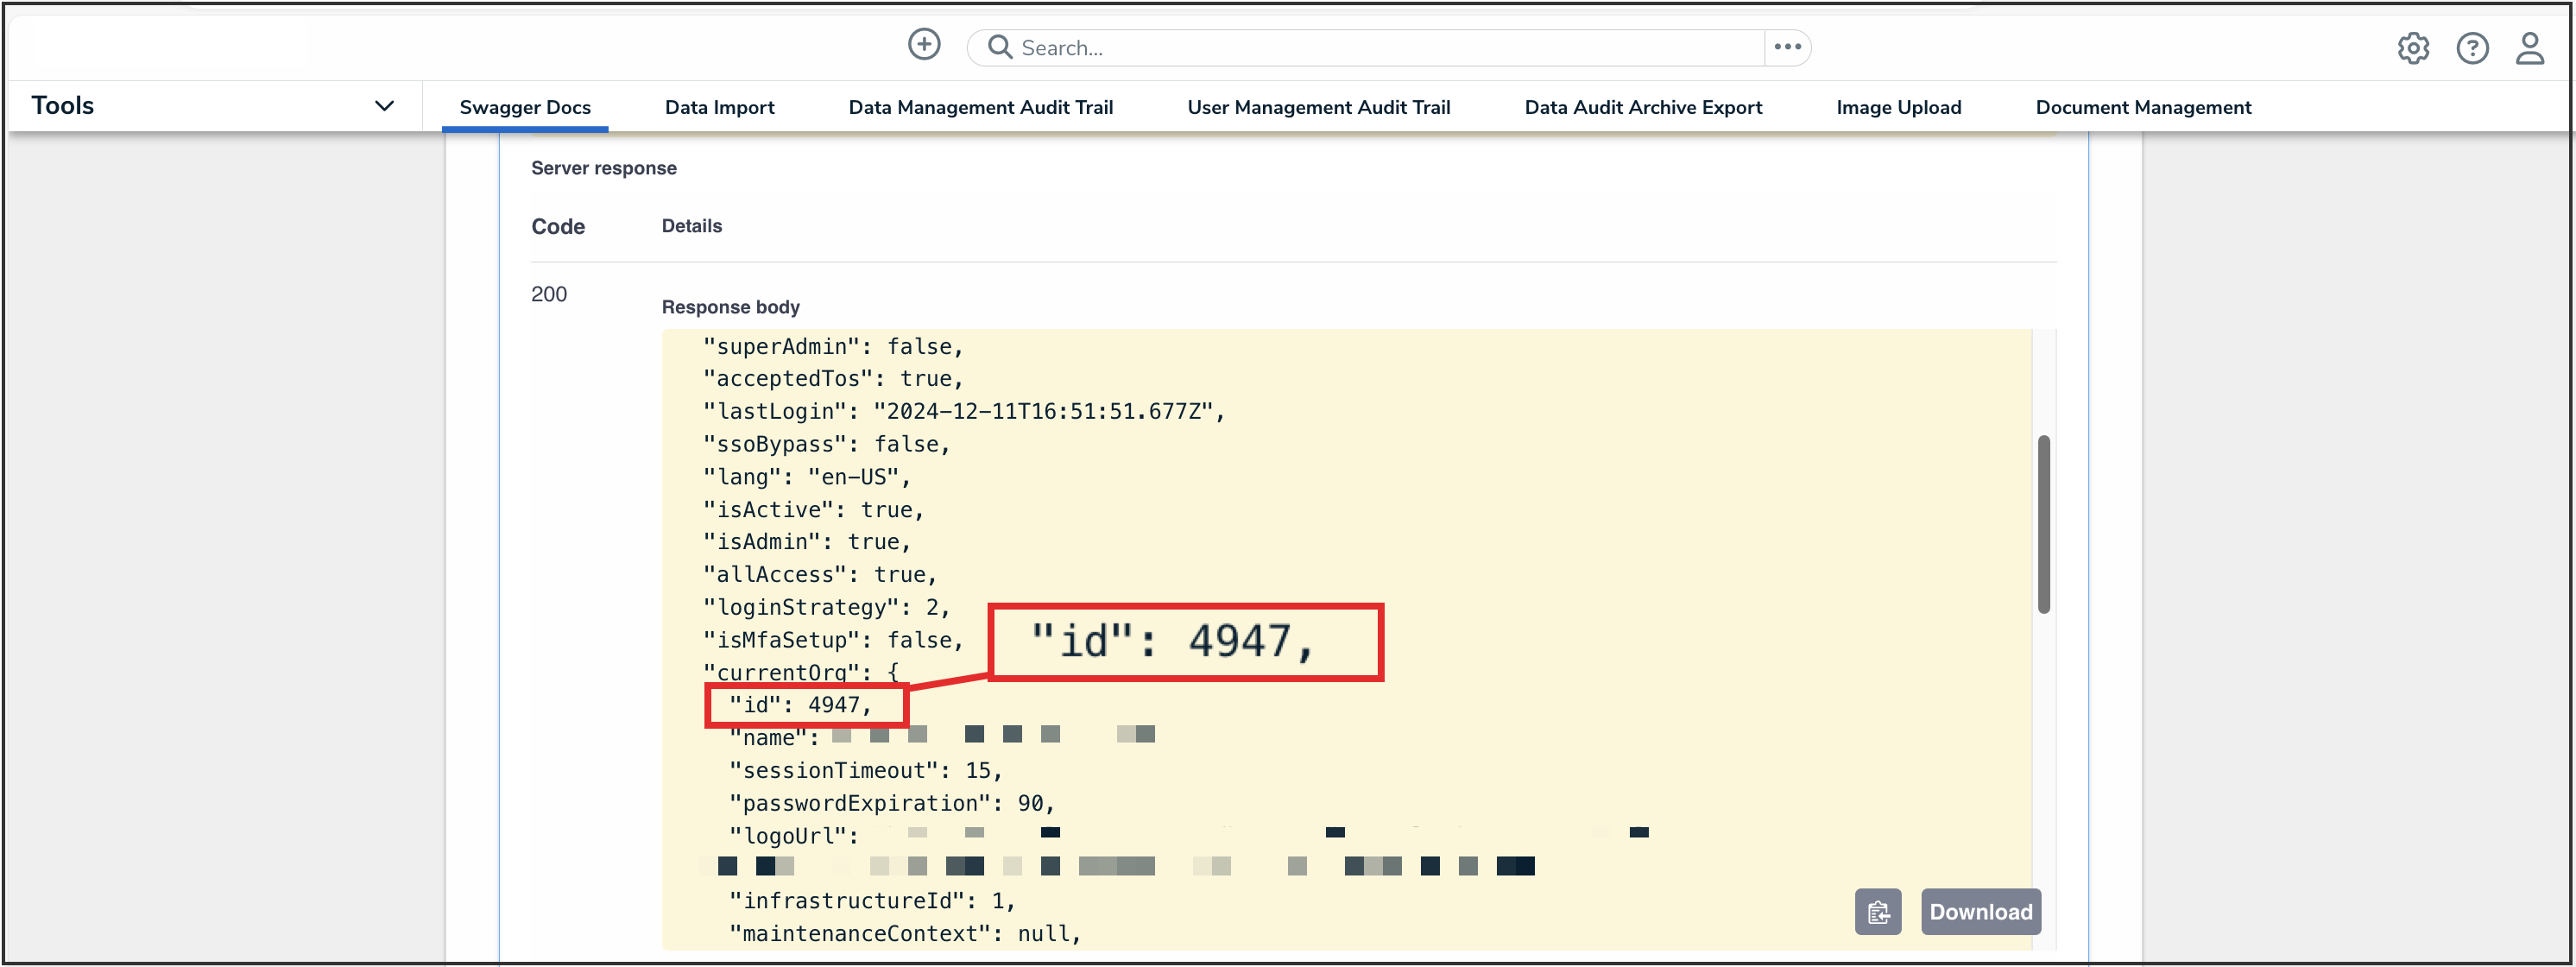
CurrentORG ID Value
- Enter the keyword org in the search text box, then click the Org topic from the results.
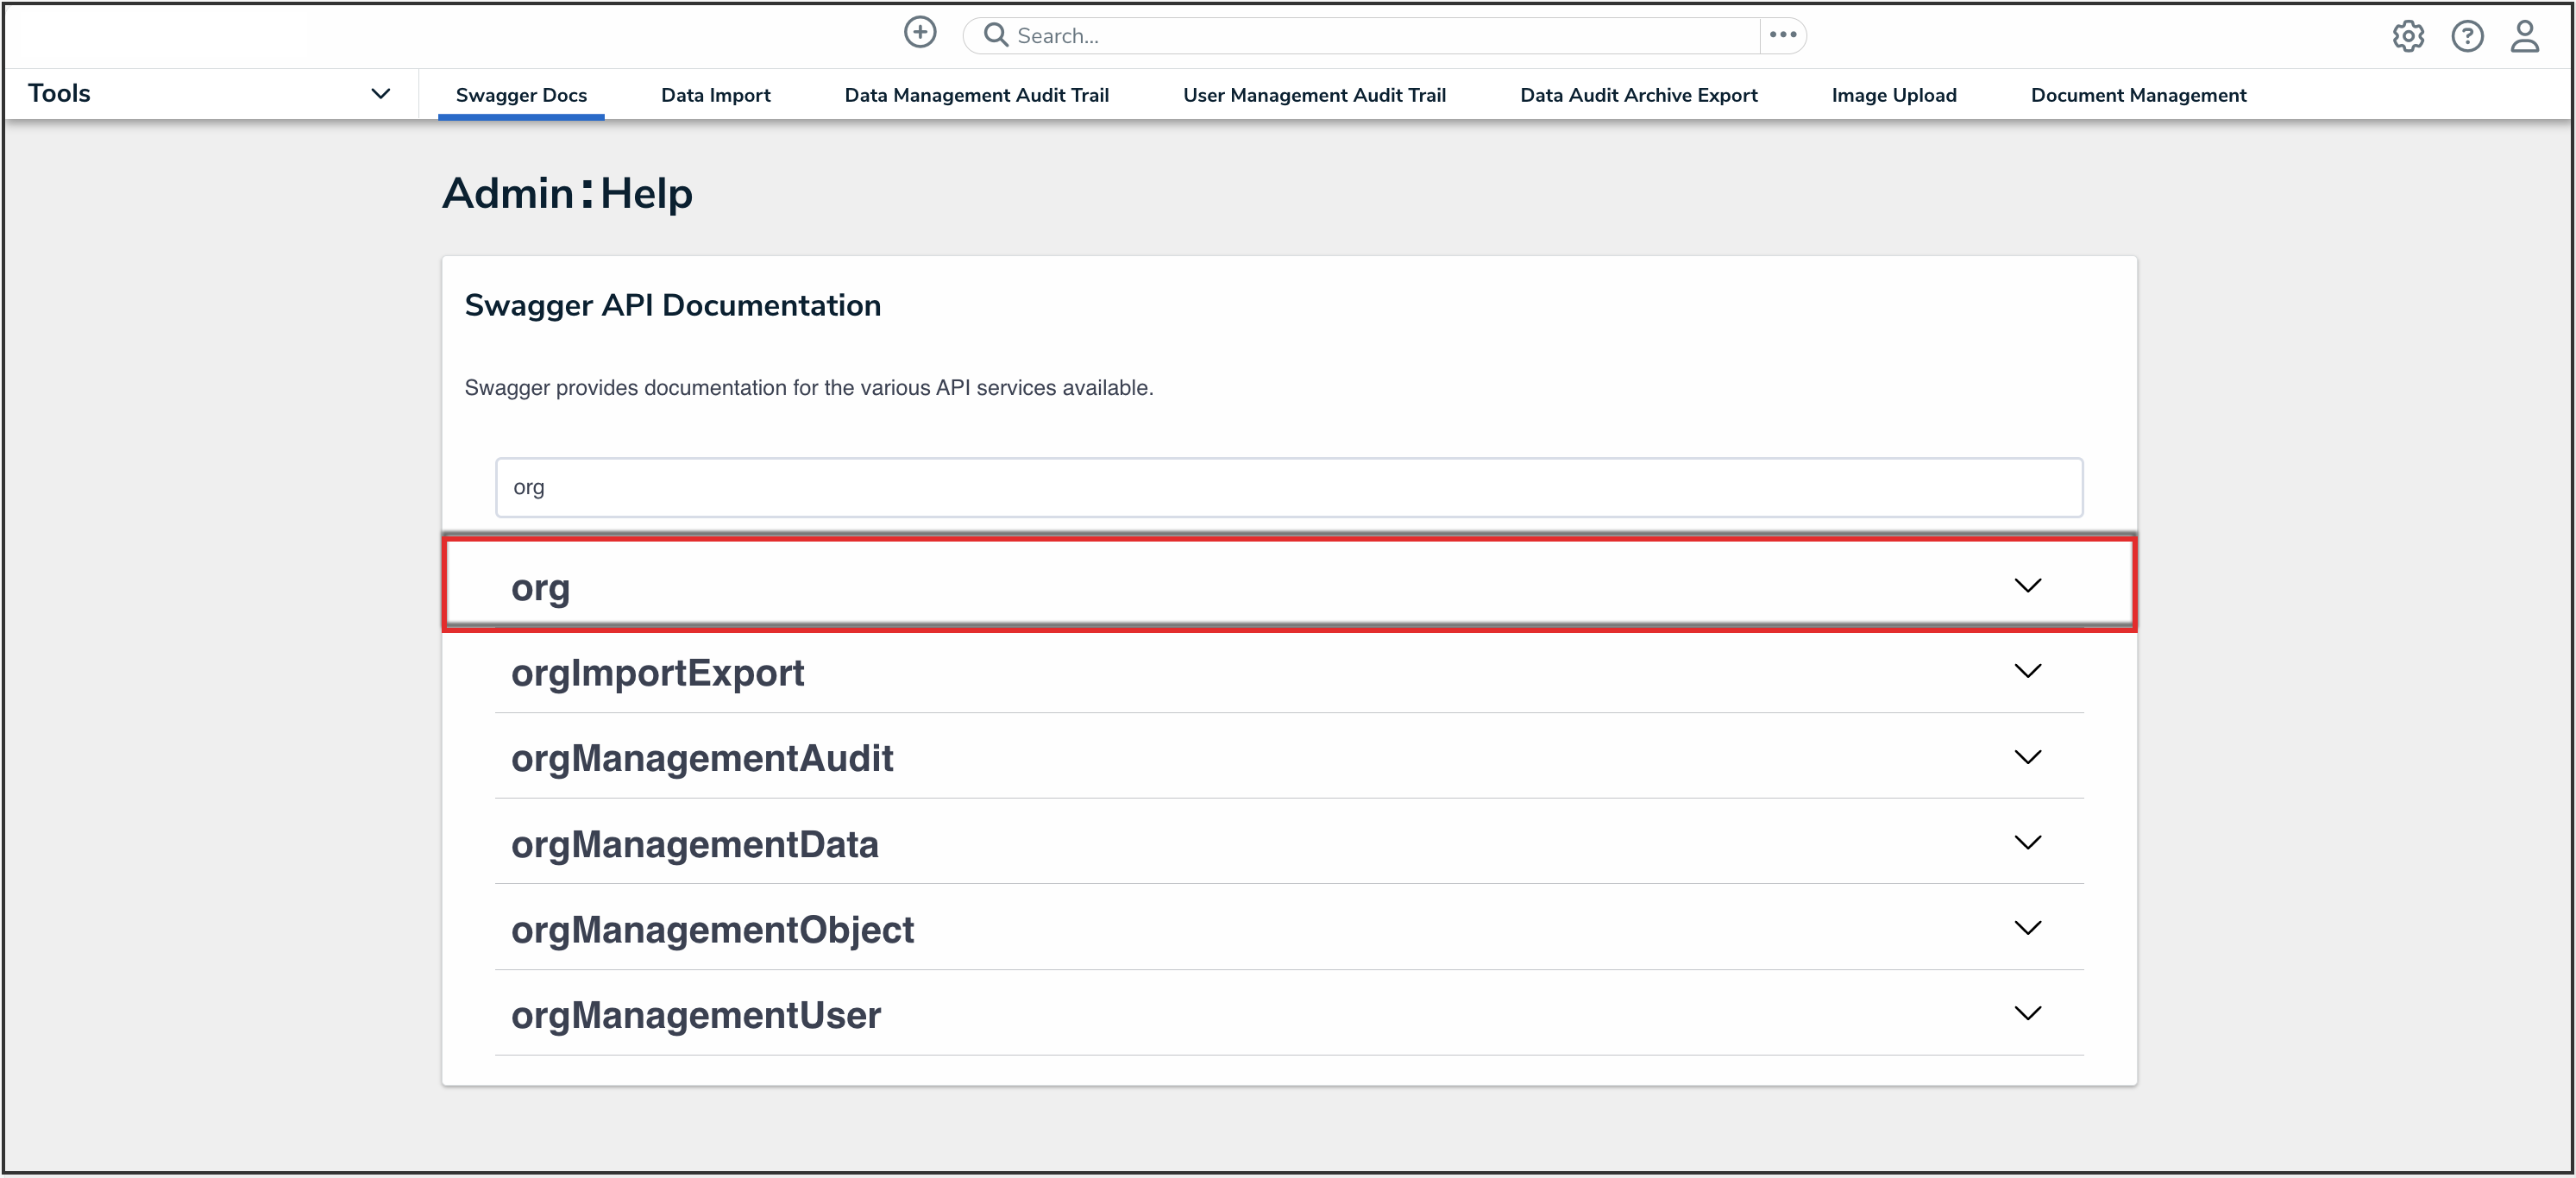
Org API Topic
- Click the GET /user/org/{orgId}/user/{userId} (load a user org membership) endpoint to open the parameters.
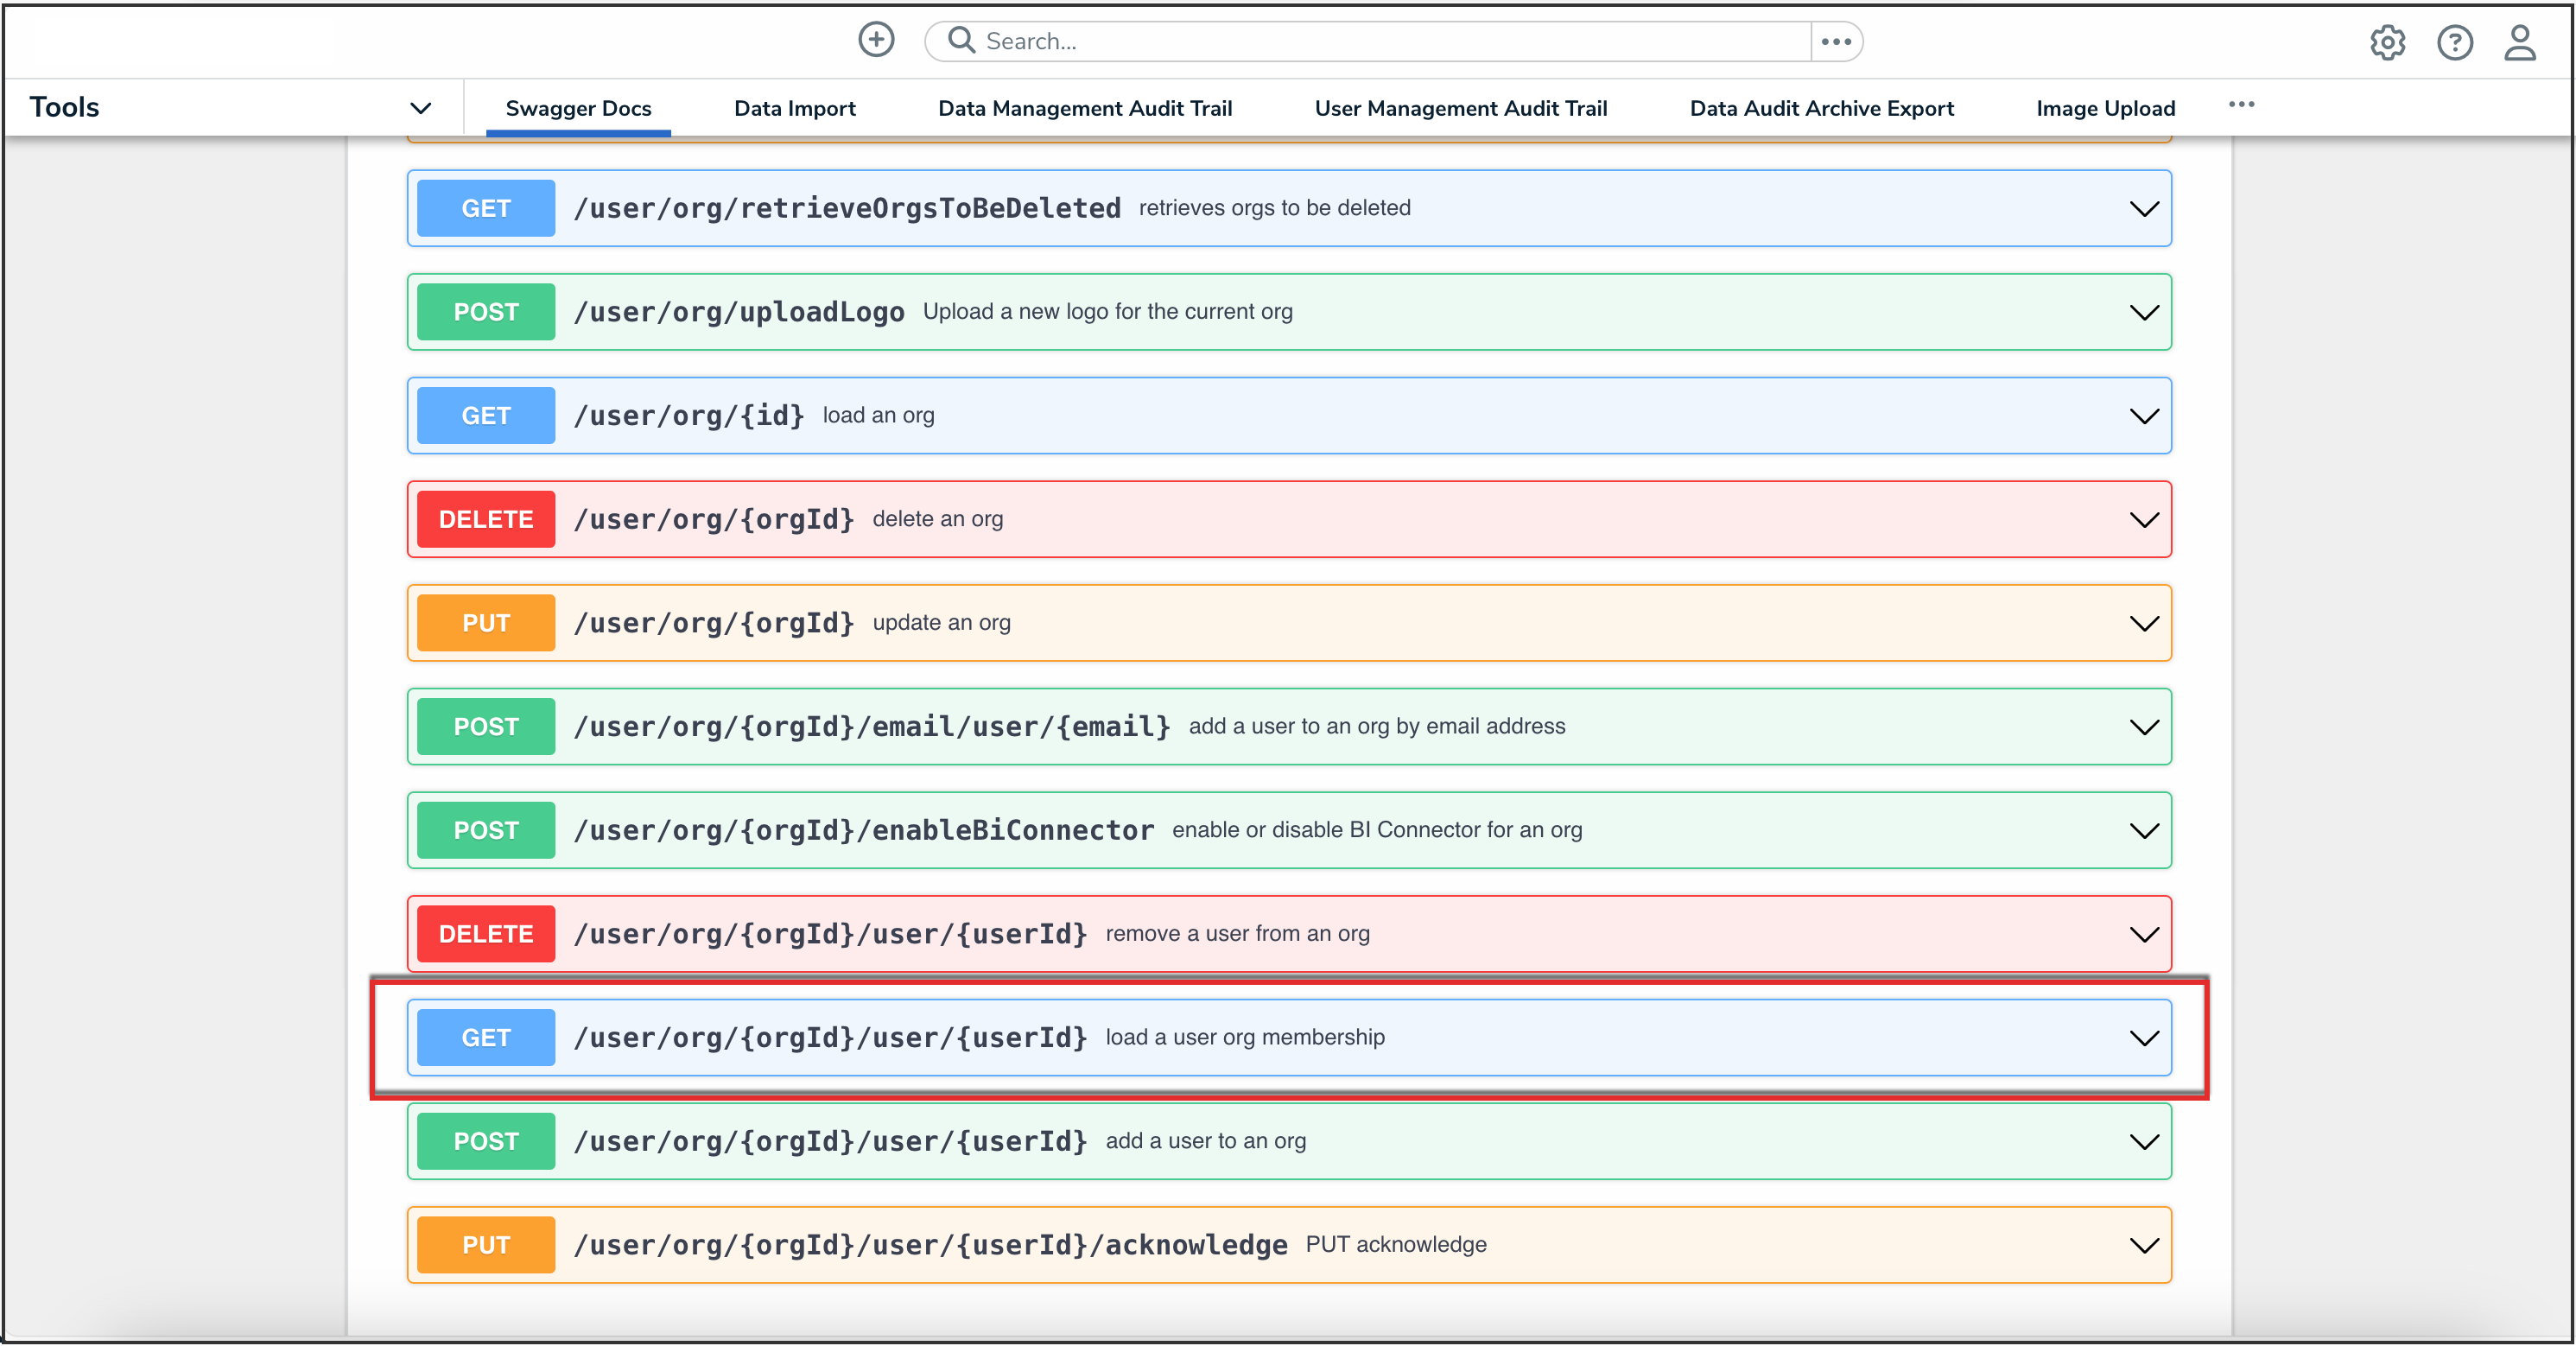
API Endpoint
- Enter the Org ID number copied during step 9 in the orgId field.
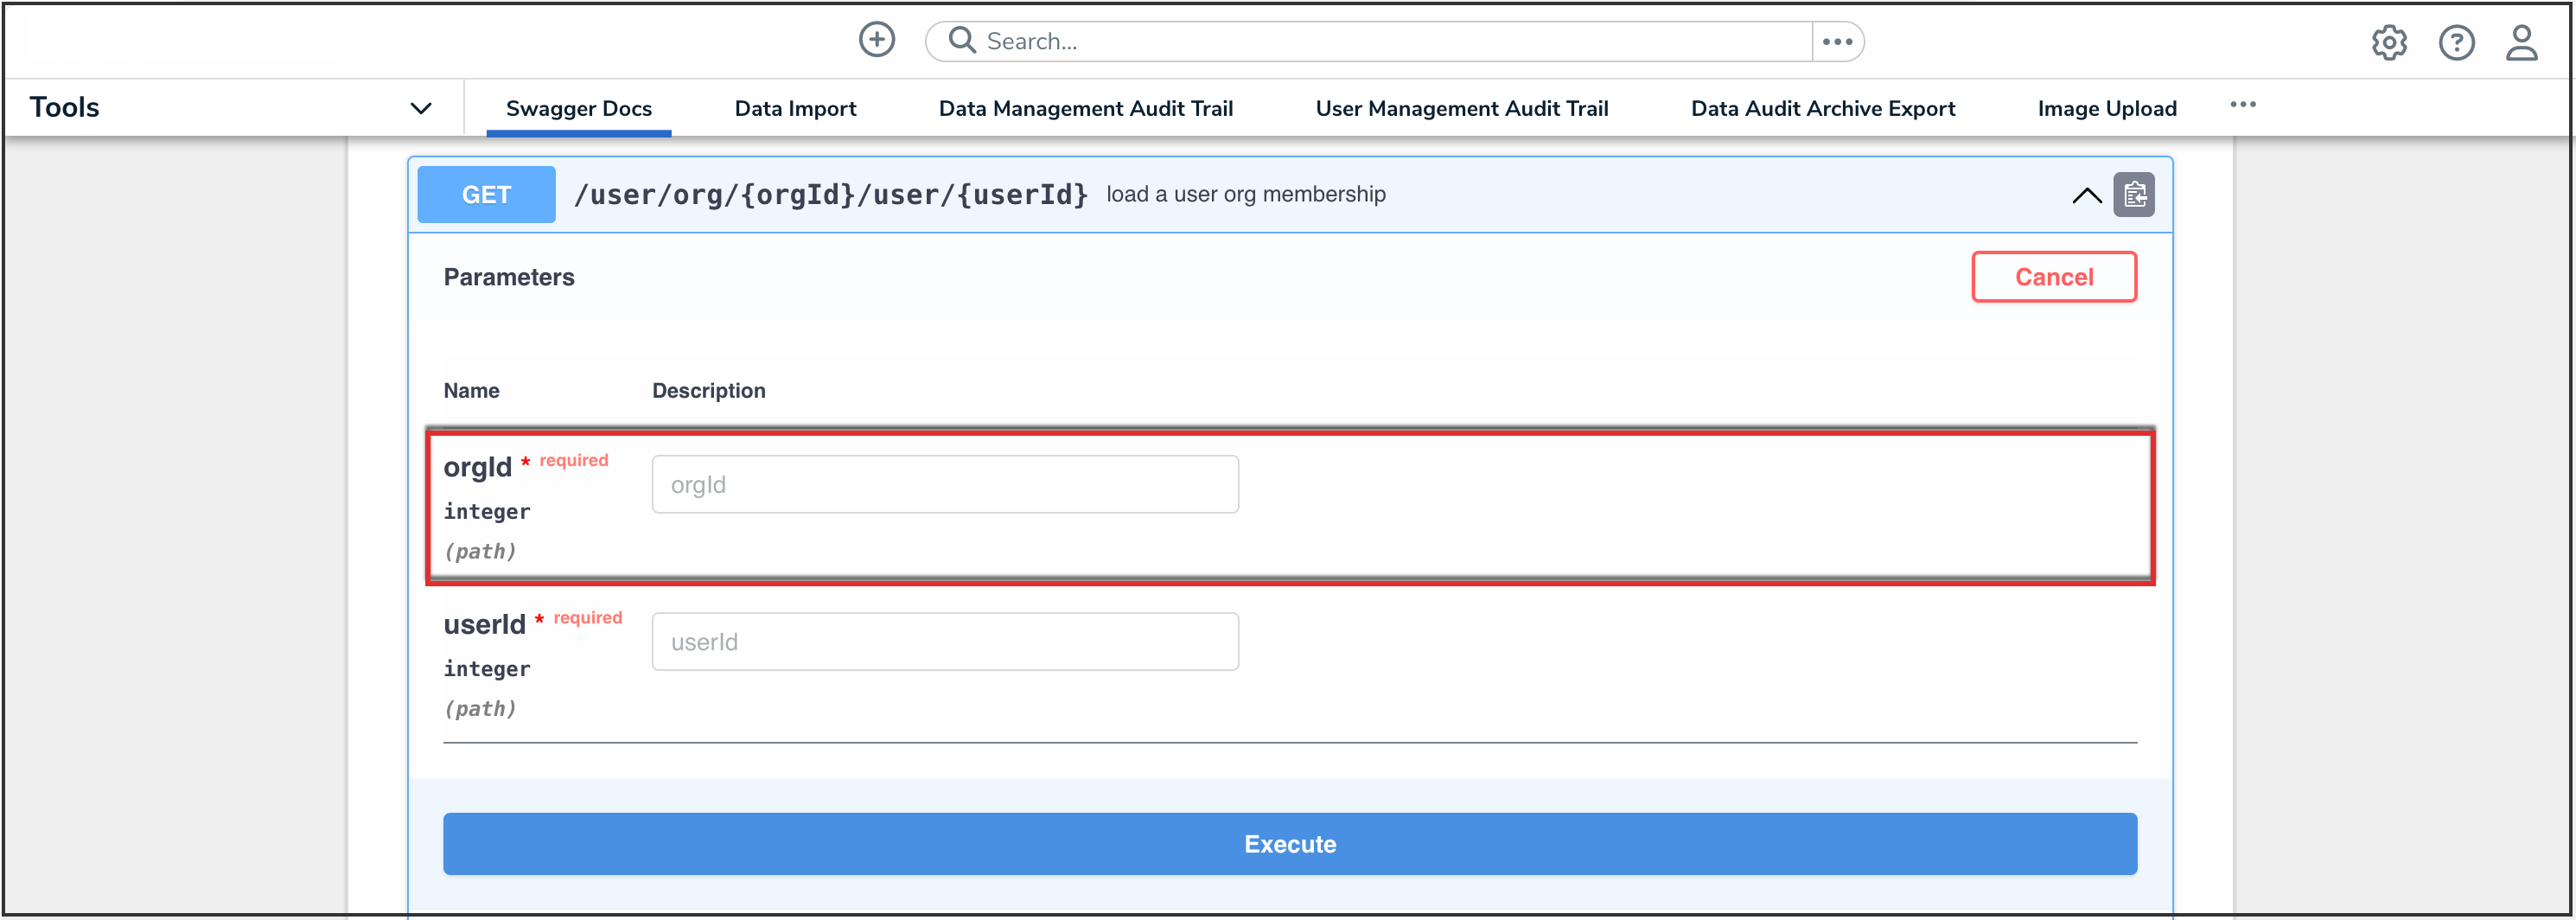
OrgID Field
- Enter the user ID, copied during step 2 from the Edit User page, in the userId field.
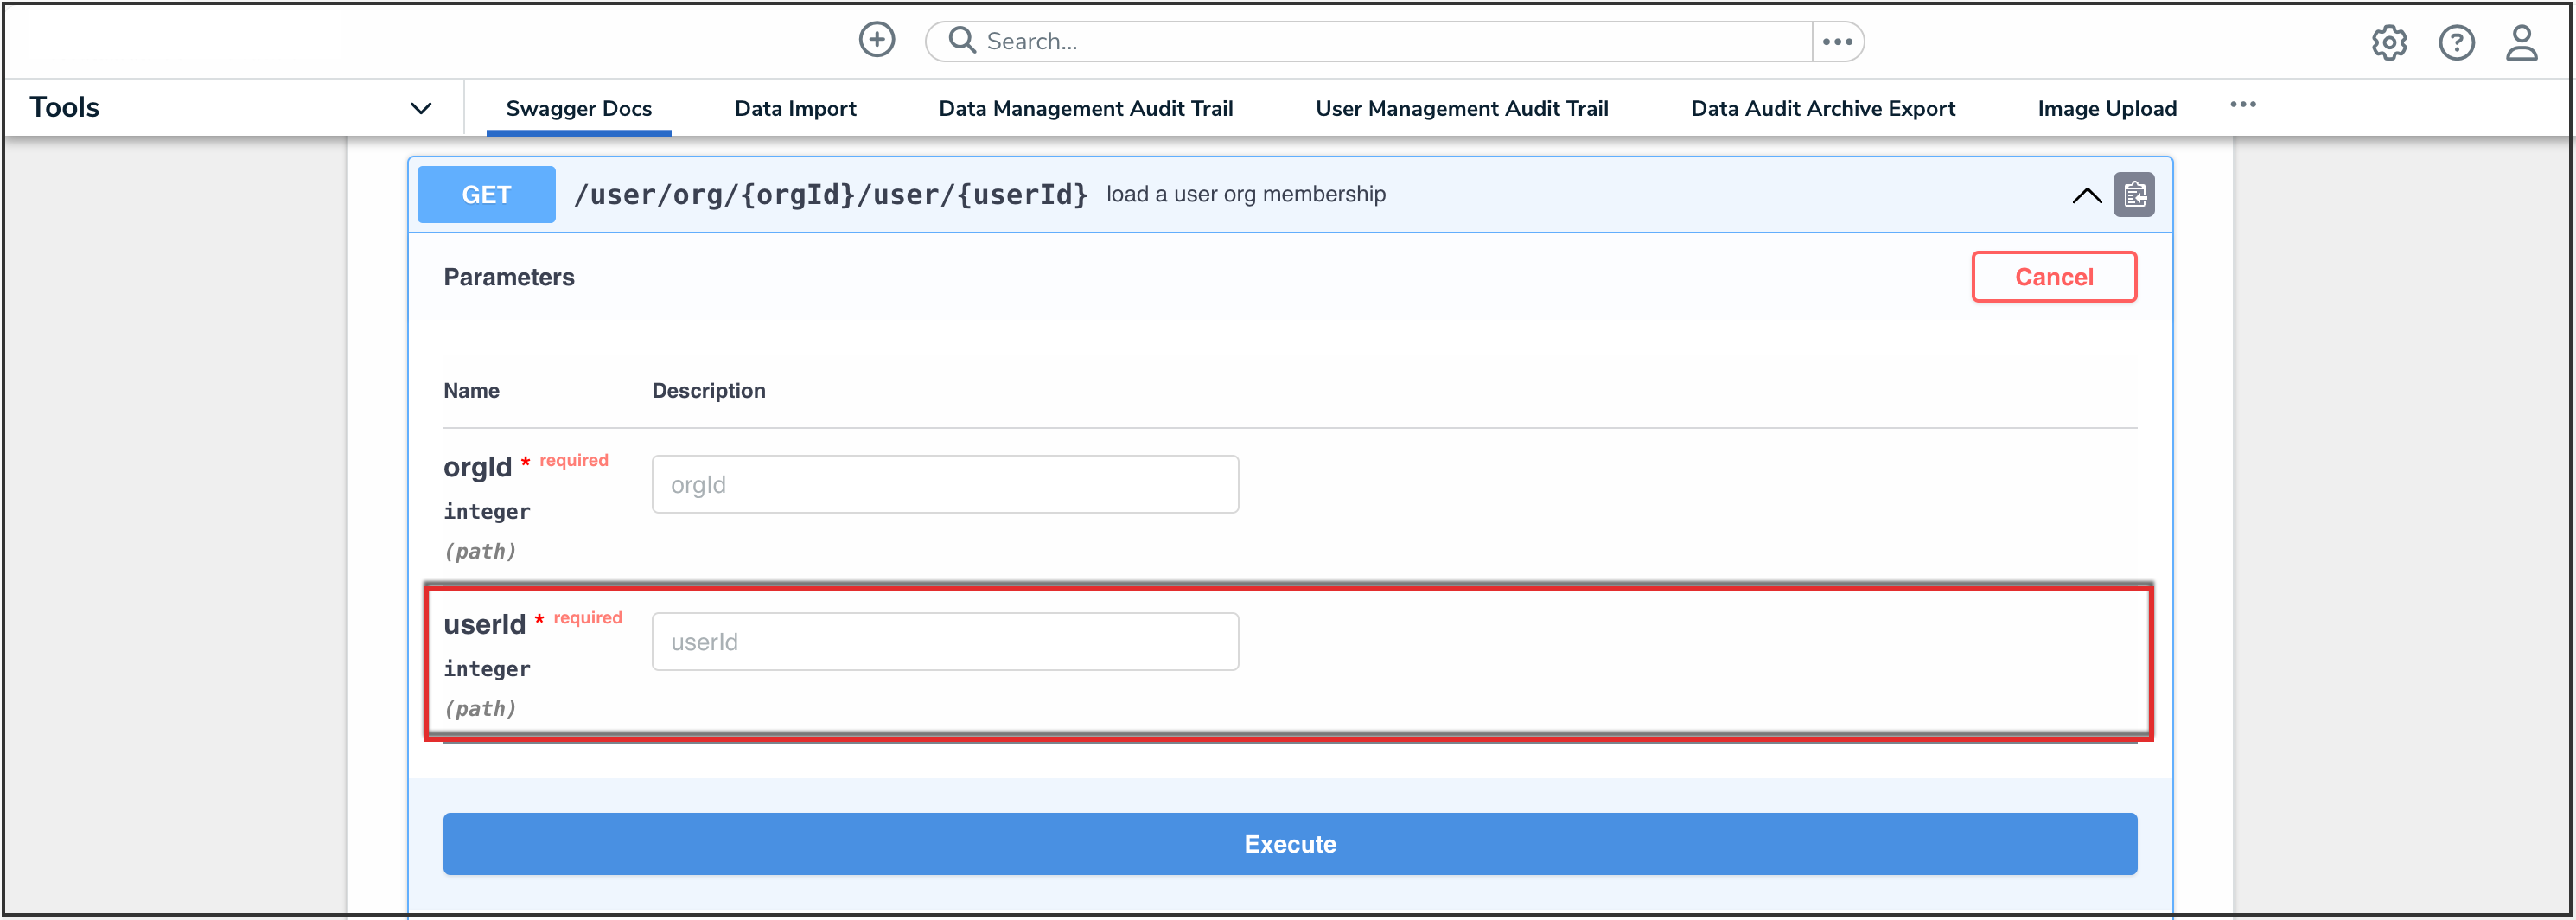
UserID Field
- Click the Execute button.

Execute Button
- From the Response Body, record or copy the id number to your clipboard. This is the user's org membership ID number.
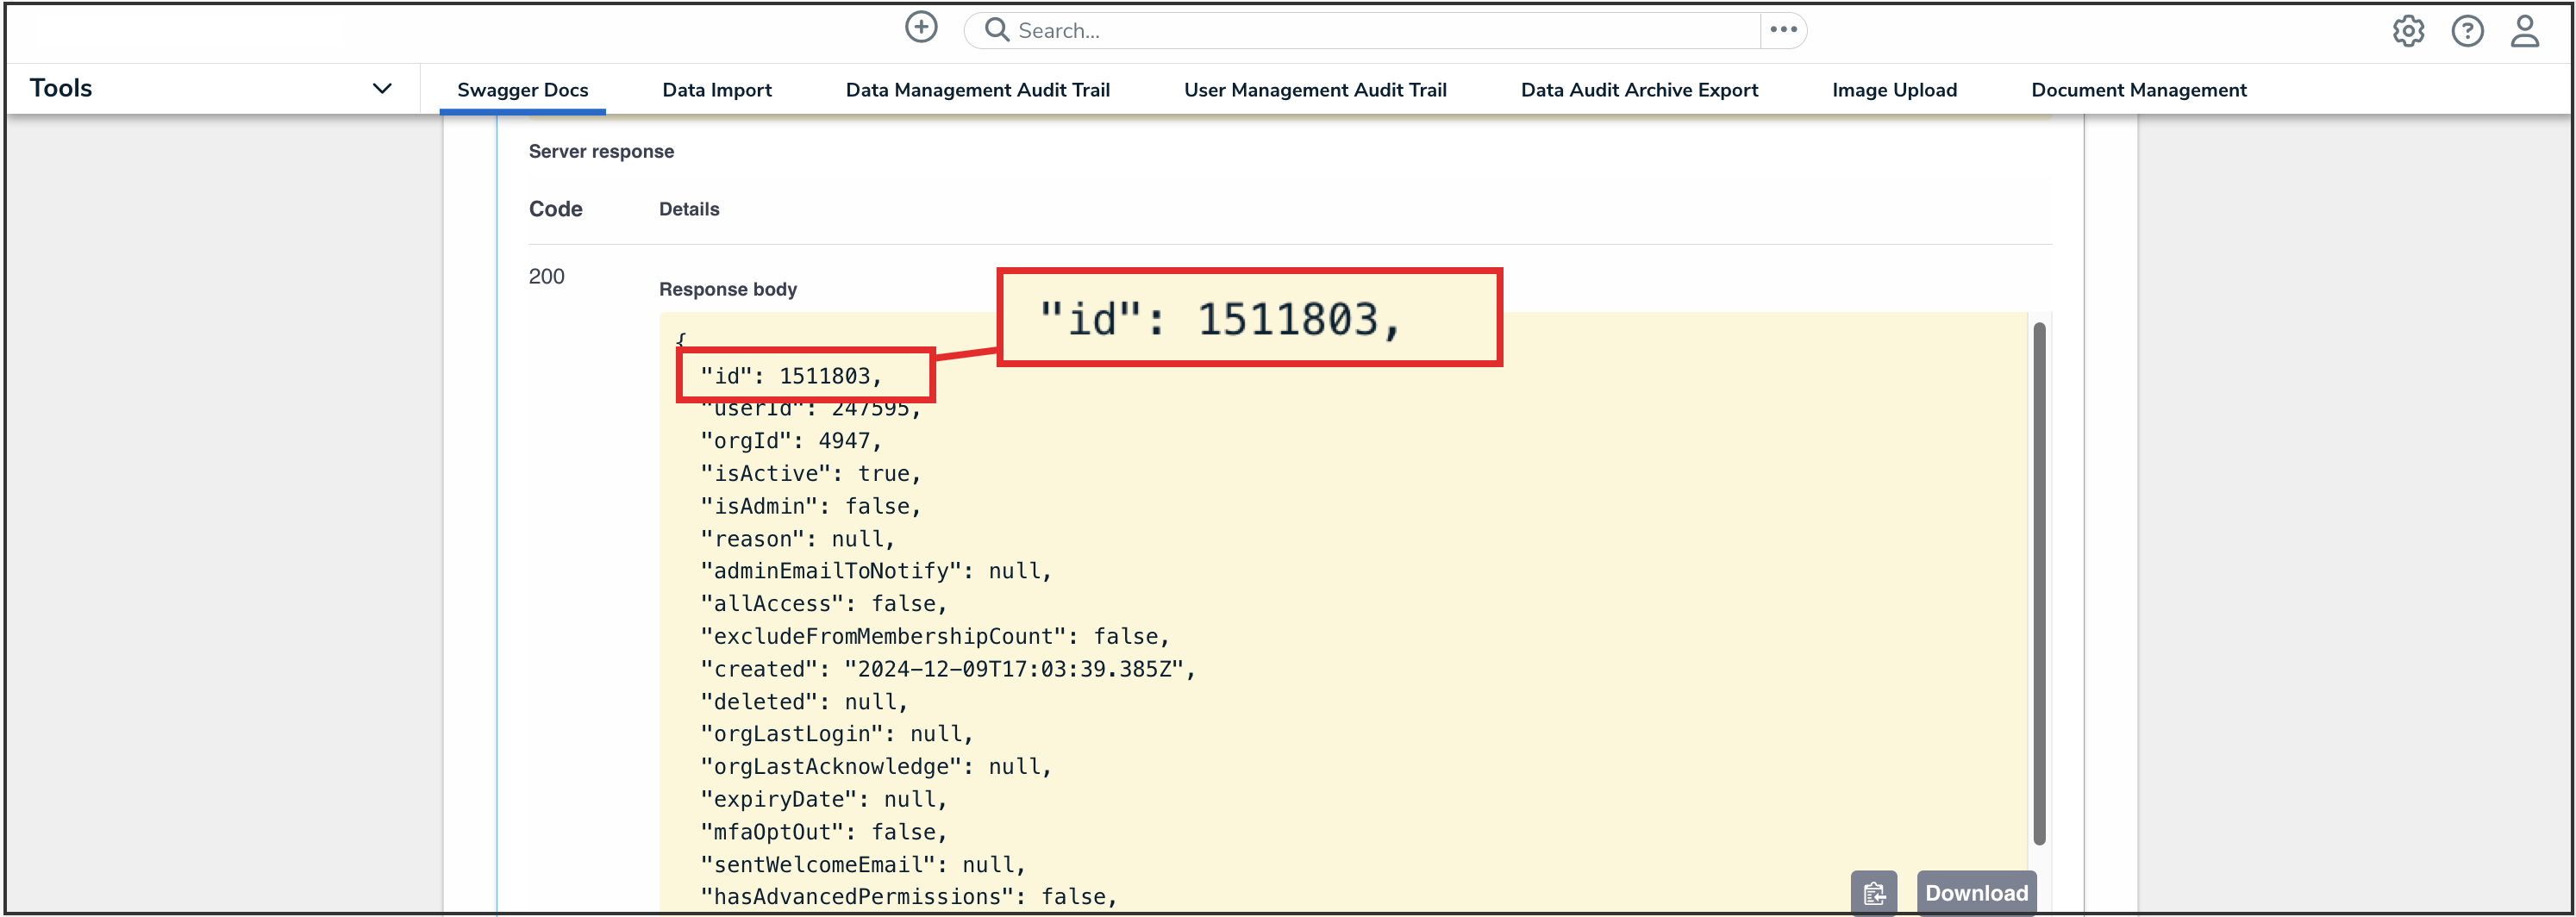
ID Value
- Enter the keyword apiKey in the search text box, then click the apiKey topic from the results.

APIKey Topic
- Click the POST /user/apiKey (create an api key) endpoint to open the parameters.
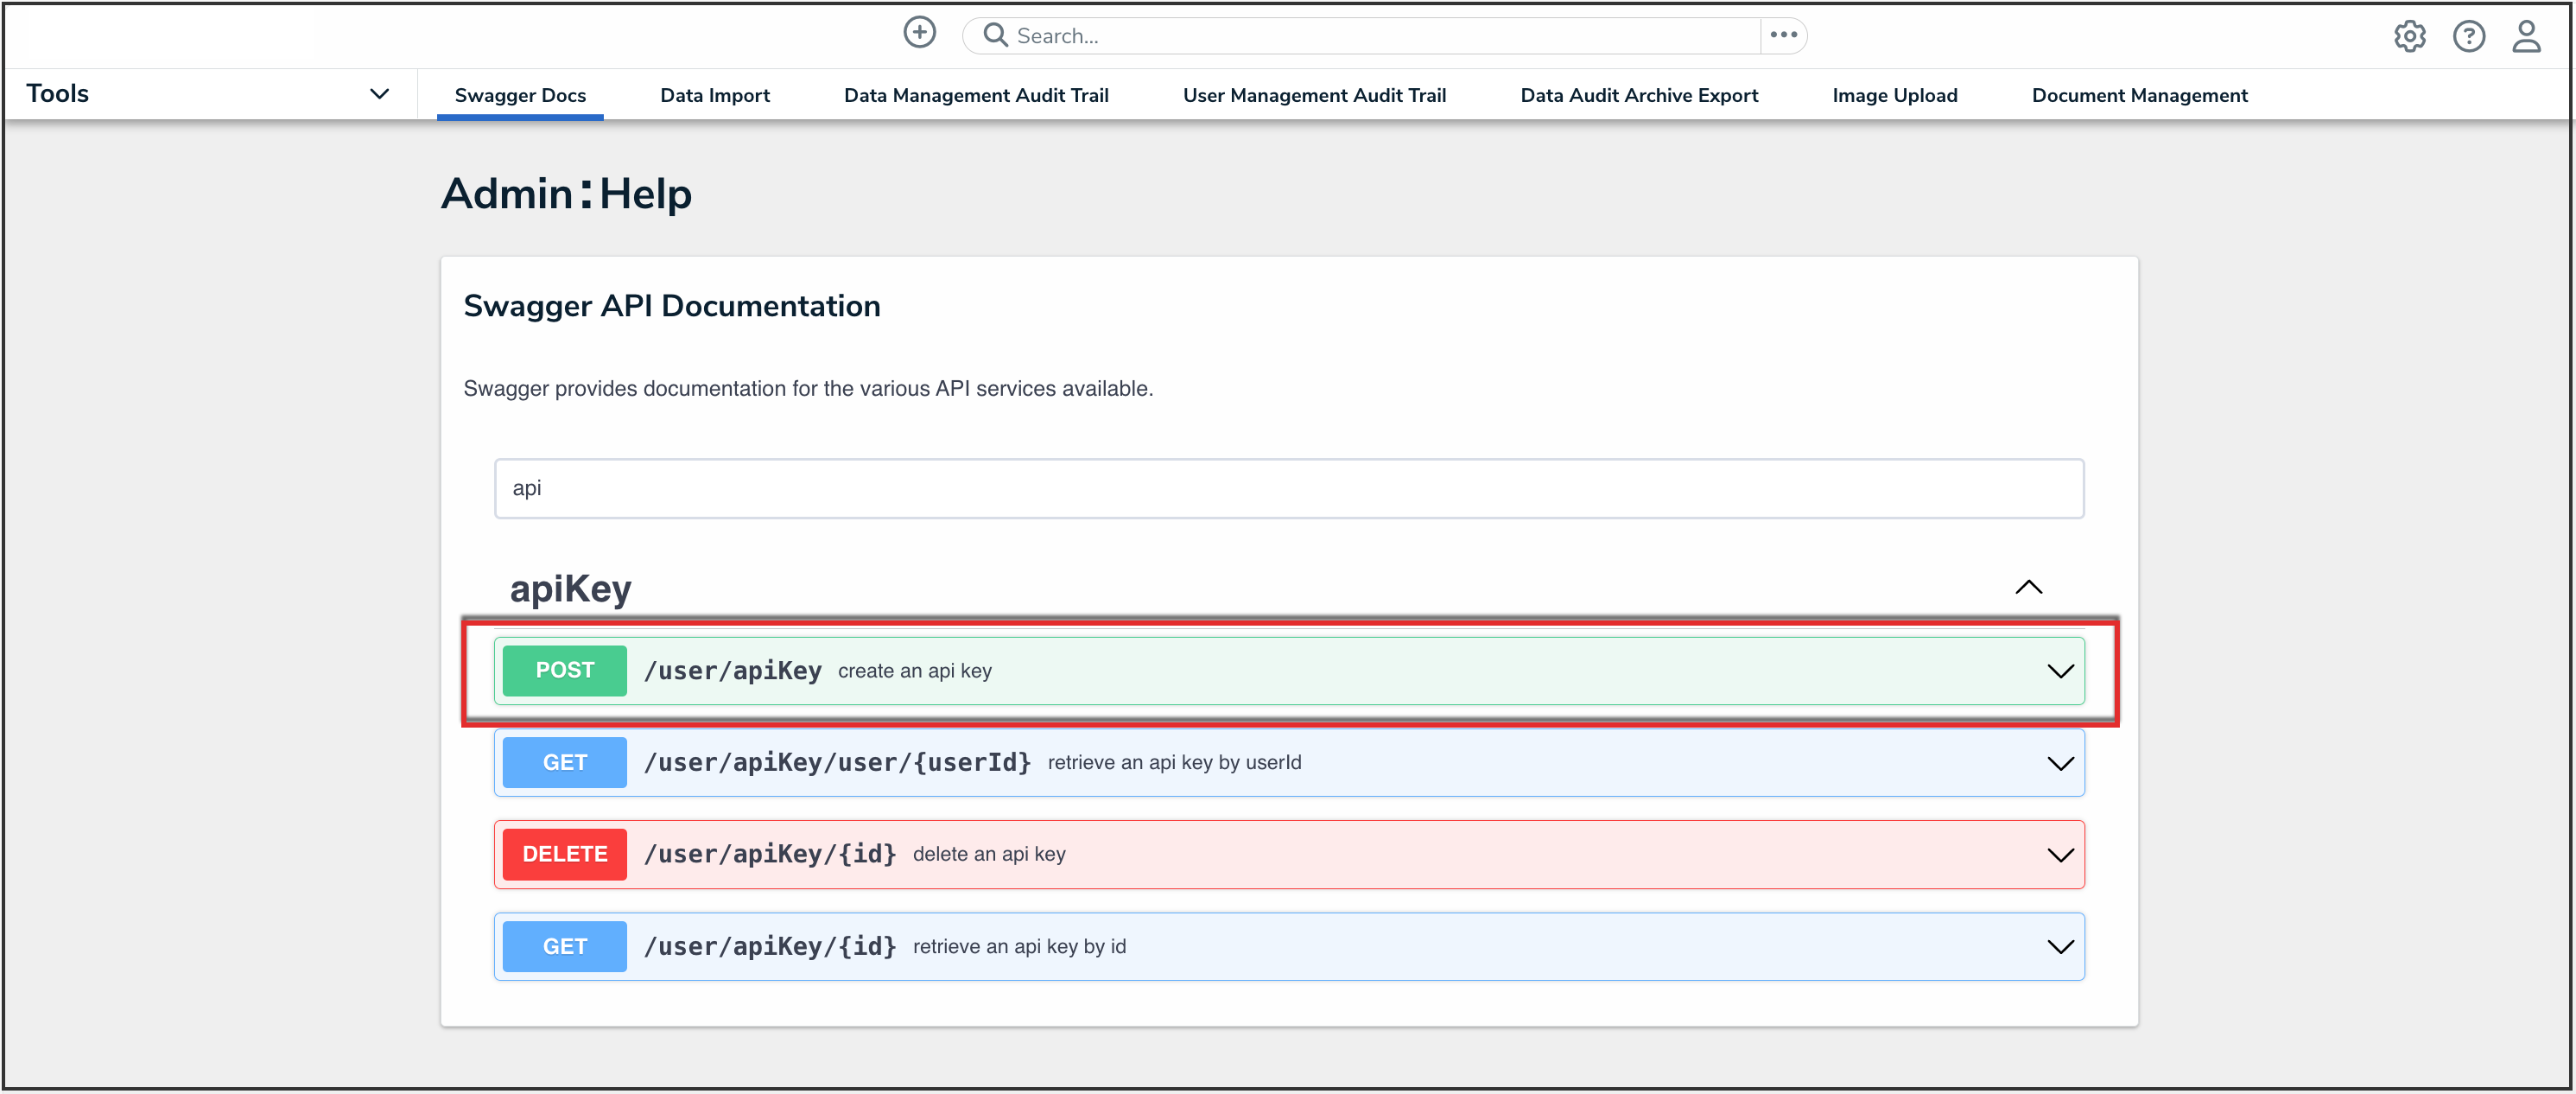
API Endpoint
- In the Parameters section, click the Click to Populate Example box to populate the template in the body text box.
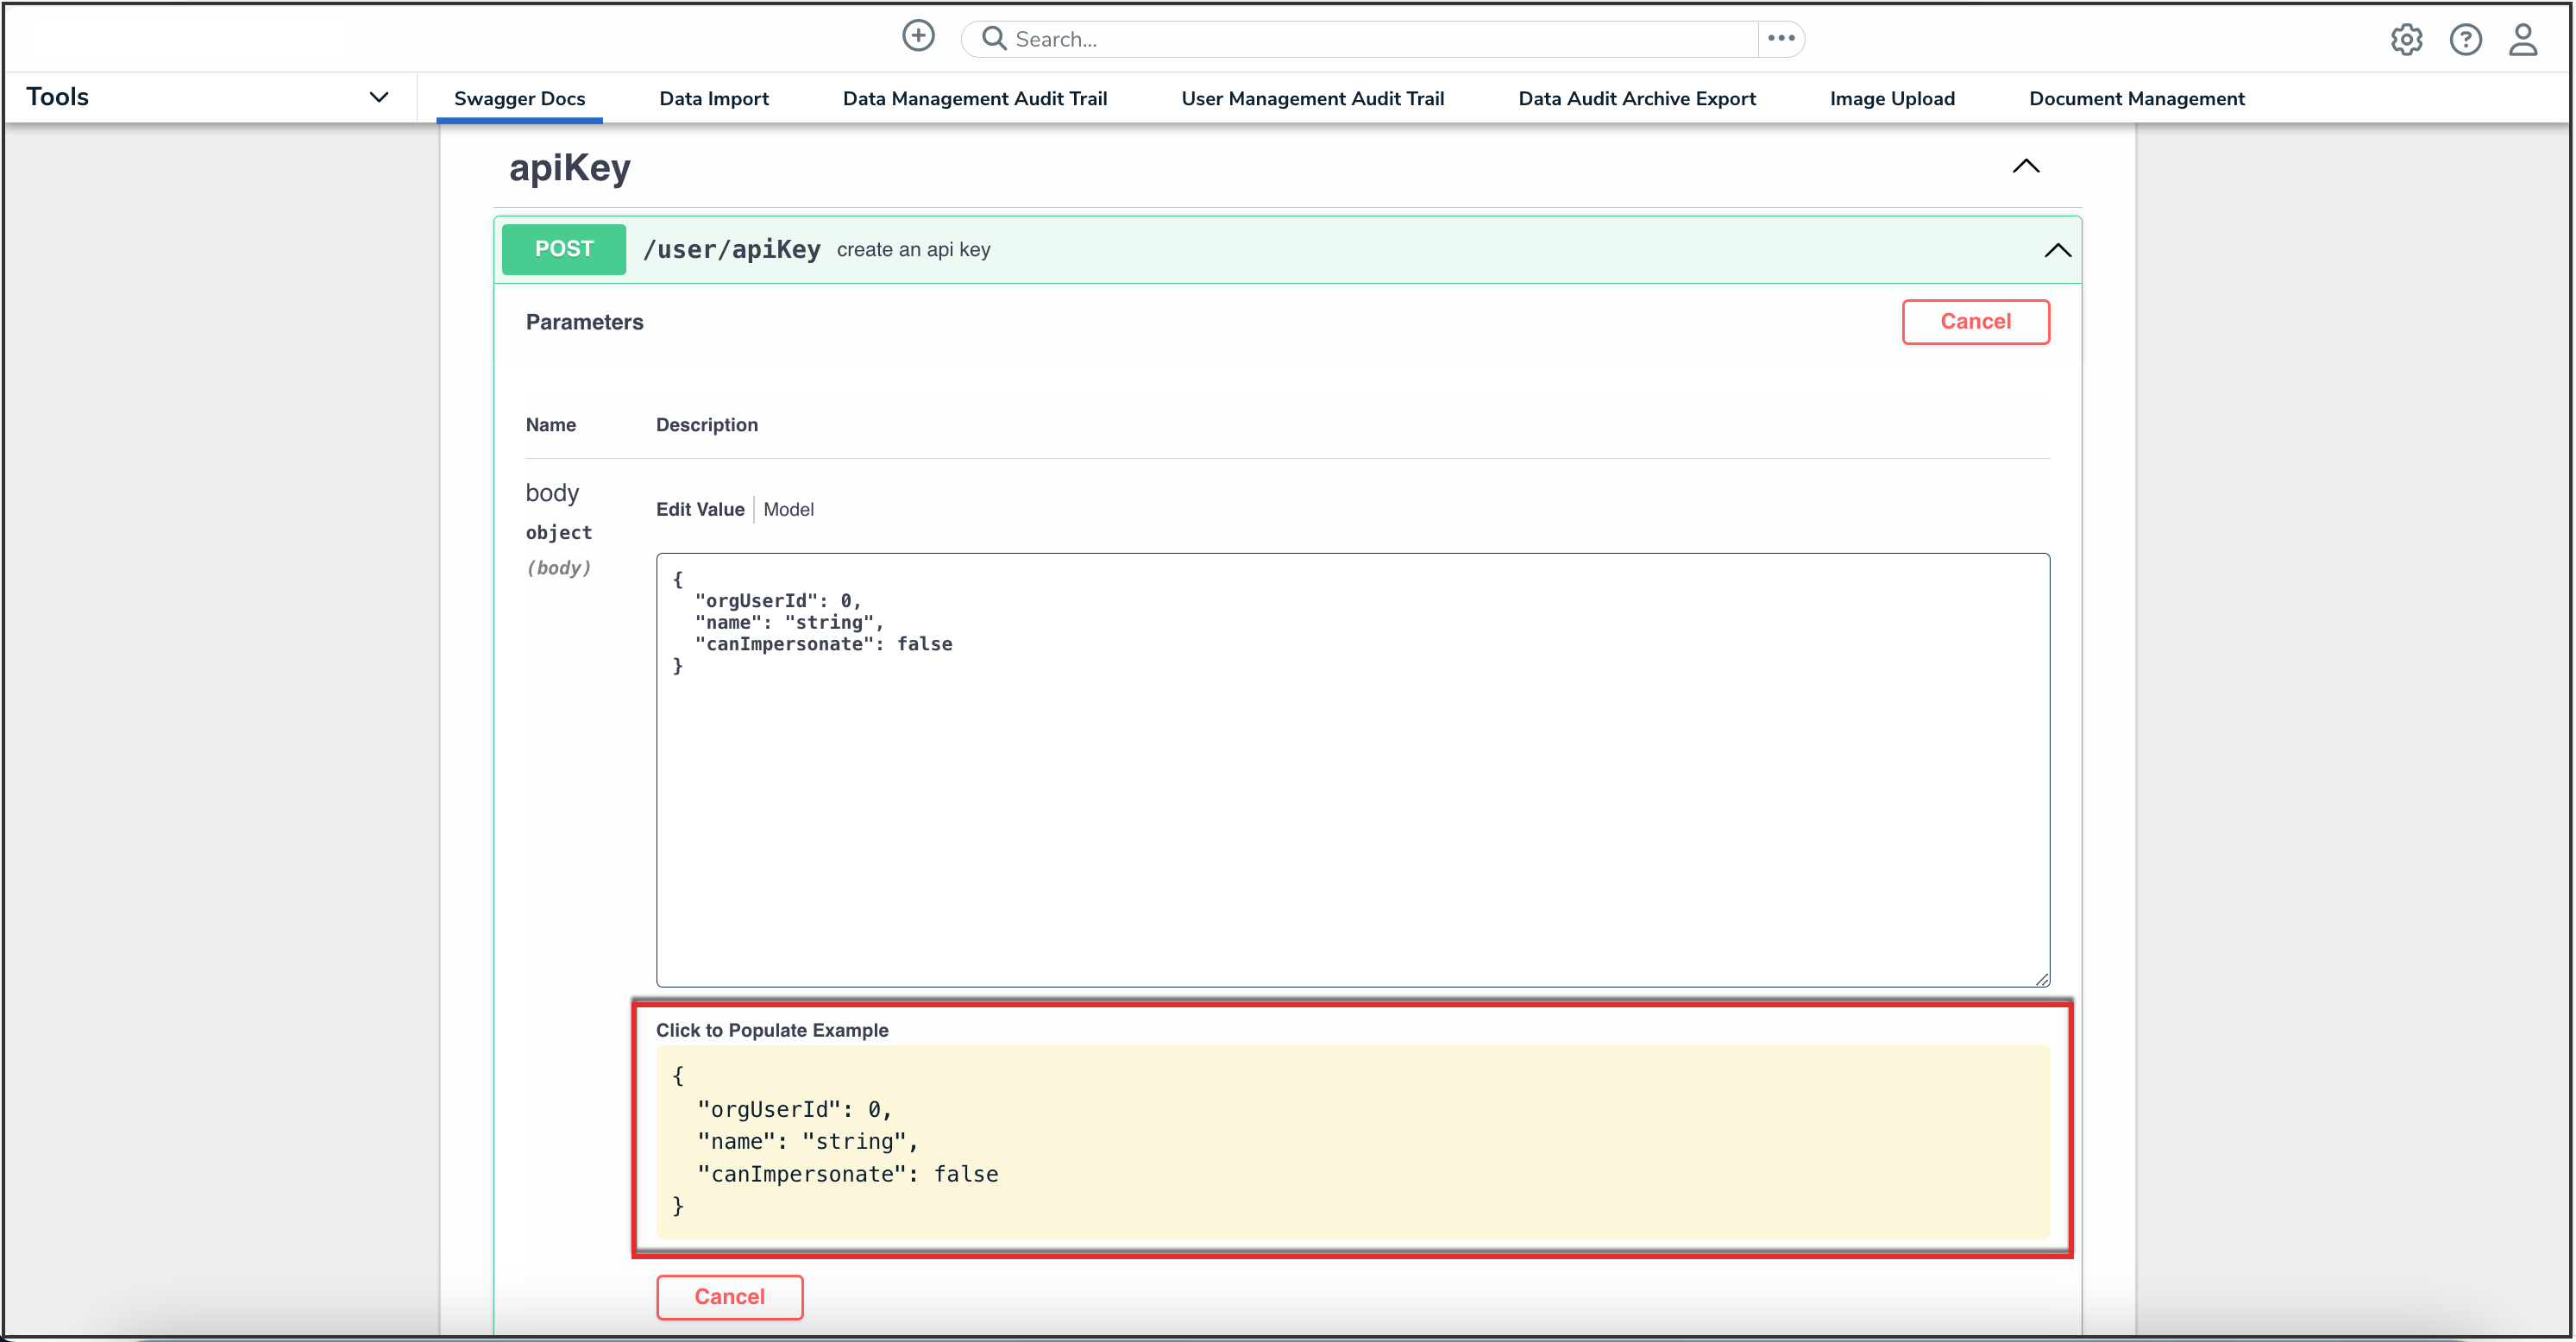
Click to Populate Example Box
- In the body text box, delete the 0 in the orgUserId attribute, then enter the user's org membership ID number, obtained in step 15. Enter a descriptive name for the API key in the name attribute.
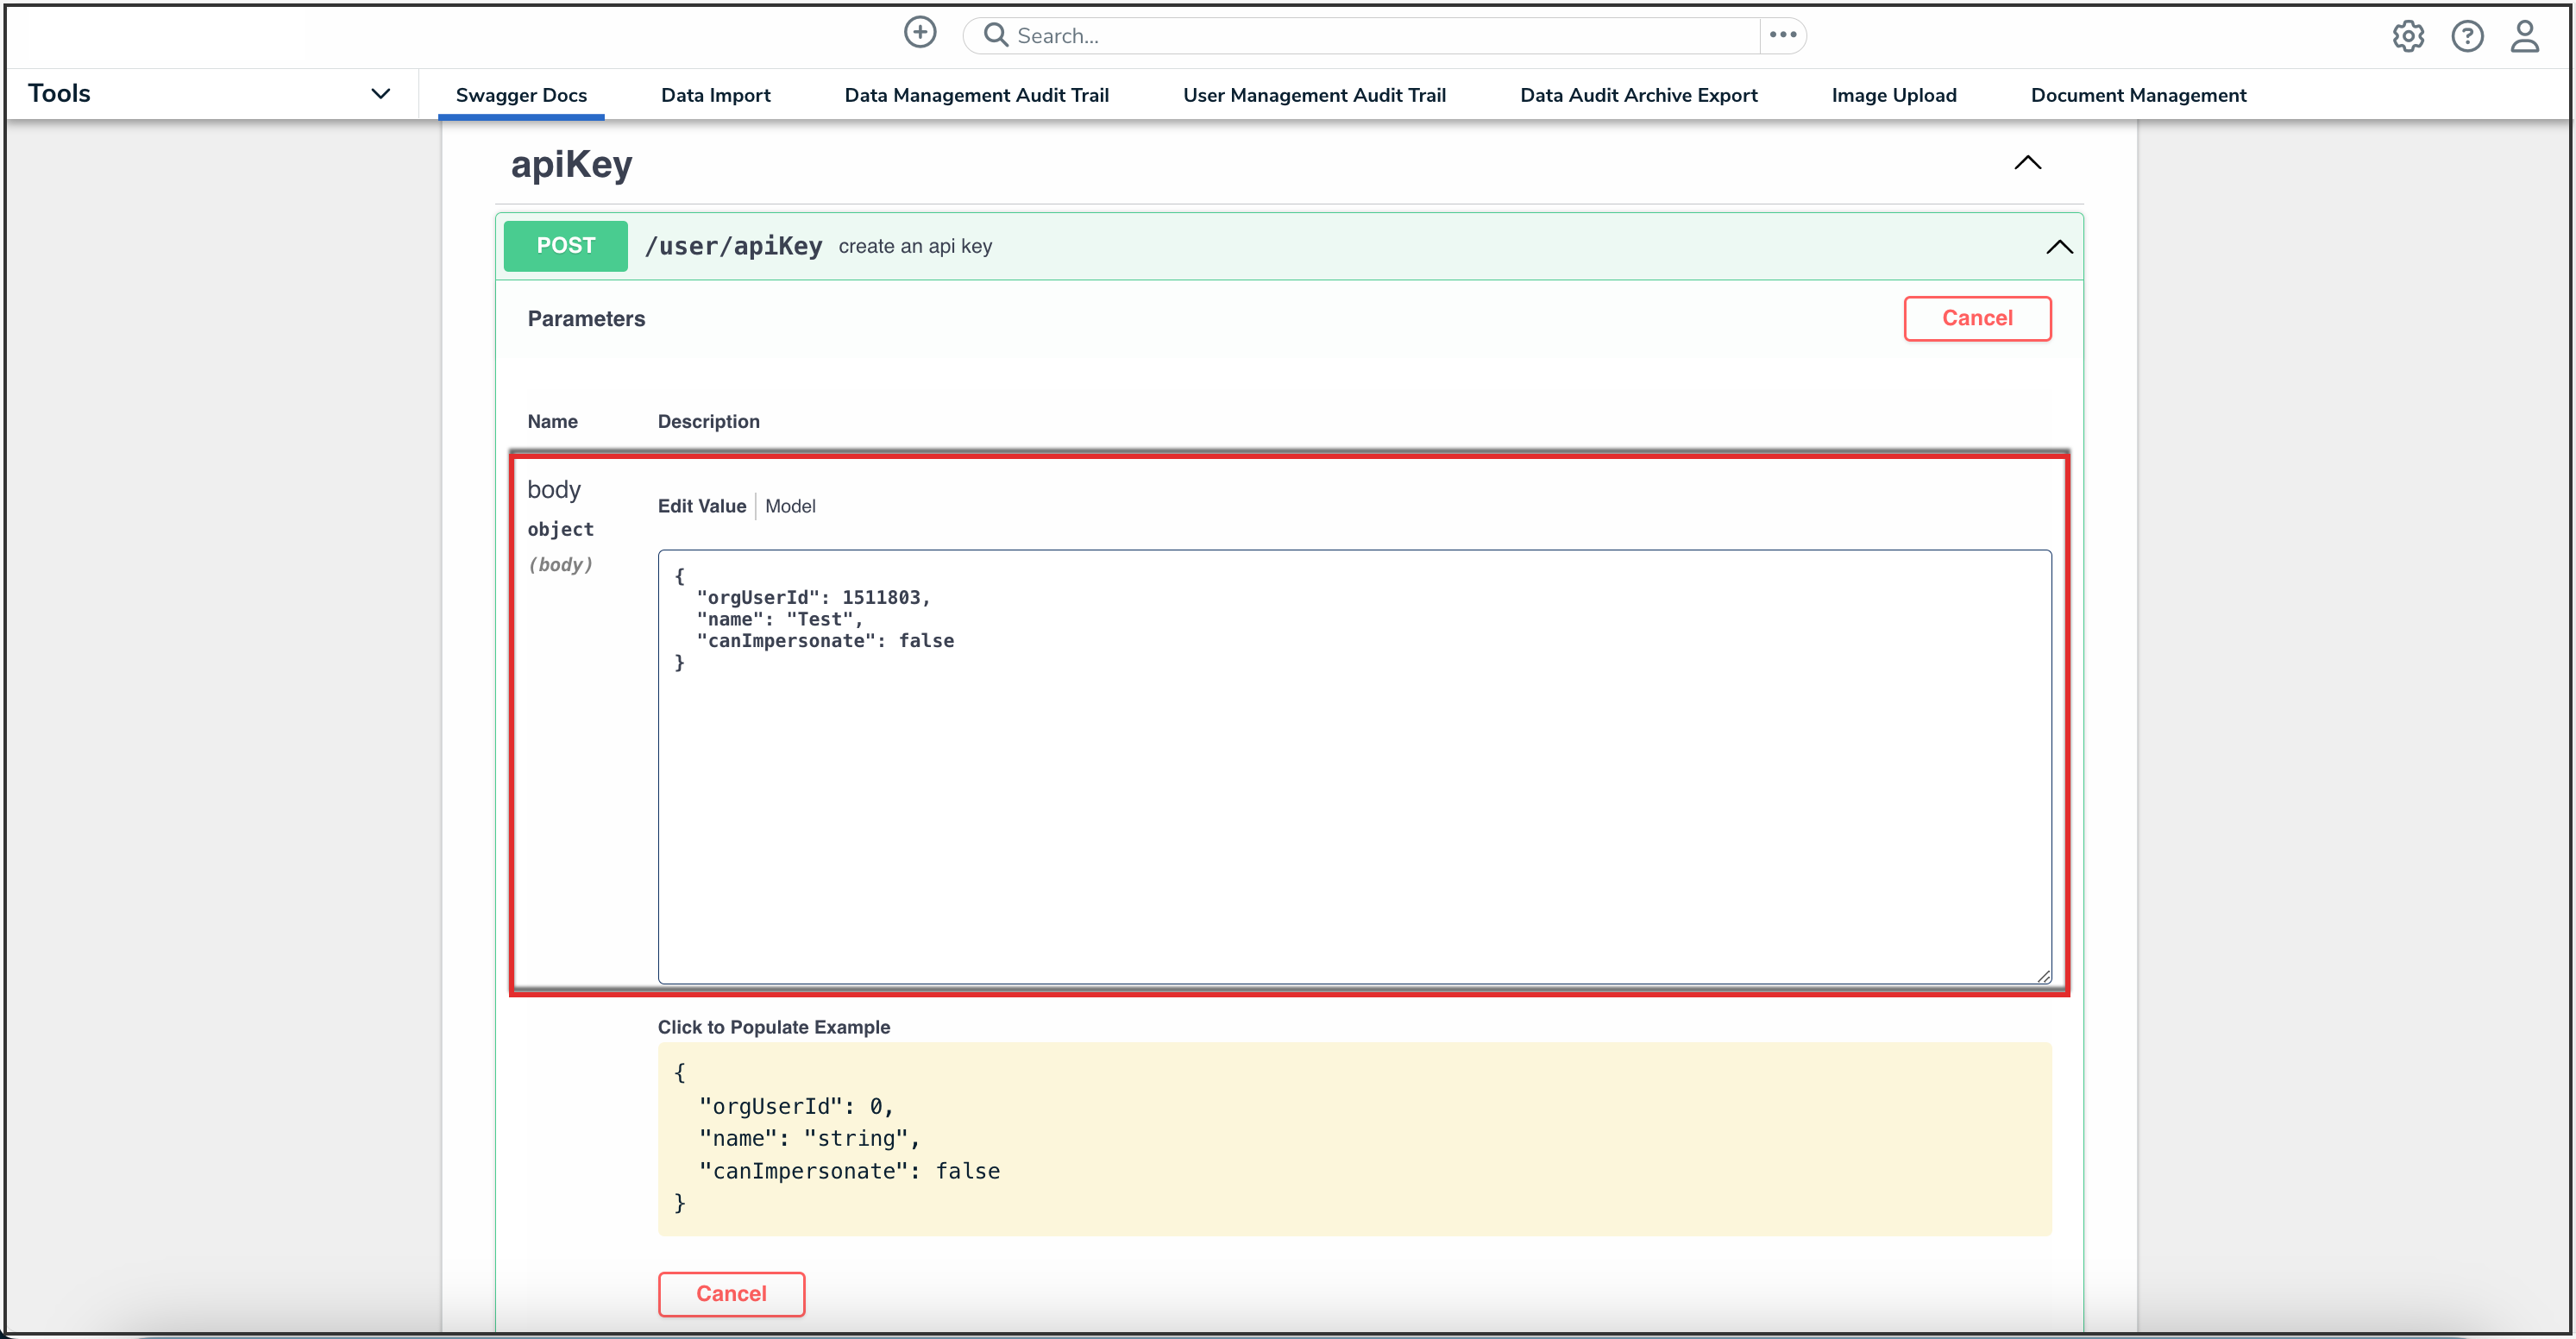
Body Text Box
- Click the Execute button.
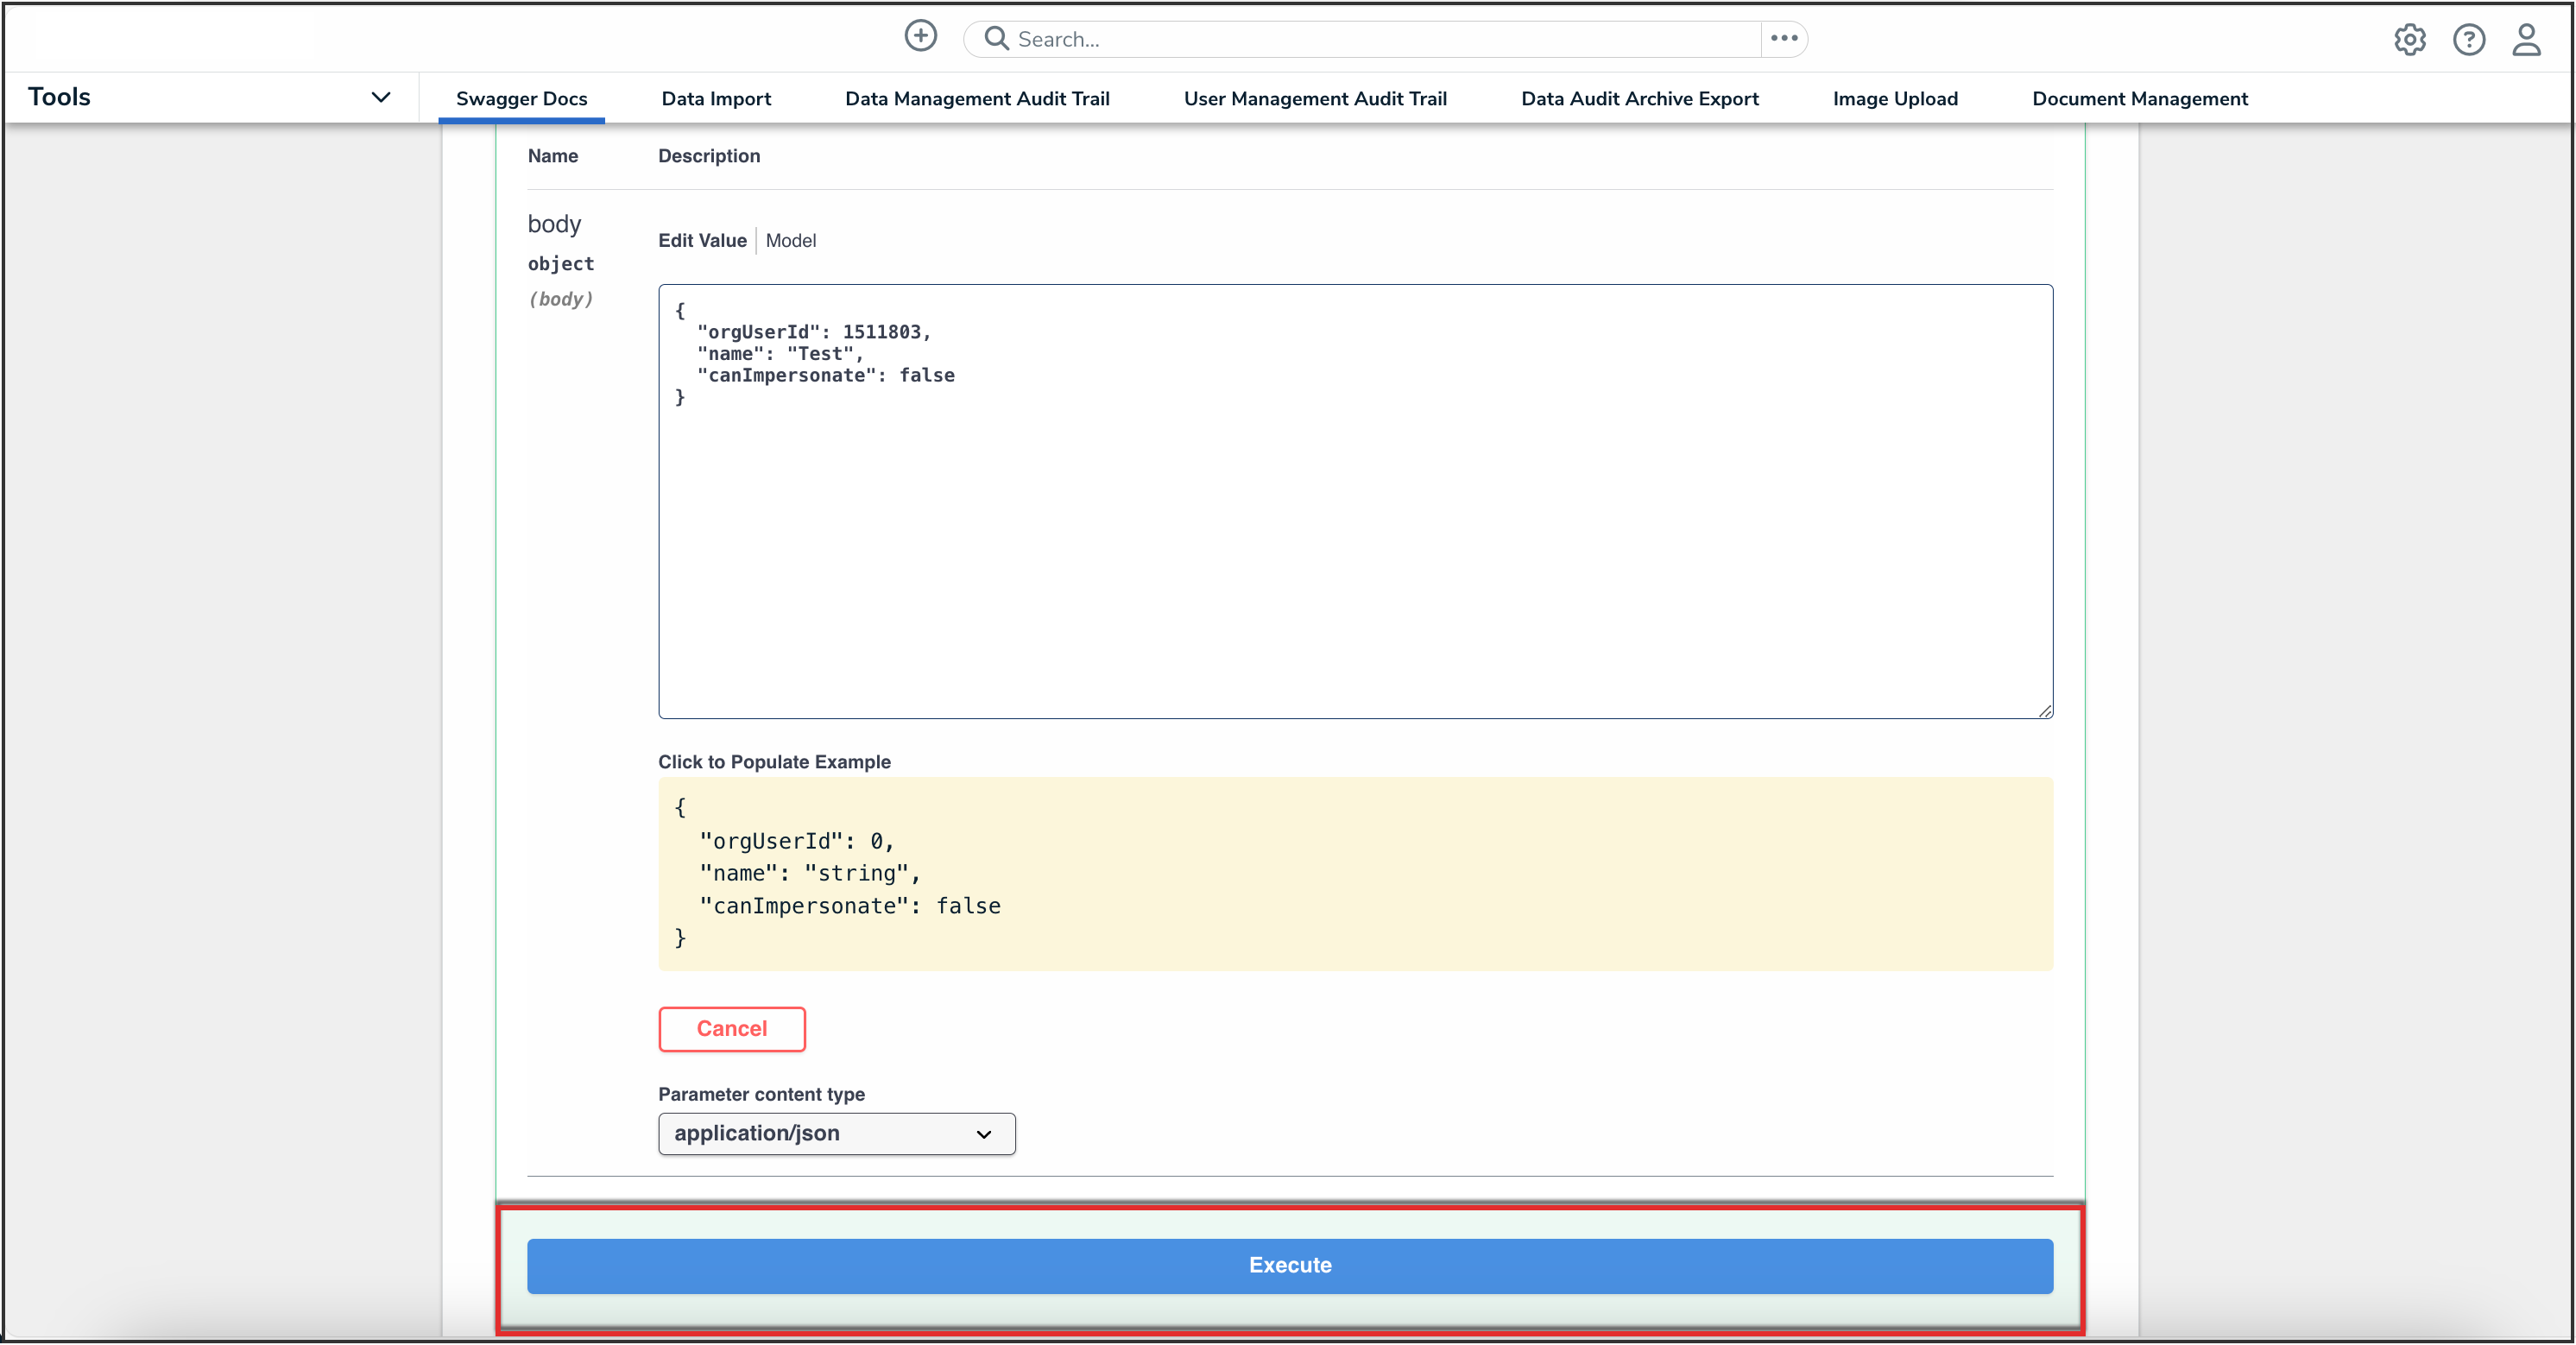
Execute Button
- Copy the apiKey from the Response Body and store it for safekeeping. For security purposes, once an API key is generated, it cannot be retrieved. If you misplace an API key, a new key must be generated.
To delete an API key:
- Log in as an admin and select the appropriate org, if required.
- Click the
 icon in the top bar > Swagger Docs in the Tools section.
 - Click any resource to open the Swagger interface in a new tab.
- Click the apiKey service to display its endpoints.
- Click GET /user/apiKey/{id} (retrieve an api key by id) to expand it.
 The apiKey service.
 - Enter the user ID of the account the API key was created under in the id field. The user ID can be obtained from the address bar of your browser after navigating to the Edit User page for the user.
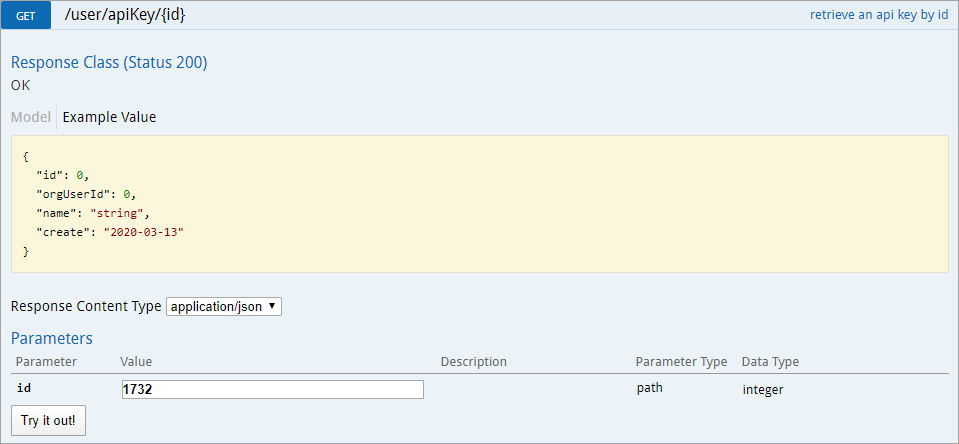 The GET /user/apiKey/{id} (retrieve an api key by id) endpoint.
 - Click Try it out!
- Copy the id from the Response Body to your clipboard. This is the internal ID for the API key.
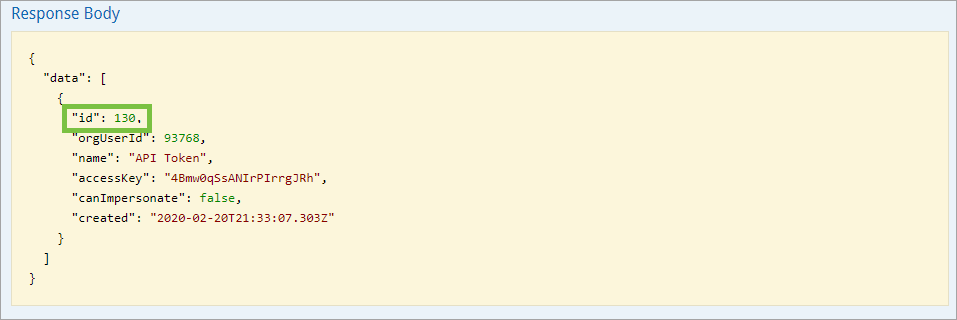 The id in the Response Body.
 - Click DELETE /user/apiKey/{id} (delete an api key) to expand it.
- Paste the internal API key ID obtained from step 8 above in the id field.
 The DELETE /user/apiKey/{id} (delete an api key) endpoint.
 - Click Try it out! to delete the API key.
IP token validation protects the Core API (Swagger) from unauthorized users and can be used in conjunction with IP authorization to manage organizational access. The token validation process accomplishes this by periodically validating the IP associated with the token. If there is any change to the IP during the session, the user will be logged out and asked to log in again.
IP token validation can be used with one of the following options:
off: No IP token validation is performed for any authentication requests. This is the default setting for IP token validation.
on: IP token validation is performed for all SSO and basic API access requests.
The above options can be enabled and disabled by Resolver Support. See the IP Authorization Logins article for login functionality when this feature is enabled.
To use an API key in the Swagger interface:
Log in as an admin and select the appropriate org, if required.
Navigate to Admin > Swagger Docs.
Click the resource from the list to open the Swagger interface in a new tab.
Expand a supported endpoint.
Enter the API key in the x-api-key field to authenticate the call.
- Optional: If impersonation is enabled, enter the ID of the user who will be impersonated. Impersonation can only be enabled by a member of Resolver Support. See Impersonation with an API Key for more details.

- Complete the remainder of the fields as required.
Example
curl -X POST --header 'Content-Type: multipart/form-data' --header 'Accept: application/json' --header 'x-api-key: YOUR_API_KEY' --header 'impersonate-user-id: IMPERSONATED_USER_ID' 'https://YOUR_ENVIRONMENT.resolver.com/data/file/file'


 icon in the top bar > Swagger Docs in the Tools section.


