Overview
The Attachment tool within Resolver's Data Import feature allows an Administrator to import additional information into an Attachment field using document or image files. An Attachment field will enable Administrators to upload document or image files (up to 100 MB in size) to an object to display the attachment on a Form.
User Account Requirements
The user account you use to log into Resolver must have Administrator permission to access the Data Imports feature.
Related Information/Setup
Please refer to the Data Import category for more information on the Data Import feature.
Please see the Create an Import Template article for further information on creating a Data Template Import file.
Please see the Upload Import Template article for further information on uploading a Data Import Template file.
Navigation
- From the Home screen, click on the System icon.
![]()
System Icon
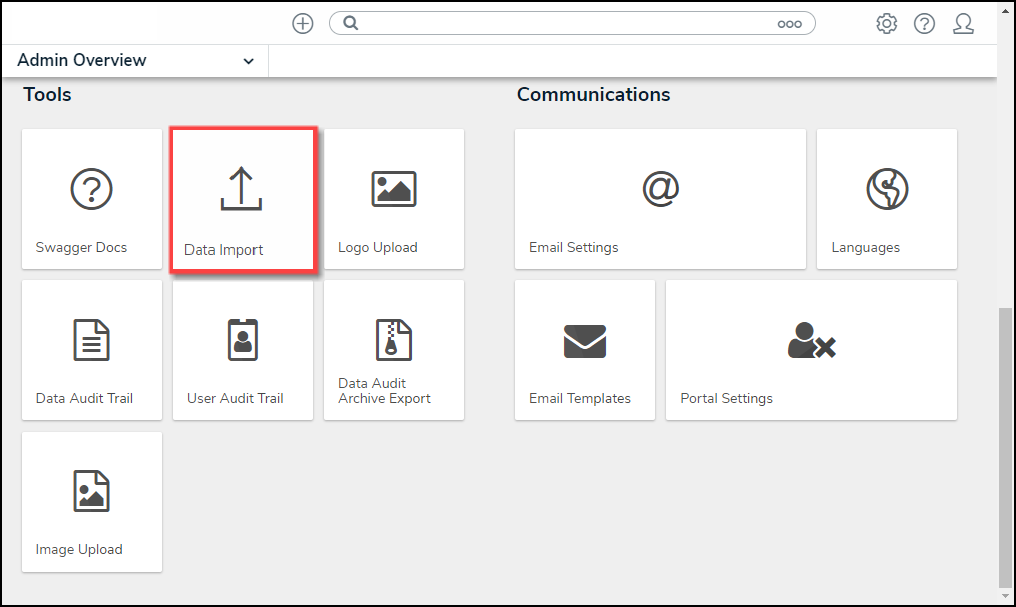
- From the Admin Overview screen, click on the Data Import tile under the Tools section.
Data Import Tile
Importing an Attachment File
- From the Data Import screen, scroll to the Export Data Import Template section.

Export Data Import Section
- Select Attachments under the selected Object Type.
 Related Information/Setup:
Please see the Create an Import Template article for further information on creating a Data Template Import file.

Attachments
- Click the Export button to download the Data Import Template.

Export Button
- When you have created the Data Import Template, navigate to the Download folder on the connected PC and look for a filename with the version number, organization's name, and the date the Data Import Template was generated (e.g., 22.2 - org name - 20230609 - Data Template).

Data Import Template
- Enter the folder name and file name for the document or image file in the Attachment column on the Data Import Template, using forward slashes to separate the folder name and file name (e.g., Attachments/samplephoto.jpg). If you do not use forward slashes (/) to separate elements of the file path your Data Import will fail without this proper formatting.
 Note:
Note:
Folder and file names must contain no commas, or the Data Import will not function properly.

Image File
- Enter a web link in the Attachments column, using square brackets to contain the Display Text and parenthesis to contain the URL, e.g., [Resolver](www.resolver.com).
- The following additional elements can be used with a web link:
- Nested Parenthesis: Can be used within the web link, e.g., [Resolver](www.resolver.com(signin)).
- Commas: Commas can be used within the display text to separate text, e.g., [display, text].
- Special Characters: Special Characters can be used when they are separated by a backslash (\).

Web Link
- Continue adding files and web links on the spreadsheet (as required), using commas to separate multiple files or web links in the same attachment field (e.g., August Reports/August23.jpg, Documents 2021/May 24 PA.jpg).
- Save the changes to the Data Import Template.
- Make sure that the folder with the attachments is in a separate folder than the Data Import Template file before creating the zip file.
- Create a zip file containing the Data Import Template and the attachment files to be imported. The file structure must match the file paths entered in the Attachment column on the Data Import Template. The Data Import Template must be the only .xls file in the zip file’s Archive Root Directory (top-level). If there are other .xls files in that same folder, the import into Core will fail.
- The Data Import Template supports the following file size limits for attachments and image files combined:
- Up to 500 MB for a single image zip file.
- Up to 200 MB for multiple image zip files as long as the average file size is less than 1 MB.
- The Data Import Template supports the following file size limits for attachments and image files combined:
 Related Information/Setup:
Please see Microsoft Support’s zip and unzip files article for how to create a .zip file.
- Navigate back to Resolver and upload the Data Import Template file.
 Related Information/Setup:
Please see the Upload Import Template article for further information on uploading a Data Import Template file.
- Any existing files in the attachment fields are appended and not overwritten by imported files.