Overview
A Condition controls an object's movement to different states or performs a specific action. A Condition consists of fields, formulas, and workflow states that create a formula. The formula uses a set of parameters to control whether a transition or action can occur.
Related Information/Setup
For more information on formulas, see the following articles:
Before adding a Condition to a Transition, you must create a State and a Trigger. See the following articles for more information on creating States and Triggers.
Example
The following example outlines an everyday scenario where you would want to add a condition to a transition.
Your company's policy for severe incidents is to skip the typical review process and transition to the investigation stage. Create a Condition on the Incident object type workflow for the Submit for Review trigger. If the “Severe” option is selected. The object is automatically transitioned to the Investigation Required state once the Submit for Review trigger is selected on a form.
Navigation
- From the Home screen, click the Administration icon.
![]()
Administration Icon
- From the Administration Settings menu, click the Admin: Overview link.

Admin: Overview Link
- From the Admin Overview screen, click the Object Types tile on the Data Models section.
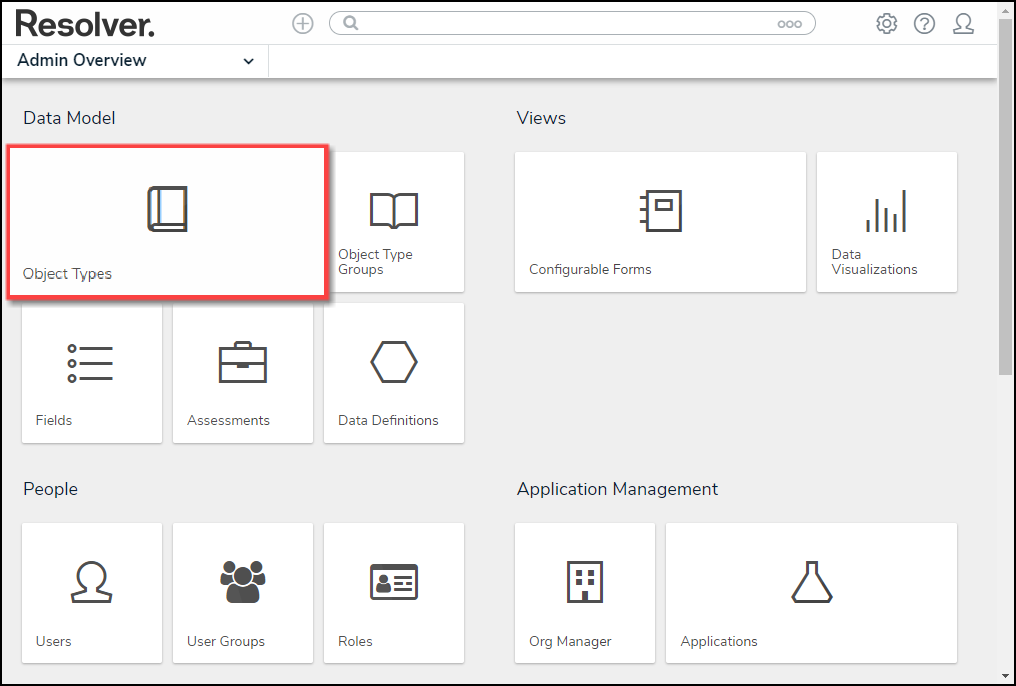
Object Types Tile
- From the Object Types screen, enter an Object Type Name in the Search field to narrow down the list.
- Click the Object Type's Name you want to edit.

Click the Object Type's Name
- From the Edit Object Type screen, click on a workflow under the Workflow section.

Click on a Workflow
- If there are no workflows listed, click on the Configure Workflow button.

Configure Workflow Button
- From the Edit Workflow screen, click a Trigger under the State section.
 Note:
Note:
You must already have a Trigger added to a State before you can add a condition to a transition.

Click on a Trigger
- From the Edit Trigger pop-up, click the Edit icon next to the transition.

Click the Edit Icon
Adding a Condition on a Transition
-
From the Condition section, click the +Add Condition button.

+ Add Conditions Button
- (Optional) Enter a condition name in the Name field under the Details section. By default, conditions are named Default Condition Formula.

Name Field
- (Optional) Enter a brief condition description in the Description field.

Description Field
- From the Variables section, click the +Add Variable button.

+Add Variable Button
- From the Variables section, select a Variable Type from the drop-down list. A Variable is a value in which the formula calculations are performed.
- Field: After selecting the Field variable, the following field will appear:
- Available Components: Select a field or formula from the Available Components drop-down field adding it directly to the Object Type.
 Note:
Note:
Fields must be added to a formula after an Object Type or through an association (Relationship or Reference).
Only numeric fields, date fields, and select lists (numeric values) are accepted. For more information, see the Fields article.

Variable Type = Field
- Relationship: After selecting the Relationship variable, the following fields will appear:
- Relationship: Select the Object Type Relationship from the drop-down list. Relationships connect two or more objects. Relationships must be added to an Object Type to appear on the Relationship drop-down list. See the Add Relationships to an Object Type article for further information on adding a Relationship to an Object Type.
- Available Components: Select a field or formula from the Available Components drop-down field adding it directly to the Object Type.
- Sub Type: Select a Sub Type from the drop-down list. Subtypes specify how the data from multiple objects are compiled, calculated, and displayed. For more information on Subtypes, see the Sub Type Table in the Variables, Operations, & Functions article.
- Array: Creates a set of values from the variable.
- Sum: Calculates a total from the variable's set of values and returns a single number. Select list variables cannot use Sum Sub Types.
- Count: The number of times a variable has been added to an object.
- Average: Calculates an average number from the variable's set of values. Select list variables cannot use Average Sub Types.
- Every: Checks if the variable contains a value on the objects in the relationship/reference.
- Min: Calculates the lowest number from the variable's set of values. Select list variables cannot use Min Sub Types.
- Max: Calculates the highest number from the variable's set of values. Select list variables cannot use Max Sub Types.

Variable Type = Relationship
- Reference: After selecting the Reference variable, the following fields will appear:
- Reference: Select the Object Type Reference from the drop-down list. References indicate that an object is connected to another object through a relationship. References are automatically created when a relationship is created. For further information on adding a Relationship to an Object Type, see the Add References to an Object Type article.
- Available Components: Select a field or formula from the Available Components drop-down field adding it directly to the Object Type.
- Sub Type: Select a Sub Type from the drop-down list. Subtypes specify how the data from multiple objects are compiled, calculated, and displayed.

Variable Type = Reference
- Property: After selecting the Property variable, the following field will appear:
- Property: Select a Property type from the drop-down list:
- Is Submitter Confidential: This property type creates a formula that compares the number of confidential submissions against the number of not confidential submissions for customers that use the Confidential Reporting Portal.
- Property: Select a Property type from the drop-down list:

Variable Type = Property
- The system will automatically populate the Name field with the field or formula's unique ID by default.
- (Optional) Enter a Variable name in the Name field.
 Warning:
Using a function name (Sub Type Name) in the name field will cause an error.

Variable Name
- (Optional) Enter a Variable description in the Description field.

Description Field
- (Optional) Select the Treat empty values as Null checkbox, to exclude blank objects from a formula calculation. For more information, see the Null Values in Formulas article.
![]()
Treat Empty Value as Null Checkbox
- Click the Create button to add the variable.

Create Button
- Repeat steps 7 - 16 to add additional variables.
- Click the x icon next to the variable to delete the variable.
![]()
X Icon - Delete a Variable
- (Optional) Click the Insert Variable button and select a variable from the dropdown list to use within the Formula field.

Insert Variable Button
- From the Formula section, enter a Formula using the variable name(s) you entered in the Name field under the Variables section. Include operators and functions in the Formula field (e.g., INCIDENTSE==3). For more information on Operators, see the Operators Table in the Variables, Operators, & Functions article.
- A system notification will appear under the Formula field, indicating that Your formula is not saved.

System Notification - Your Formula is Not Saved
- Click on the Save Formula button. The system will perform a Syntax Validation on the formula if the formula is:
- Valid: A system notification will appear under the Formula field; Formula syntax is correct. Formula saved.

System Notification - Valid Formula
- Invalid: A system notification will appear under the Formula field; Error Syntax error in part (char 1). The formula is not saved. The error will indicate the character (char) location of the error in the formula and that the formula is invalid and not saved.

System Notification - Invalid Formula
- Syntax Validation helps to prevent users from saving invalid formula expressions, which can negatively impact APIs.
- Click the Done button to add the Variables to the Object Type.