Dispatch users are created in the Command Center app. See the Create a New Dispatch User Article in the Command Center Administrator's Guide for more information.
- Navigate and log into Resolver® Dispatch.
- From the Dispatch Home screen, click the Settings icon on the Main Menu Bar.

Dispatch Home Screen
- From the Settings screen, click on the Users icon
 on the Navigation Bar on the left side of the screen.
 on the Navigation Bar on the left side of the screen.
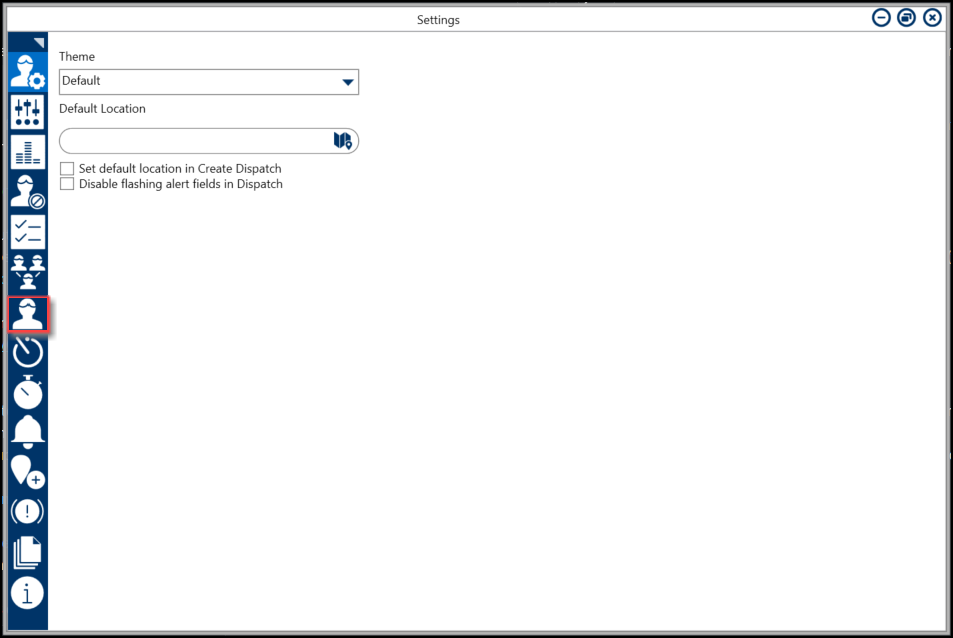
User Icon - Settings Screen
- From the Users screen, enter the name of the user/officer you are searching for in the Search field and click the Enter key or use the side scrollbar in the center of the screen to navigate to the user/officer.
 Note:
Note:
Contact your Customer Administrator if the user does not appear in the Users screen.
- Click on the User/Office Tile to open the User/Office Profile screen.

User/Officer Profile
- Click the Active
 toggle switch to activate the user's account. By default, all new user accounts are inactive.
 toggle switch to activate the user's account. By default, all new user accounts are inactive.
 Note:
Note:
Inactive officers cannot be assigned as a Record Owner because the user Search function filters inactive user accounts from incident report follow ups.
- (Optional) Enter the following User/Officer information in the following fields:
- Mobile Phone: Enter the user's primary phone number.
- Default Officer Notes: This field is a free-form field that allows you to enter any user information that does not currently have a field.

User/Officer Information Fields
- The User Access section allows you to control user security access to different areas and functions:
- Administrator: Grants the user administrative privileges.
- Reviewer: Allows the user to view the dispatches’ details in their assigned operational zone and send and receive messages (but they can't perform any other actions in Resolver Dispatch).
- Connect Access: The user can log into and configure Resolver Connect settings using their Resolver Dispatch username and password. Depending on any additional selected options, they may log in as a dispatcher, administrator, or reviewer.
- Allow add Locations on the Fly: This option lets the user create temporary locations. For more information, see the Quick Add Locations article.

User Access Section
 Note:
Note:
By default, all users will have a standard dispatcher/officer account unless otherwise specified in the User Access section.
- Under the Accessible Operational Zones section, select an operational zone(s) checkbox indicating the user's zone of operation:
- Dispatchers: The Operational Zone checkbox will determine the operational zones where the Dispatcher can manage dispatches, tasks, and users/officers. If a dispatcher has access to multiple operational zones, they can switch between zones while logged in.
- Users/Officers: The Operational Zones checkbox(es) will determine the user's zone of operation (the environment they work in) and the Team that they are assigned.

Accessible Operational Zones
- (Optional) Under the Defaults section, select a default for the following fields based on your user permissions outlined below:
- Dispatchers:
- Language: The Language field defaults to the base language but can be changed by picking a new language from the drop-down list.
- Operational Zone: An Operational Zone is a way to organize your users into groups based on locations (e.g., Country, Region, Campus, etc.). The Operational Zone will automatically default based on the user's login information.
- Work Zone: A Work Zone is a way to break down Operational Zones creating areas within Operational Zones where users work (e.g., sites, campuses, building on campus, etc.).
- Default Template: This option allows you to select a default template associated with the user's work zone. The template can be overwritten when an officer is brought on duty.
- Users/Officers:
- Language: This option allows you to select a language setting if more than one language is configured. The field is locked to the single language selection if only one language is configured.
- Work Zones: A Work Zone is a way to breakdown Operational Zones creating areas within Operational Zones where users work (e.g., cafeteria, library, etc.).
- Team: This option groups officers into teams based on specific buildings or shifts (e.g., cafeteria, day, night, etc.).
- Call Sign: The user's/officer's assigned call sign used when communicating or identifying within Resolver® Dispatch.
- Default Template: This option allows you to select a default template associated with the user's work zone. The template can be overwritten when an officer is brought on duty.
- These fields will automatically appear when bringing an officer on duty.
- Dispatchers:

Default Field Settings