Overview
Once an assessment type has been created, you can add it to data visualizations, object type groups, relationships, roles, configurable forms, actions, and views.
User Account Requirements
The user must have Administrator permissions to access the Assessments tile.
Related Information/Setup
Please refer to the Assessments Overview article for further information on using assessments in Resolver.
Navigation
-
From the Home screen, click the Administration icon.
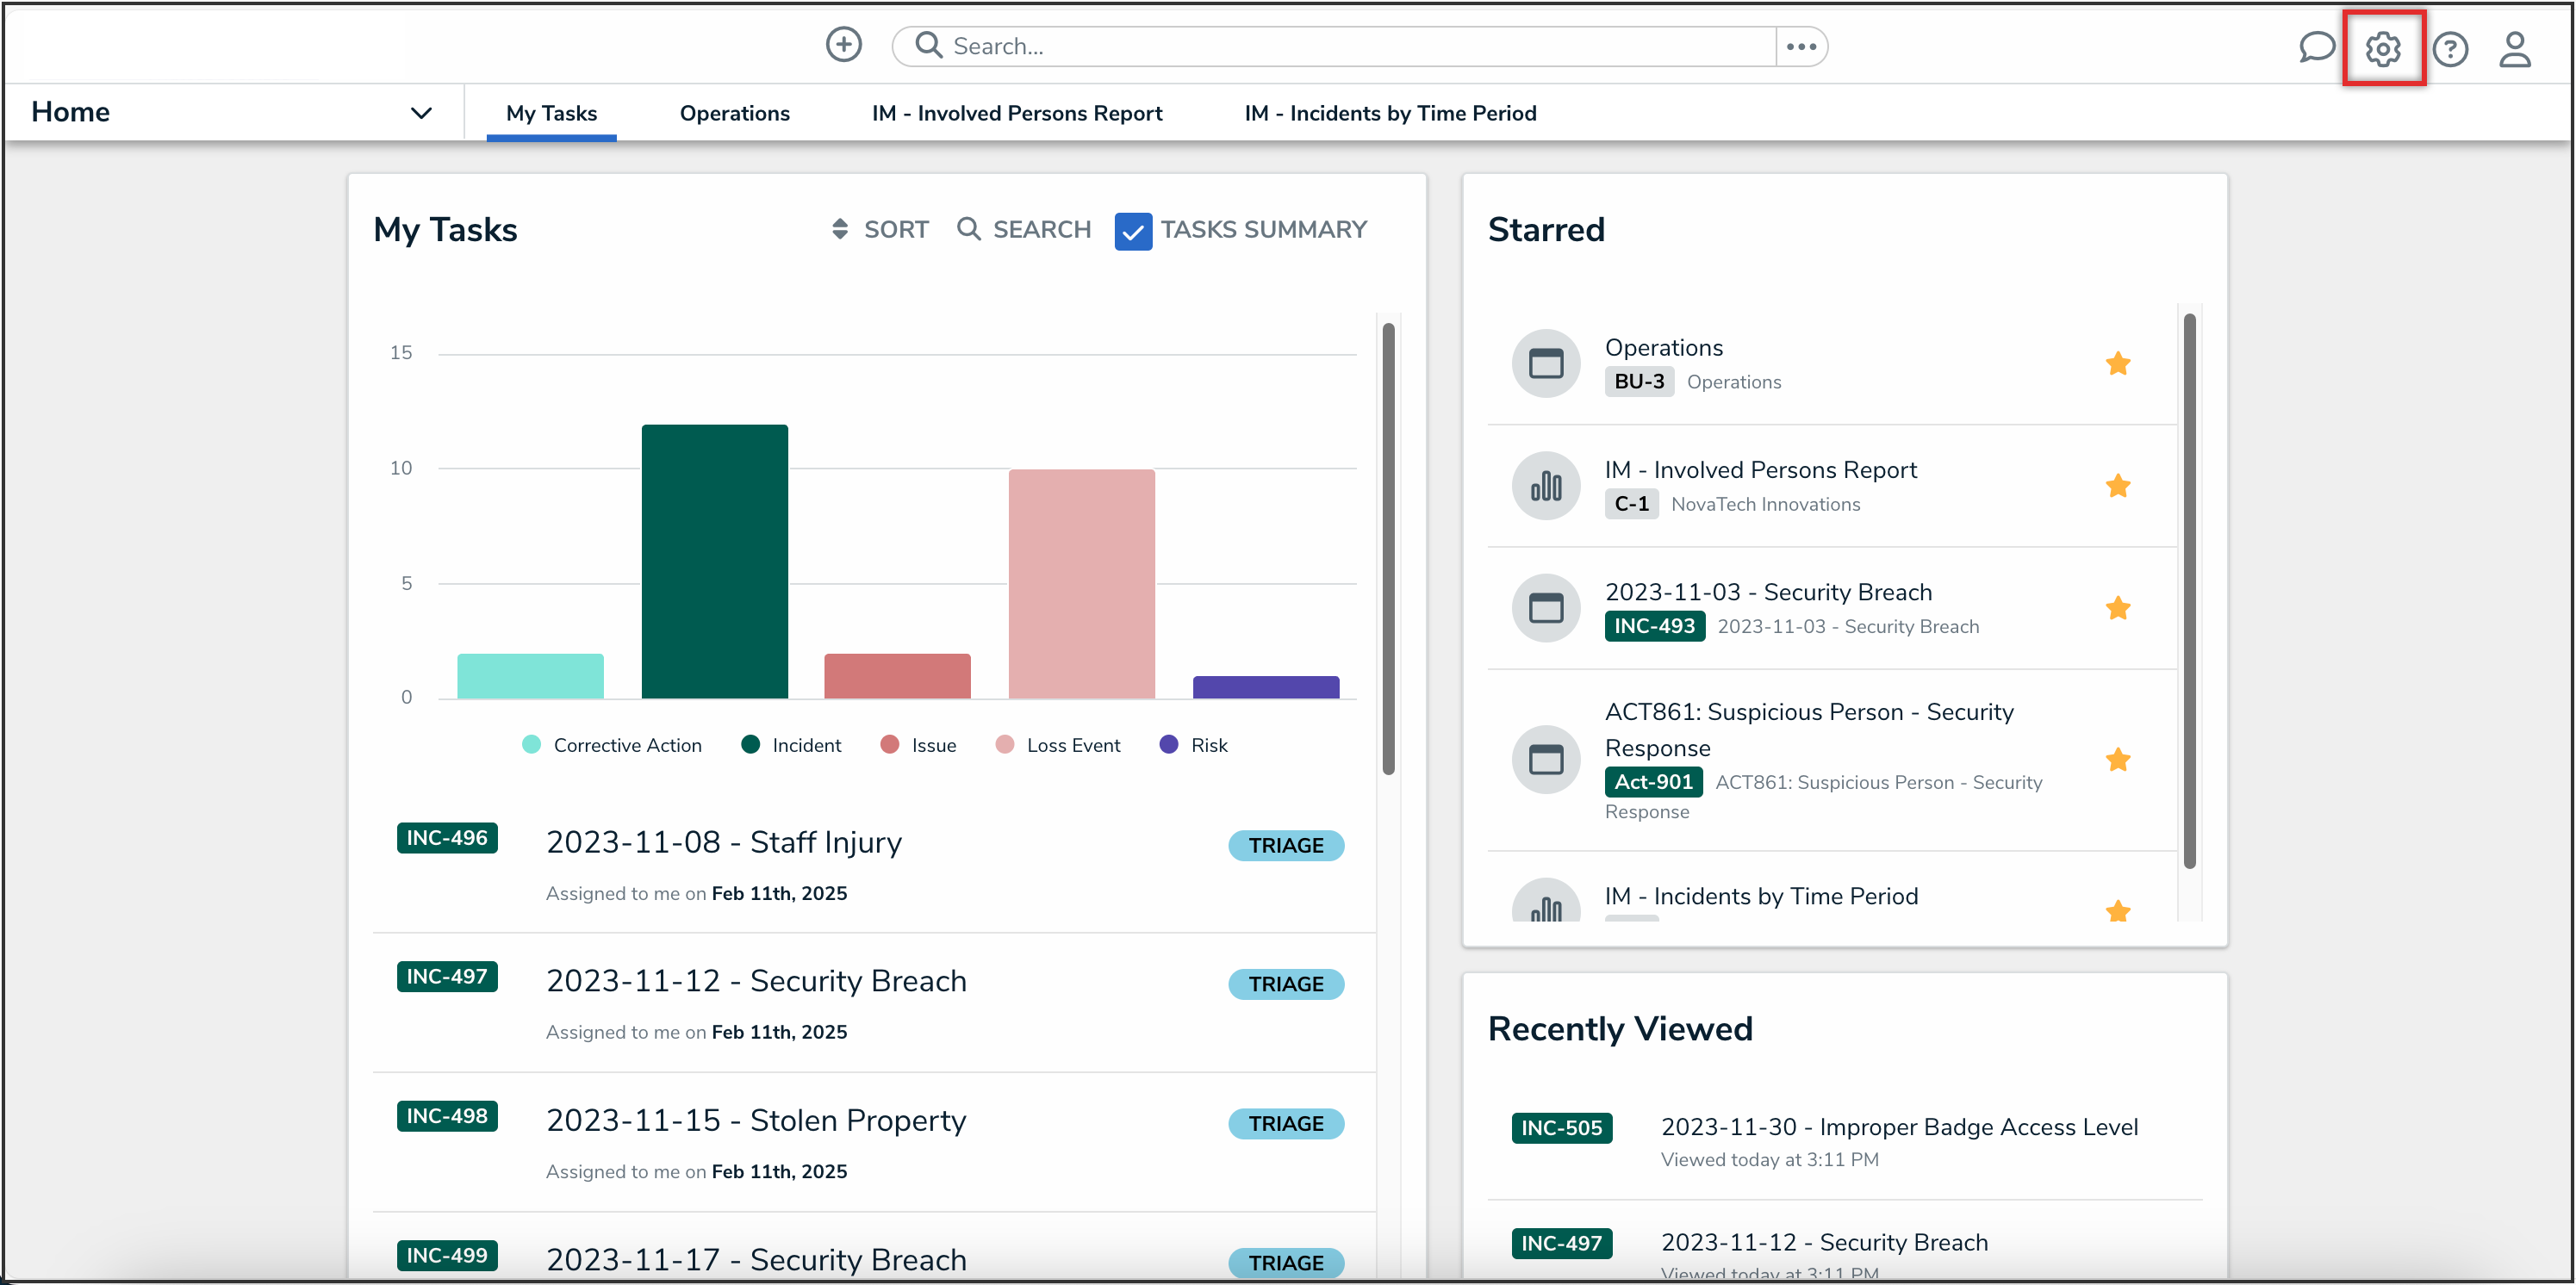
Administration Icon

- From the Administrator settings menu, click the Admin Overview link.
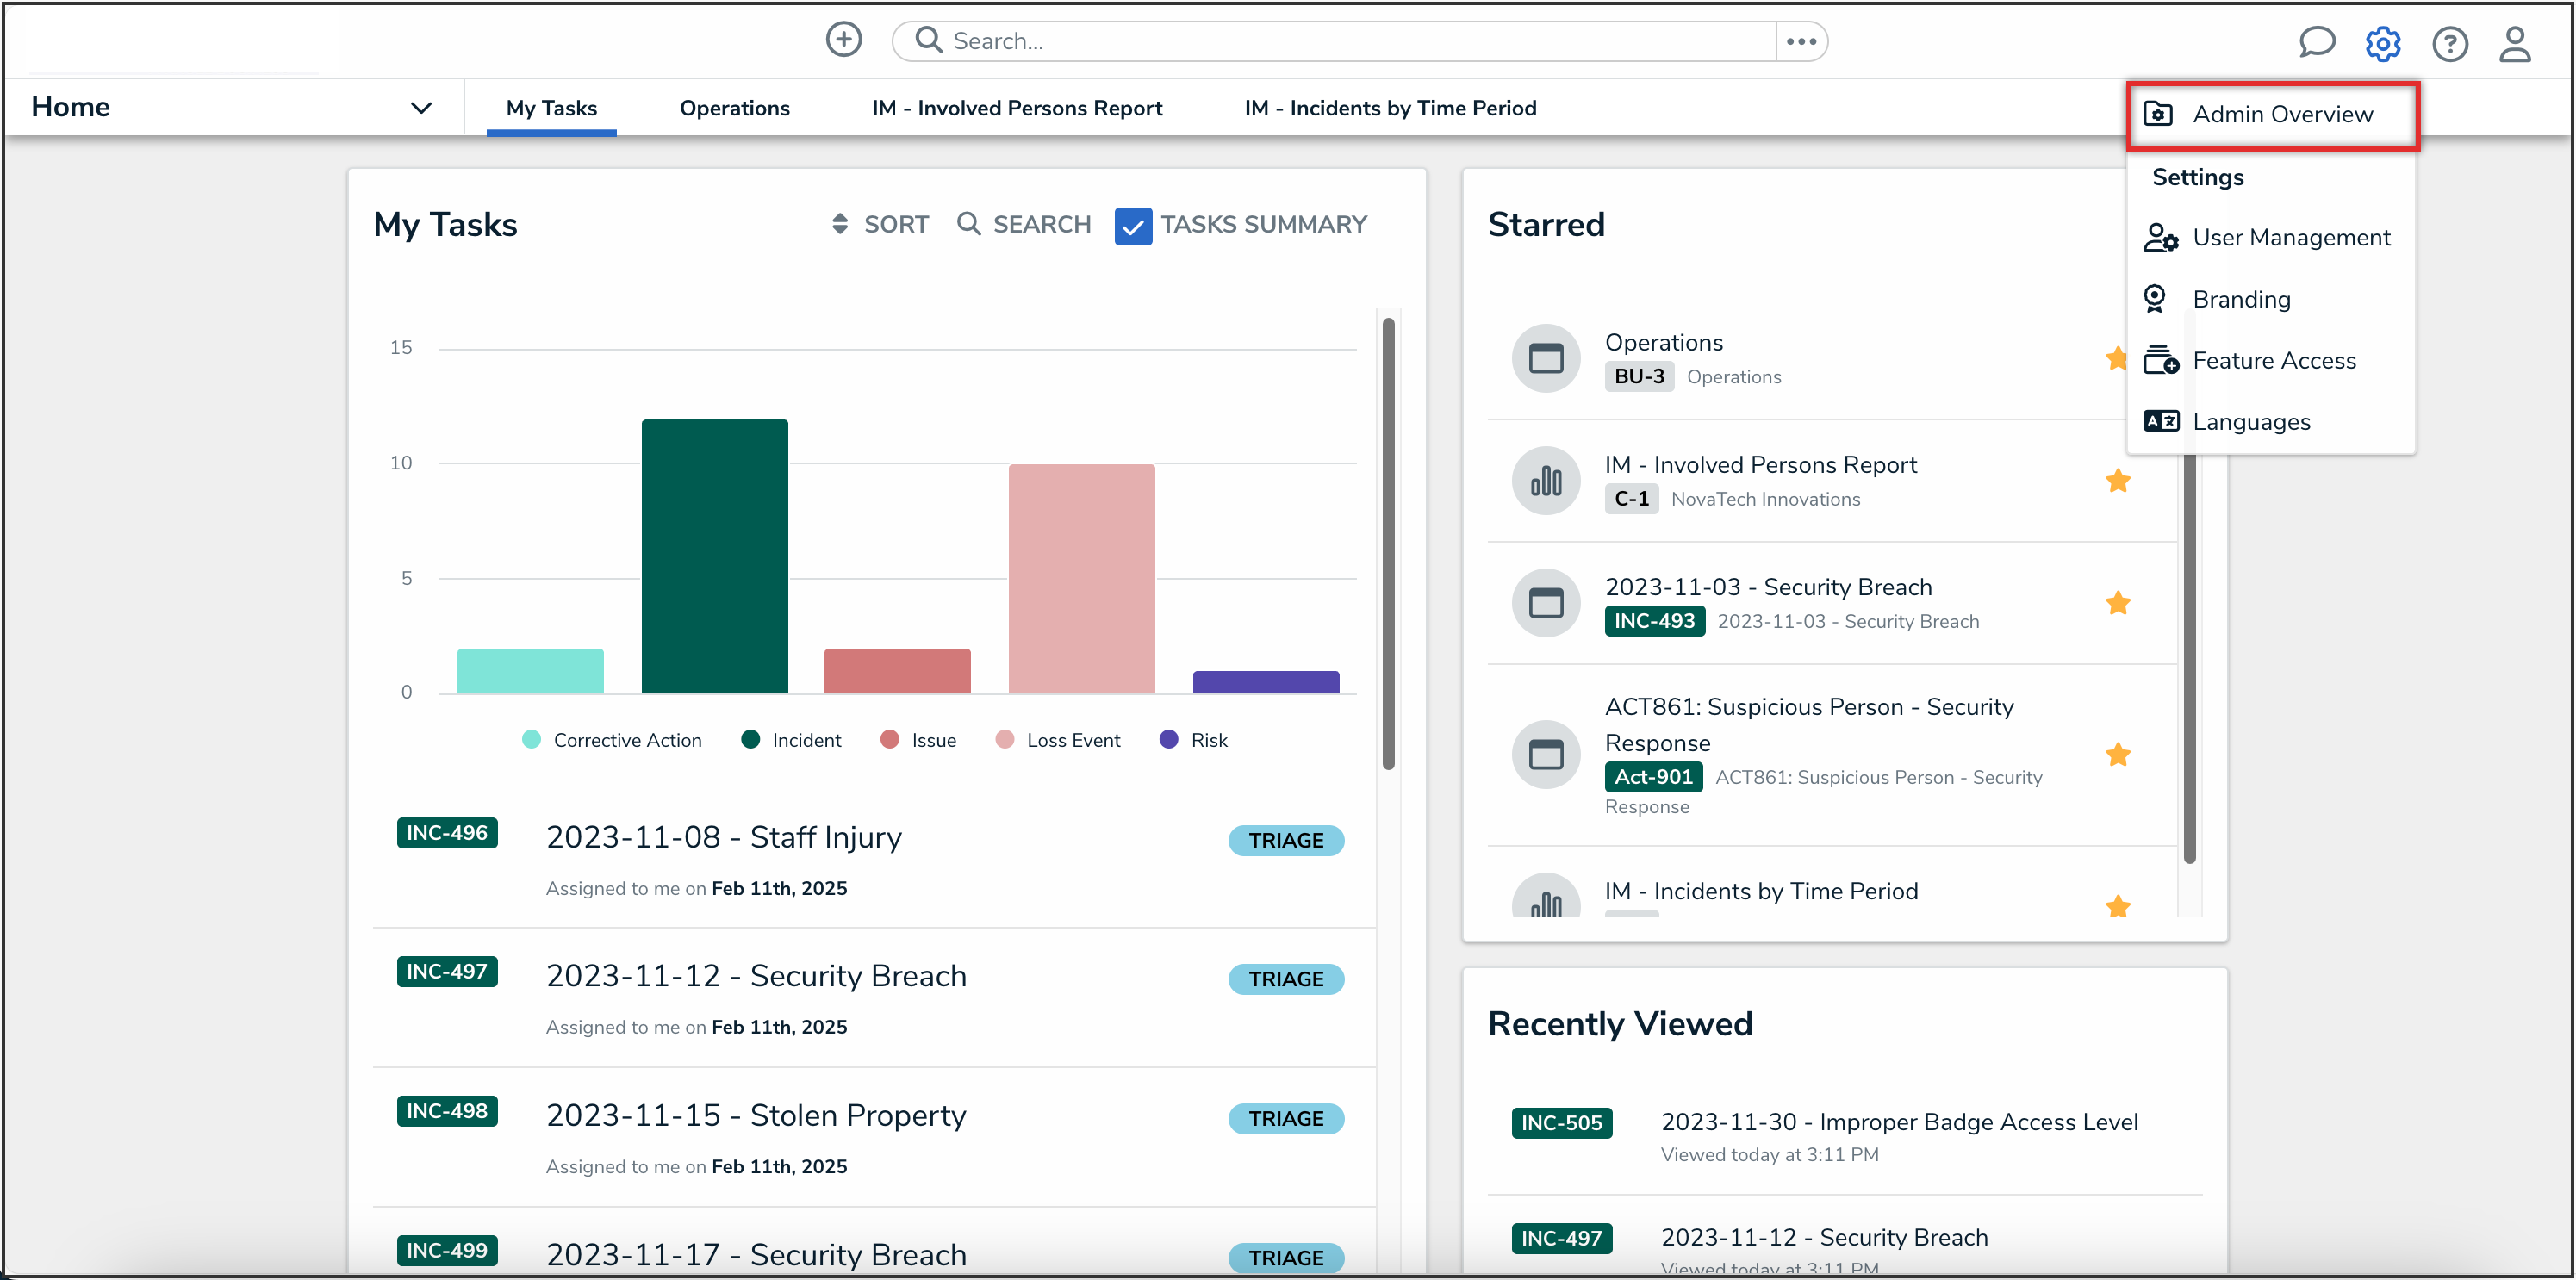
Admin Overview Link

- From the Admin Overview screen, click the Assessments tile under the Data Model section.
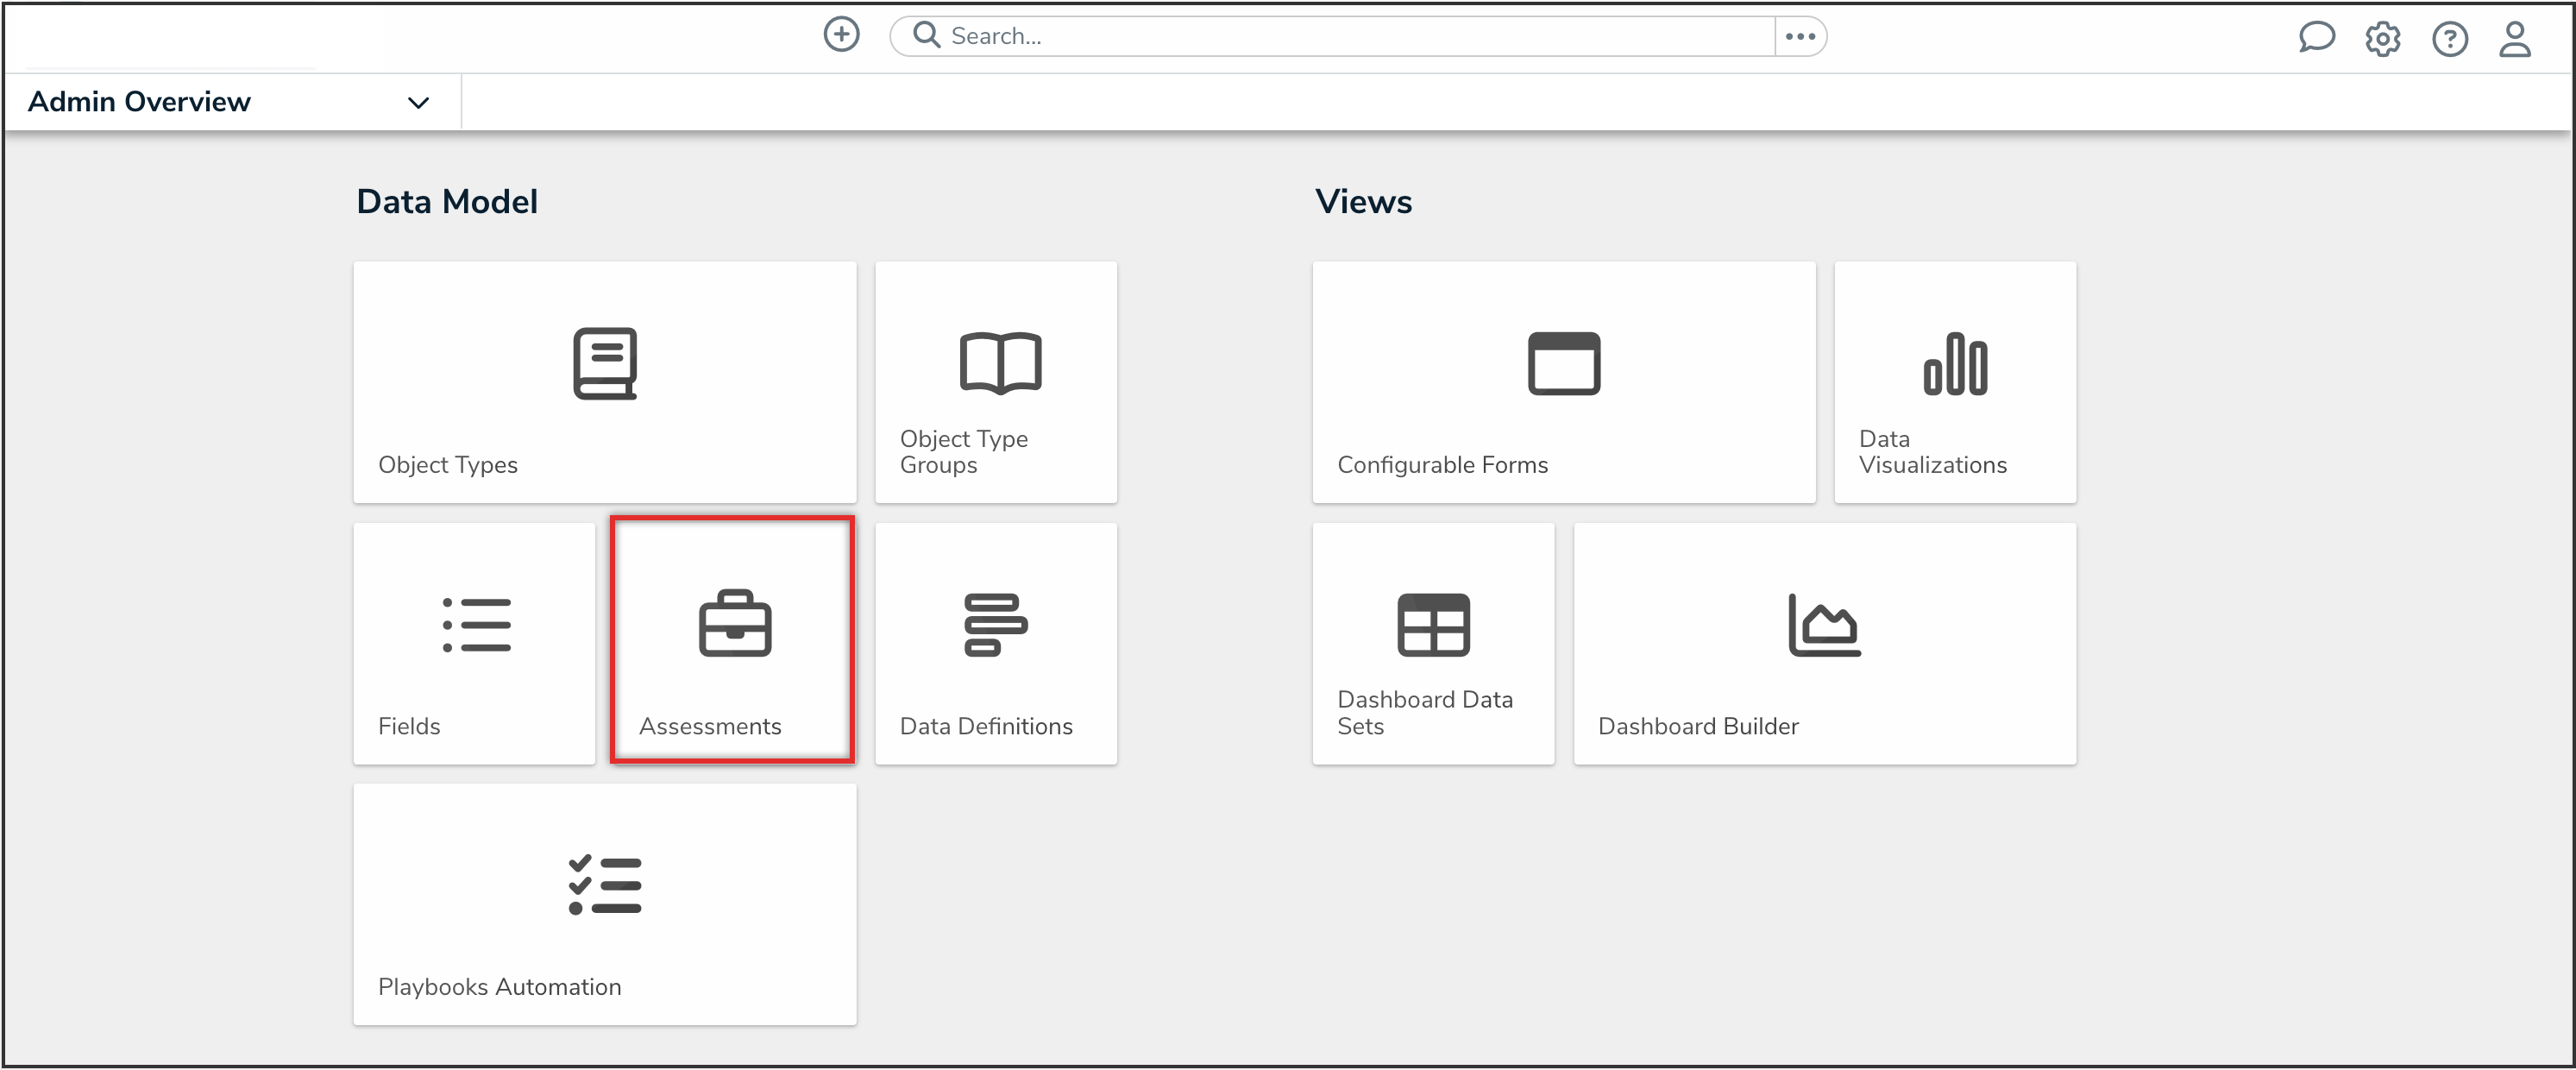
Assessments Tile

- From the Admin: Assessments screen, click the Create Assessment button.
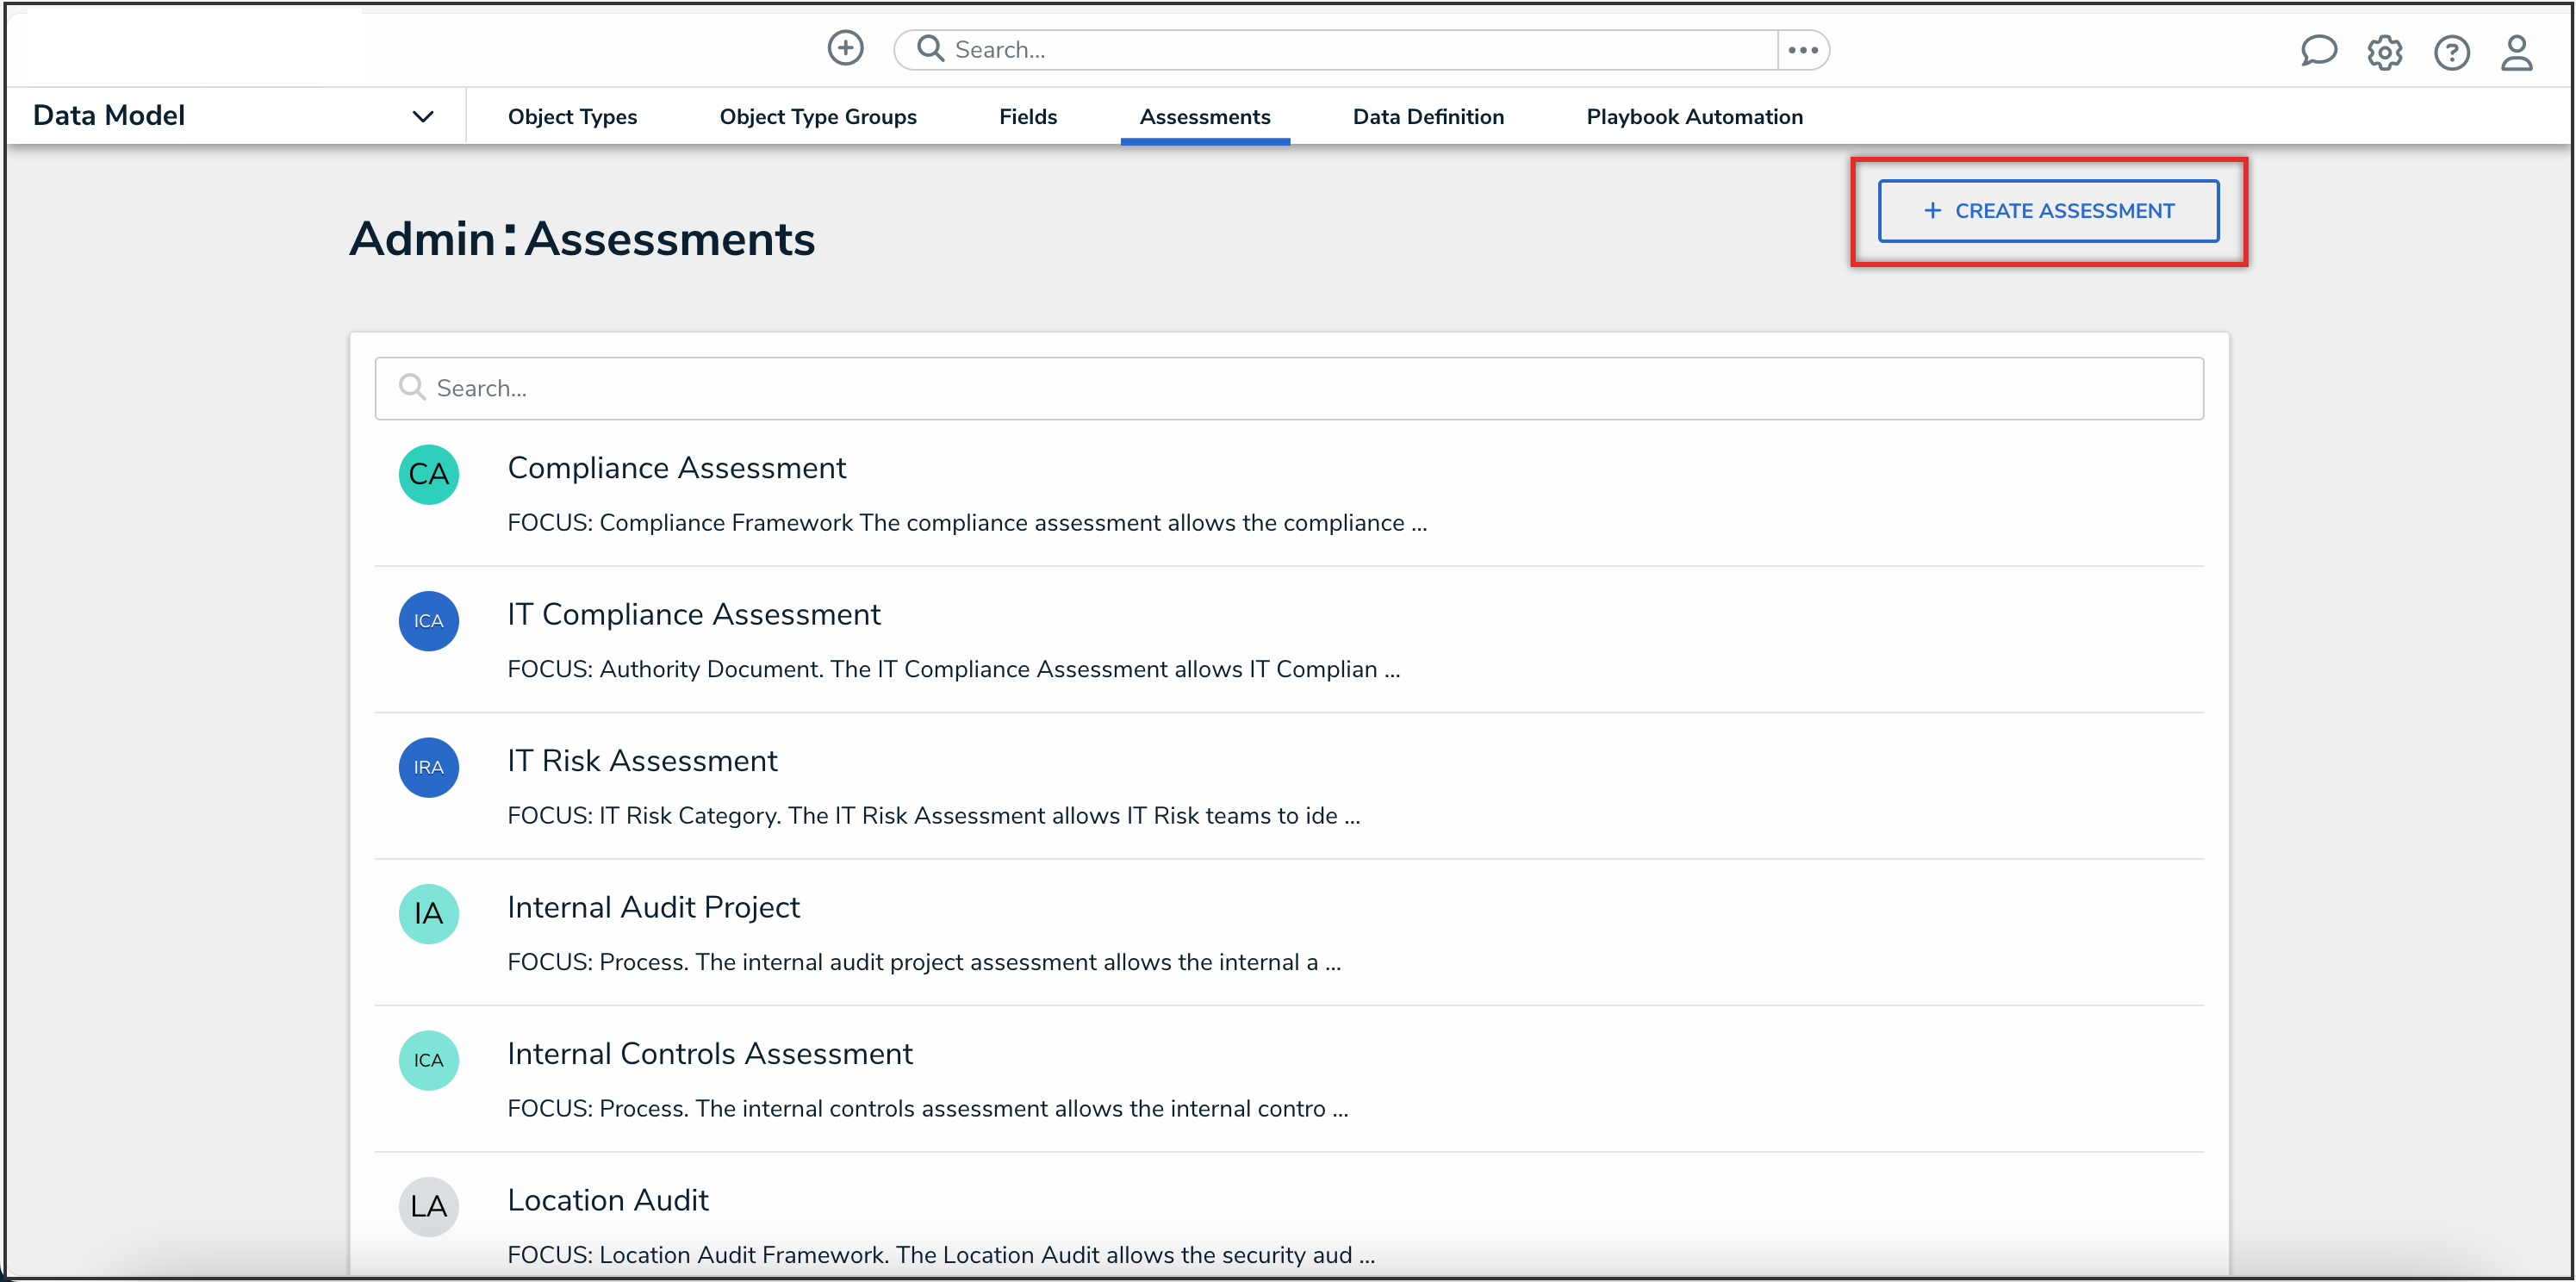
Create Assessment Button

Create a New Assessment Type
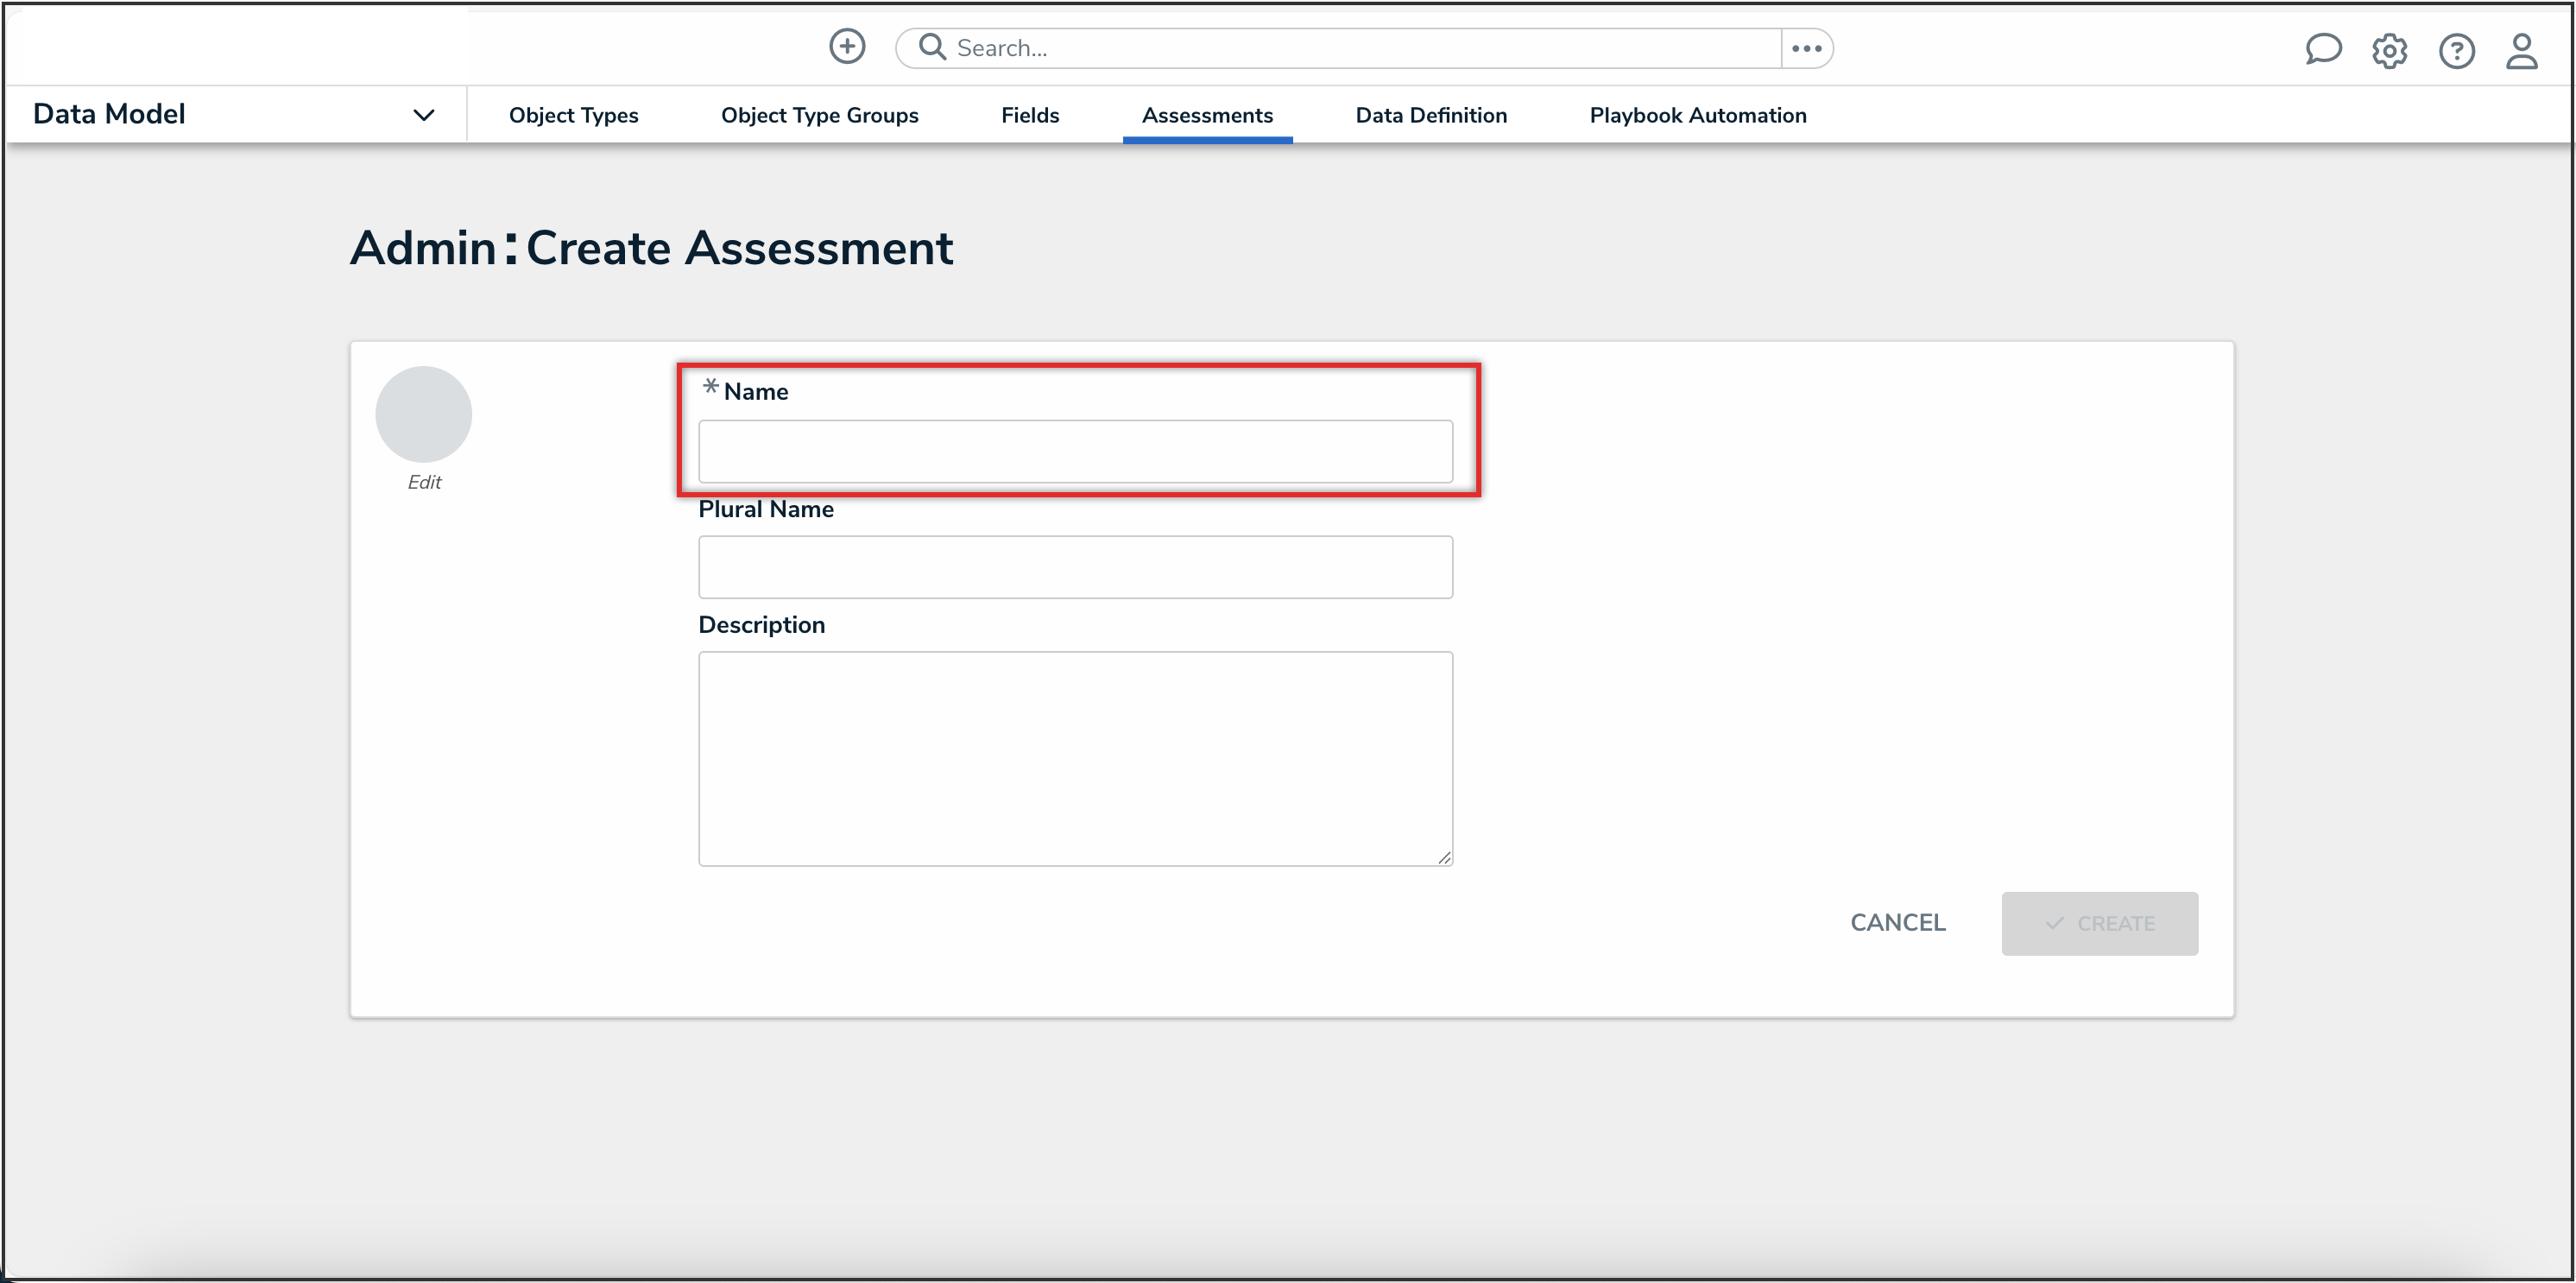
- In the Name field, enter a name for the assessment.
Name Field
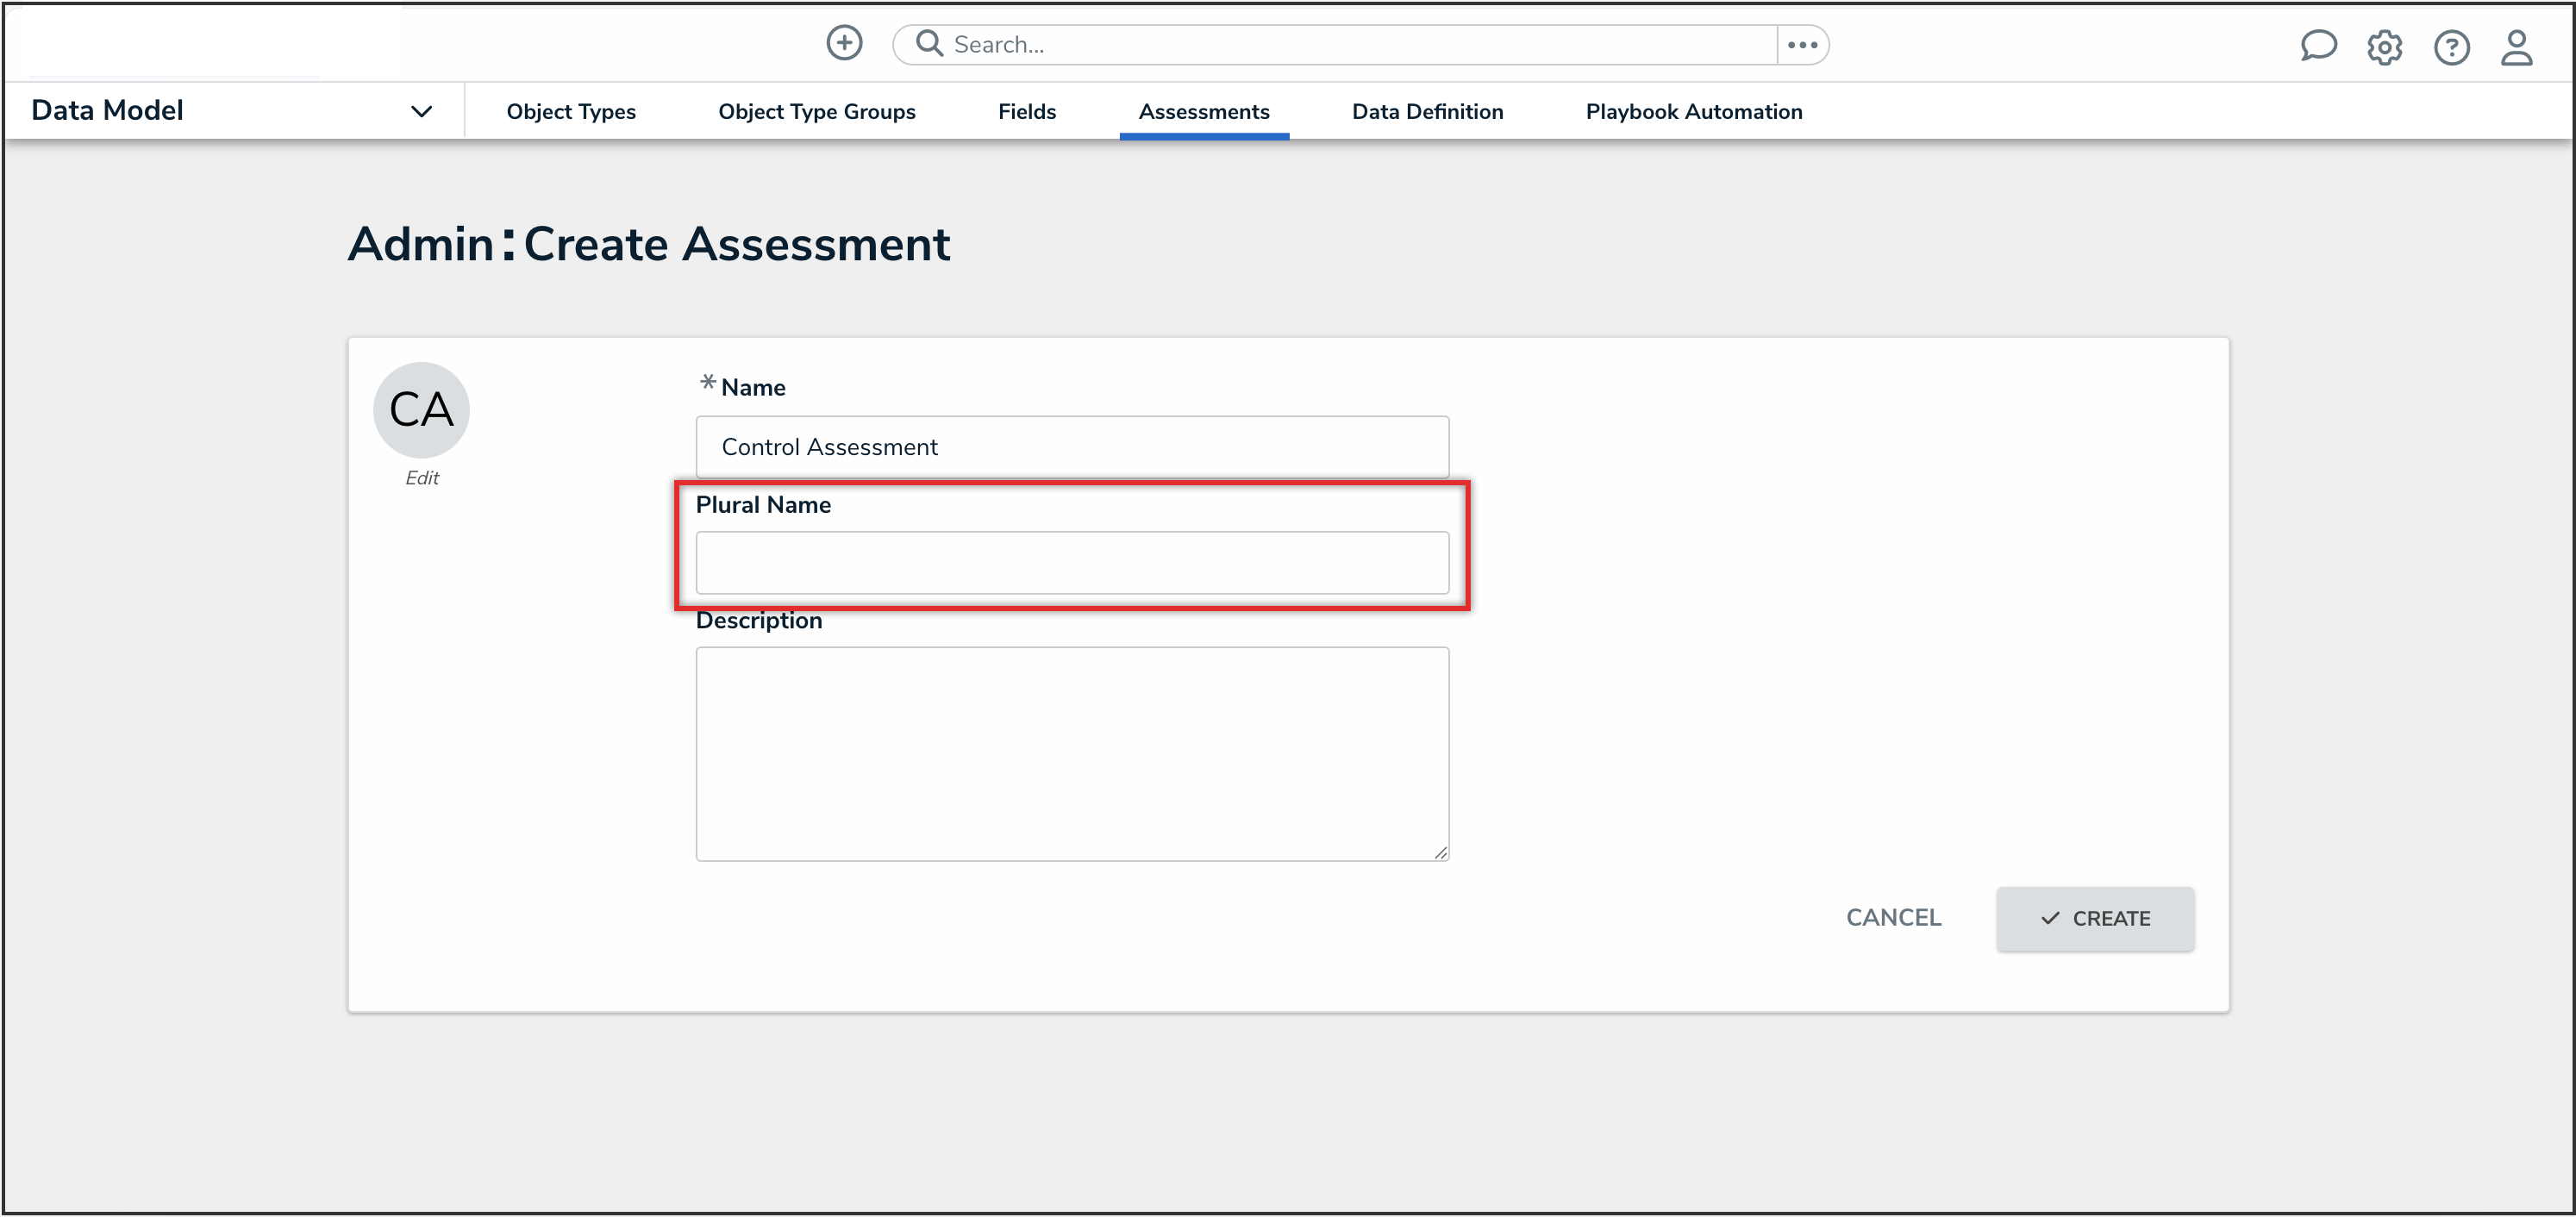
- (Optional): Enter a plural name for the assessment type in the Plural Name field, which will appear when viewing a list of the objects for the assessment (e.g., “Control Assessments” instead of “Control Assessment”).
Plural Name Field
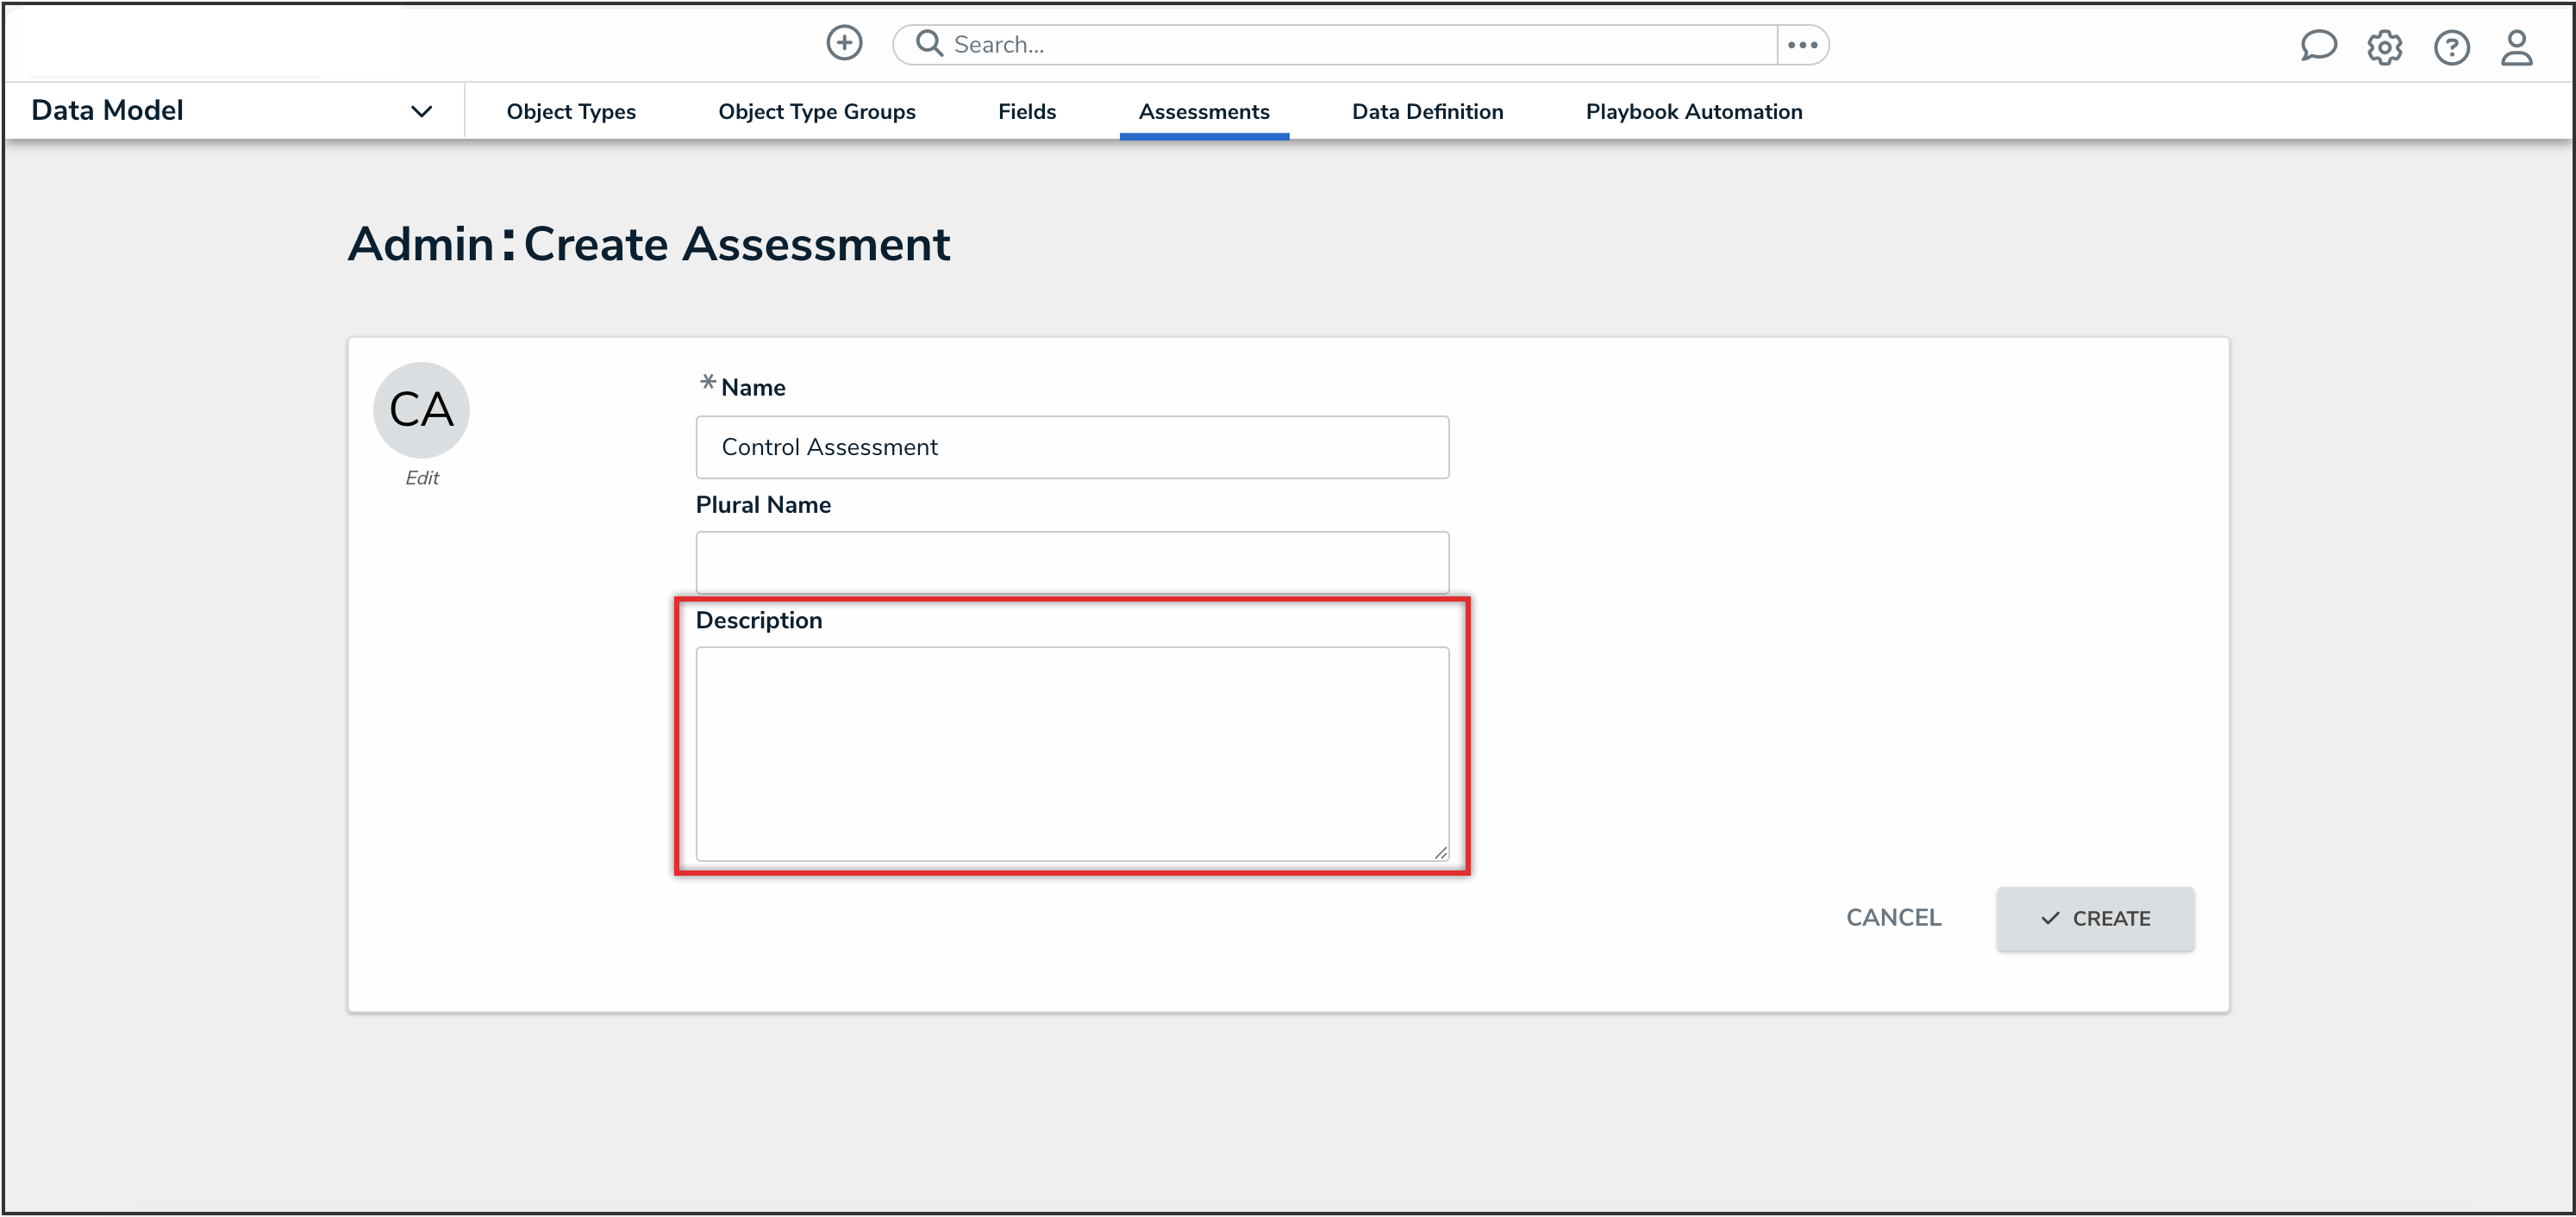
- (Optional): Enter a description of the assessment type in the Description field, which will appear on the Assessments and Edit Assessment screen.
Description Field
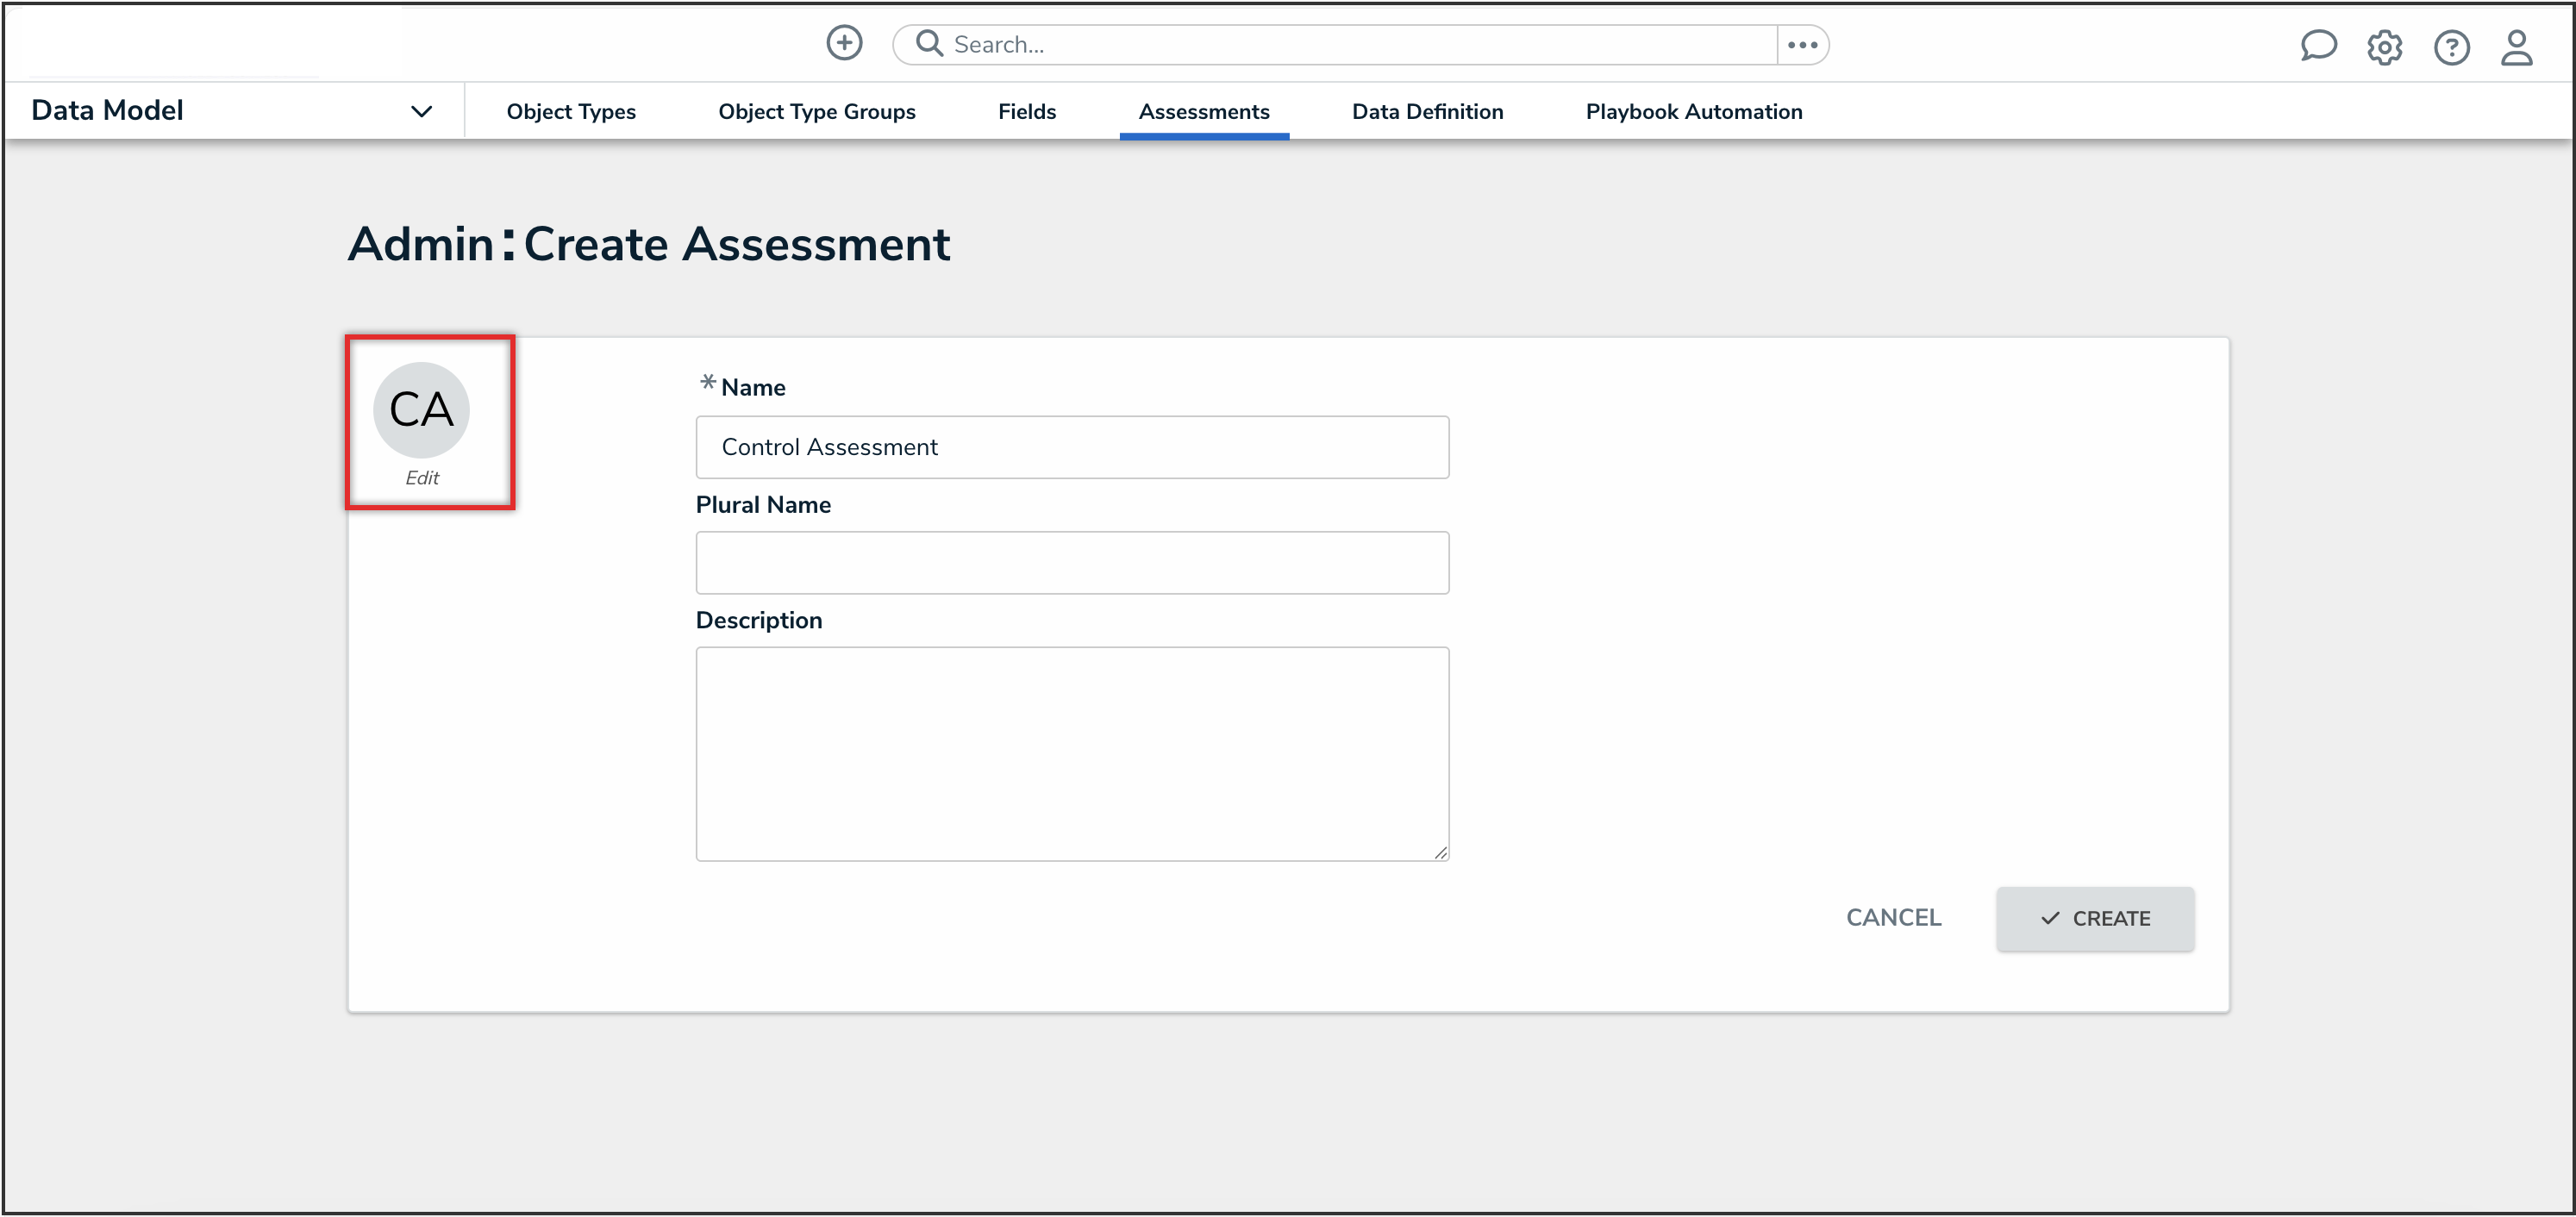
- (Optional): To edit the assessment monogram:
- Click the monogram icon to the left of the Name field.
Monogram
- In the Customize Monogram pop-up, enter 1 to 3 characters in the Monogram field.
- Click the Pick a color dropdown menu to reveal the color picker. You can also type a hex color into this field to select a color.
- Click the Done button.
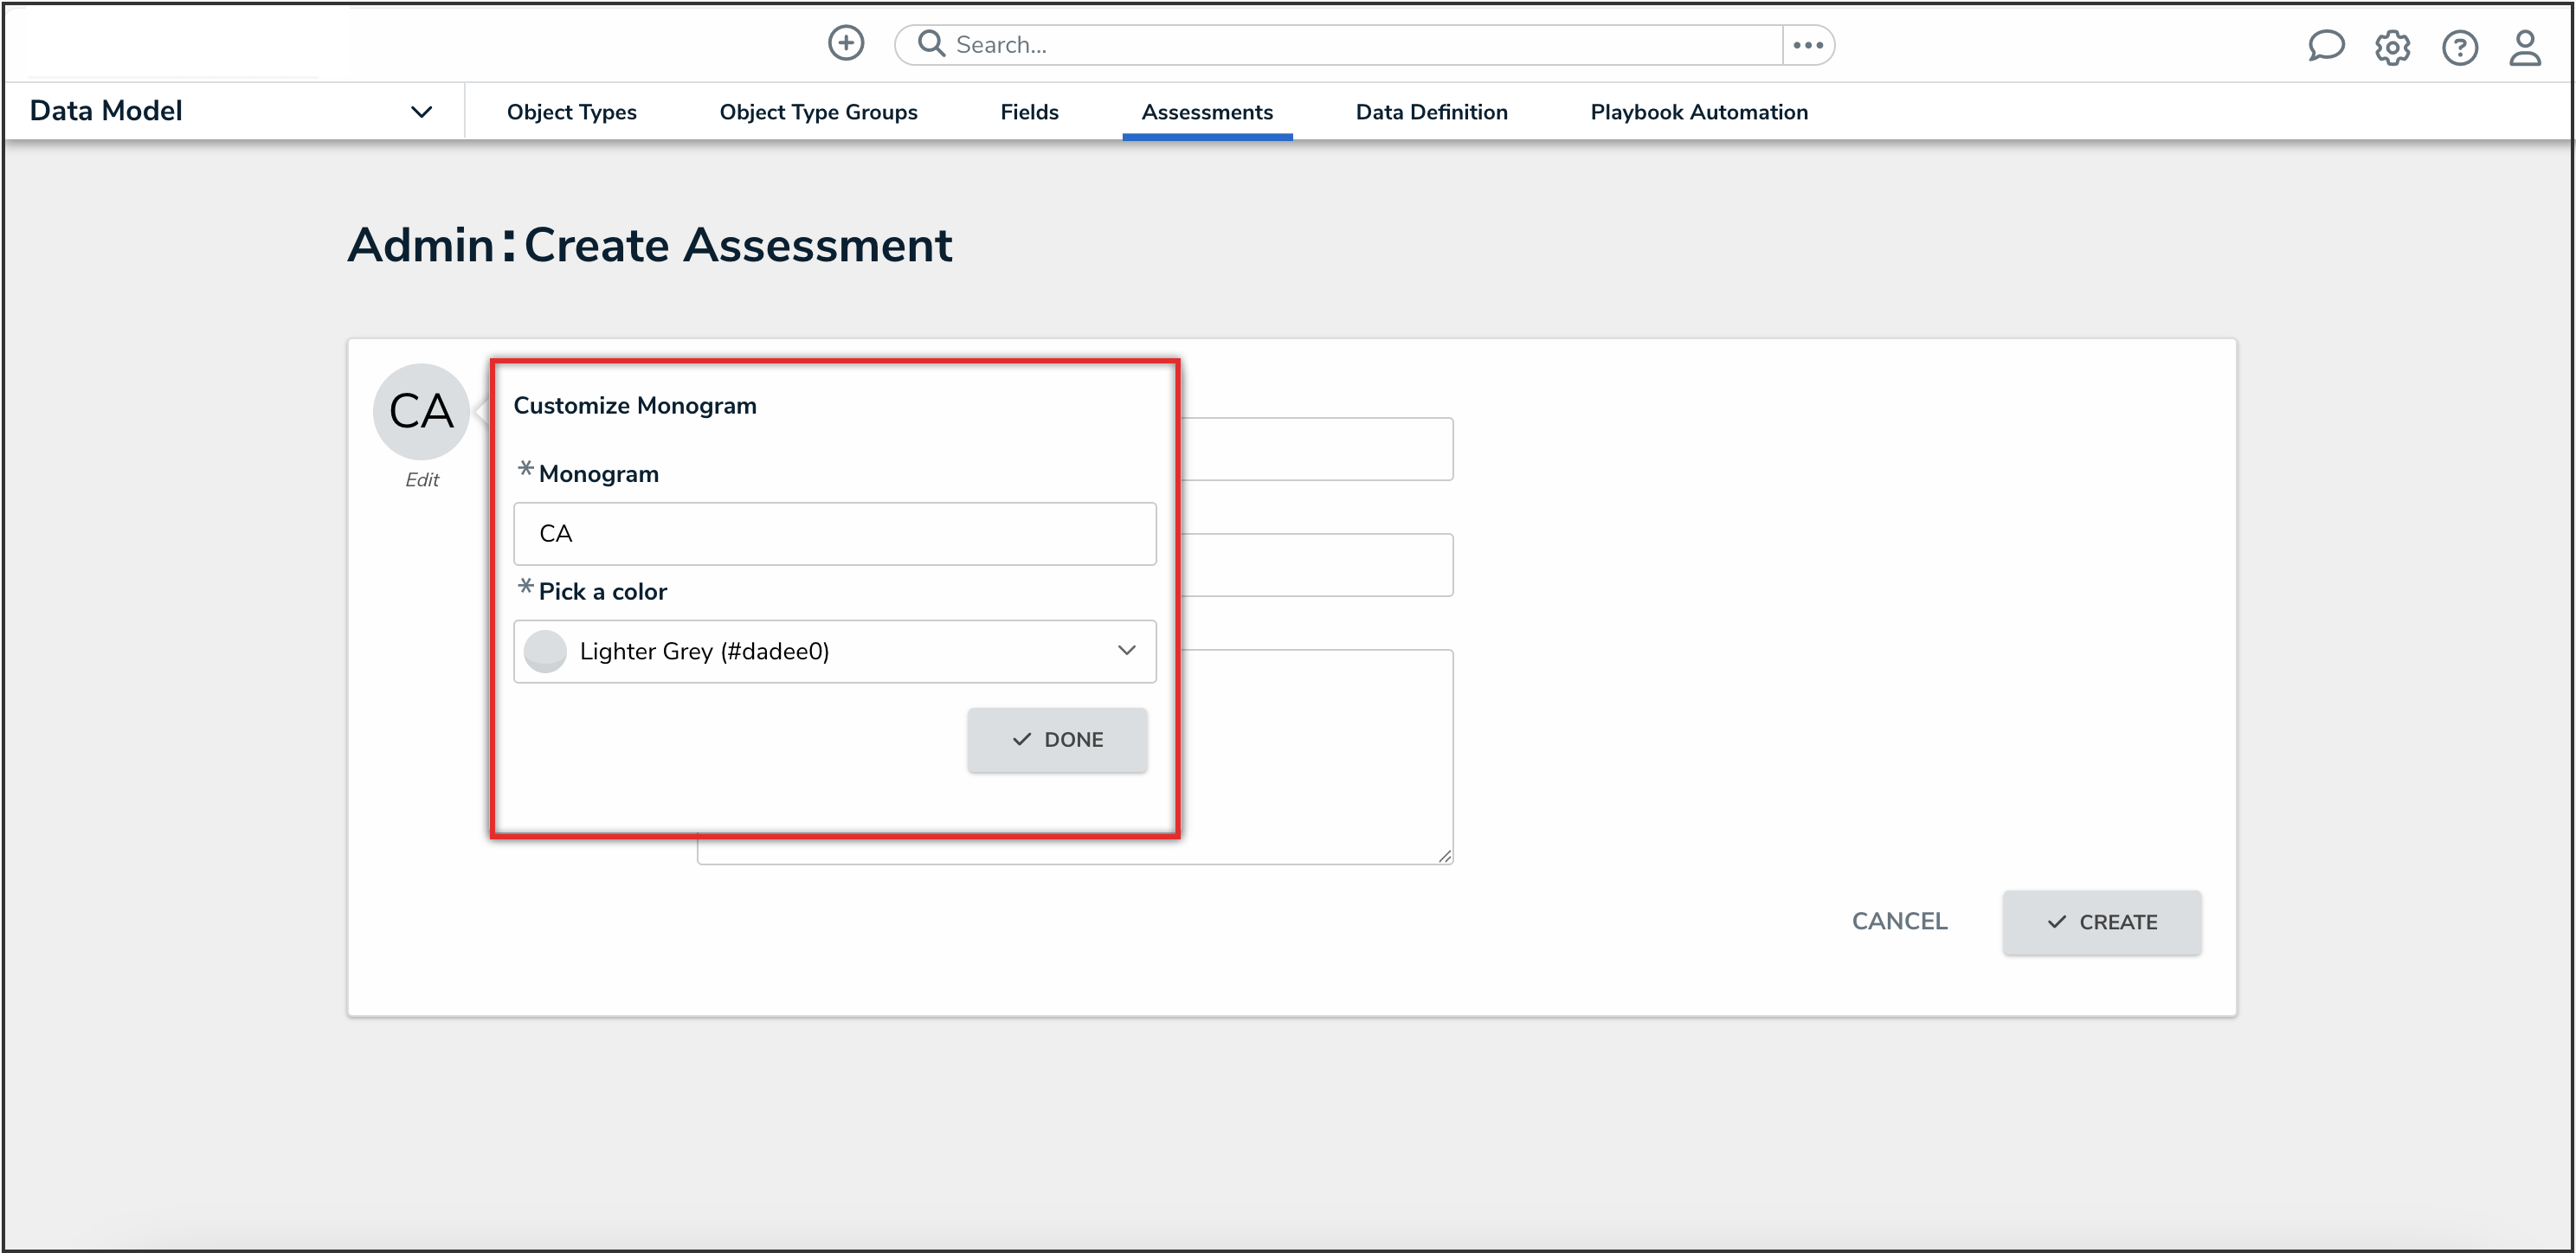
Customize Monogram Pop-Up
- Click the monogram icon to the left of the Name field.
- Click the Create button to display the Admin: Edit Assessment screen.

Create Button
- In the Settings tab, from the Focus and Data section, select an object type to use as the assessment’s focus from the Choose an assessment focus dropdown menu. The focus object type determines which object types you can select when creating or selecting a data definition.
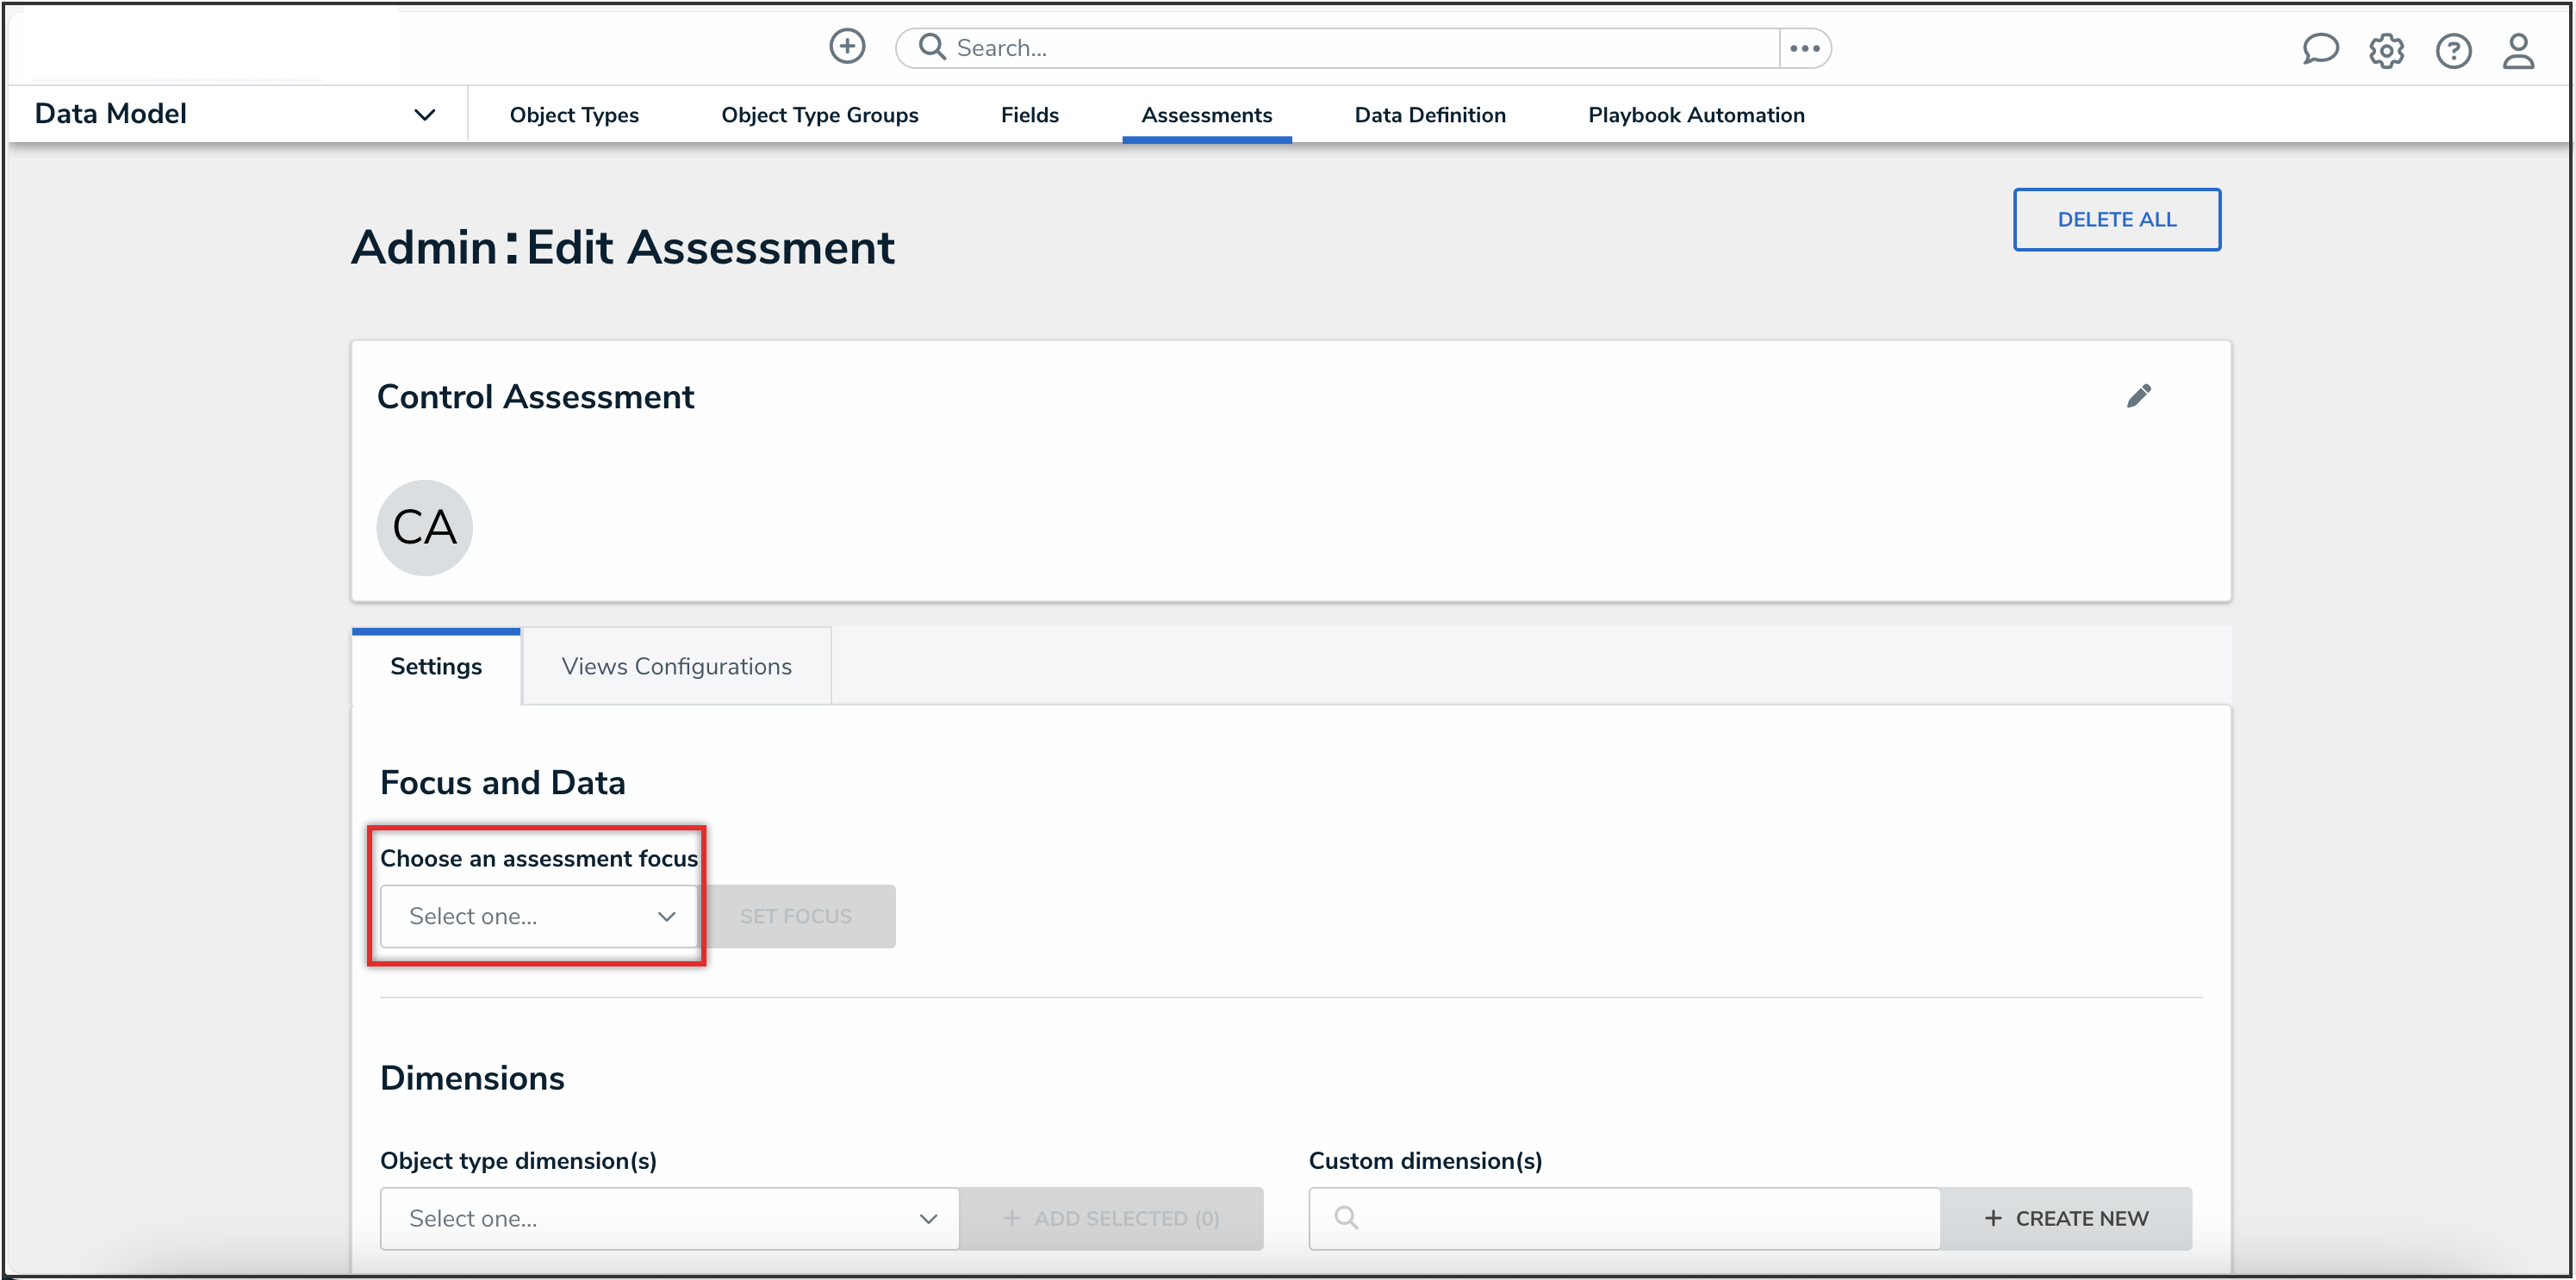
Choose an Assessment Focus Dropdown
- Click the Set Focus button.
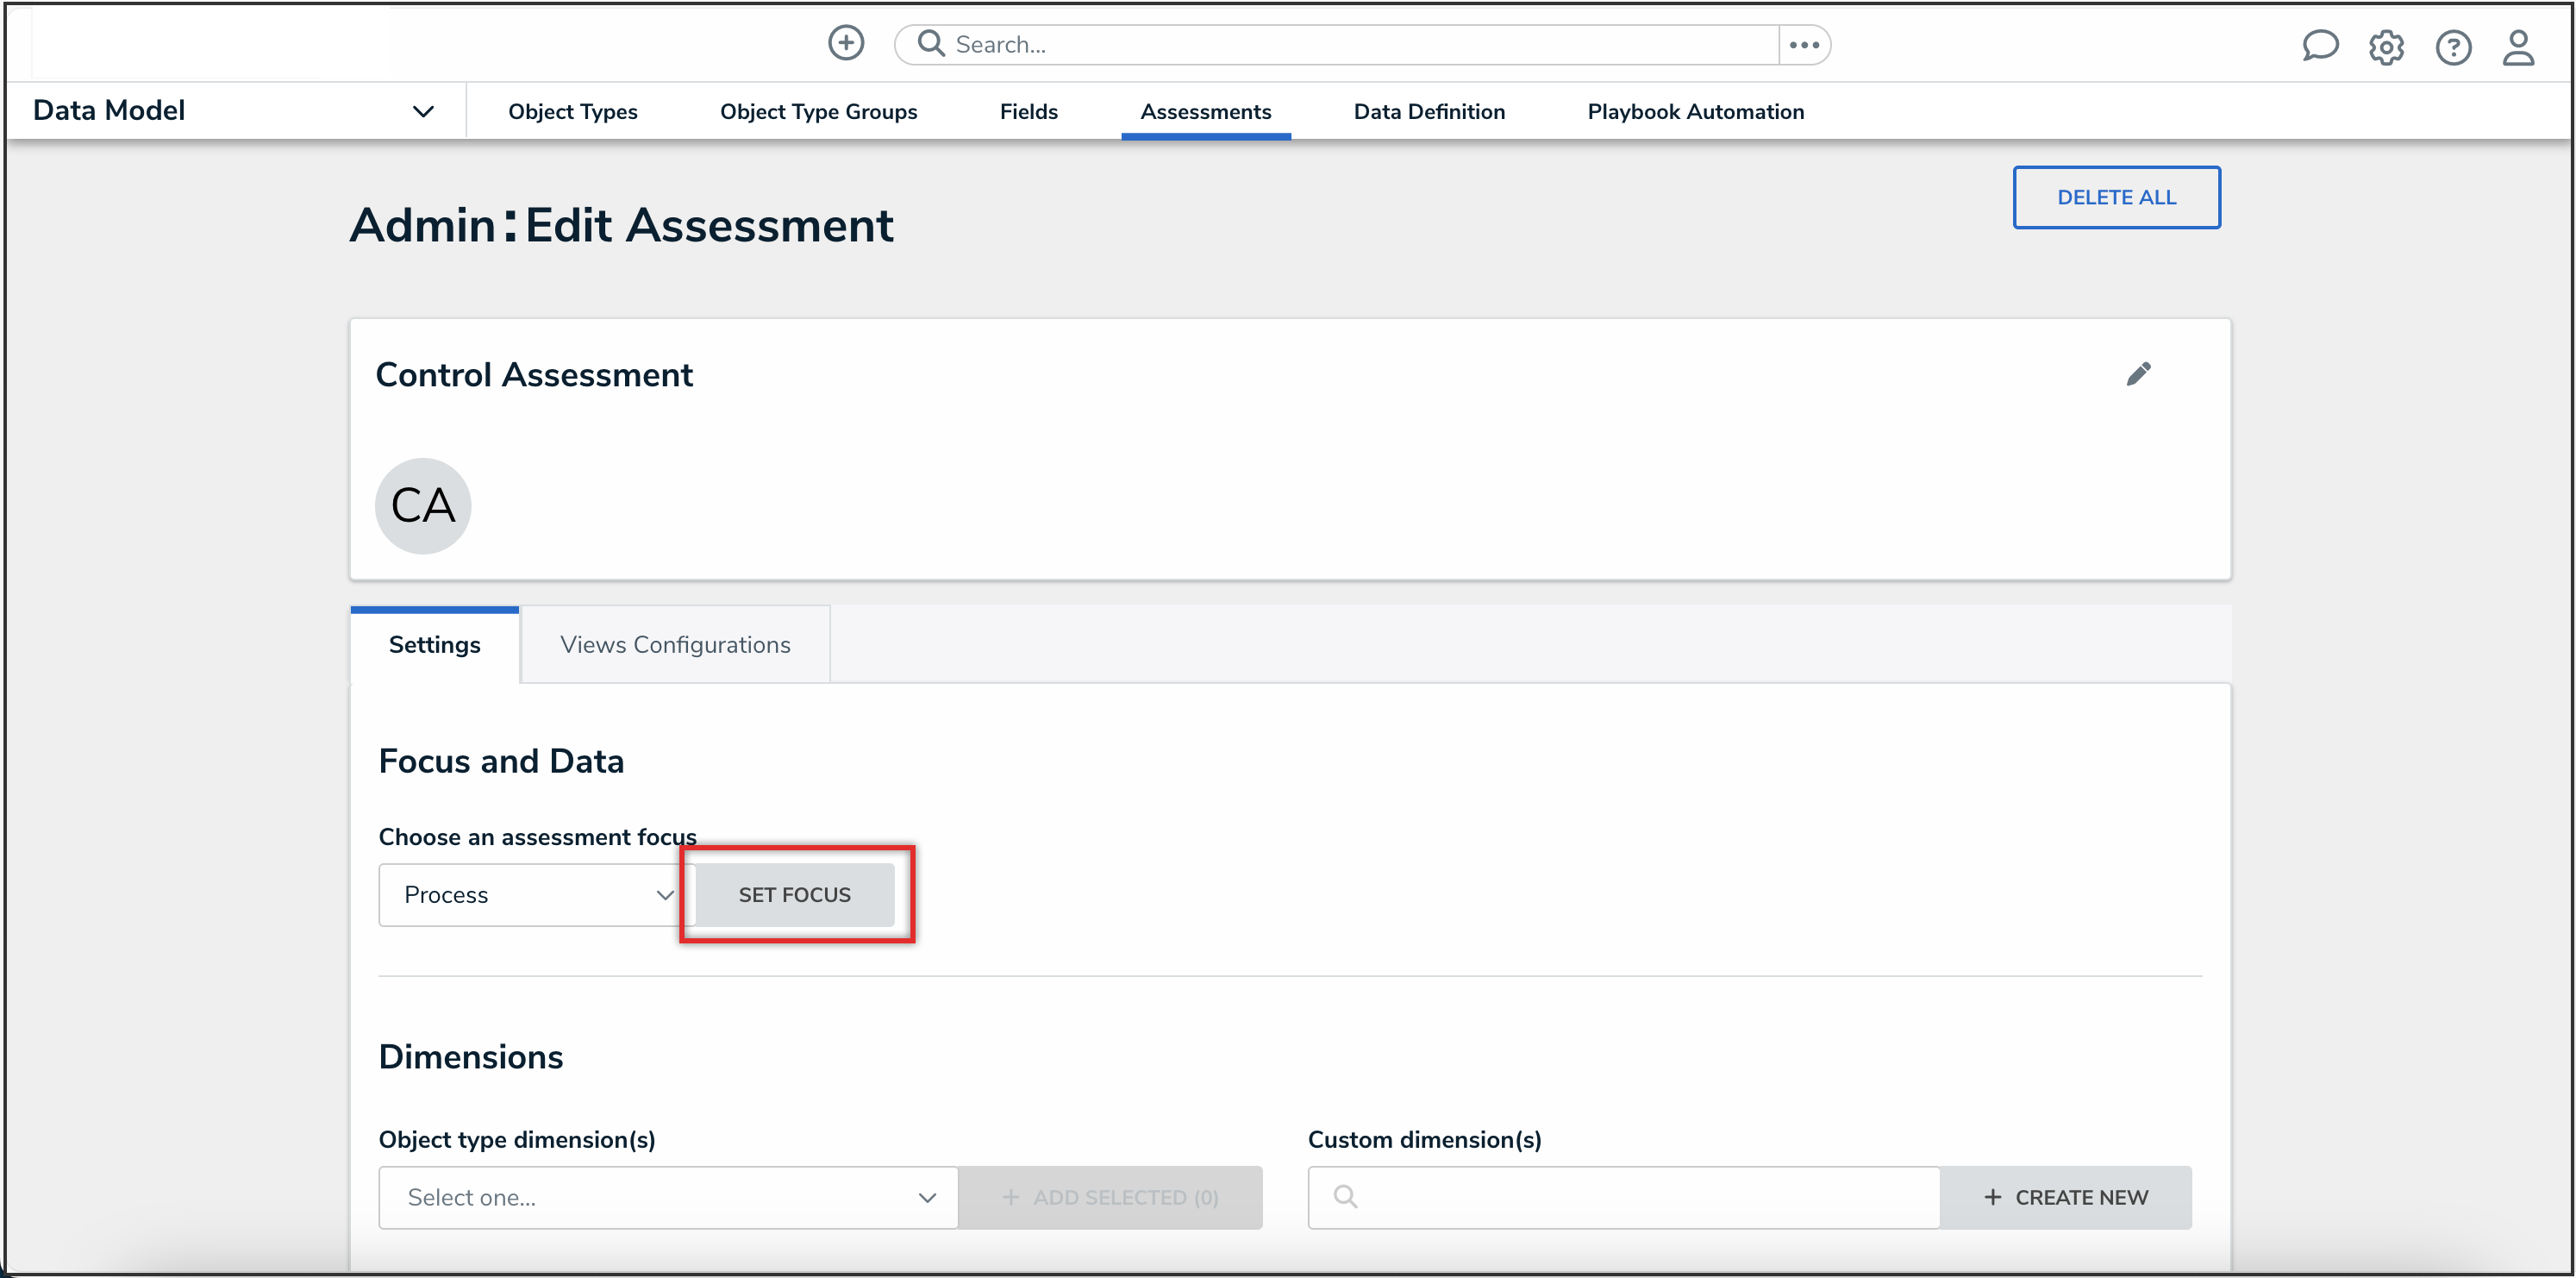
Set Focus Button
 Note:
Note:
Once you've clicked the Set Focus button, you cannot modify your selection. - To choose an existing data definition, select it from the Choose a Data Definition dropdown menu.
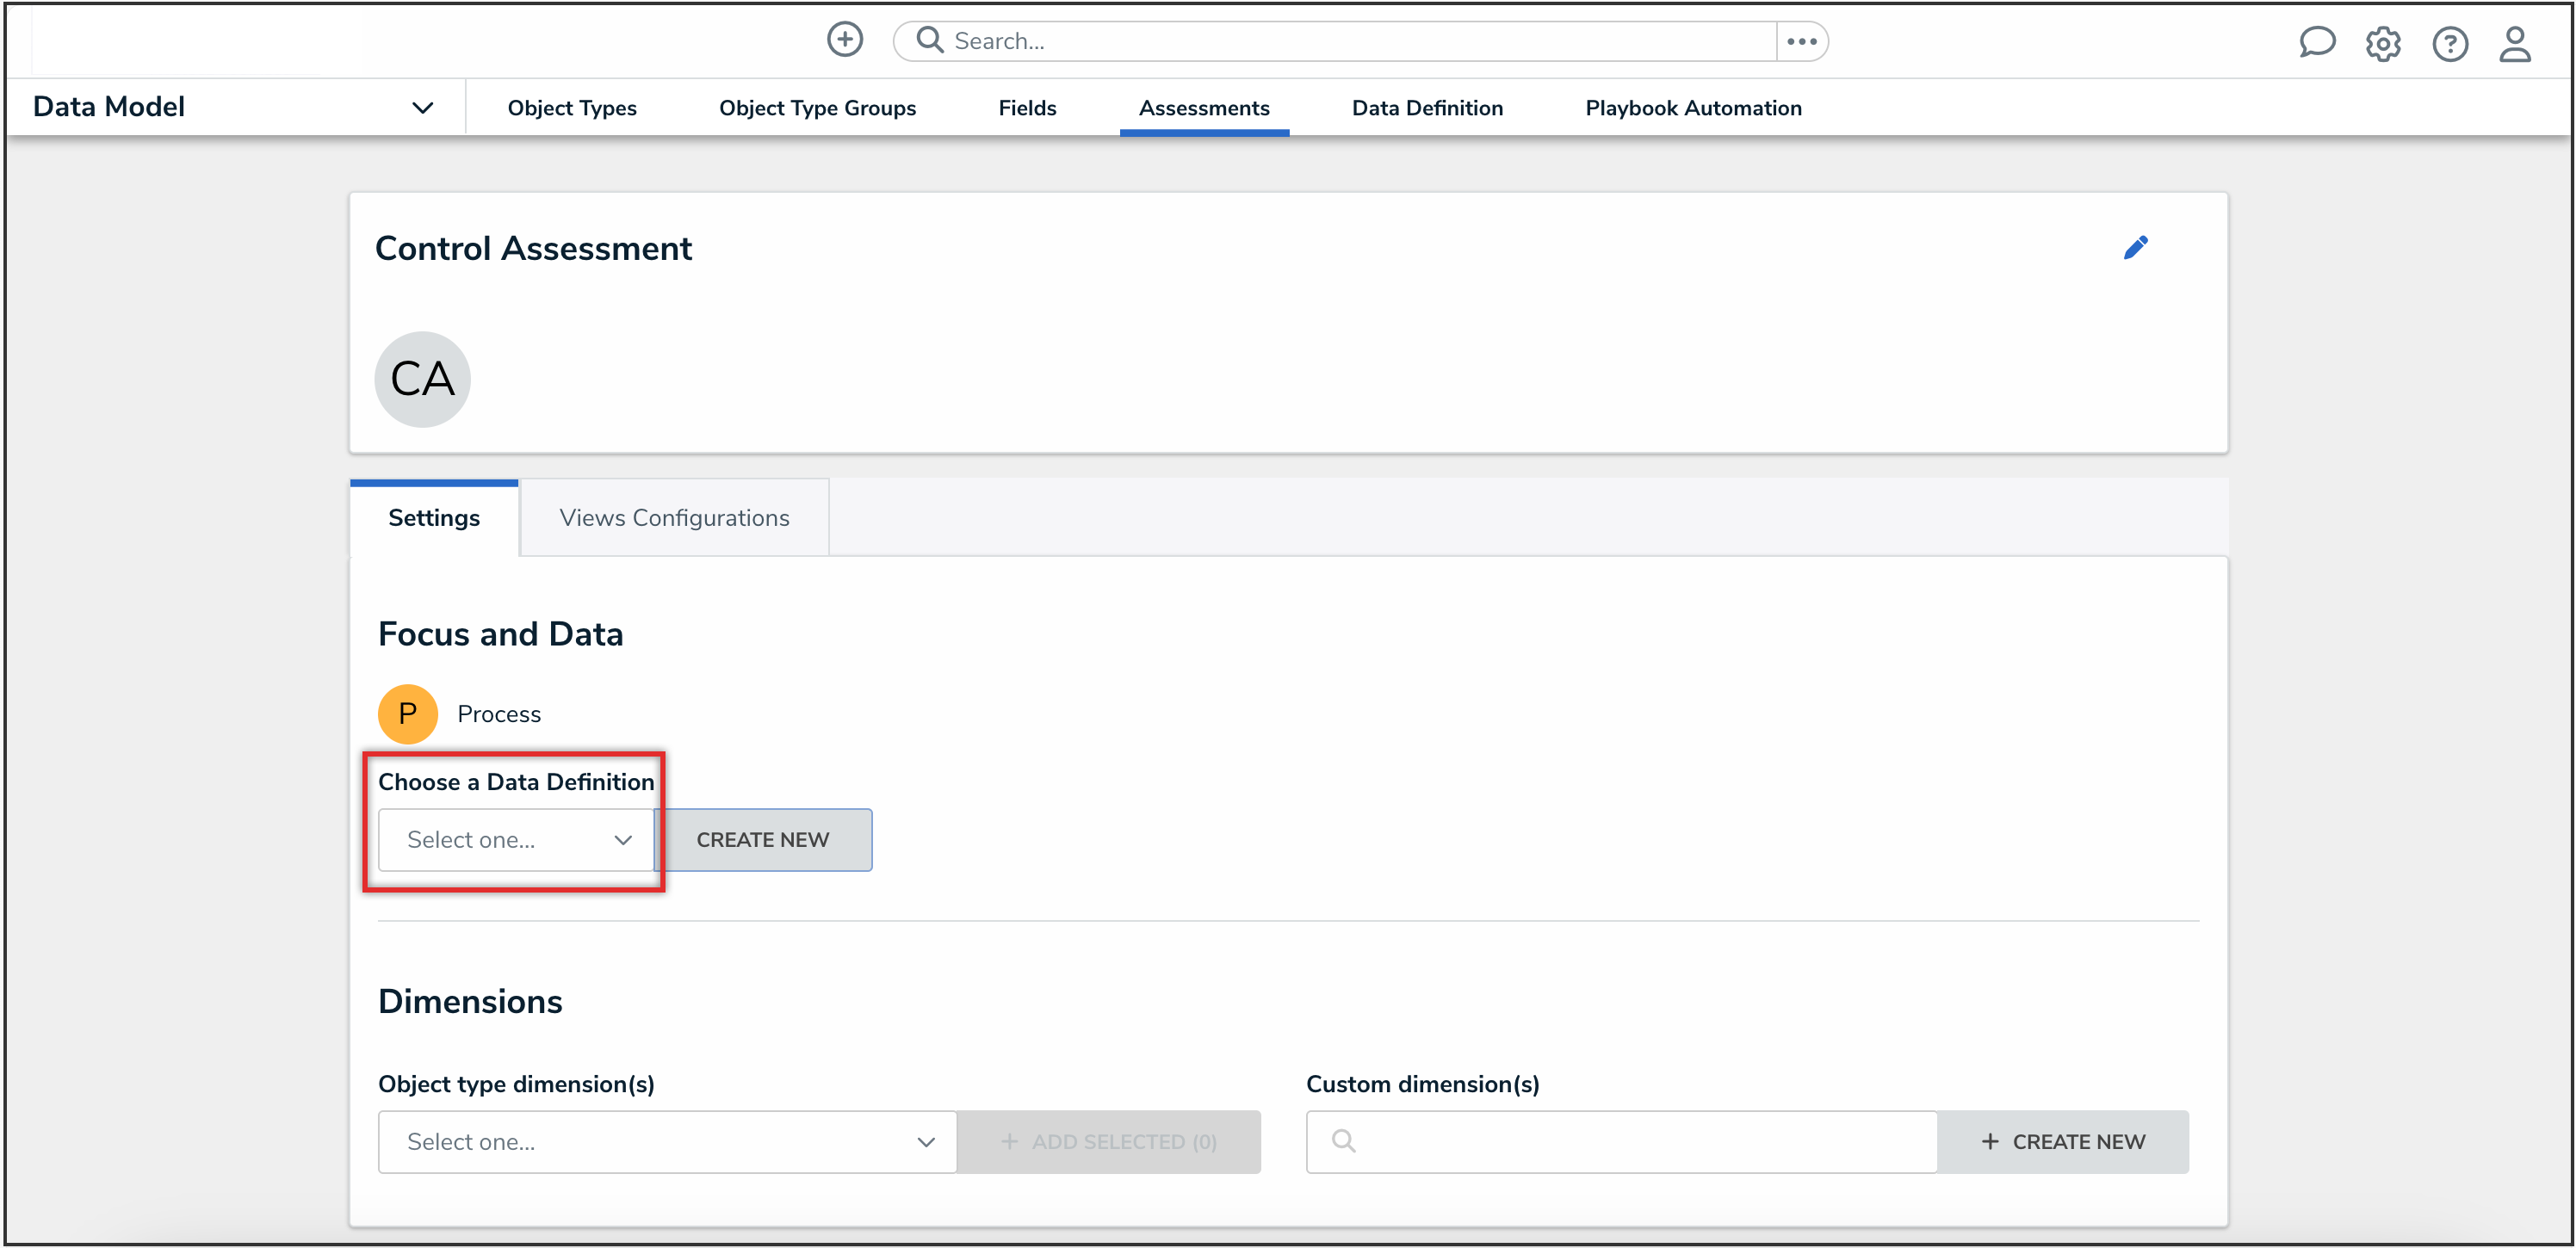
Choose a Data Definition Dropdown
- To create a new data definition:
- From the Choose a Data Definition dropdown, click the Create New button to open the Create Data Definition panel.

Create New Button
- Enter the name for the data definition in the Name field.
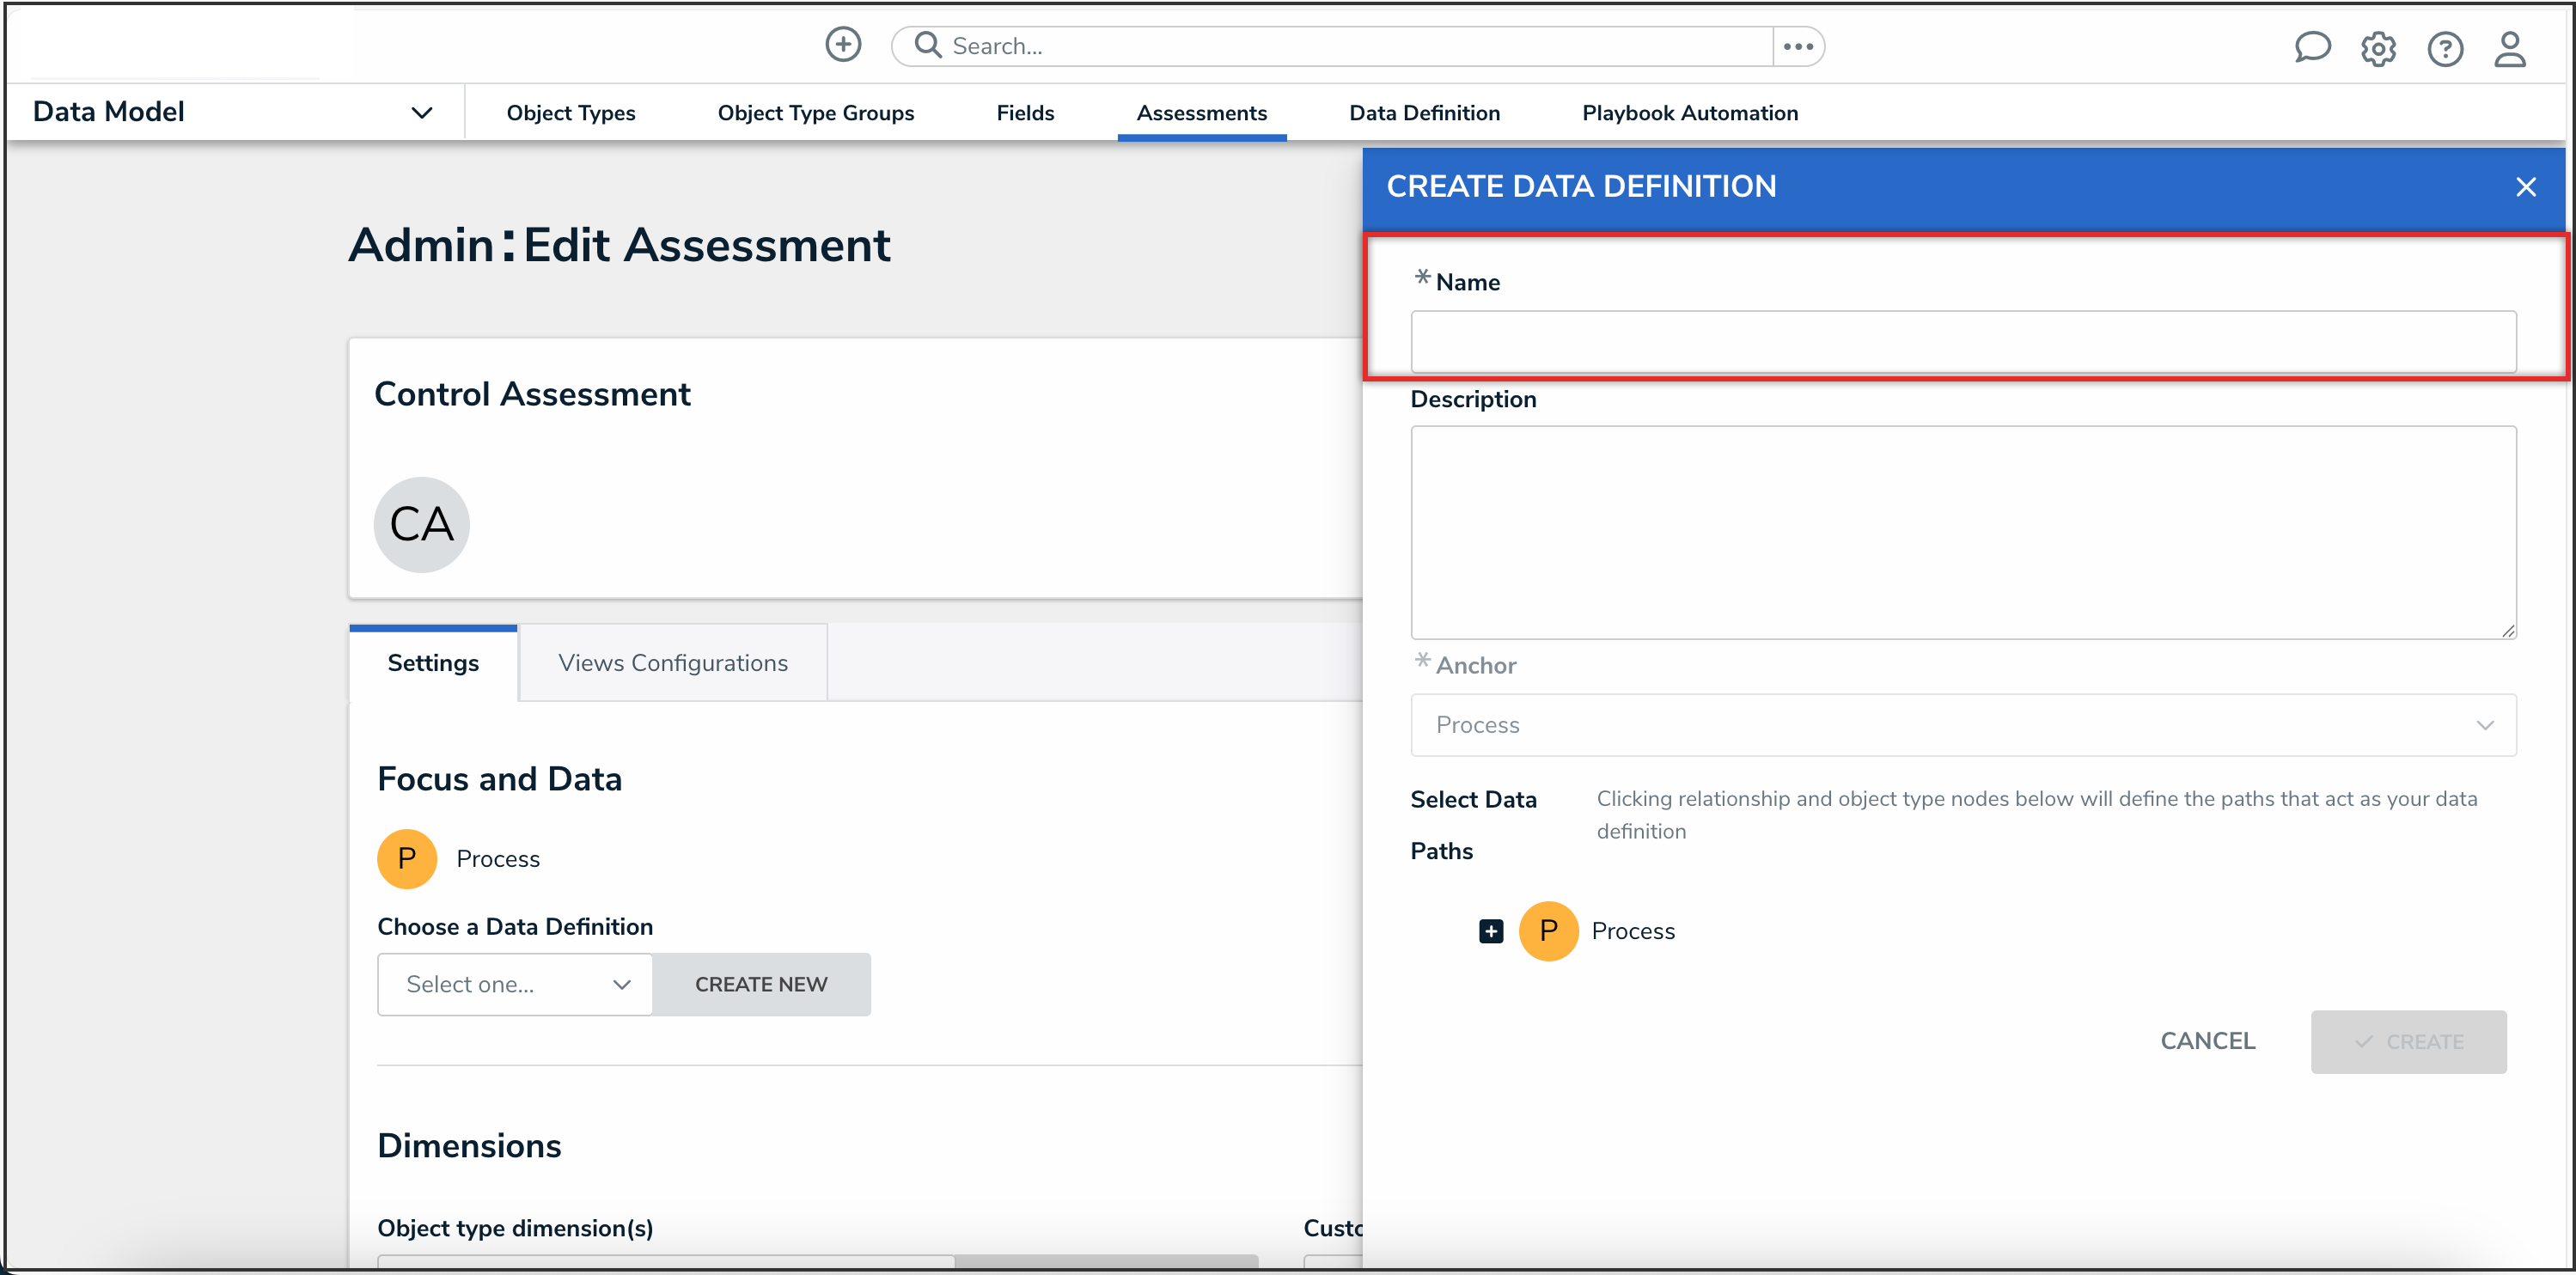
Name Field
- (Optional): Enter a description for the definition in the Description field. This description will appear when reviewing the data definition settings.
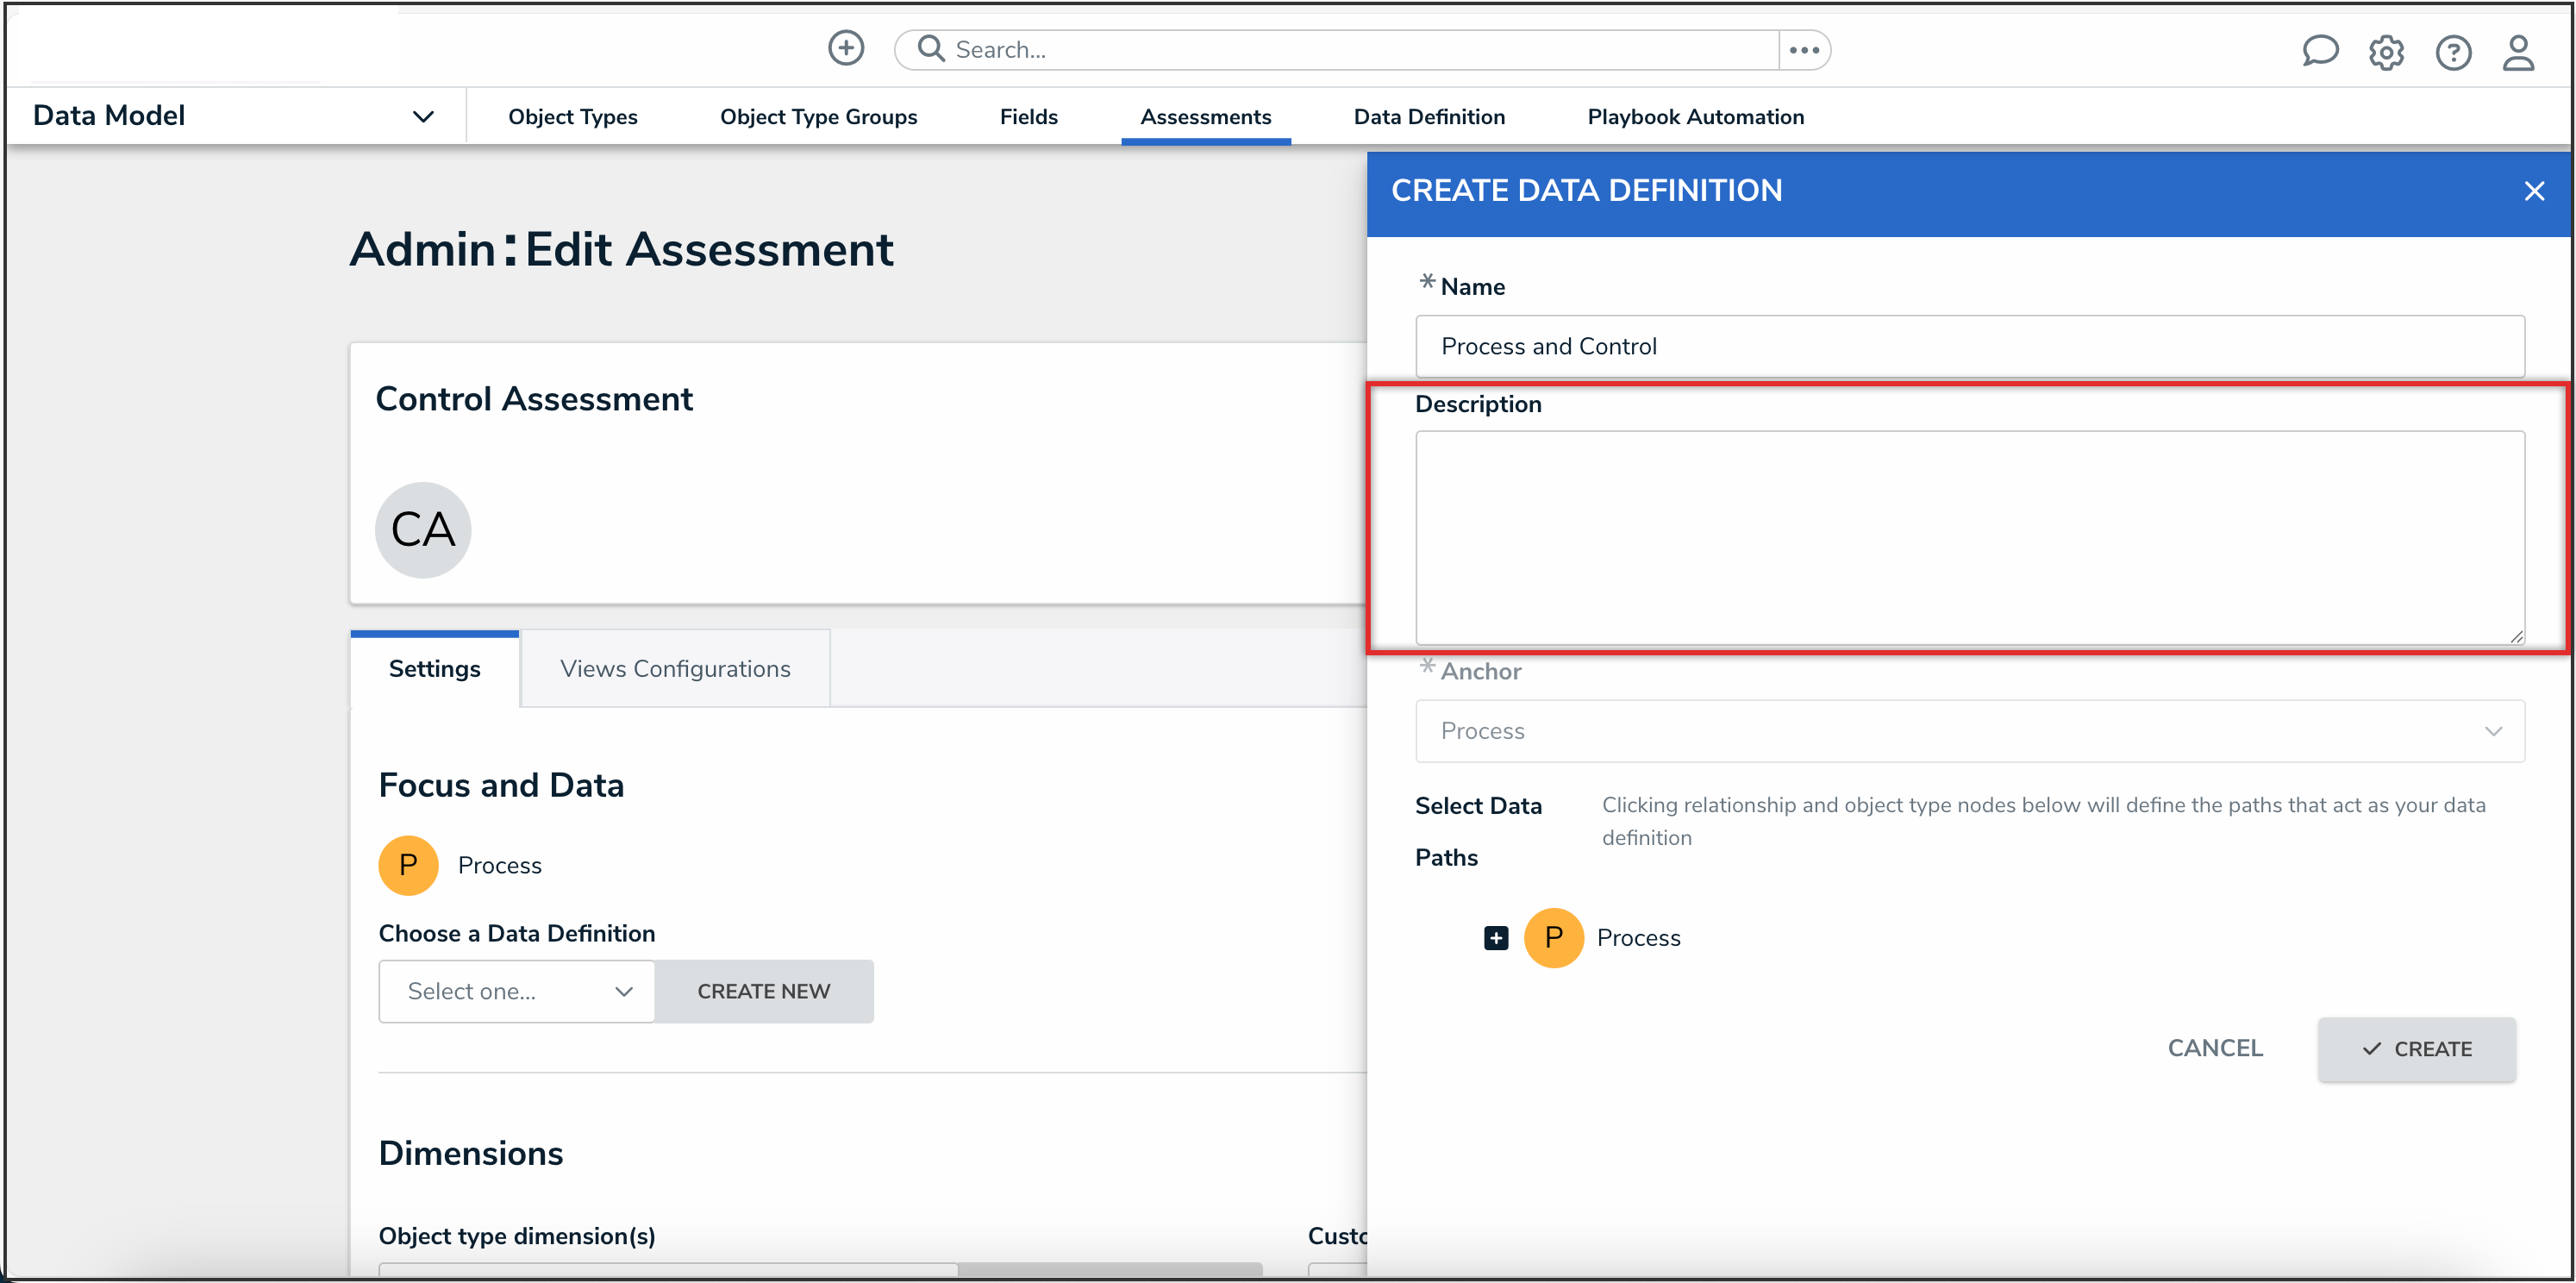
Description Field
- Click the monogram, which represents the focus object type you’re currently working in, to expand the node and any reveal relationships and references saved to the focus object type.
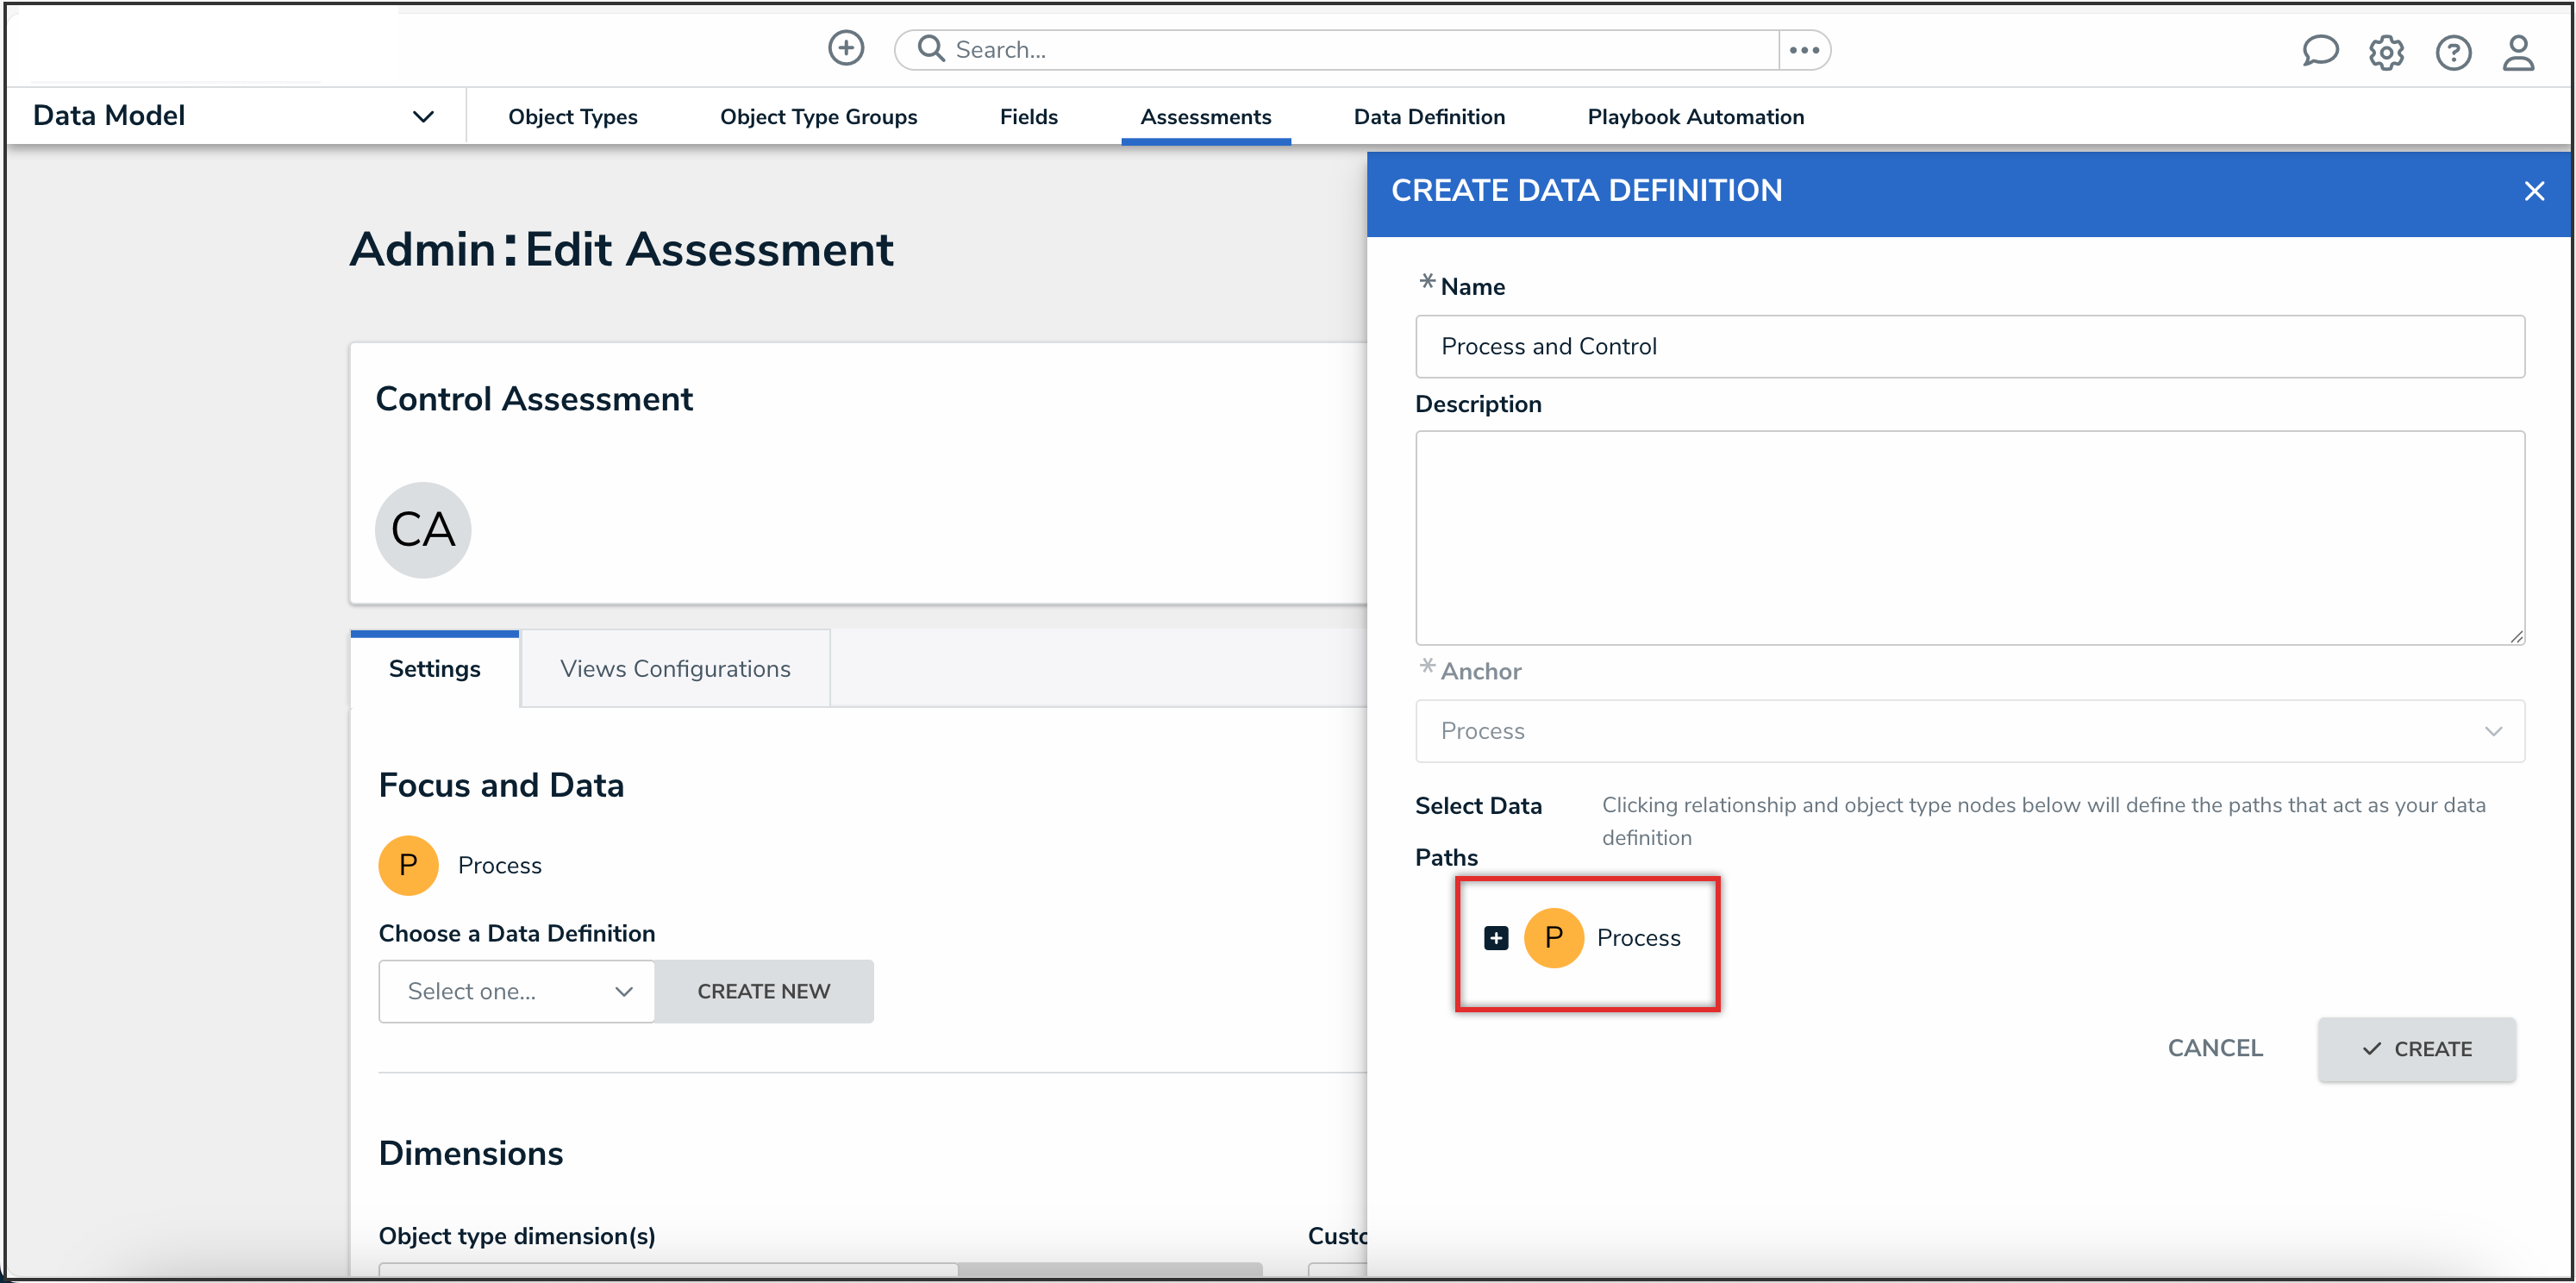
Monogram
- Click a relationship or reference to show the related object types (e.g. clicking the “Controls” relationship will reveal the Control object type).
- Click an object type to place a checkmark next to it and add the object type to the data definition. Any object types selected in the data definition can be used as dimensions or reference data on the assessment. For example, if you selected Process as the focus and Control in the data definition, both Process and Control can be added as dimensions.
- Continue placing checkmarks beside the object types as needed.
- Click the Create button to close the palette.
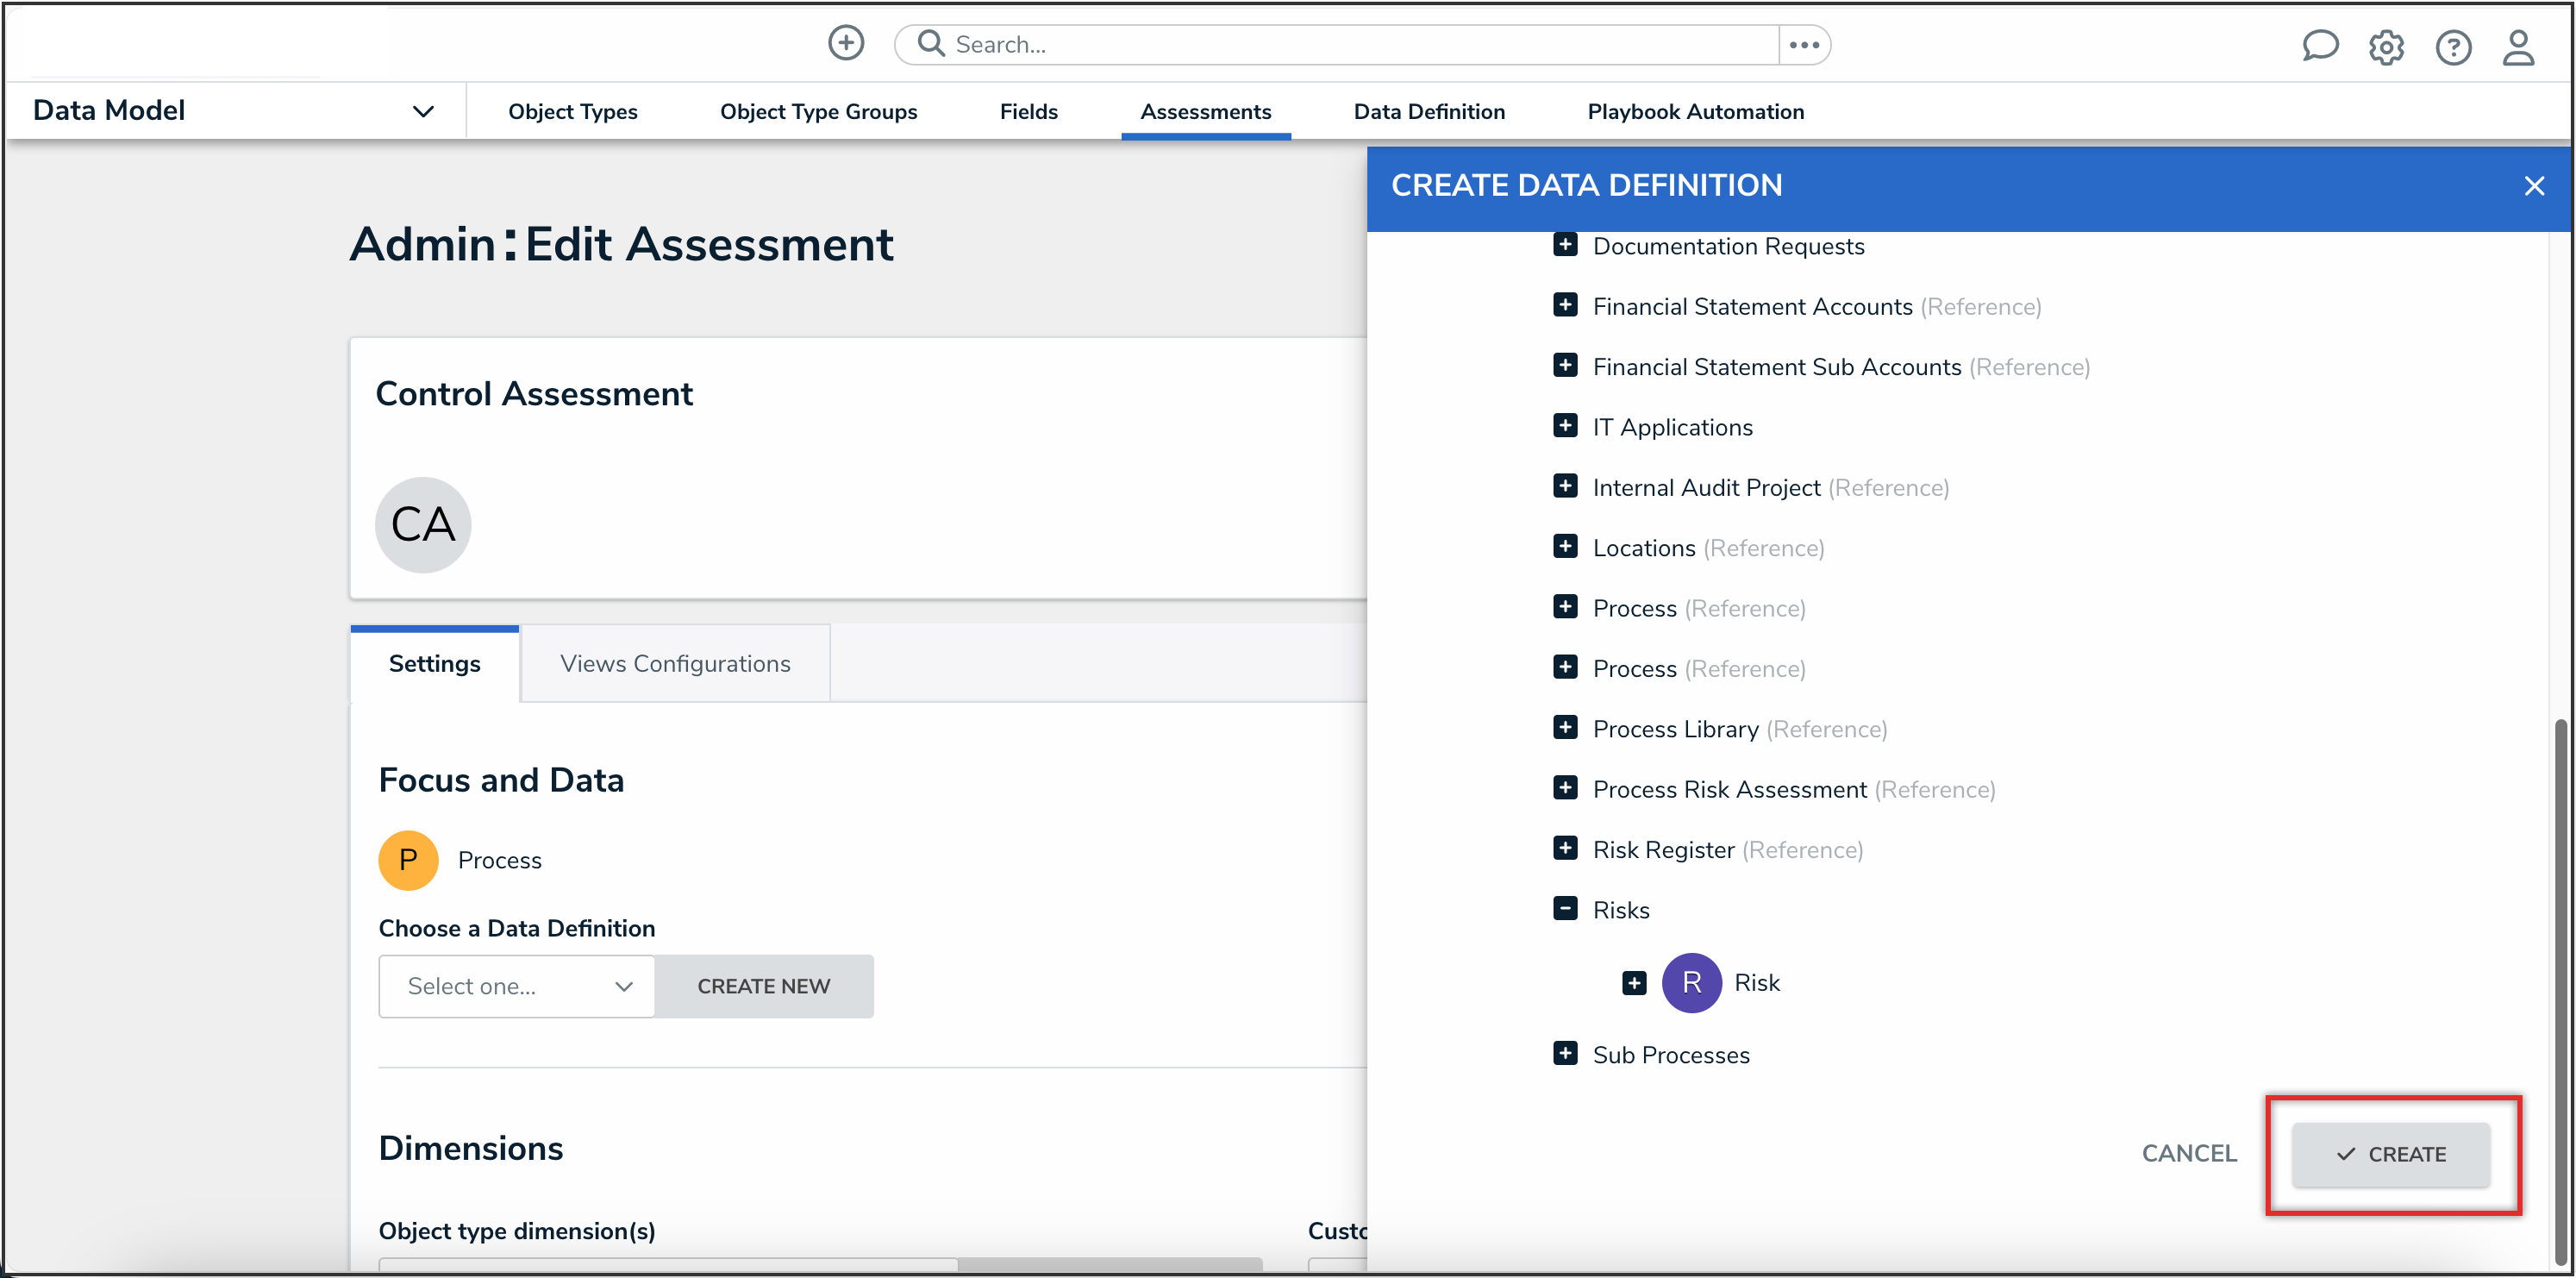
Create Button
- From the Choose a Data Definition dropdown, click the Create New button to open the Create Data Definition panel.
- In the Dimensions section, to create a dimension from an existing object type (that will appear on the assessment as a field through which users can select an existing object):
- Click the Object Type Dimension(s) dropdown menu and select one or more object types that you want to appear on the assessment (e.g., selecting the Location object type will add fields on the assessment through which users can only select existing Location objects).
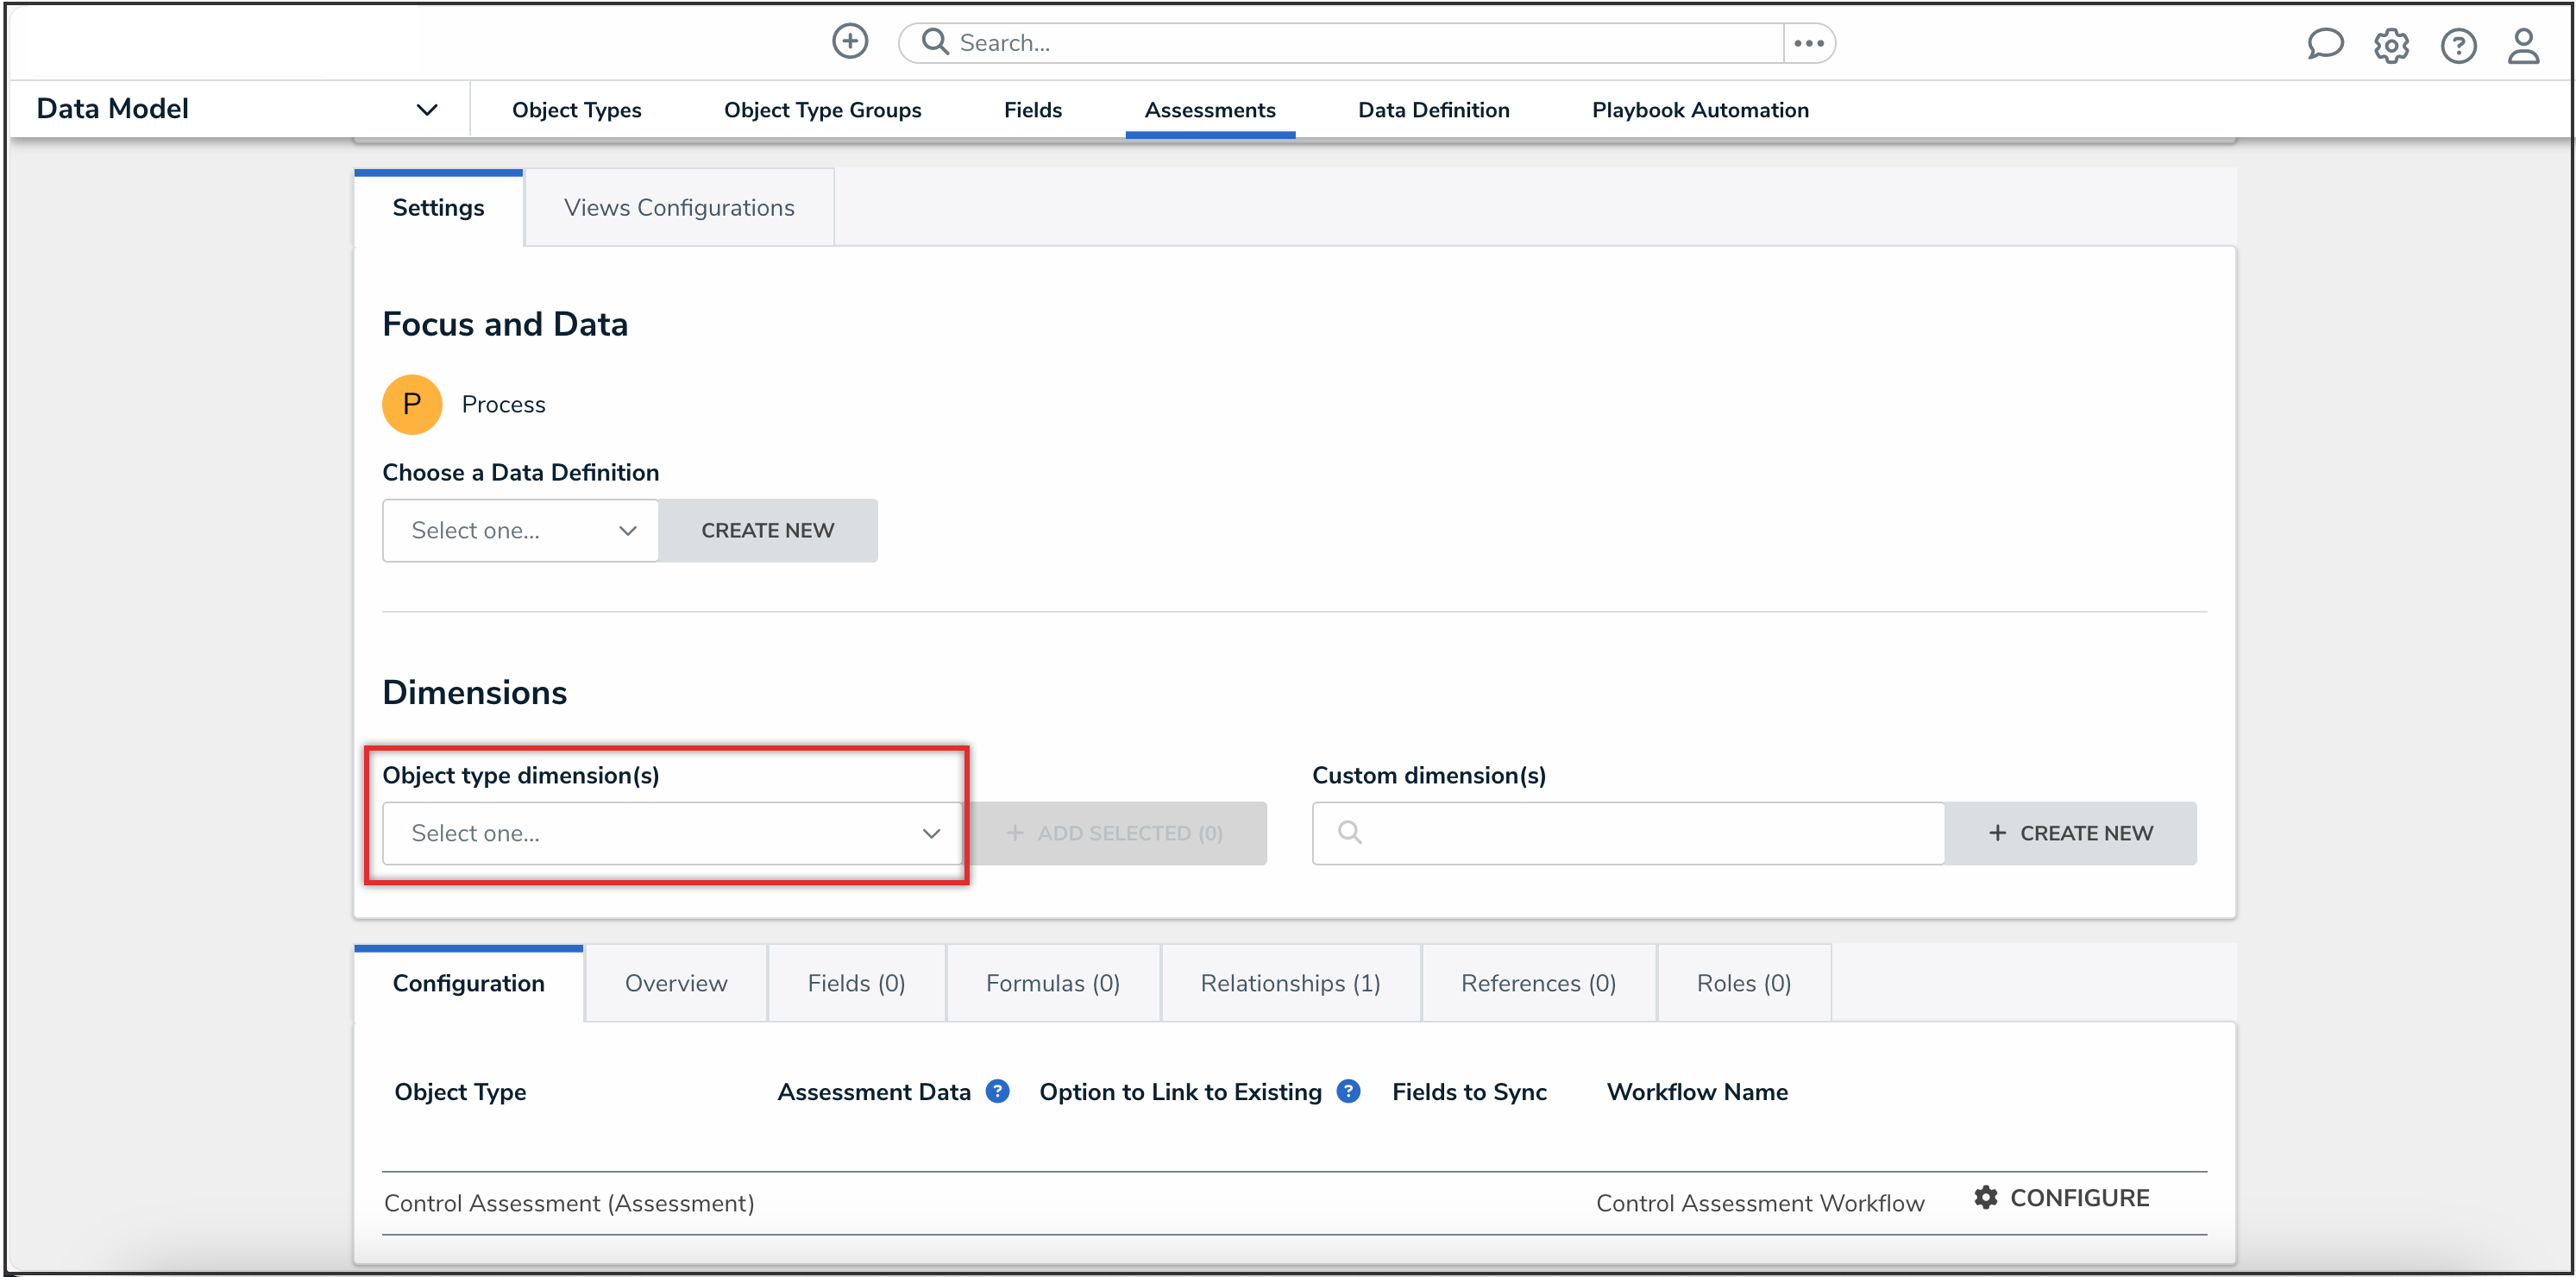
Object Type Dimension(s) Dropdown
- Click the Add Selected button.
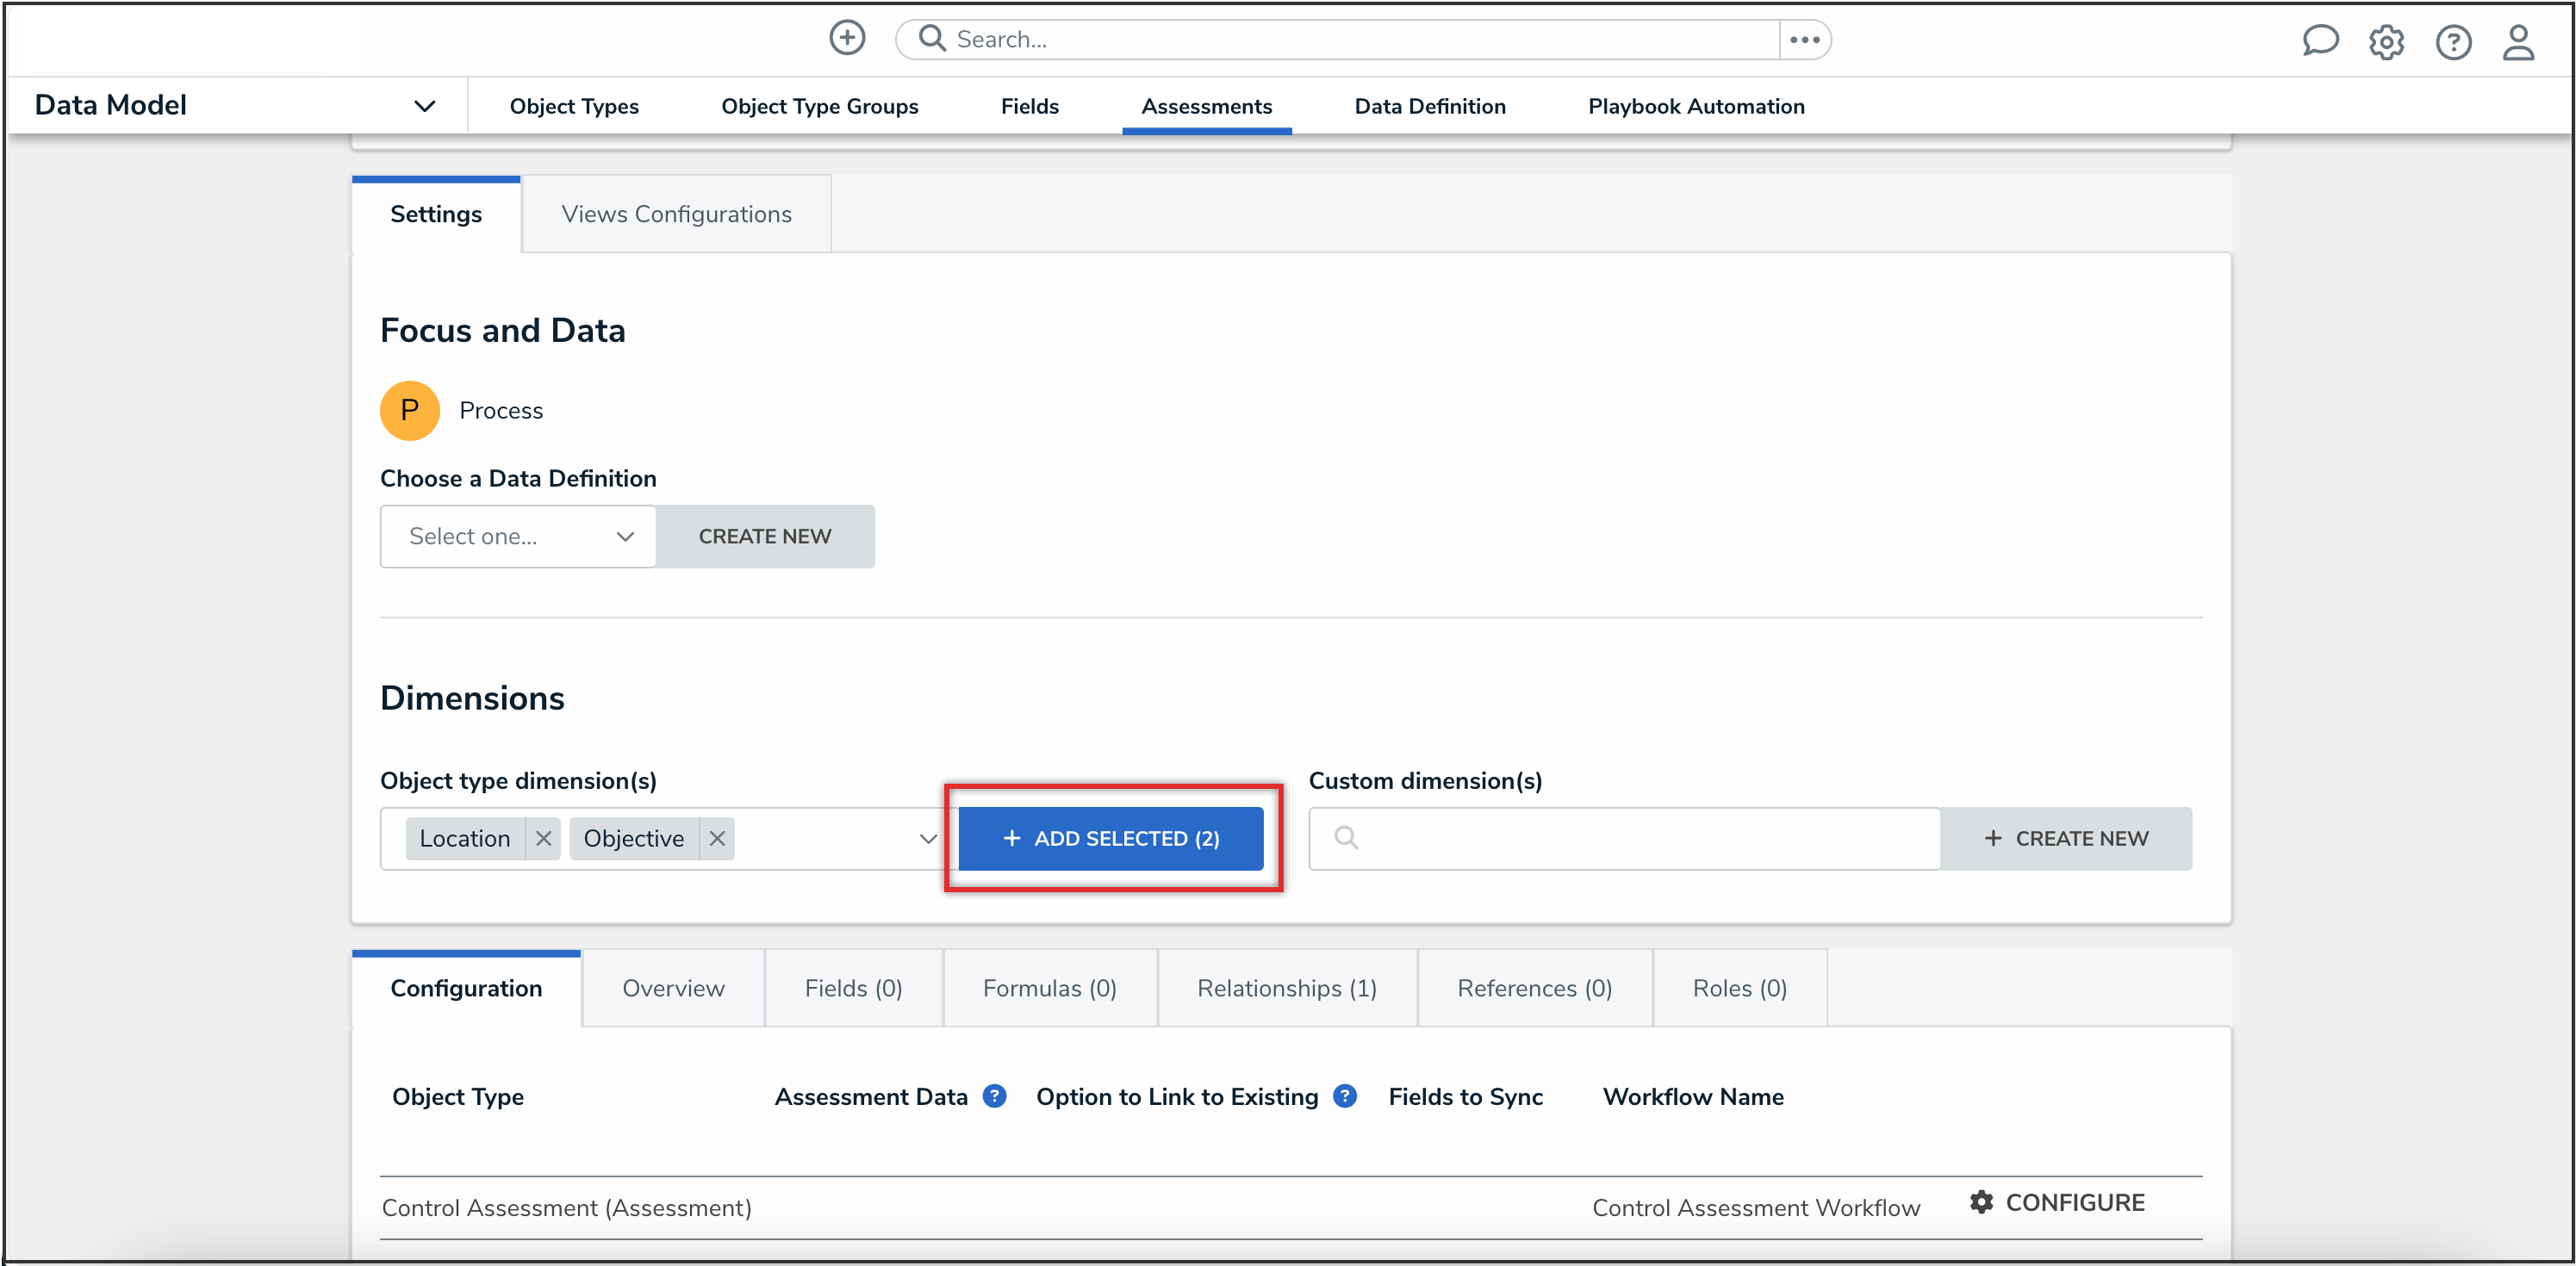
Add Selected Button
- Click the Object Type Dimension(s) dropdown menu and select one or more object types that you want to appear on the assessment (e.g., selecting the Location object type will add fields on the assessment through which users can only select existing Location objects).
- To create a custom dimension, which will appear on the assessment as a dropdown menu with predefined options (like a select list) and will not allow users to select existing objects:
- From the Custom Dimension(s) dropdown menu, click the Create New button.
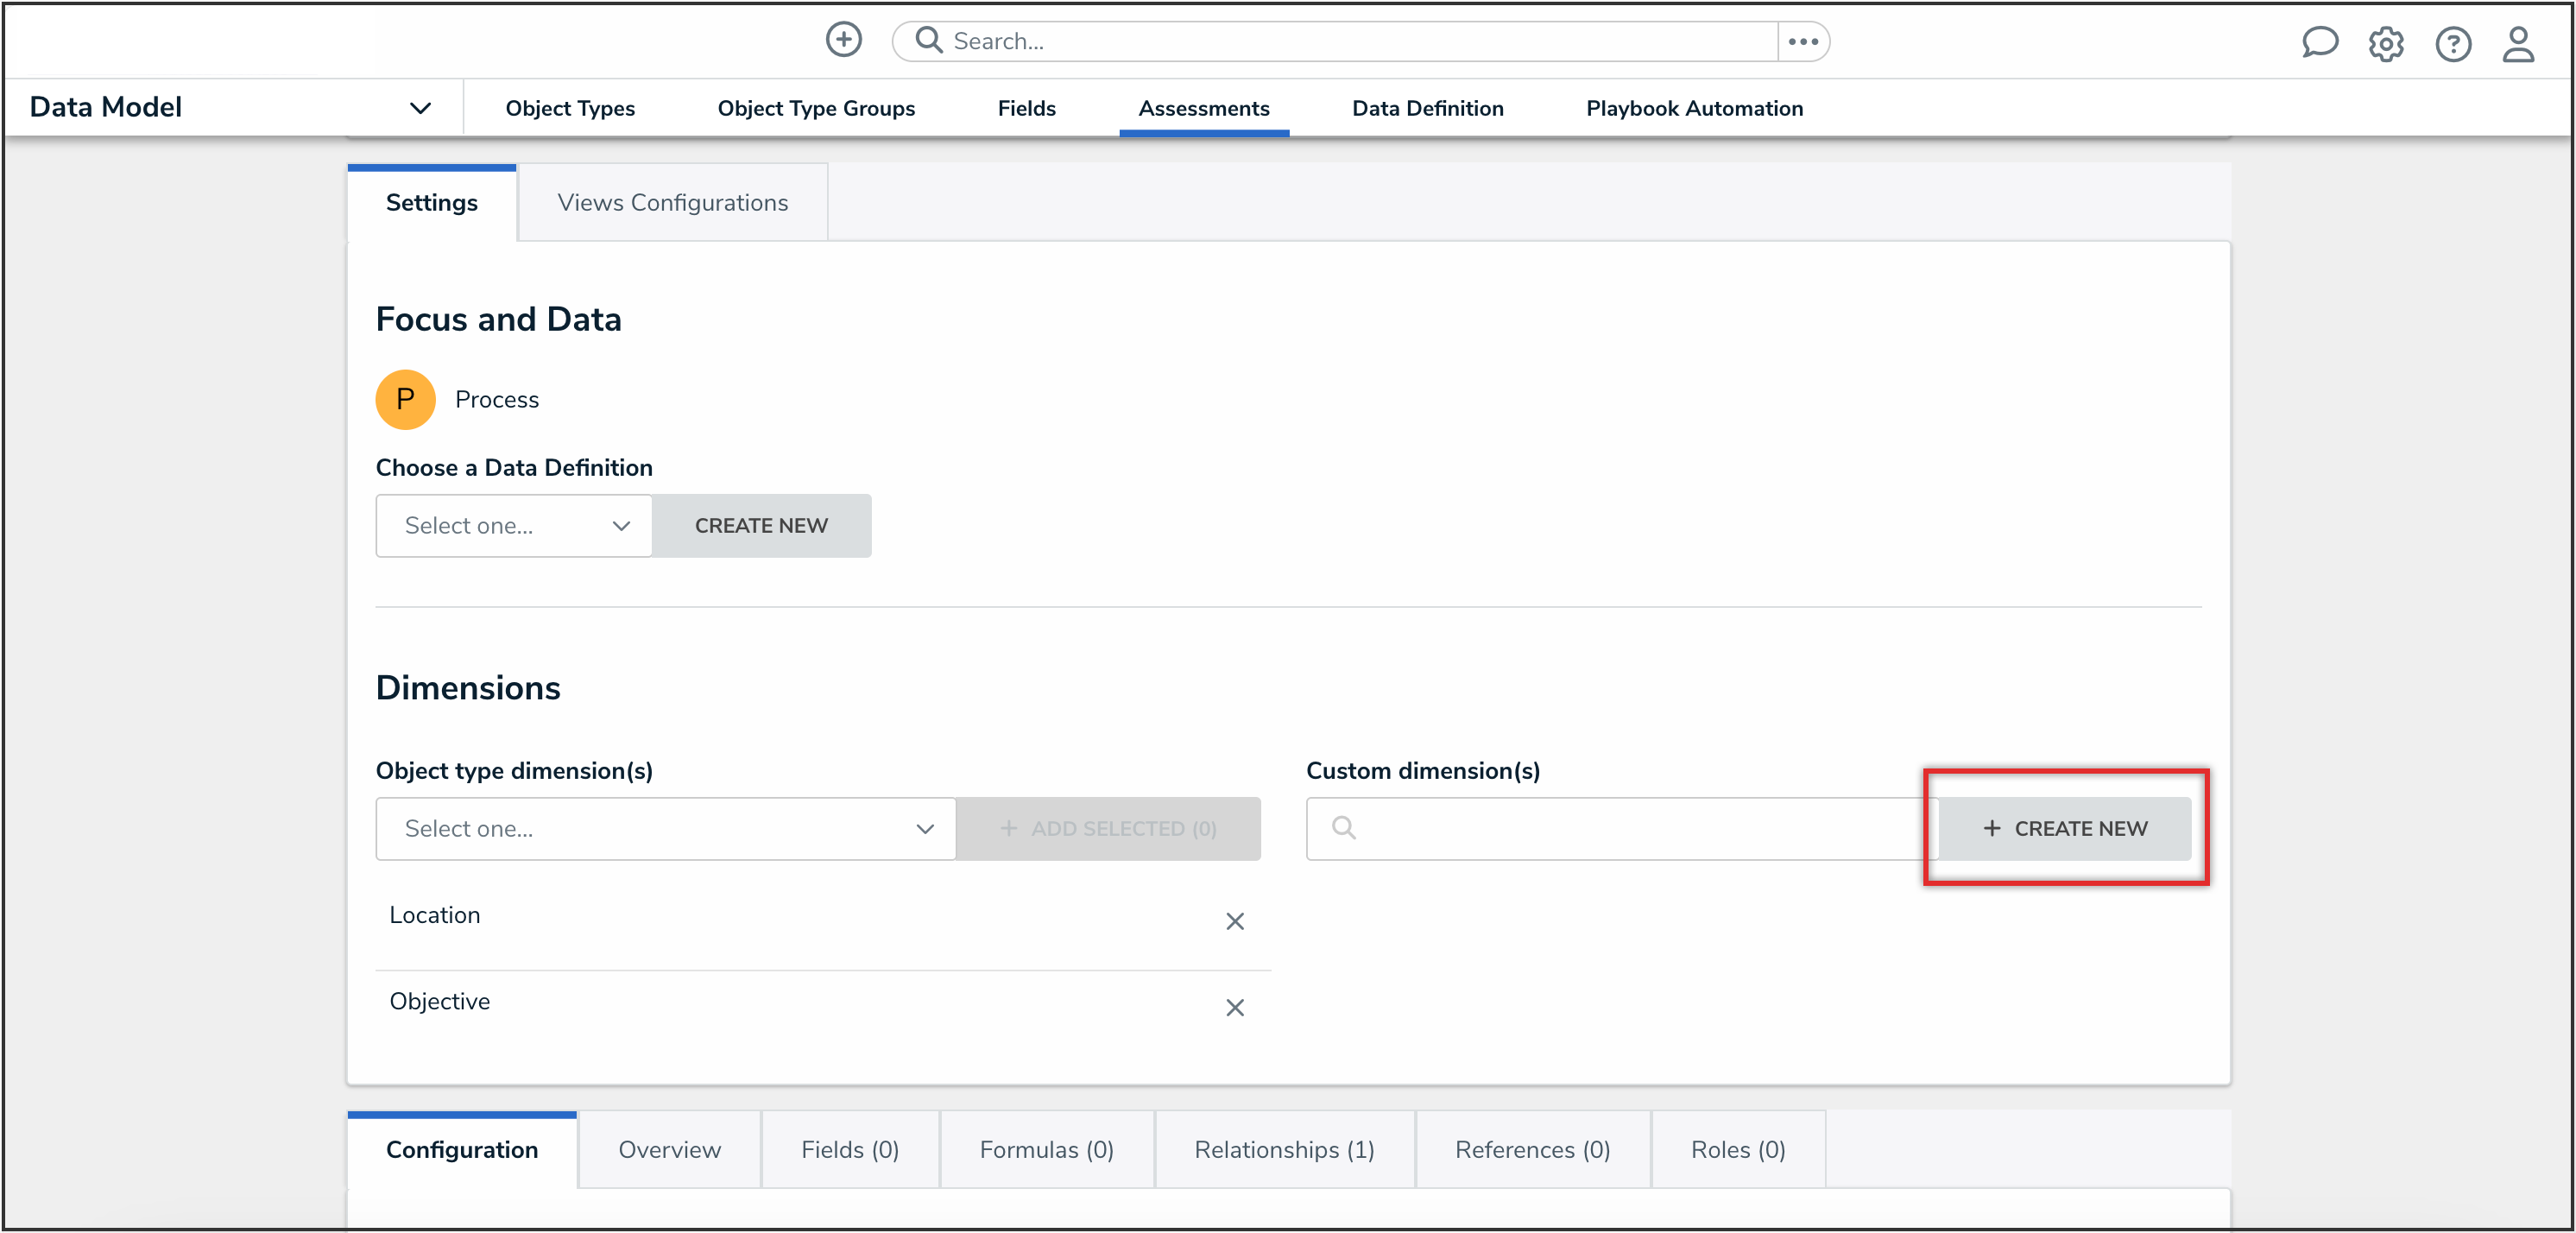
Create New Button
- From the Create Dimension pop-up, enter a name in the Dimension Name field (e.g., Location).
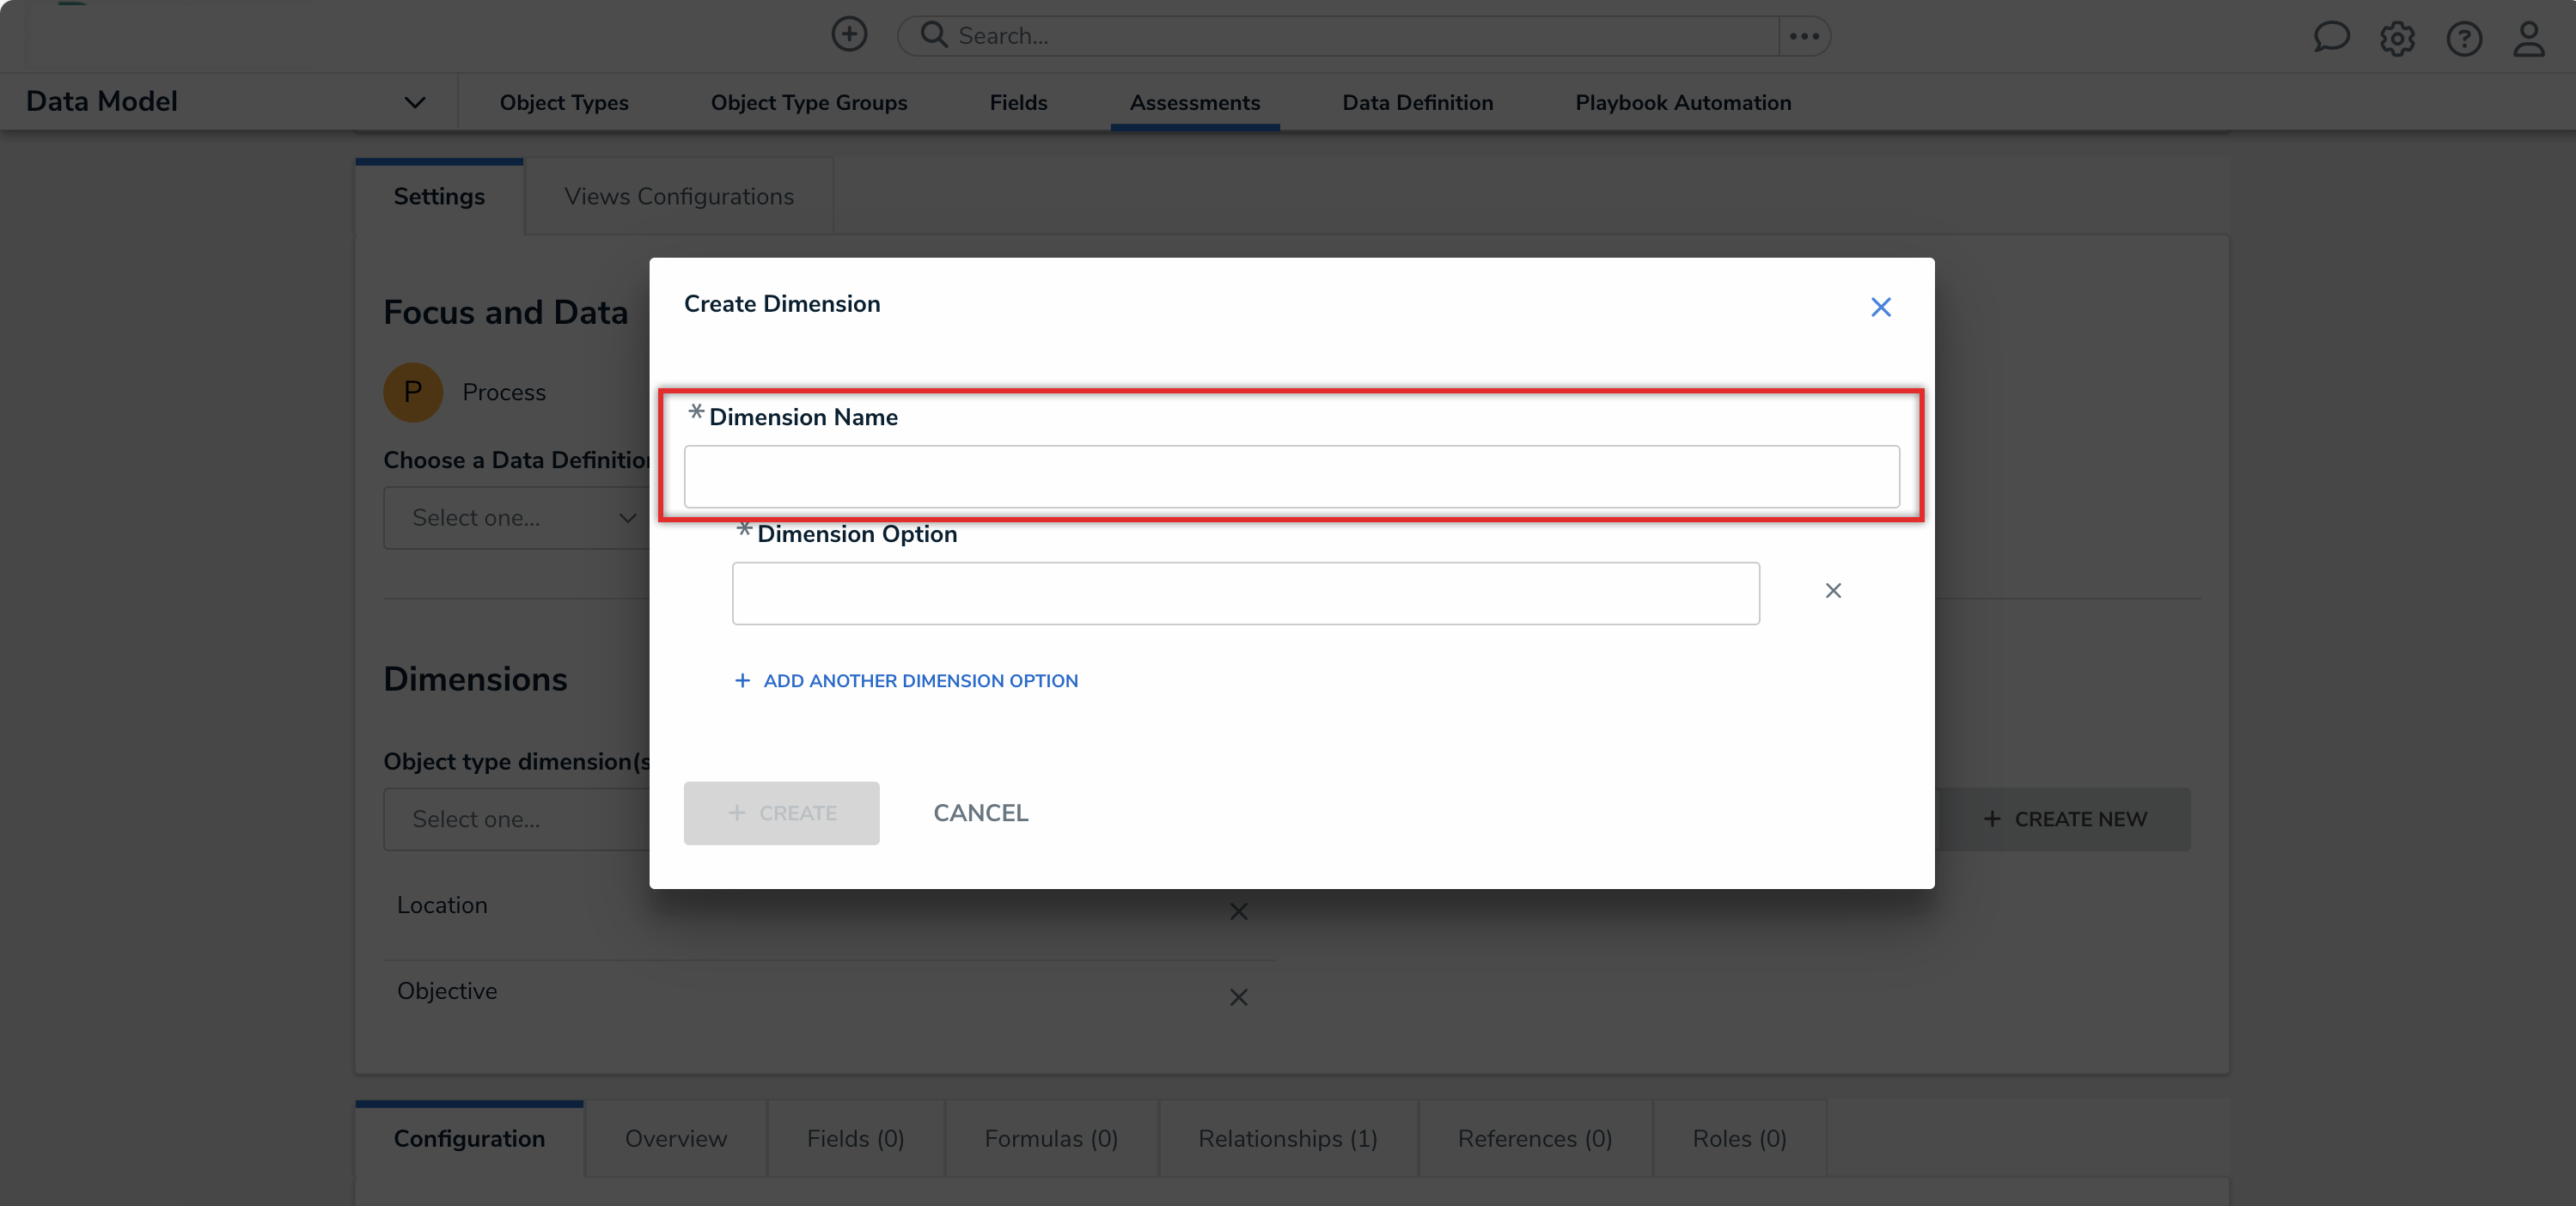
Dimension Name Field
- In the Dimension Option field, enter the name for an option as it will appear in the dimension (e.g., Edmonton).
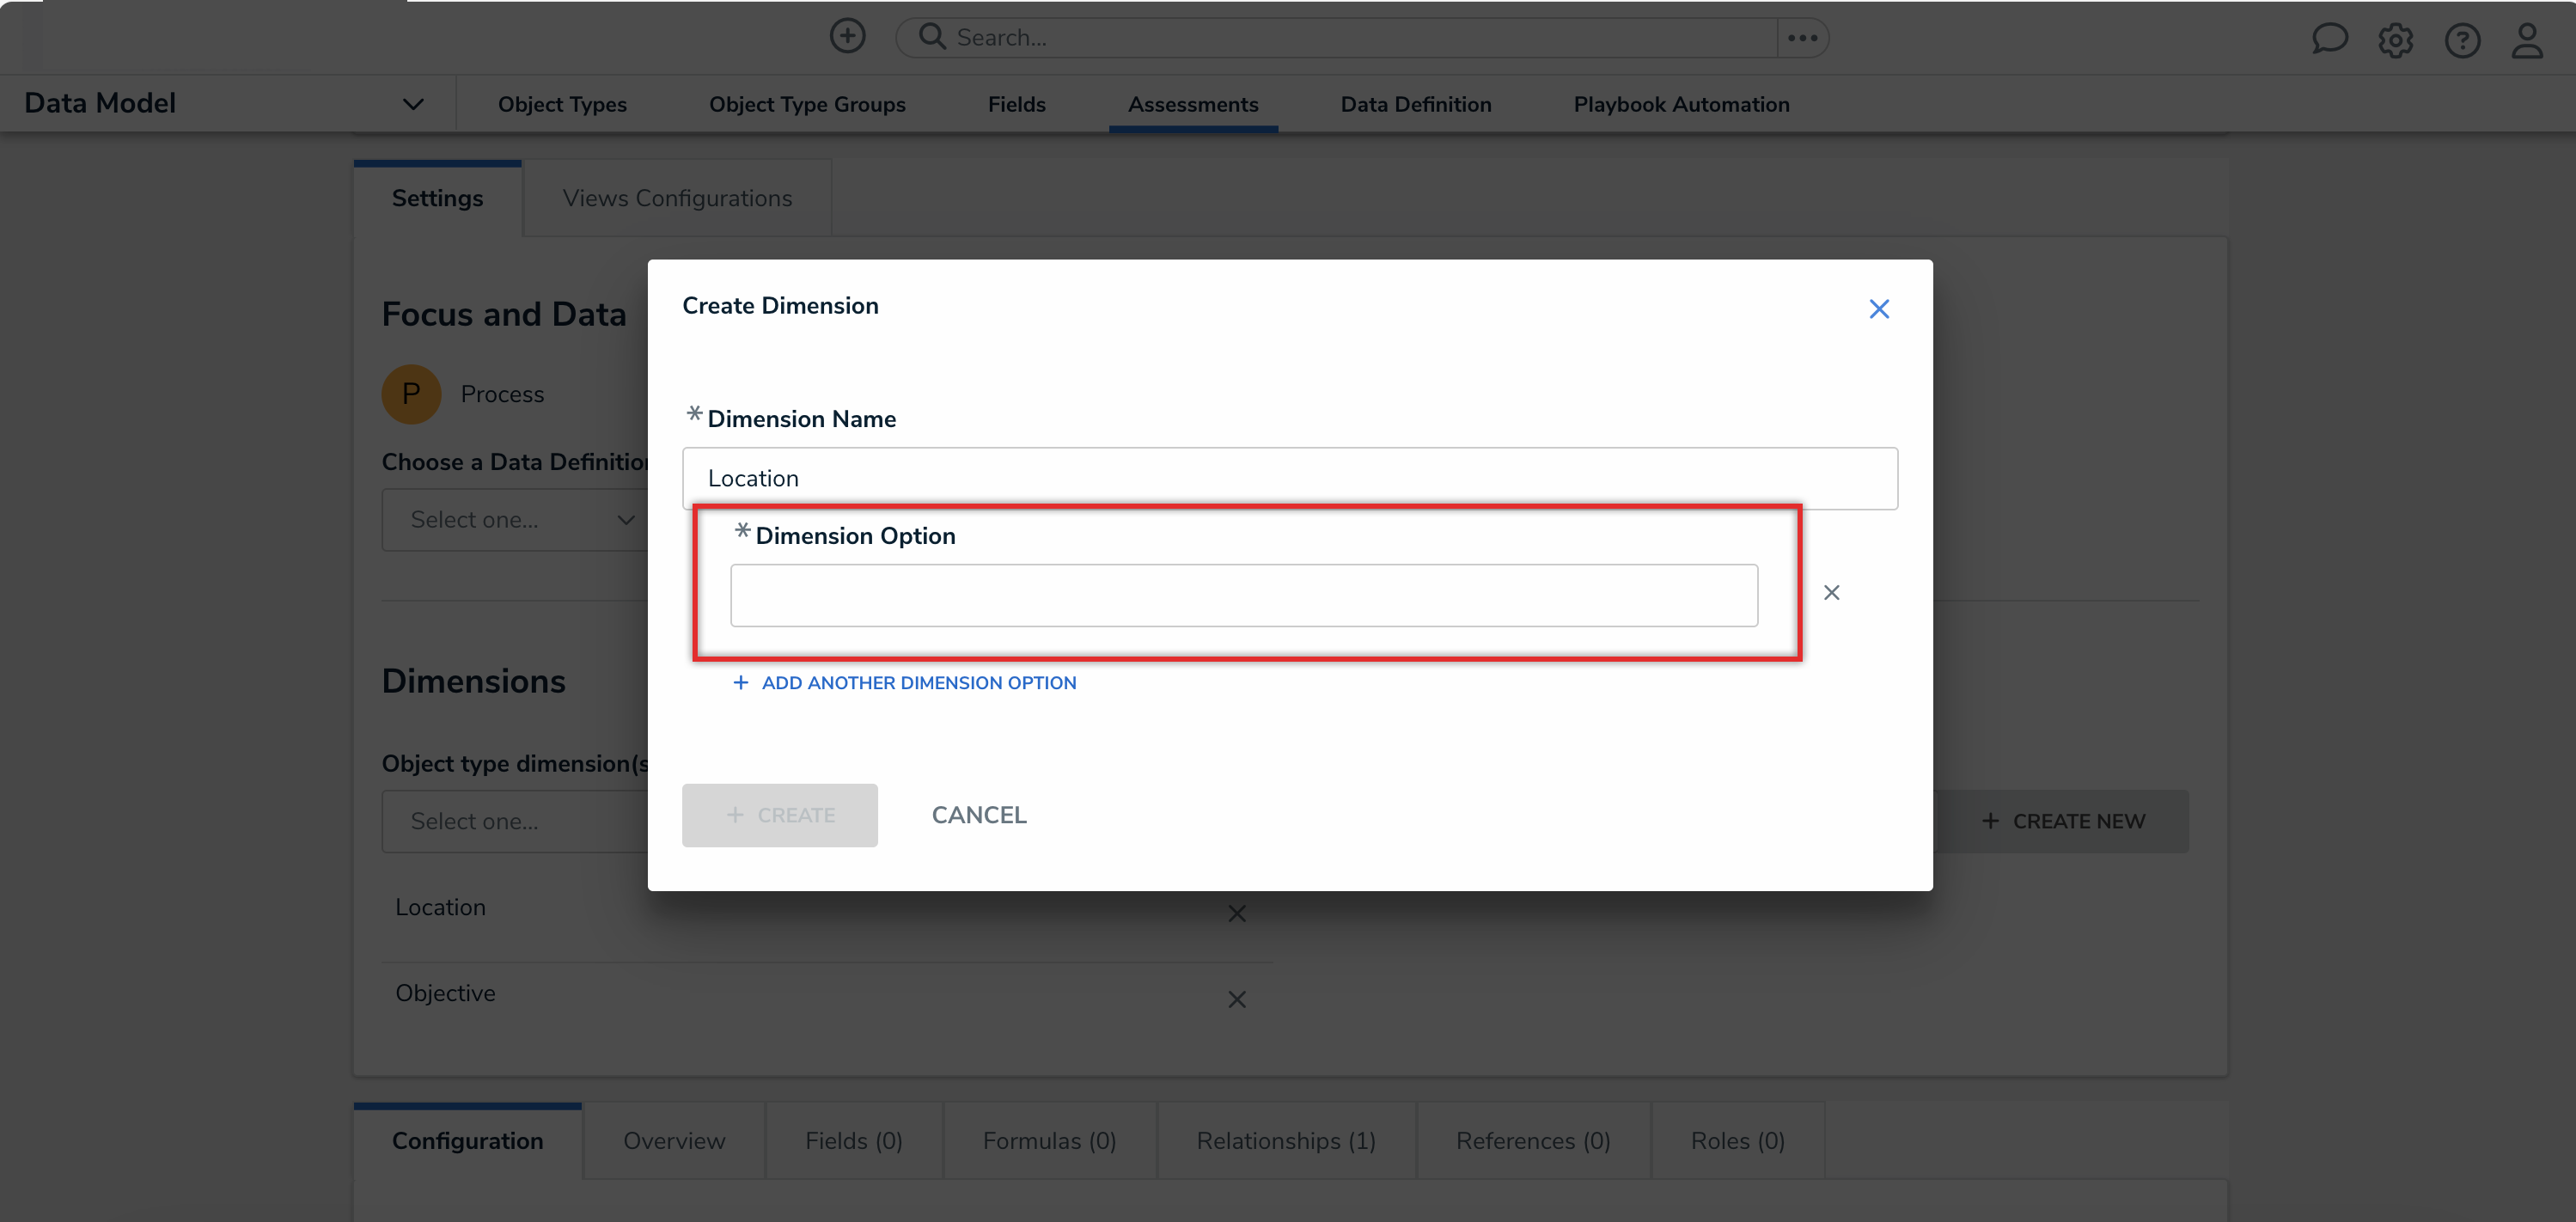
Dimension Option Field
- Click the Add Another Dimension Option link to continue adding options.
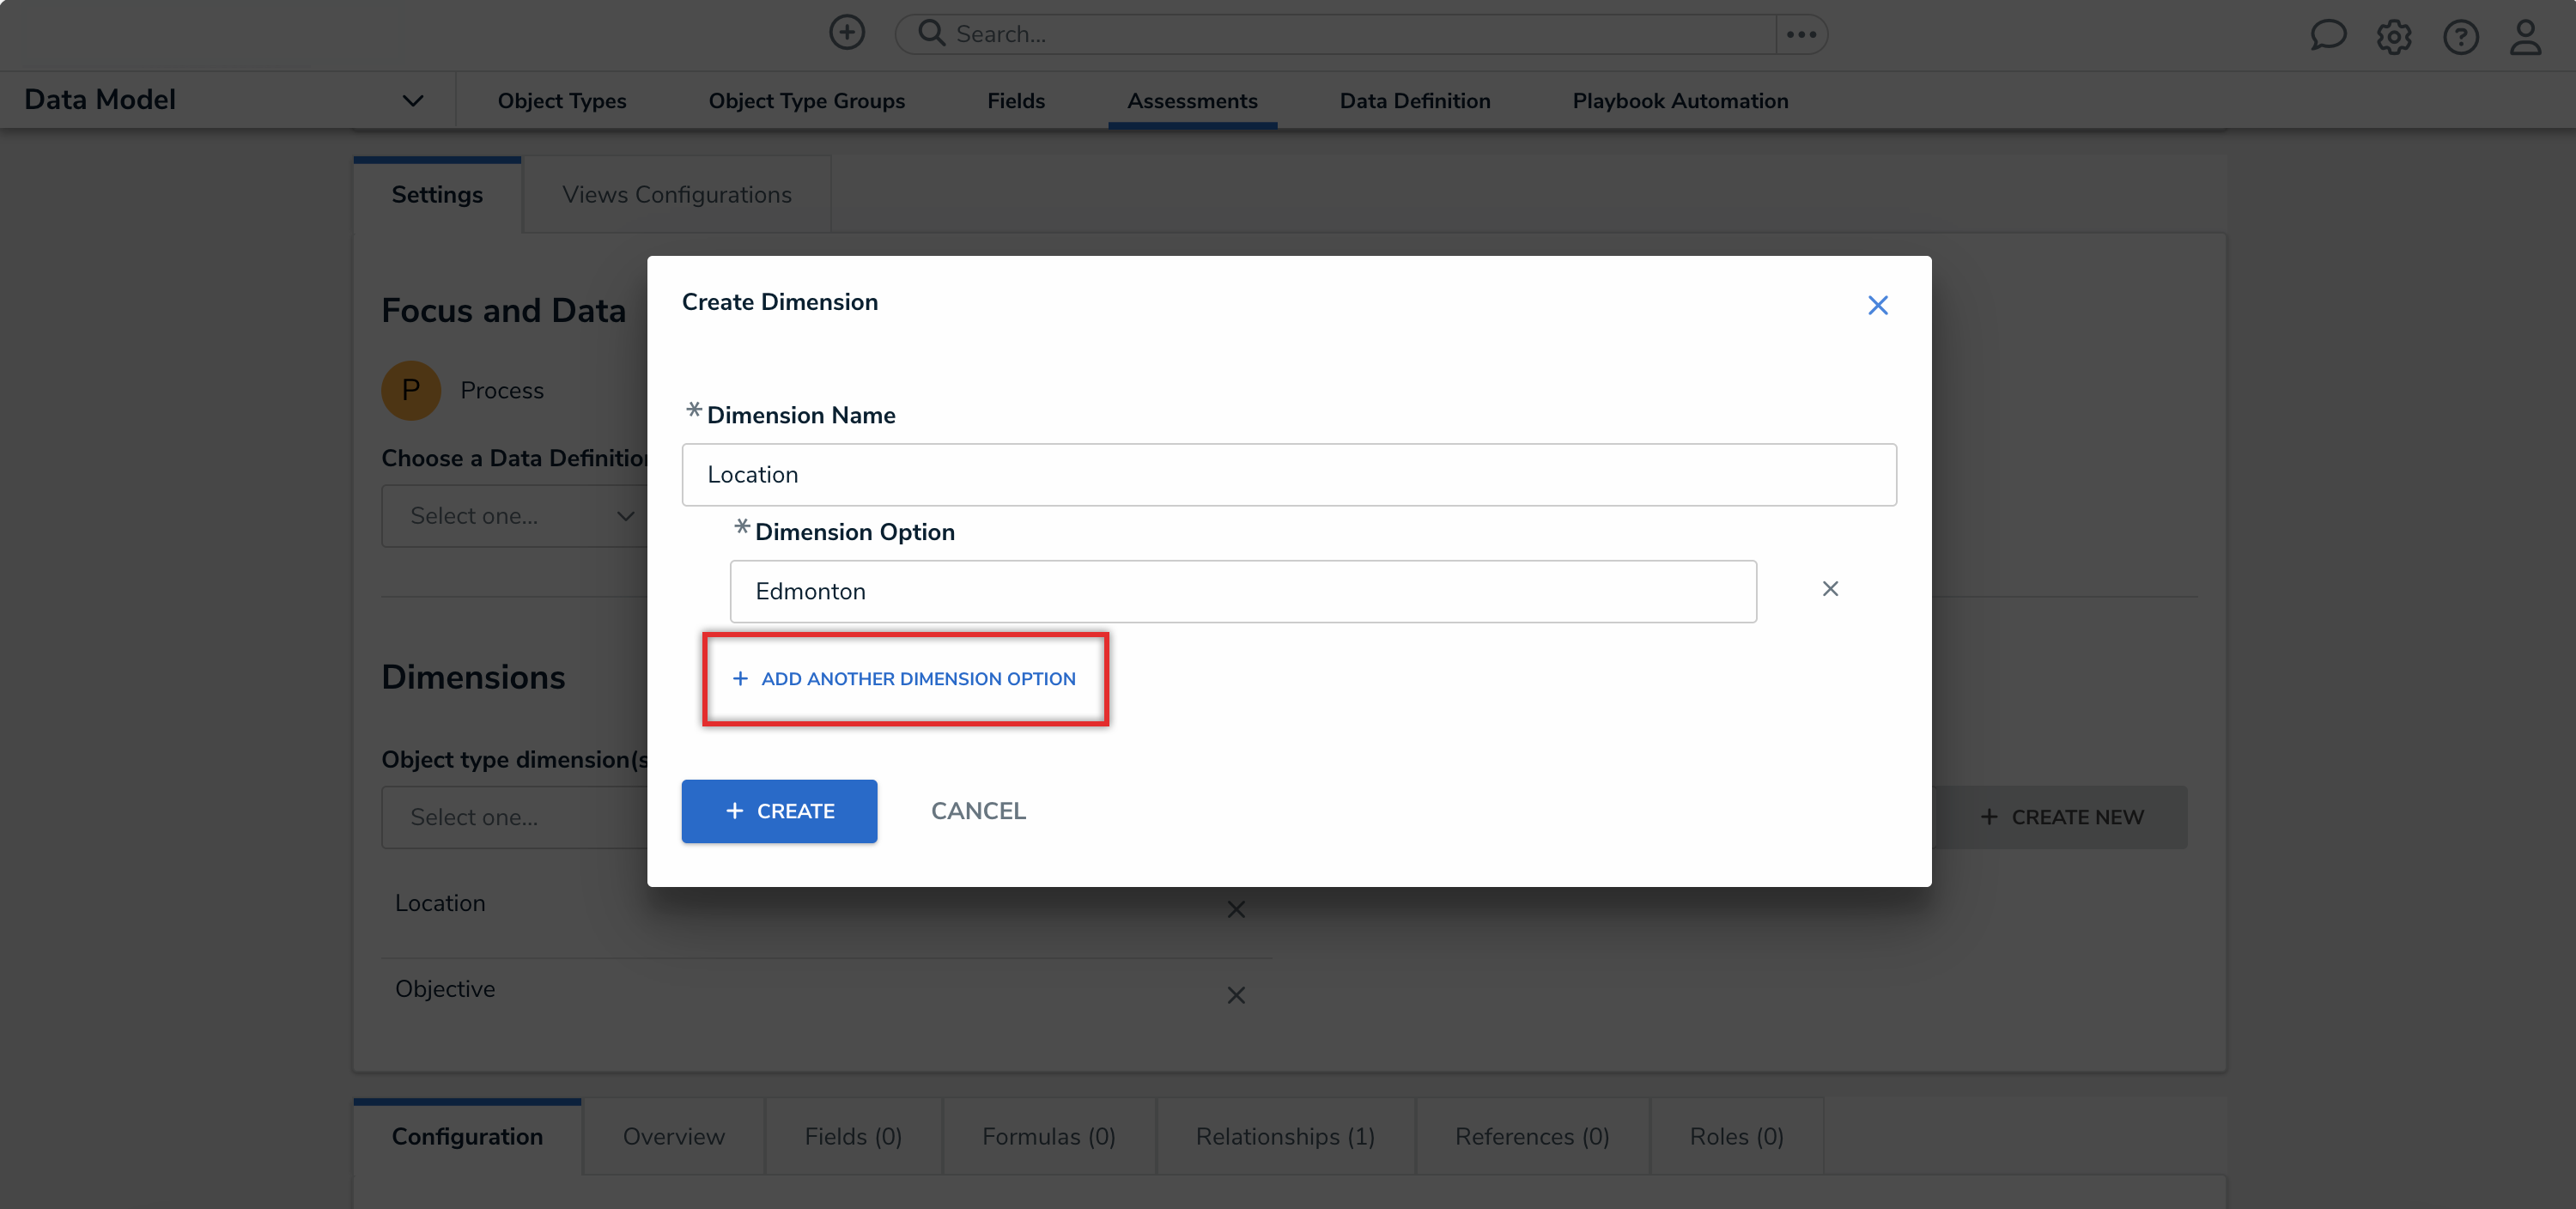
Add Another Dimension Option Link
- Click the Create button.
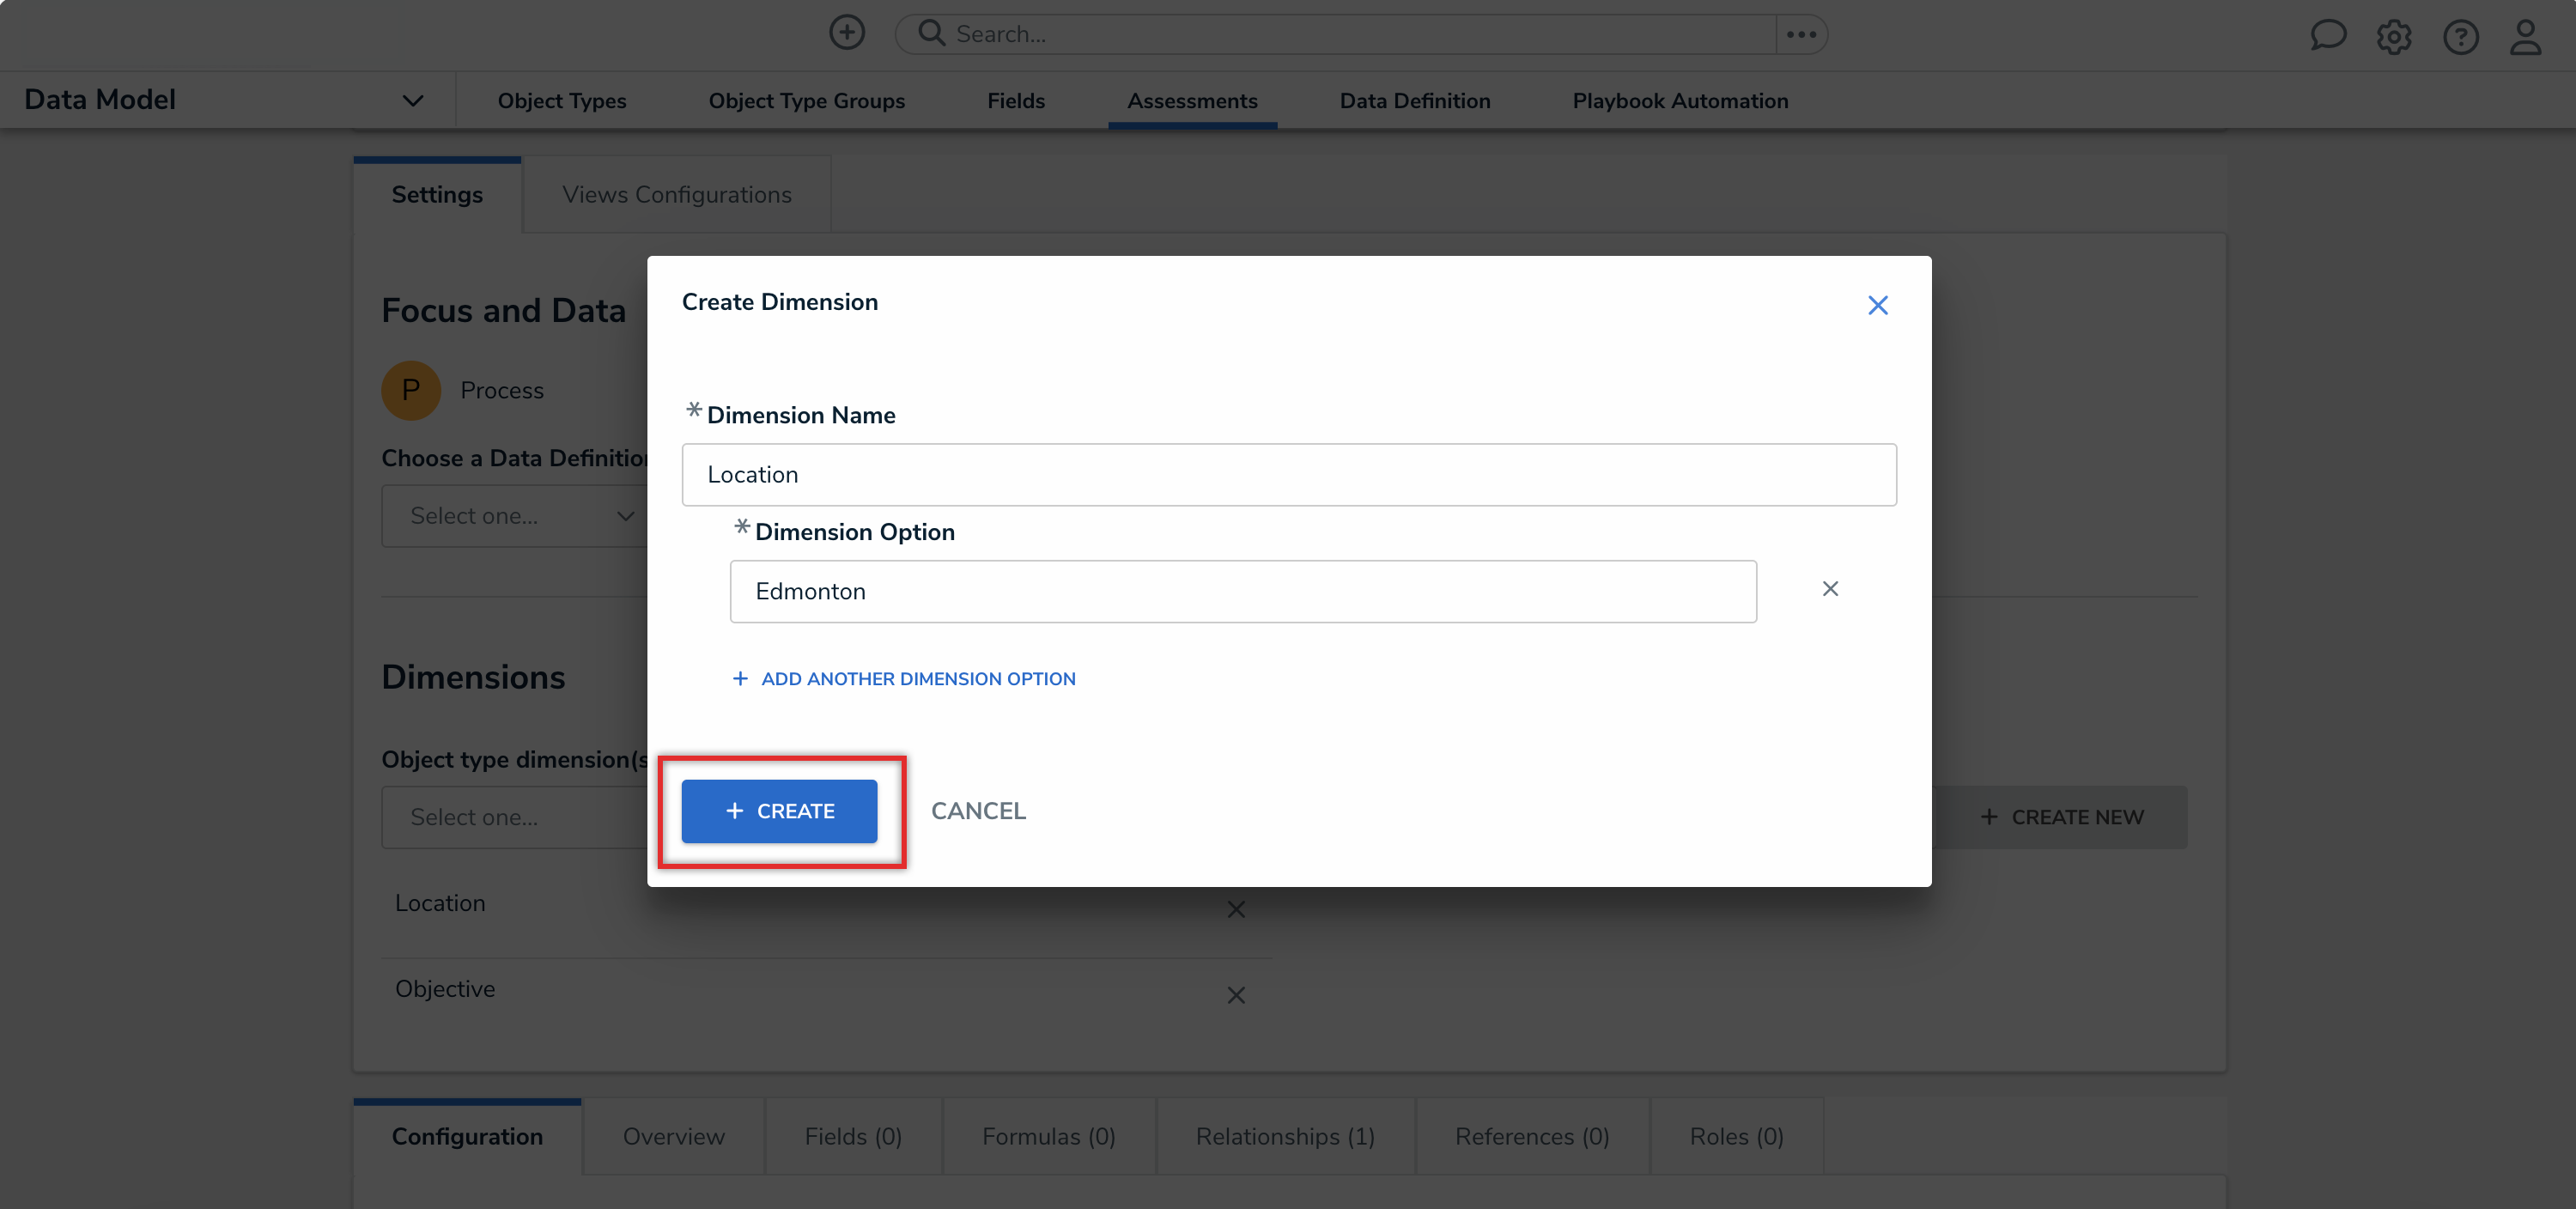
Create Button
- From the Custom Dimension(s) dropdown menu, click the Create New button.
- From the Concatenations tab, click the Configure Name Concatenation or Configure Description Concatenation links to add a name or description concatenation. Please refer to the Add Name or Description Concatenations to an Assessment article for further instruction.

Concatenations Tab
- From the Views Configuration tab, you can add a due date to the assessment so that that users can view and prioritize upcoming and overdue tasks in the My Tasks card. See the Adding a Due Date to an Assessment article for further instruction.
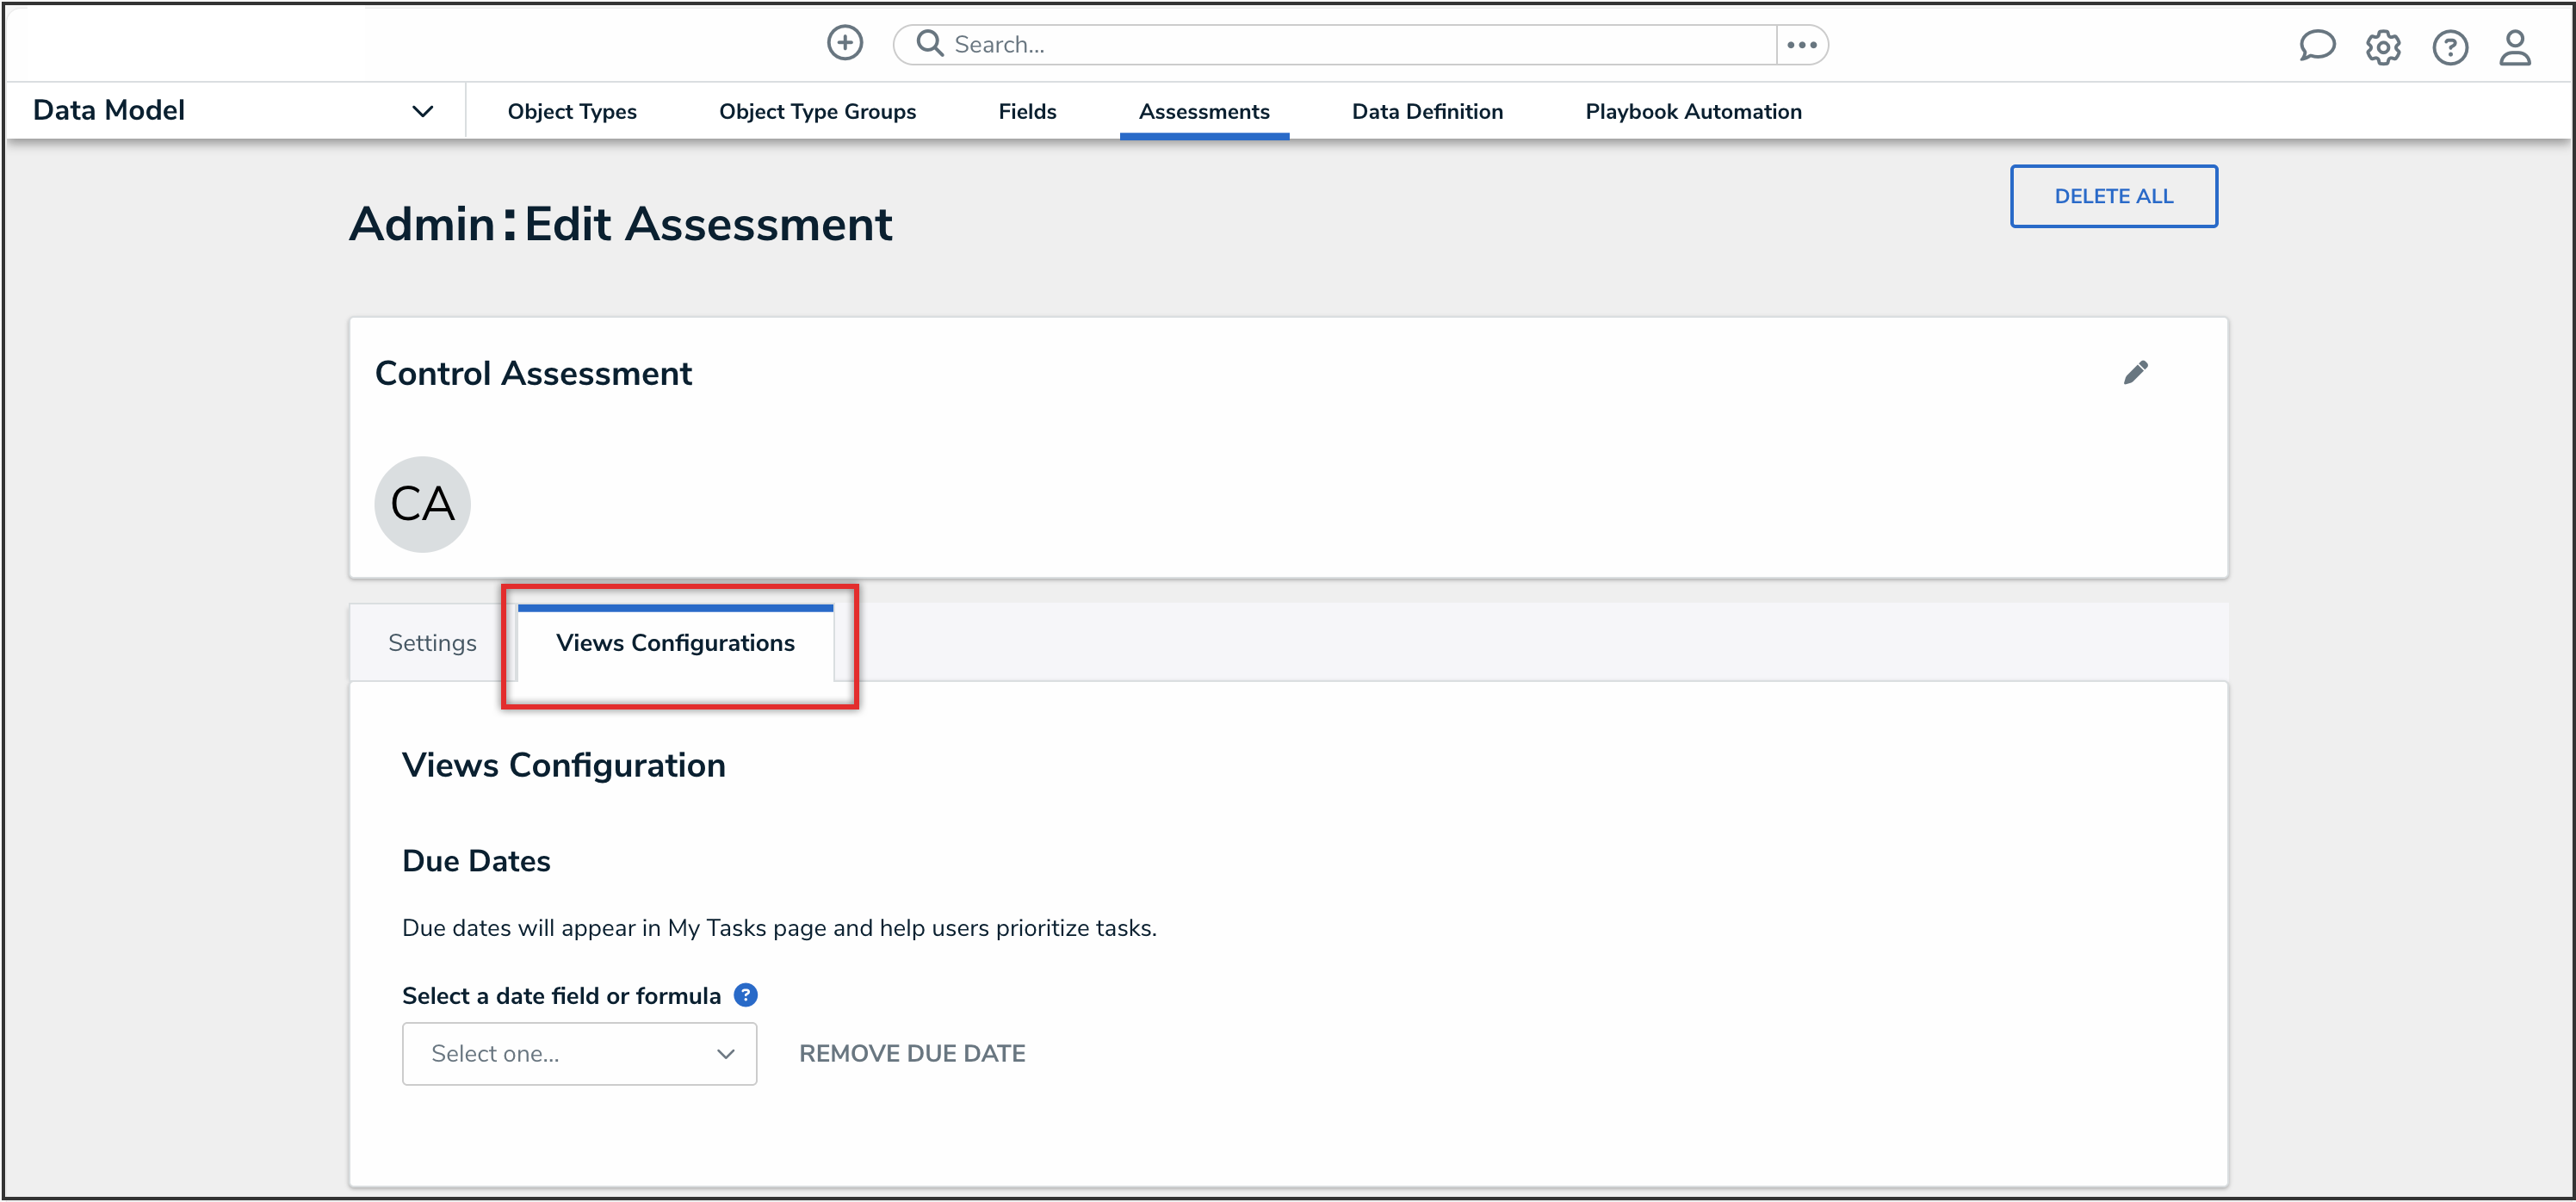
Views Configuration Tab
- From the Configuration tab, you can configure the workflows and assessment data. See the Configure an Assessment's Workflows article for further instruction.
-
You can also configure filters for assessment scoping from the Configuration tab. Please refer to the Configuring Filters for Scoping Assessments article for further details.
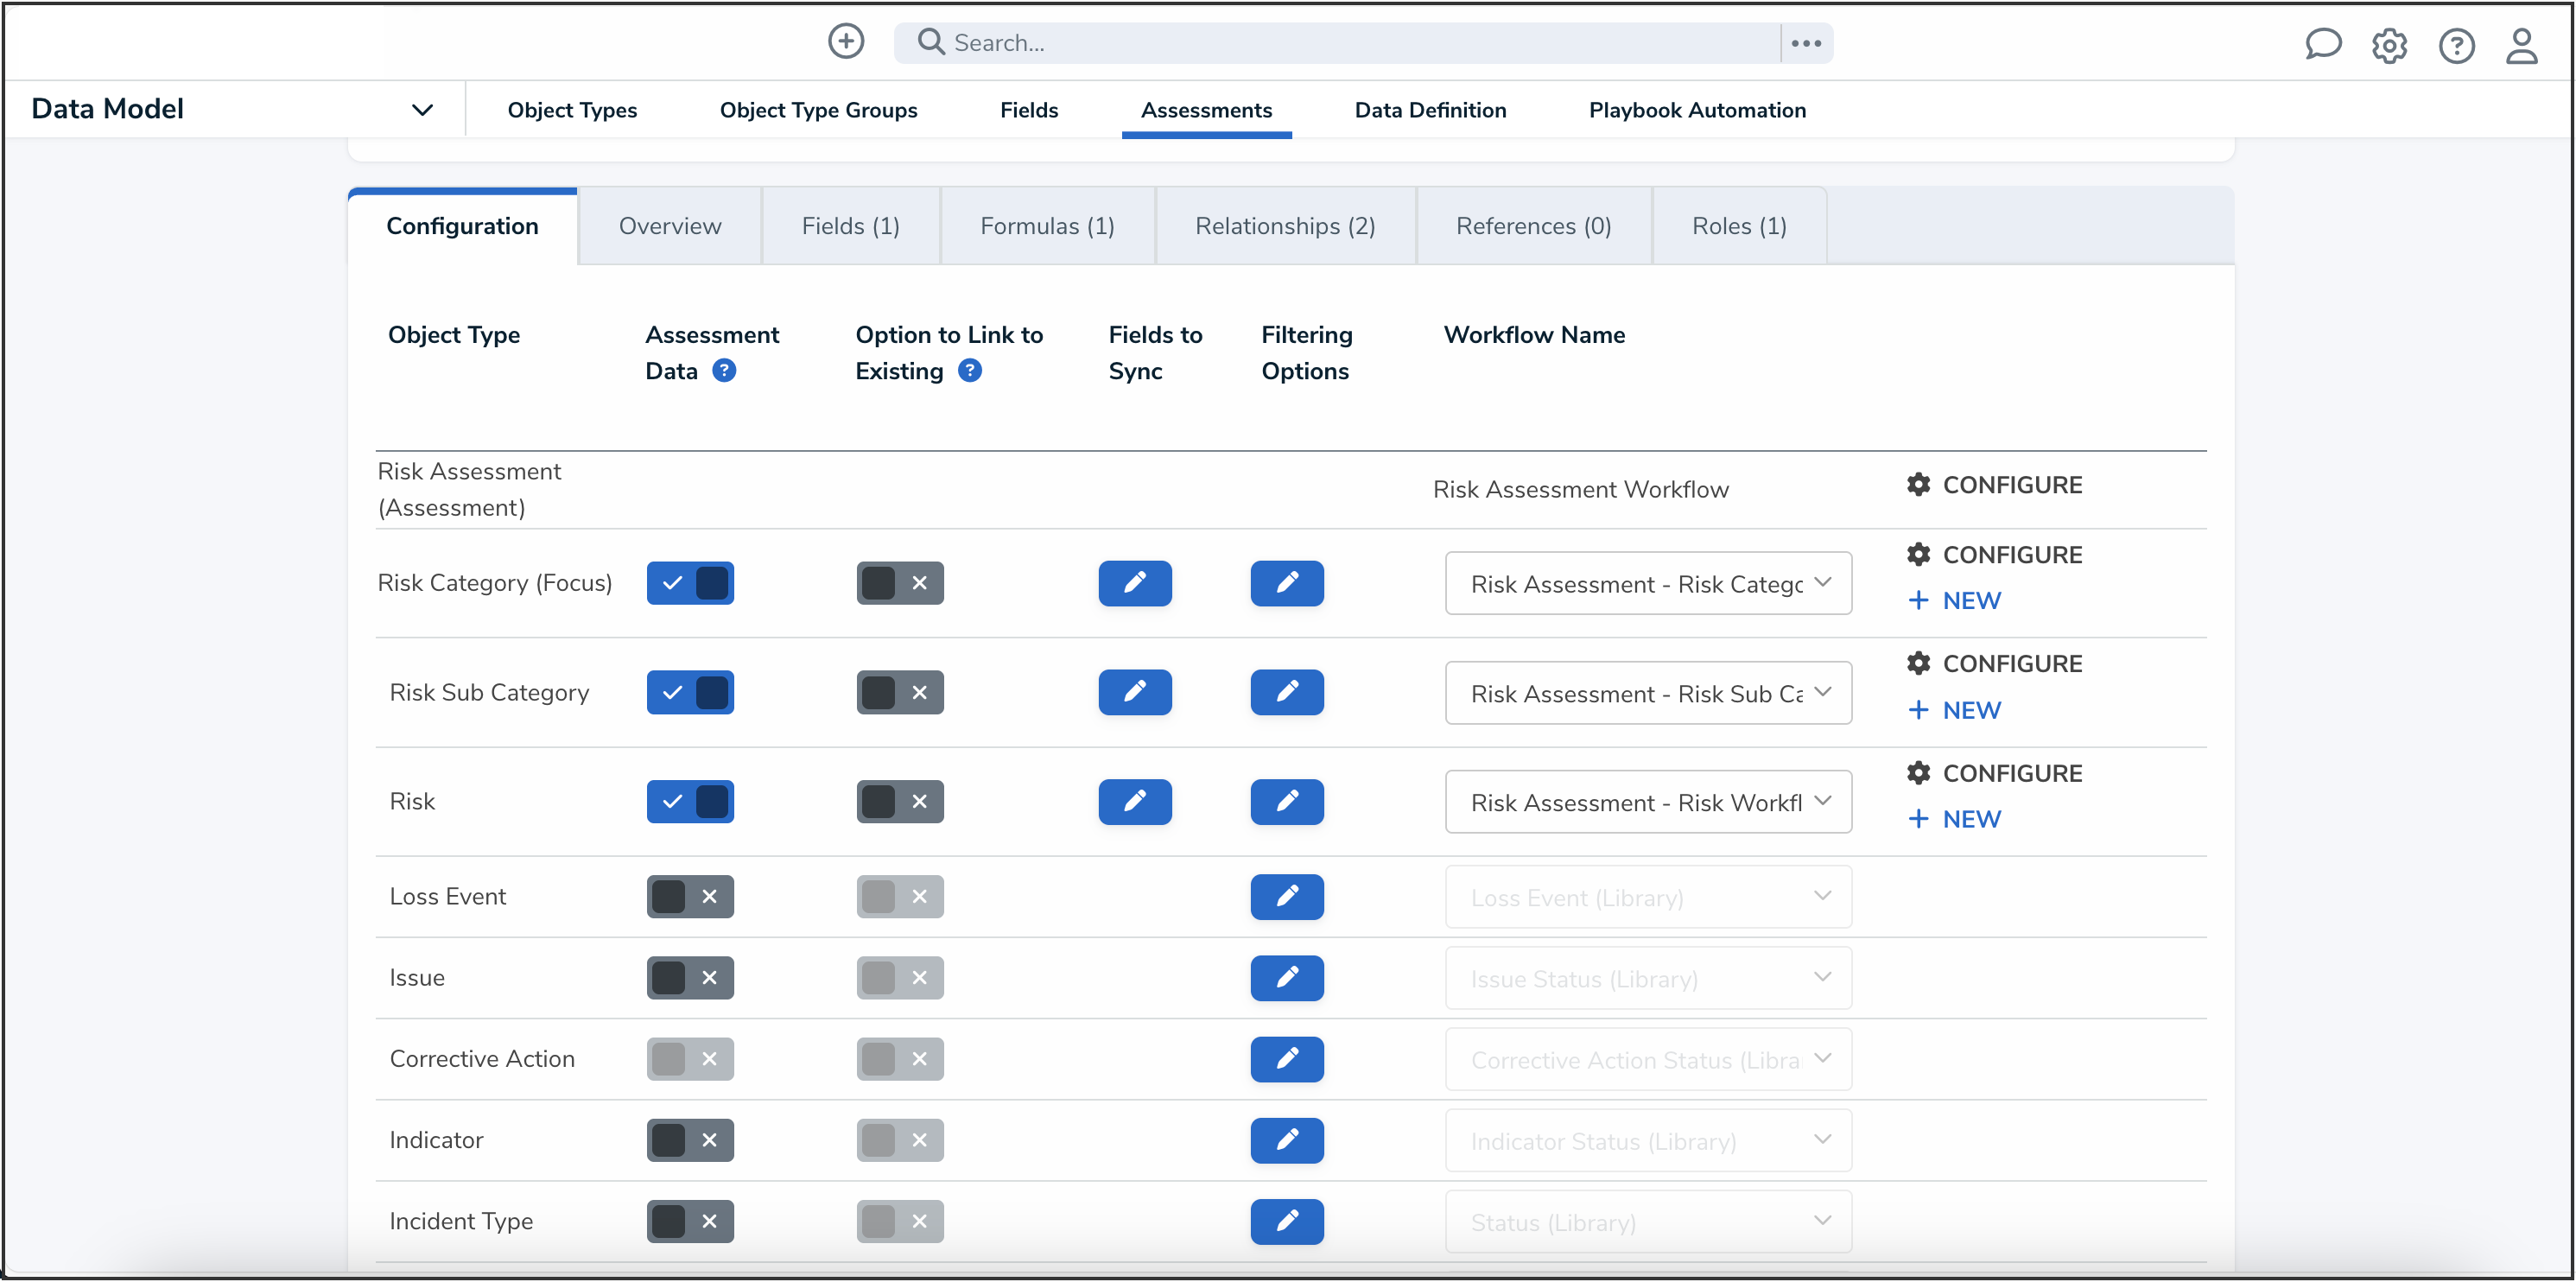
Configuration Tab
-
You can also configure filters for assessment scoping from the Configuration tab. Please refer to the Configuring Filters for Scoping Assessments article for further details.
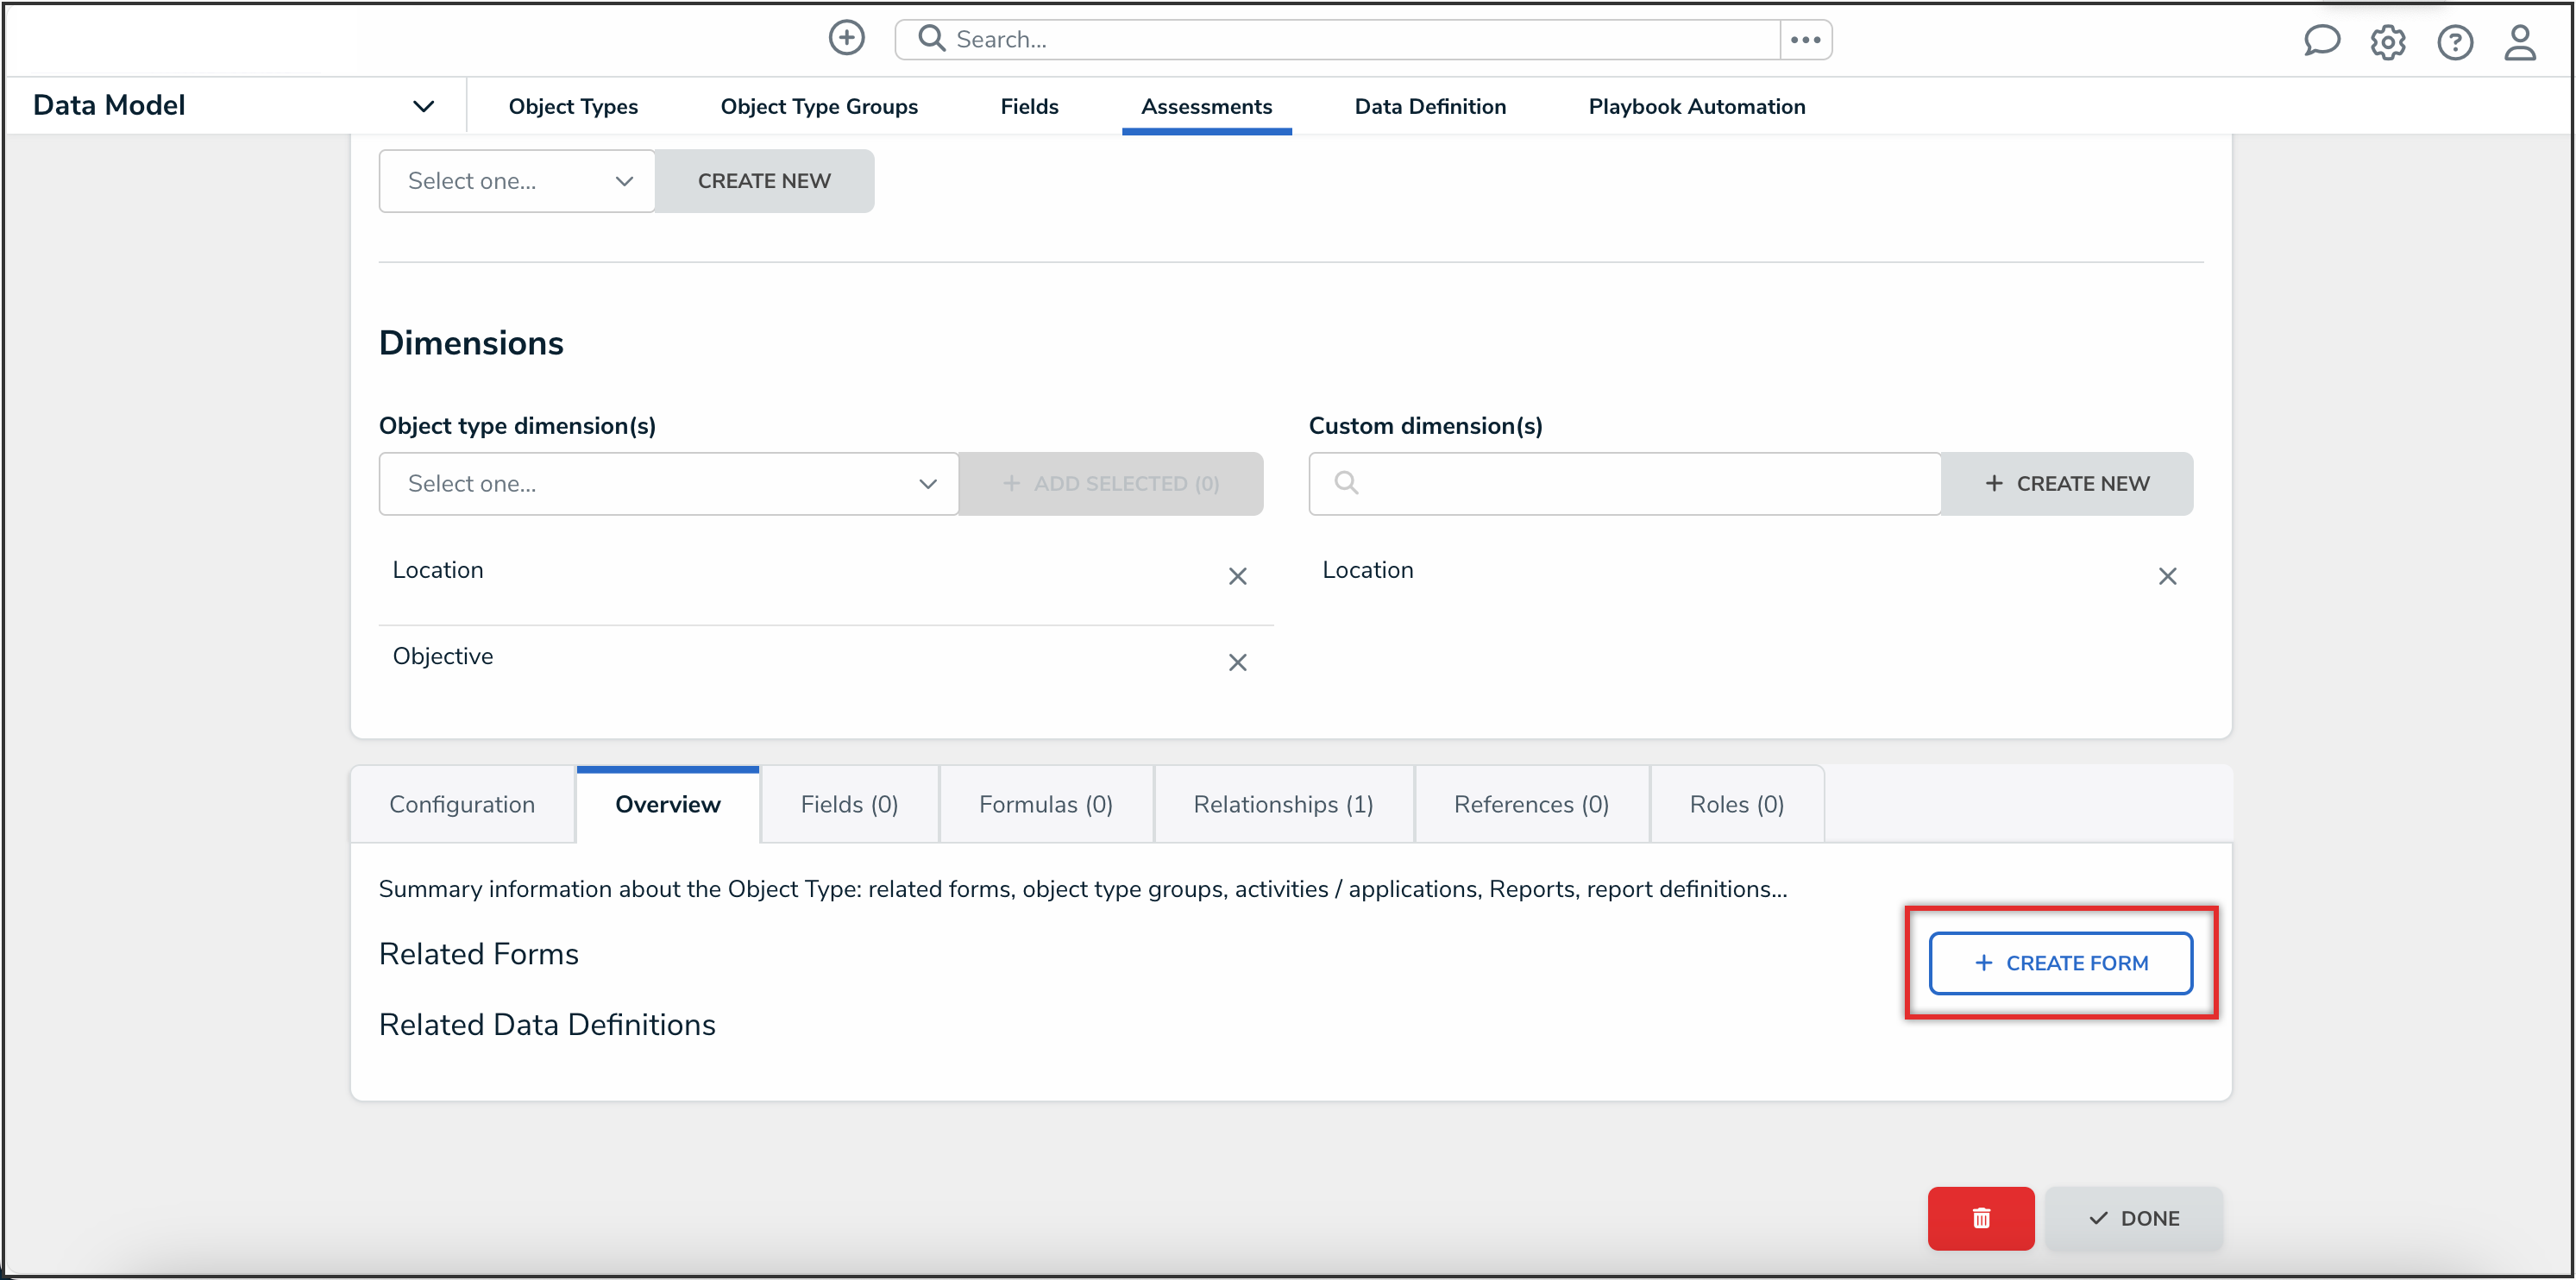
- Click the Overview tab to see a summary of the related forms, object type groups, activities, applications, reports, and report definition connected to the assessment.

Overview Tab
-
To create a form from the Overview tab, click the Create Form button, and follow the instructions to create a standard form or a navigation form.
Create Form Button
-
To create a form from the Overview tab, click the Create Form button, and follow the instructions to create a standard form or a navigation form.
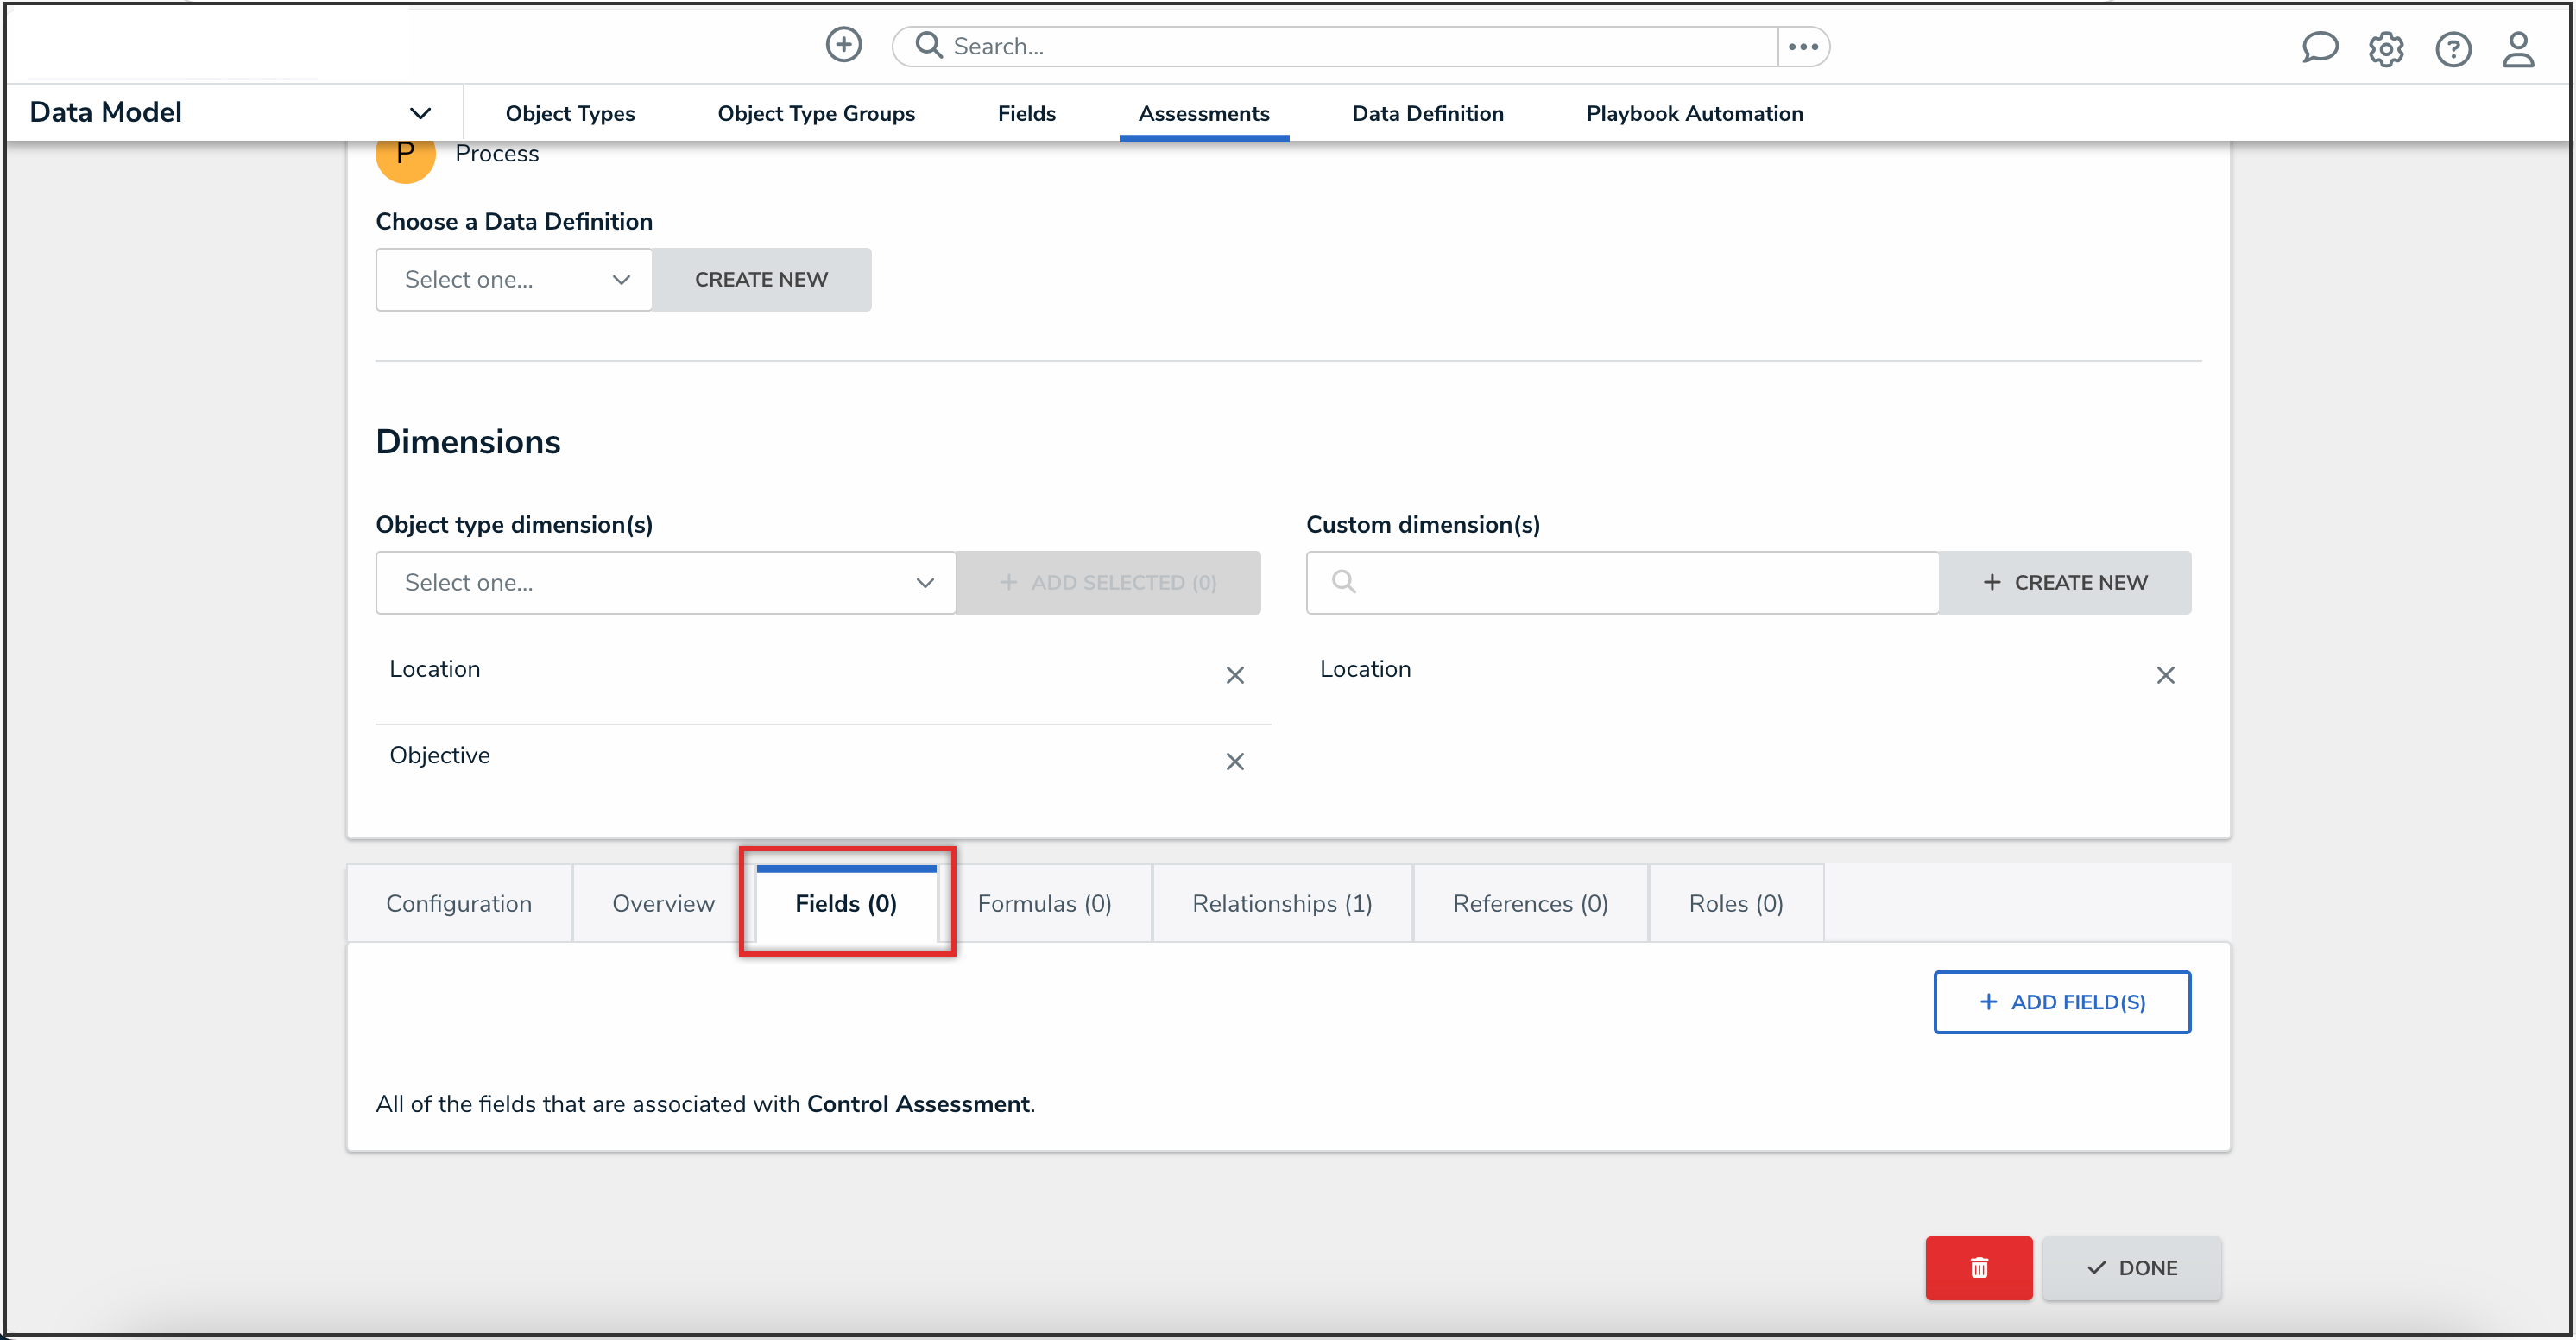
- Click the Fields tab to add fields to the assessment. See the Add Fields to an Object Type article for further instruction.
Fields Tab
- Click the Formulas tab to add formulas to the assessment. See the Adding Formulas to an Object Type article for further instruction.

Formulas Tab
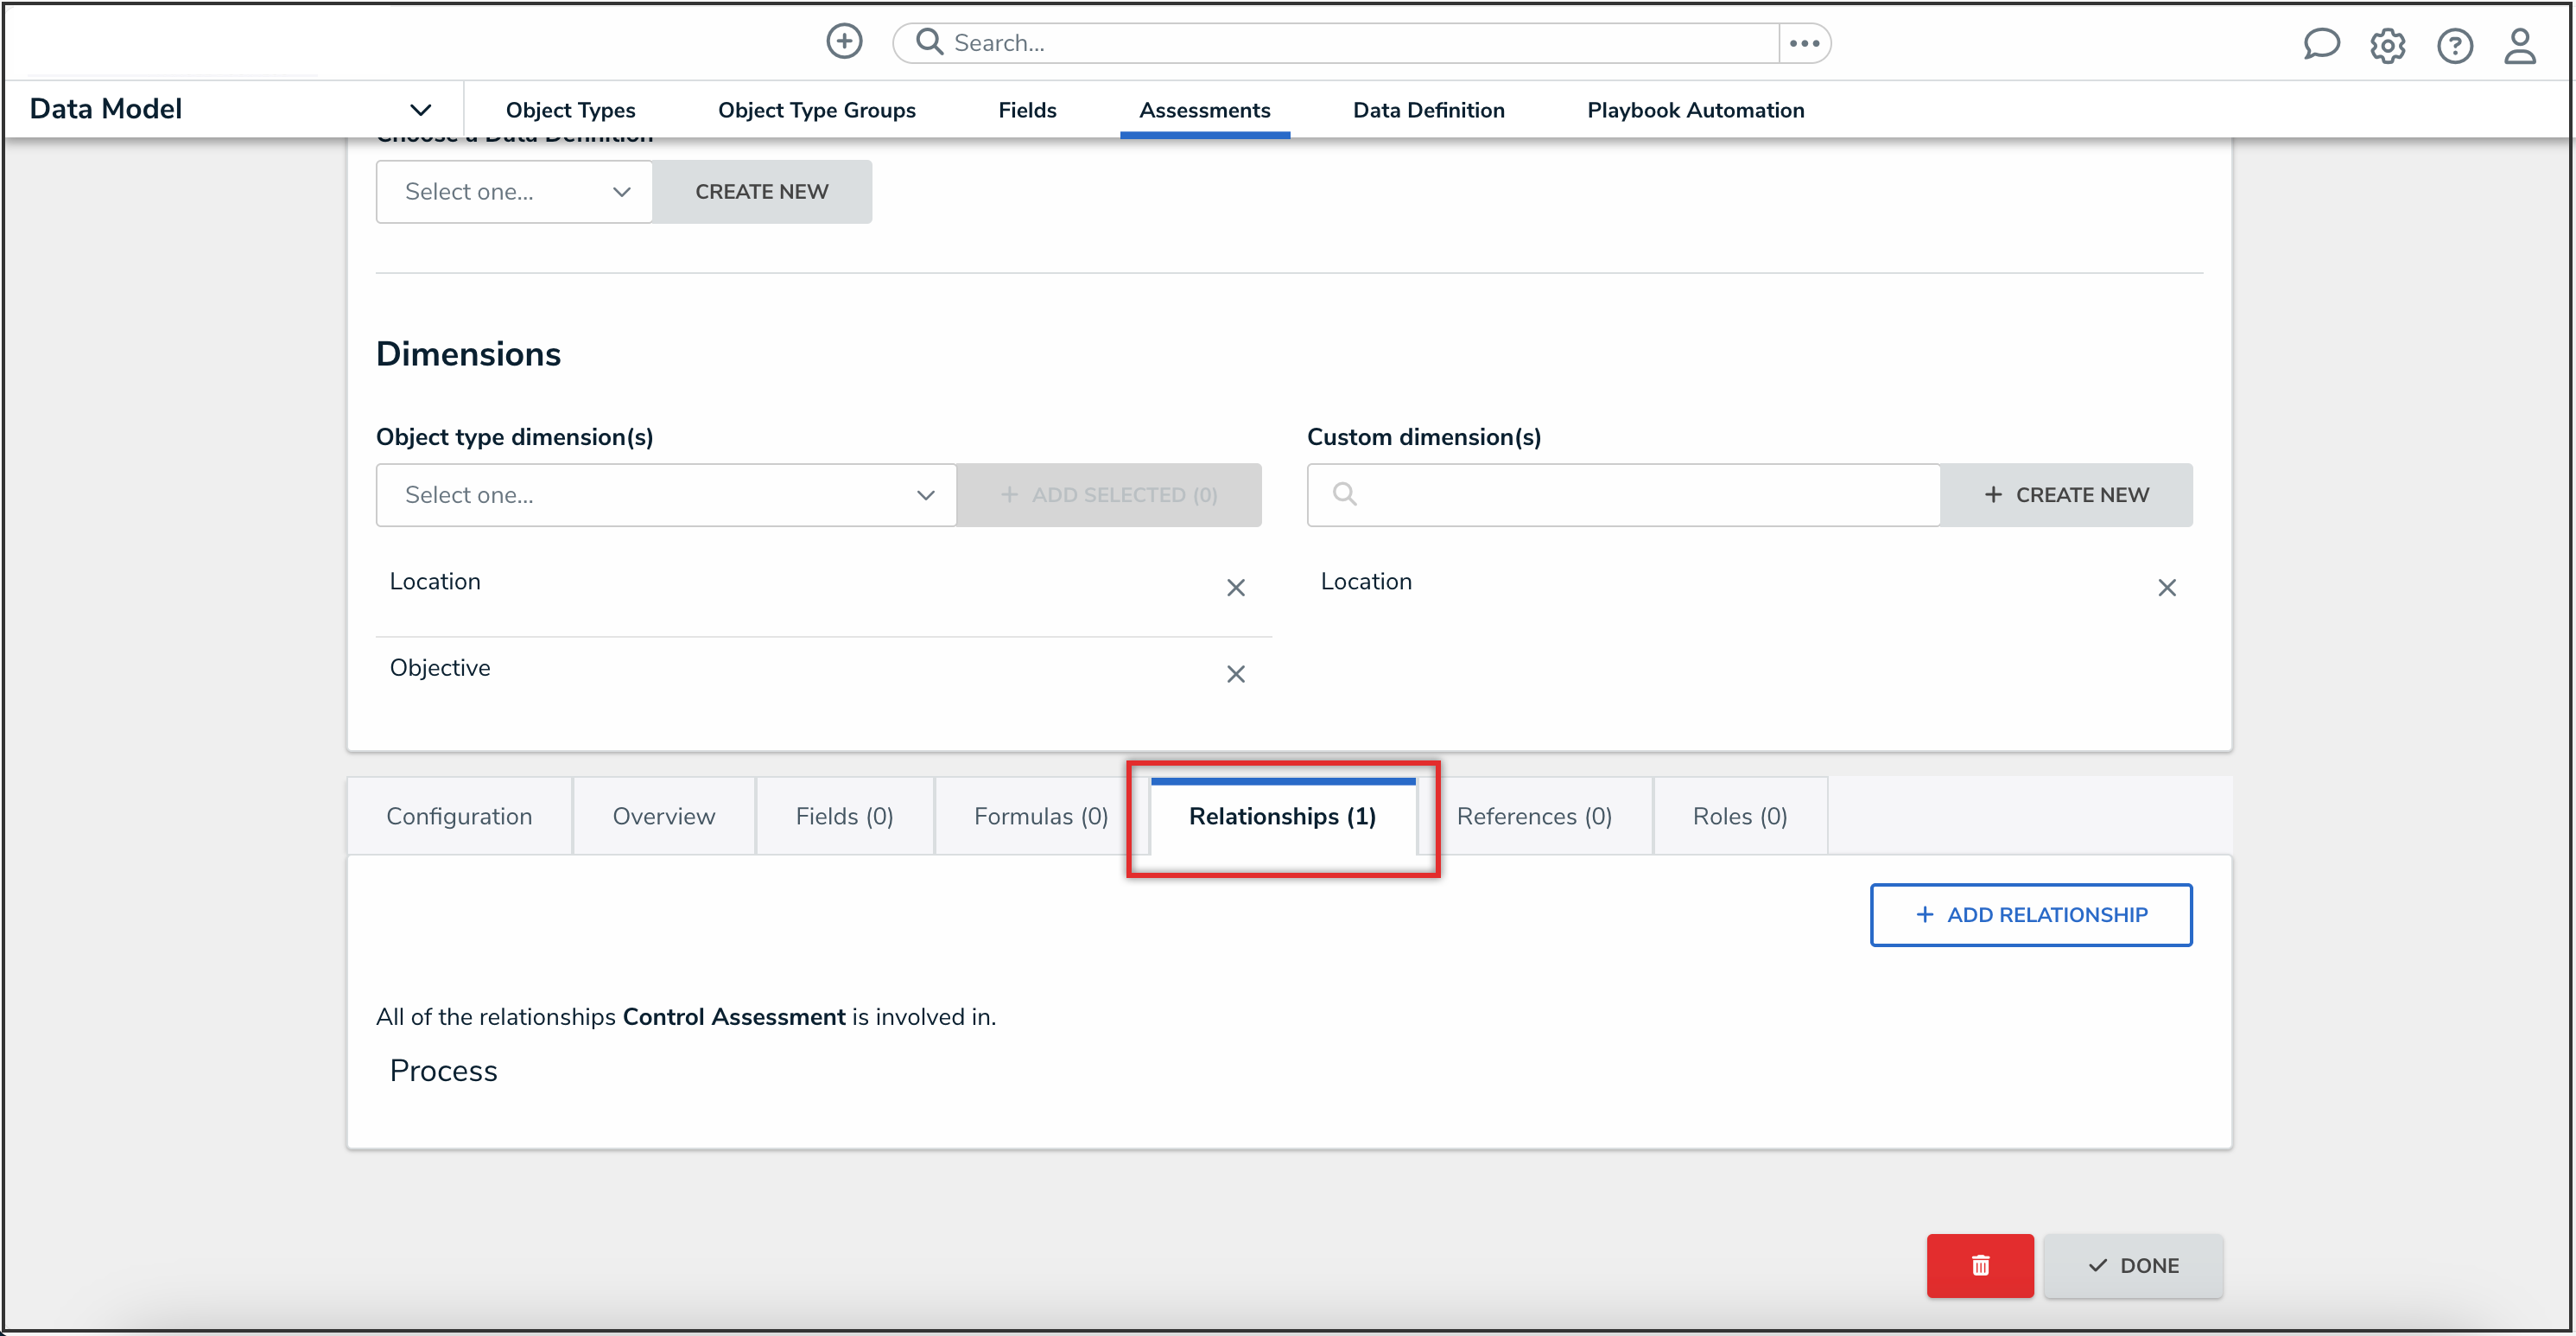
- Click the Relationships tab to add relationships to the assessment. See the Add Relationships to an Object Type article for further instruction.
Relationships Tab
Note:
To help indicate an object type is the focus of an assessment, a relationship between the assessment and the focus object type is automatically created on the assessment, which will then allow you to add a reference on the focus object type, if needed. - Click the Roles tab to add roles and configure the inferred permissions on the assessment.
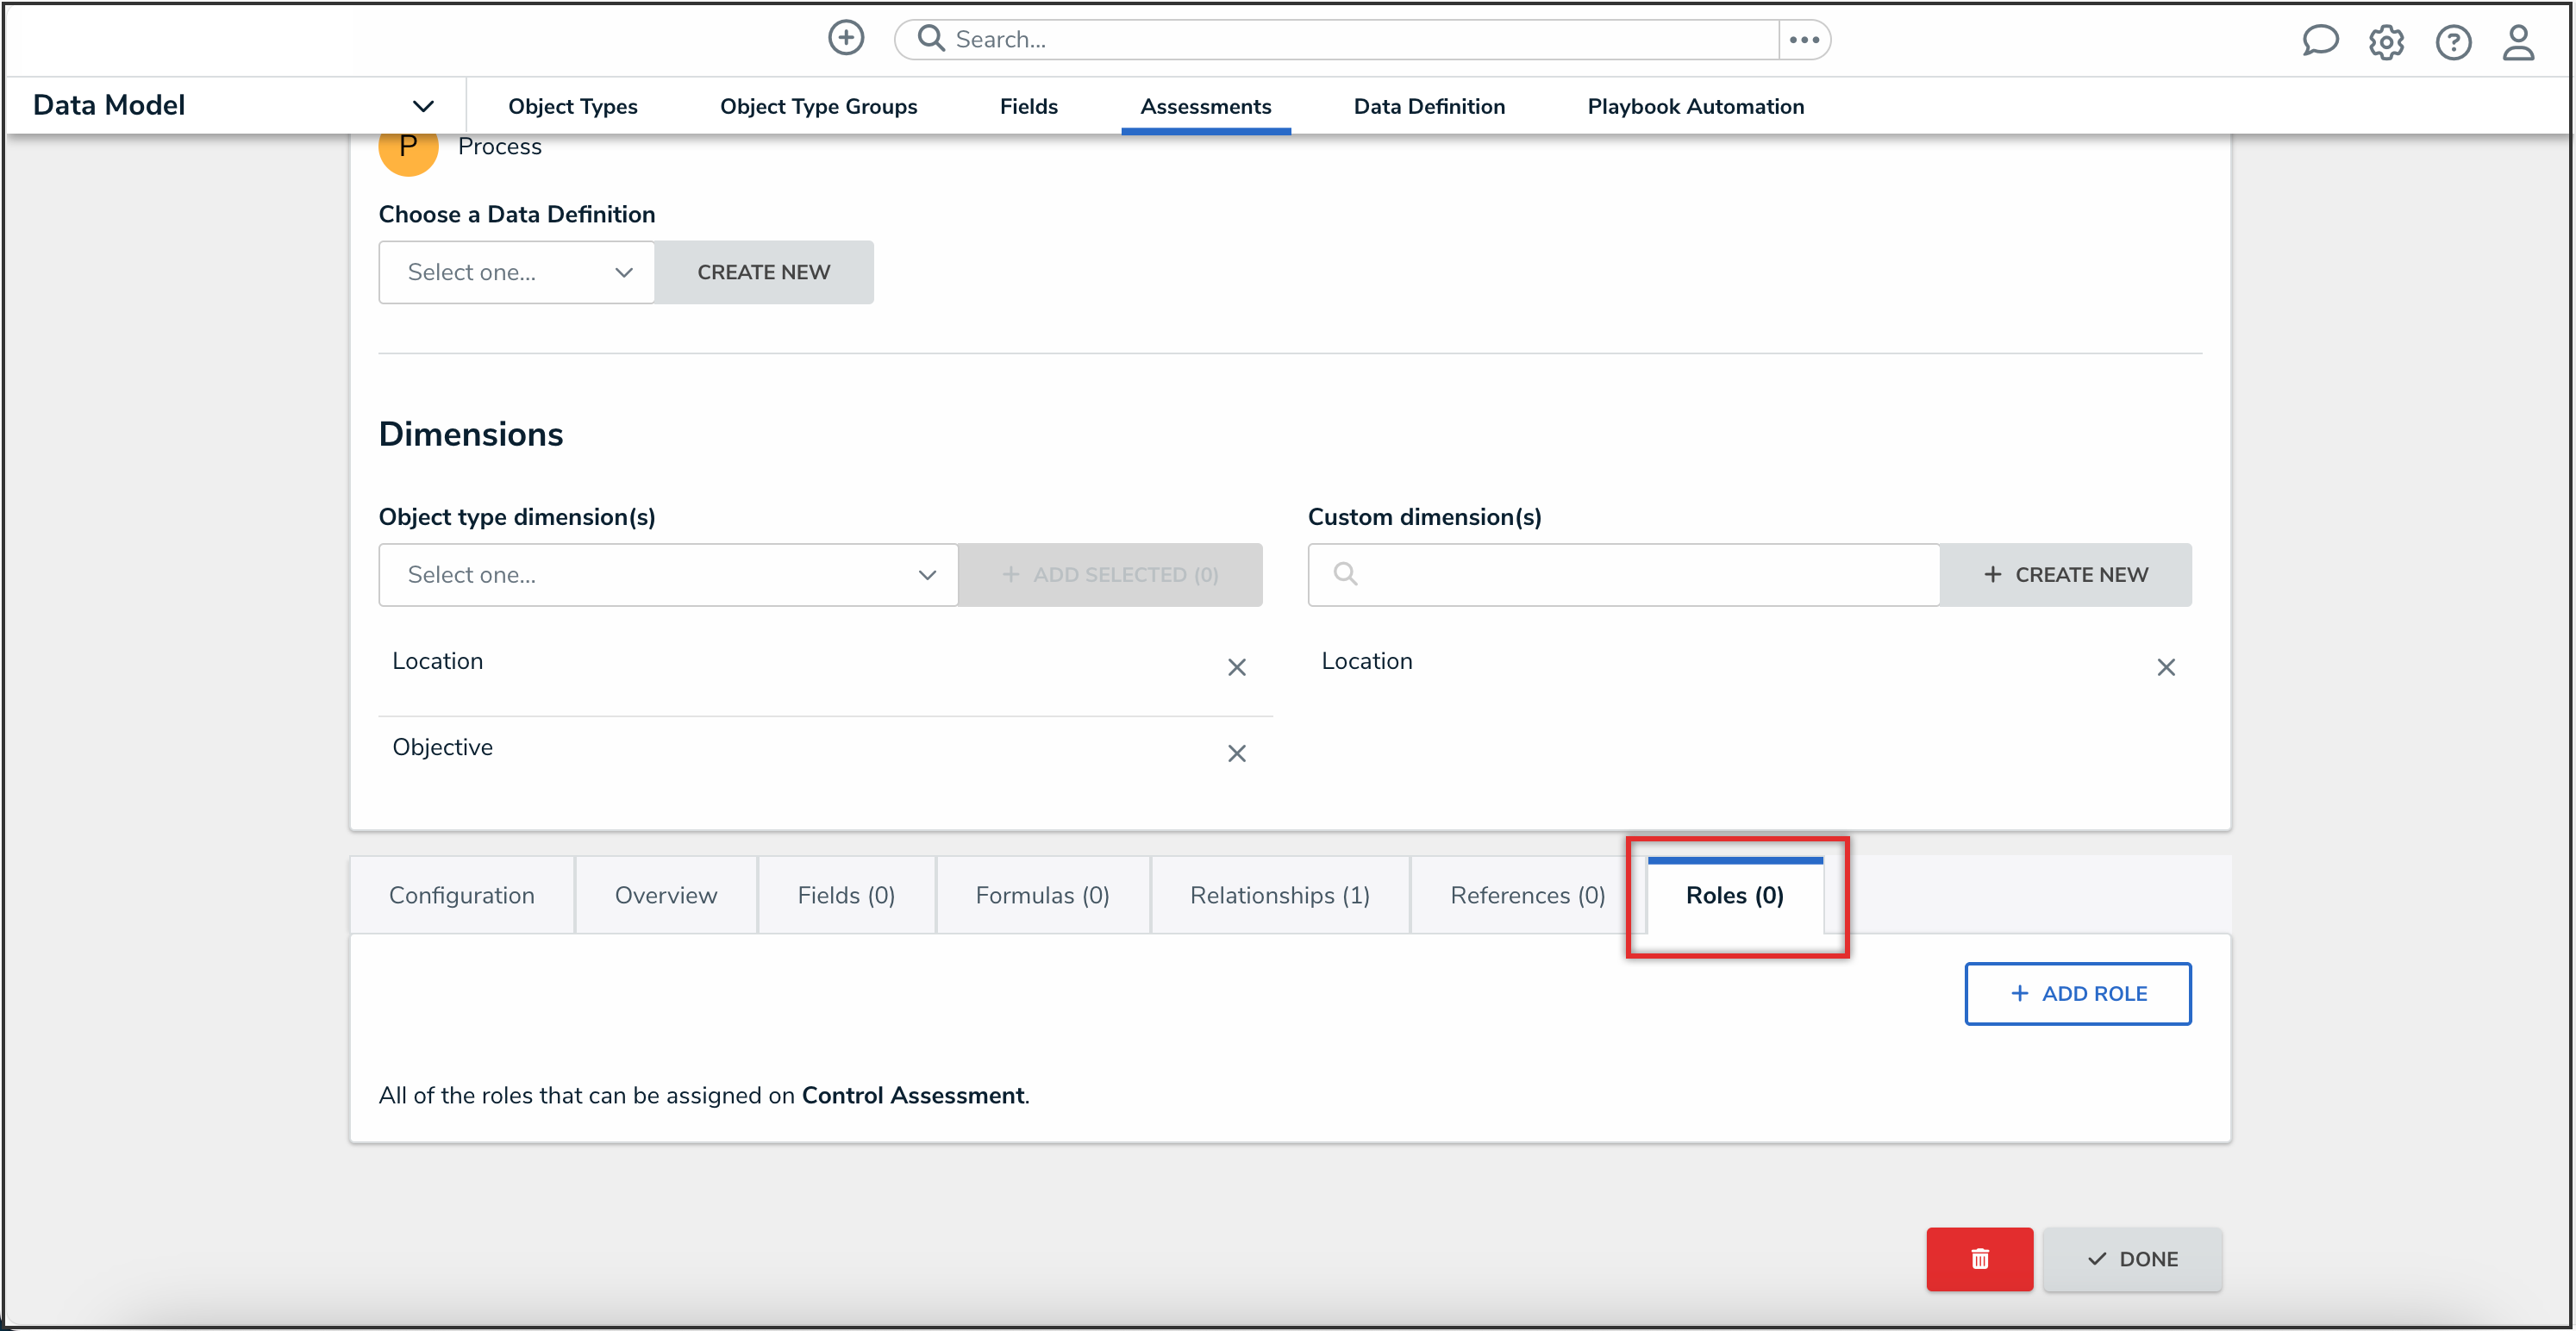
Roles Tab
- Click the Done button.
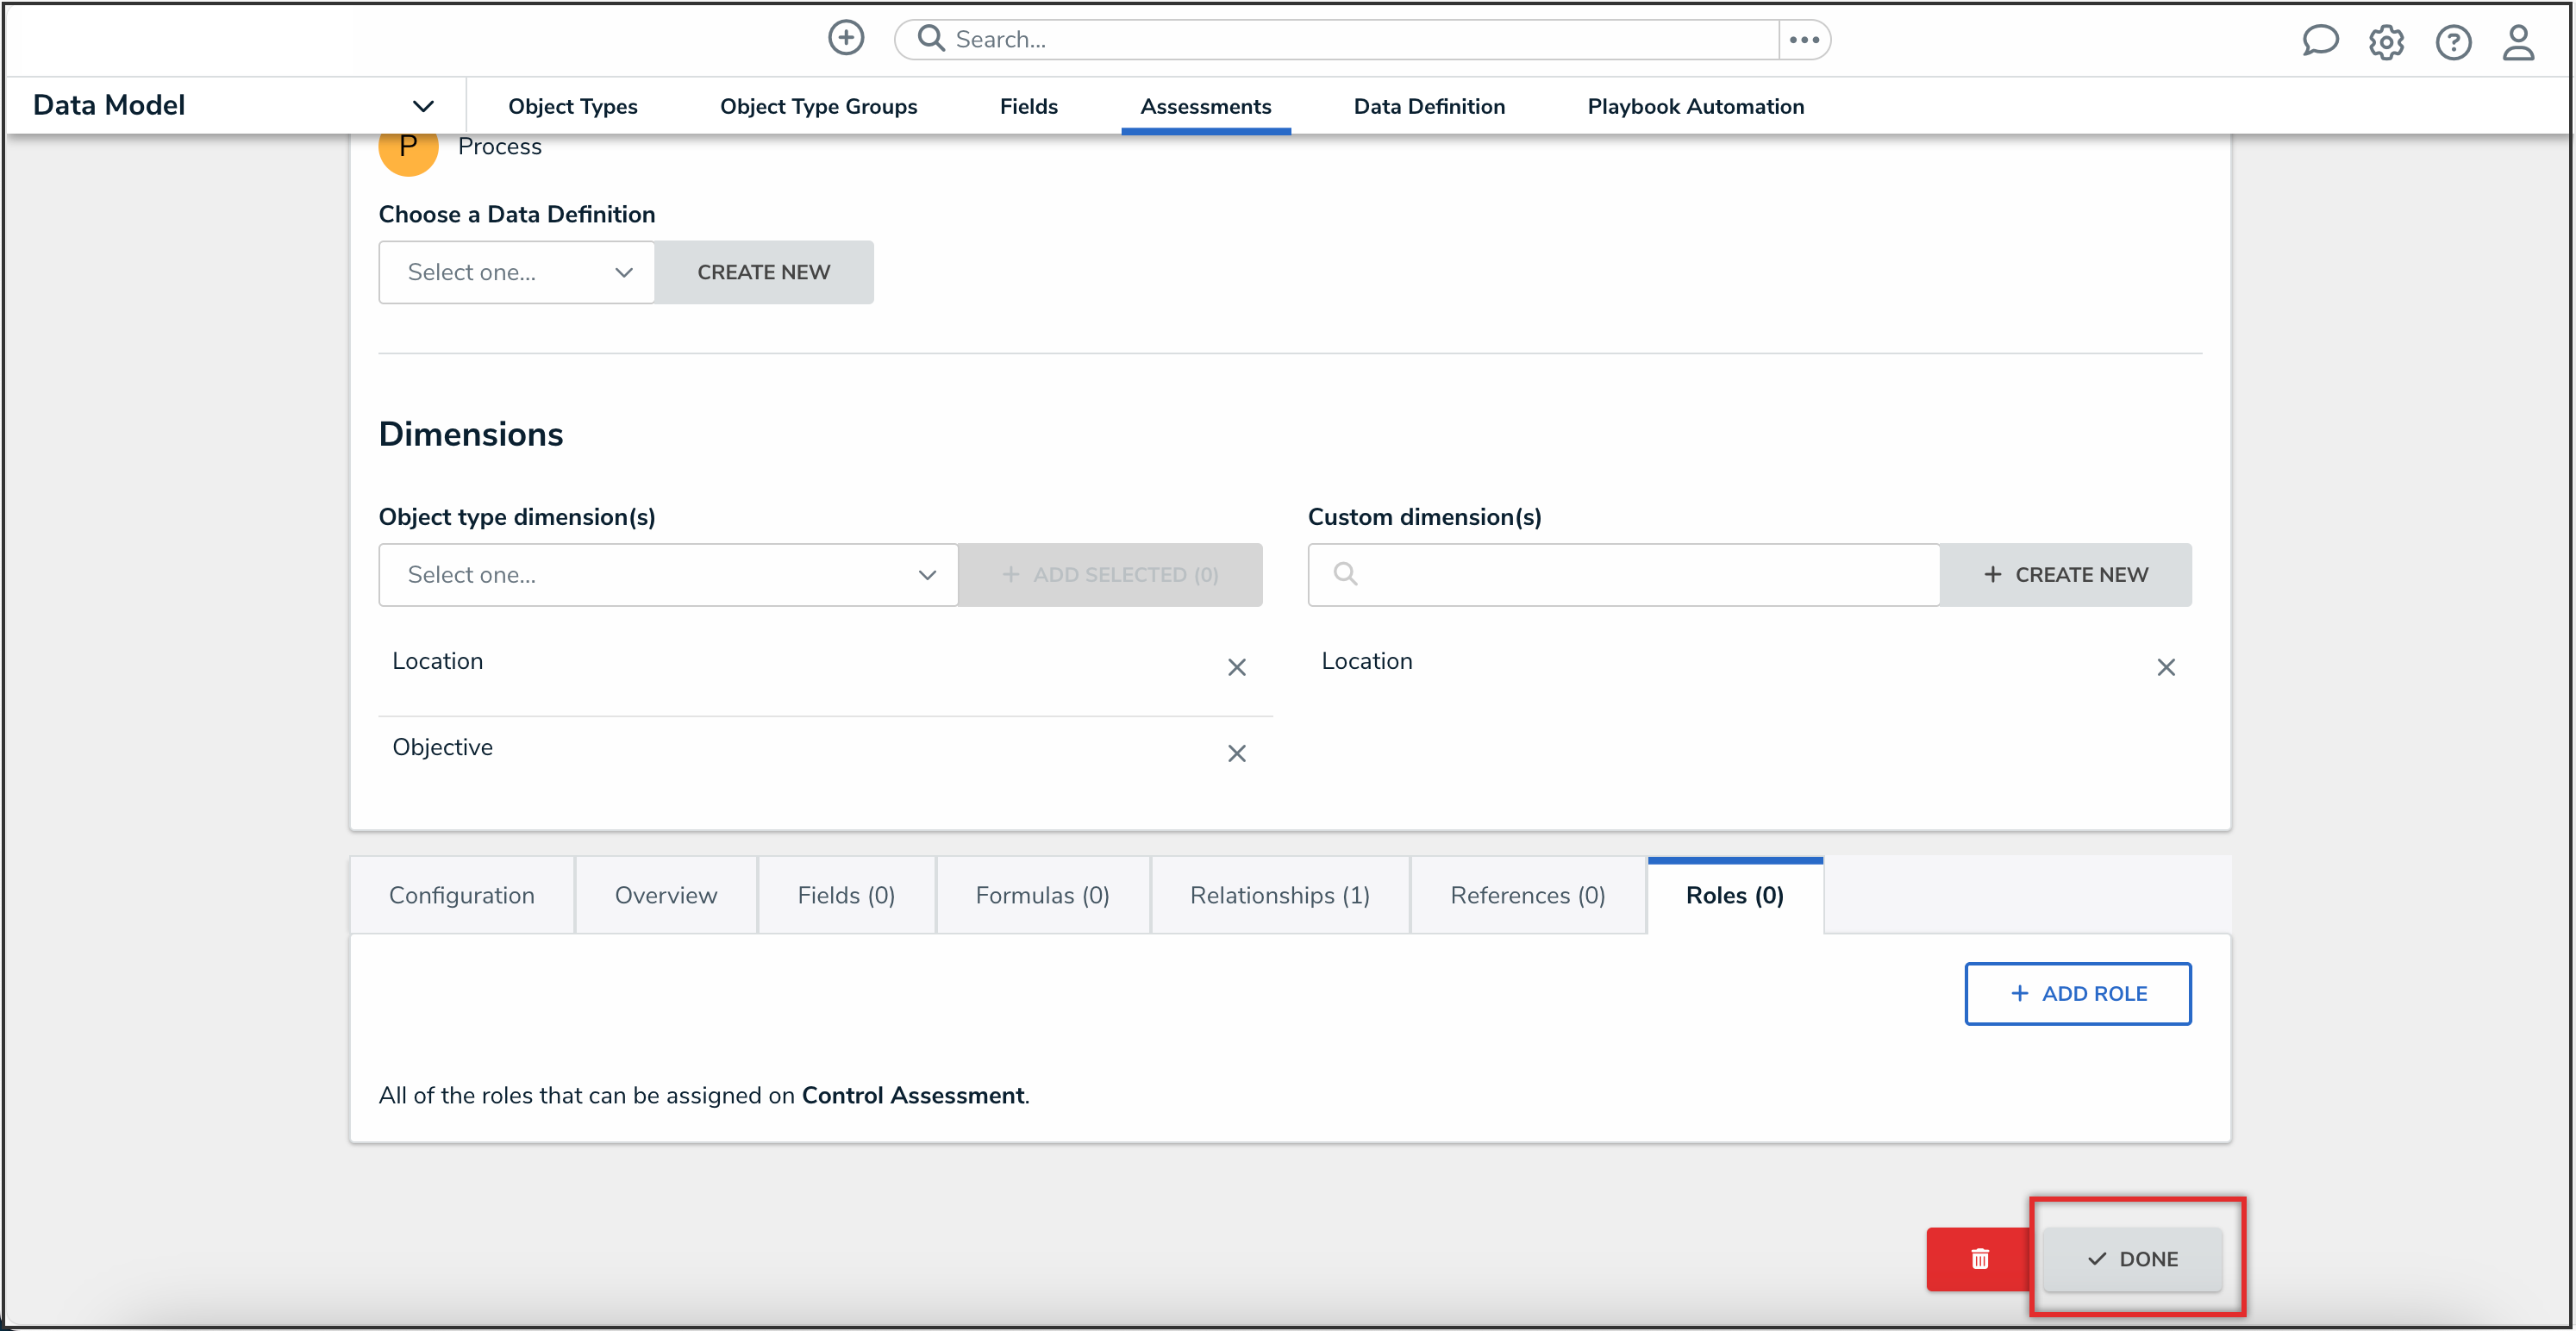
Done Button
- Create a navigation form to complete the scope and launch of the assessment.
- Create a standard configurable form for the assessment, ensuring you’ve added the Assessment Context element and the Open Assessment Scoping action to the form.
- Add the assessment to an action so assessment objects can be created through an activity.
- (Optional): Add the assessment to a view so existing assessment objects can be viewed through an activity.


 Note:
Note:


