Overview
To begin using the Playbook Automation features, users must first create a Playbook Automation Rule. After creating a Playbook Automation Rule, additional configuration will automatically be inserted into the user's Org.
 Note:
Note:
Playbooks Automation is an additional paid for feature. If you're interested in this feature and would like to know more, please contact your Customer Success Manager.
User Account Requirements
The user account you use to log into Resolver must be an Administrator to create a Playbook Automation Rule.
Related Information/Setup
Please refer to the Playbooks Automation section for more information on using playbooks in Resolver.
Navigation
- From the Home screen, click the Administration icon.
![]()
Administration Icon
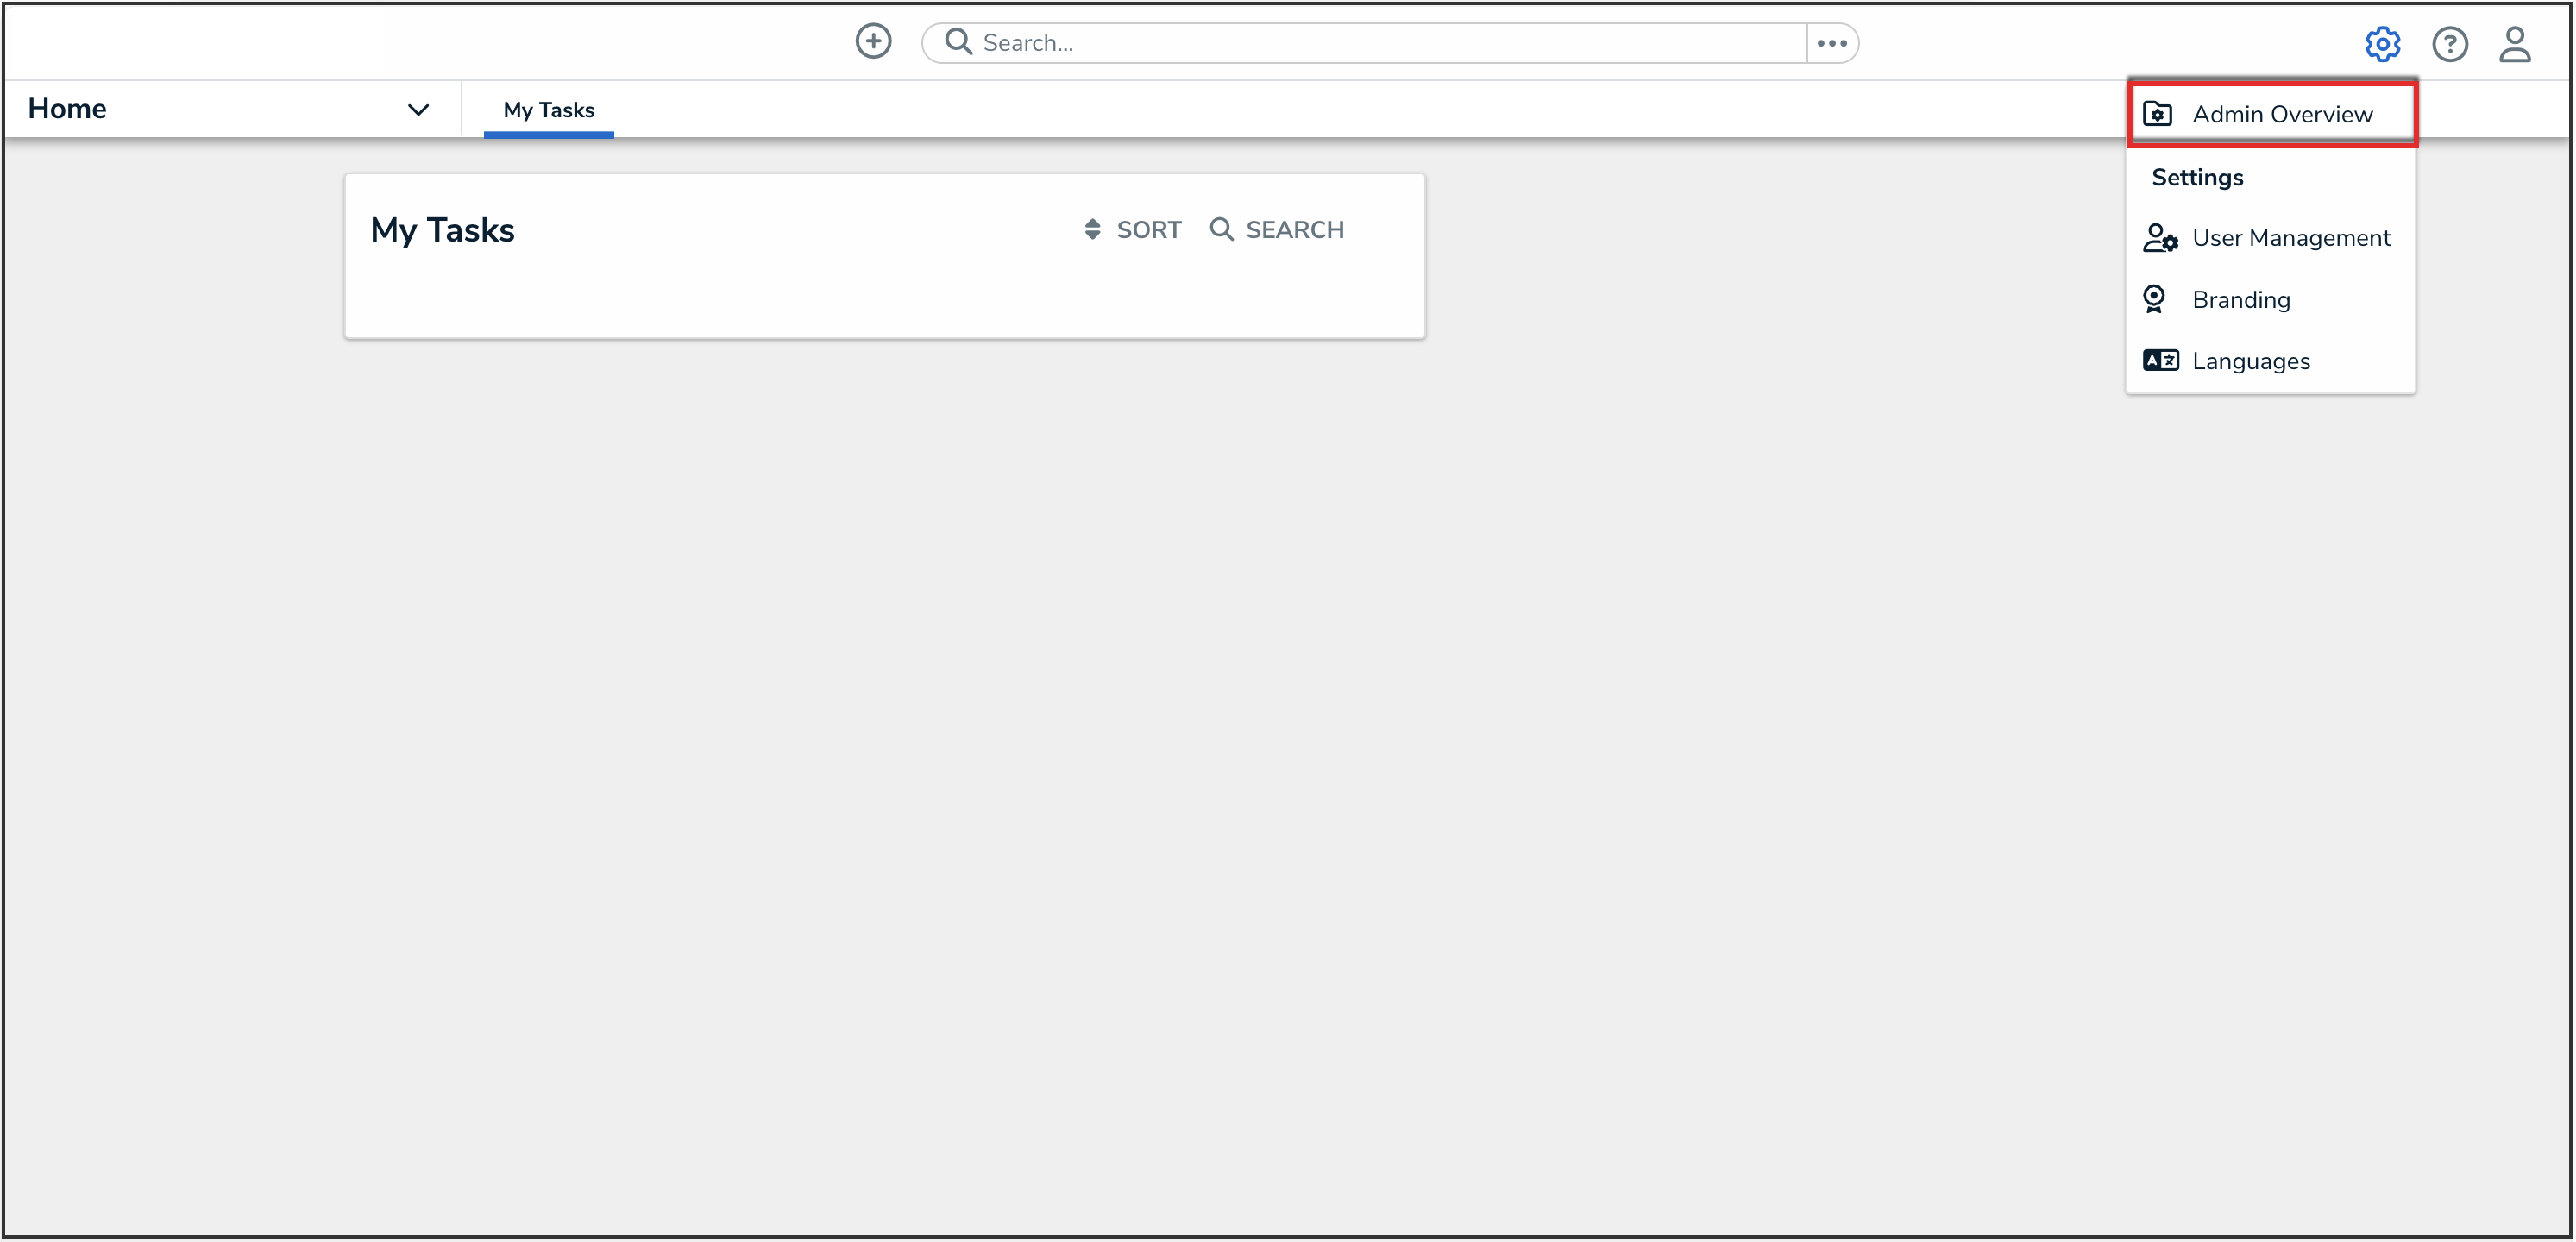
- From the Administrator Settings menu, click Admin Overview.

Administrator Settings Menu
- From the Admin Overview screen, click the Playbooks Automation tile under the Data Model section.

Playbooks Automation Tile
Creating a Playbook Automation
- Click the Create Playbook Automation button.

Create Playbook Automation Button
- Enter a name for the Playbook Automation in the Name field.

Name Field
- (Optional) Enter a description of the Playbook Automation in Description field.

Description Field
- From the Template Object Type drop-down, select the template object type for the Playbook Automation. This is the object type that you want to automate for the Playbook Automation Rule. It is recommended that task is selected as the template object type to help with task templating and automating execution of your Standard Operating Procedures.

Template Object Type Drop-down
 Note:
Note:
The Playbook Automation feature supports only one template object type per Org.
- From the Applied Object Type drop-down, select the object type that the automation will be applied to (e.g. Incident).

Applied Object Type Drop-down
- From the Driver Object Type(s) drop-down, select the driver object type which will drive the logic of the automation. Choose an object type that stores category type data (e.g., Incident Type or Region).

Driver Object Type(s) Drop-down
- Click the Creation Trigger field and select a creation trigger from the drop-down menu. The Creation Trigger defines the workflow state that automated tasks move to when created.
 Note:
Note:
Once linked to a Playbook Automation rule, the trigger on Creation can no longer be deleted from the workflow. To delete the trigger, update the mapping on the automation rule to point to another trigger first.

Creation Trigger Drop-down Menu
- (Optional - due dates can be auto calculated on generated tasks): From the Due Date drop-down, select a Date & Time field to be used for the generated tasks.
 Note:
Note:
Details within each Task template can be used to optionally specify the 'number of days' to be used to calculate the Due Date on tasks generated.

Due Date Drop-down
- (Optional - generated tasks can be auto assigned to users):
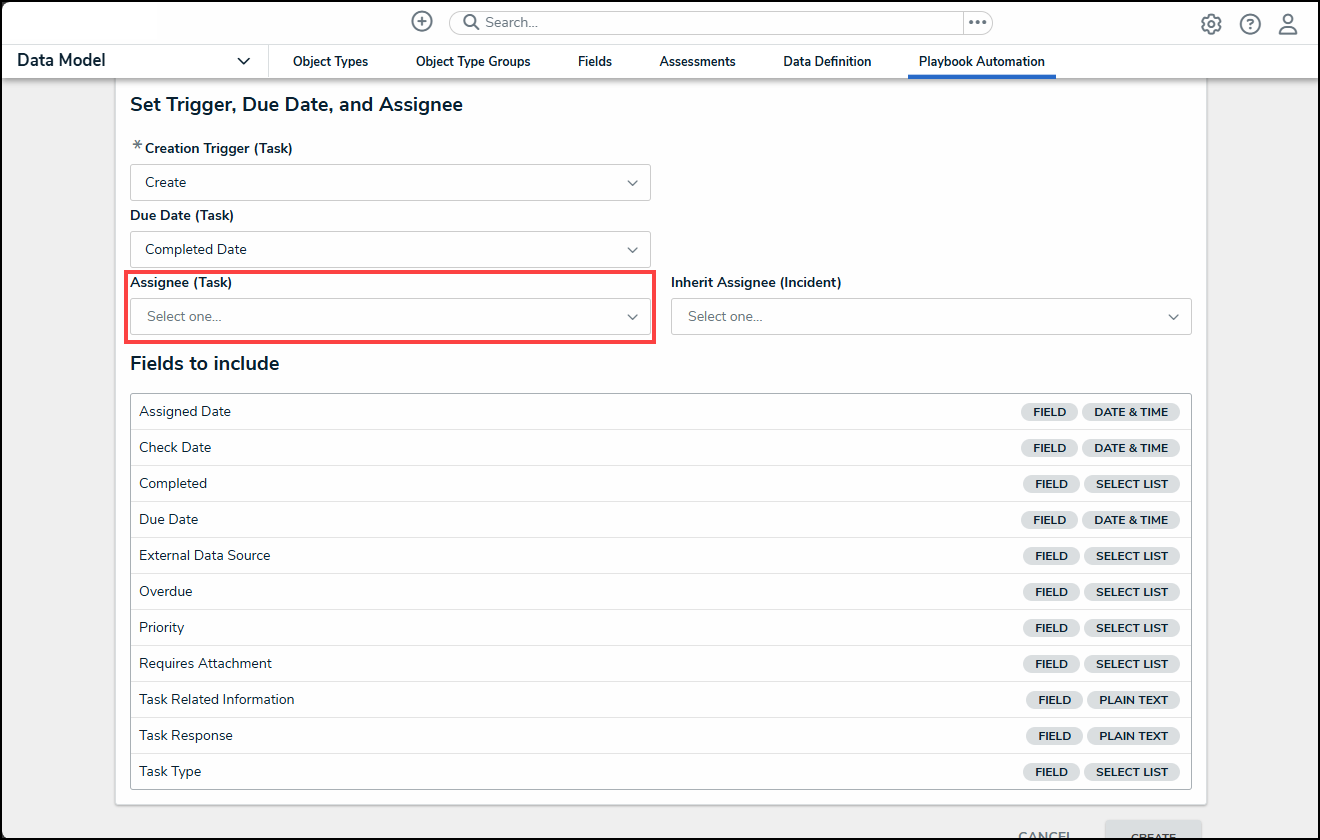
- From the Assignee drop-down, select a role to store user task assignments (e.g. Task assigned to or Task owner). Task templates can be used to specific which user or user group will be assigned to generated tasks.

Assignee (Task) Drop-down
 Note:
Note:
If the Assignee field has Task Assigned To selected, the Inherit Assignee field must also be selected. - From the Inherit Assignee drop-down, select the role to pull task assignments from. Task assignments can also be inherited from the object that the tasks are generated on (applied on). For example, all tasks generated could be auto assigned to the Incident Owner user linked to the incident. Task templates can specify if a generated task assignment is inherited or is assigned to a user or user group.
 Note:
Note:
Details within each task template can be used to specify if a generated task assignment is inherited or is specifically assigned to a user or user group.
Inherent Assignee (Incident) Drop-down
- From the Assignee drop-down, select a role to store user task assignments (e.g. Task assigned to or Task owner). Task templates can be used to specific which user or user group will be assigned to generated tasks.
- (Optional - can be prefilled on generated task): From the Fields to include section, select any additional fields you want to include in the task templates.
 Note:
Note:
Information stored on the task templates in these fields will be copied on each generated task.

Fields to Include Section
- Click the Create button. The system will automatically generate most of the required configuration for implementing Playbook Automations.
 Warning:
Please confirm all the details for the Playbook Automation Rule before creating as the template object type can't be changed and the driver object types can't be removed (they can, however, be added to). The Due Date, Assignee, and Fields to Include fields can be edited, but will require additional updates to the relevant forms.

Create Button
- Review the confirmation pop-up and click the Continue button to create the Playbook Automation.
 Note:
Note:
The configuration setup will only be auto implemented when creating a Playbook Automation Rule for the first time on the Org.

Continue Button
- Complete your Playbook Automation implementation by updating existing user flows and loading content to create a Playbook library to automate from. Continue by following these steps next:
- Set up Playbook Automation for the end users to set up the Playbook Automation actions on an existing form and workflow
- Set up Playbook library content to build the Playbook library
Important Notes
- Currently, users can only select one object type per Org as the template object type. Creating additional Playbook Automation Rules (to apply the templated objects to a different object type) will result in a view with a pre-selected value set as the templated object type.
- A Playbook Automation Rule can be updated after creation.
- Deleting a Playbook Automation Rule does not delete the configuration set up in the Org.
- Automated task generation via the workflow action or the form action is limited to 100 objects at a time.
- Currently, Playbooks Automation doesn’t support bulk execution (not available on Timed triggers or Consume Orchestration triggers.)


 Warning: