Overview
Administrators can reassign multiple objects at a time from one user to another user with the same role by importing a spreadsheet with all the necessary information into Resolver.
User Account Requirements
The user must have Administrator permissions to access the Reassign Data button.
Navigation
- From the Home screen, click the Administration icon.
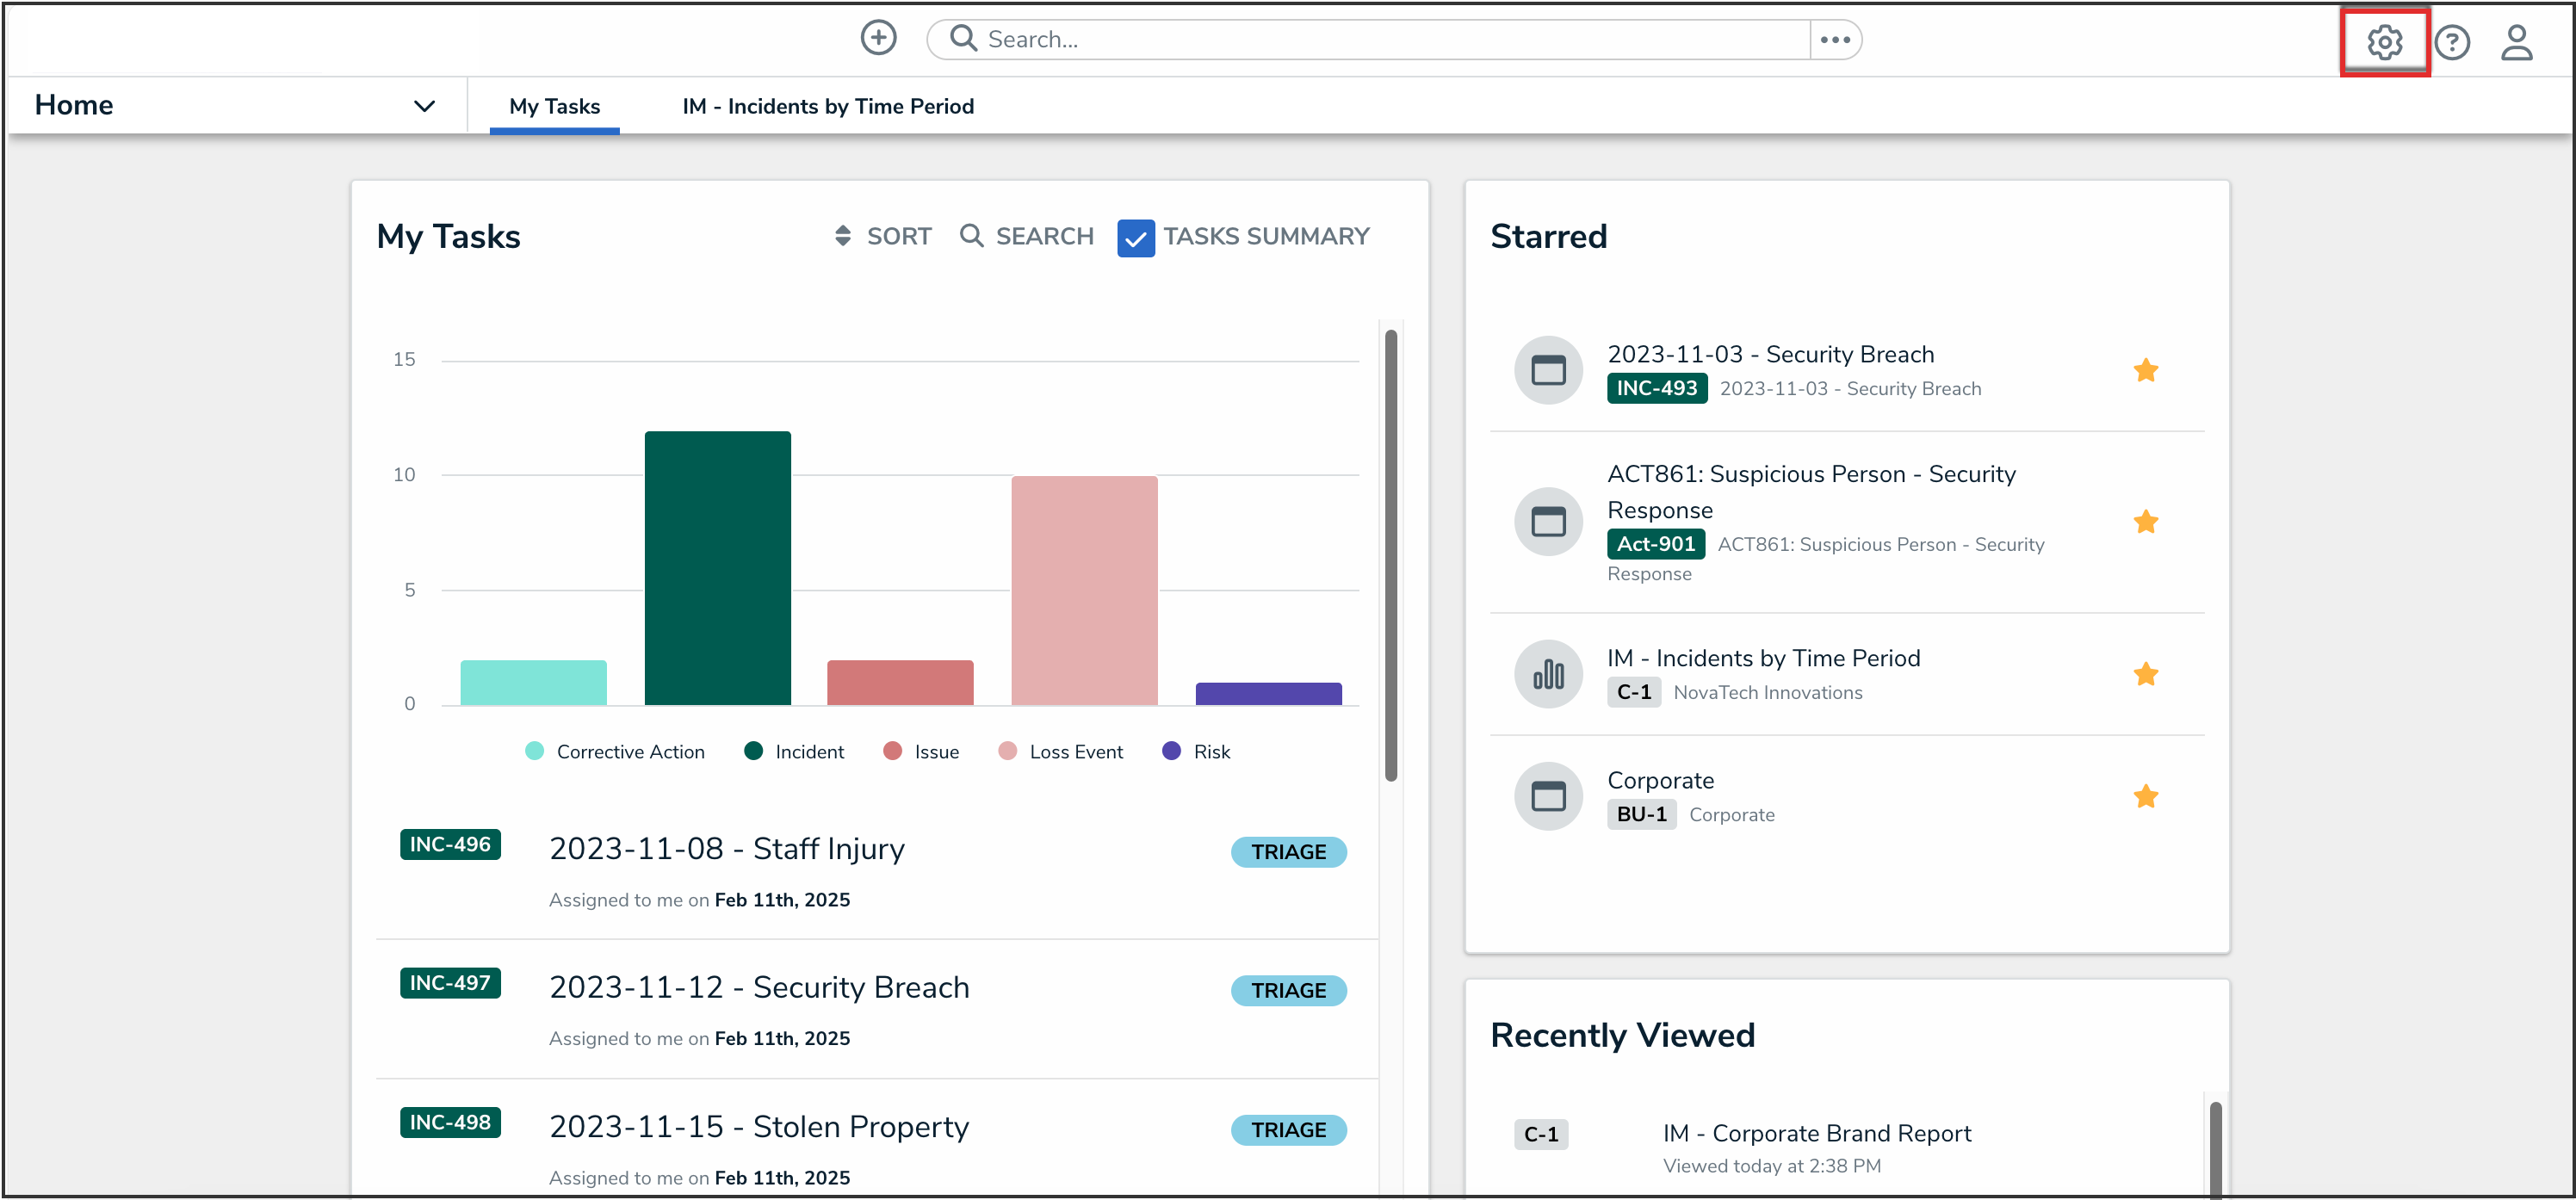
Administration Icon

- From the Administrator Settings menu, click Admin Overview.
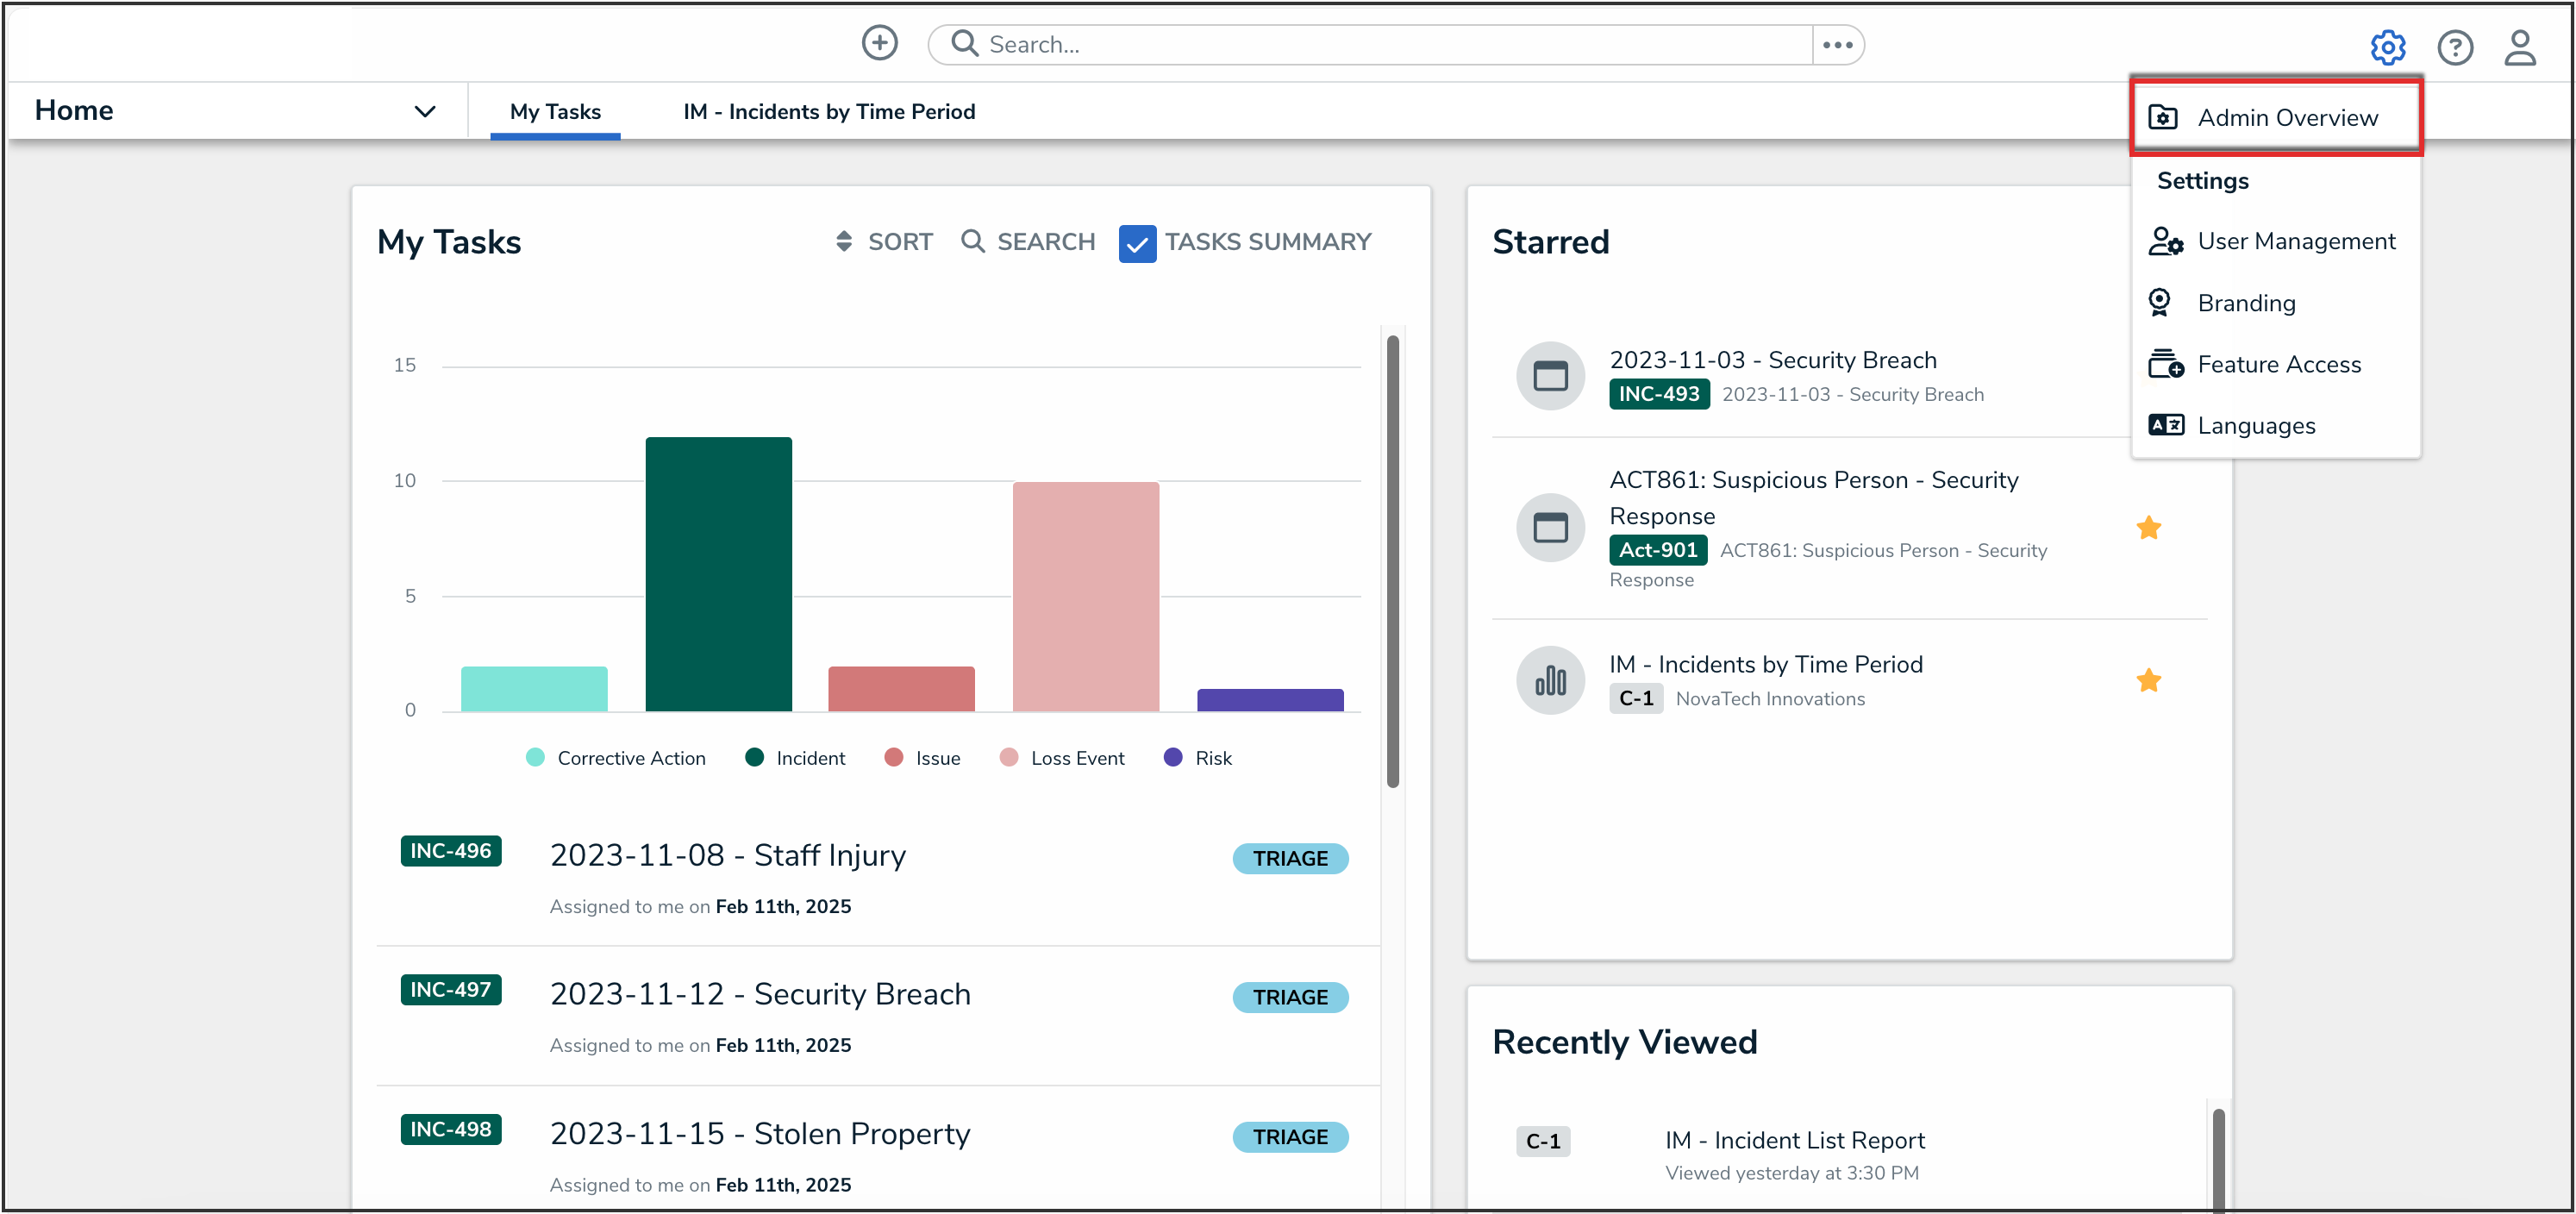
Administrator Settings Menu

- From the Admin Overview screen, click the Reassign Data tile under the Tools section.

Reassign Data Tile

Reassigning Data
-
Under the Download the user reassignment Excel template section, click the Download Template button.
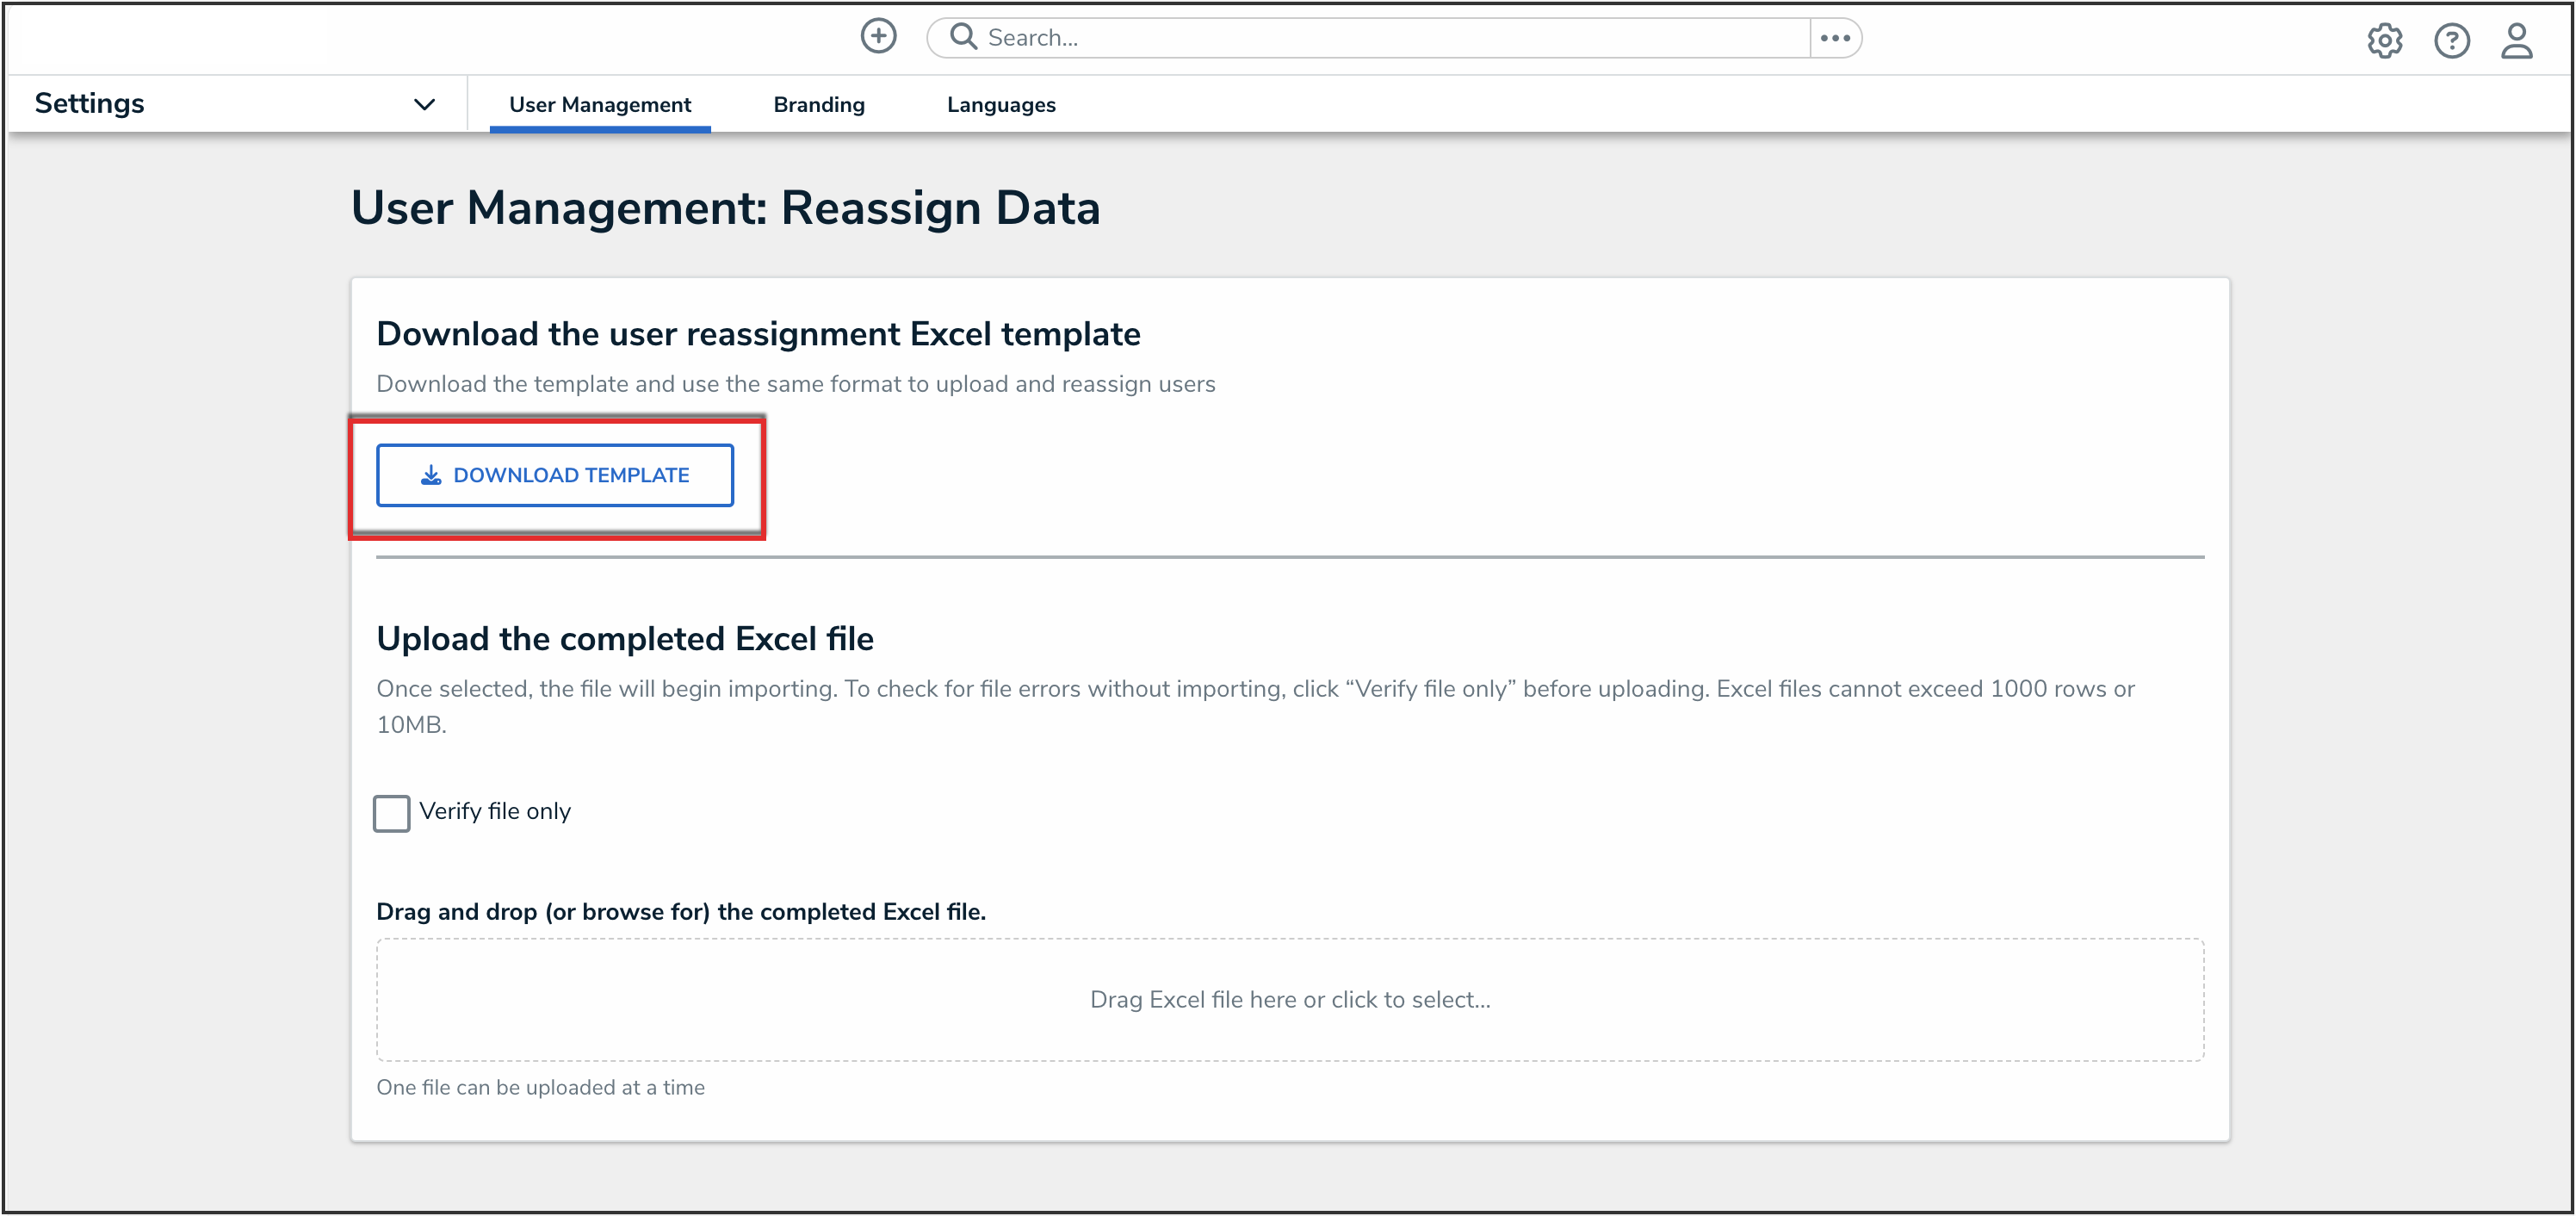
Download Template Button

- Navigate to the Download folder on your PC and look for a file named Reassign Data Template.
- The blank template file consists of one worksheet with the following columns:
- External Ref ID: The unique identifier for the object to be reassigned.
- Role Name: The role on the object that needs to be update with the new assignee.
- Current Assignee Email: The email address of the user currently assigned to the role on the object that needs to be reassigned.
- New Assignee Email: The email address of the user to whom the role on the object will be reassigned.
 Note:
Note:
The New Assignee Email must be the email address of an active user.- The user to whom the object will be reassigned must belong to the role on the object directly or via user groups. This can be verified by checking if the user or their user group is available on the role in Admin Overview > Data Access > Roles > [Role Name].
 Note:
Note:
- Fill in the necessary information and save the file to your PC. Note:
The spreadsheet must not have more than one row with the same External Ref ID, Role Name, and Current Assignee Email combination. - Back in Resolver, under the Upload the completed Excel file section, click the Verify file only checkbox to check the data was entered correctly before uploading the file.
Note:
The spreadsheet can only include a maximum of 1000 rows.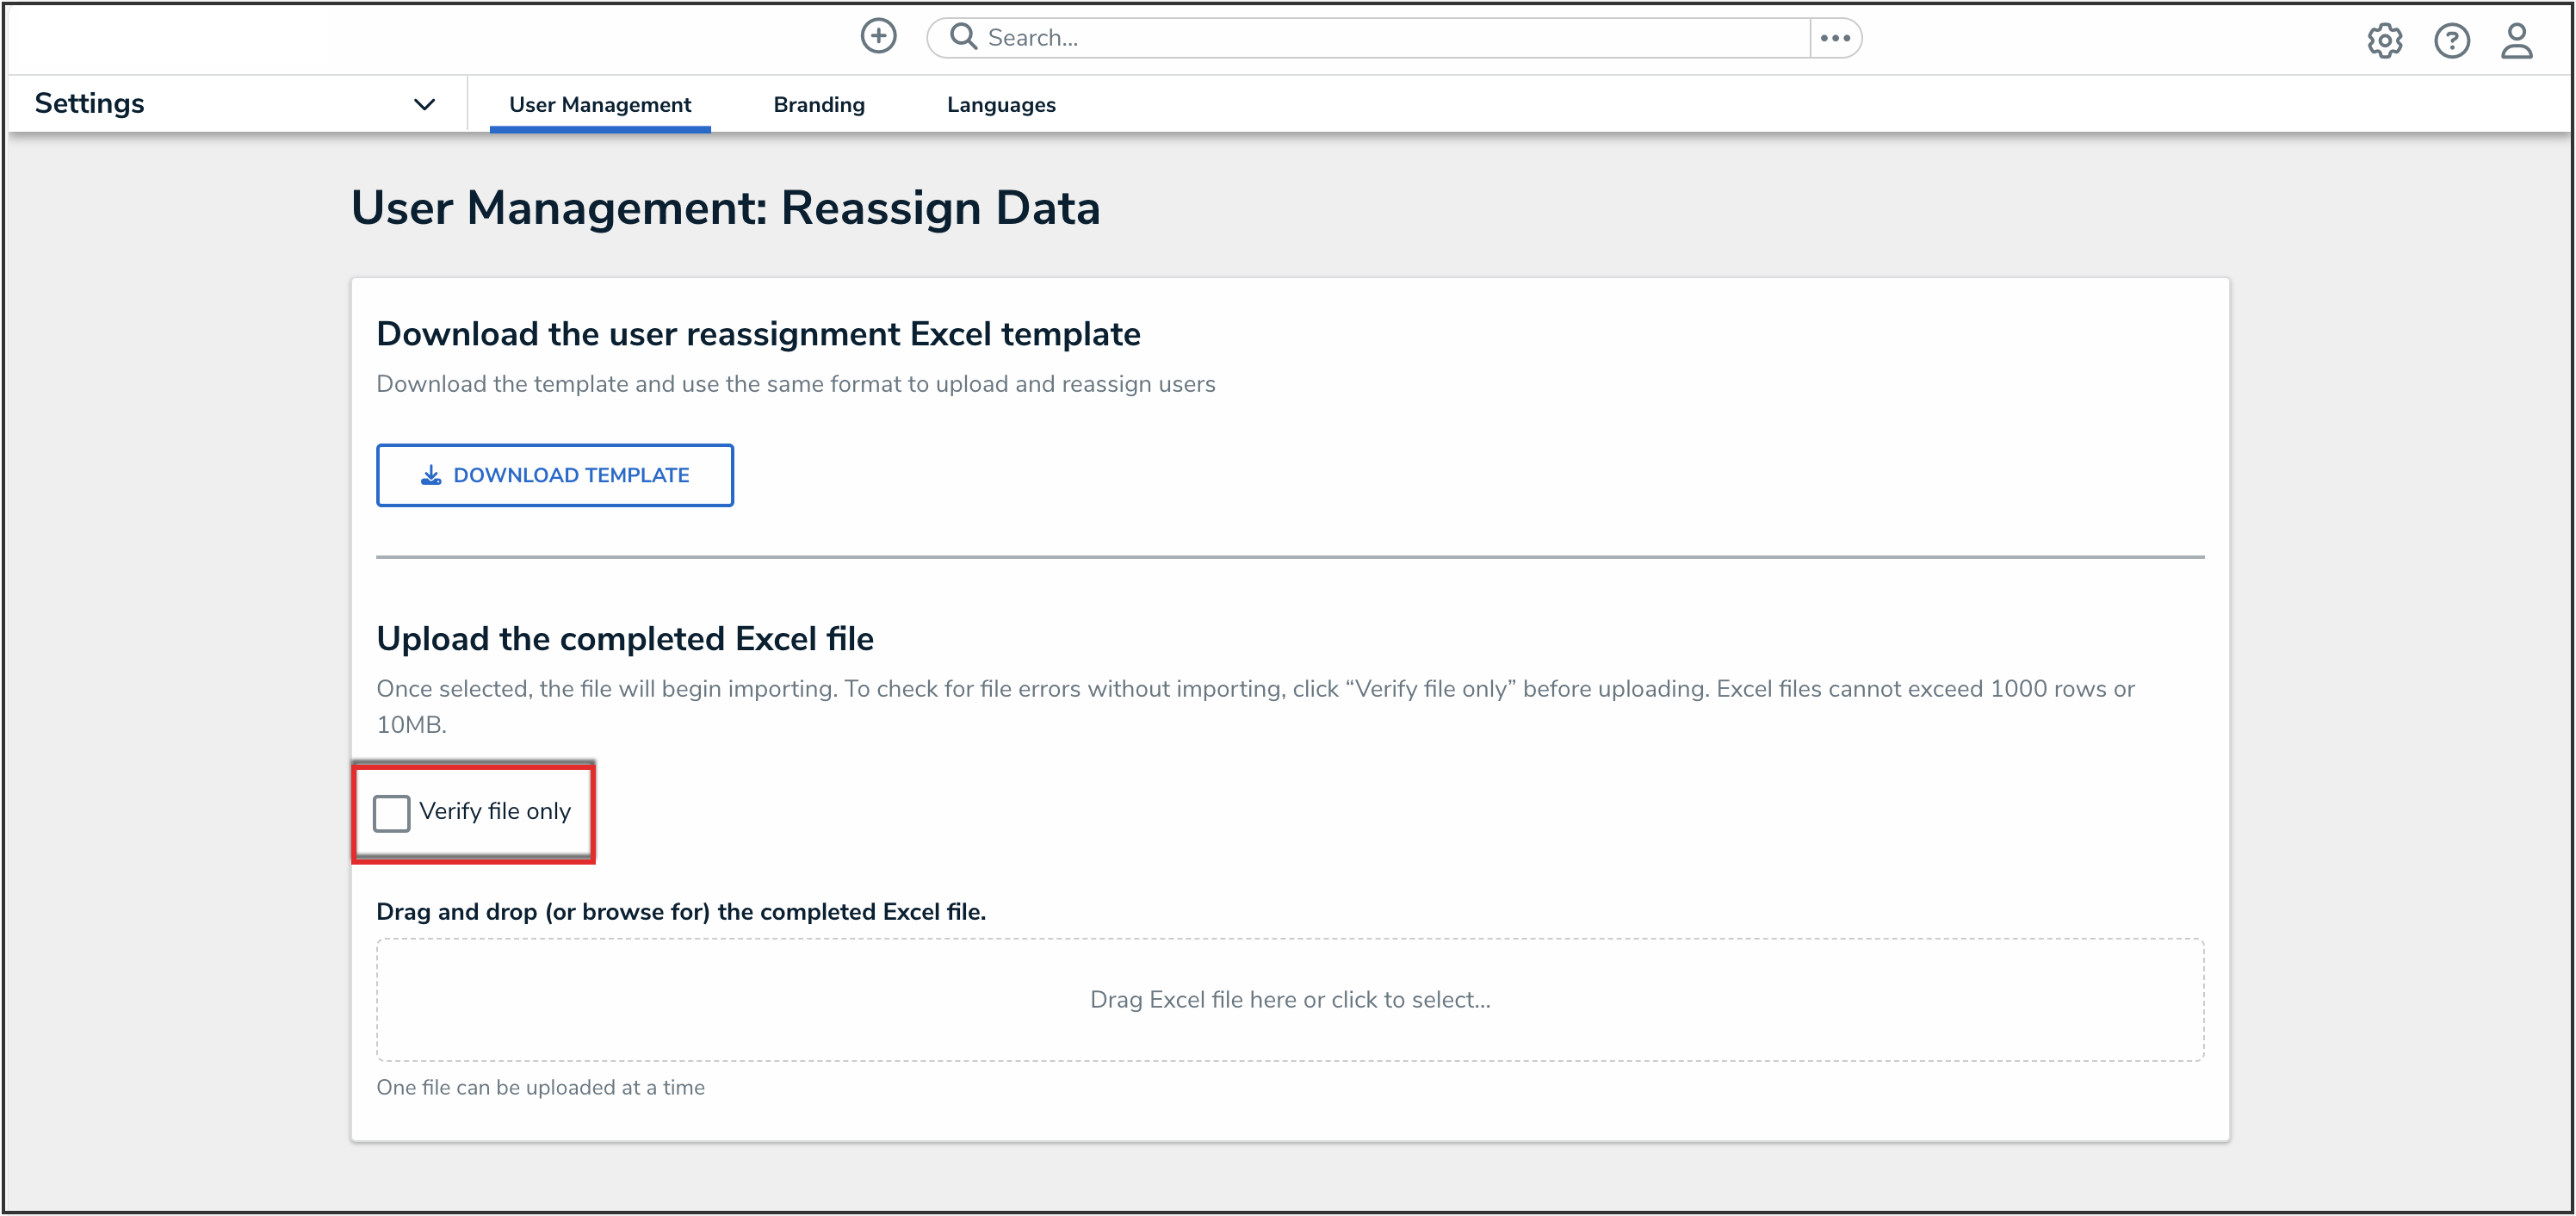
Verify Only Checkbox
- The Verify File Only checkbox will perform a test import without altering your data. It shows you any existing template errors and what specific fields they’re occurring on. This practice will help reduce any possible confusion and you having to review your spreadsheet line by line if errors are reported.

- If there are no file errors detected, drag and drop the file to the upload area or click the area to find and open the file for upload.
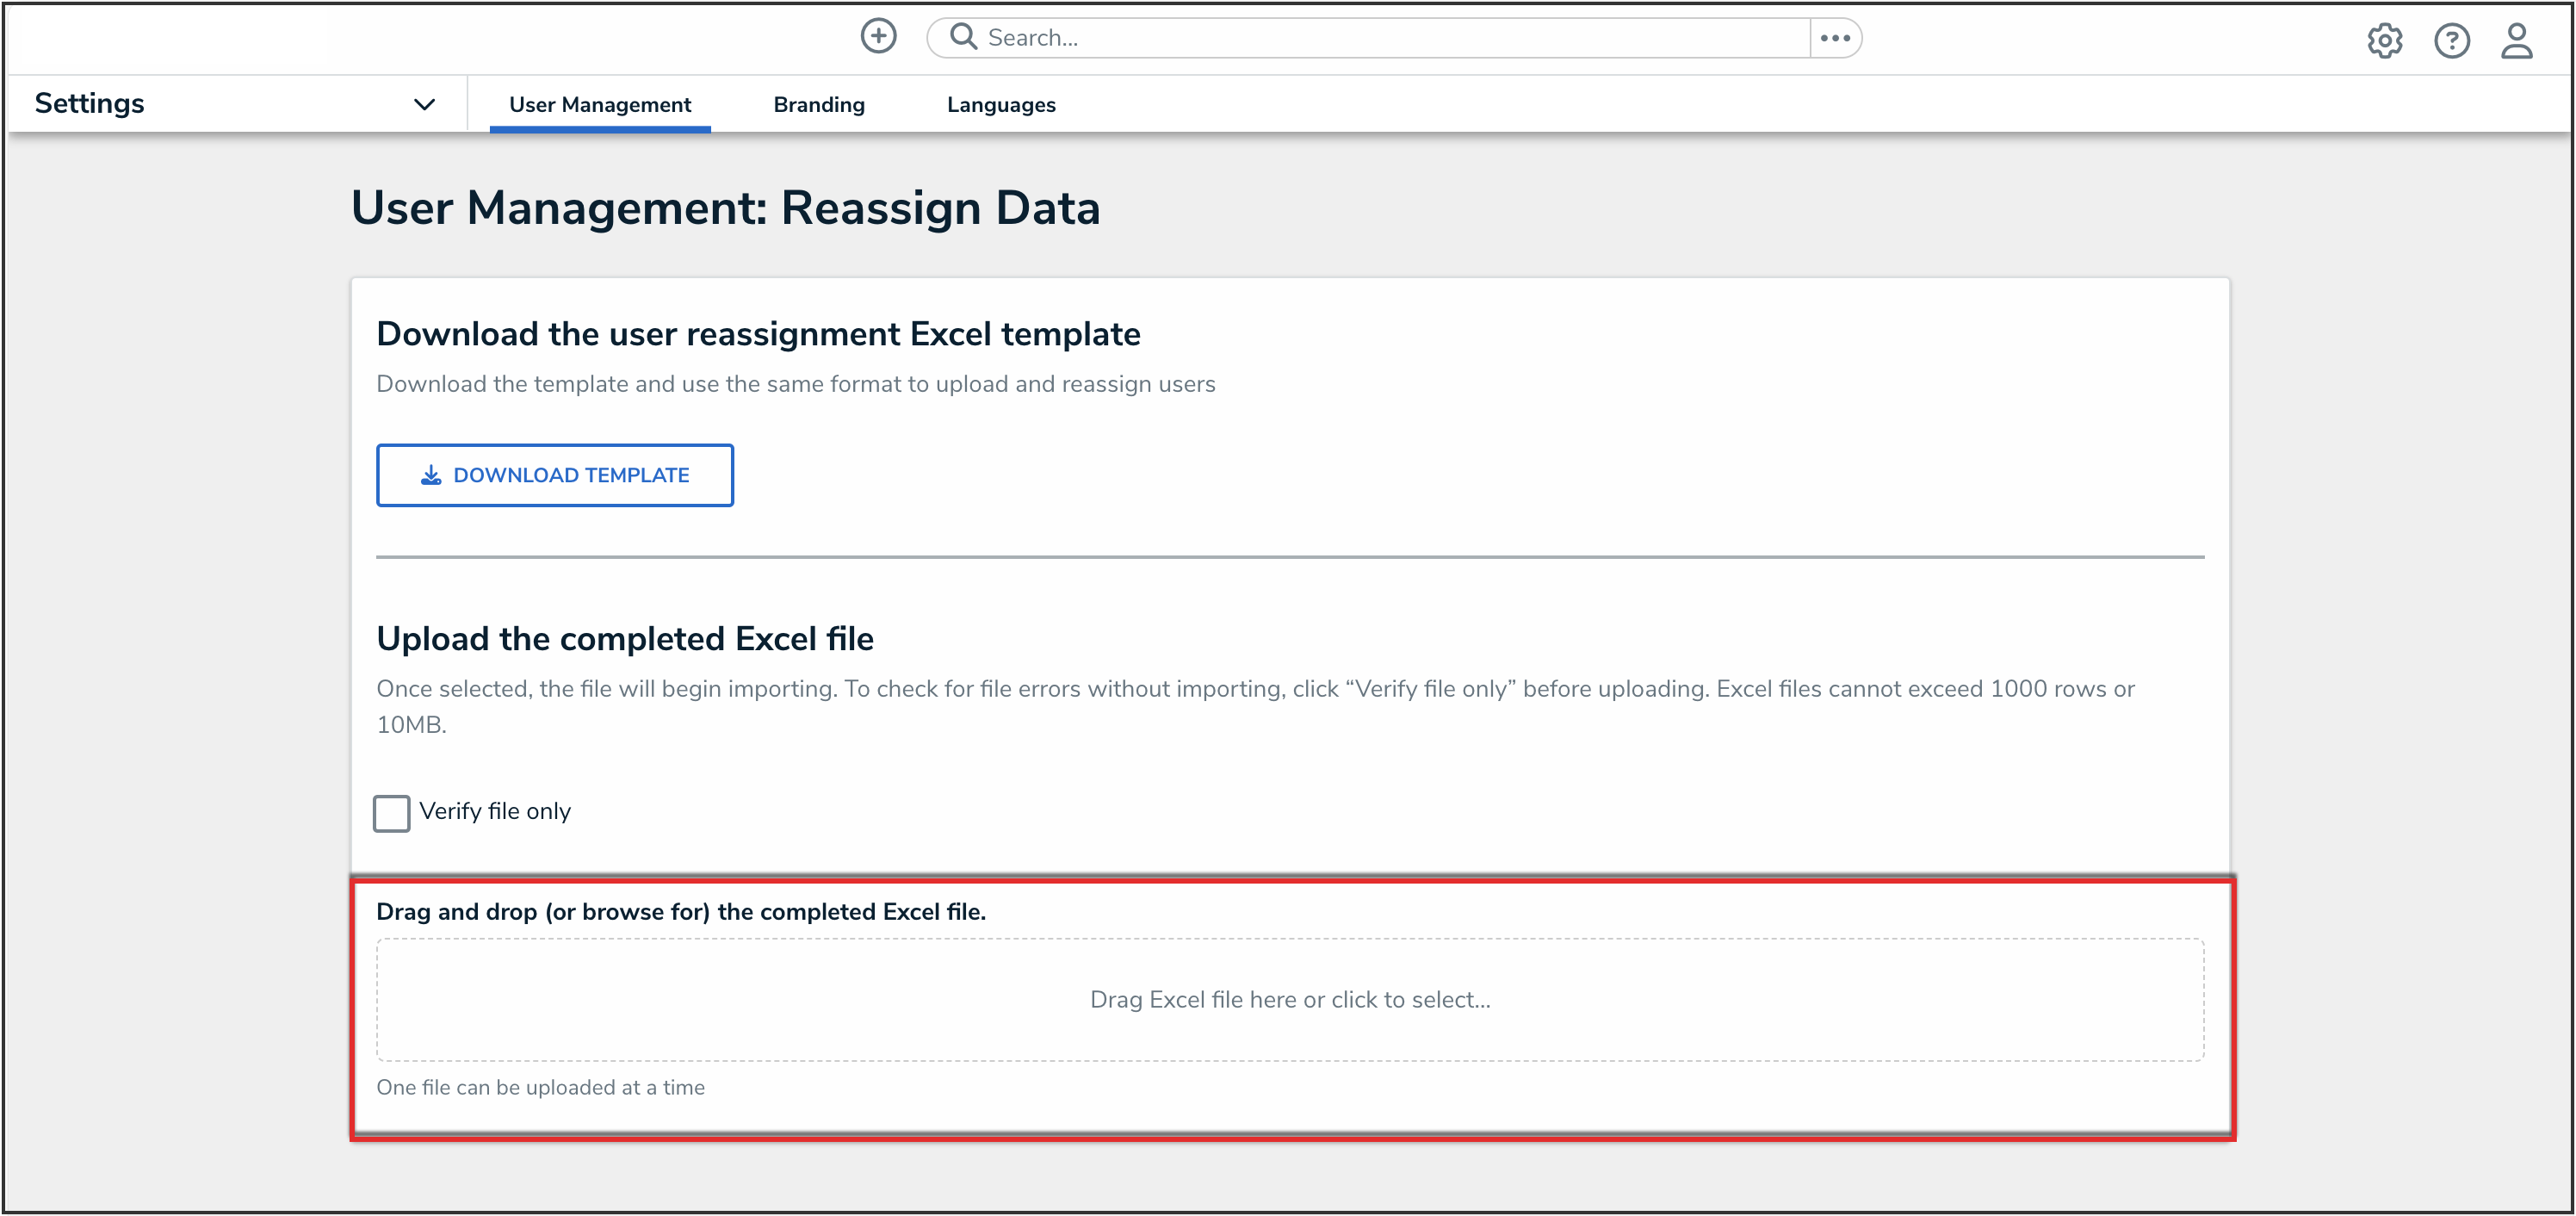
Import Upload Area
Note:
Ensure the Verify File Only checkbox is de-selected before uploading.

- If needed, correct any errors on the spreadsheet, save your changes, then re-upload the file.
- When the upload is complete, a Reassign Role on Object record will appear in the Data Audit Trail.