Overview
Due dates can be added to object types so that that users can view and prioritize upcoming and overdue tasks in the My Tasks card, helping them stay on top of critical deadlines and manage their workload more efficiently.
User Account Requirements
The user must have Administrator permissions to map the right field(s) as due dates for an object type.
Related Information/Setup
Please refer to the My Tasks article for more information on viewing due dates on the My Tasks card.
Navigation
- From the Home screen, click the Administration icon.
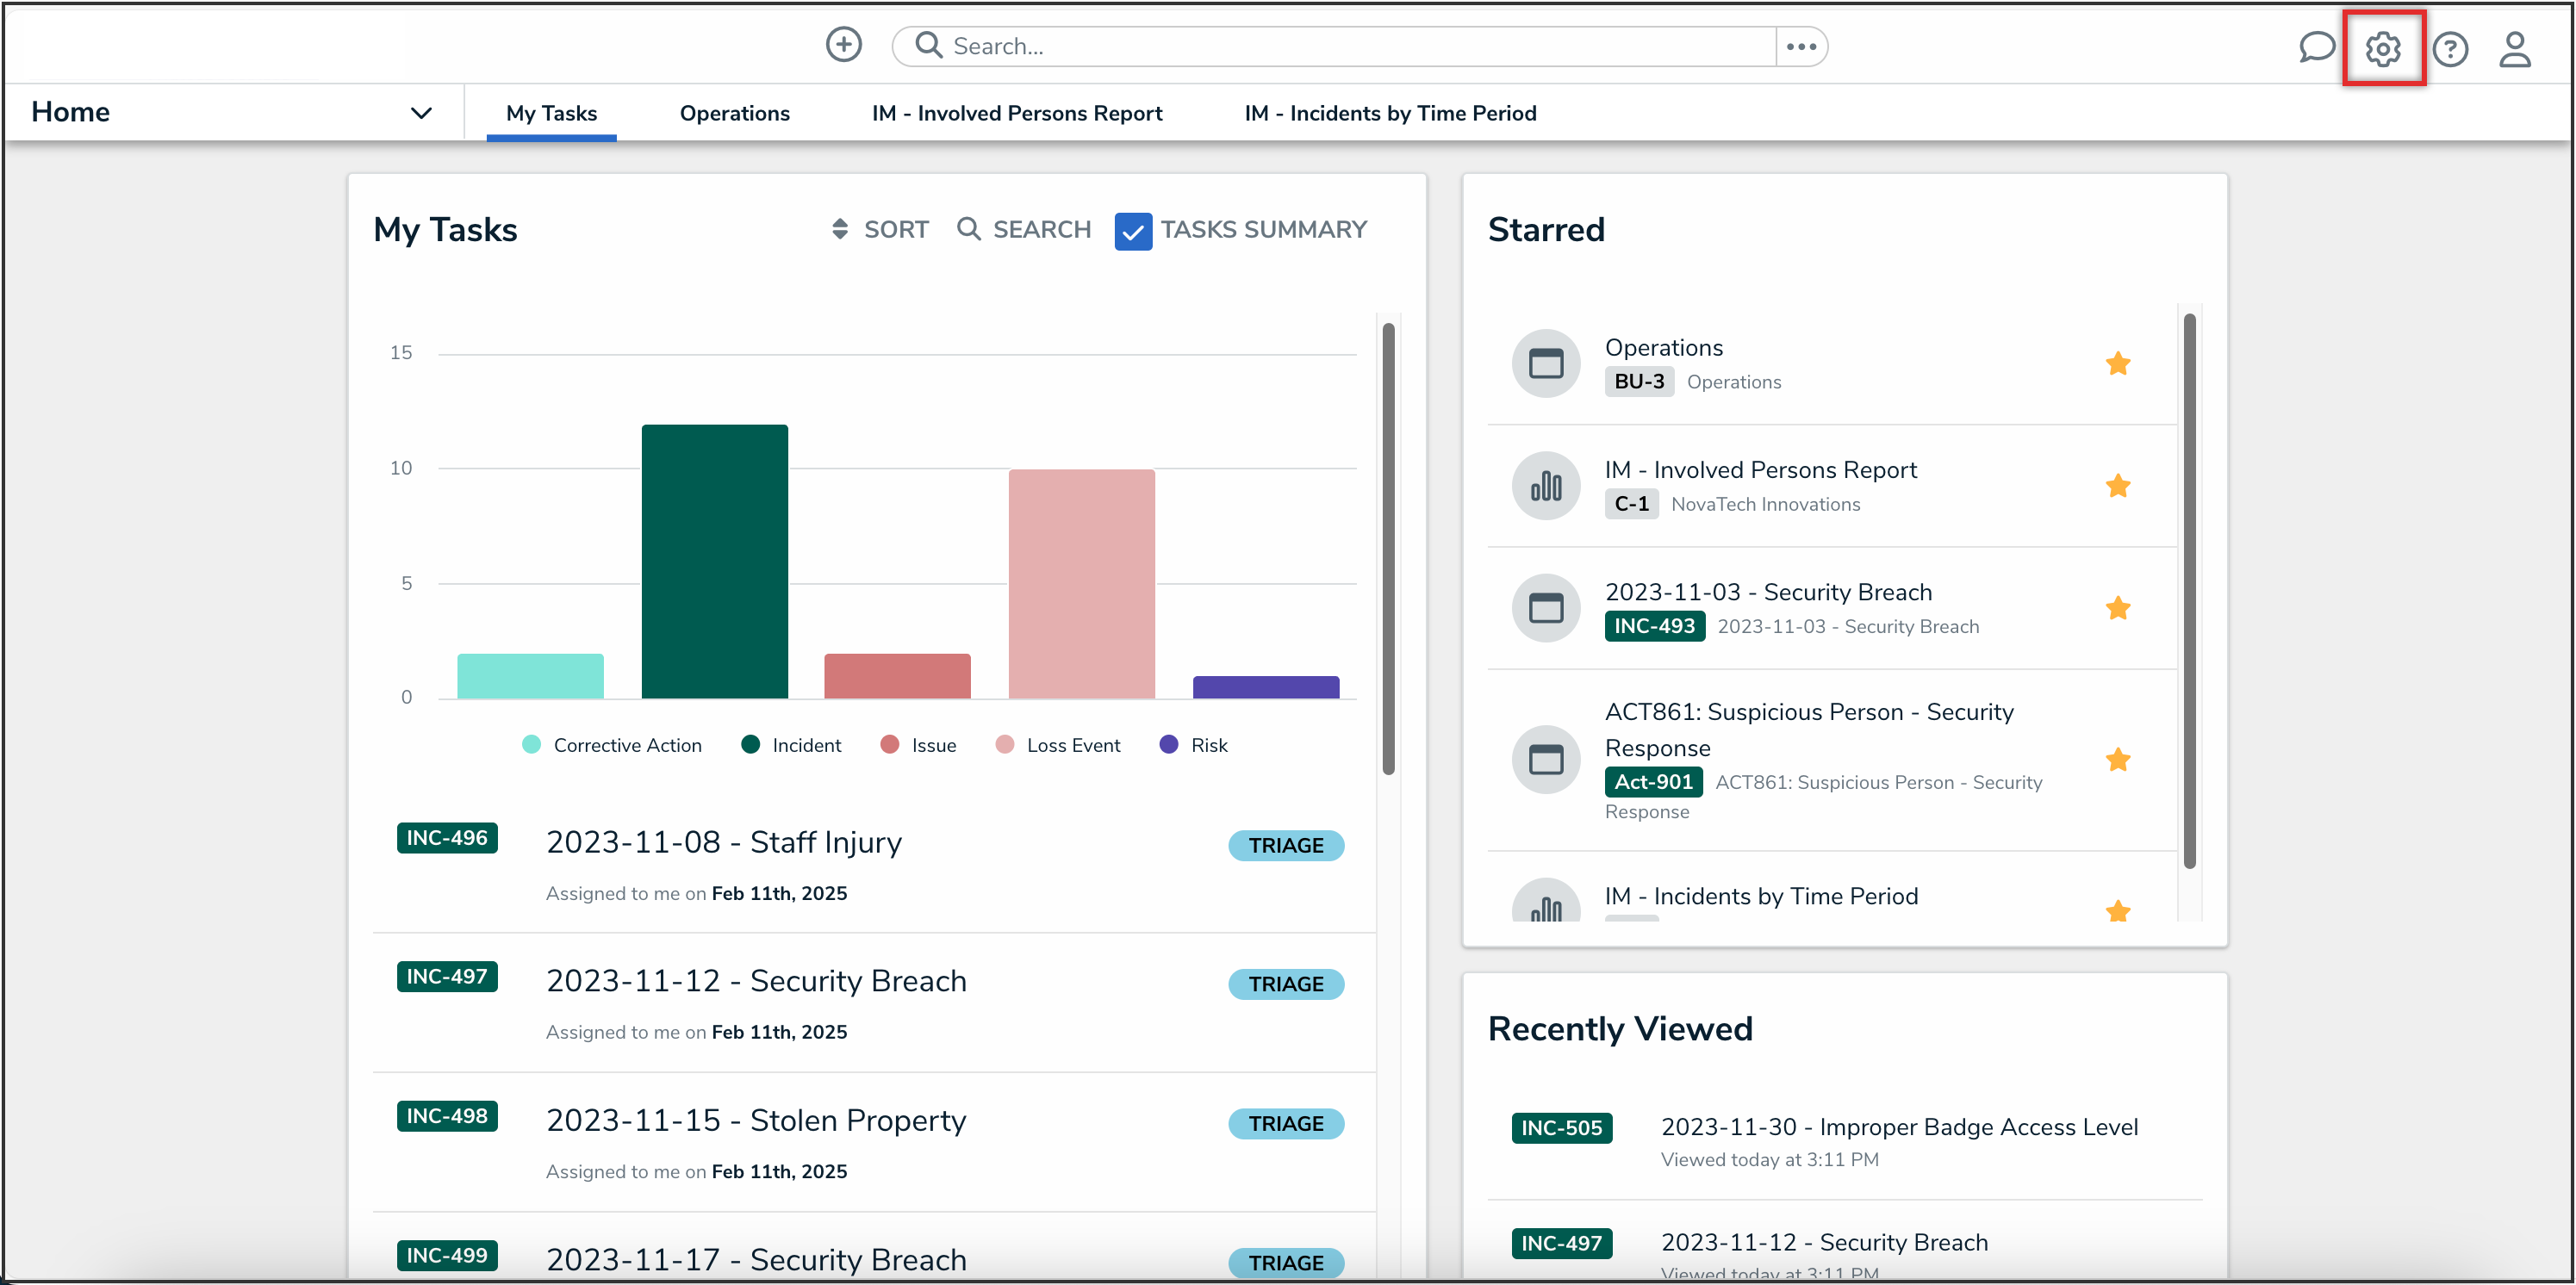
Administration Icon

- From the Administrator settings menu, click the Admin Overview link.
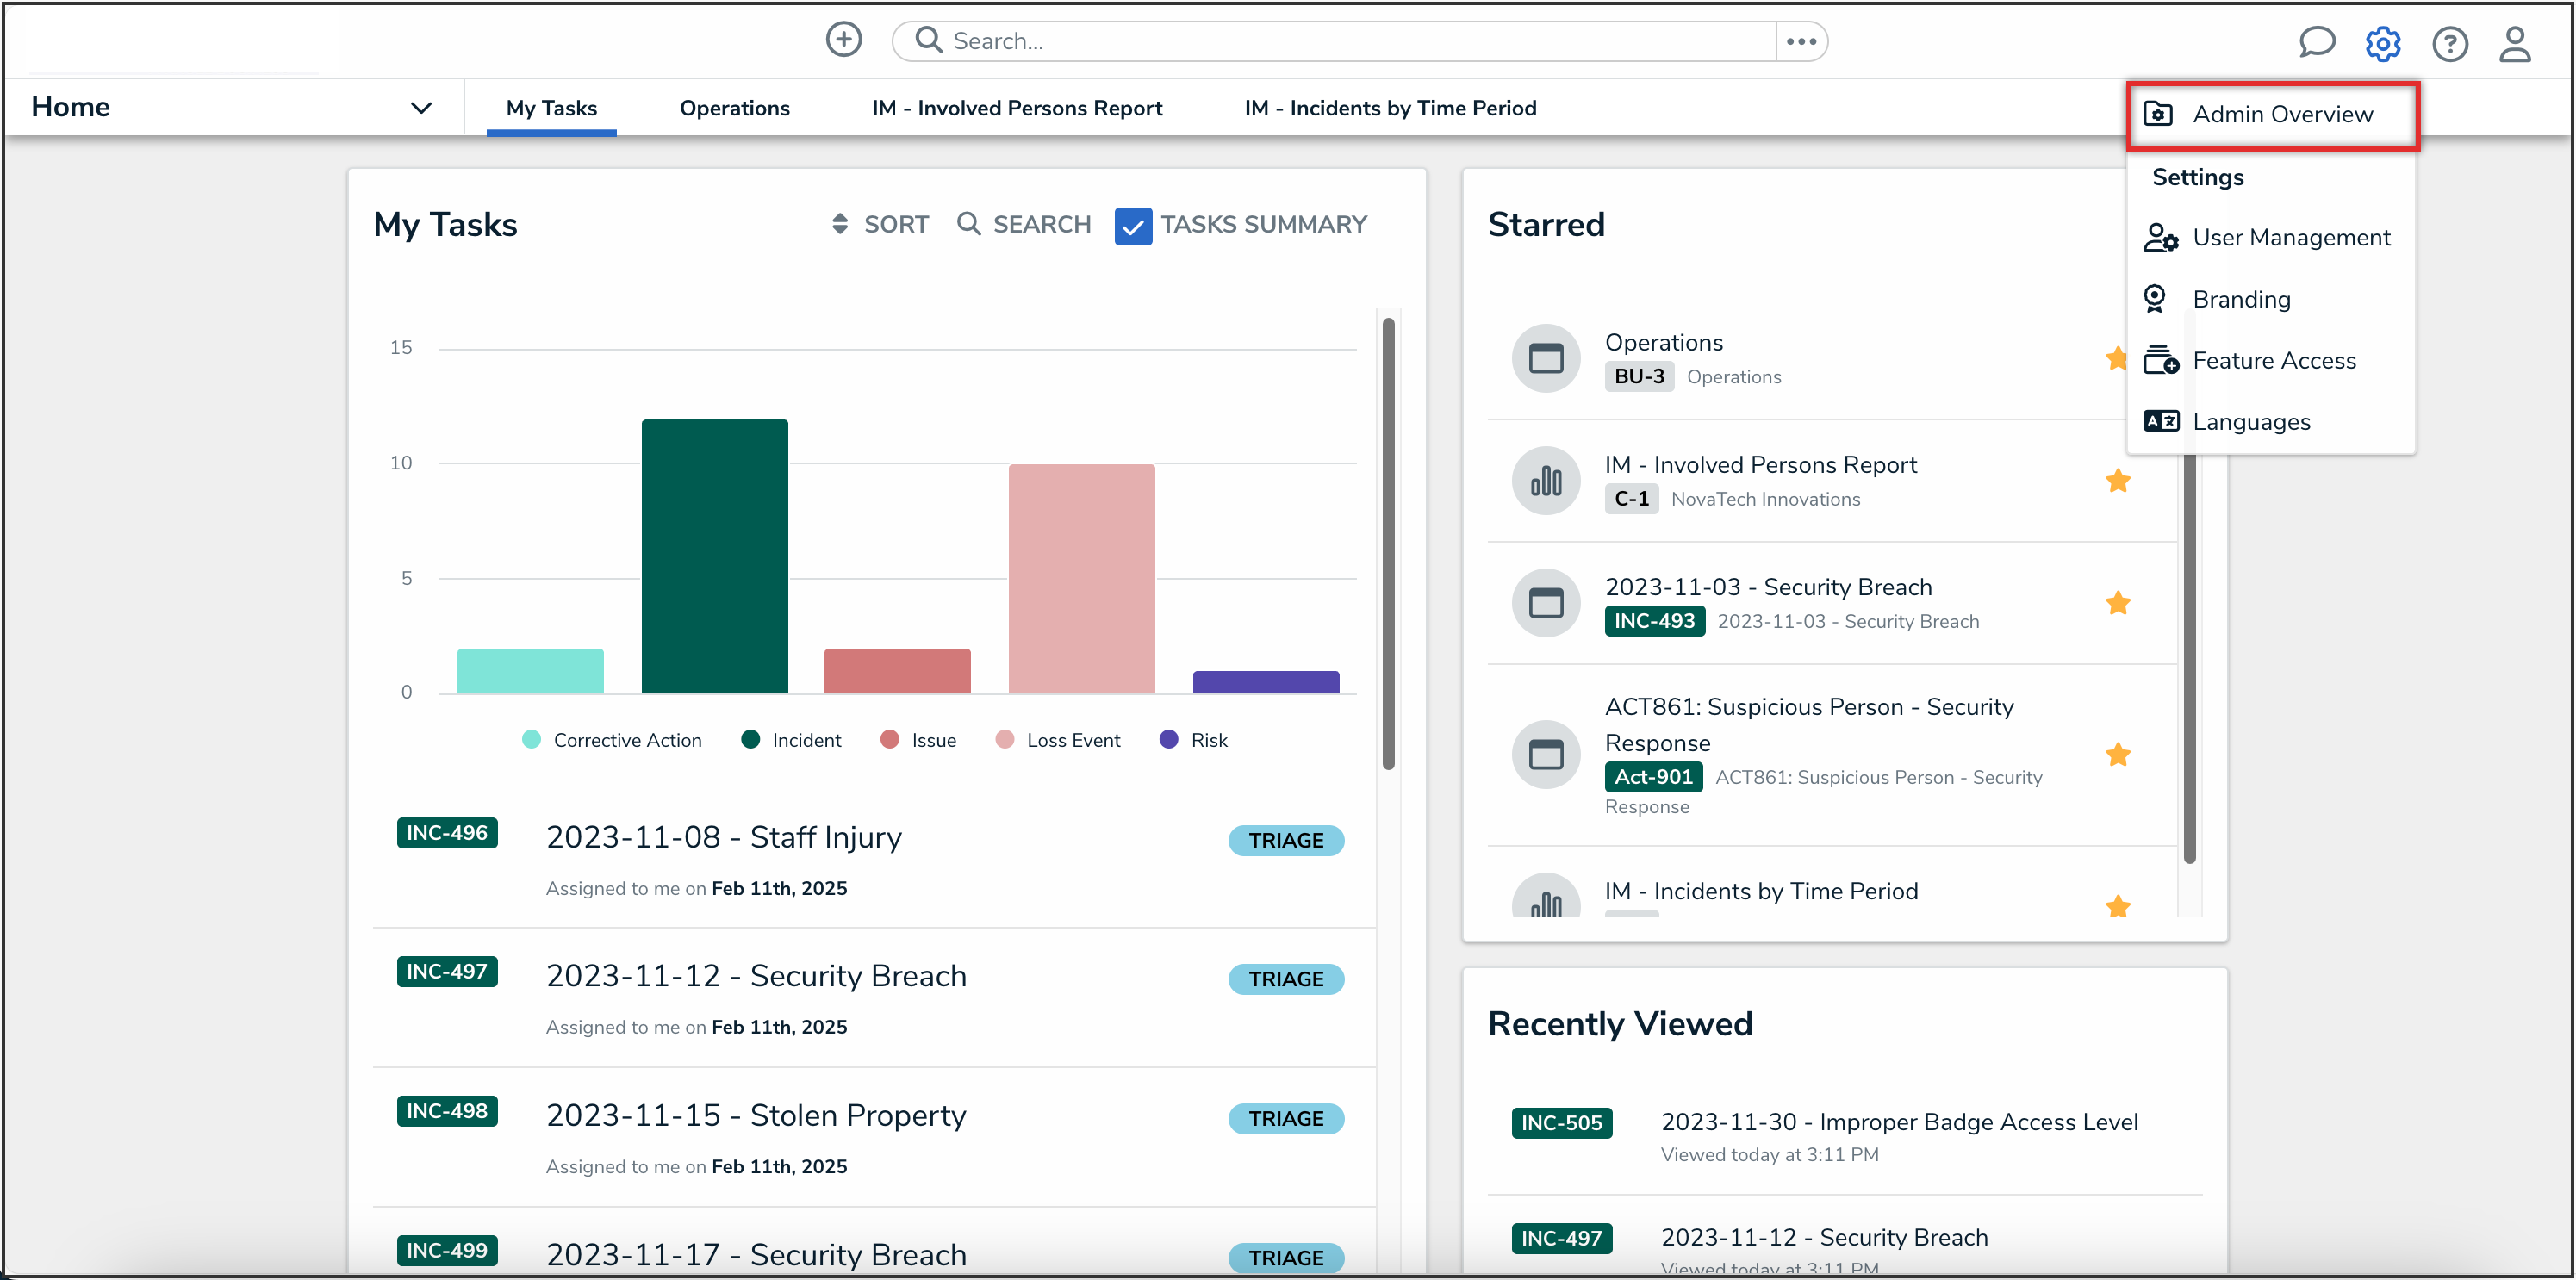
Admin Overview Link

- From the Admin Overview screen, click the Object Types tile under the Data Model section.
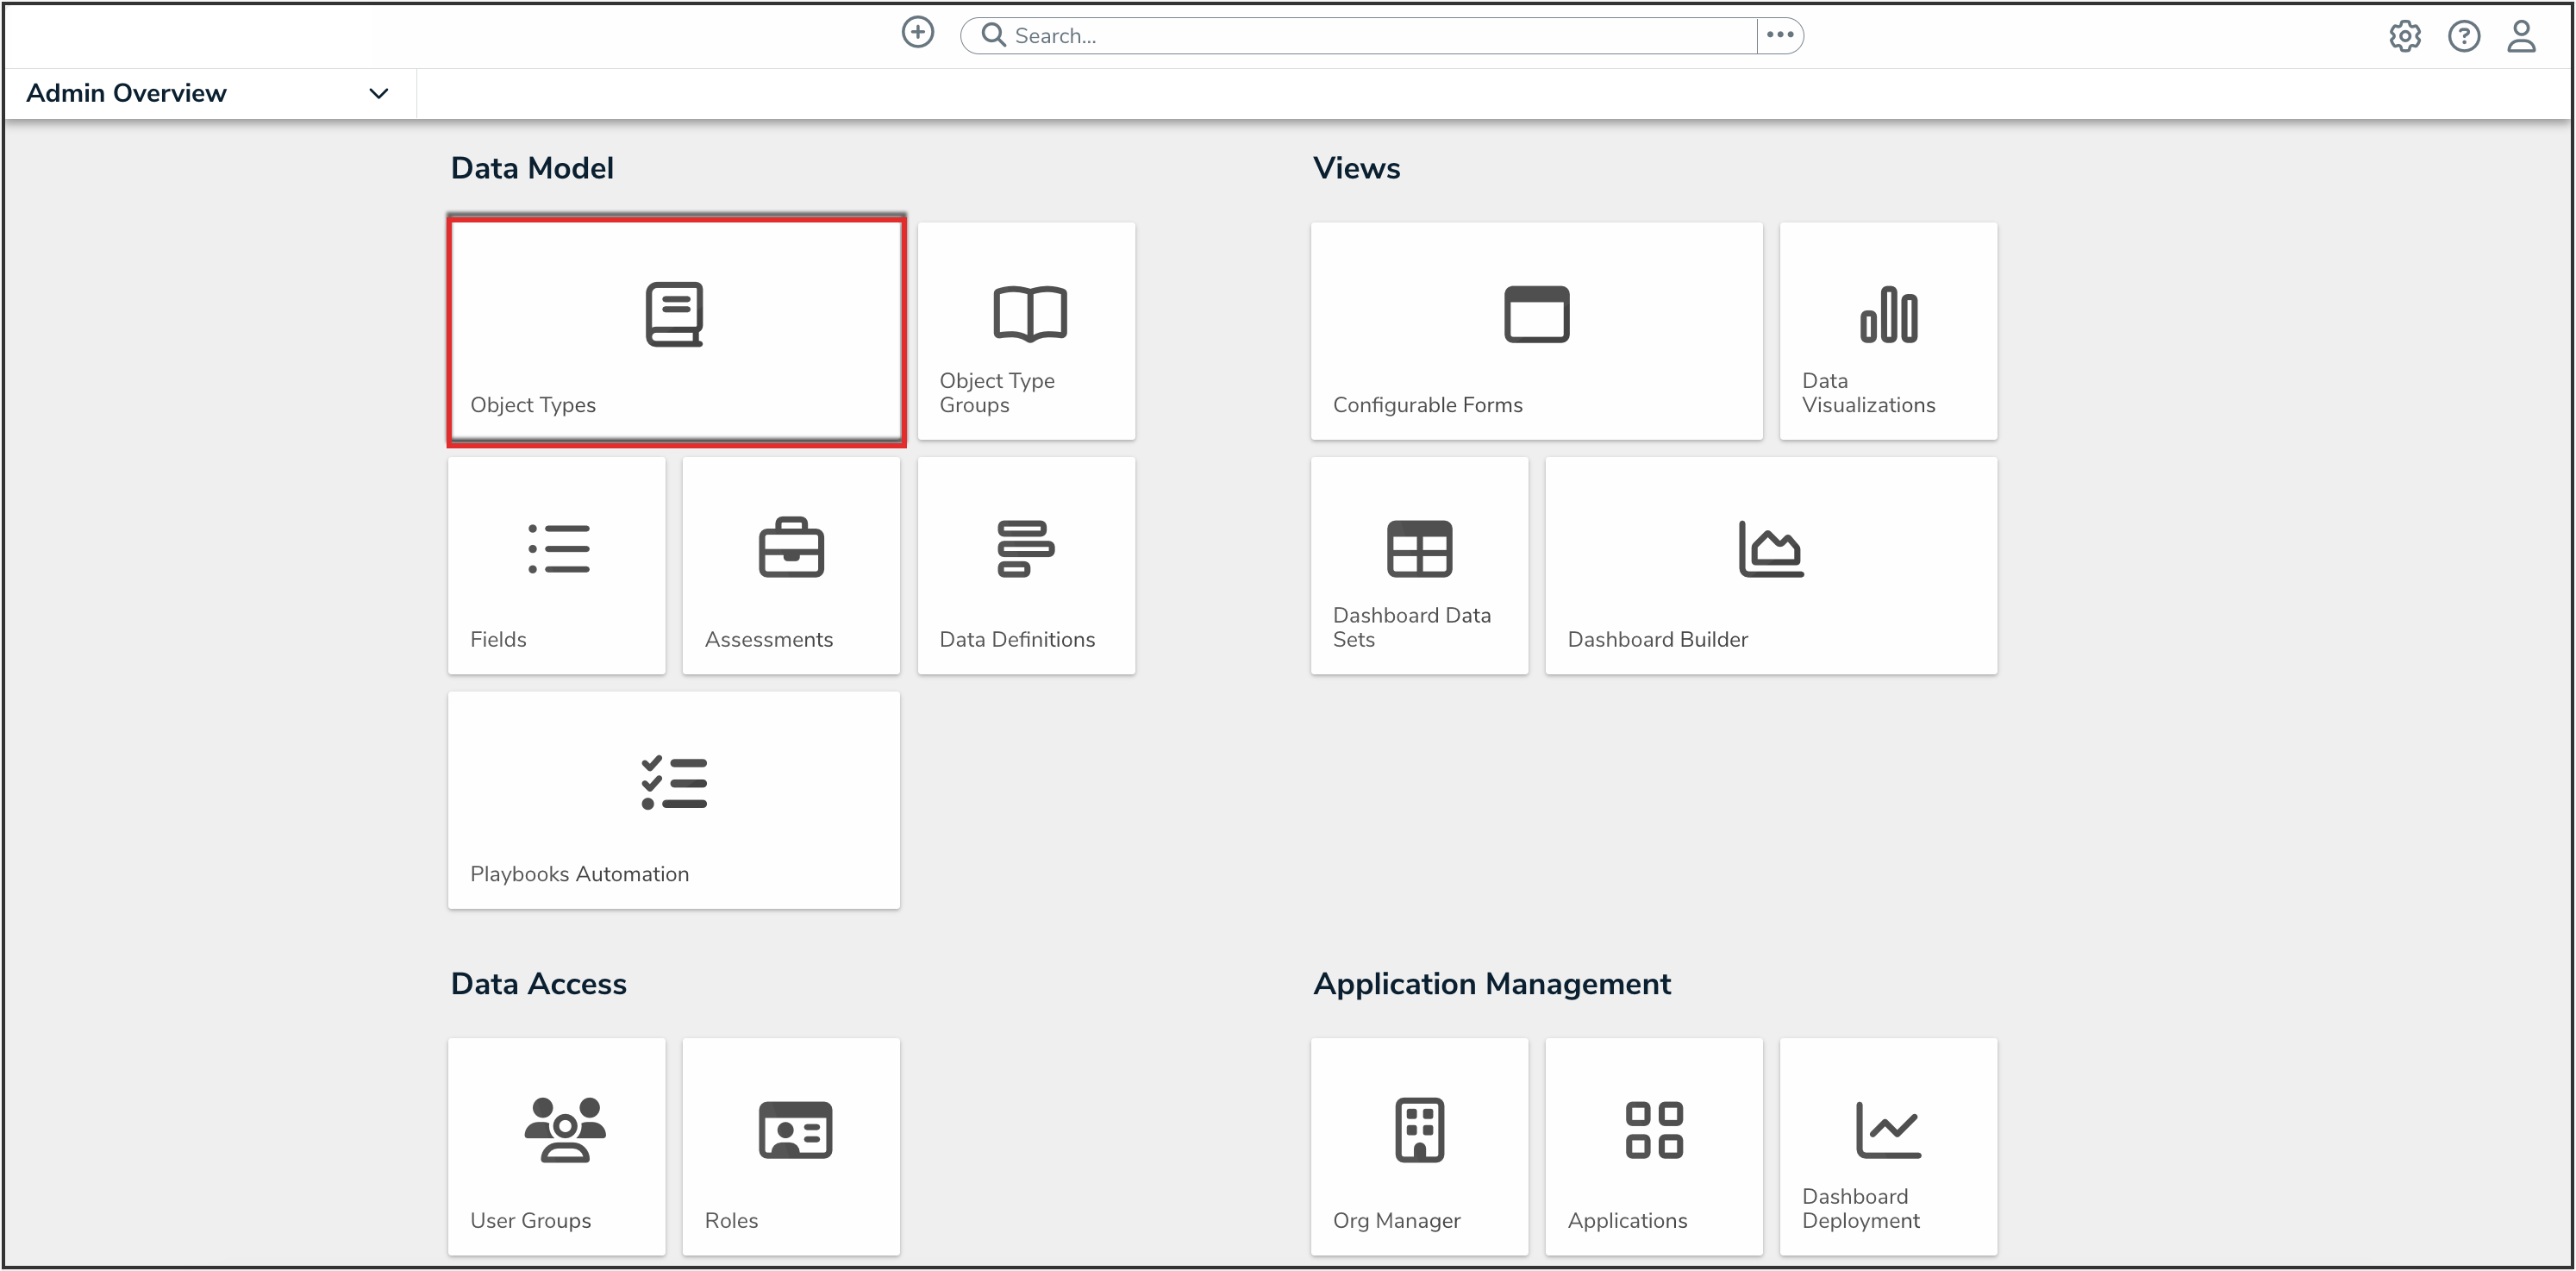
Object Types Tile

- On the Admin: Object Types screen, from the list of object types, click the object type that you want to add a due date to.
Adding a Due Date to an Object Type
- From the Admin: Edit Object Type screen, click the Views Configurations tab.
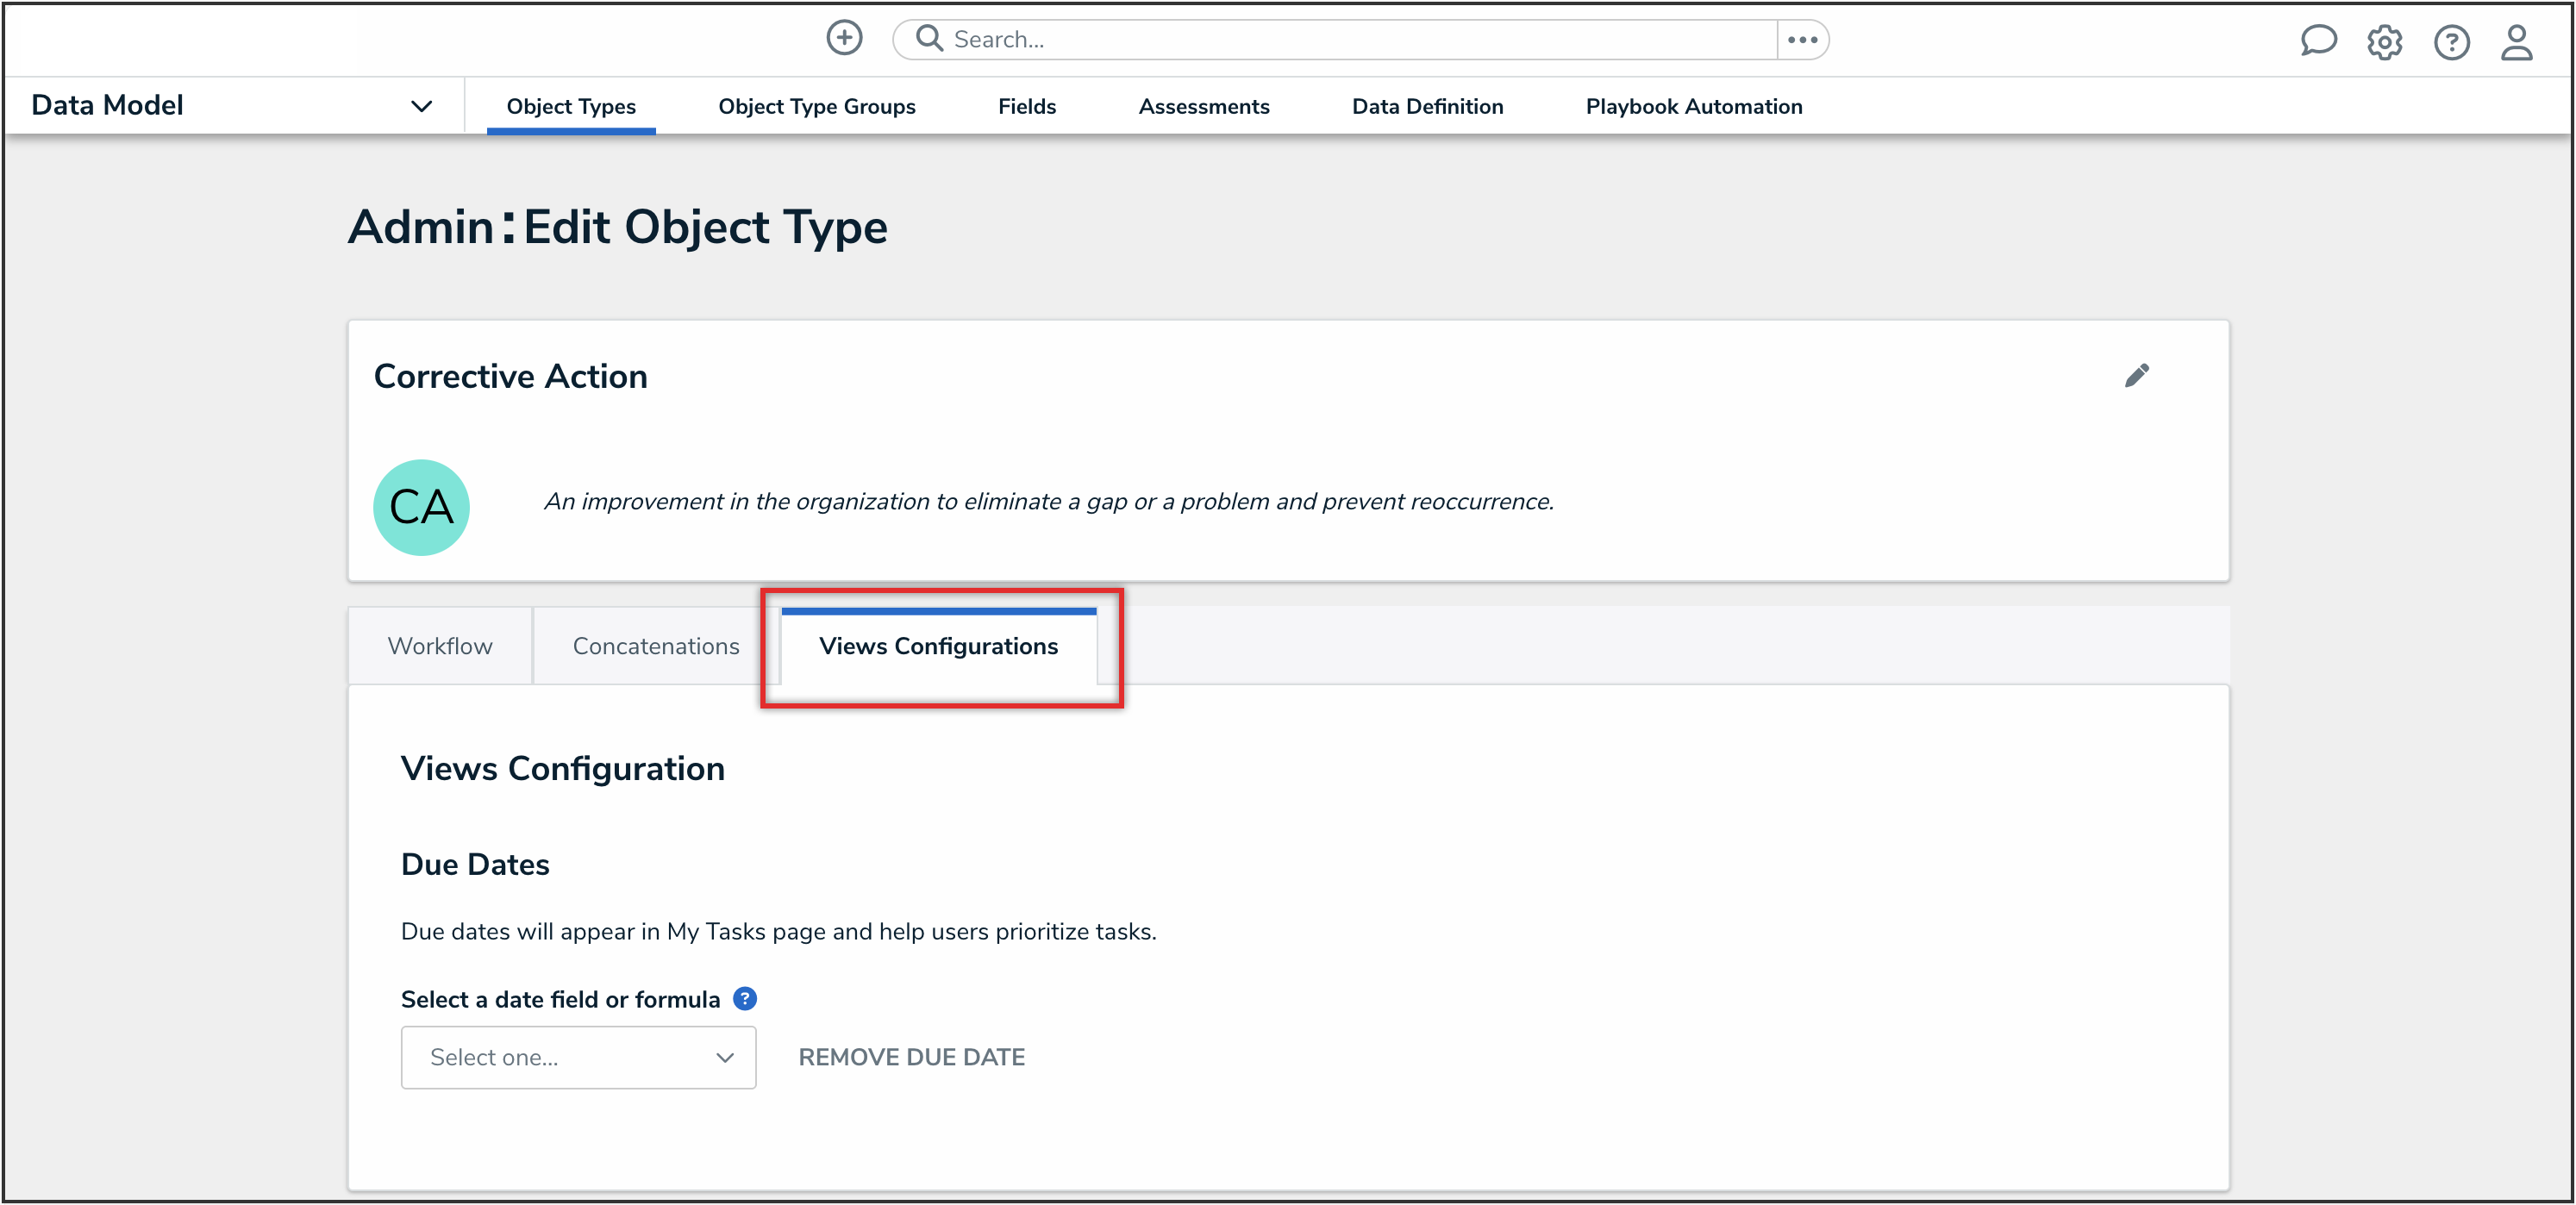
Views Configurations Tab

- From the Select a date field or formula dropdown menu, select one of the object type's date fields or formulas to represent the due date.
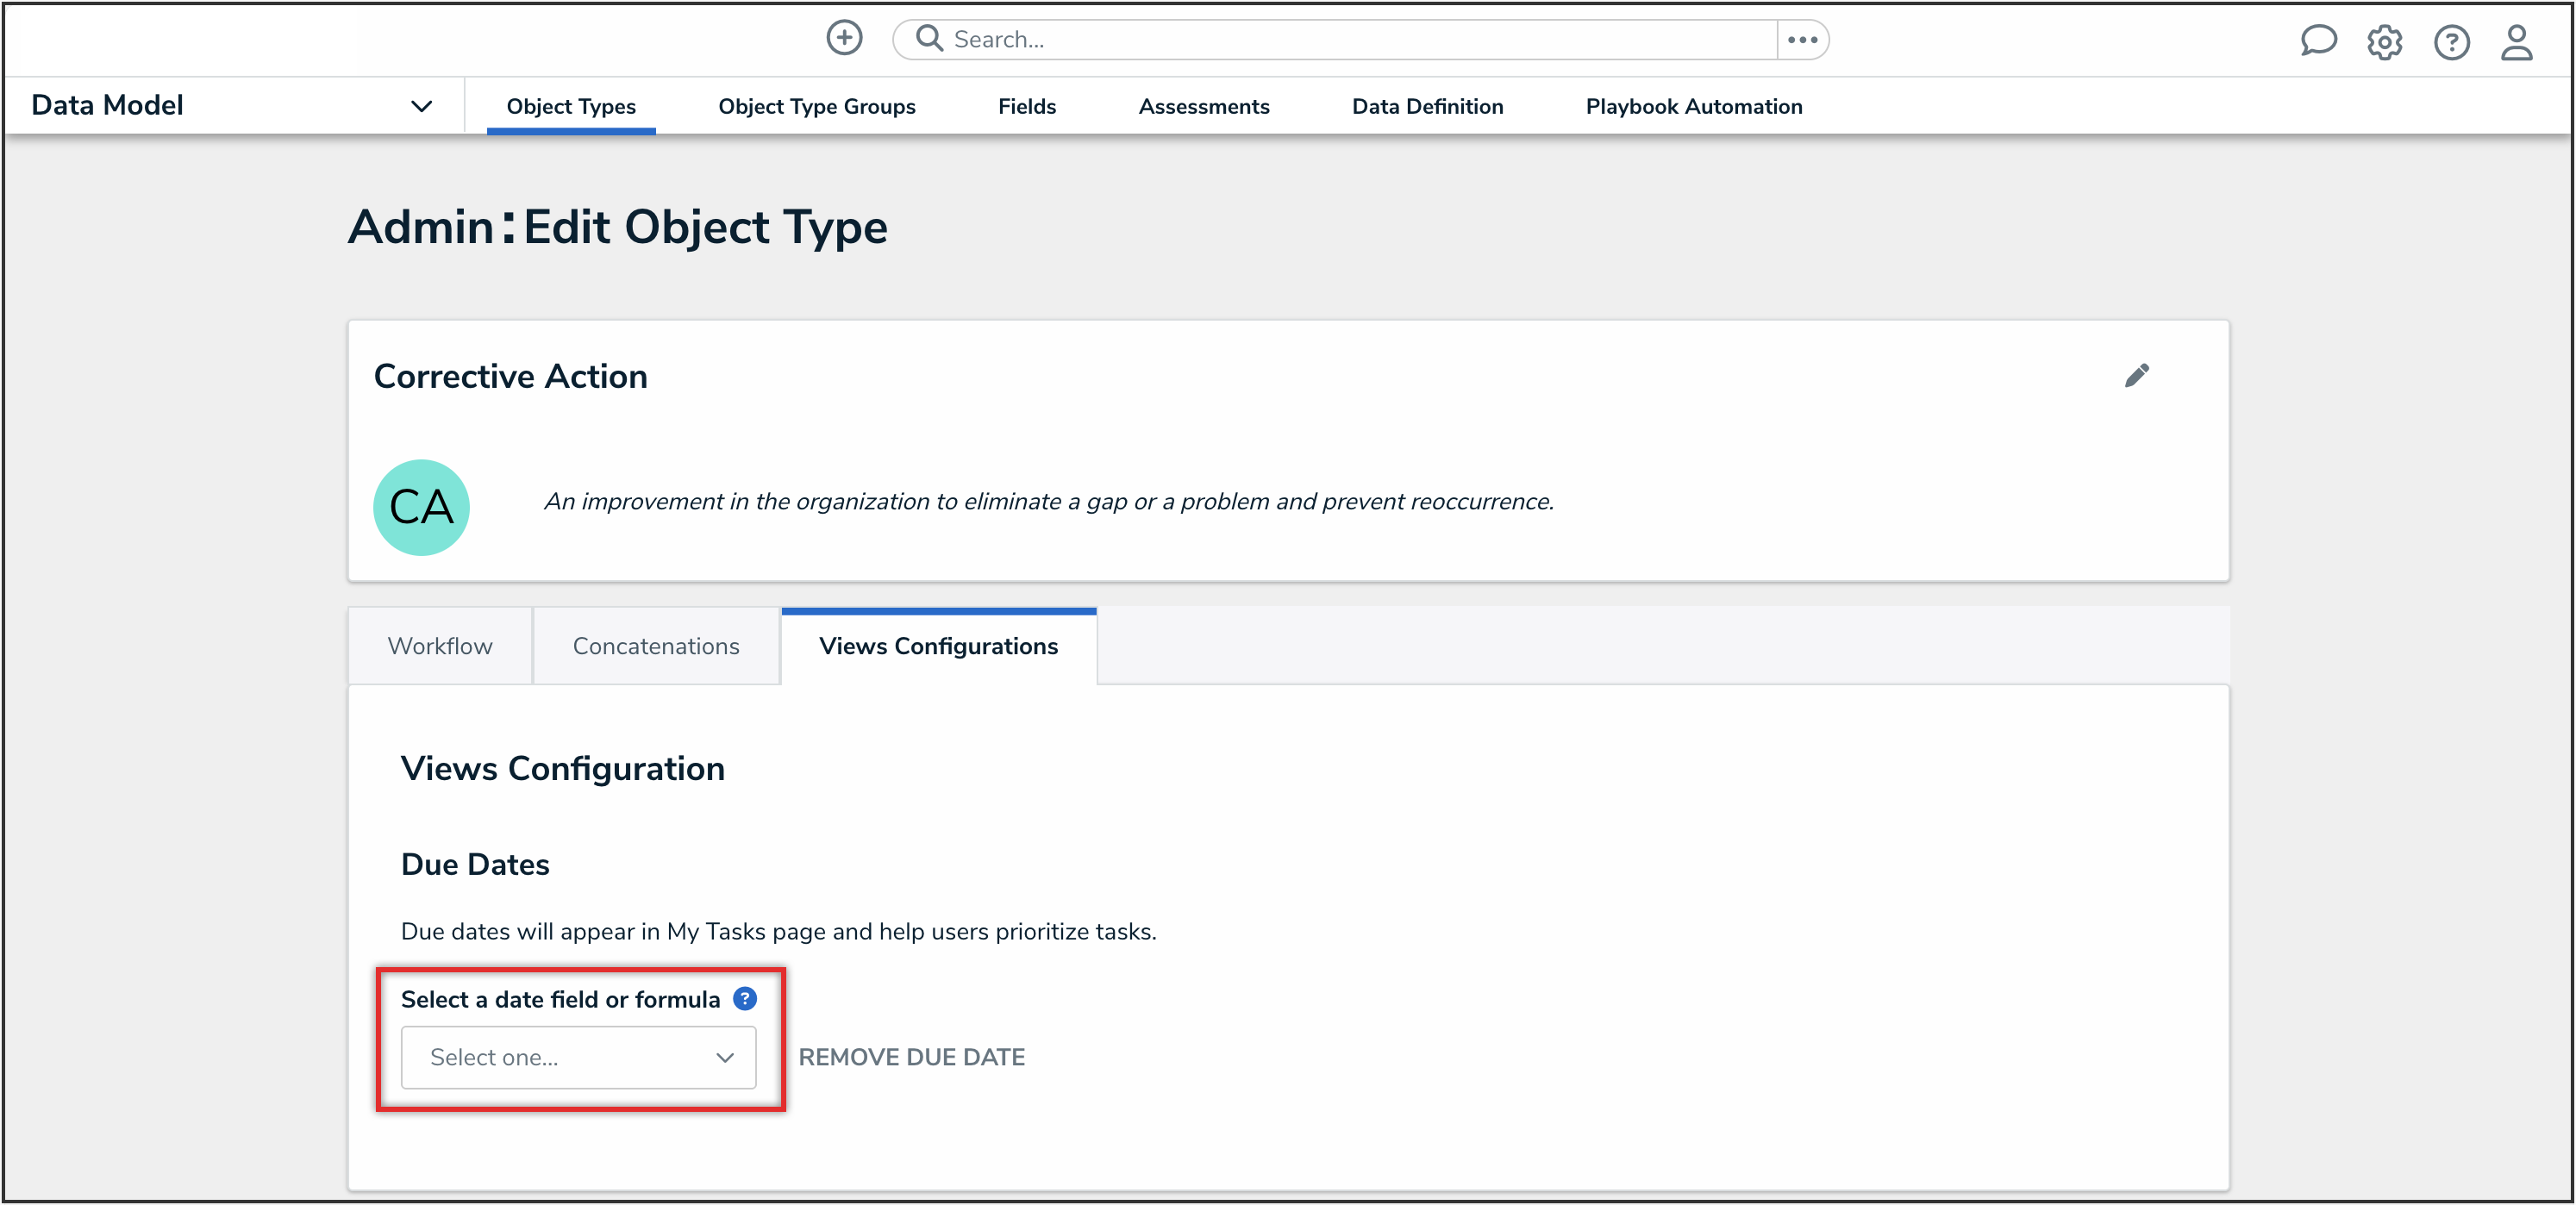
Select a Date Field or Formula Dropdown Menu

- (Optional): To remove the due date from the object type, click the Remove Due Date link.
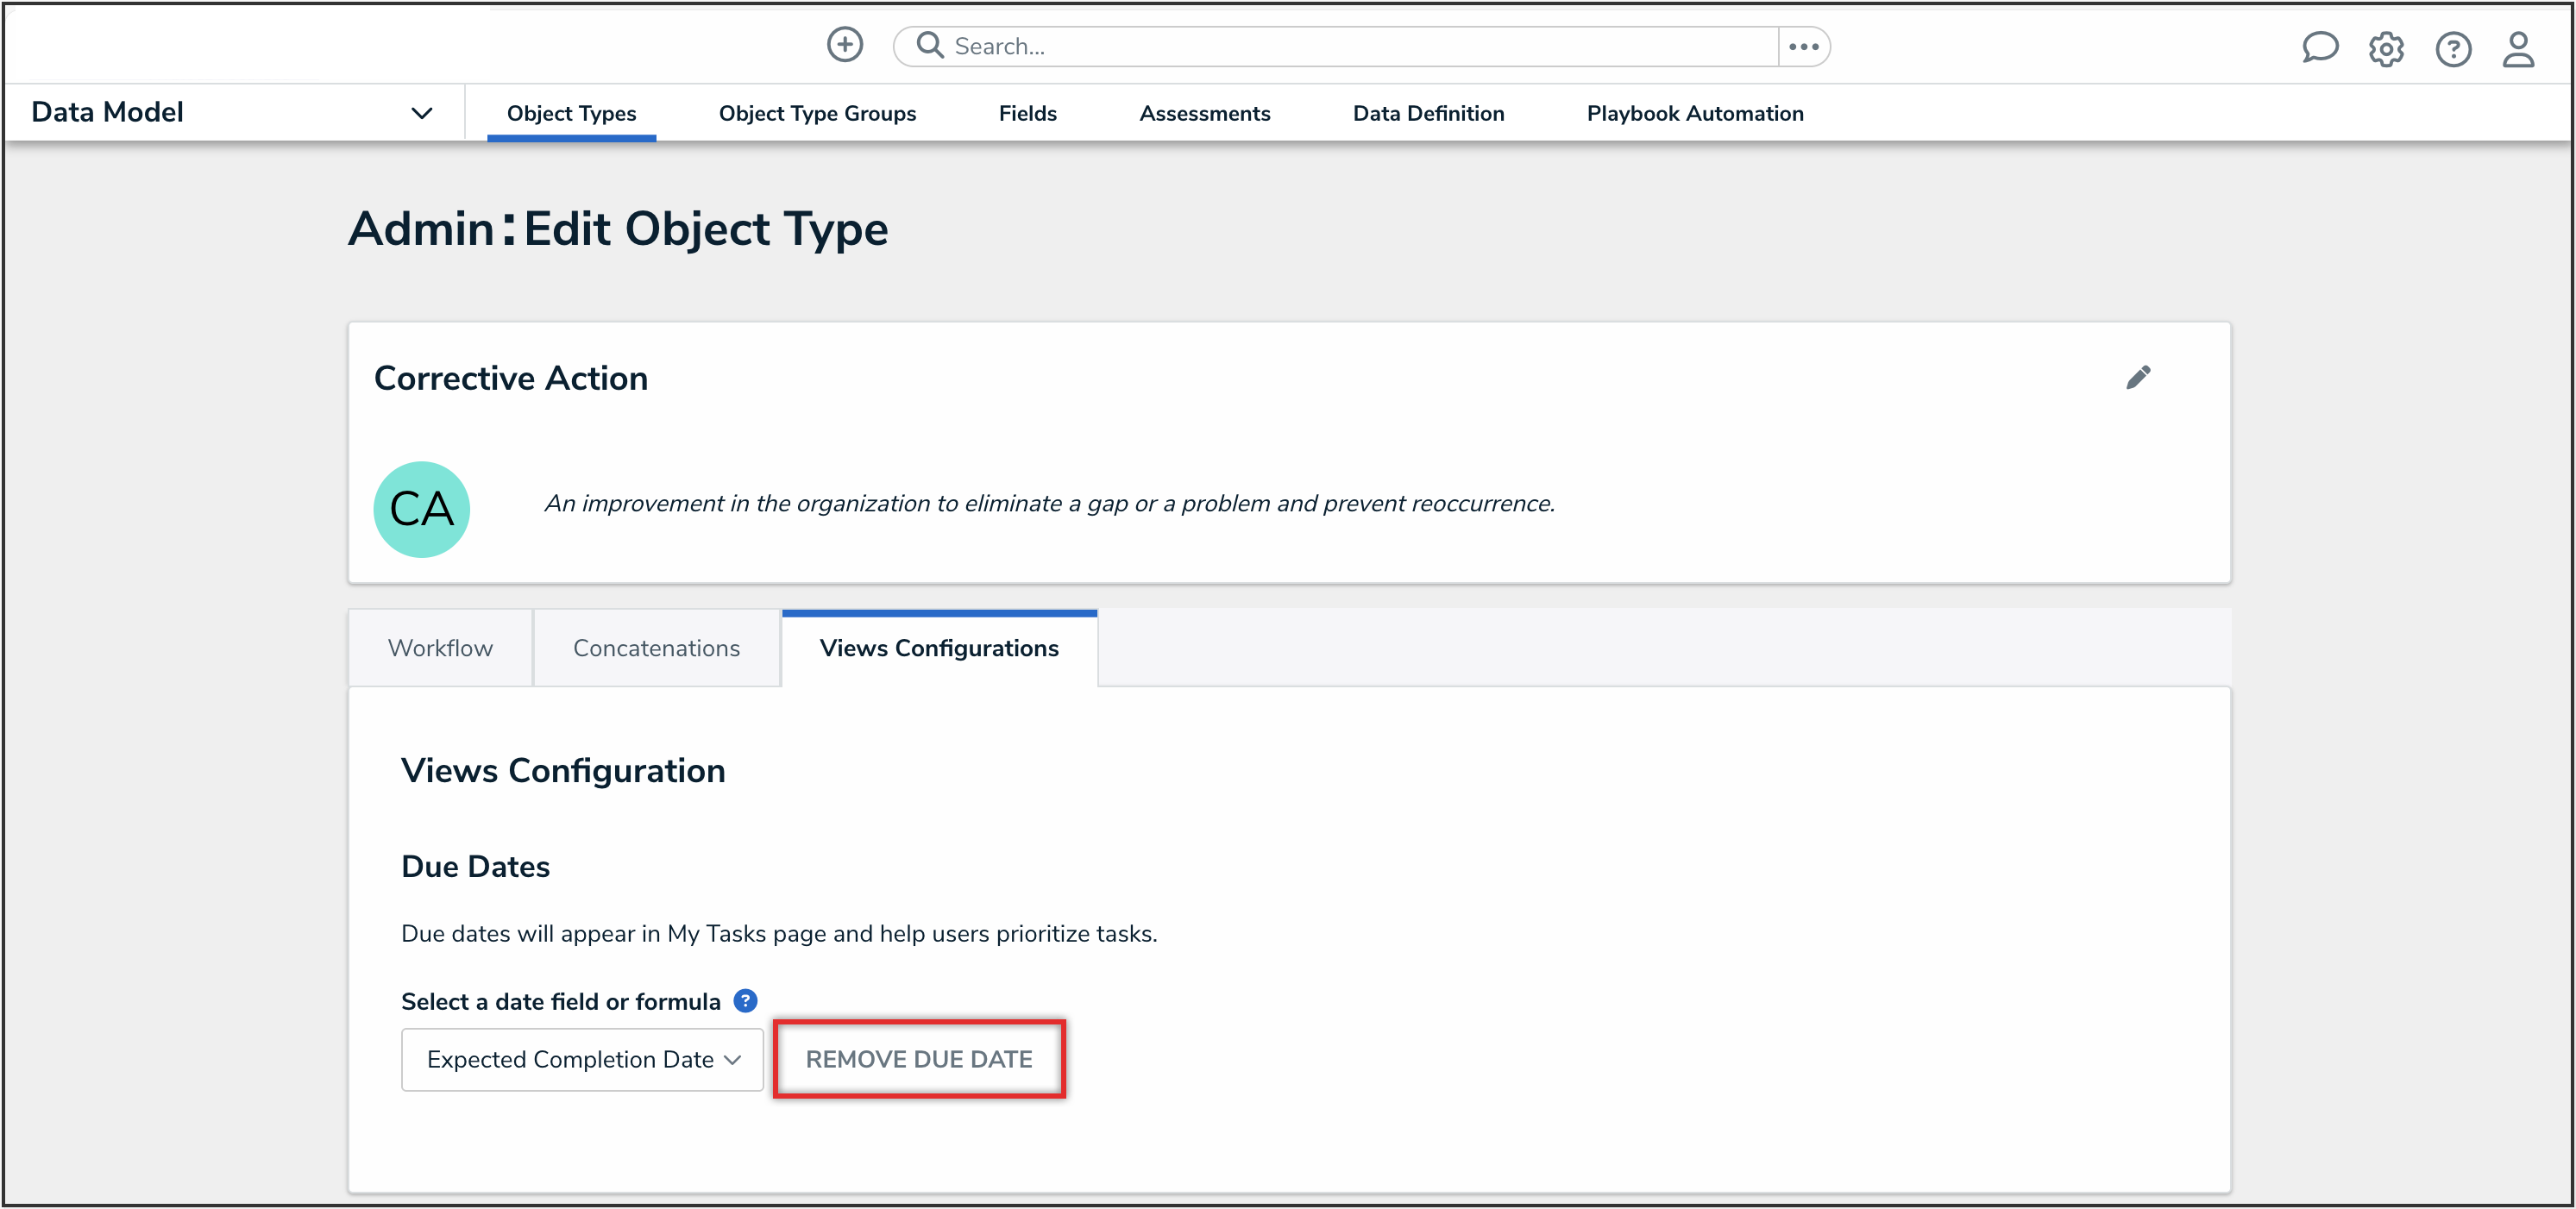
Remove Due Date Link

- Navigate to the Home screen to view the due dates listed on the My Tasks card.
- Overdue tasks are highlighted in red.
- Tasks due in the next 7 days are highlighted in yellow.
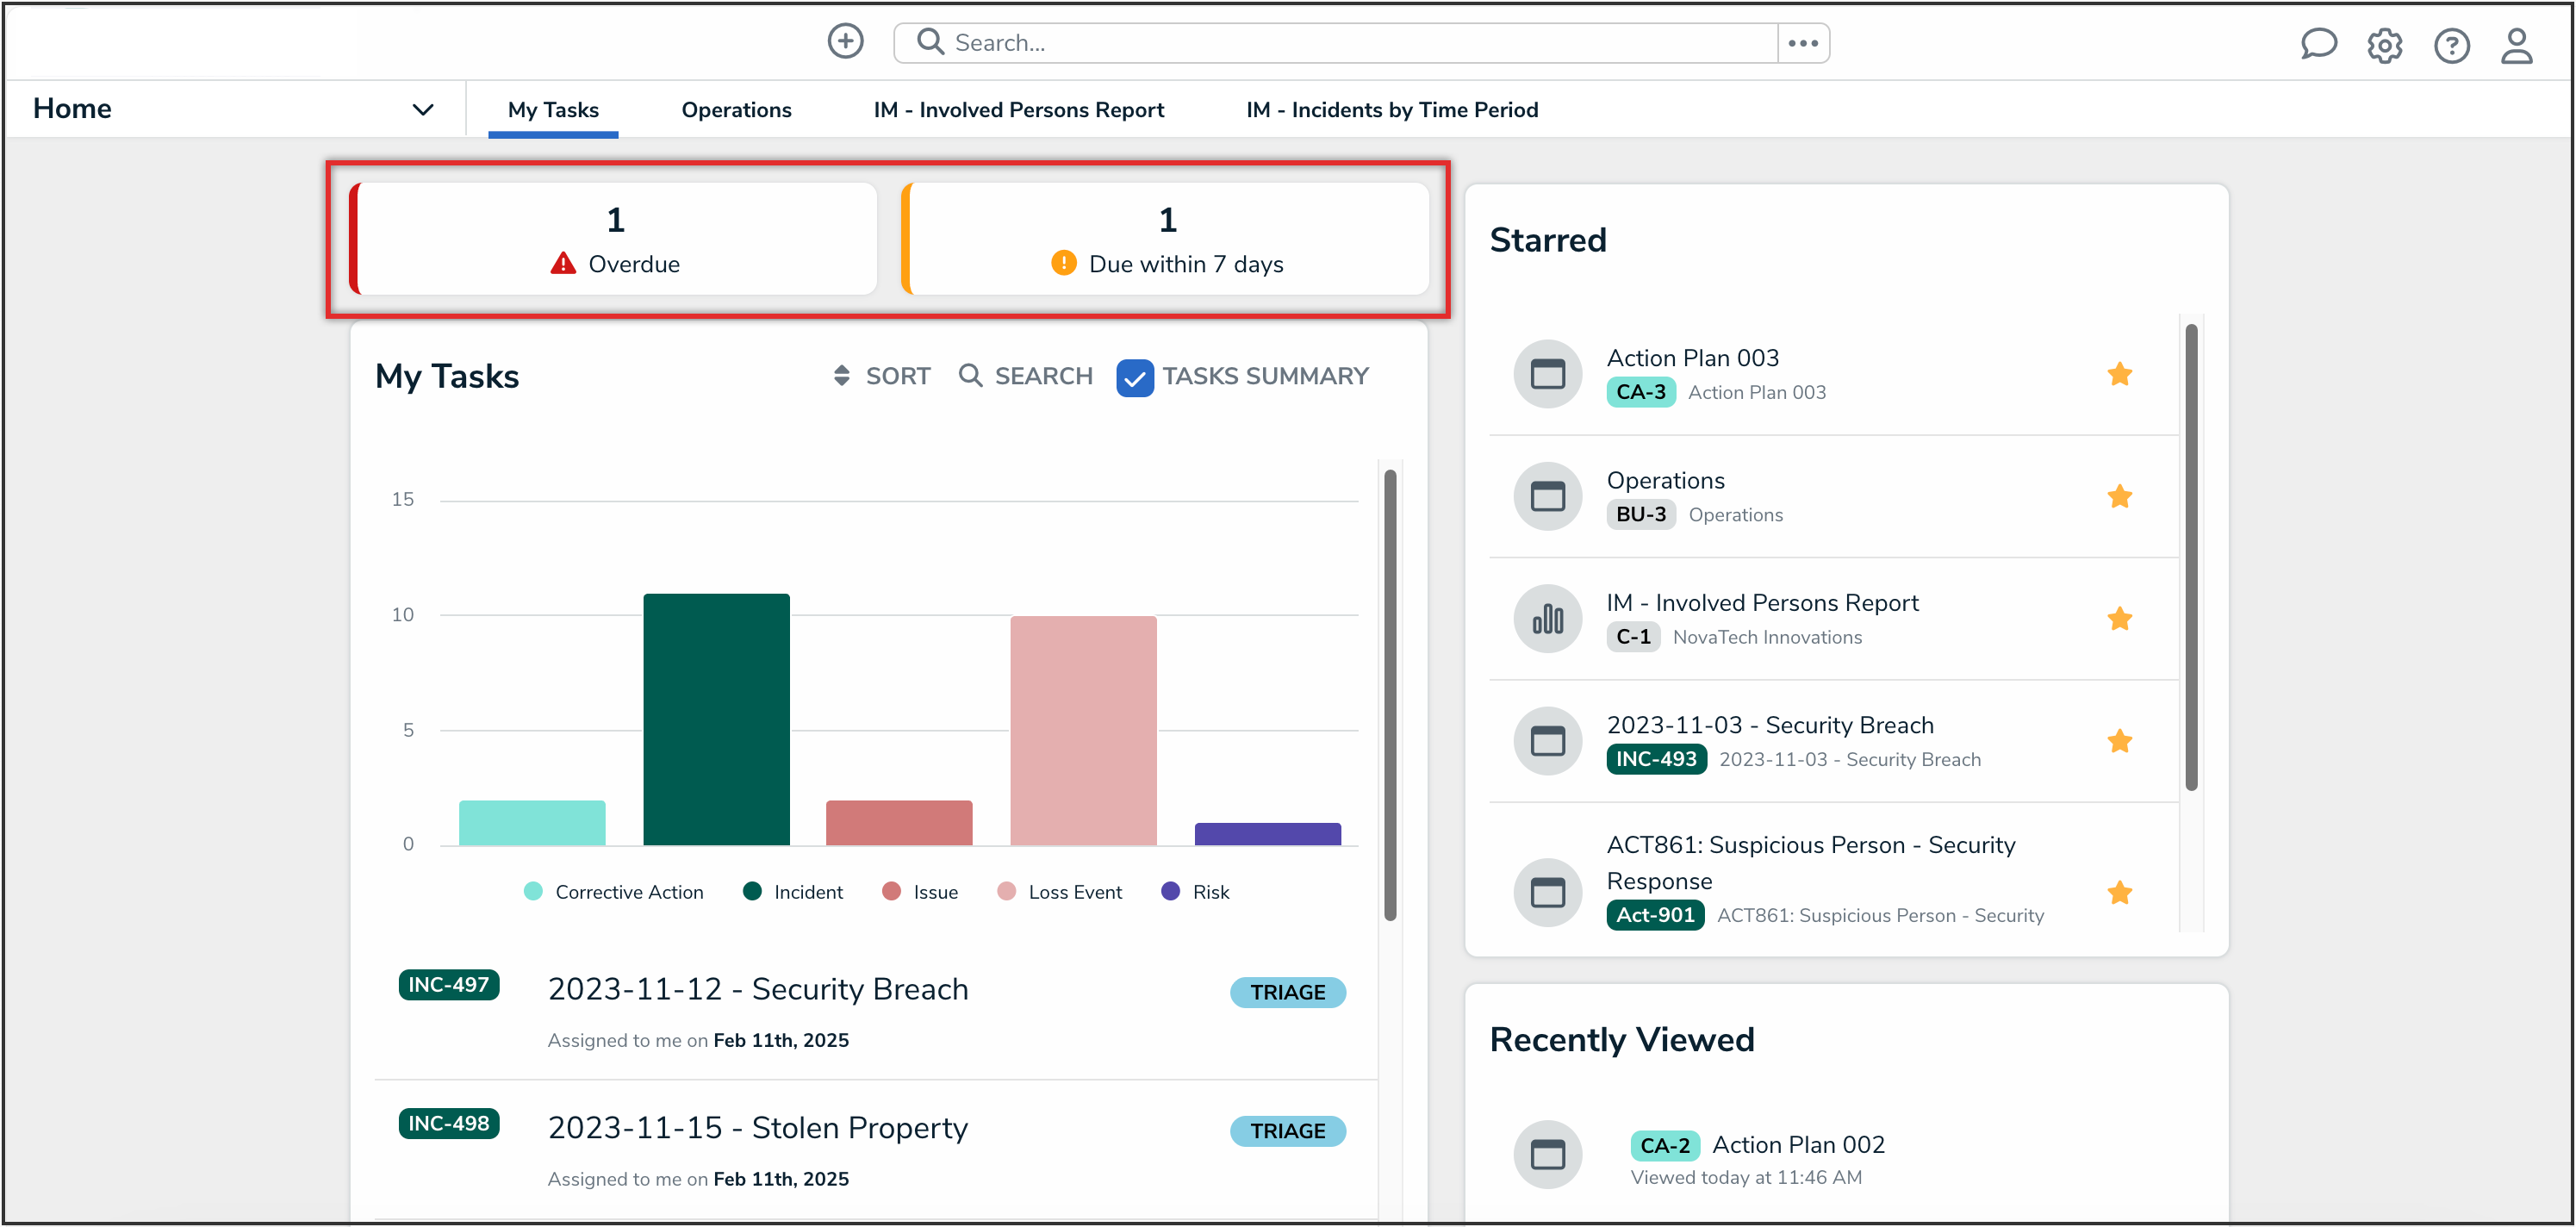
My Tasks Card
The Due Date filters will appear for a user if there is at least one object in their My Tasks list that has a due date. These filters show which tasks are overdue or due within the next 7 days. Clicking the Overdue or Due within 7 days buttons allows users to filter directly to overdue or due soon tasks.
