Users in the Incident Screeners user group can create new incident records from the Triage activity. The fields on this form are identical to the form accessible by portal users, except that incident screeners can select an incident type at the time of submission.
To submit an incident from the Triage activity:
Log into a user account that's been added to the Incident Screener user group.
- Click the dropdown in the nav bar > Incident Management to display the Triage activity.
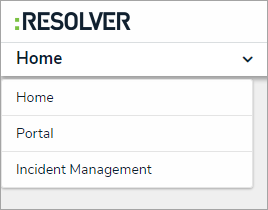 The nav bar.
- Click New Incident in the Triage section to display the Create a New Incident form.
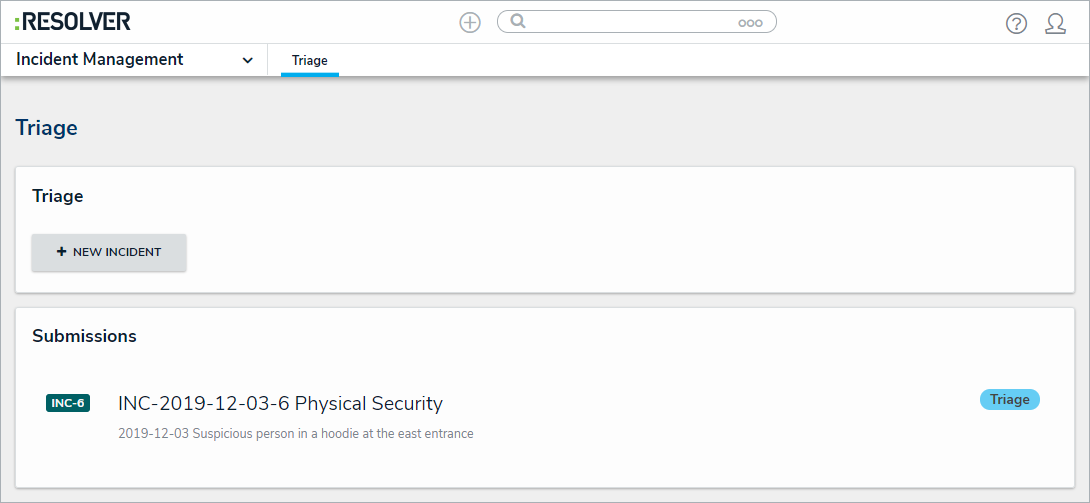 The Triage section of Incident Management.
- Enter the details of the incident in the Observation field.
- Click the Observation Type select list to select an observation type.
- Select the date and time the incident was observed at from the Observed Date/Time field.
- Type the name of the person who observed the incident in the Observed By field.
- Optional: Drag images and attachments to the Photo and Observation Attachments sections to add them to your submission. You can also click in the box below Photo or Observation Attachments to browse for files on your machine.
- Enter the street address where the incident occurred at in the Location field. Alternatively, a pin can be placed on the map.
- Click Add Existing Primary Incident Type to bring up a list of incident types to add to the incident. Note that an incident type is mandatory once the incident object is saved and moved to Triage.
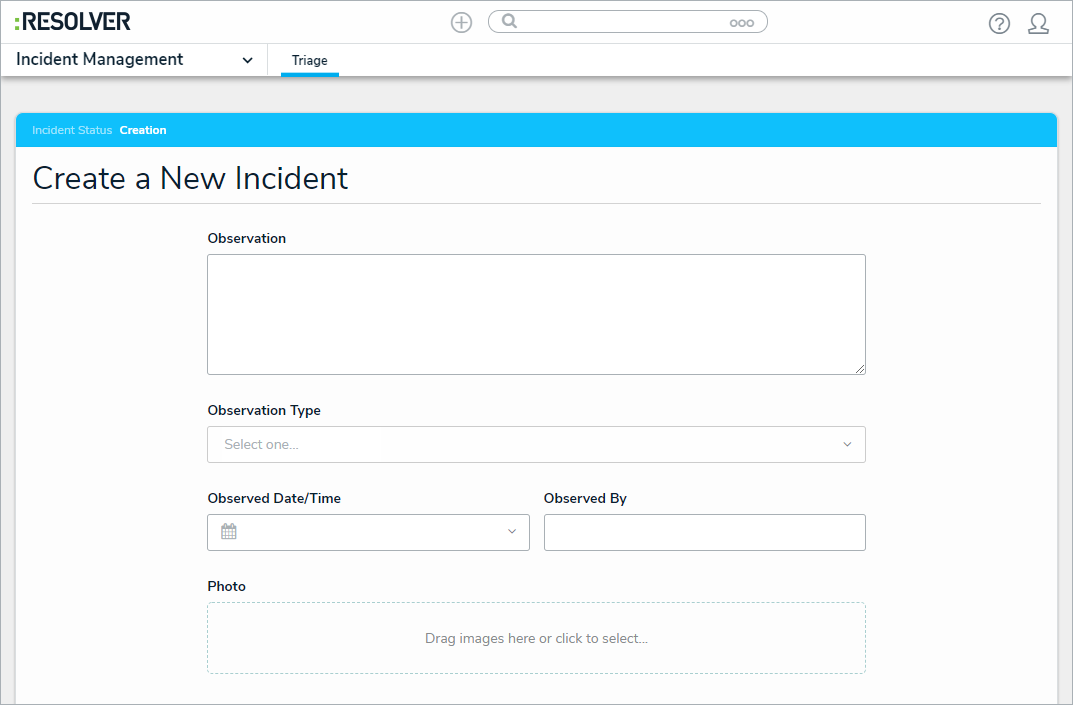 A new incident form from the Triage activity.
- Click Save As Triage to create the new incident object and display the incident triage form.

Navigating away from the incident form before clicking Save as Triage will delete any change made to the form.


