The Busy States settings give you the option of creating custom officer statuses to define officer activities, such as lunch breaks or reporting. When a dispatcher selects a busy state for an officer, it will appear in the Officers panel, along with any visual alerts created for the state.
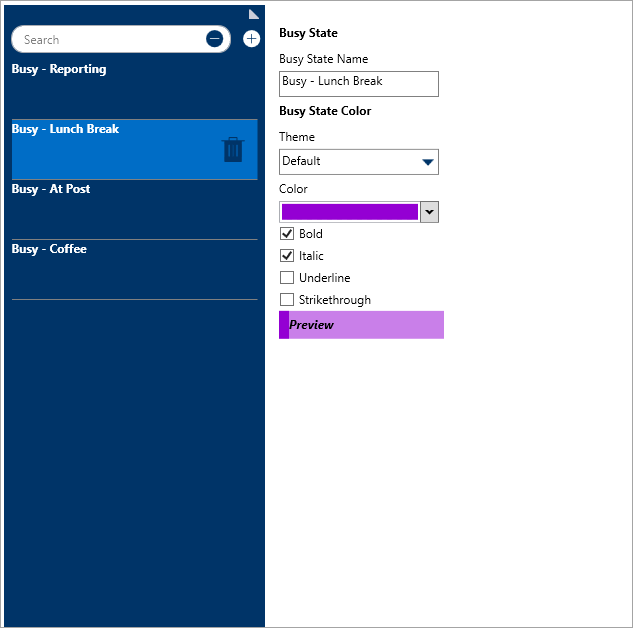 The Busy States settings.
To create a busy state:
Click Settings >
 Busy States.
 Click
 Create in the pane to the left.
Enter a name in the Busy State Name field.
Select Default, Classic, High Contrast, or Resolver Theme from the dropdown menu under Theme.

Ensure the visual alert theme matches the theme selected in User Settings, otherwise you won’t be able to see your changes. Select a color from the Color dropdown menu. If you don’t want to display a color, select
 Transparent from the color picker.
Select the Bold, Italic, Underline, and/or Strikethrough checkboxes if you want to add more font styles.
 Busy States.
  Create in the pane to the left.
 Transparent from the color picker.