Overview
The Data Import Template allows Administrators to fill out a .csv template with their company's existing data to import into the system, creating a starting point with relevant information (Activities, Business Units, Categories, Incidence, etc.).
User Account Requirements
The user account you use to log into Resolver must have Administrator permission to download the Data Import Template.
Related Information/Setup
Please follow the link below for more information on Data Import settings.
The Data Import Template does not generate columns for the Location property. Please follow the link below for more information on importing location data.
Navigation
- From the Home screen, click on the System icon.
![]()
System Icon
- From the Admin Overview screen, click on the Data Import tile under the Tools section.
Data Import Tile
Create a Data Import Template
- From the Data Import screen, scroll to the Export Data Import section.

Export Data Import Section
- Select the Object Types and Relationship you want to export by clicking the Name link. An Object Type and Relationship is highlighted, and a checkmark will appear to the left of the Name when selected.
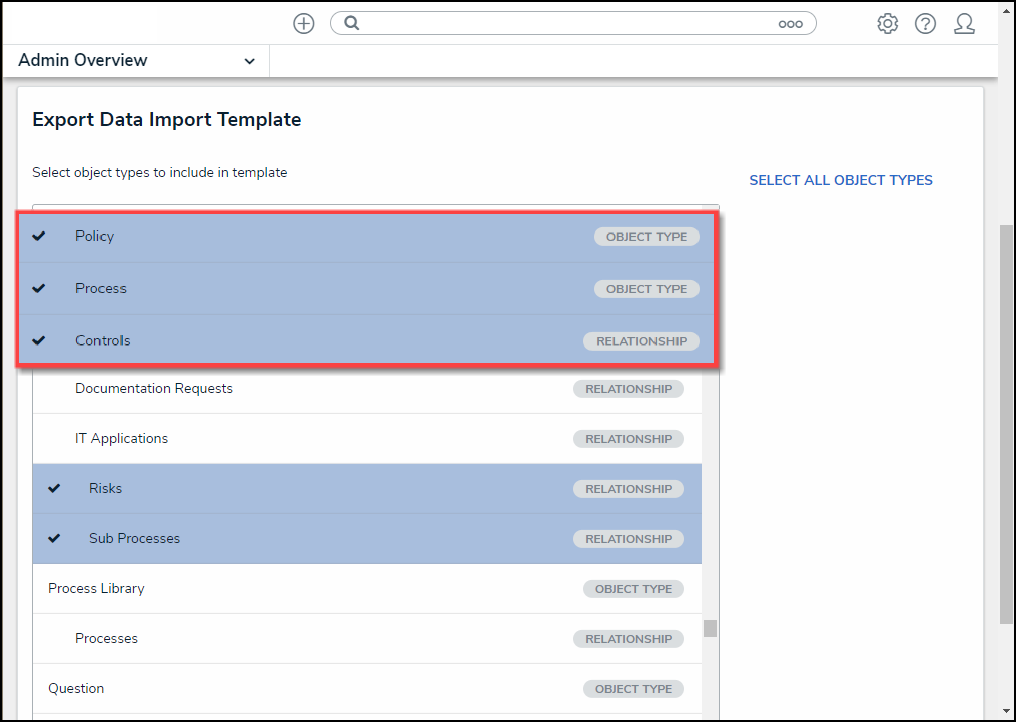
Name Link
- (Optional) Select the Select All Objects Types link to select all available Object Types and Relationships.

Select All Object Types Link
- Click the Export button to download the Data Import Template.
 Note:
Note:
The more Object Types and Relationships selected will increase the time to generate the Data Import Template.
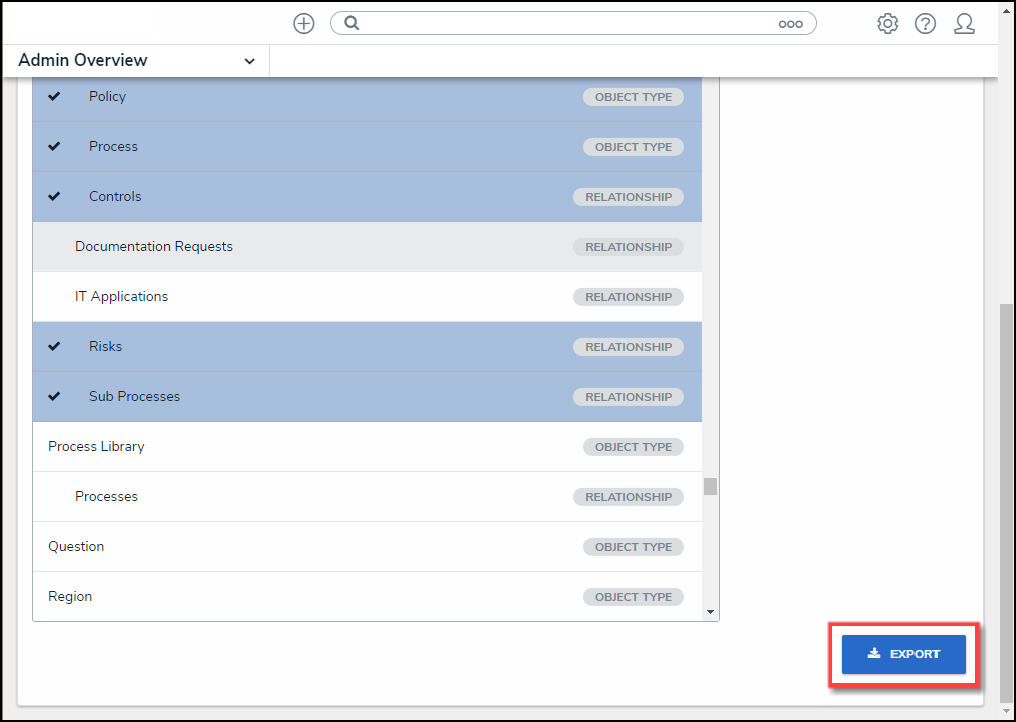
Export Button
- Navigate to the Download folder on the connected PC and look for a filename with the version number, organization's name, and the date the Data Import Template was generated (e.g., 22.2 - org name - 20230609 - Data Template).
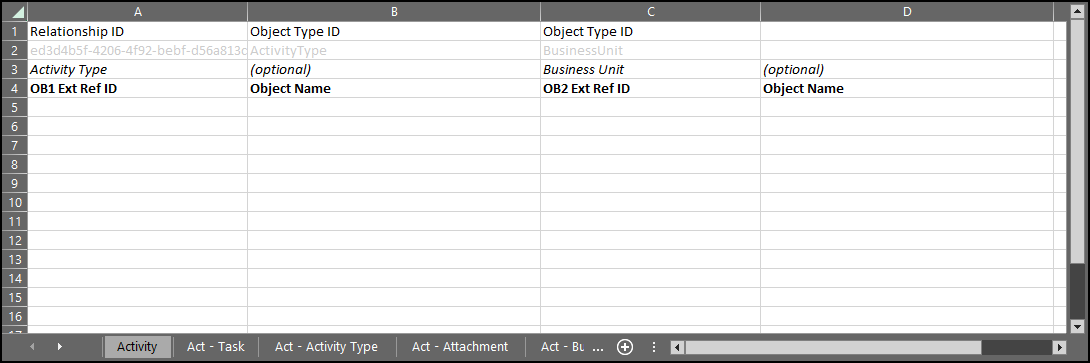
Data Import Template File