Overview
Fields added to the Dashboard Data Set will only appear as options in the Dashboard Builder when the Dashboard Data Set has been published.
 Note:
Note:
A Dashboard Data Set can have a maximum of 100 fields.
User Account Requirements
The user account you use to log into Resolver must have Administrator permission or Data Management advanced permissions to add fields to a Dashboard Data Set.
Related Information/Setup
To create a new Dashboard Data Set, please follow the link below:
After creating a Dashboard Data Set, the user must publish it before it can be used with the Dashboard Data Set Builder. Please follow the link below for more information on Publishing a Dashboard Data Set.
After adding fields to the Dashboard Data Set, you can unlink specific Fields for the Dashboard Data Set. Please follow the link below for more information on Unlinking Fields on a Dashboard Data Set.
For more information on how to delete a Dashboard Data Set, please follow the link below.
Navigation
- From the Home screen, click the Administration icon.
![]()
Administration Icon
- From the Administrator Settings menu, click the Admin Overview link.
Administrator Settings Menu
- From the Admin Overview screen, click on the Dashboard Data Sets tile under the Views section.

Dashboard Data Sets Tile
- The Dashboard Data Sets screen lists the following information below the Search field:
- Number of Data Sets (Data Sets): The total number of Dashboard Data Sets.
- Published Data Sets: The total number of published Dashboard Data Sets that can be used within the Dashboard Builder. Published Dashboard Data Sets will be out of 10. You can only have 10 Published Dashboard Data Sets within the system.
- Unpublished Data Sets: The total number of unpublished Dashboard Data Sets. Unpublished Dashboard Data Sets cannot be used within the Dashboard Builder.
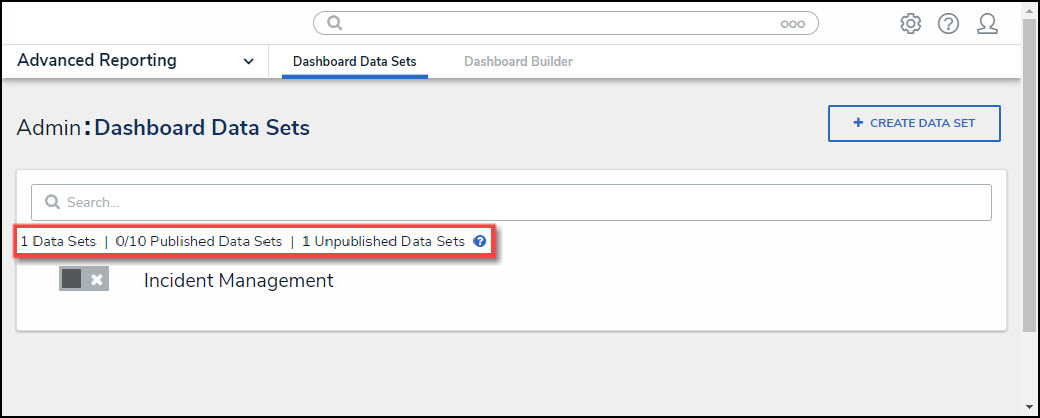
Total Dashboard Data Set Fields
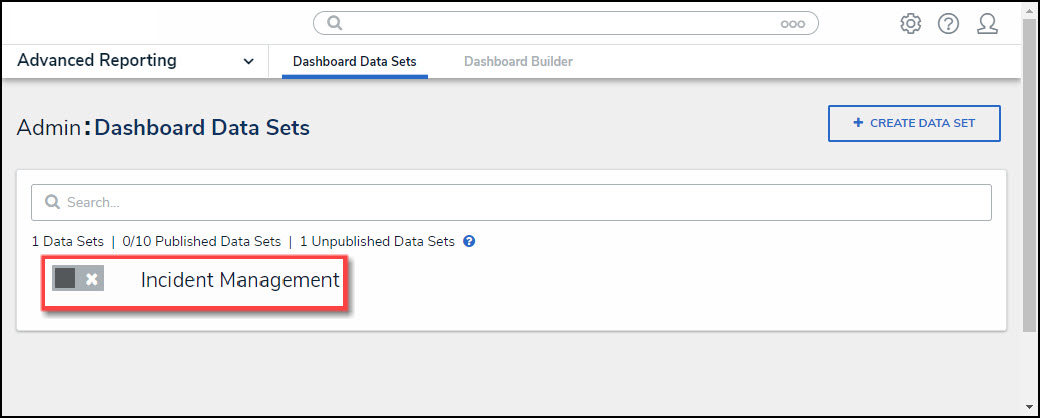
- Click the Dashboard Date Set Name to select a Dashboard Data Set from the list.
Dashboard Data Set
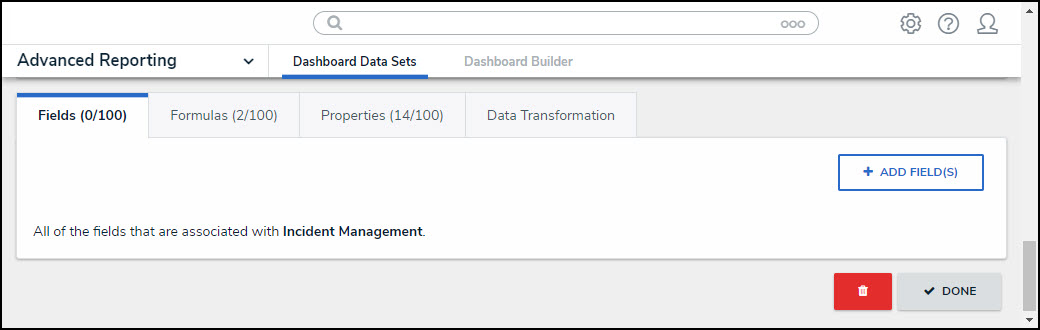
- From the Edit Data Set screen, scroll to the Fields tab.
Fields Tab
Adding Fields to the Dashboard Data Set
- Click the + Add Fields button on the Fields tab.
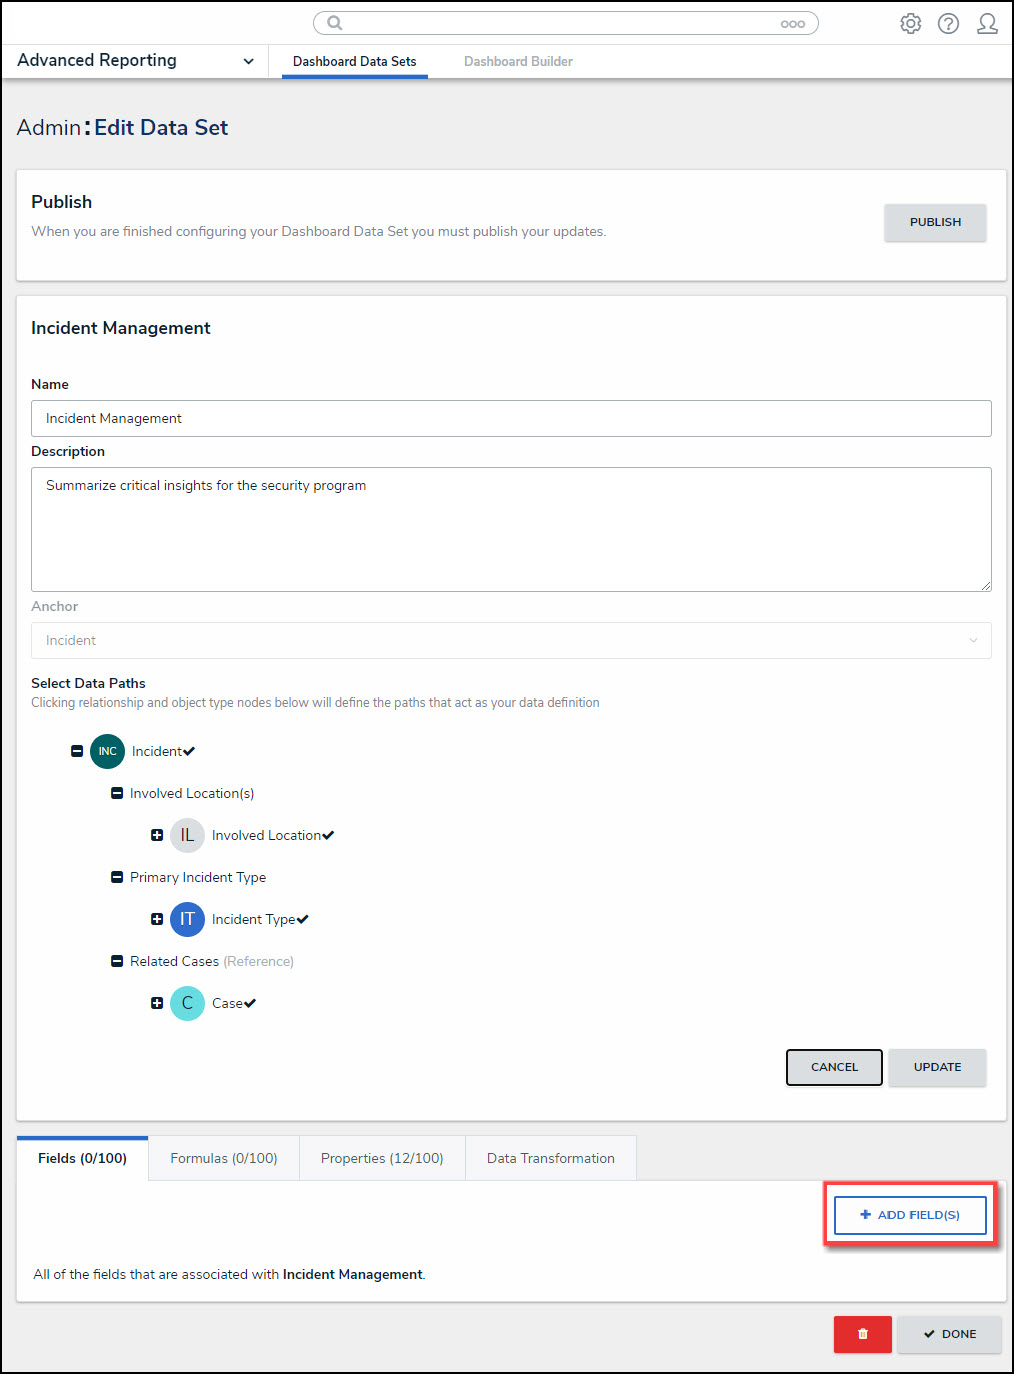
+ Add Fields Button
- From the Add Fields pop-up, enter an Object Type or Field Name in the Search field to narrow the Fields list down.
 Note:
Note:
Fields are organized by Object Type.
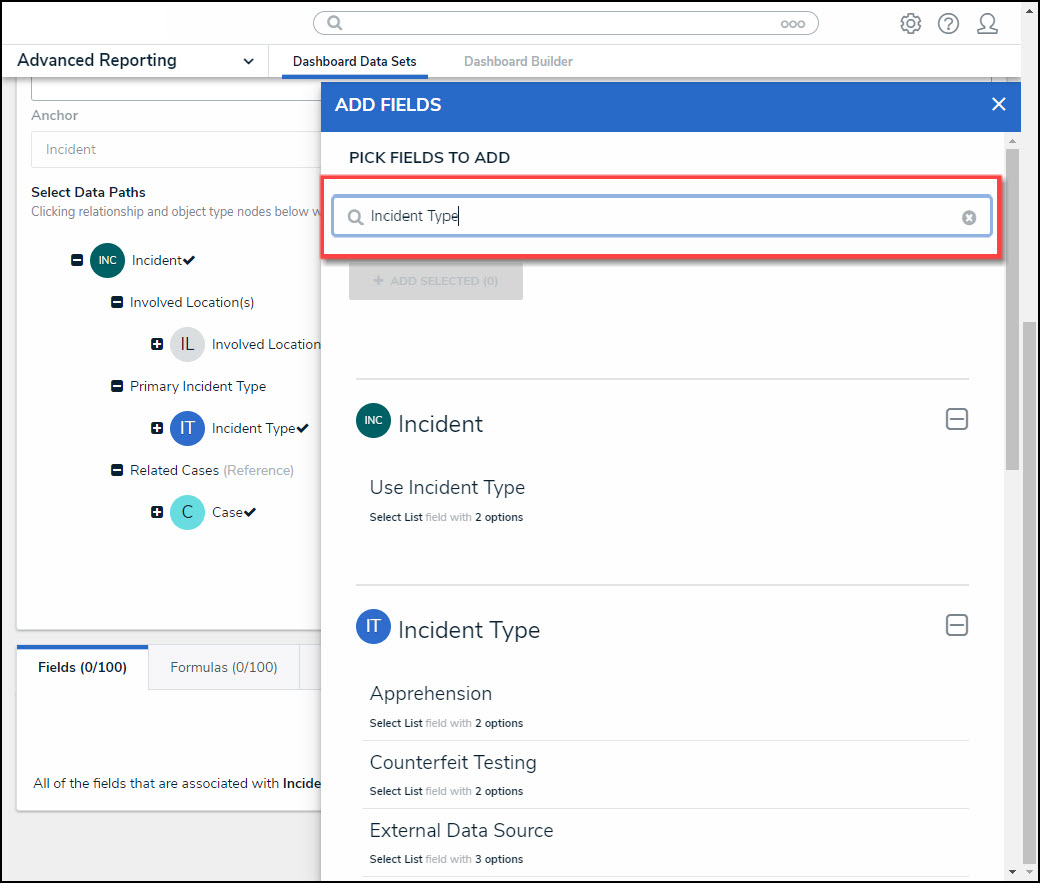
Search Field
- Select the Fields you want to include in the Dashboard Data Set by clicking on a Field. As you add fields to the Dashboard Data Set, the + Add Selected button at the top of the Add Fields pop-up will track the number of fields you have selected.
- When you have selected all the desired Fields, click the + Add Selected button to add the fields to the Dashboard Data Set. Fields added to the Data Set will no longer appear on the pop-up screen as a selectable field.
 Note:
Note:
Single Select, Numeric, and Date/Time fields are the only fields available to add to a Data Set.
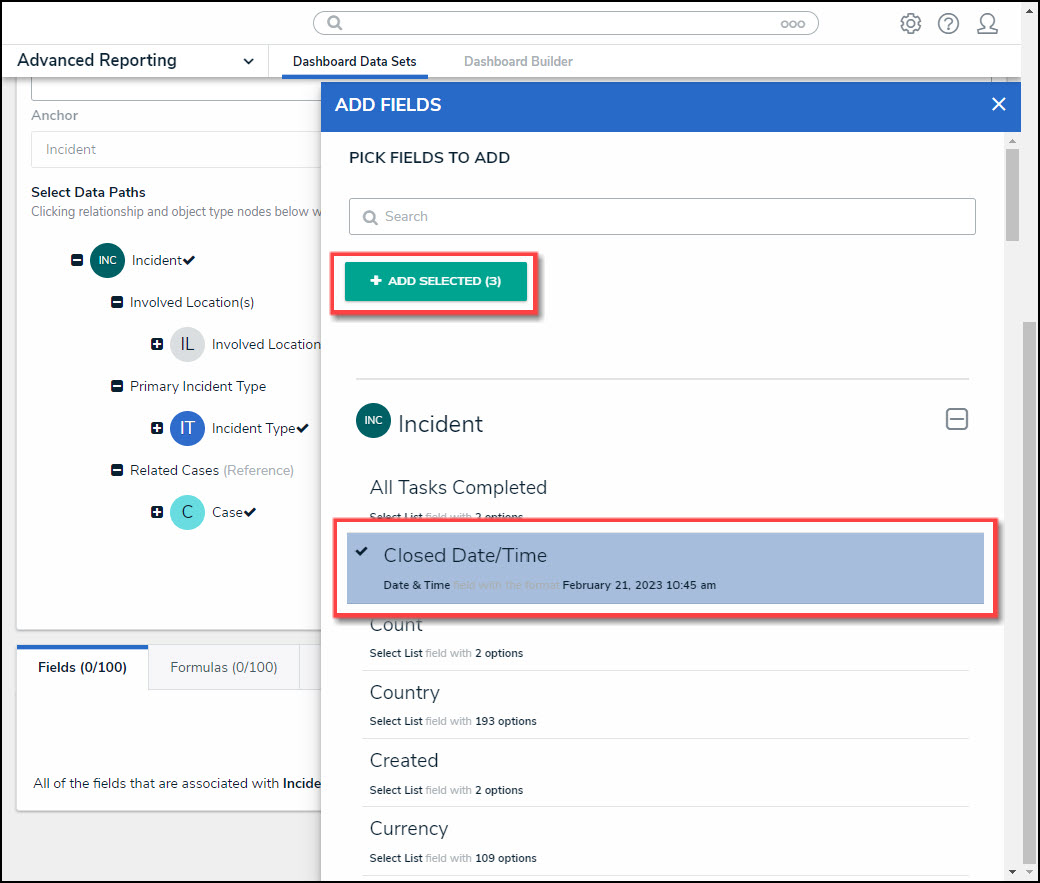
+ Add Selected Button
- Selected Fields are listed under the Fields tab.
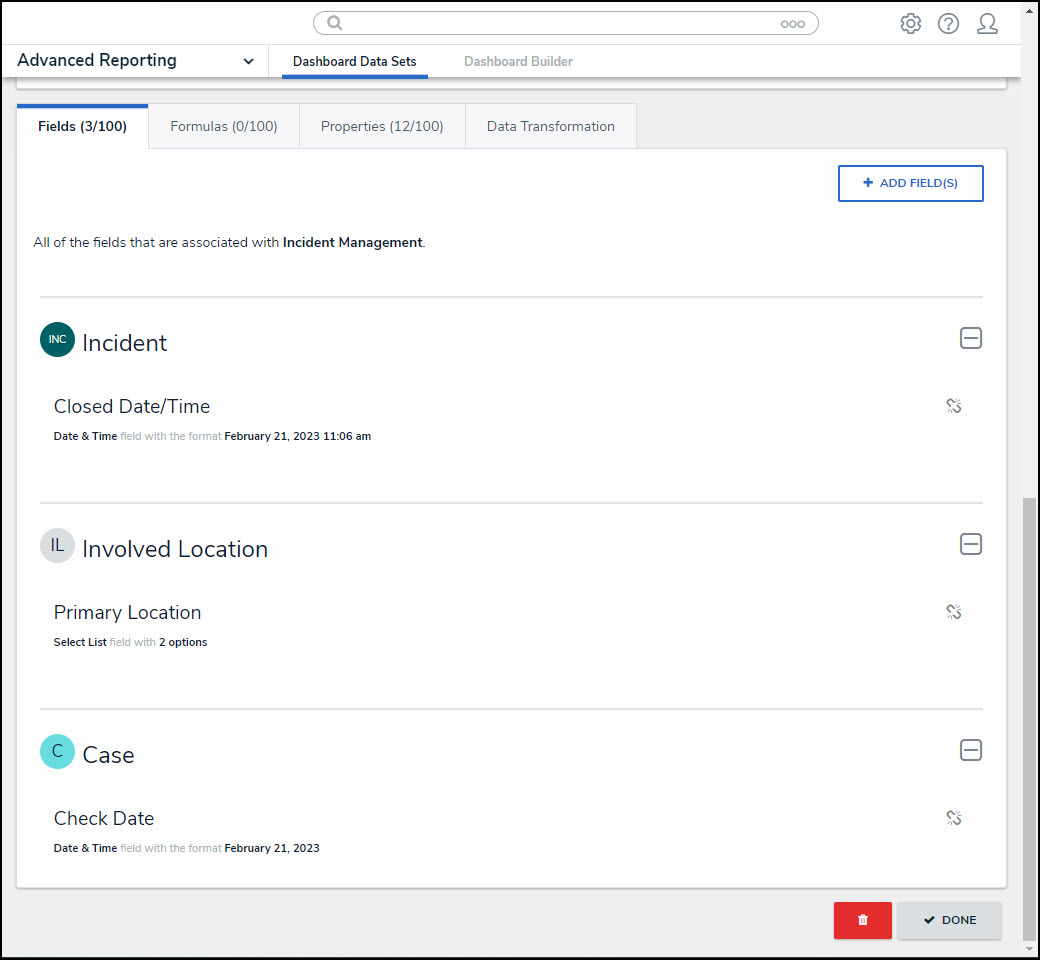
Fields Tab