Overview
 Note:
Note:
Please contact your Customer Success Manager if you’re interested in enabling the Secure Access Portal on your Org.
Portal URLs with the Secure Access toggle enabled allow submitters to access their submissions at any time to add additional details to their reports, and communicate with the Resolver user reviewing their report.
User Account Requirements
The user account you use to log into Resolver must have Administrator permissions to create a Secure Access Portal.
Related Information/Setup
For further information on using a Secure Access Portal login URL, please refer to the Using the Secure Access Portal article.
For further information on accessing a Secure Access Portal report, please refer to the Accessing a Secure Access Portal Report article.
For further information on responding to a Secure Access Portal message in Resolver, please refer to the Secure Access Portal Communications article.
Navigation
- From the Home screen, click the Administration icon.
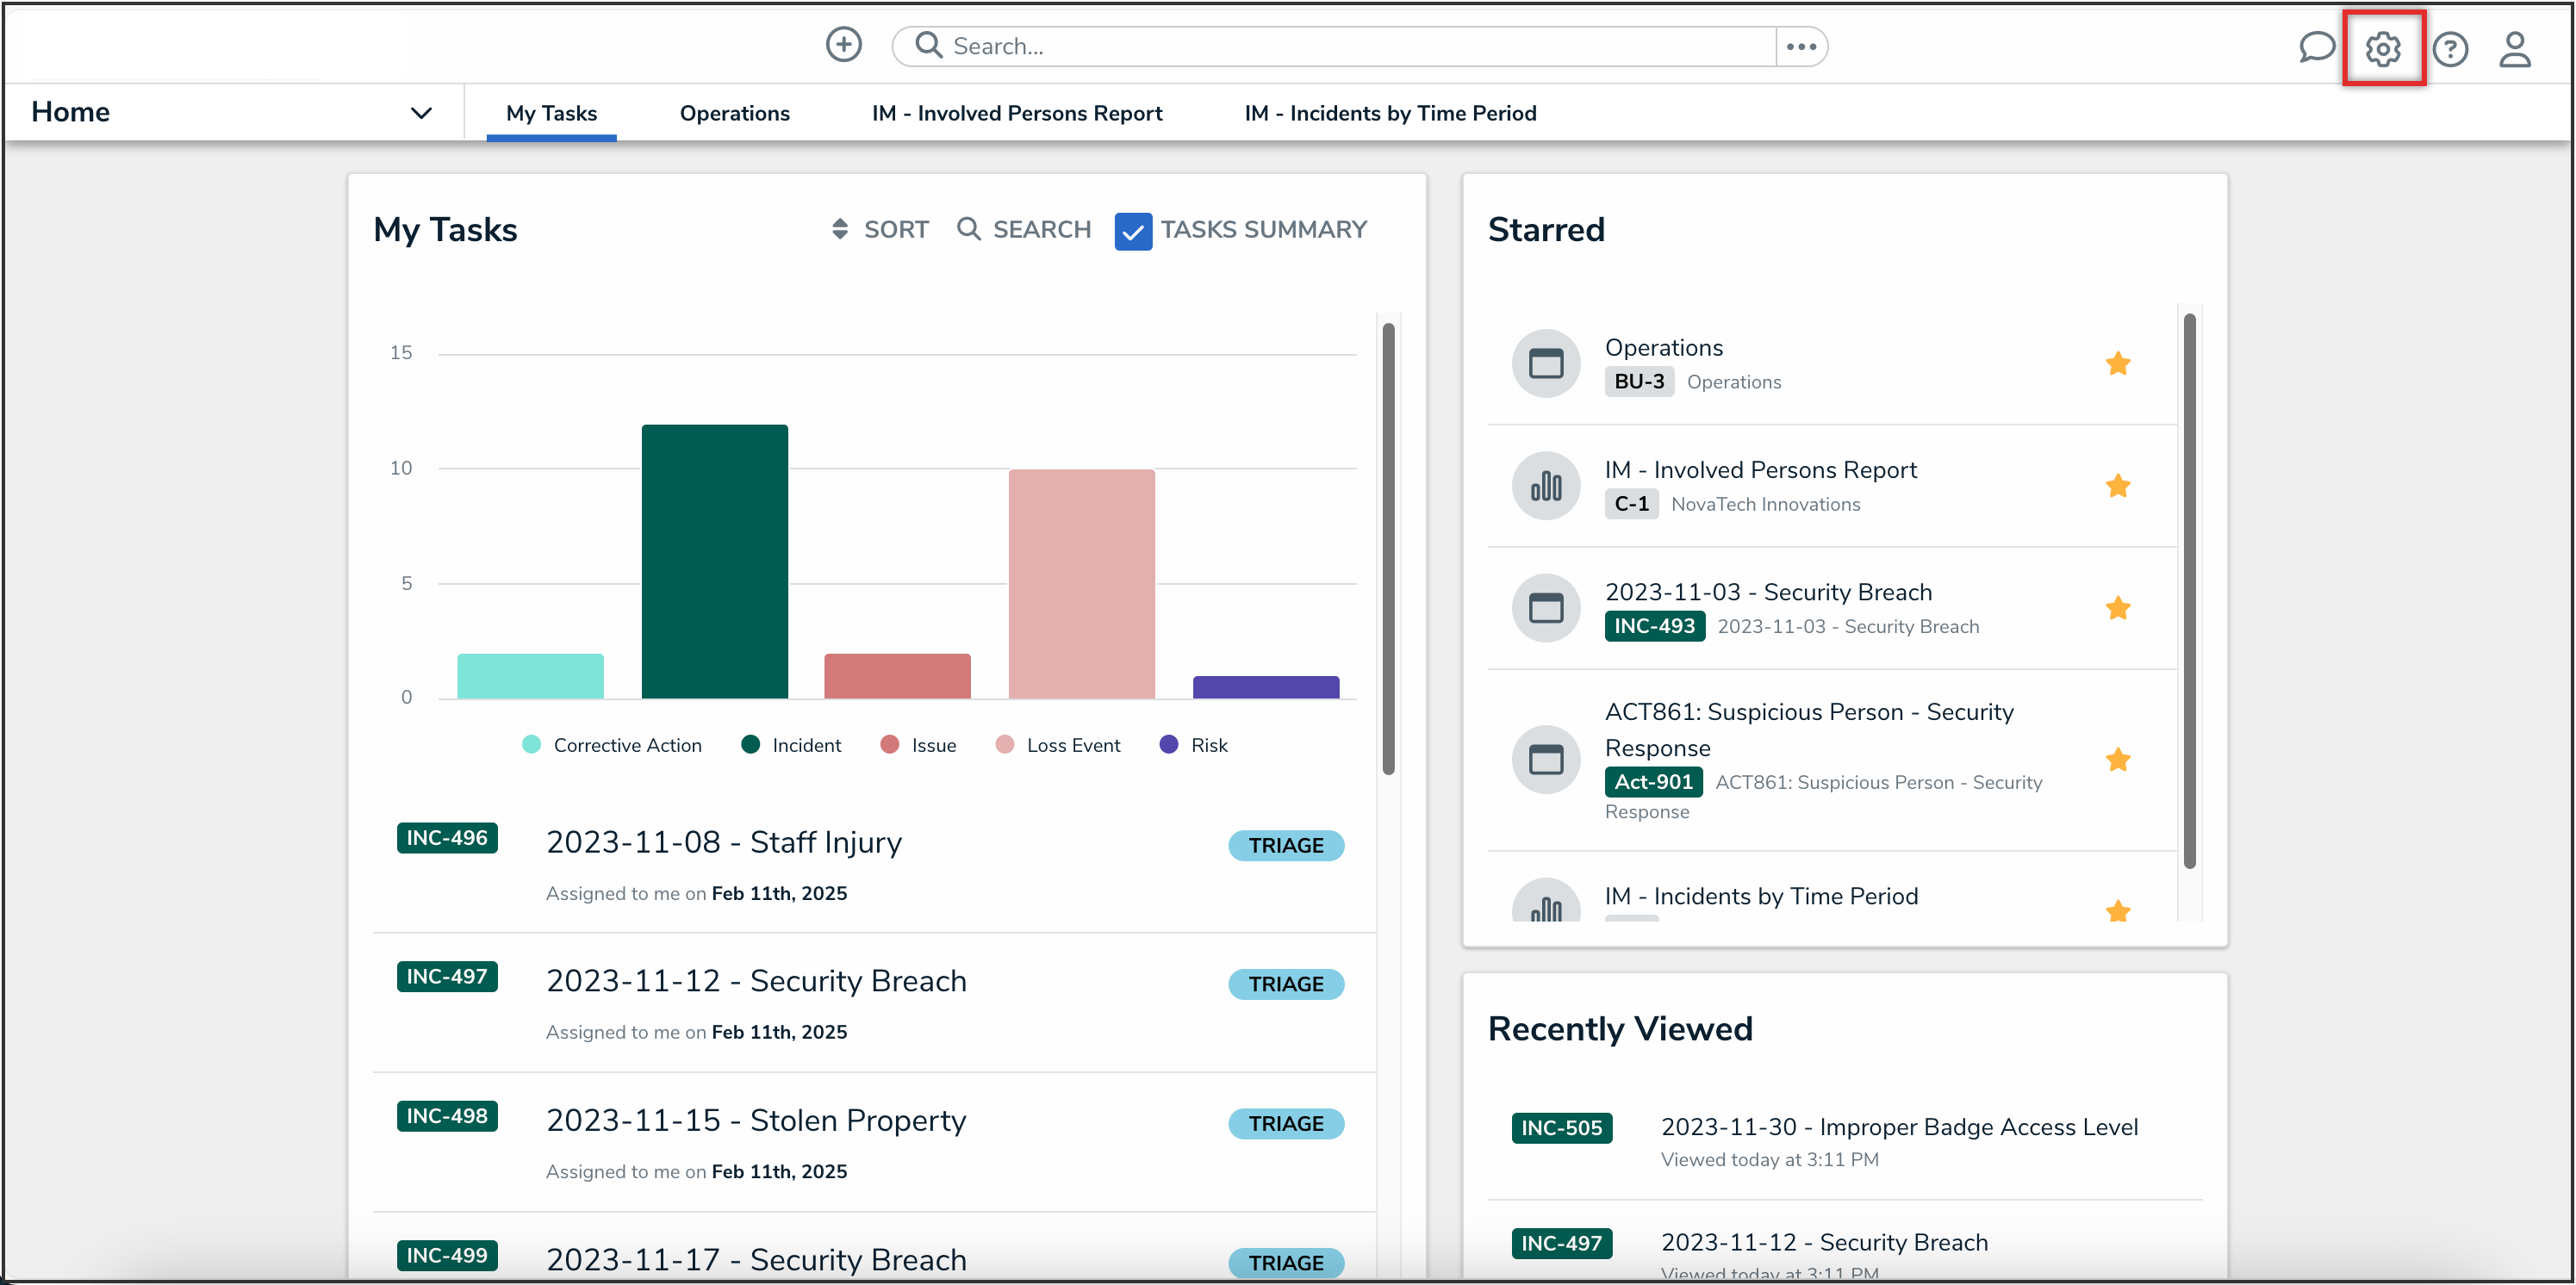
Administration Icon

- From the Administrator settings menu, click the Admin Overview link.
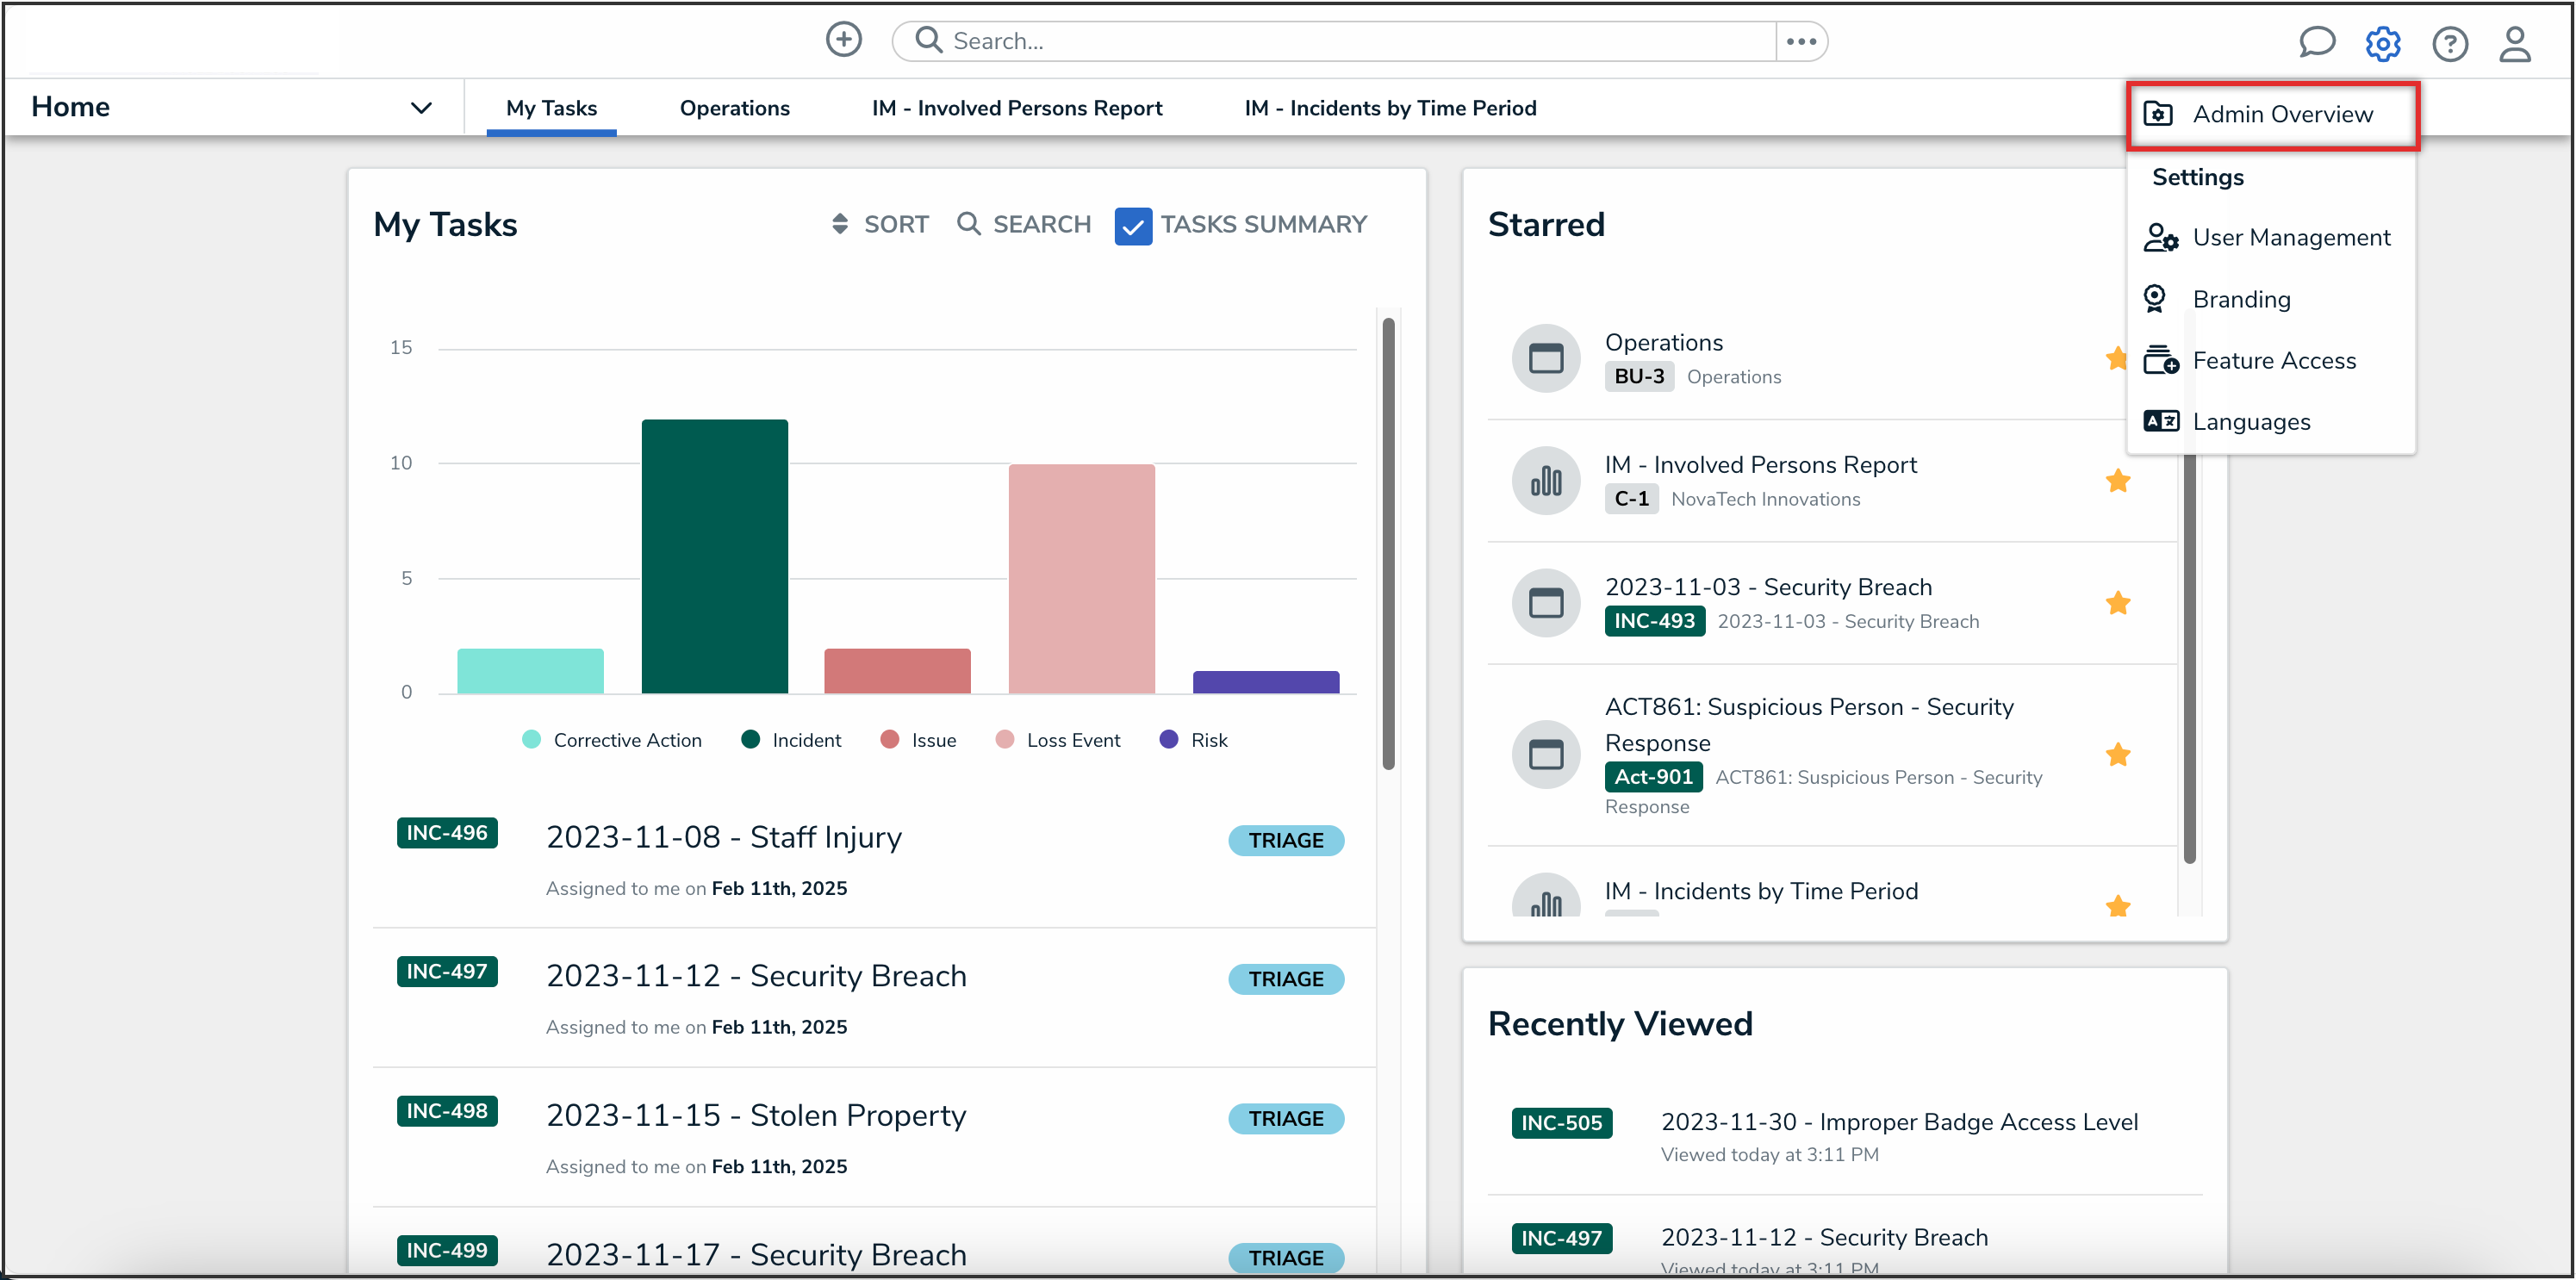
Admin Overview Link

- From the Admin Overview screen, click the Portal URL Settings tile under the Communications section.
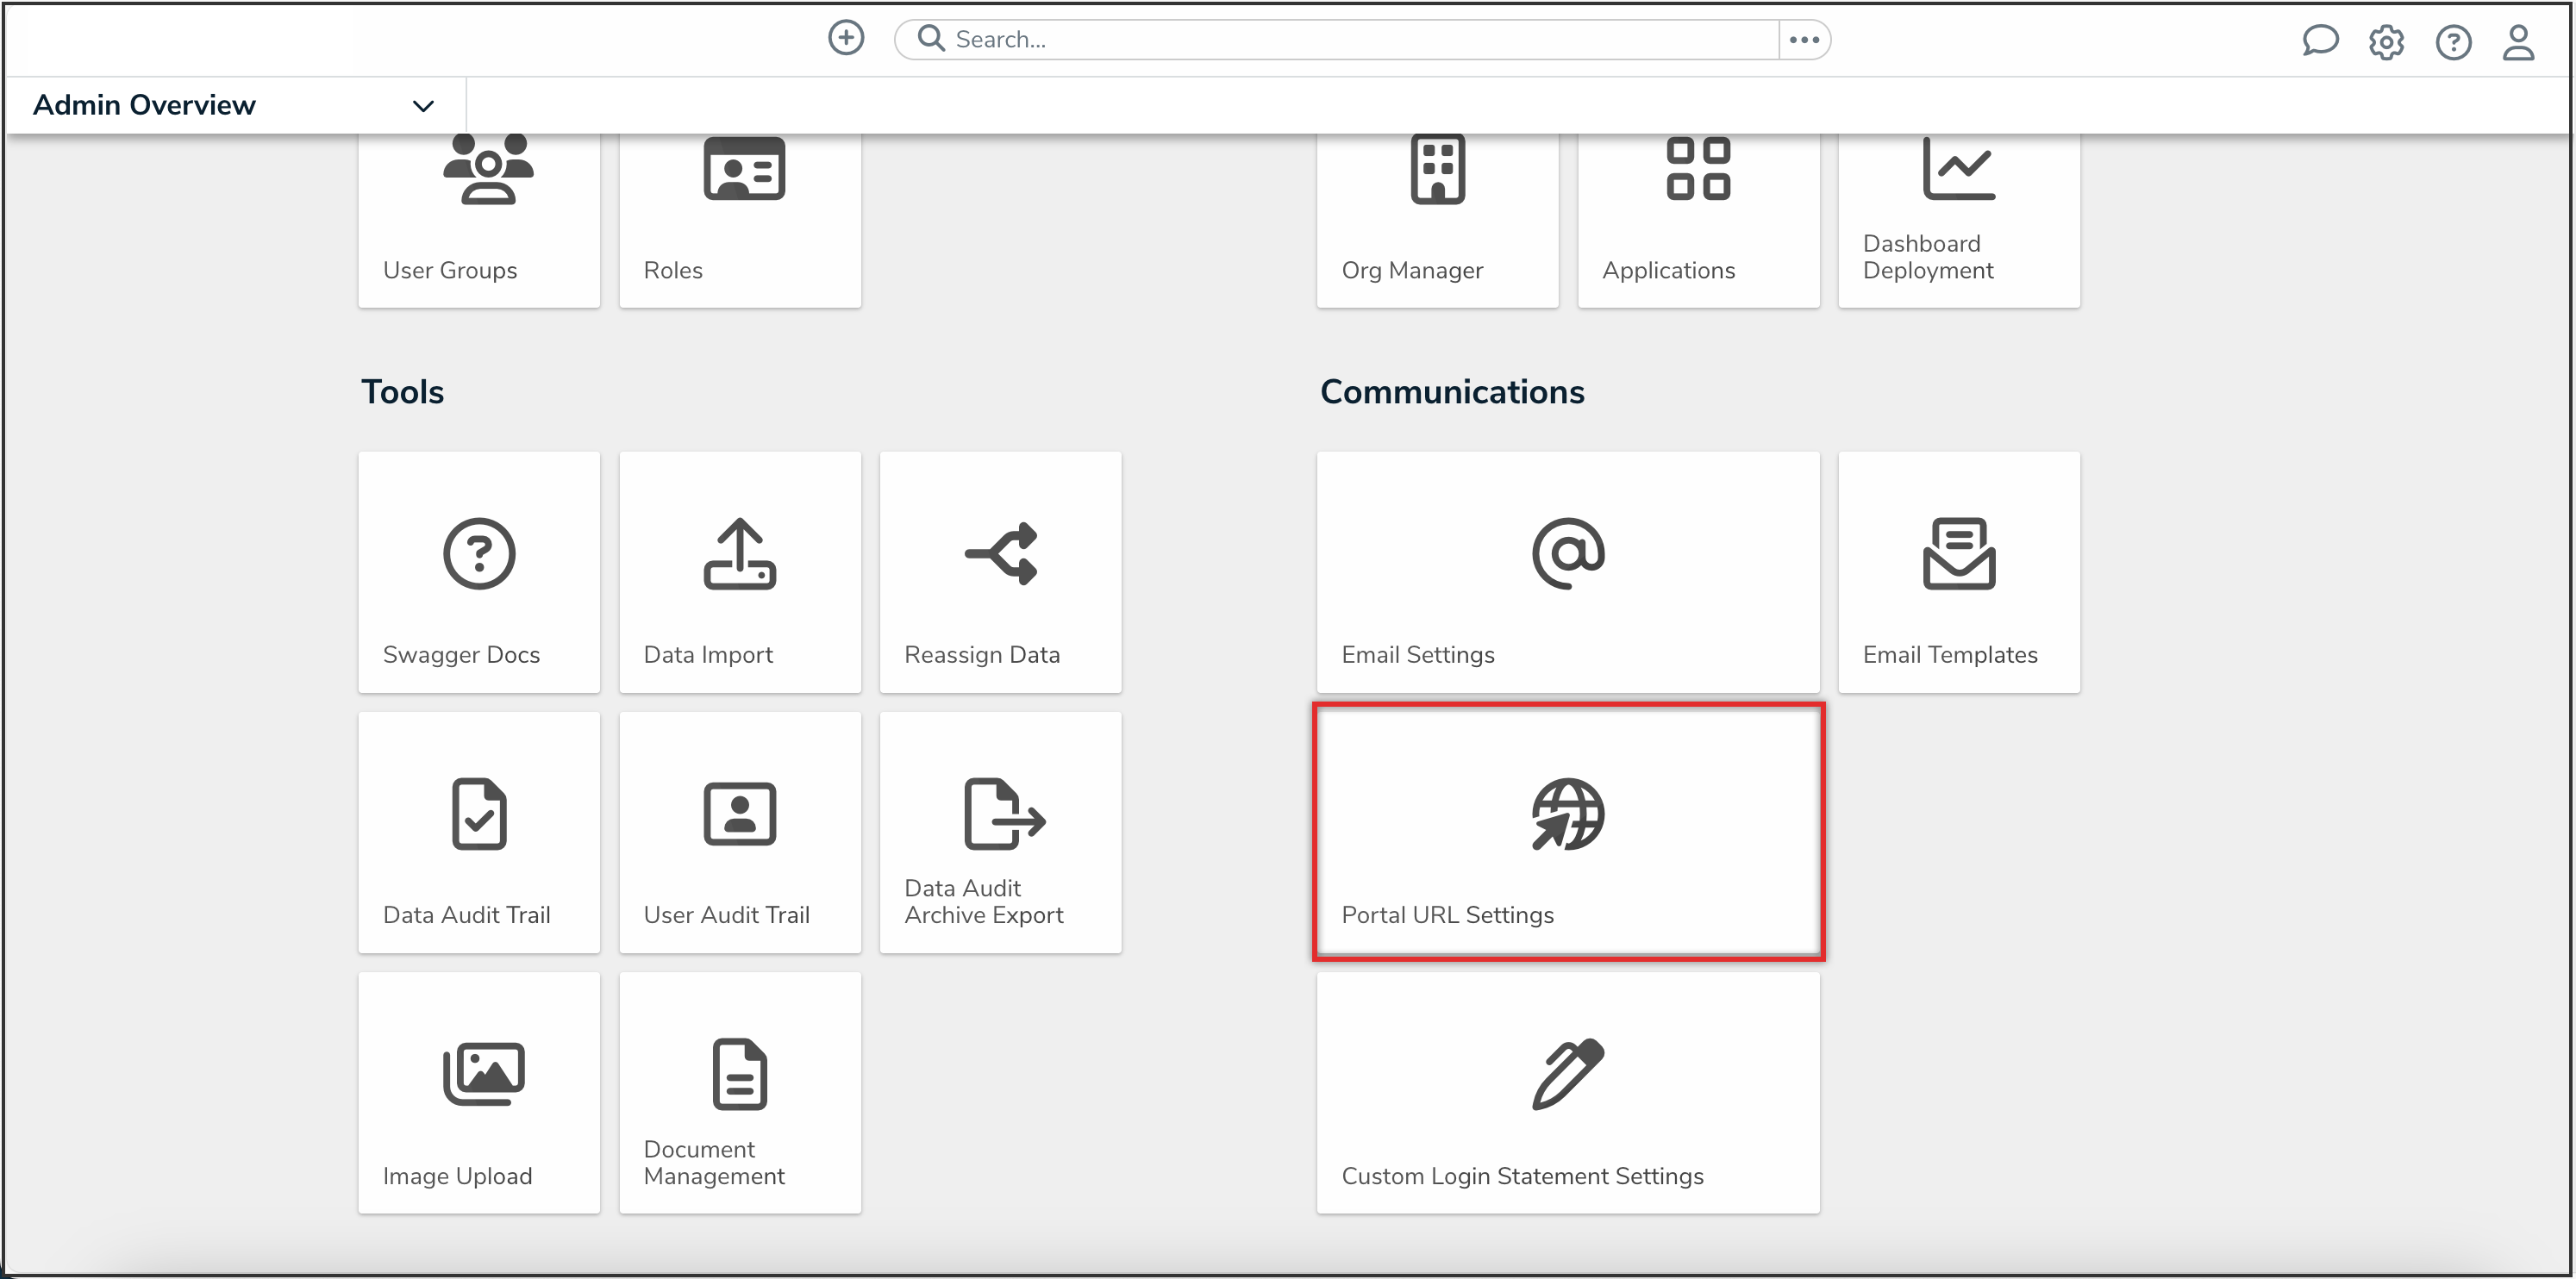
Portal URL Settings Tile

- From the Admin: Portal URL Settings screen, click the Create Portal URL button.
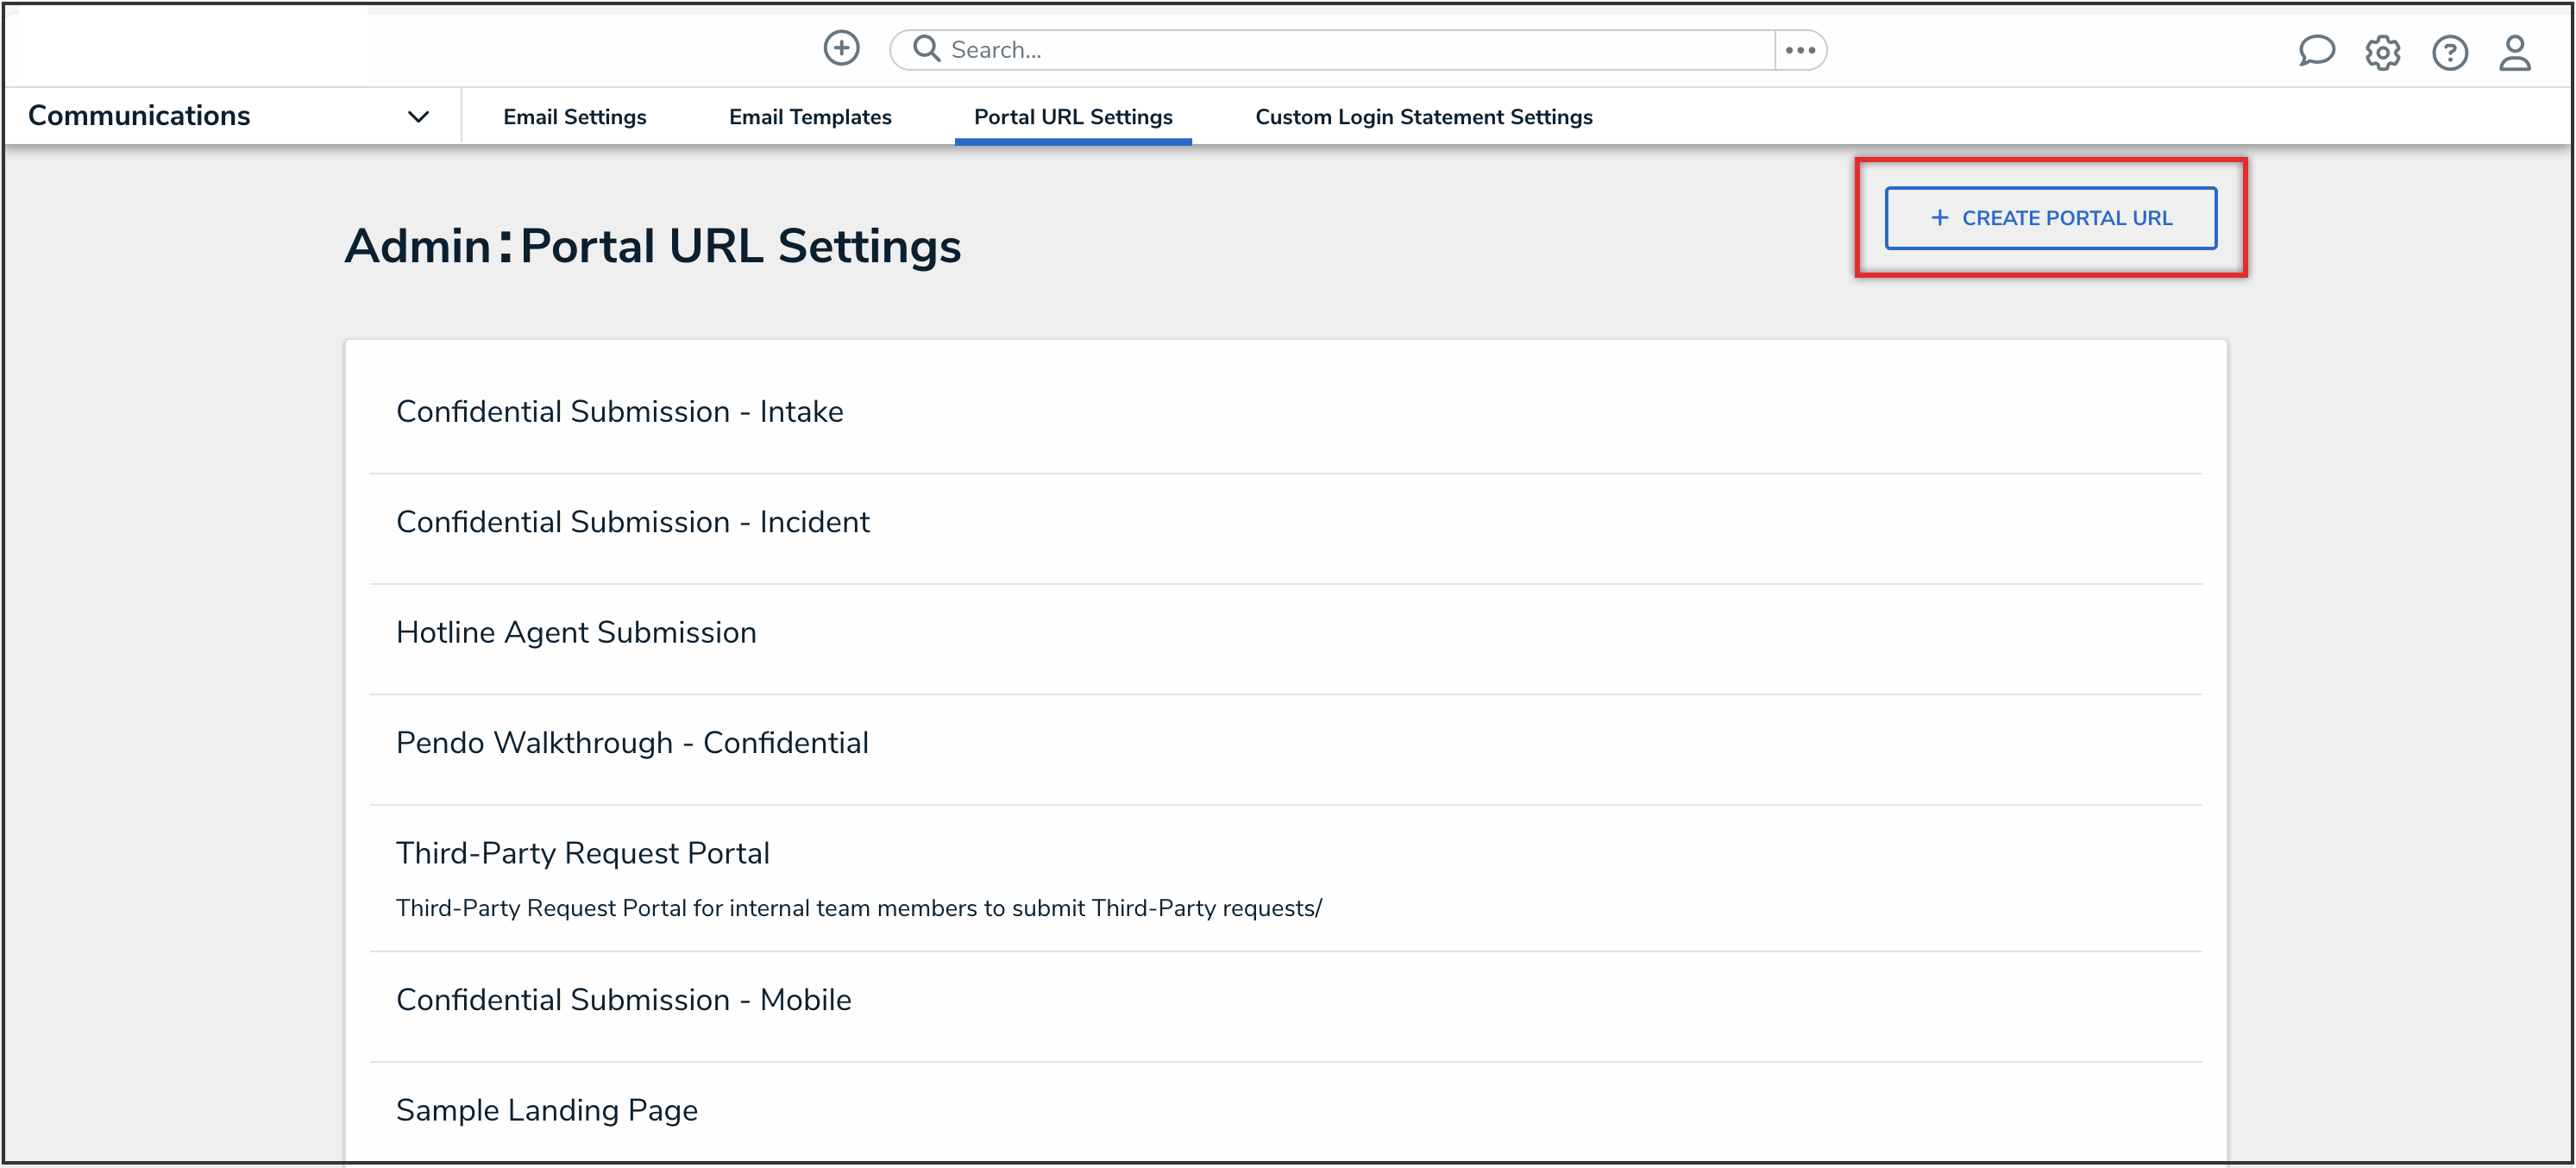
Create Portal URL Button

Creating a Secure Access Portal
- From the Portal URL Settings: Create Portal URL screen, enter a name for the Portal in the Name field.
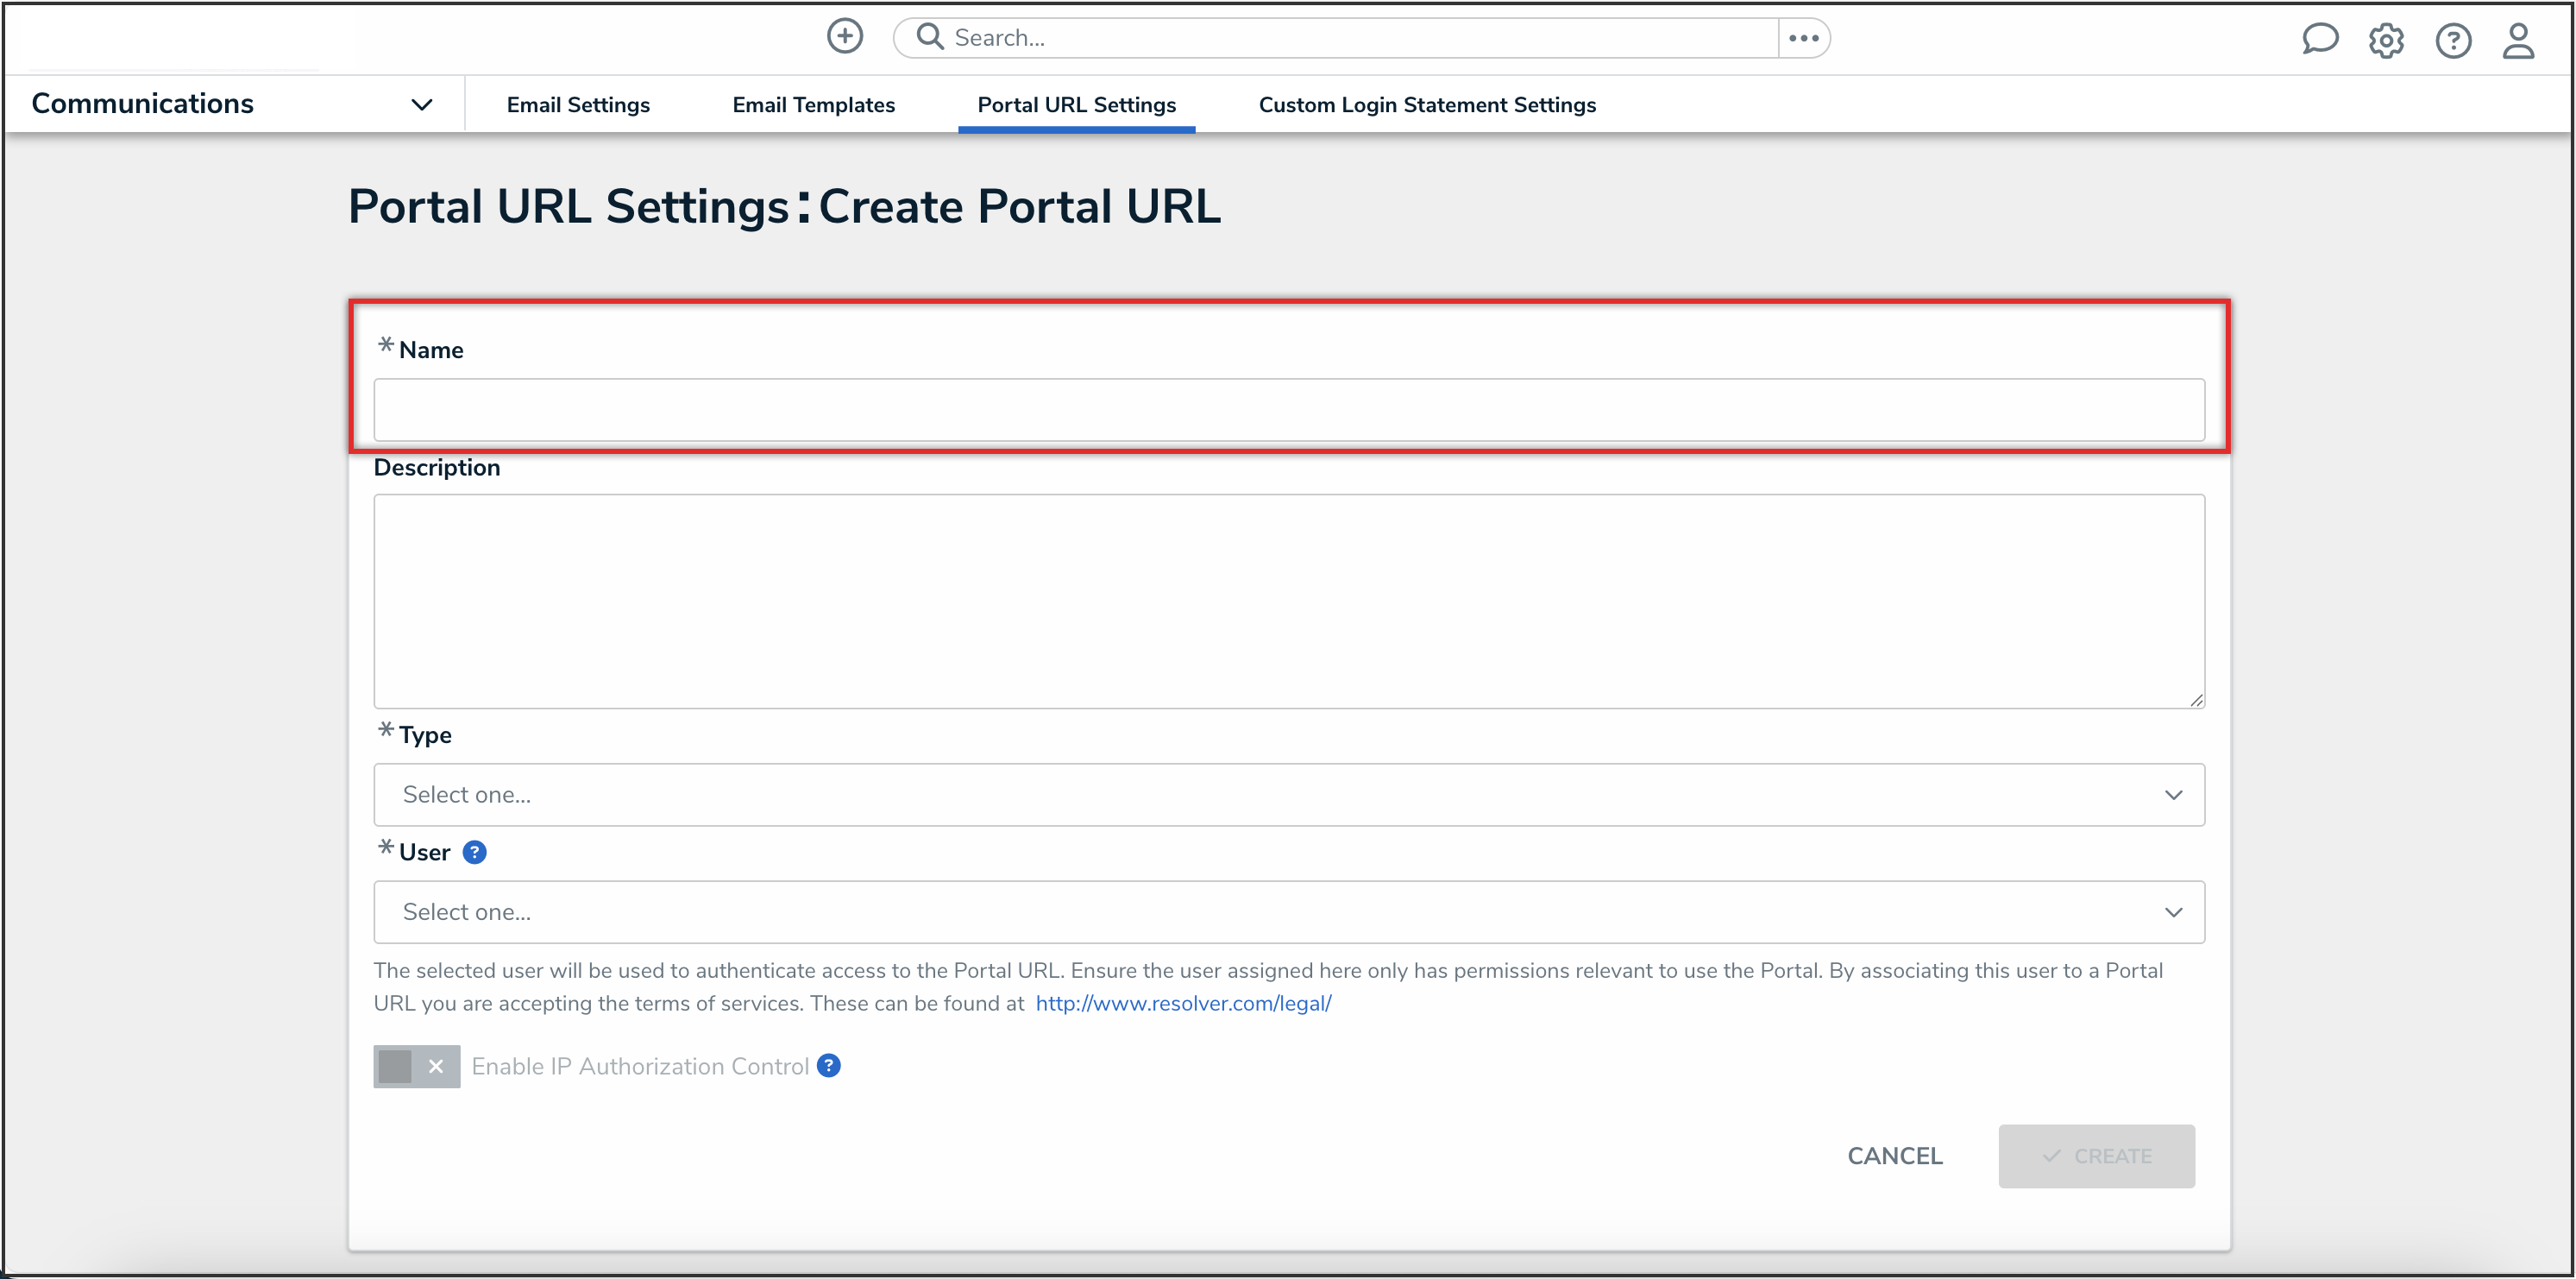
Name Field

- (Optional): Enter a Portal description in the Description field. This description will appear below the Portal’s name on the Secure Access Portal URL screen.
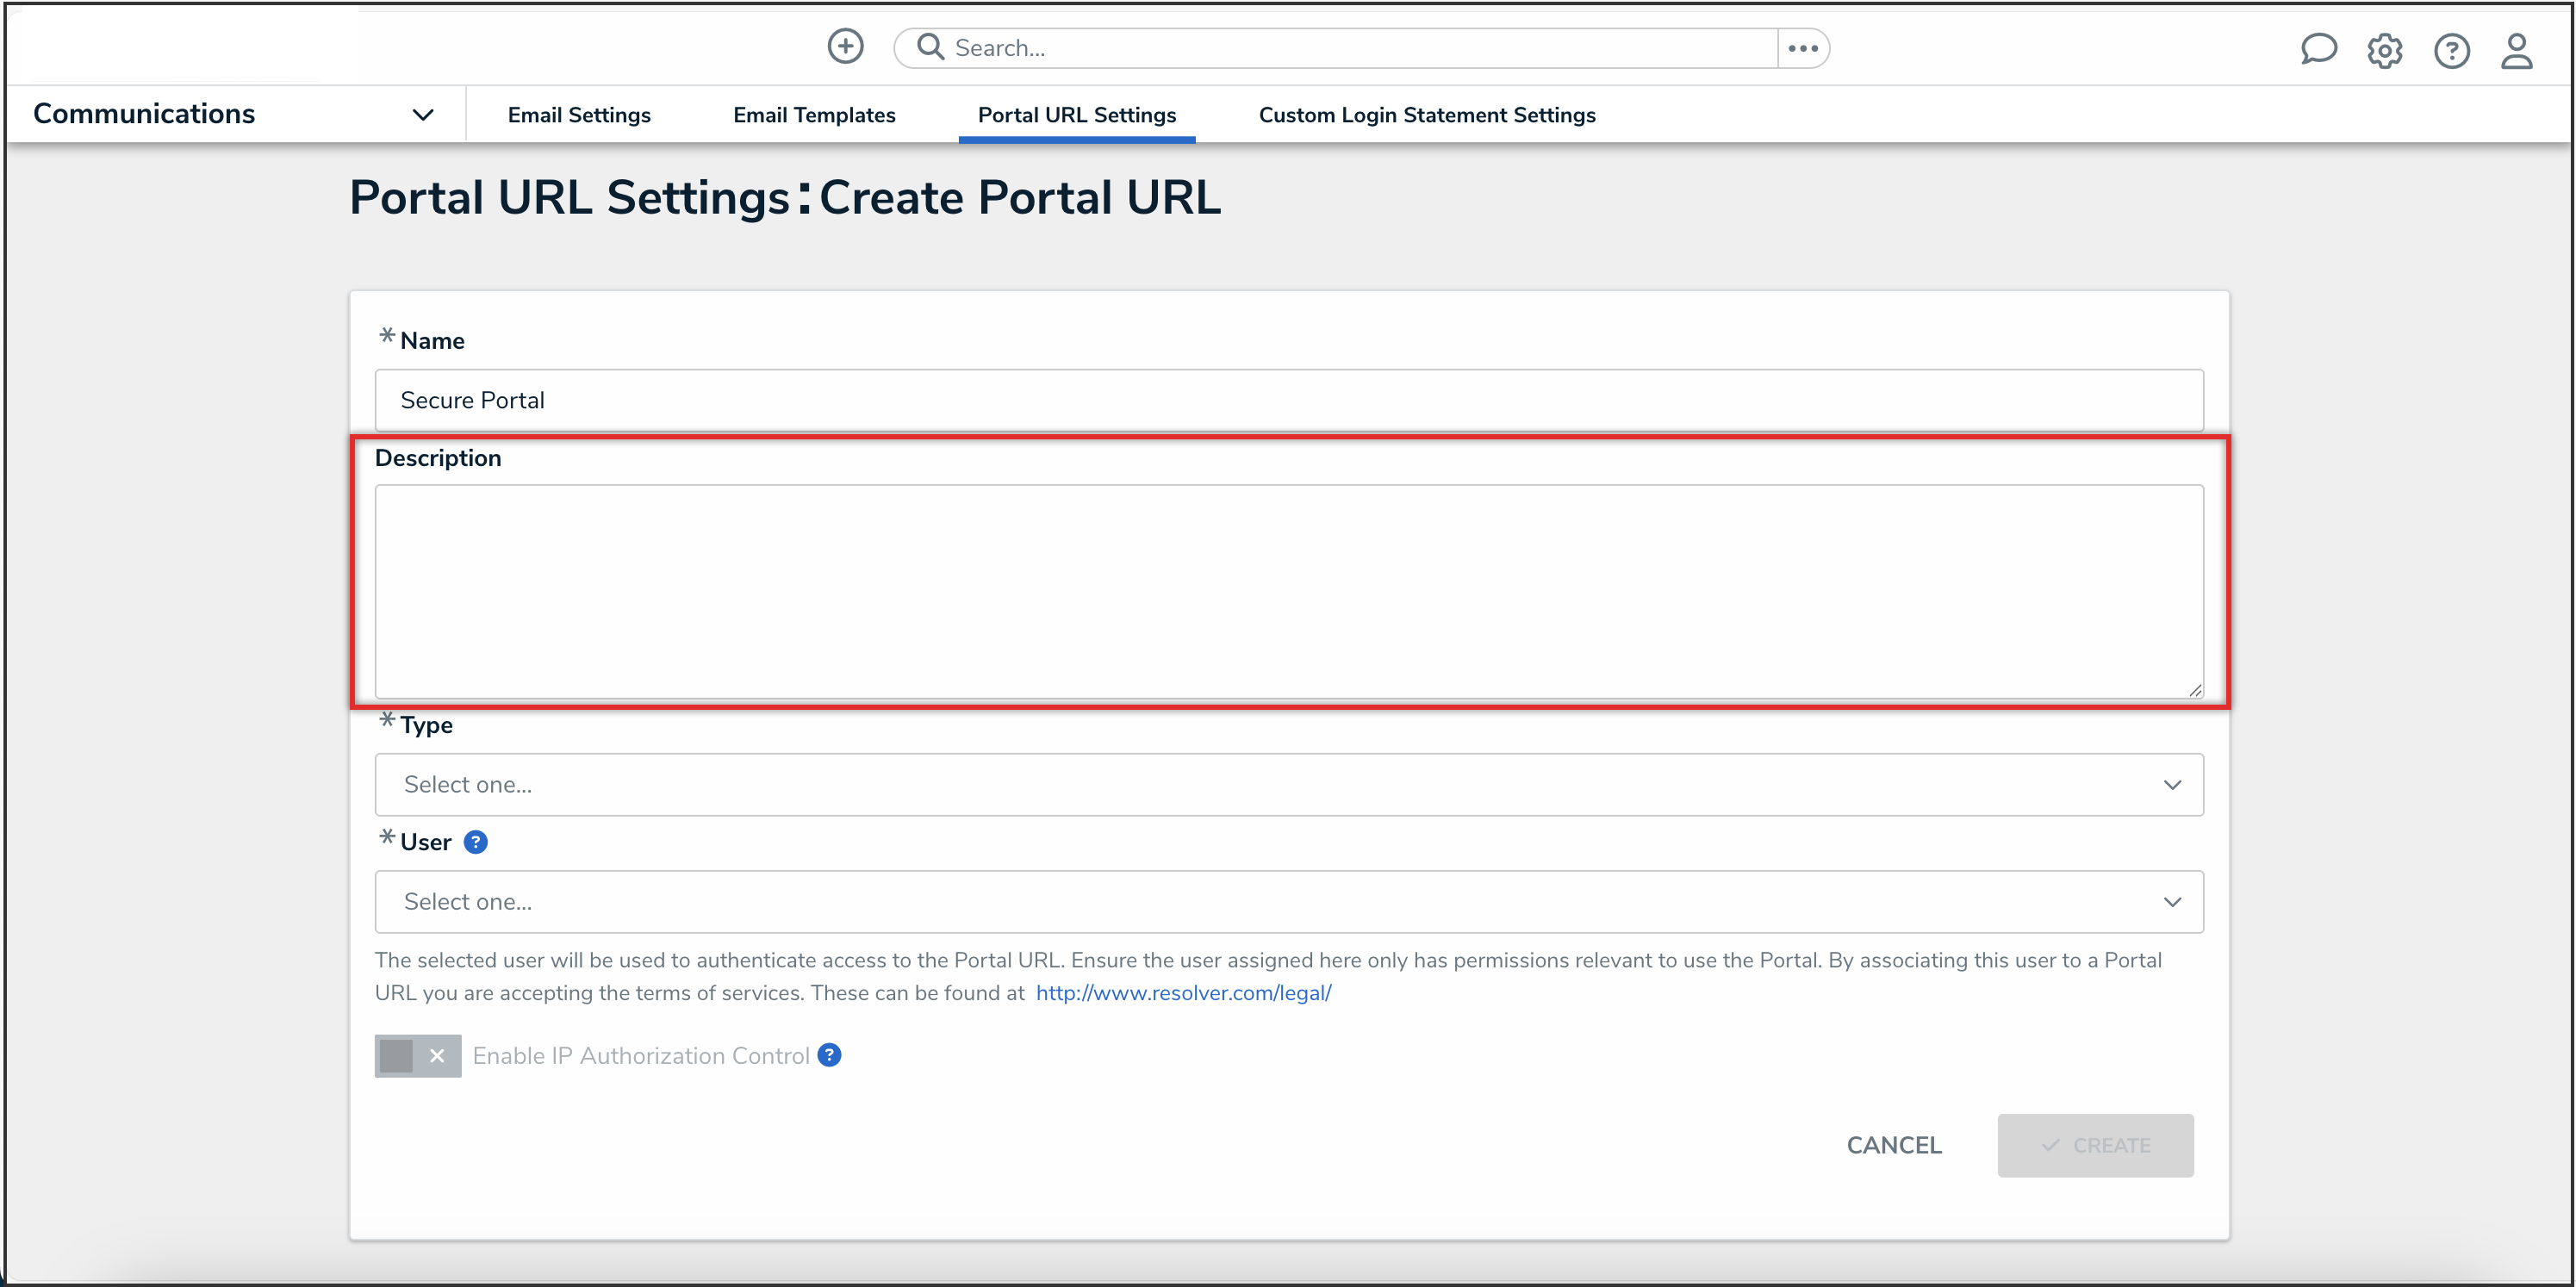
Description Field

- From the Type dropdown menu, select Form.
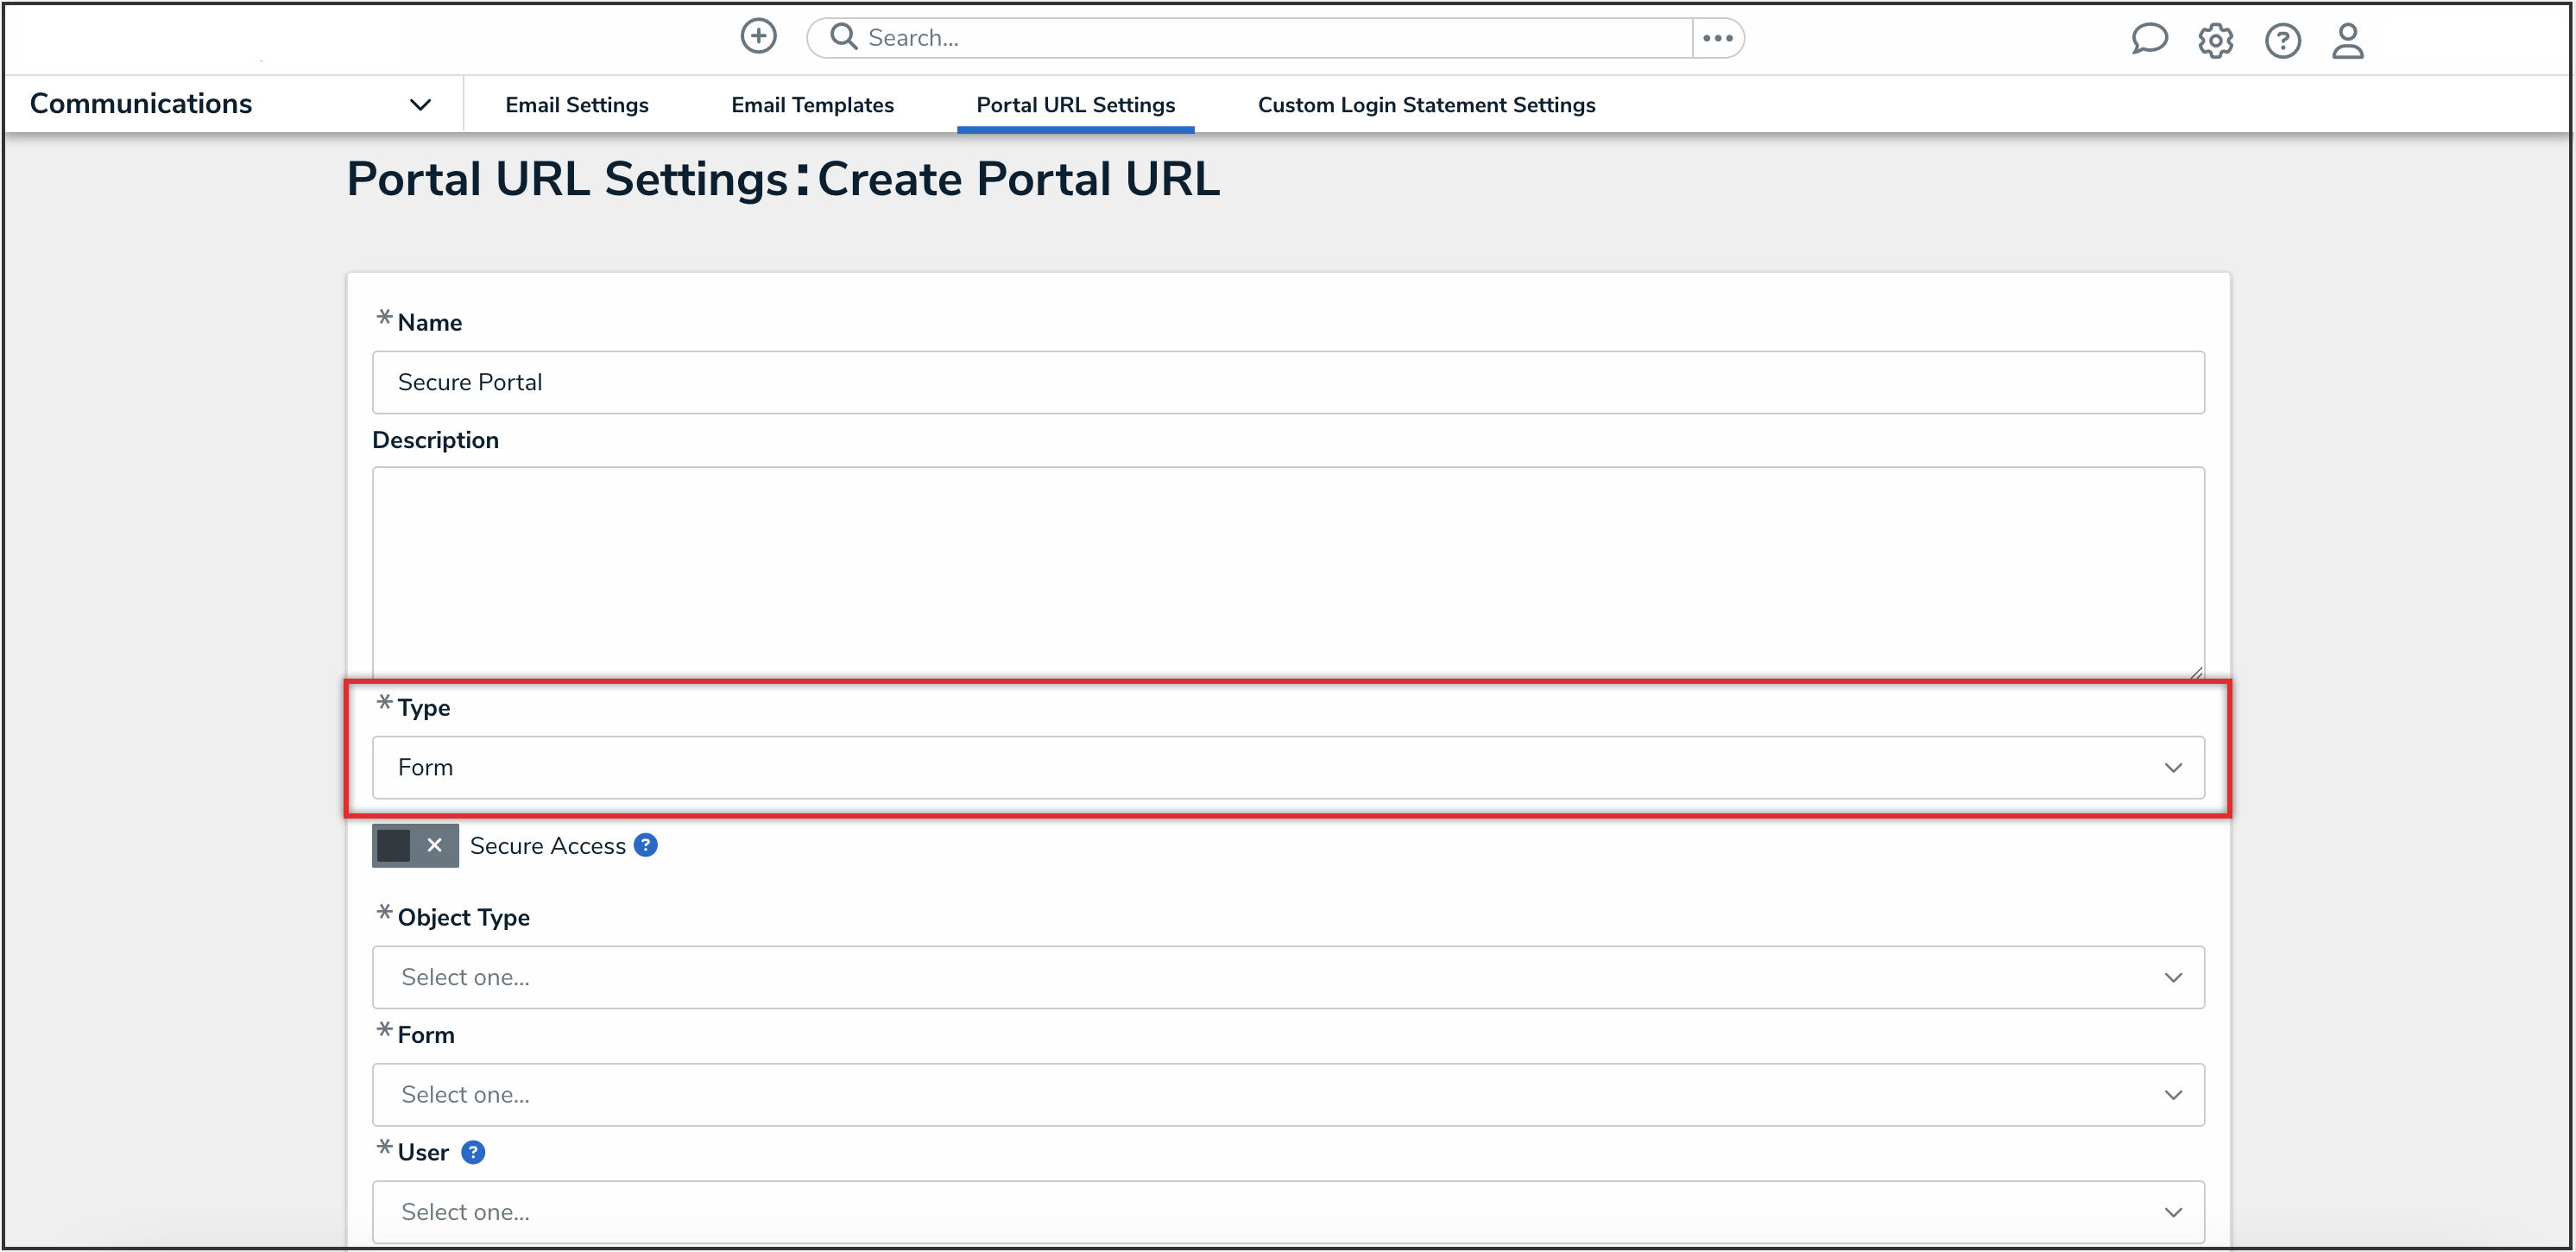
Type Dropdown Menu

- Click the Secure Access toggle switch to turn it on.
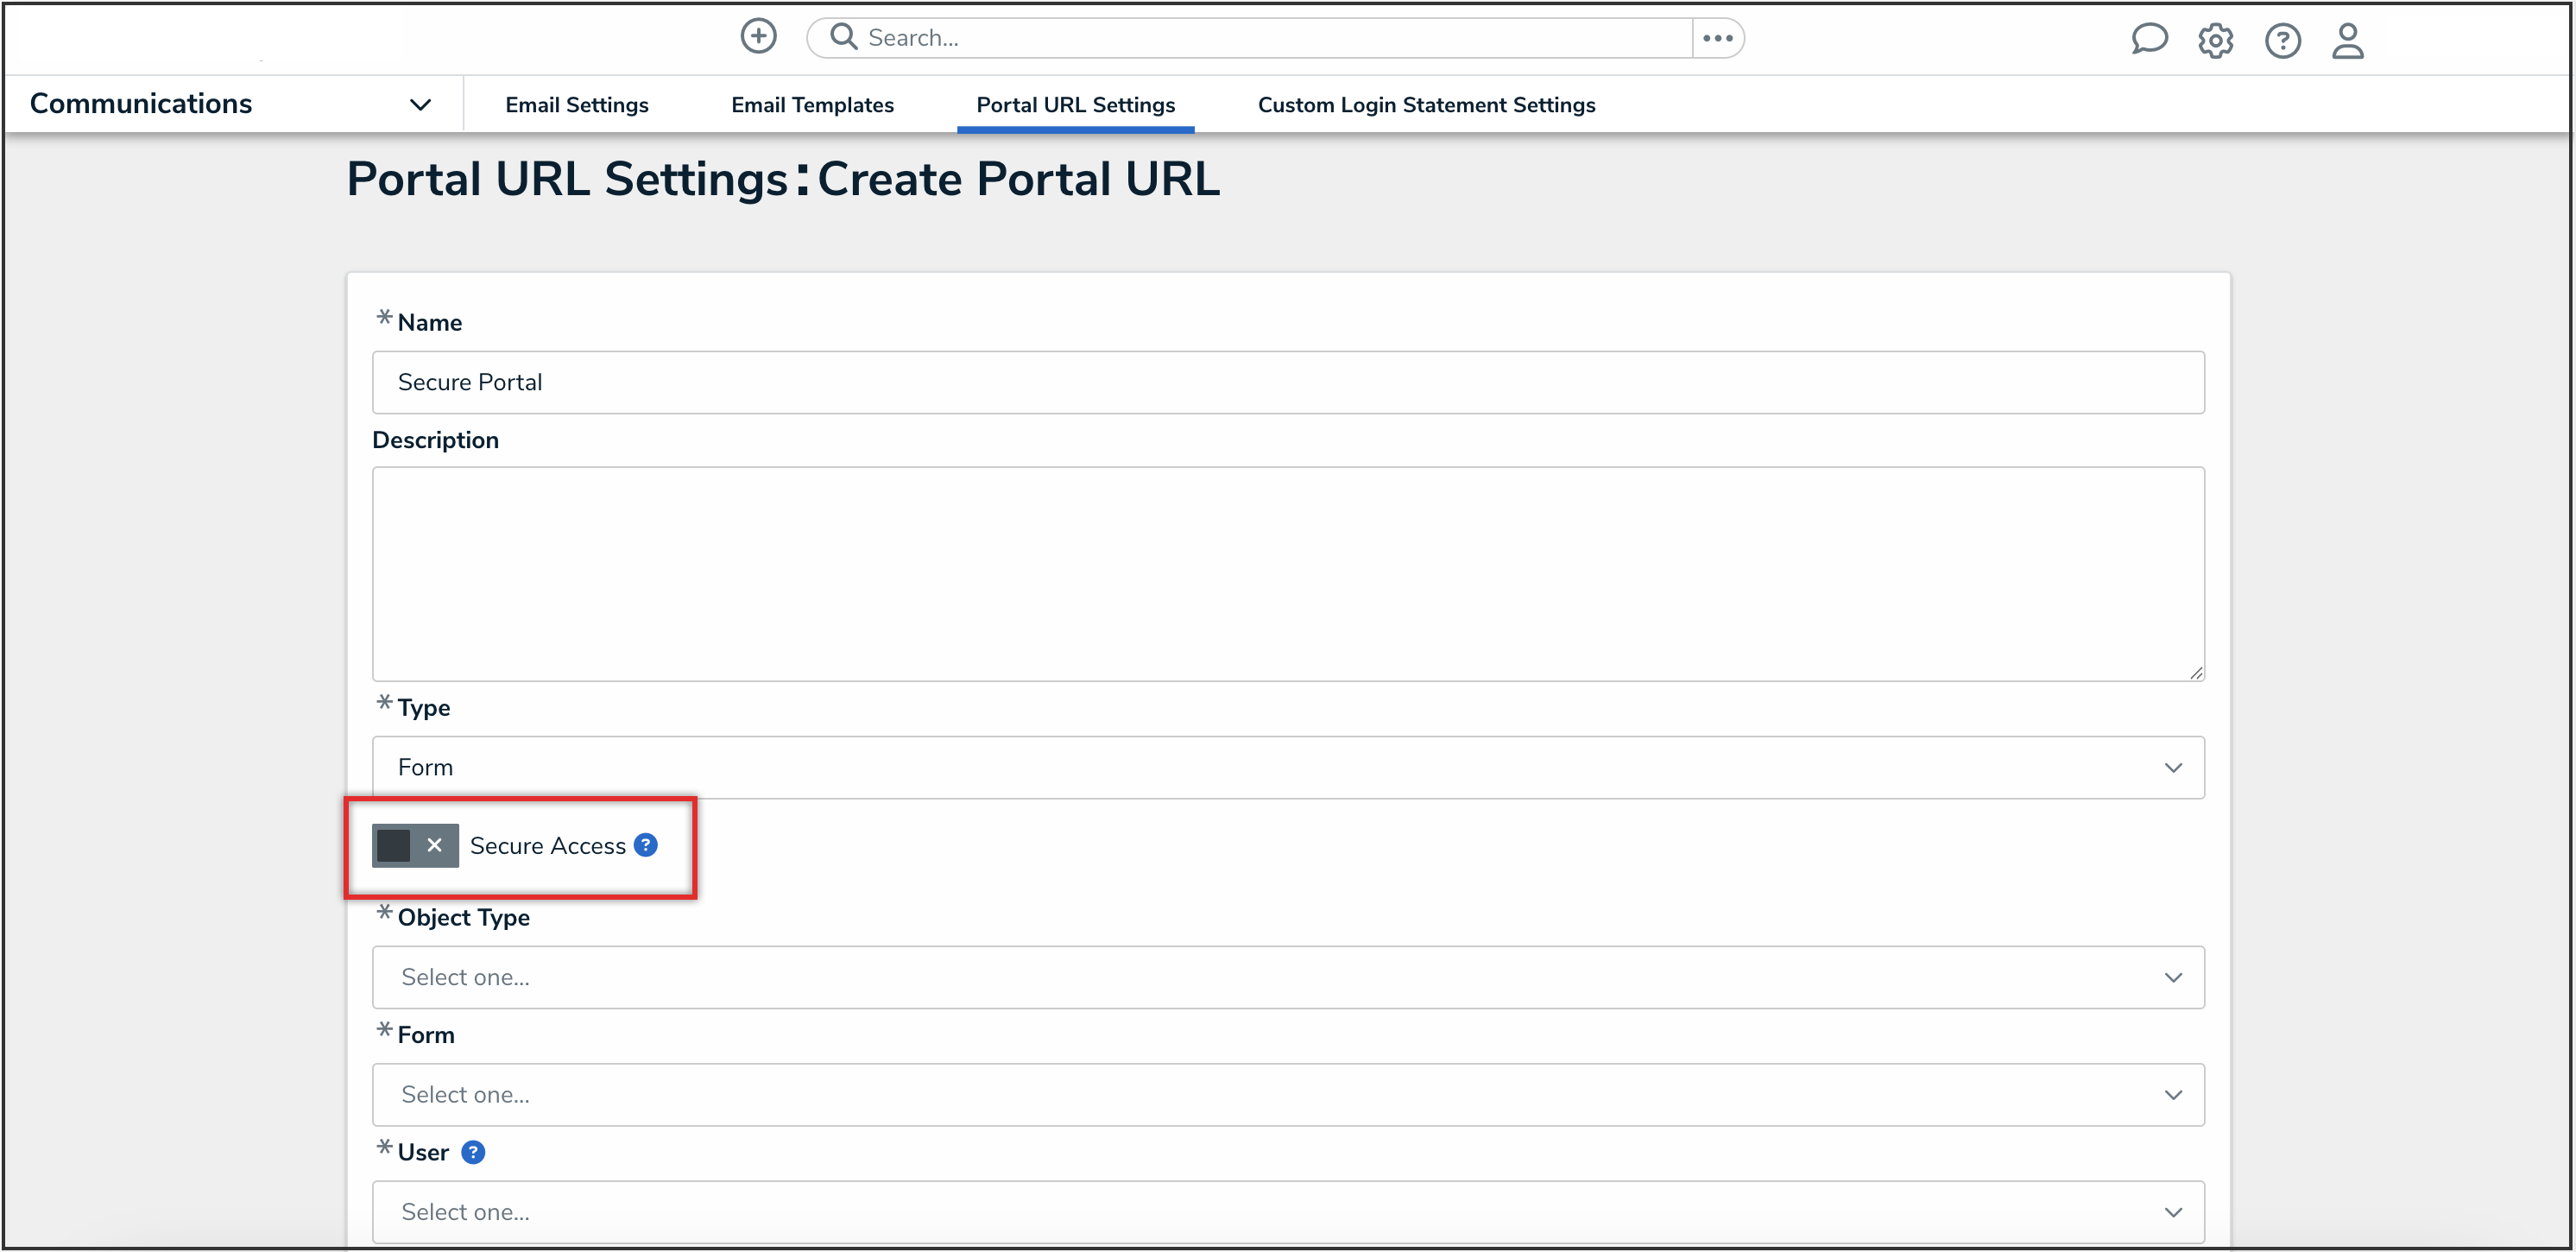
Secure Access Toggle Switch

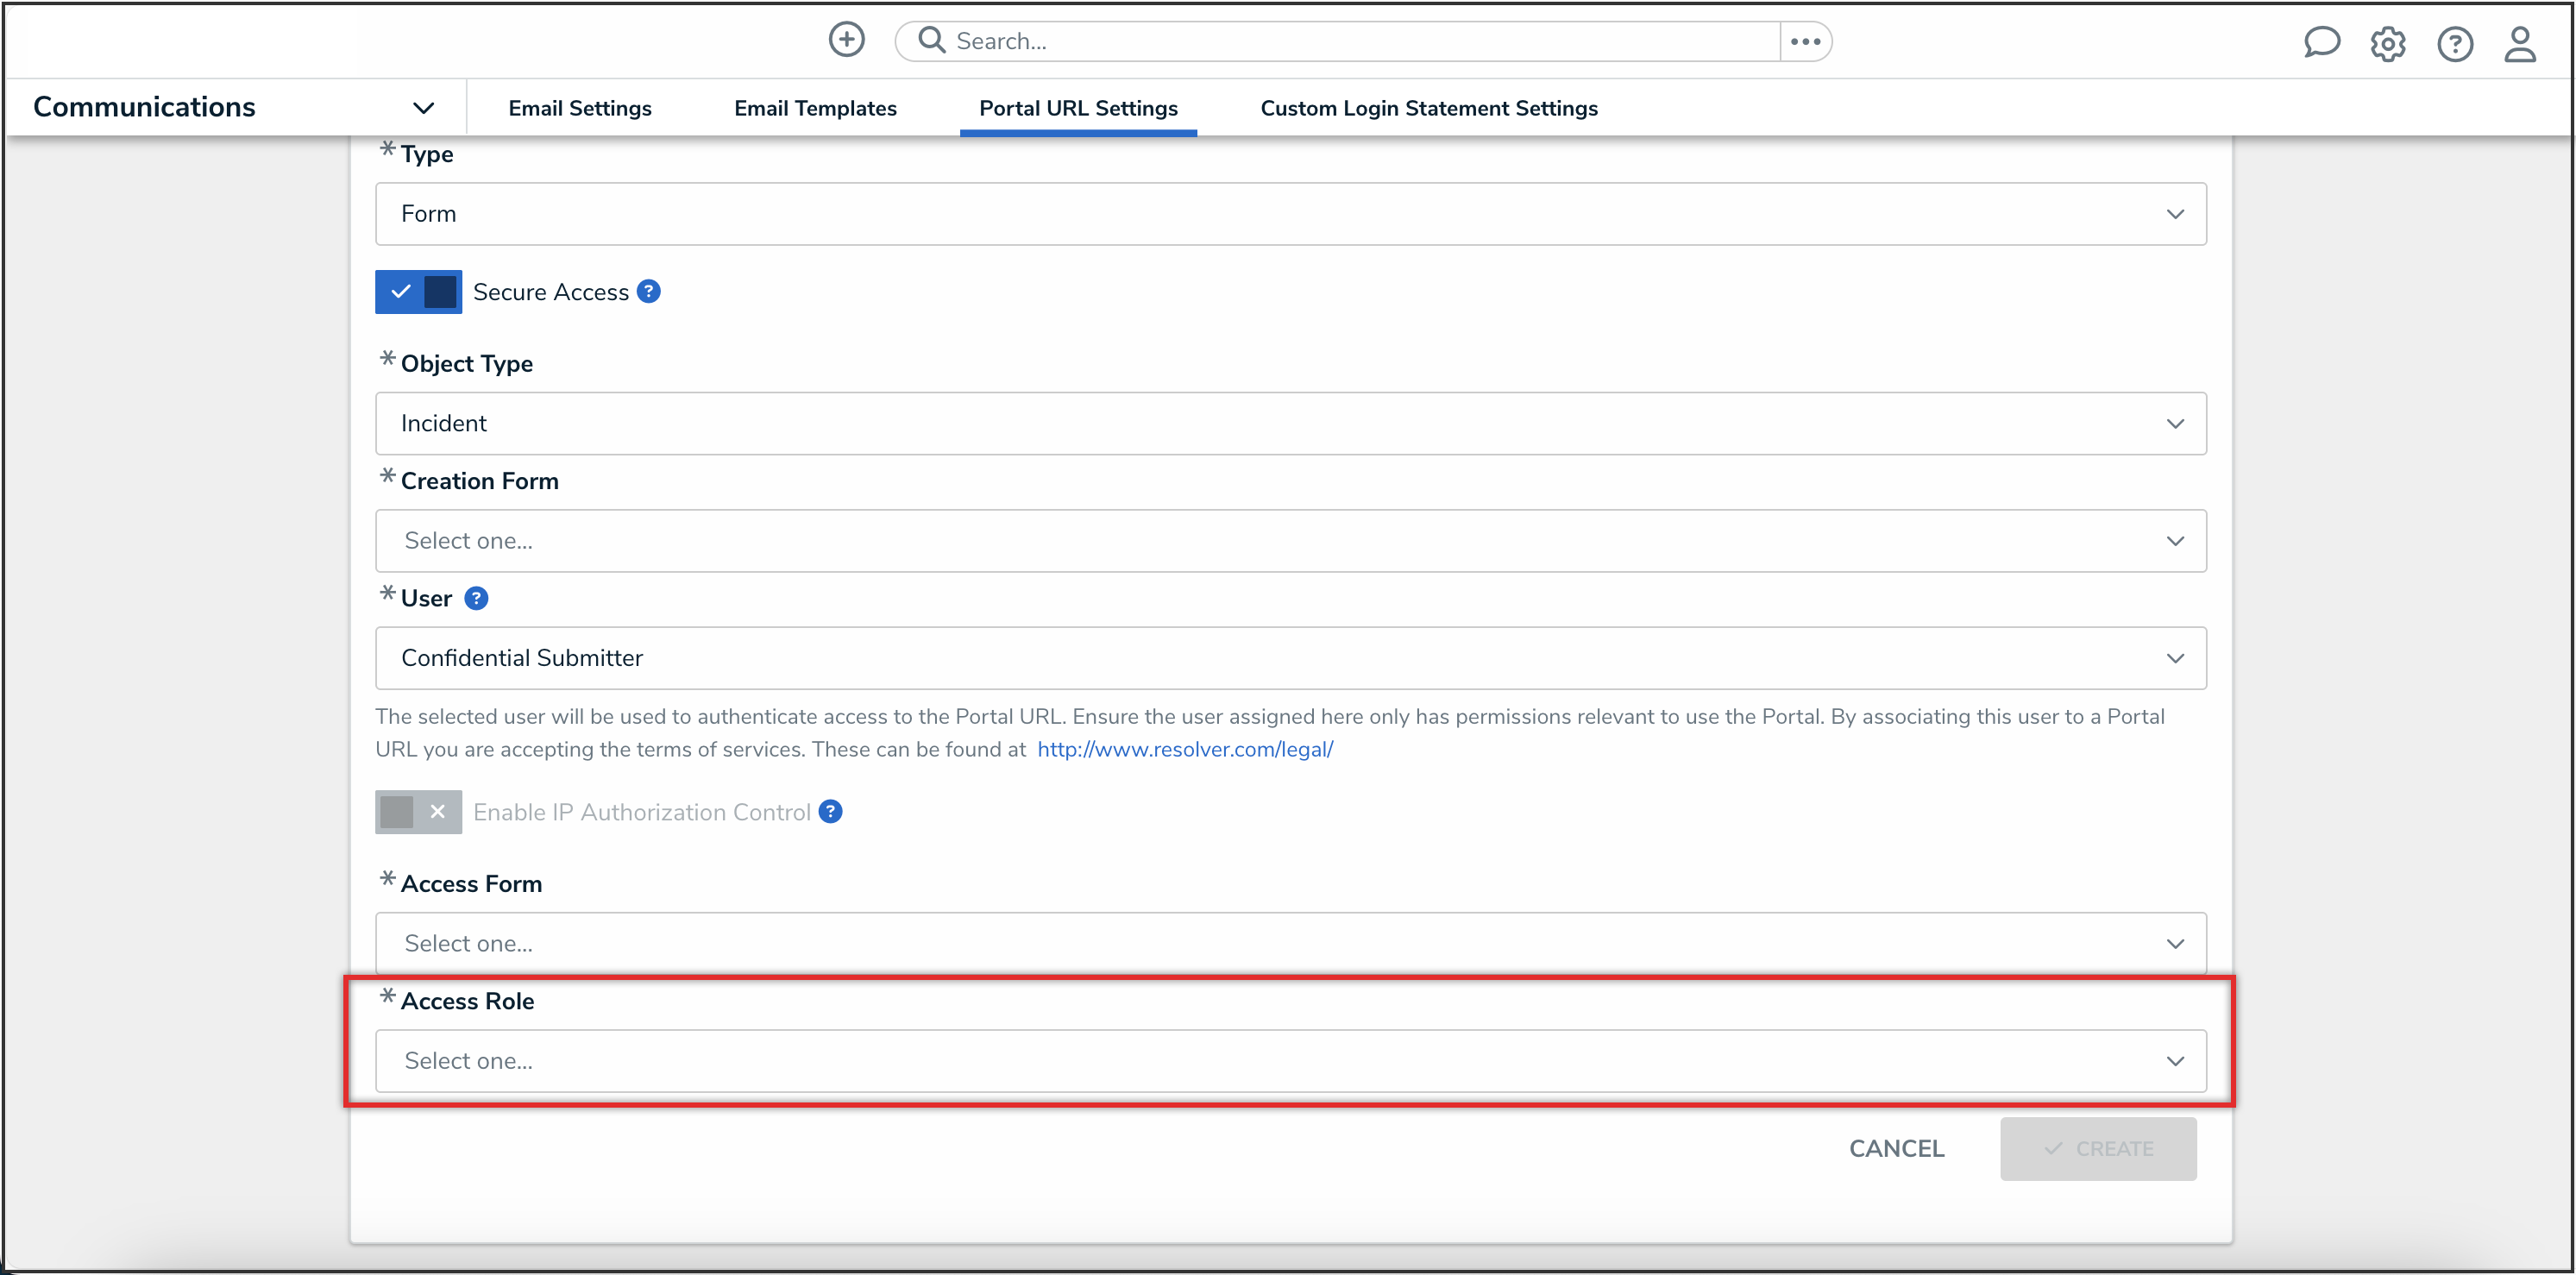
- From the Object Type dropdown menu, select an object type. The selected object type dictates which forms will be available to select from the Creation Form and Access Form dropdown menus.
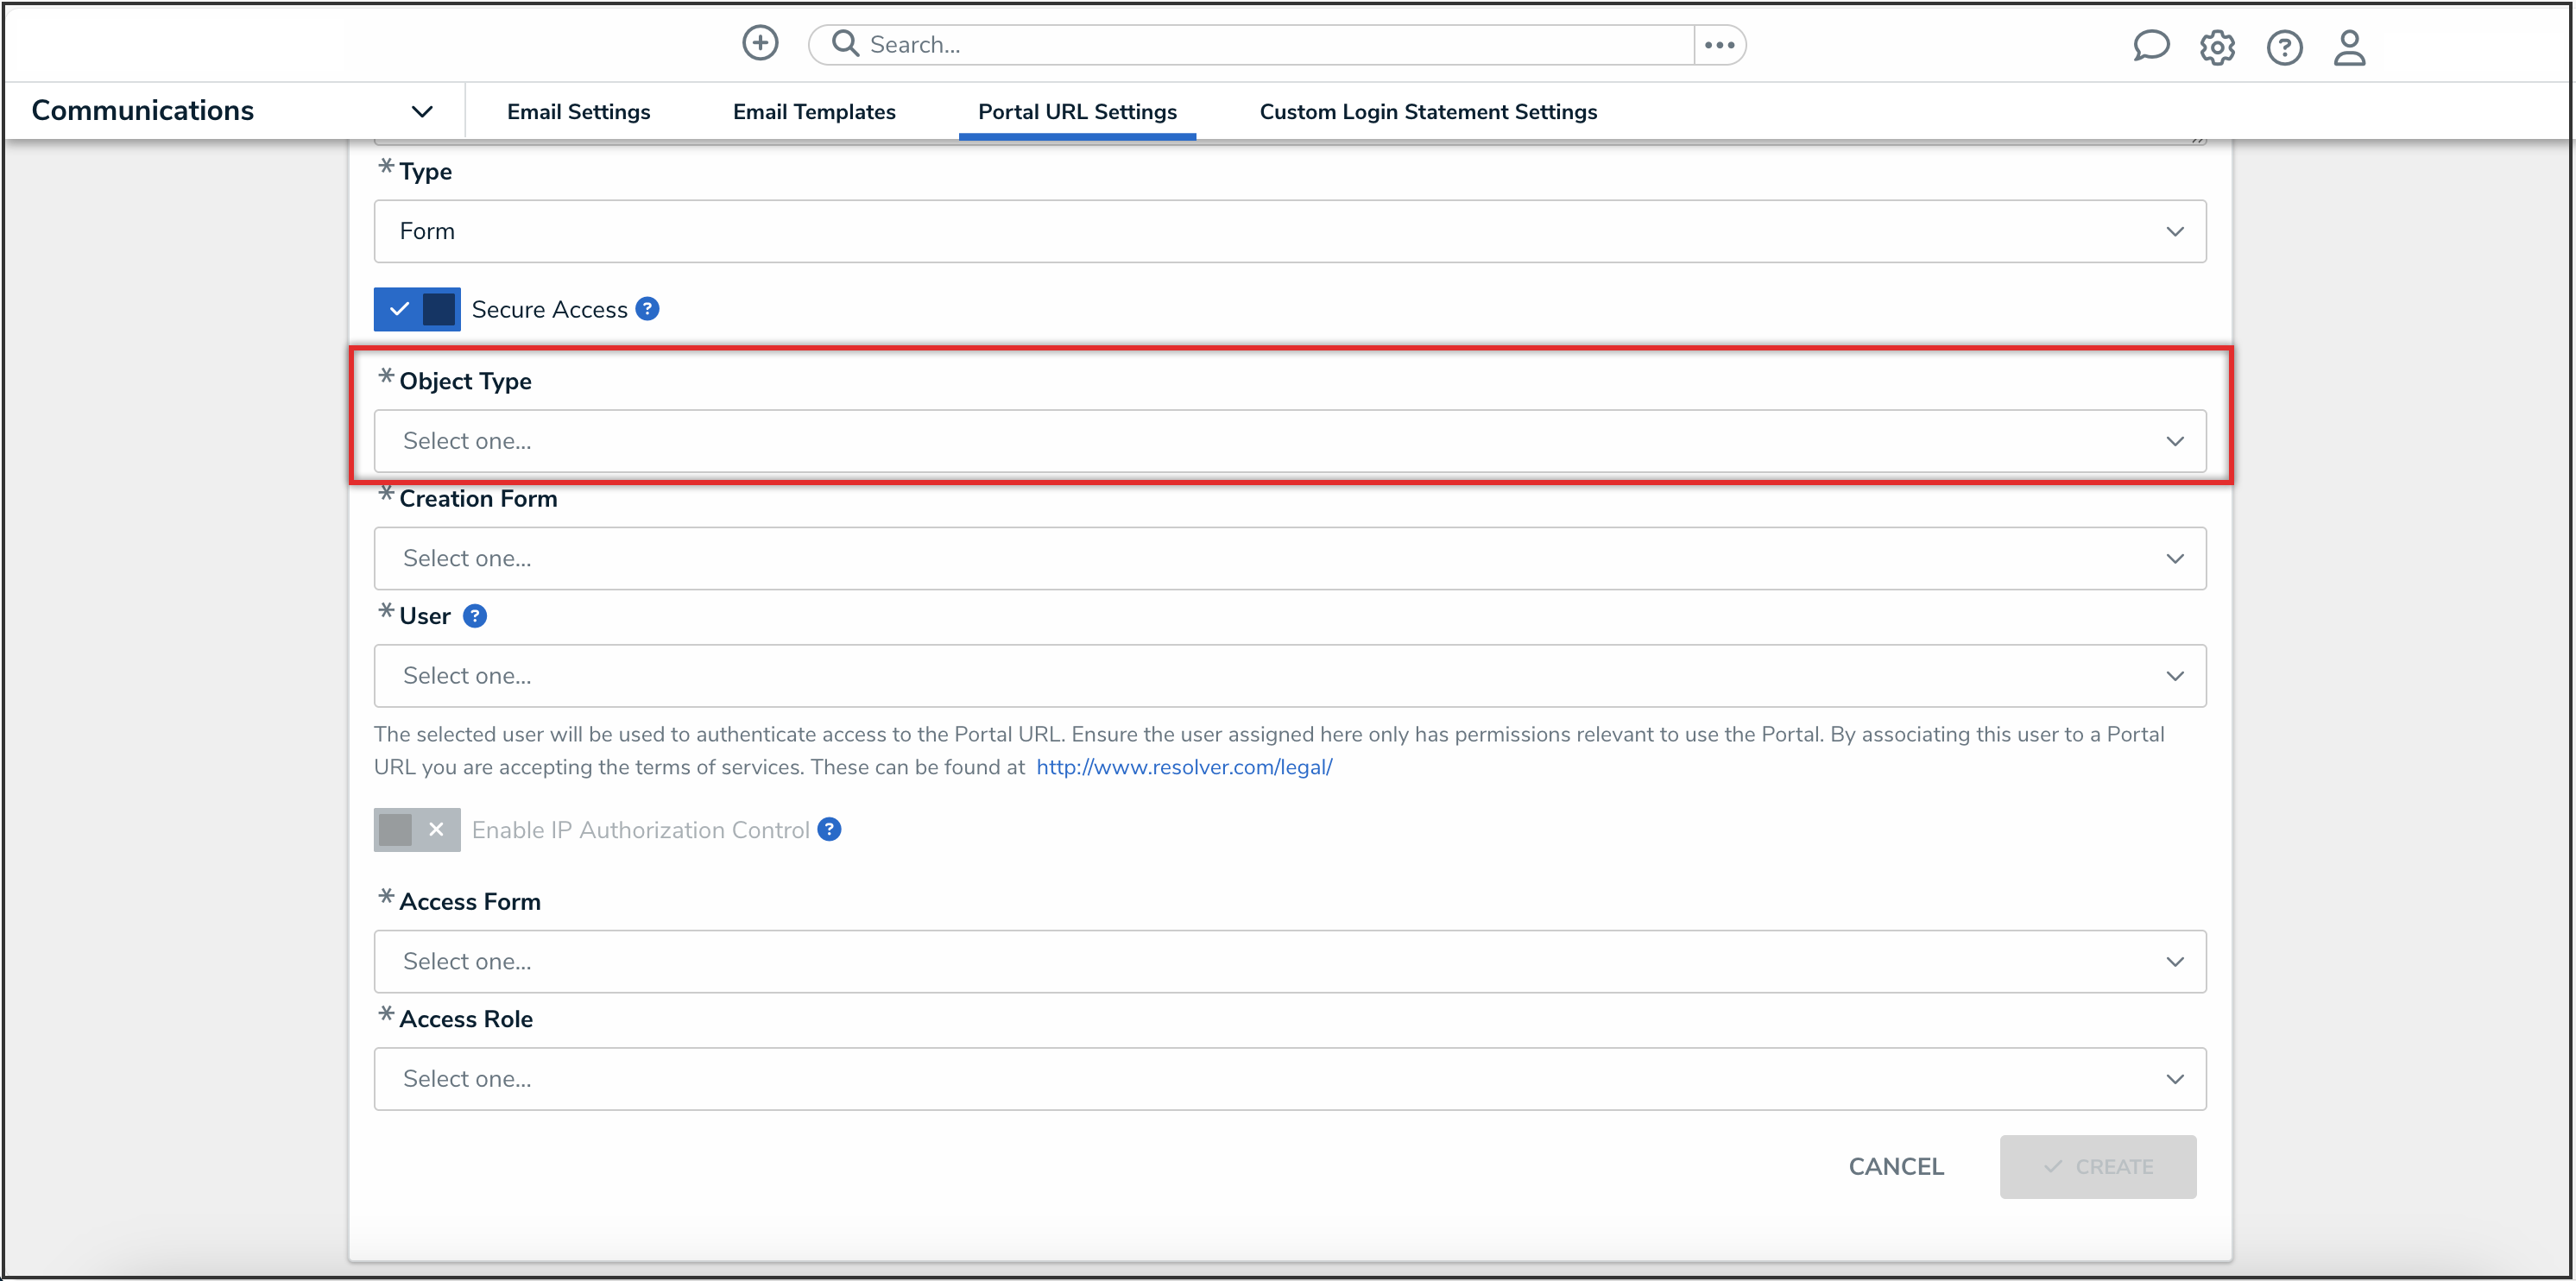
Object Type Dropdown Menu

- From the Creation Form dropdown menu, select the form to use to create a submission.
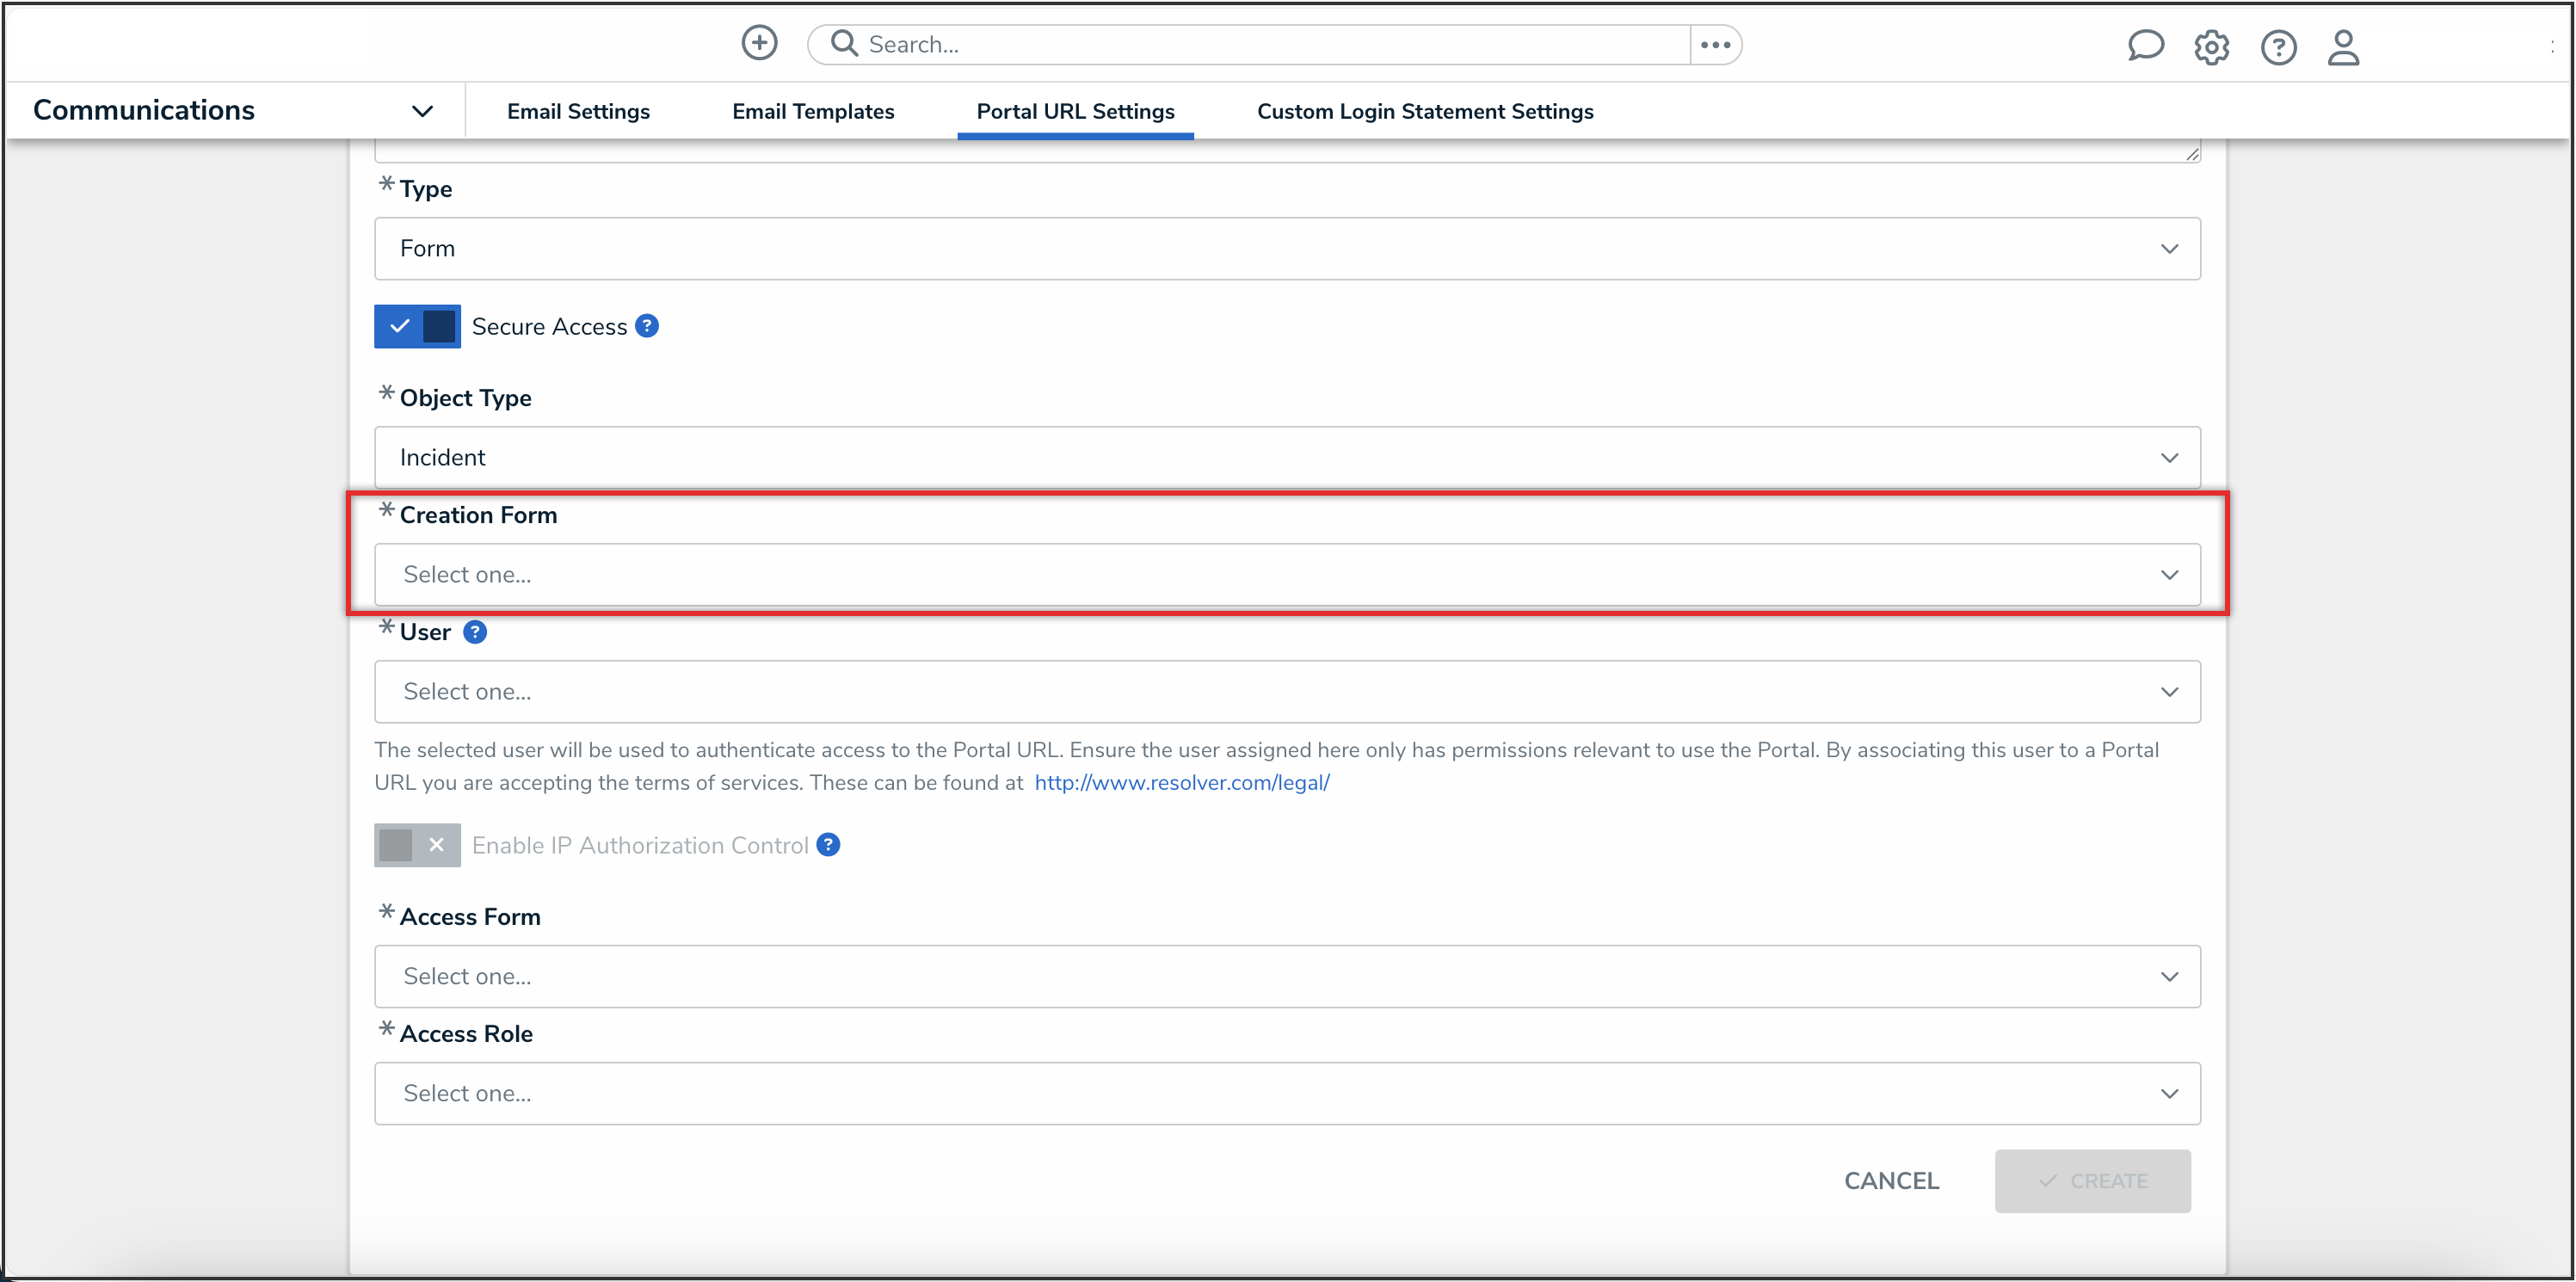
Creation Form Dropdown Menu

- From the User dropdown menu, select a Portal user. This list will only show users with the Portal URL User option selected on the User Type field on the User Management: Edit User screen.
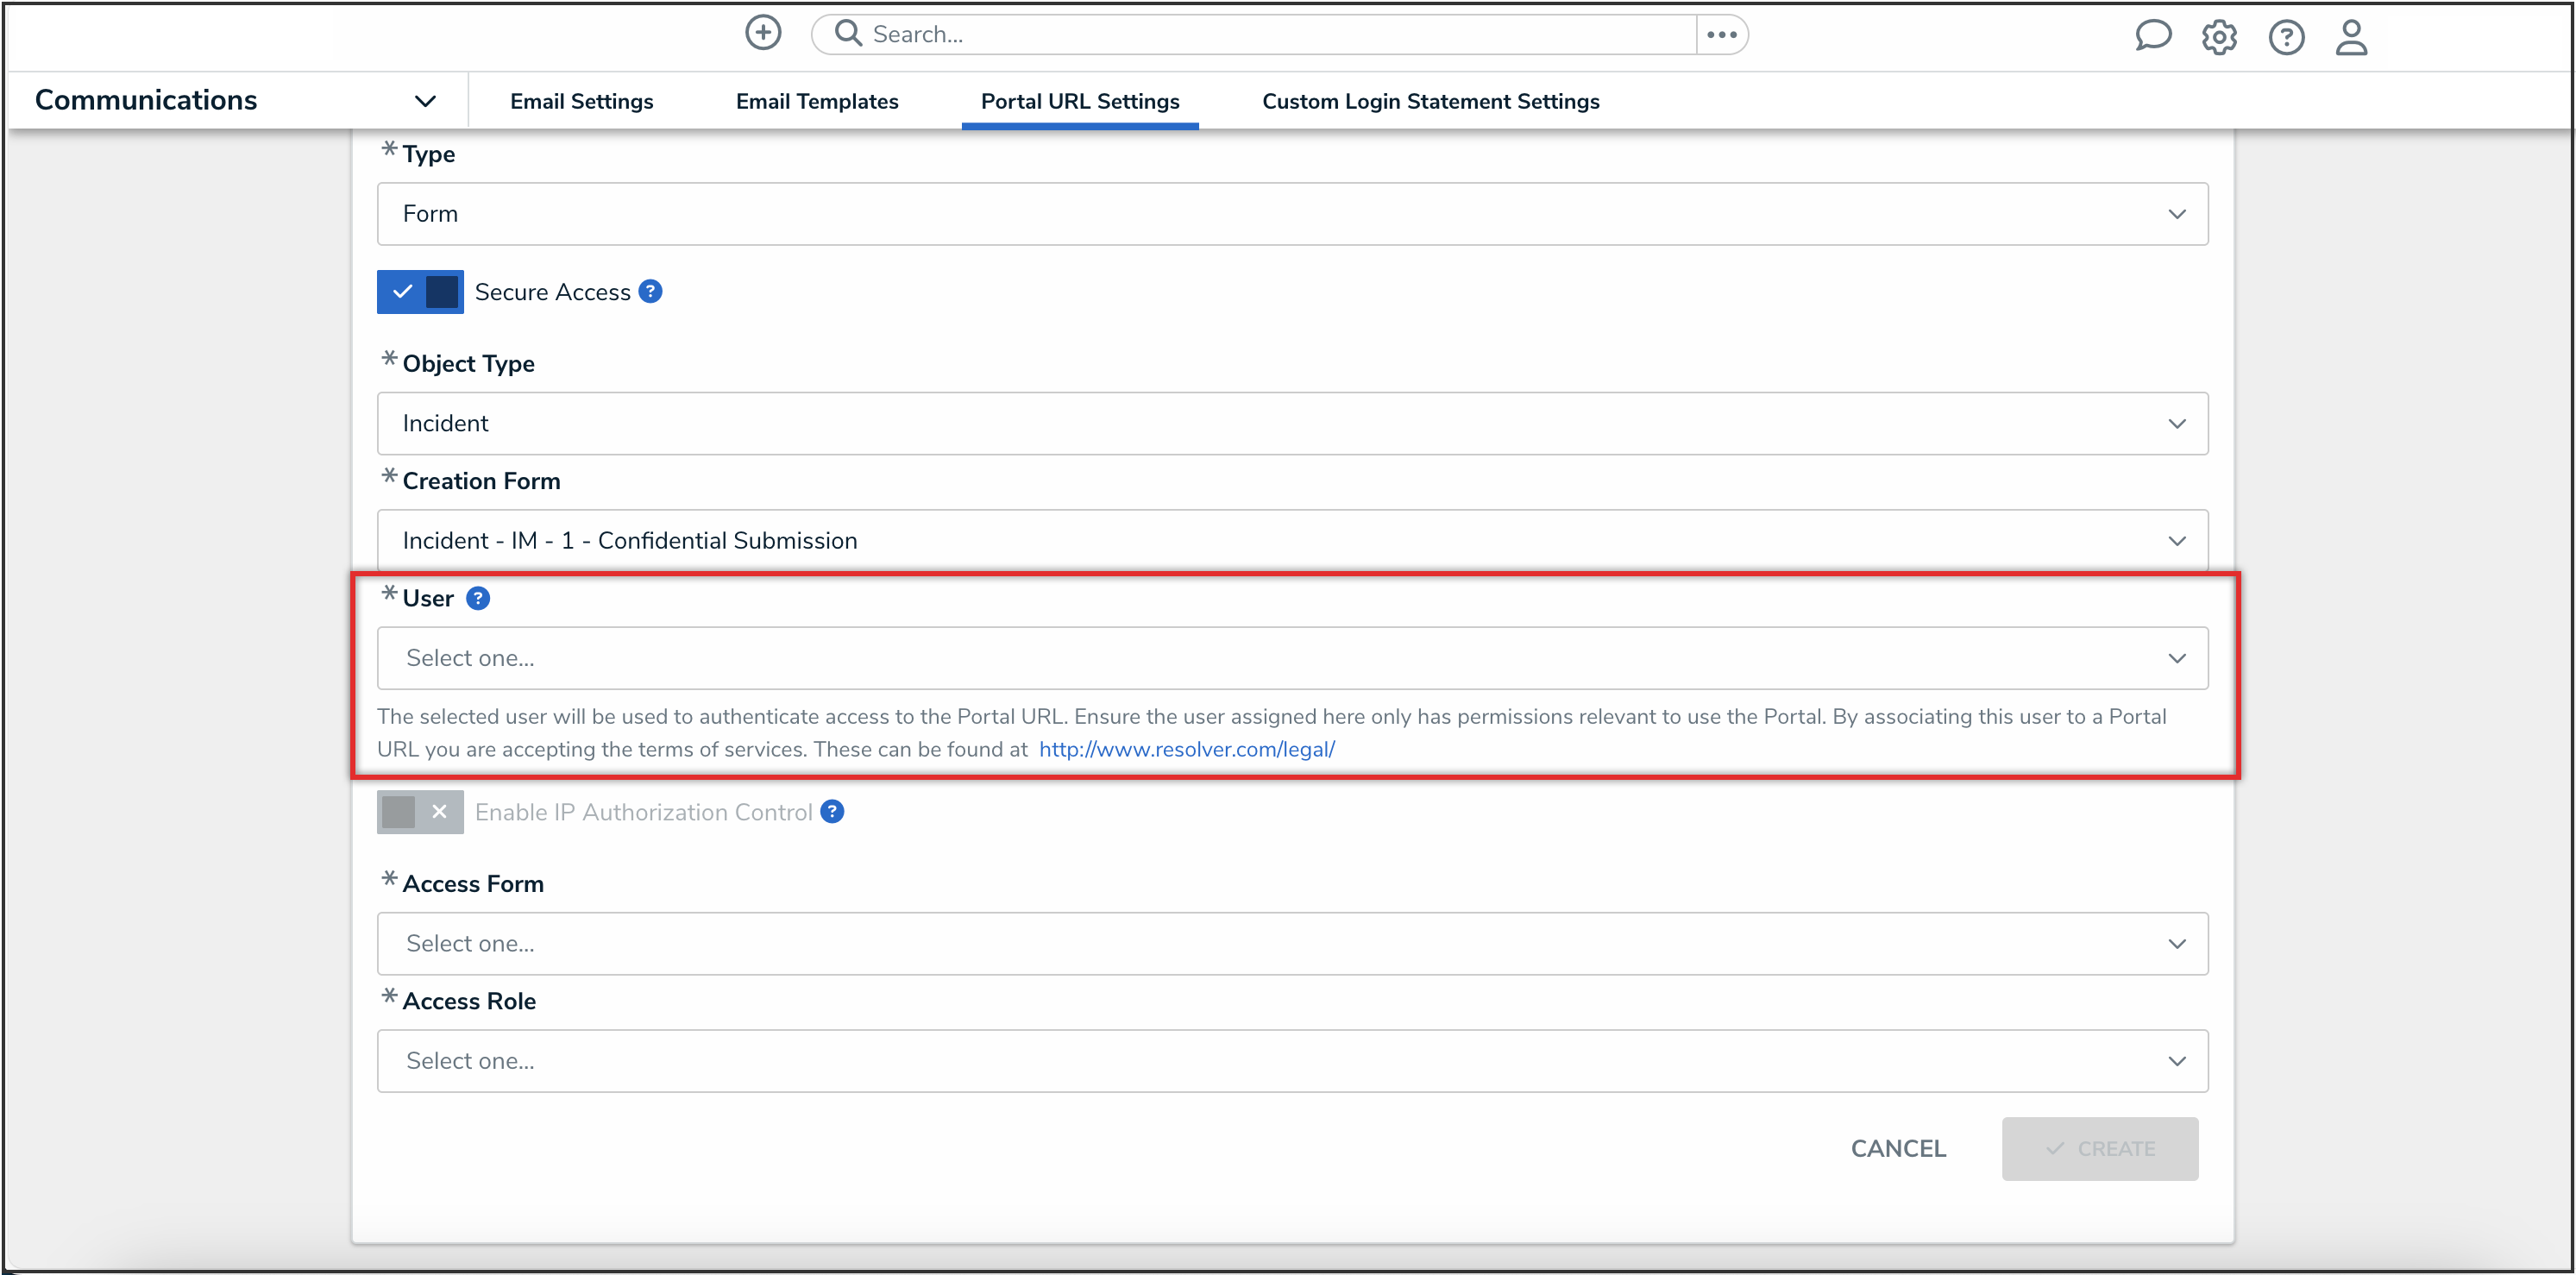
User Dropdown Menu

- From the Access Form dropdown menu, select the form to use to access a previously created submission.
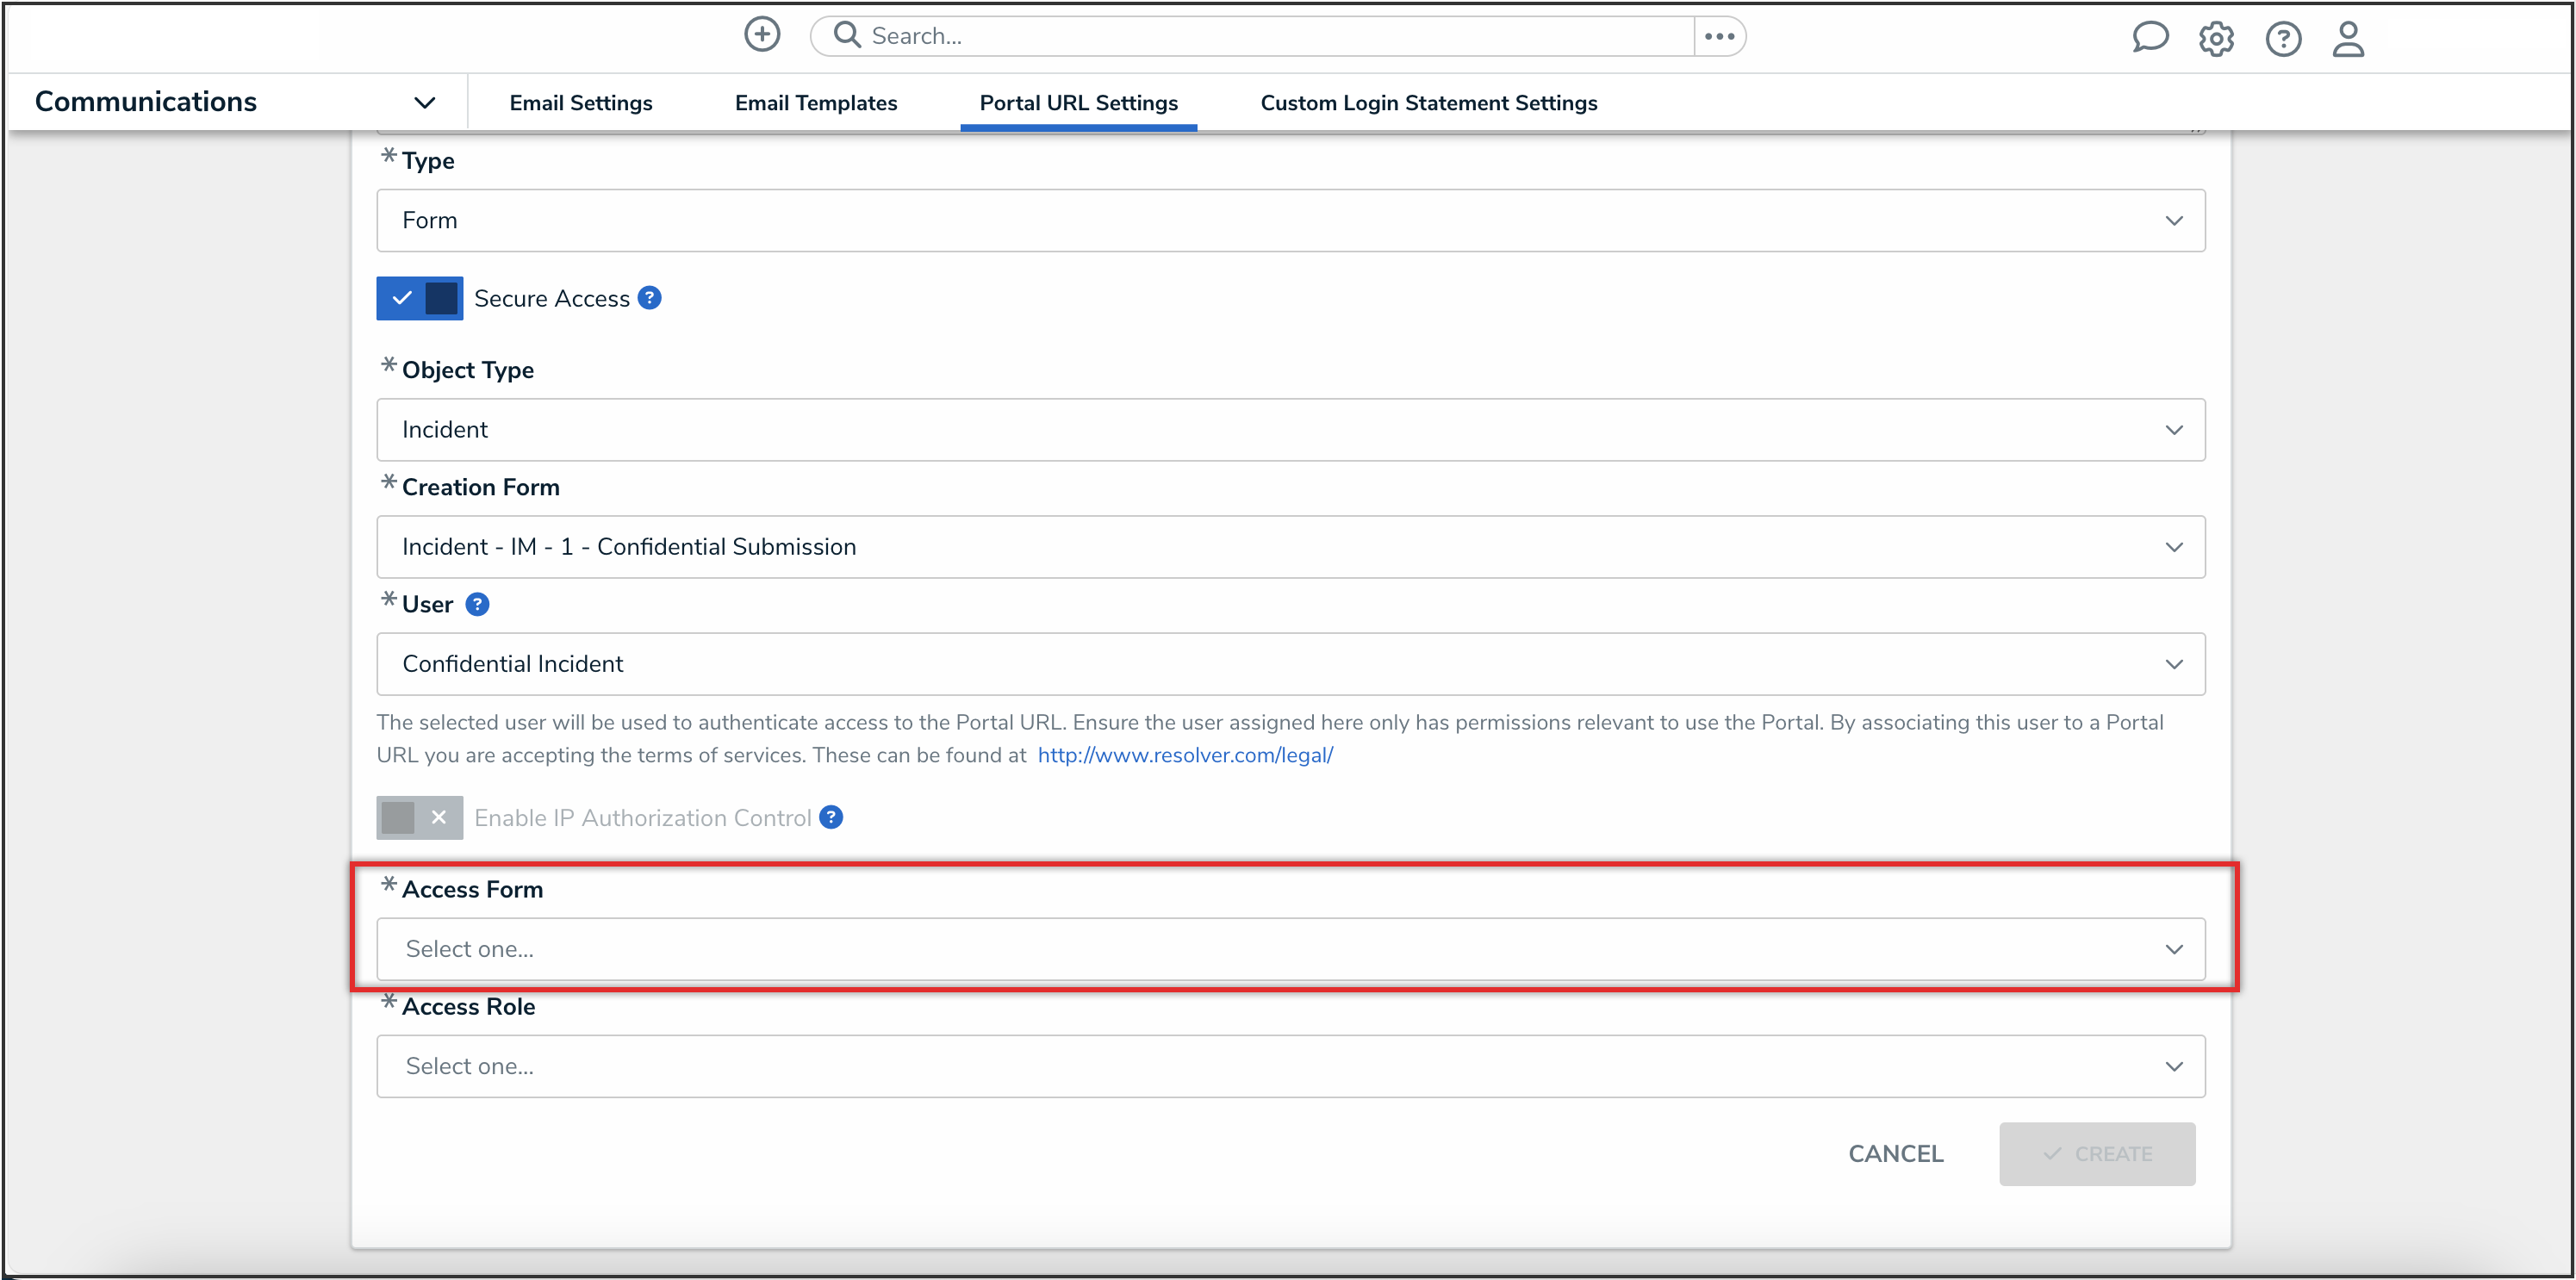
Access Form Dropdown Menu

- From the Access Role dropdown menu, select a role to use to define the role permissions for the Secure Access Portal user accessing a previously created submission.
Access Role Dropdown Menu

- Click the Create button.
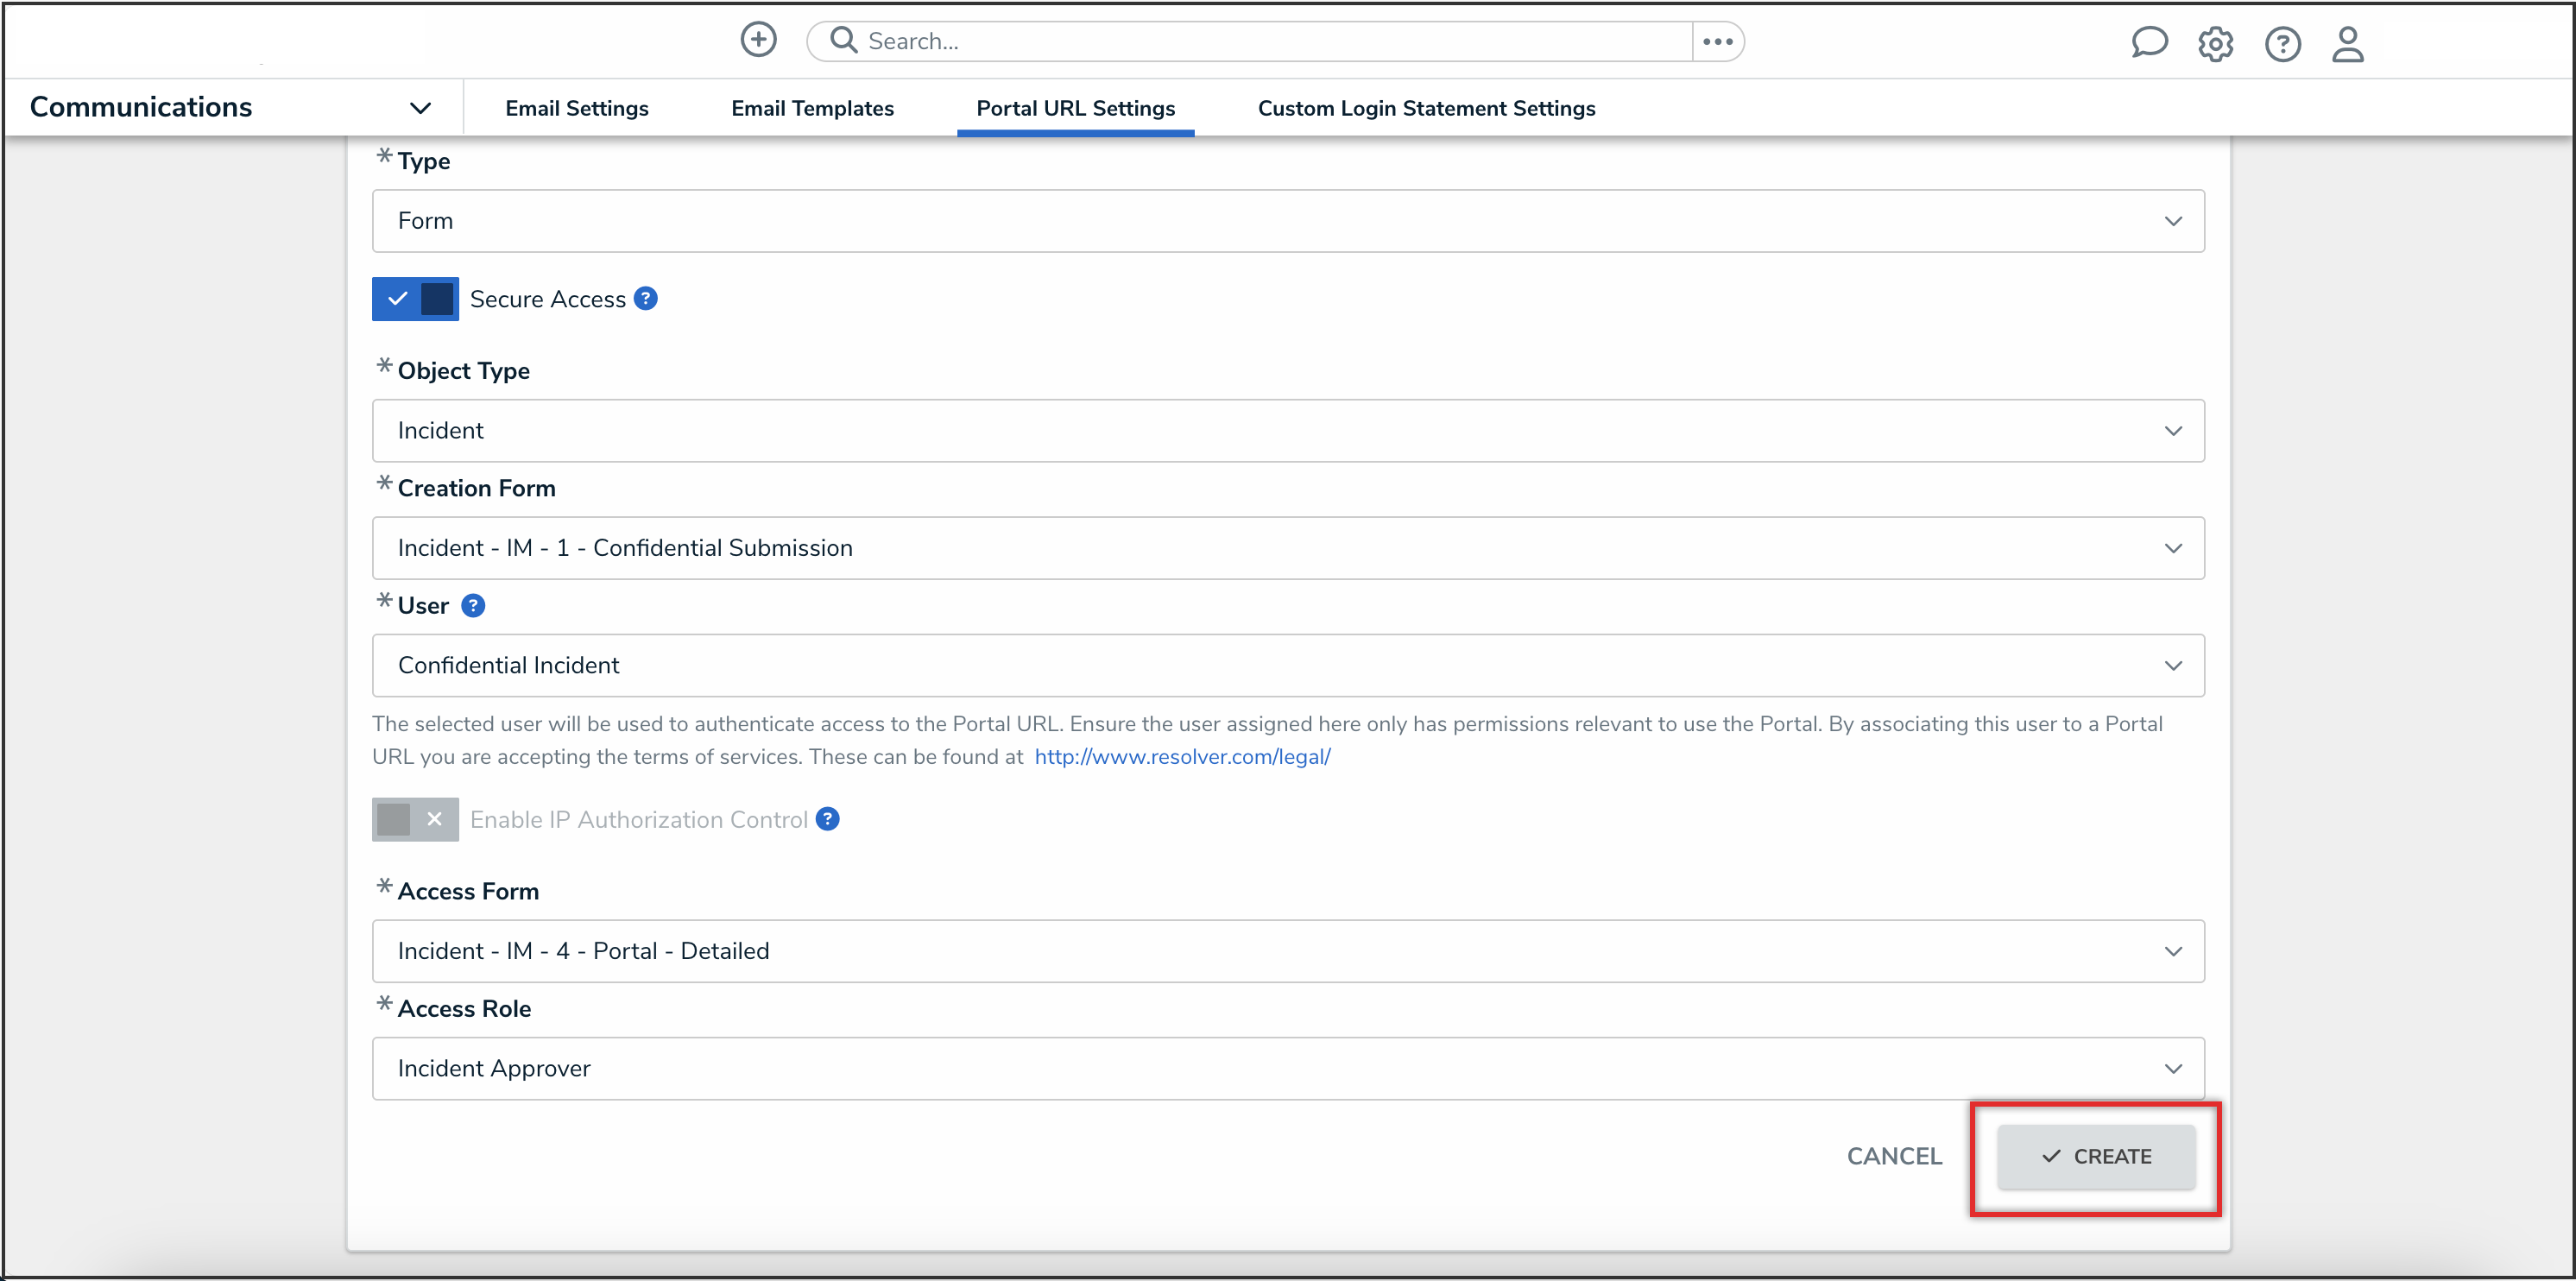
Create Button

- The Login URL field will appear with the Secure Access Portal login URL. Click the Copy icon to copy the login URL.

Login URL Field

Configuring the Secure Access Portal Landing Page
From the Configure Landing Page section, you have the option to customize the text that appears on the Secure Access Portal landing page.
- In the Header field, enter a custom header for the Secure Access Portal landing page.
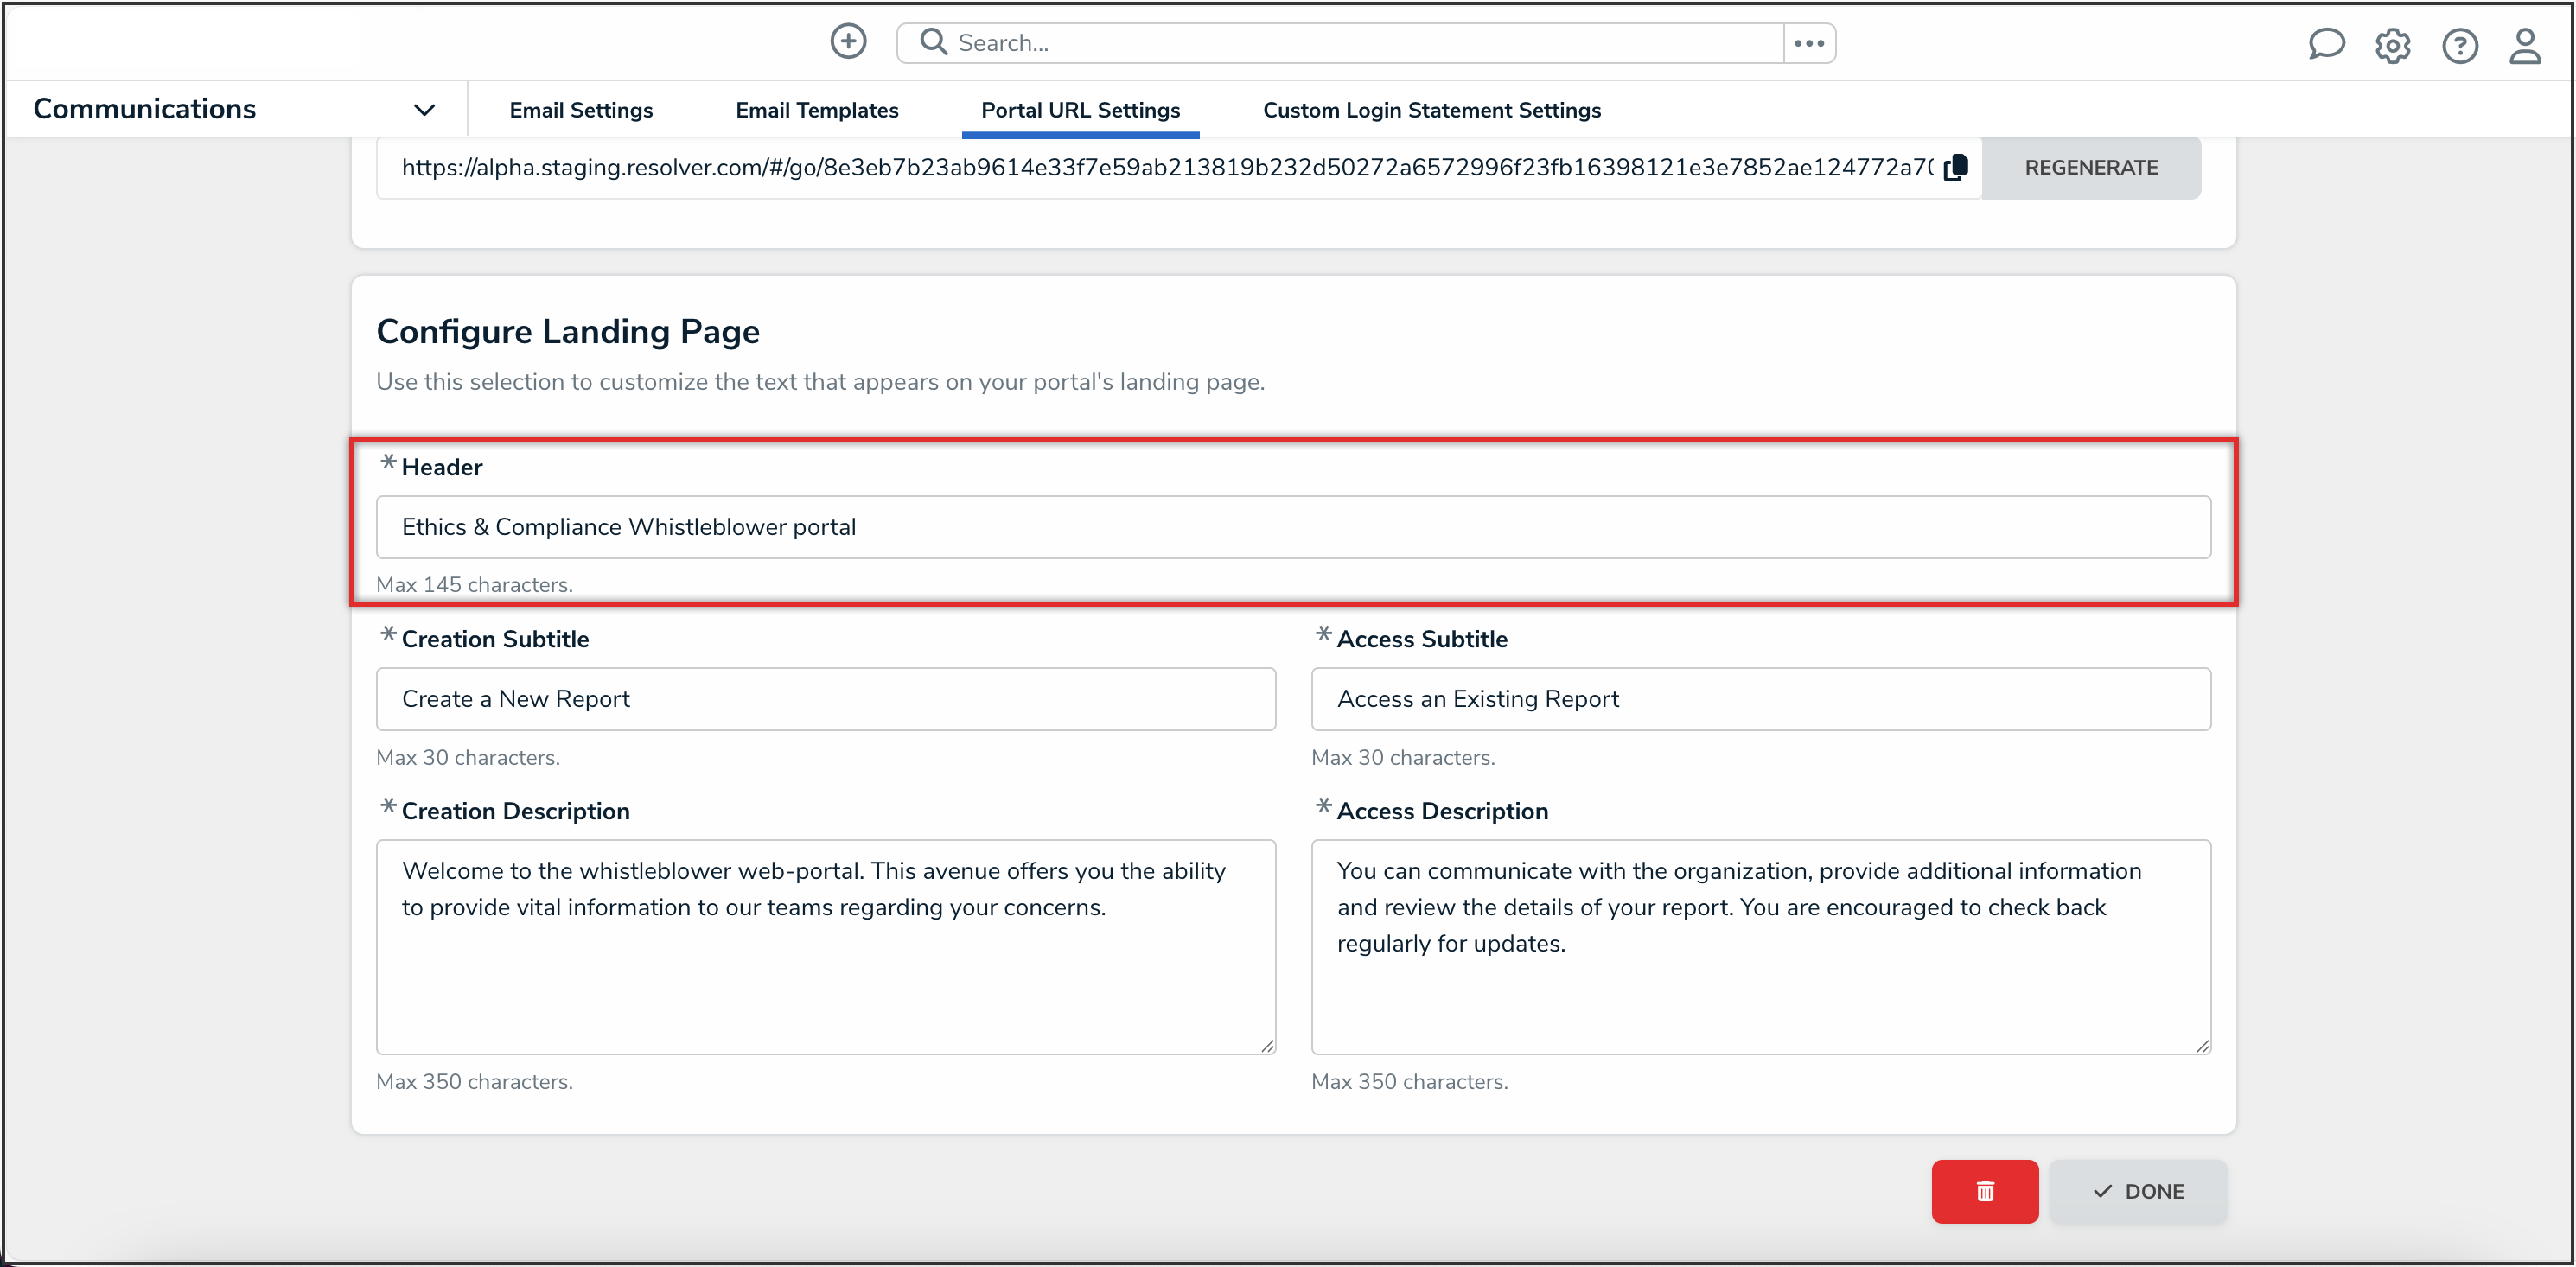
Header Field
- In the Creation Subtitle field, enter the title text for the creating a report workflow.
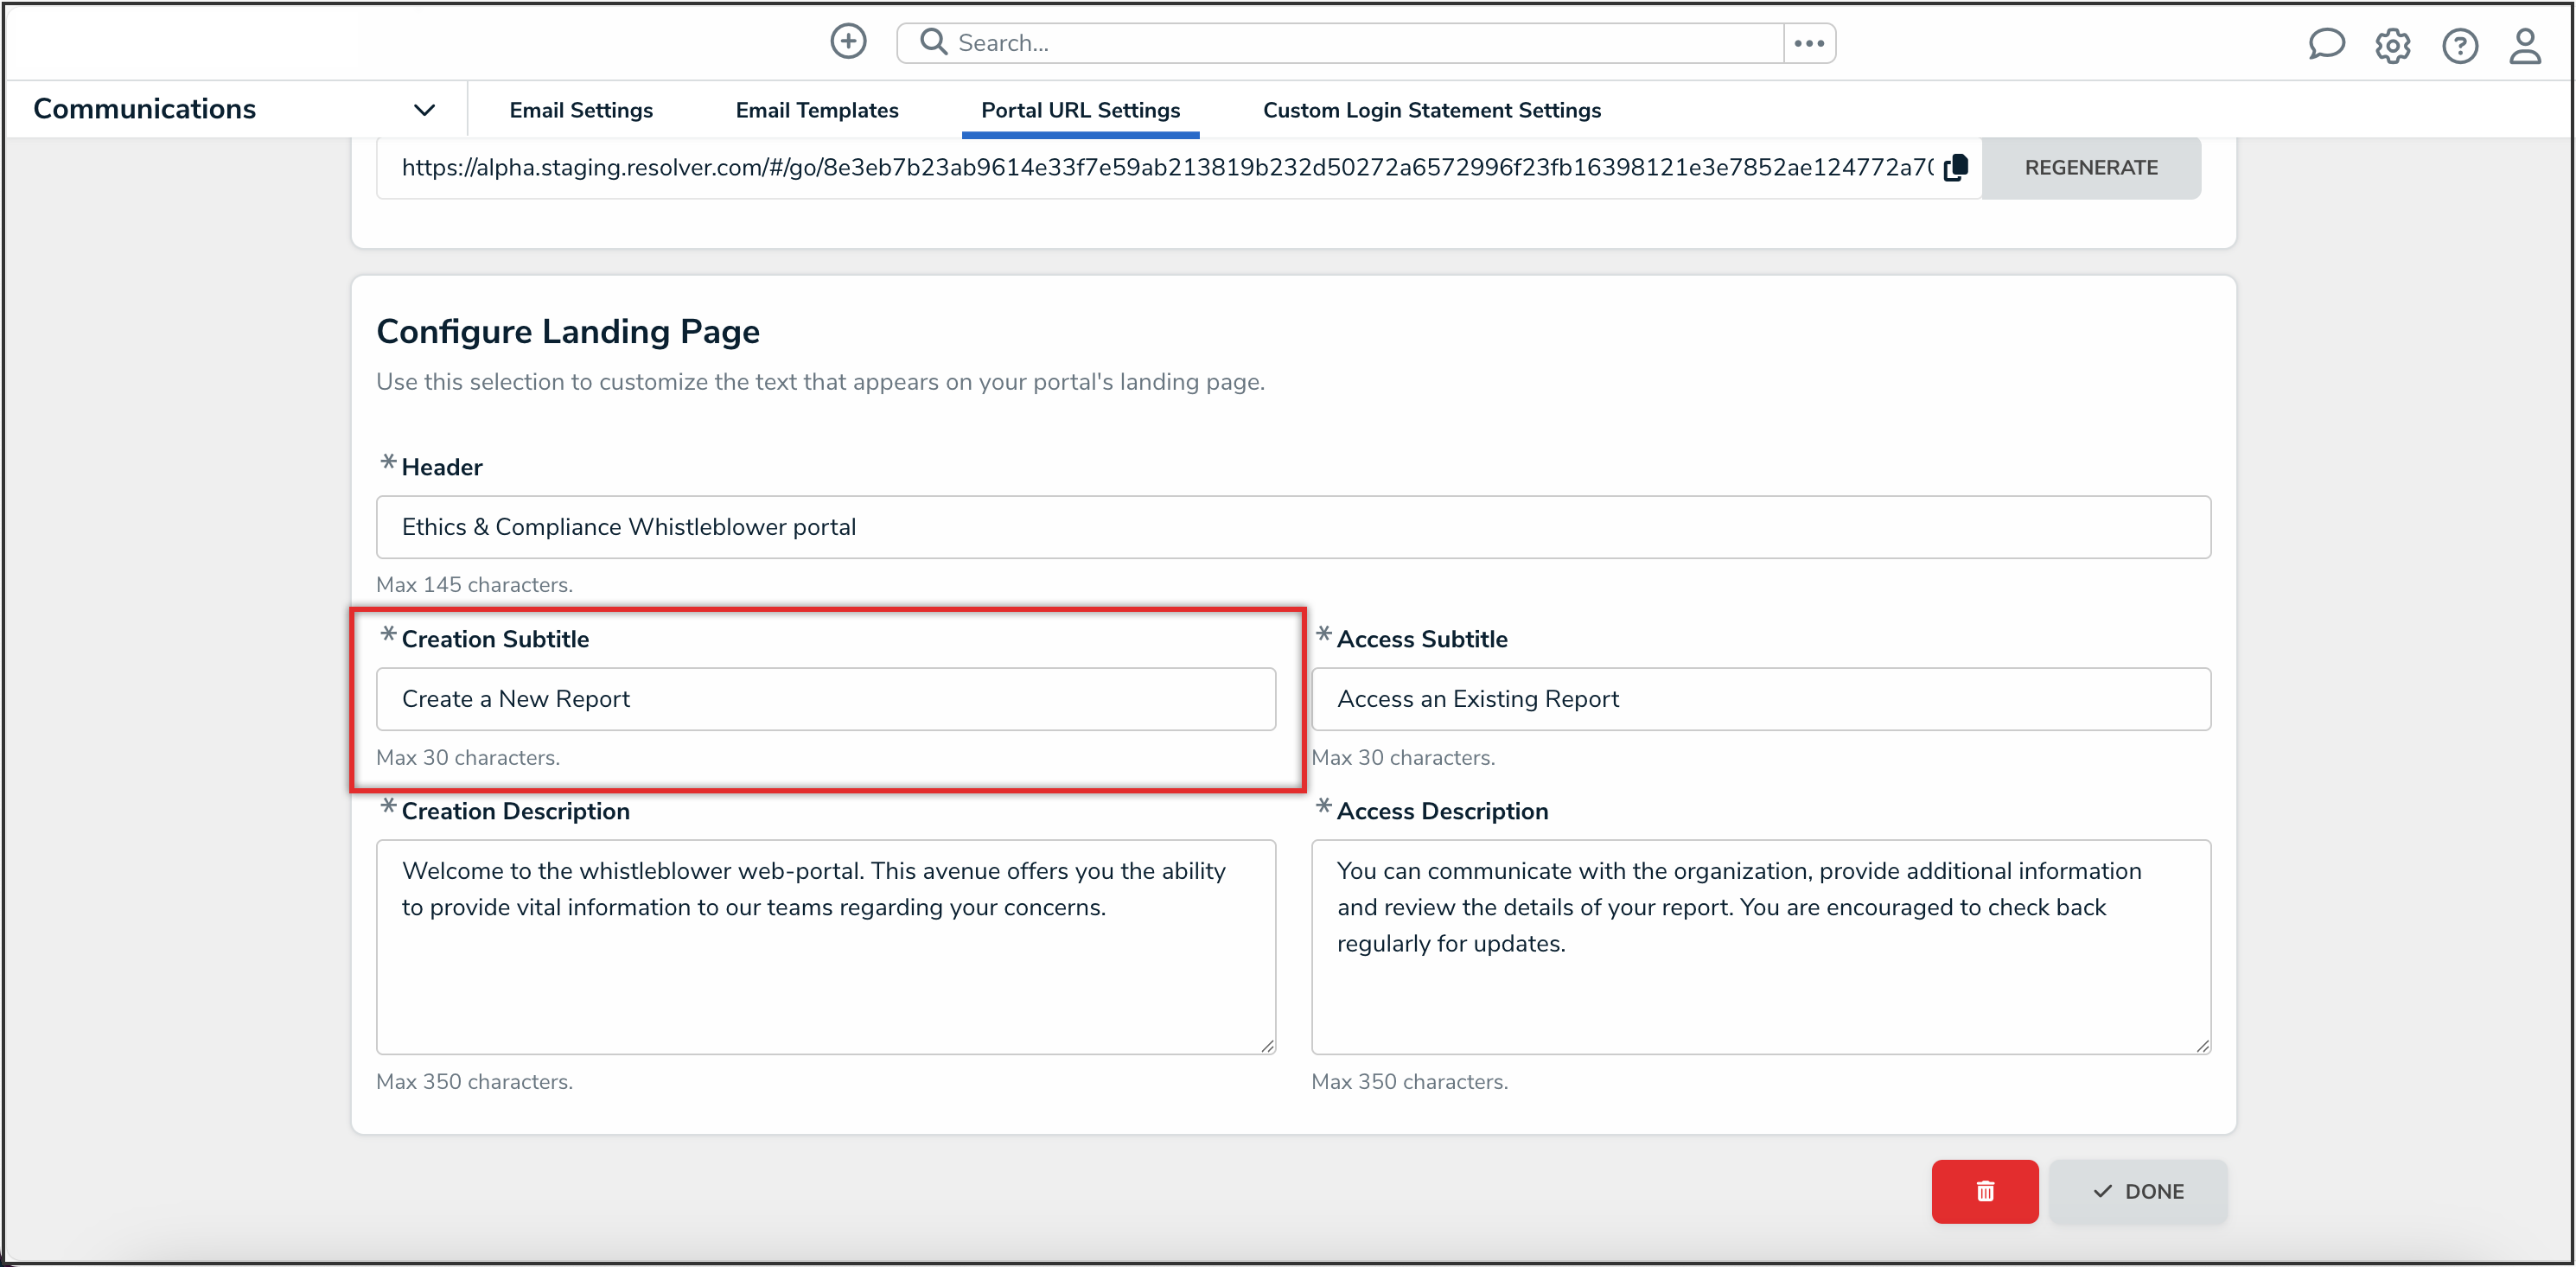
Creation Subtitle Field
- In the Creation Description field, enter the description text for the creating a report workflow.
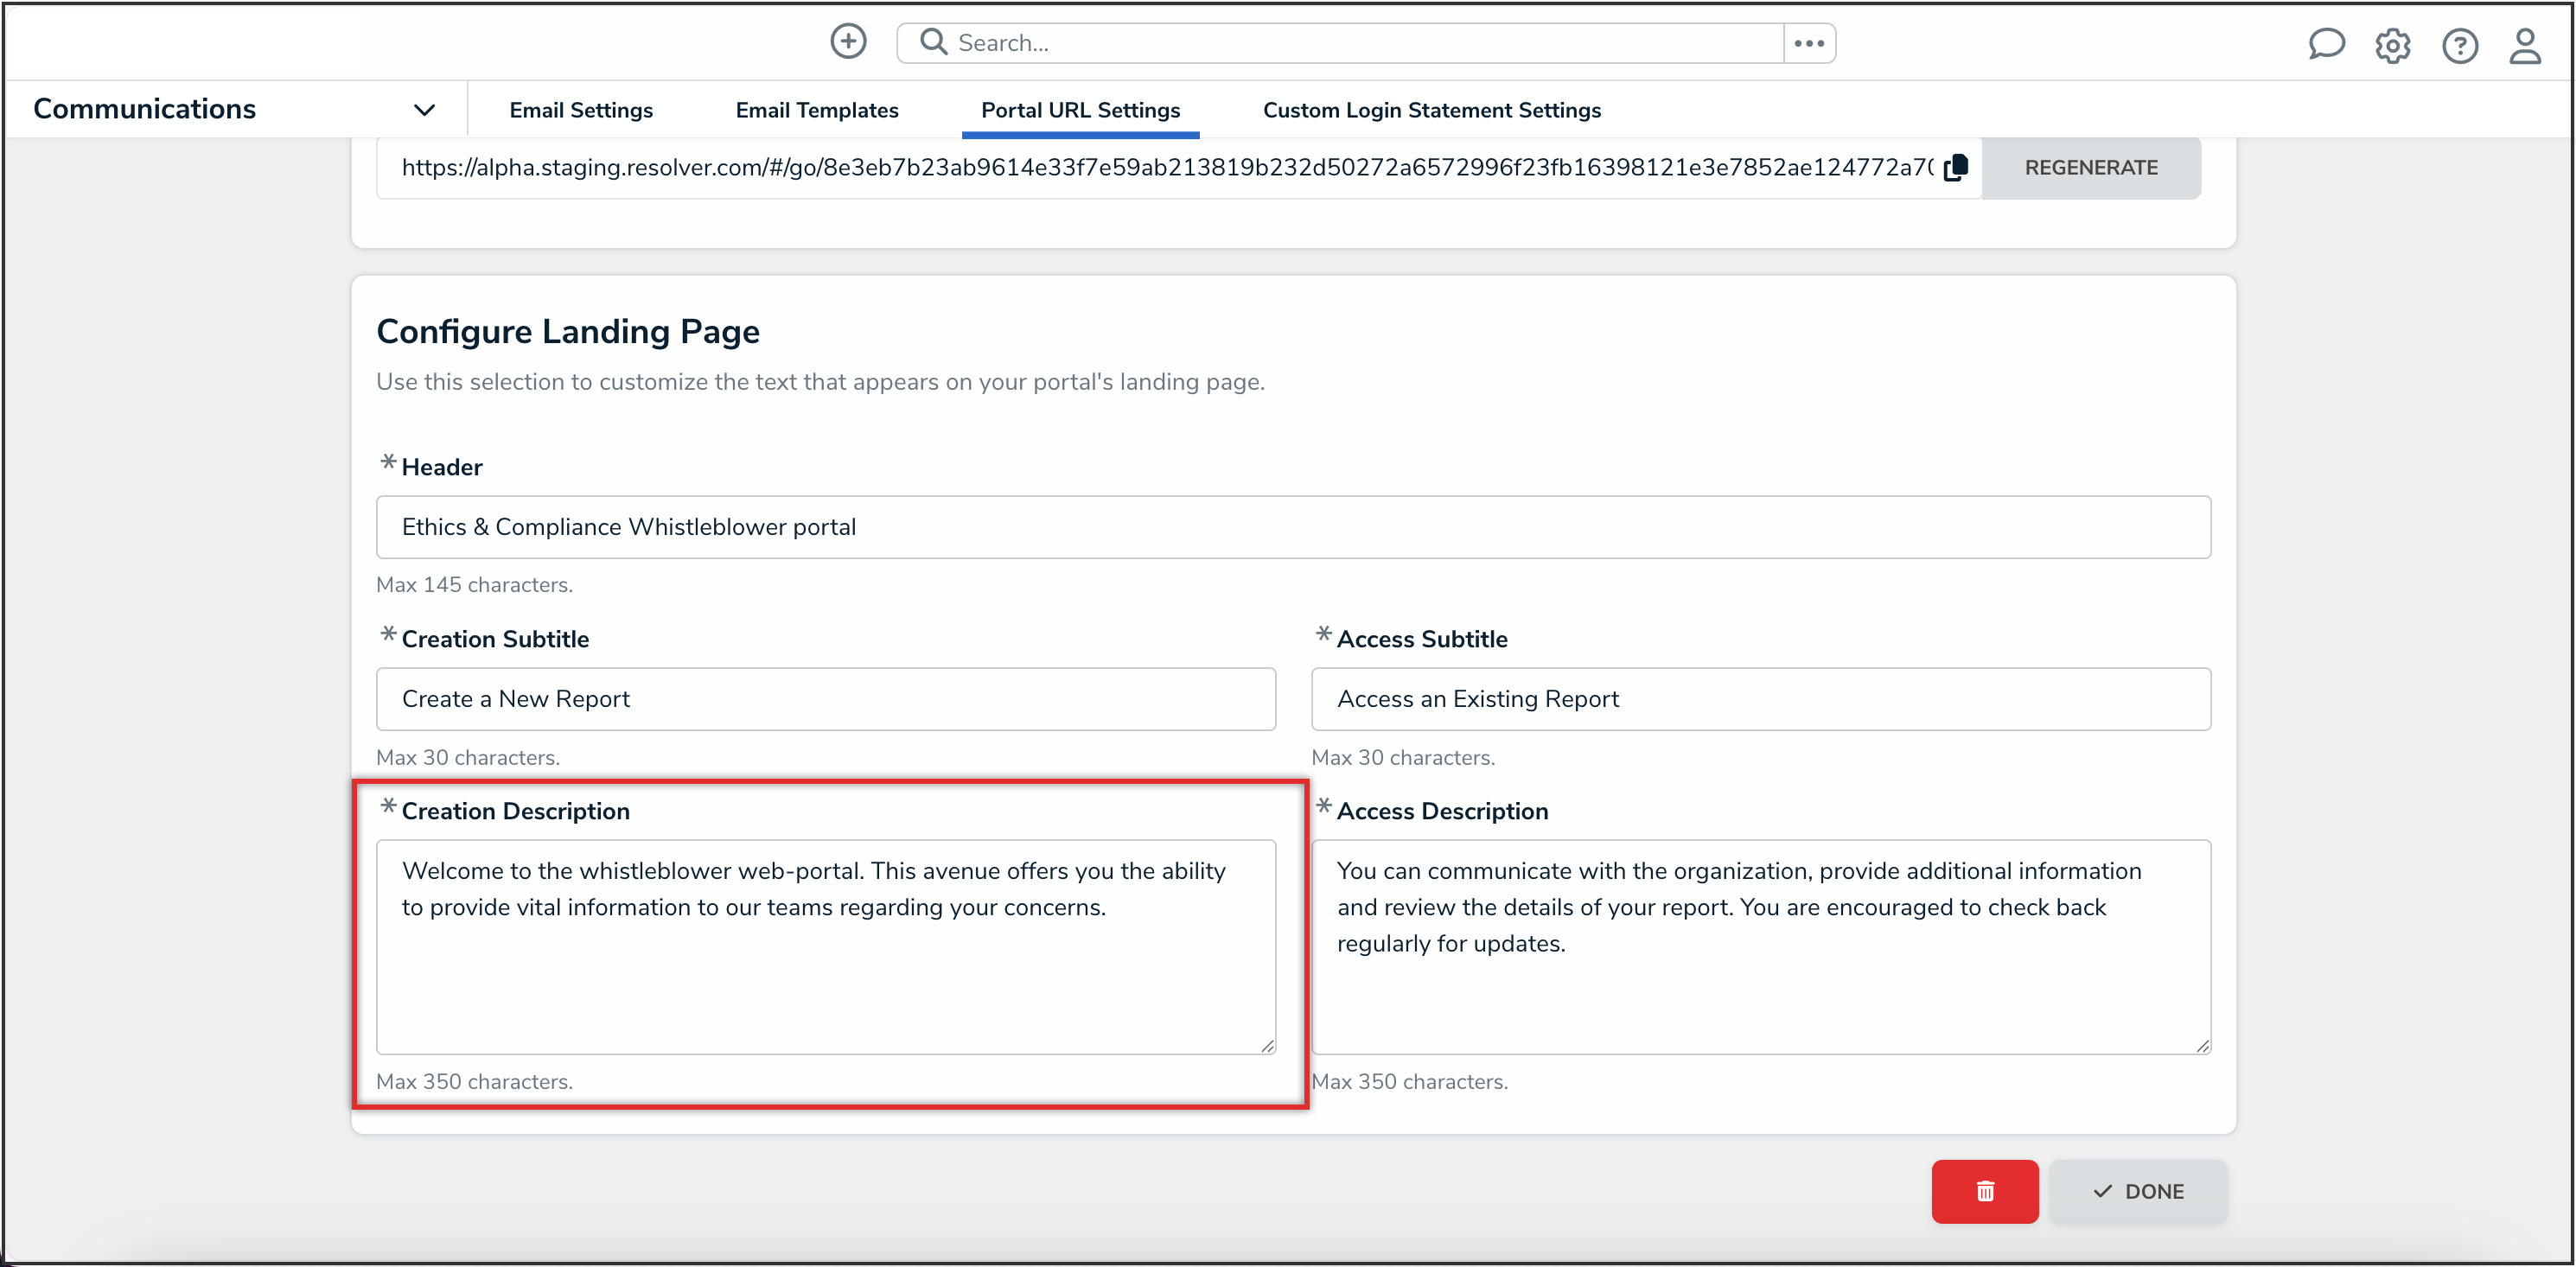
Creation Description Field
- In the Access Subtitle field, enter the title text for the accessing a report workflow.

Access Subtitle Field
- In the Access Description field, enter the description text for the accessing a report workflow.
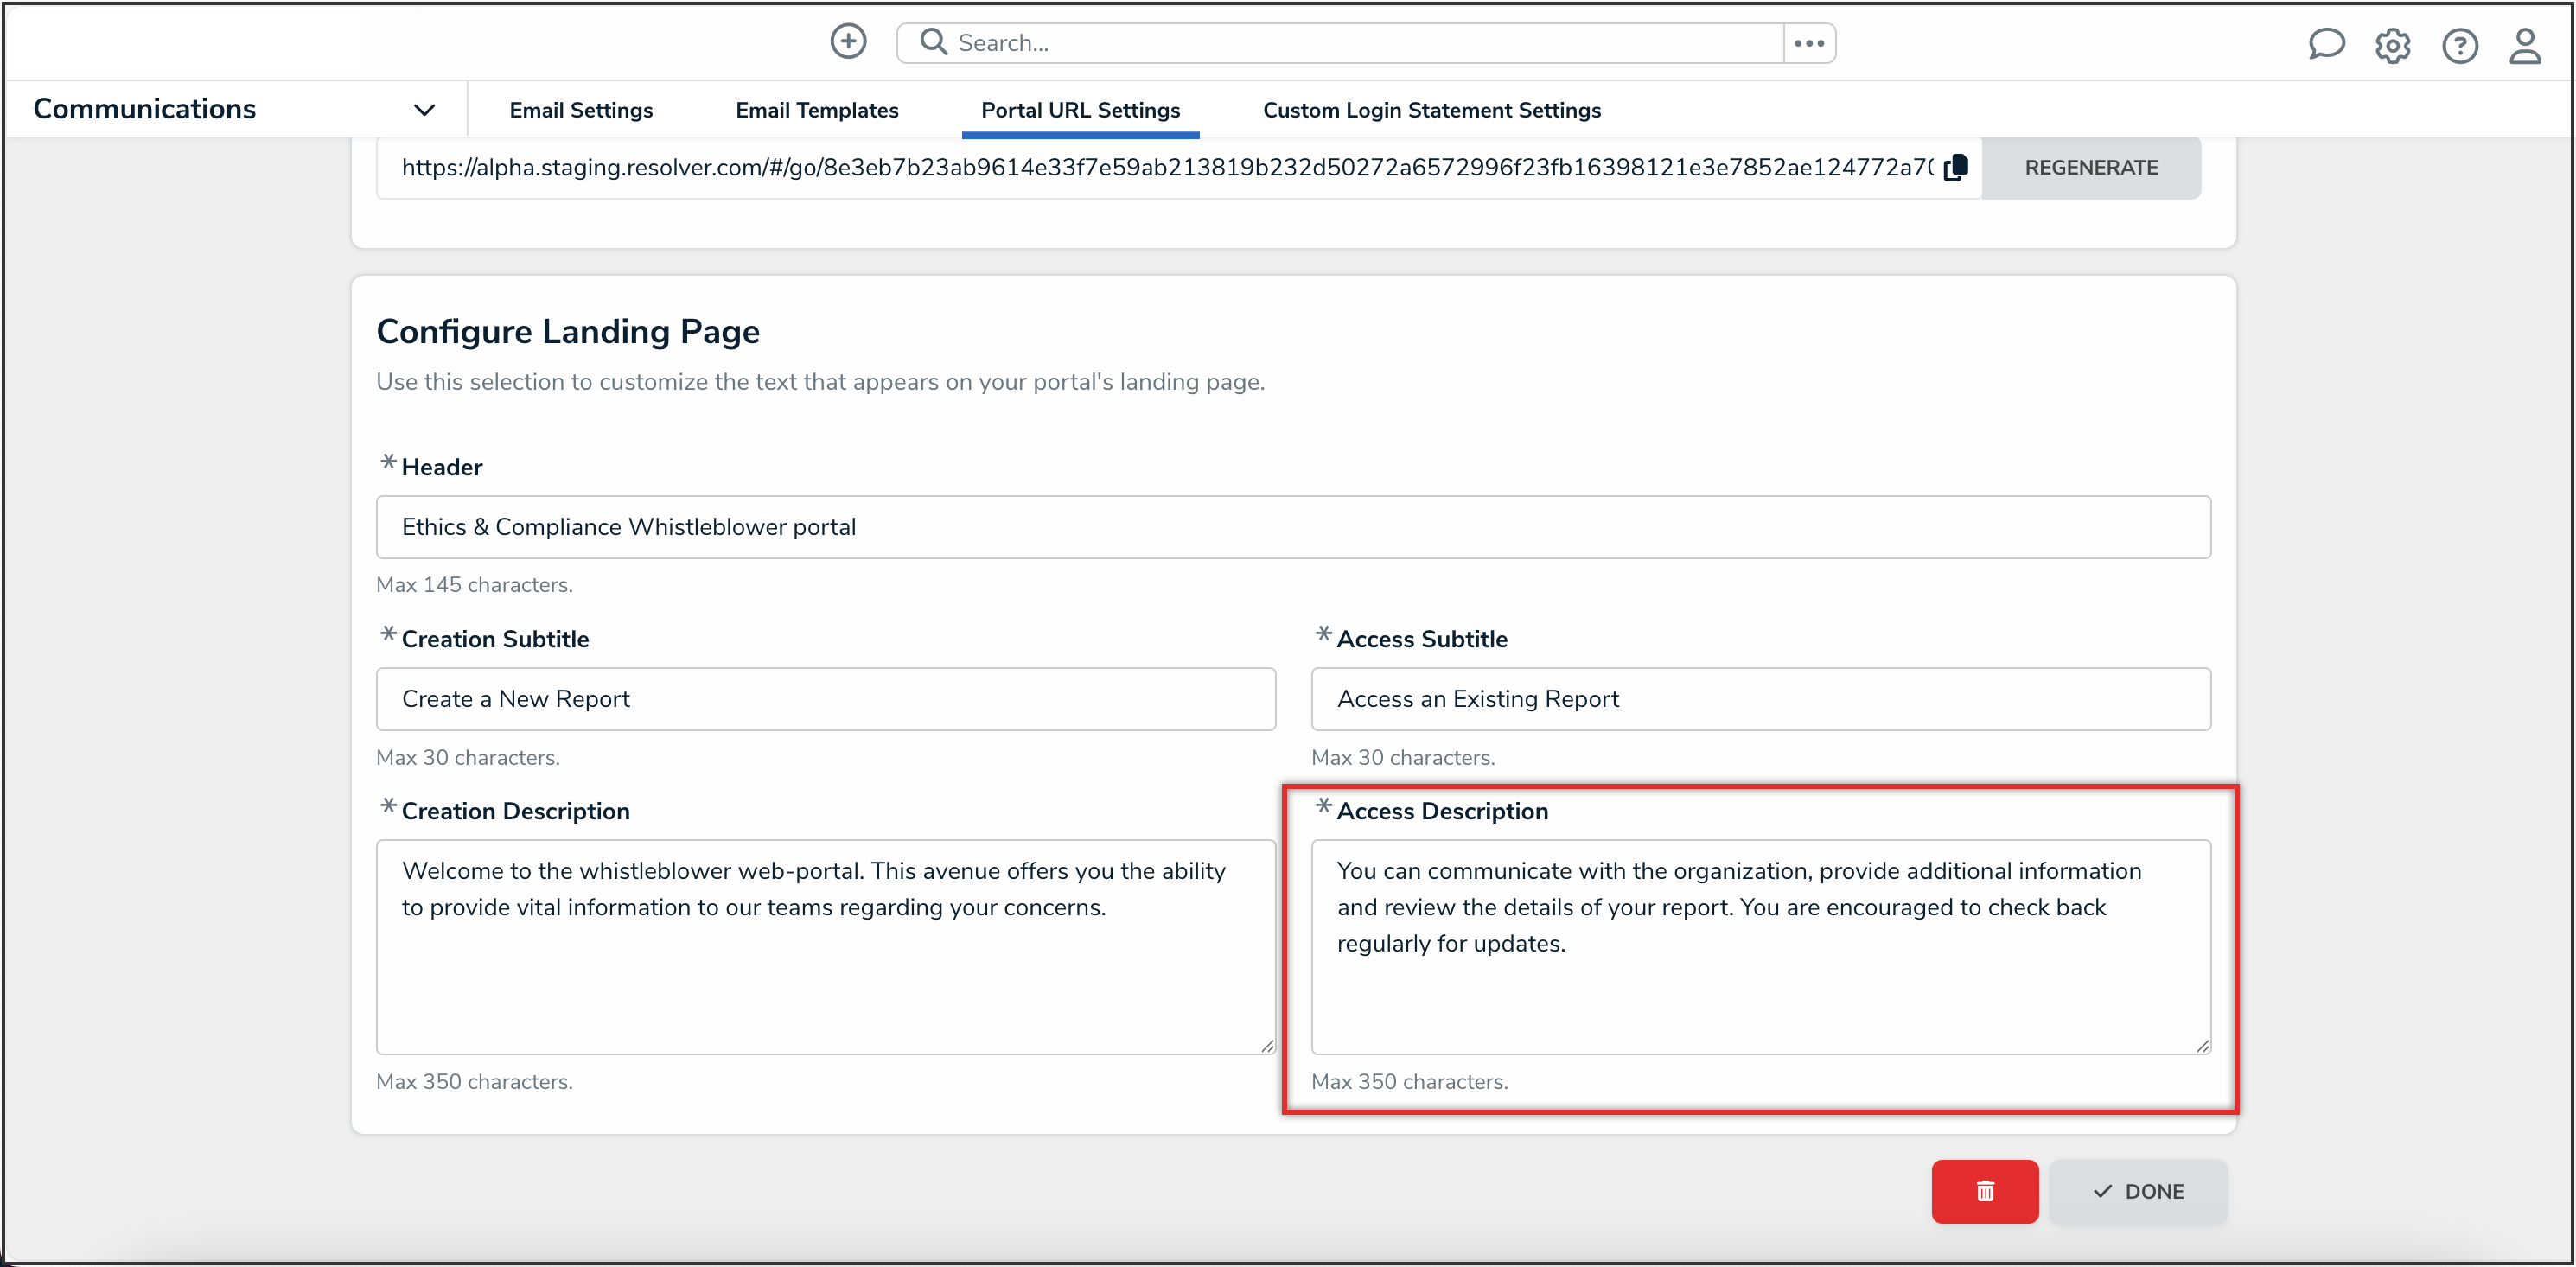
Access Description Field


Note:
All changes made to the Secure Access Portal landing page are applied instantly and reflected in real time.