Announcements can only be created by an administrator in the Library application. You can add pictures, attachments, and links to an announcement, or send an email notification. Active announcements are visible in the Portal application.
When an announcement's Start Date Time matches the current date and time, the announcement will move into the Active workflow state and will appear in Portal > Announcements. Announcements that have not yet started will be in the Draft state. To display an announcement before the Start Date Time, see Force Broadcast.
 | The Administrator (Incident Management) user group can view incident objects and create library objects only. It is not to be confused with the Core Administrator
, who can add users. |
To create an announcement:
Log into a user account that's been added to the Administrator (Incident Management) user group.
- Click the dropdown in the nav bar > Library.
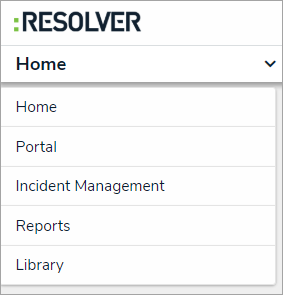 The Library application in the nav bar. Image caption
 - Click the Announcements activity.
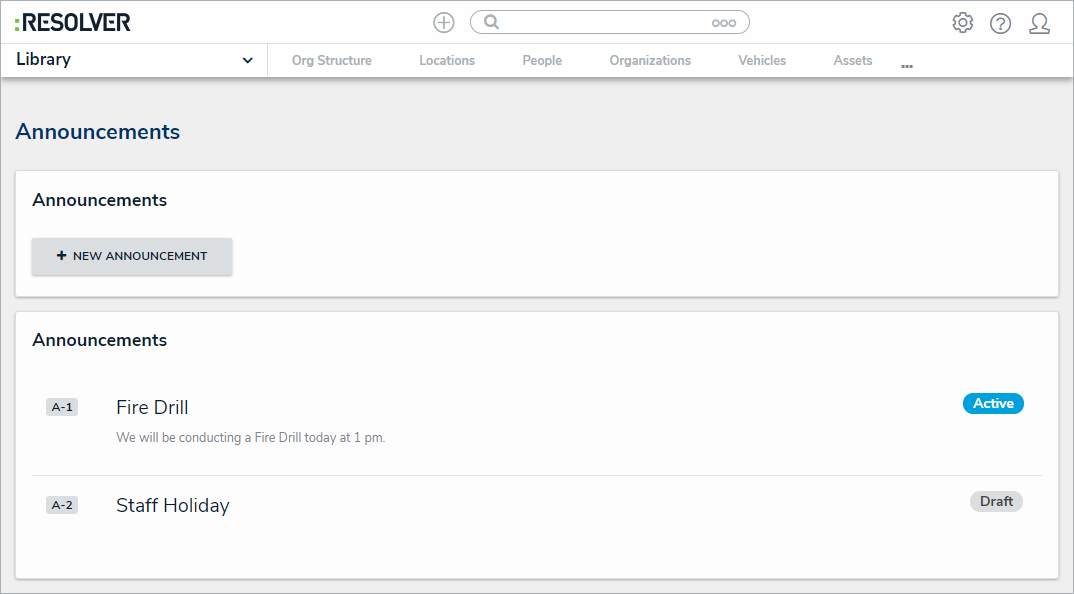 The Announcements activity in the Library application.
- Click + New Announcement to open the Create a New Announcement form.
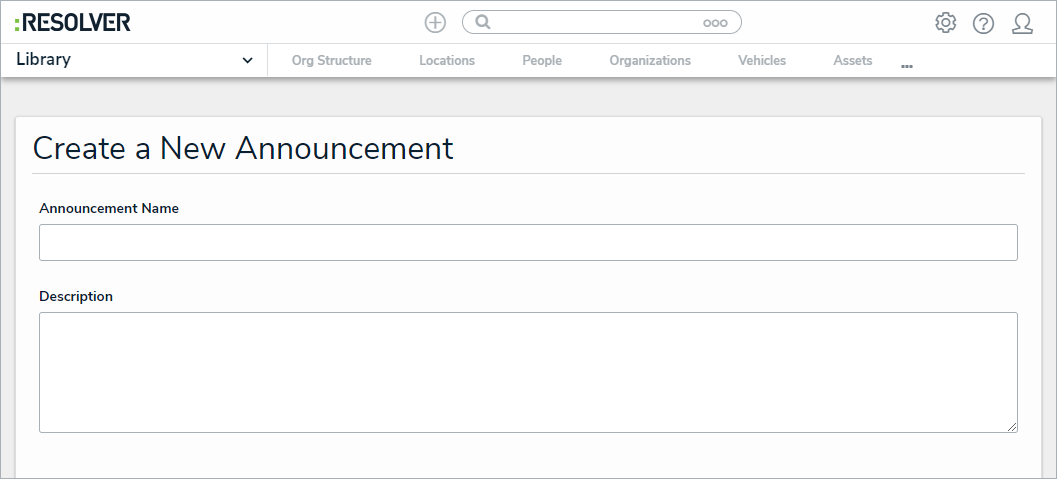 The Create a New Announcement form.
- Enter a name for the announcement in the Announcement Name field.
- Enter the announcement's text in the Description field.
- Select an Announcement Type from the dropdown list.
- Click Start Date Time to open the calendar, then select the date and time you want the announcement to appear. Click End Date Time to select the date you want the announcement to be removed from the Announcements page.
- Click Notify Users, then select one of the following options:
Yes: Send an email to all users.
No: No email will be sent.
- Optional: Click the Photo box to browse for images, or drag an image to the box.
- Optional: Click the File or URL box to browse for a file or add a web link, or drag a file to the box.
- Click Create.


