Overview
The Update Field Concatenations action allows Administrators to update object names beyond the Creation state.
 Note:
Note:
The Update Field Concatenations workflow action is only available for button triggers in Library and Assessment workflows.
For example, Incident name concatenations can now be automatically updated after they transition from the Triage state to the Open state.
User Account Requirements
The user must have Administrator permissions in order to access the Admin Overview screen.
Related Information/Setup
Please refer to the Workflows section for more information on using workflows in object types in Resolver.
Navigation
- From the Home screen, click the Administration icon.
![]()
Administration Icon
- From the Administrator Settings menu, click Admin Overview.
Administrator Settings Menu
- From the Admin Overview screen, click the Object Types tile under the Data Model section.
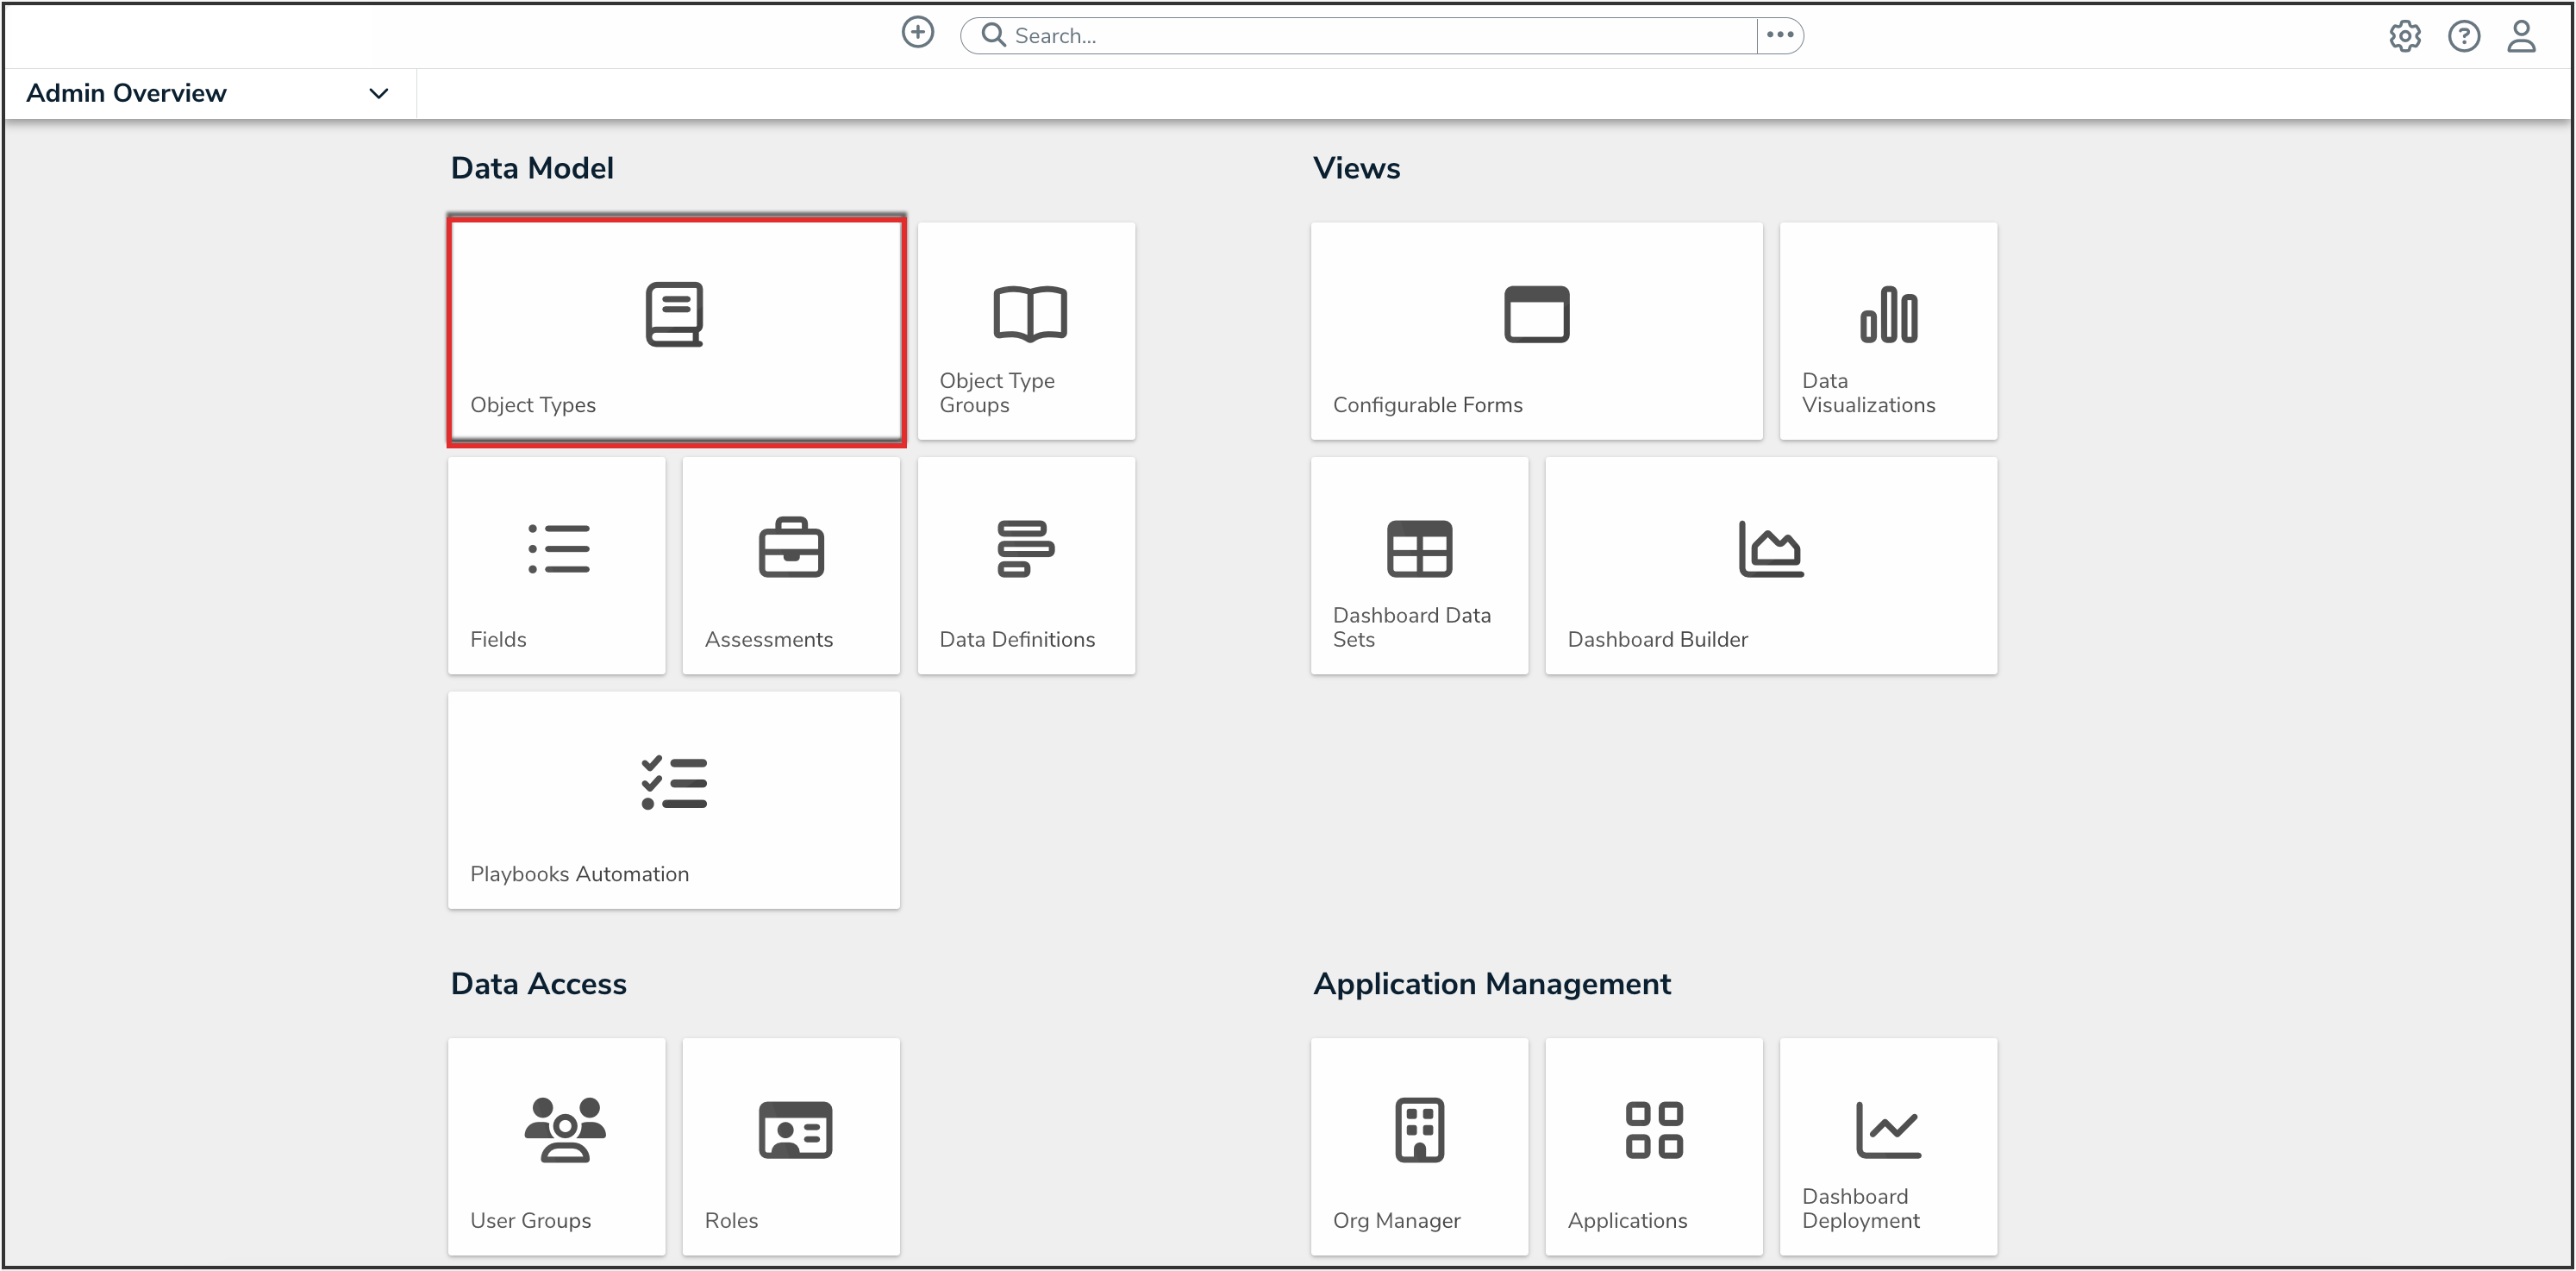
Object Types Tile
- From the Object Types screen, enter an object type name in the Search field to narrow down the object types list.
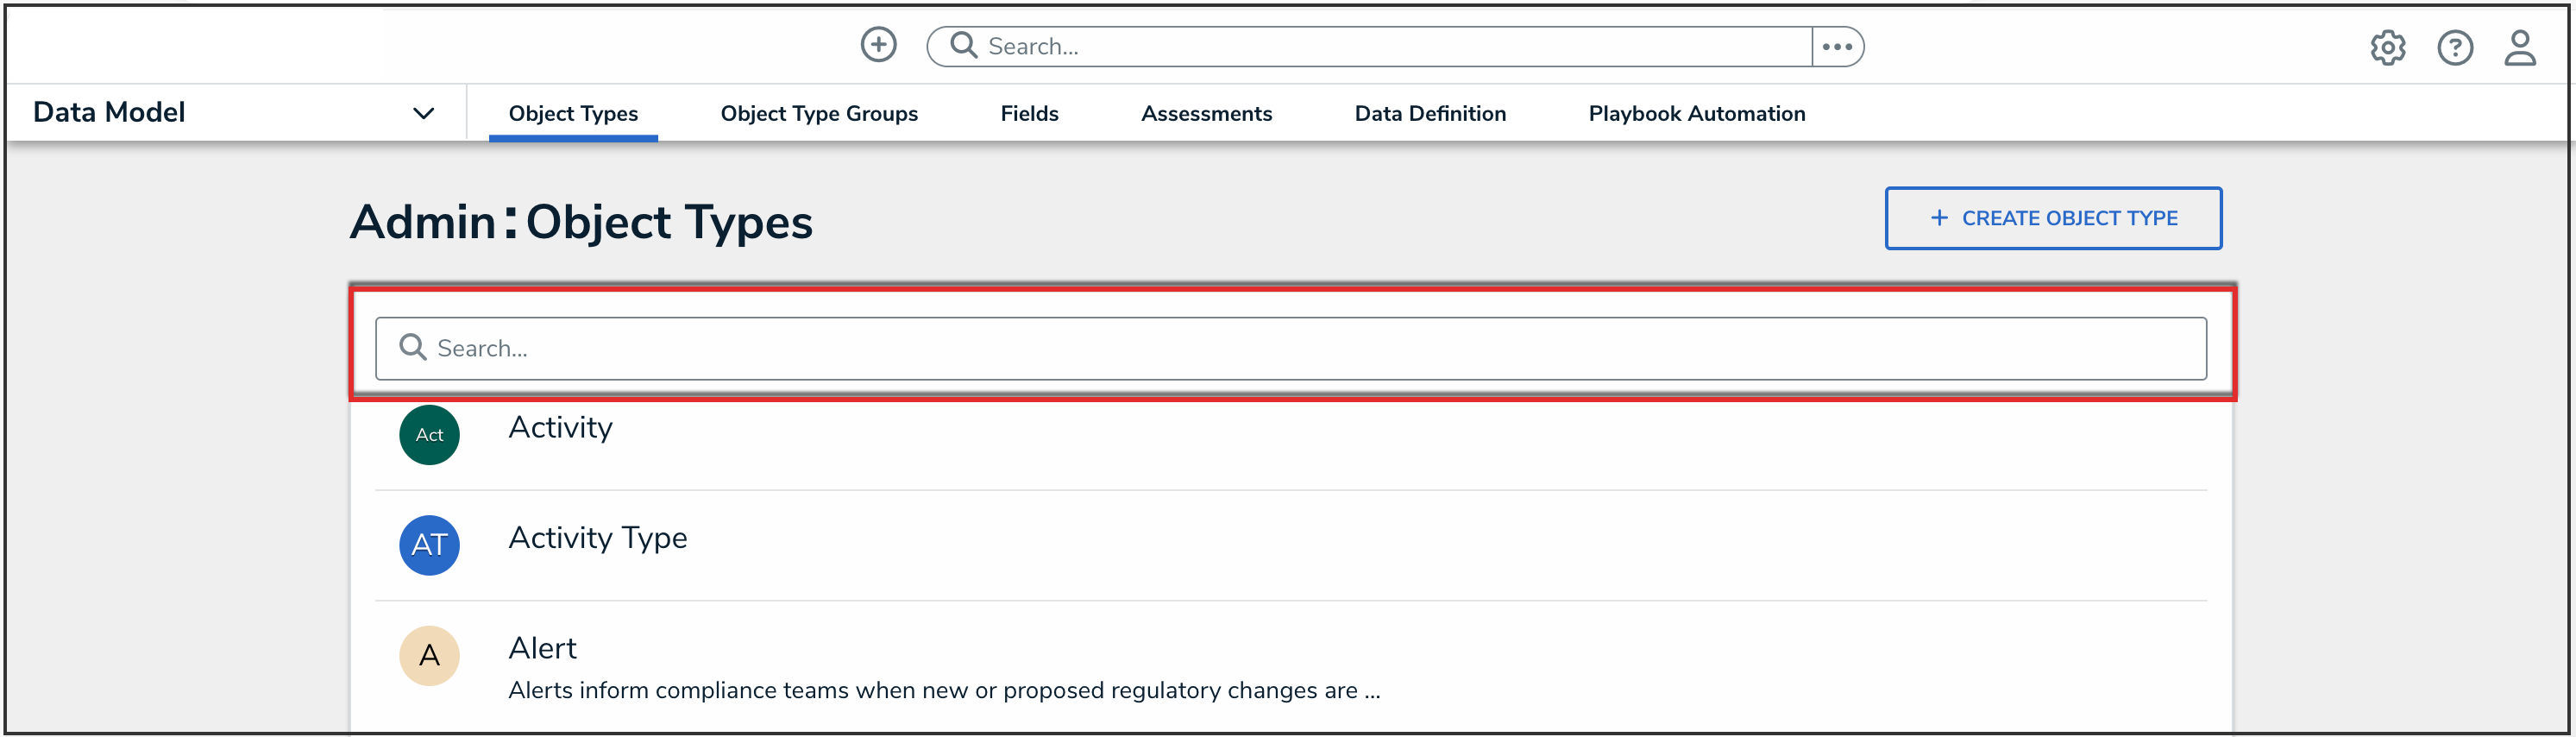
Search Field
- Click the object type that you want to edit.

- From the Edit Object Type screen, click a workflow under the Workflow tab.

Workflow Tab
- If there are no workflows listed, click the Configure Workflow button.

Configure Workflow Button
Add an Update Field Concatenations Action to a Transition
- From the Edit Workflow screen, click the trigger that you want to add the Update Field Concatenations action to.
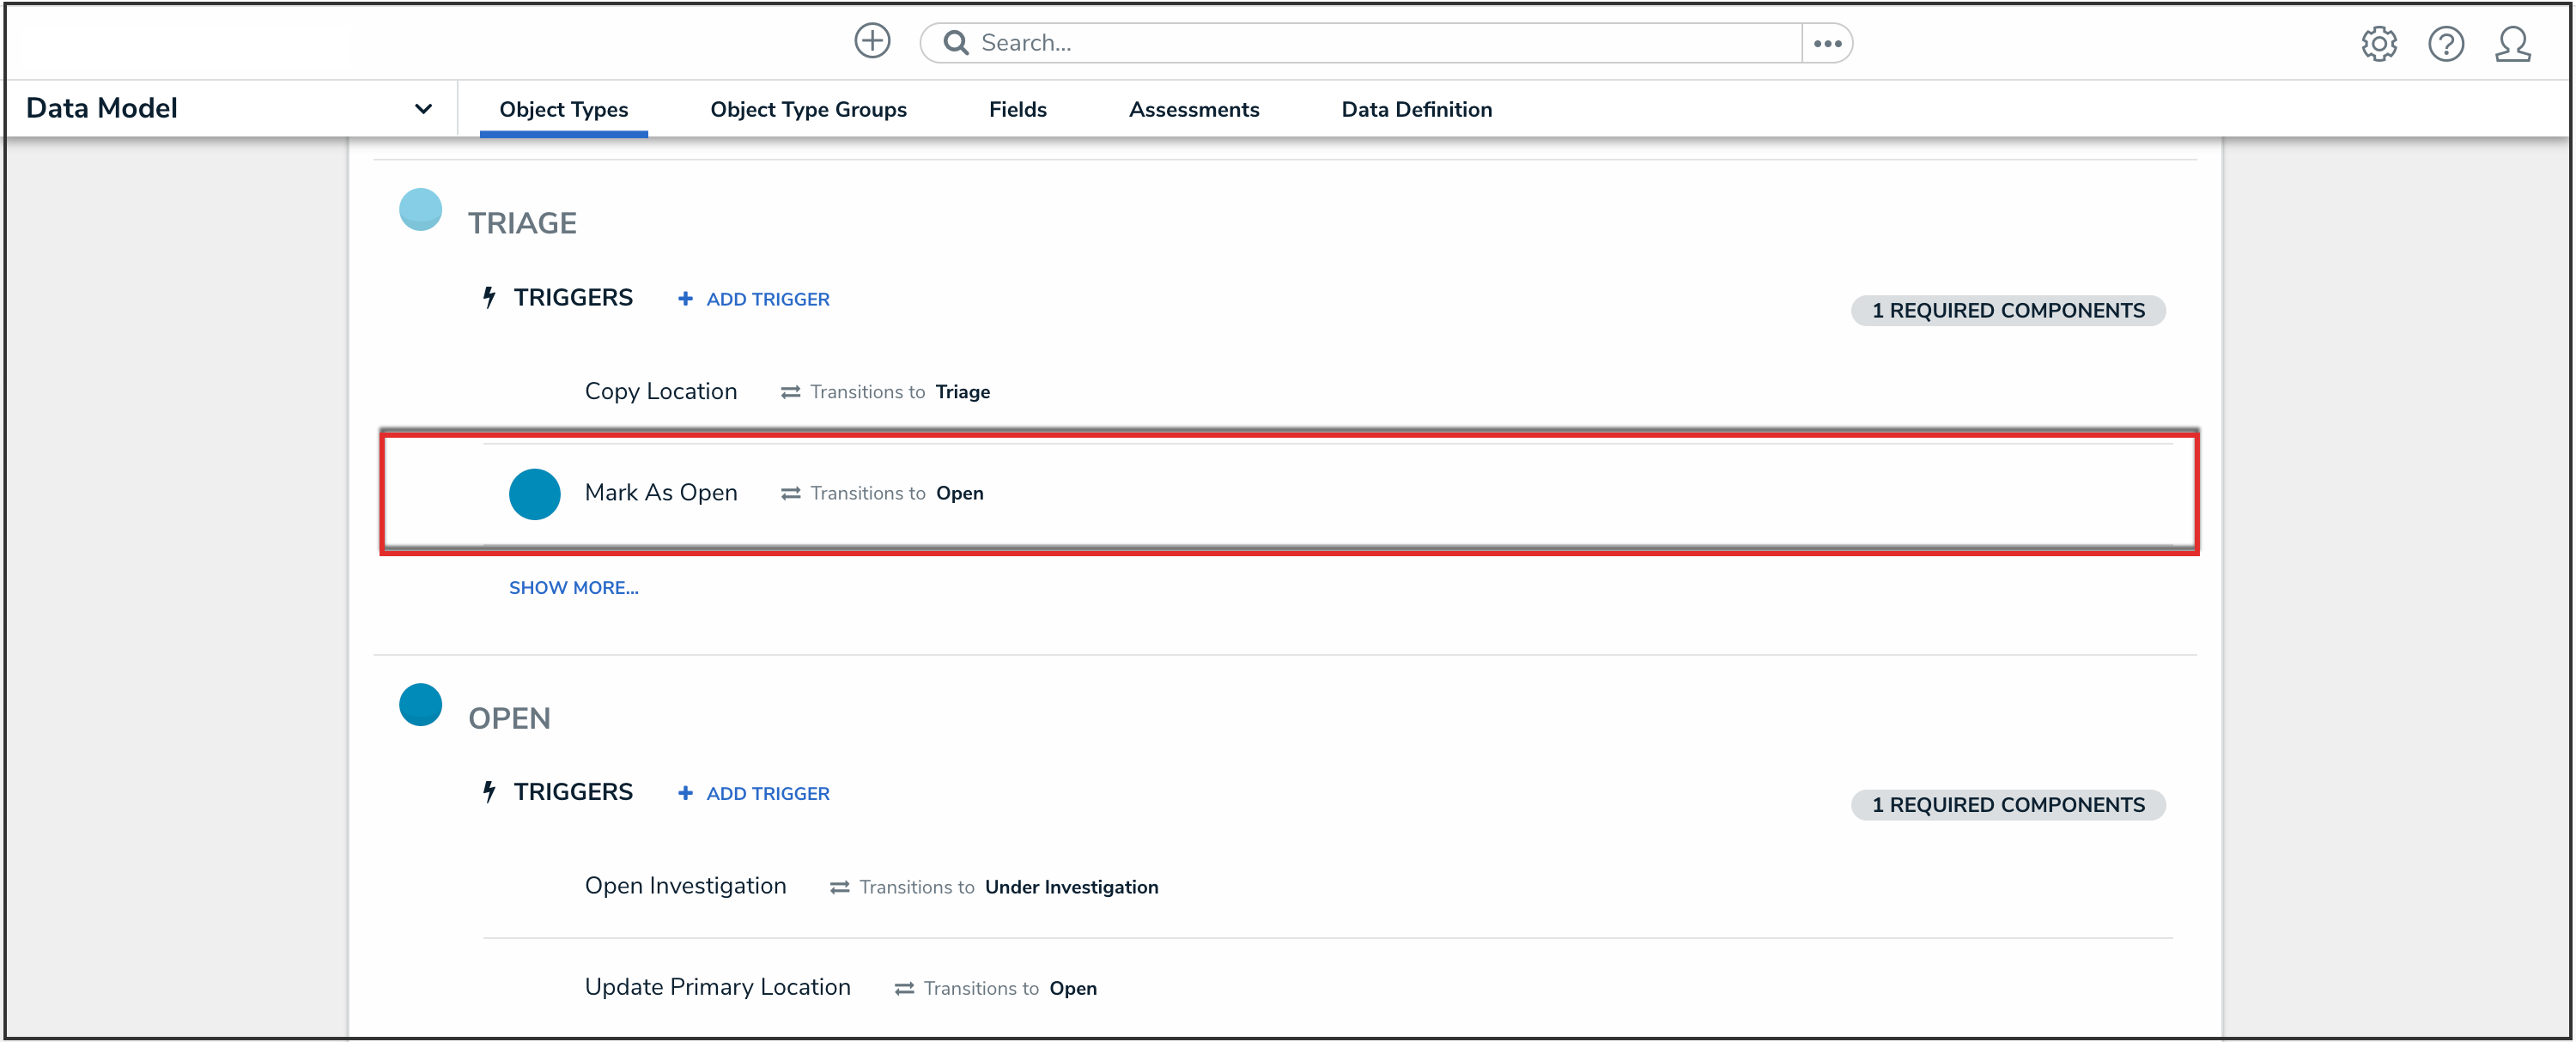
Workflow Trigger
- From the Edit Trigger pop-up, click the Configure icon under Transitions.
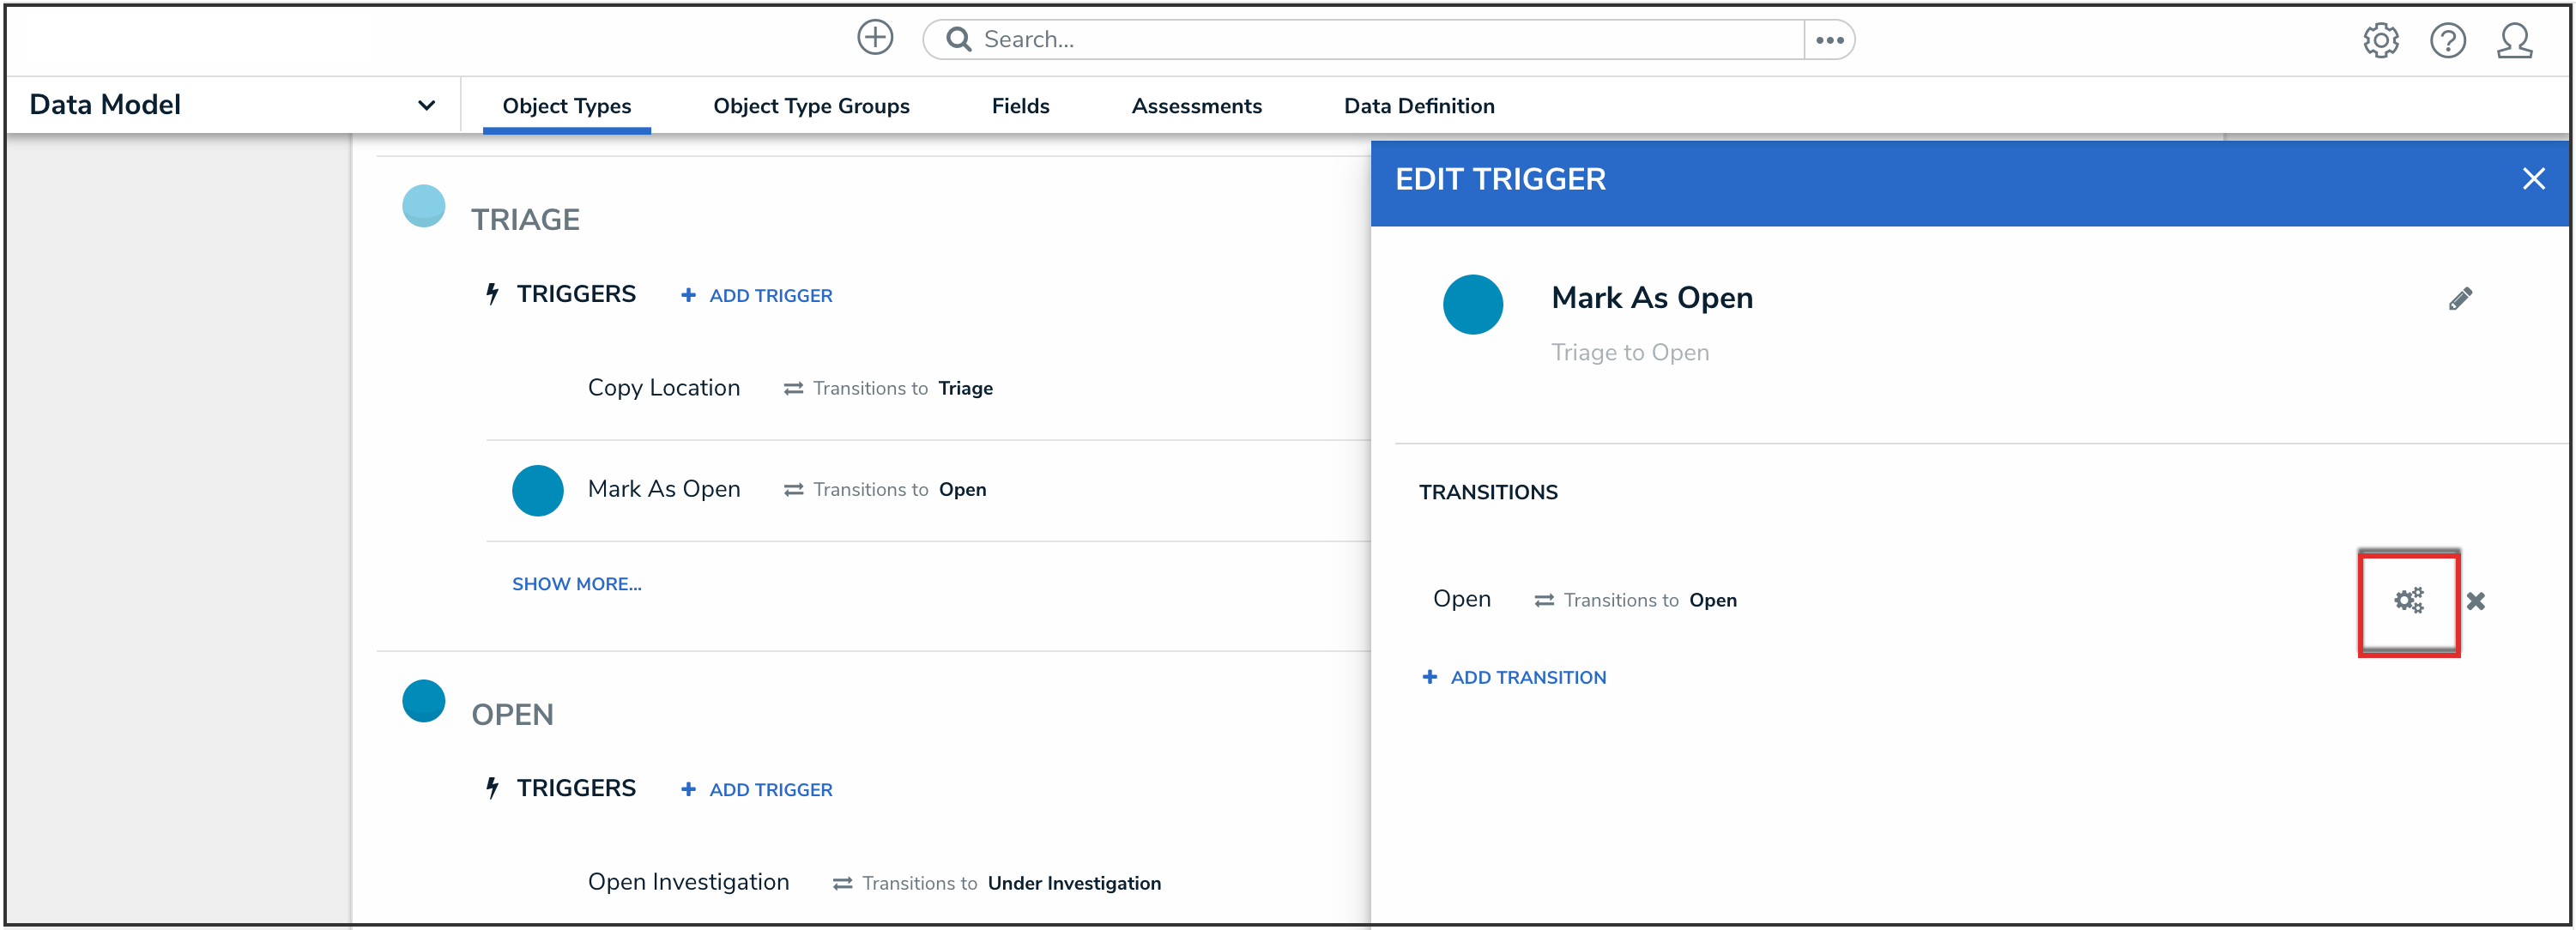
Configure Icon
- Click the Add Action button under Actions.
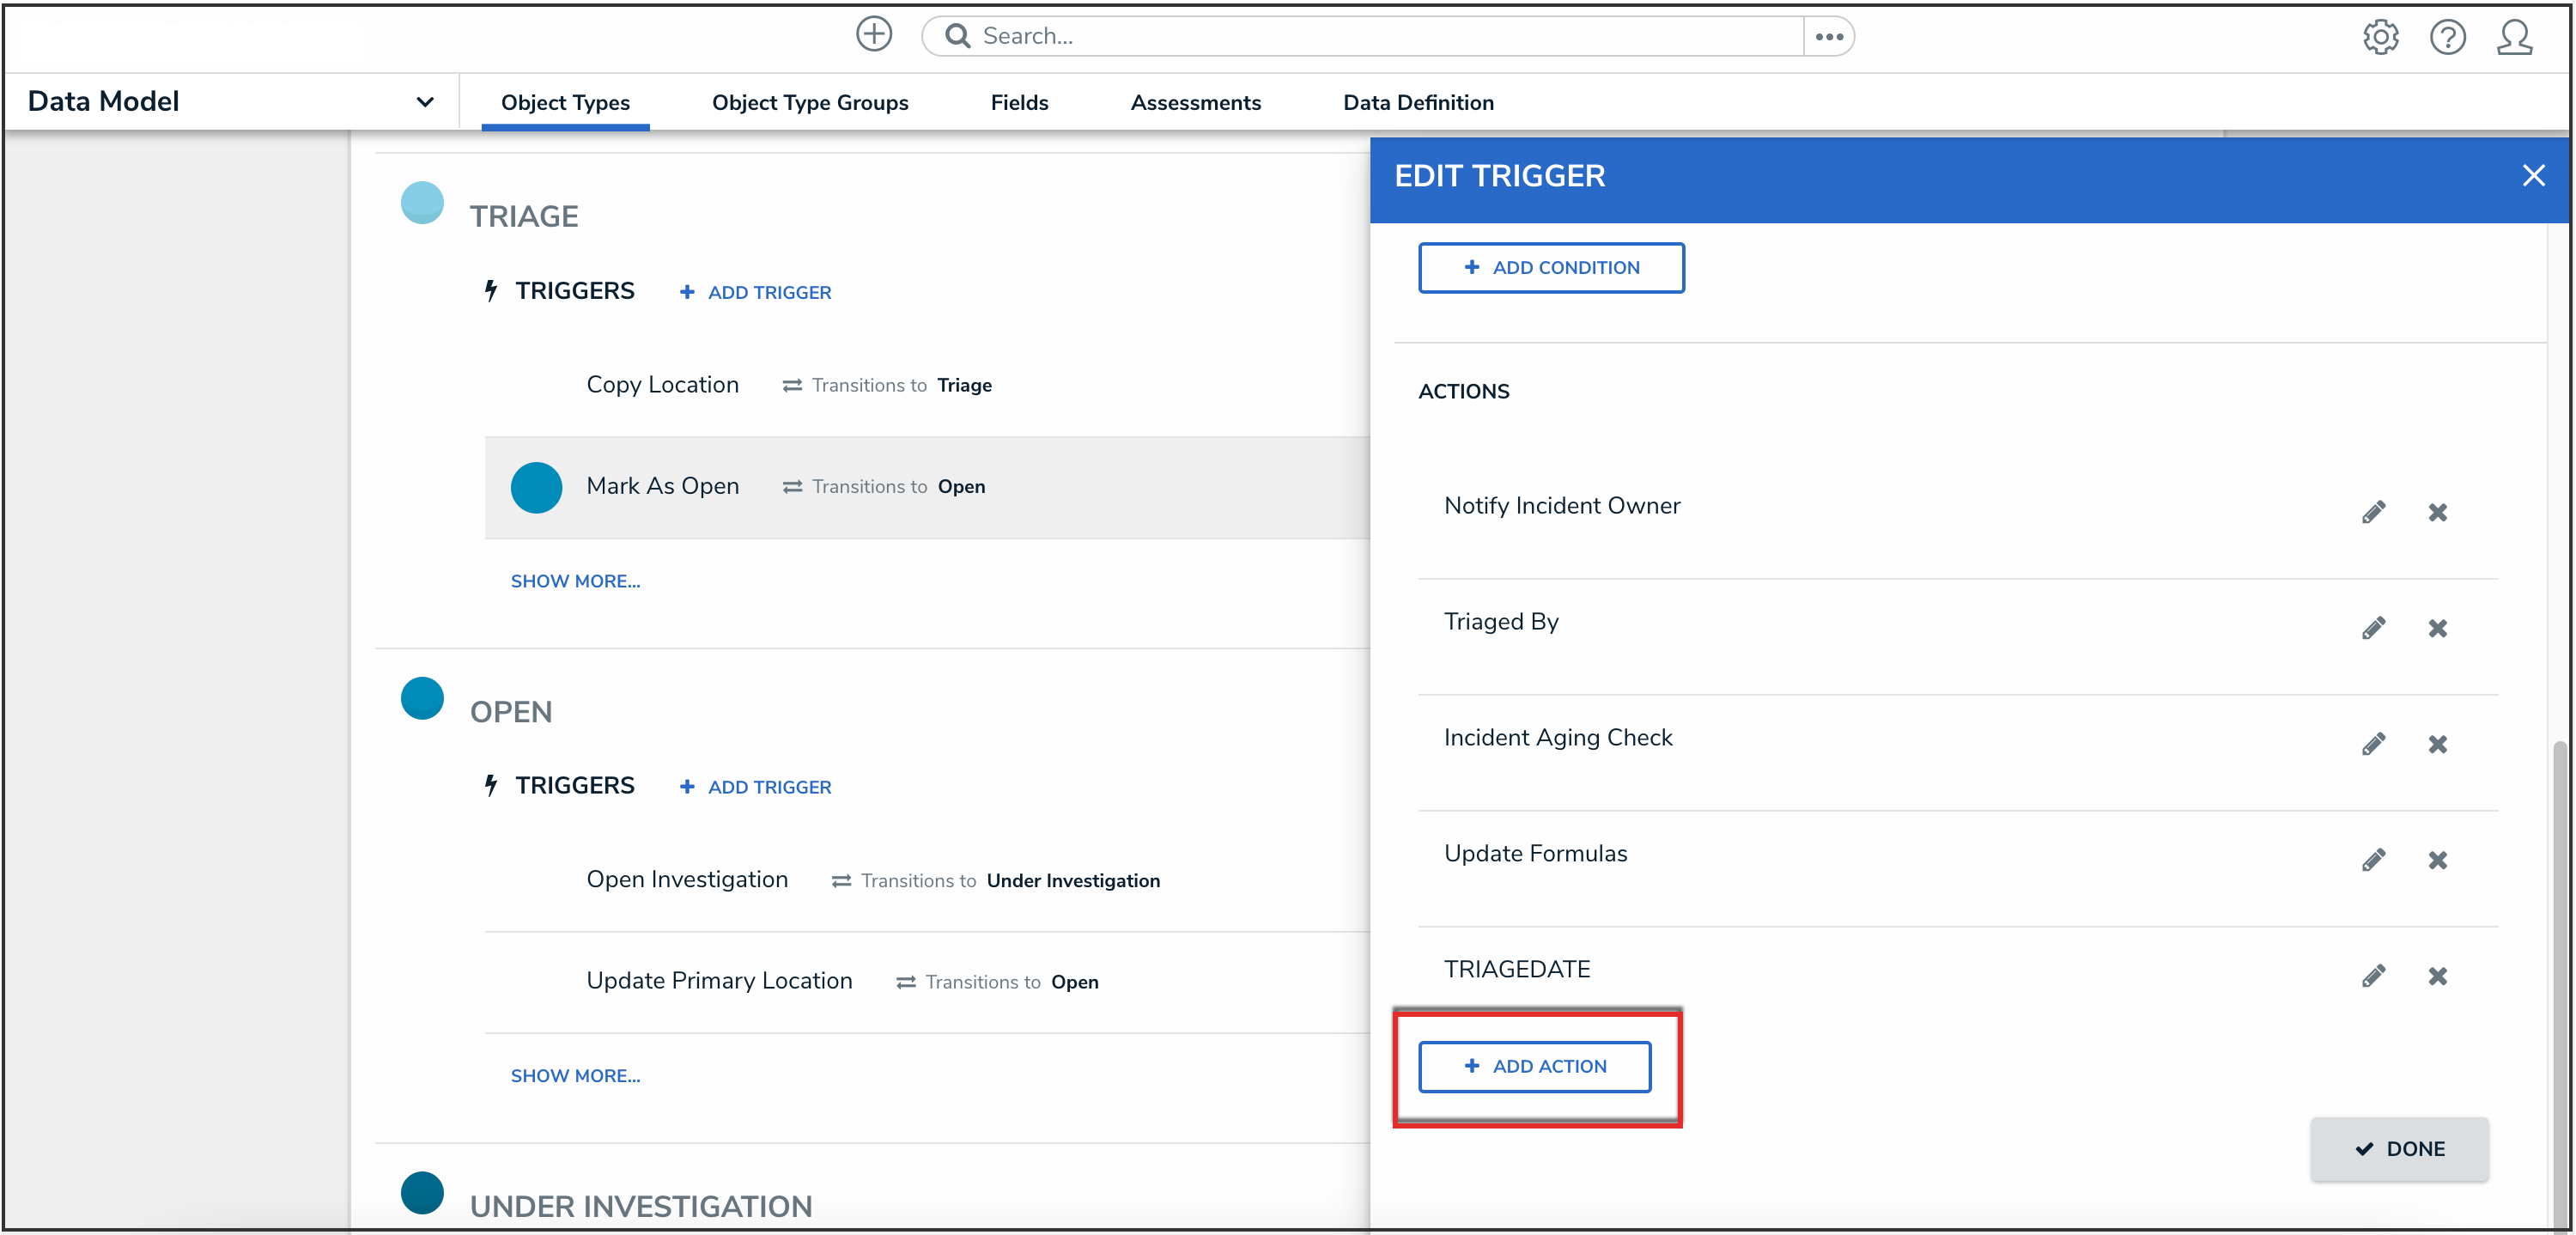
Add Action Button
- Select Update Field Concatenations from the Type dropdown menu.
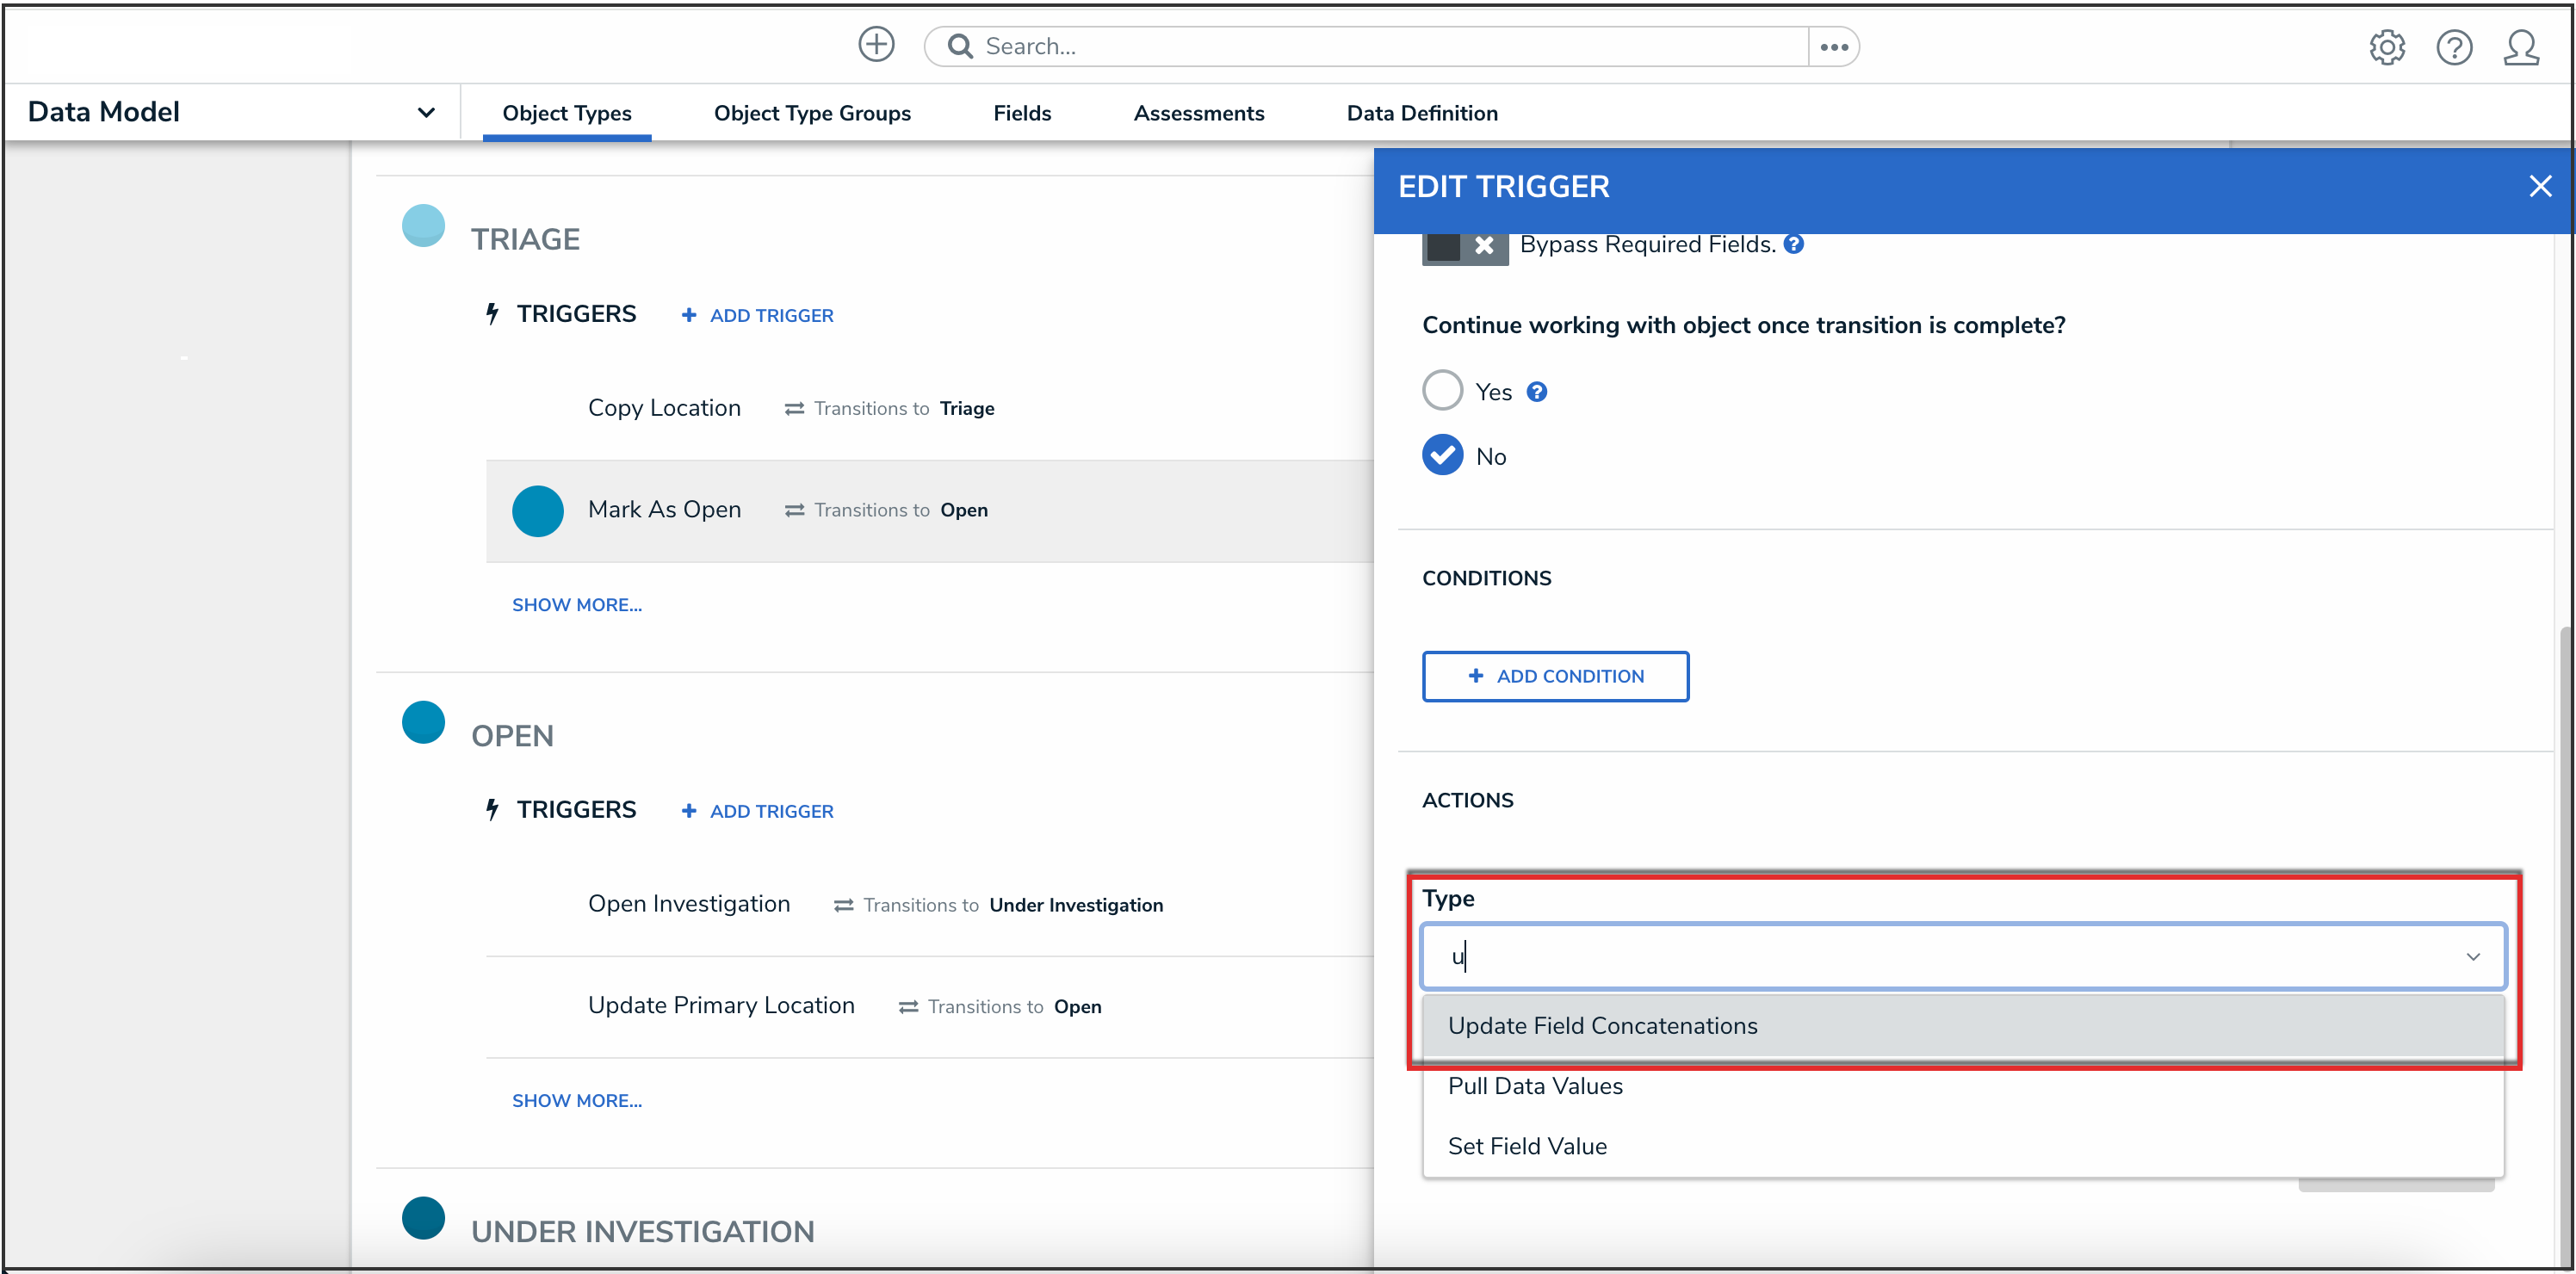
Type Dropdown Menu
- Type a name for the action in the Name field.
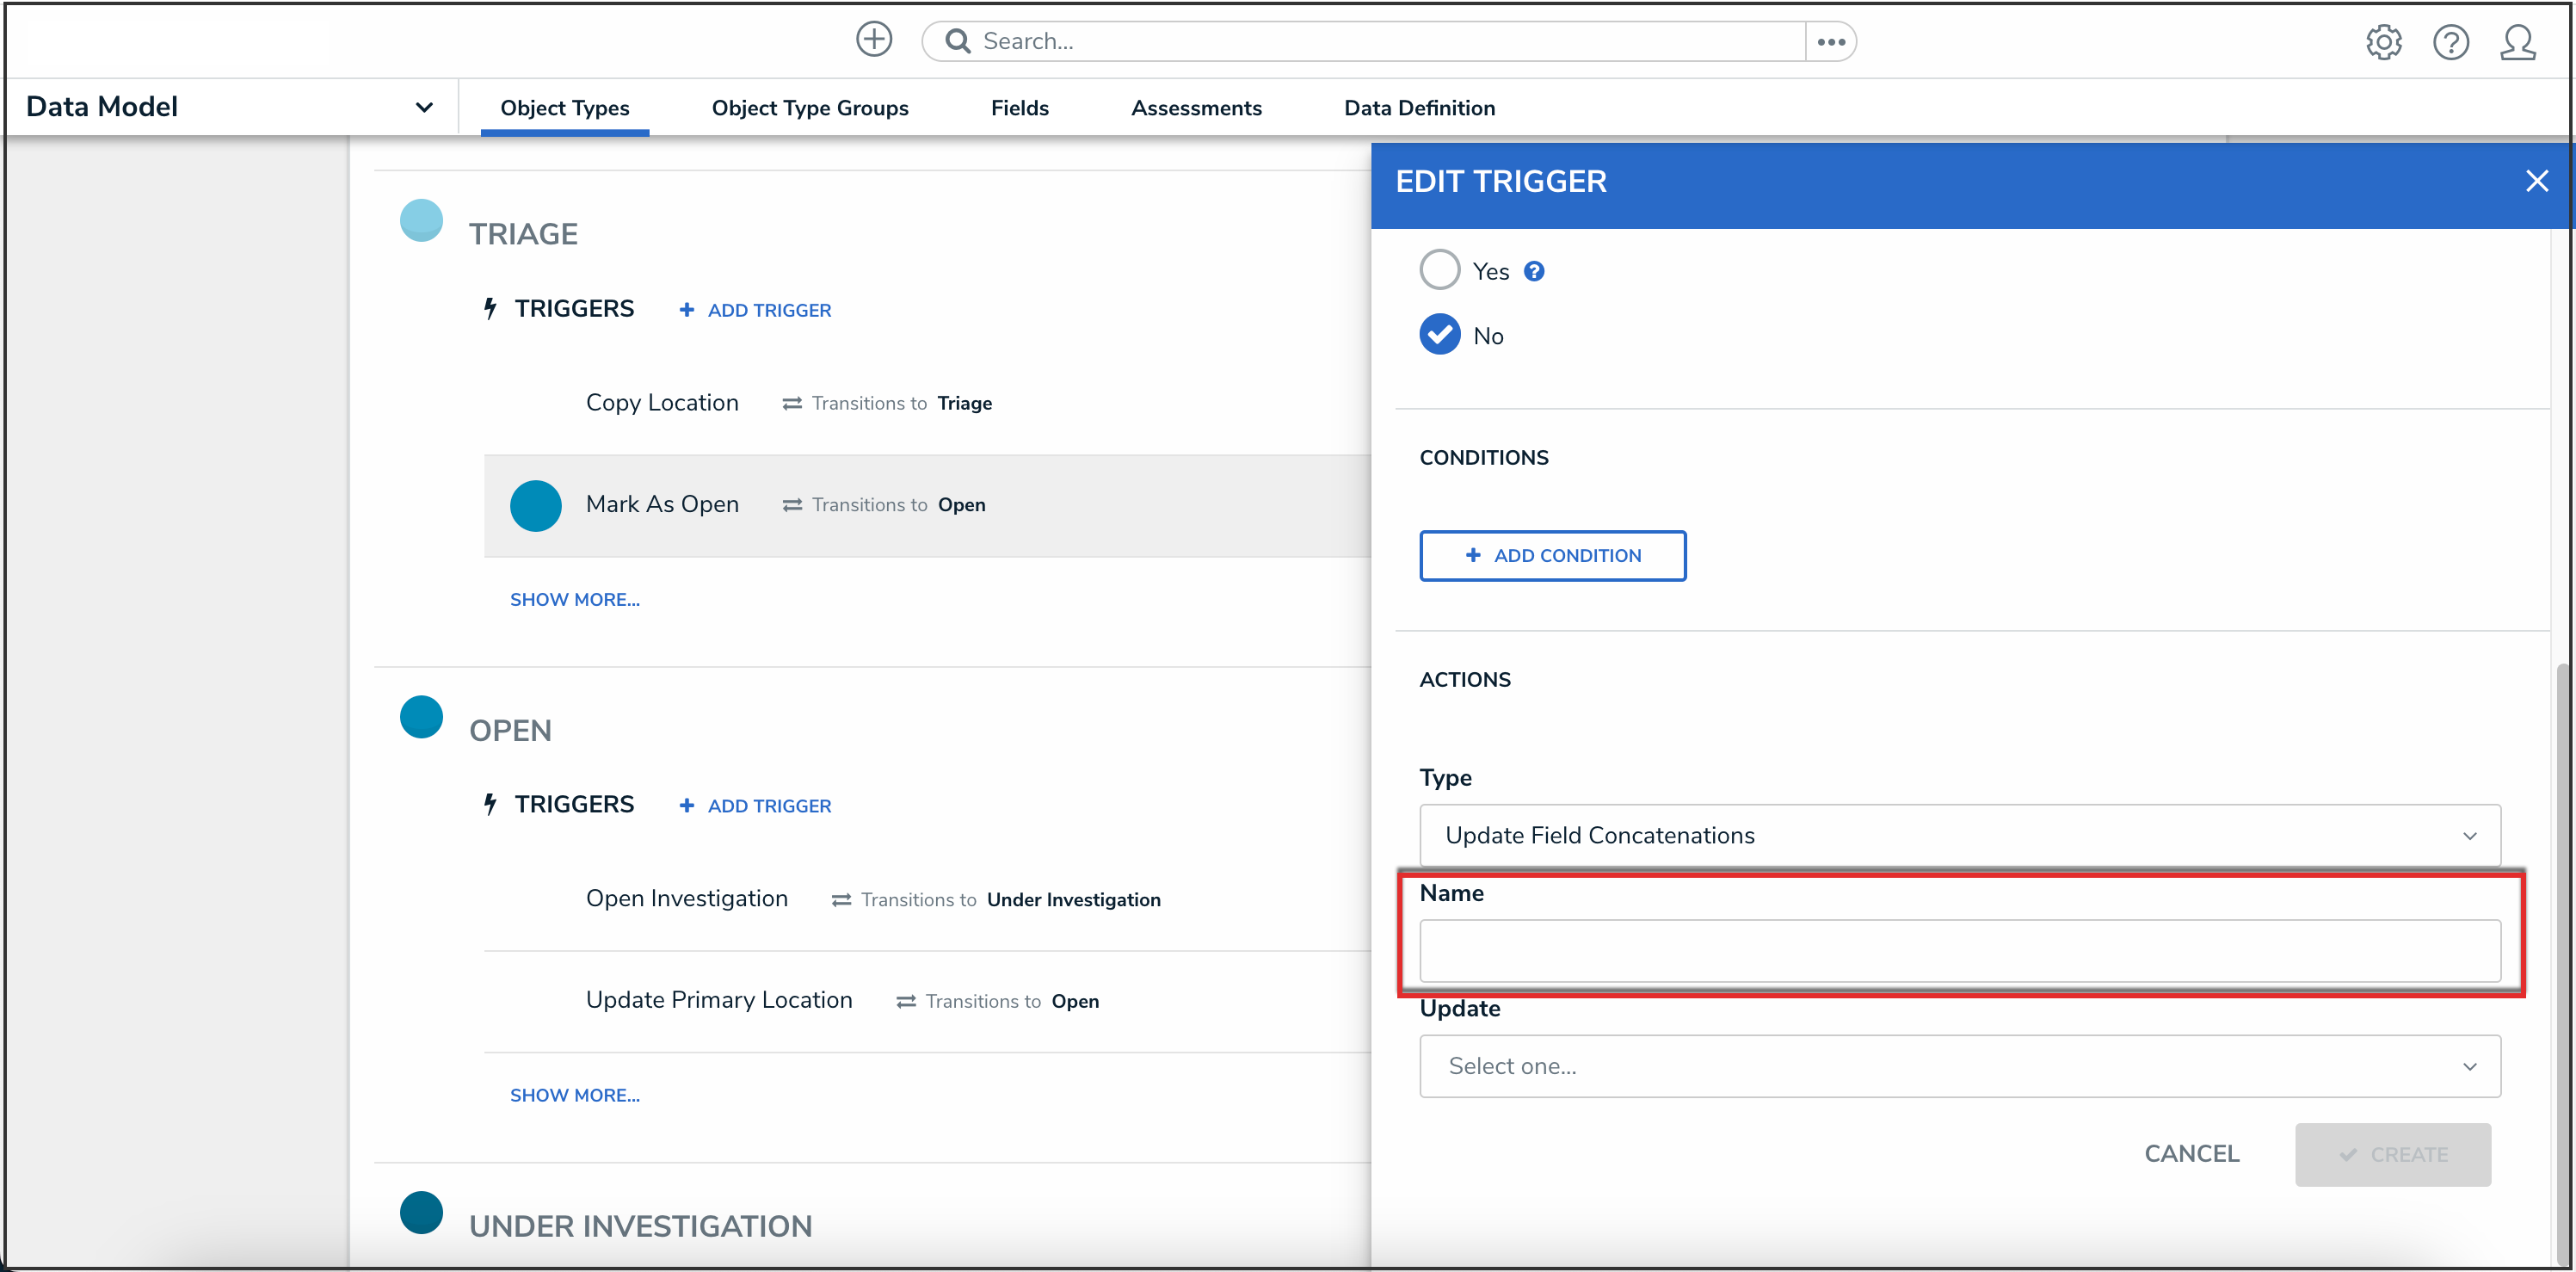
Name Field
- Select the Name Property to update the name concatenation of from the Update dropdown menu.
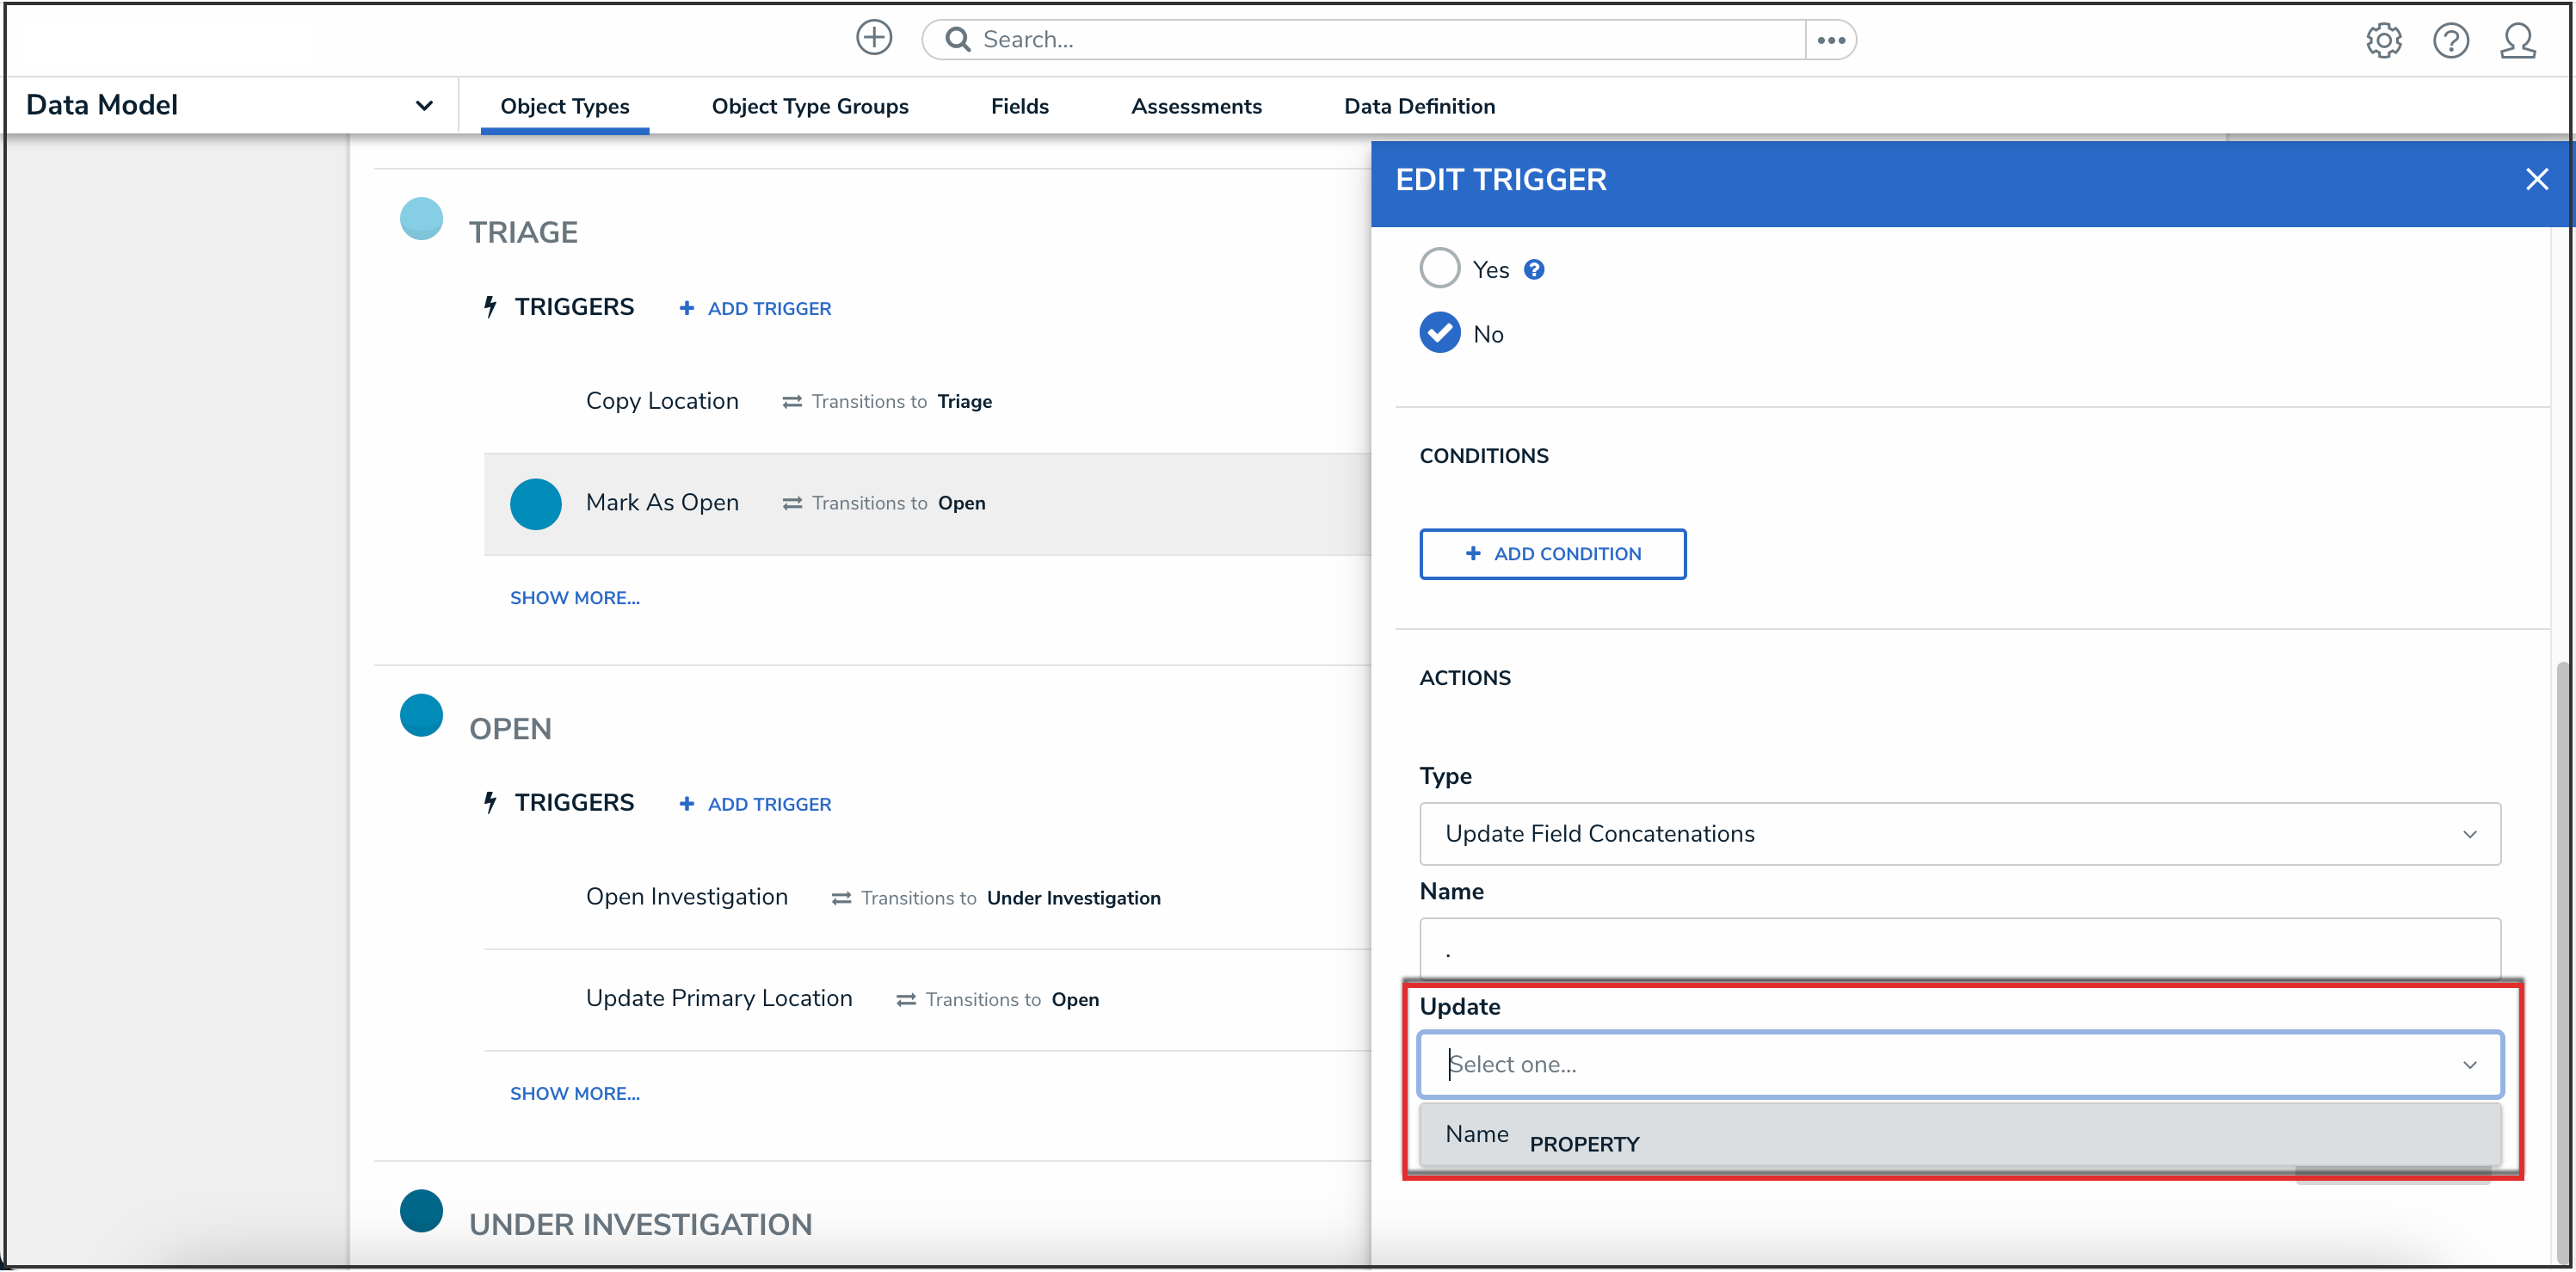
Update Dropdown Menu
- Click the Create button.
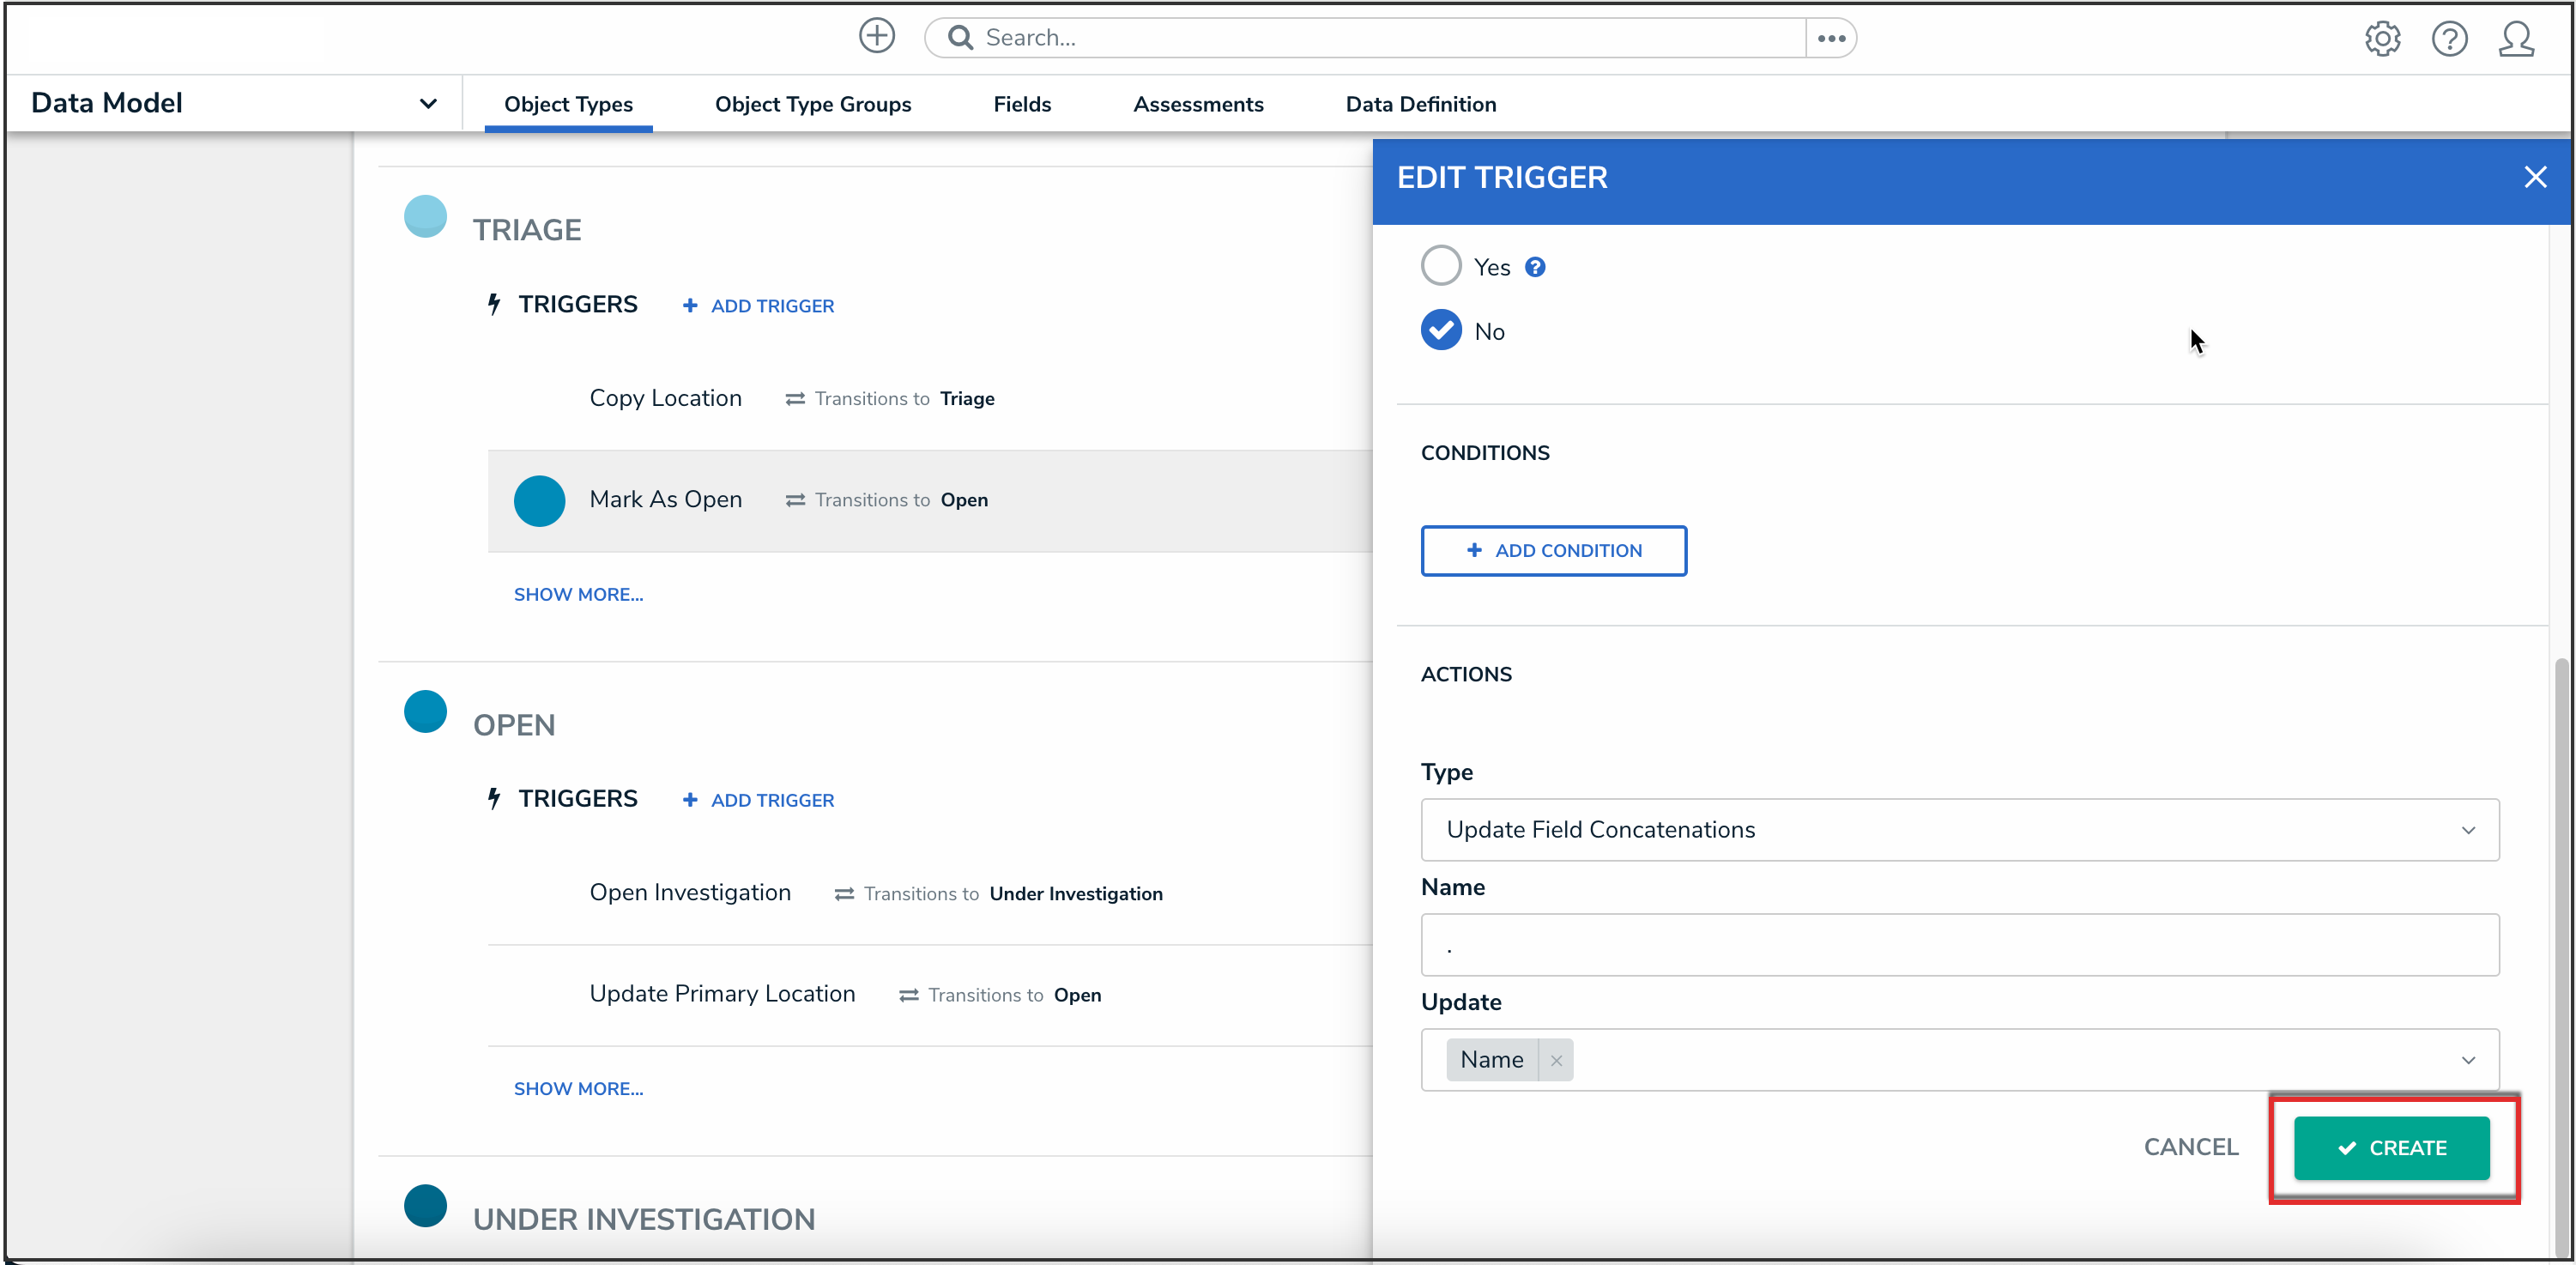
Create Button
- From the Edit Trigger pop-up, click the Done button to save your changes.


Done Button