Overview
API keys are used to authenticate requests to the Resolver API without entering user credentials.
User Account Requirements
The user must have Administrator permissions to access the Admin Overview screen.
Related Information/Setup
Please refer to the API Key Overview article for more information on using API keys in Resolver.
Navigation
-
From the Home screen, click the Administration icon.
Administration Icon
- From the Administrator Settings menu, click User Management.
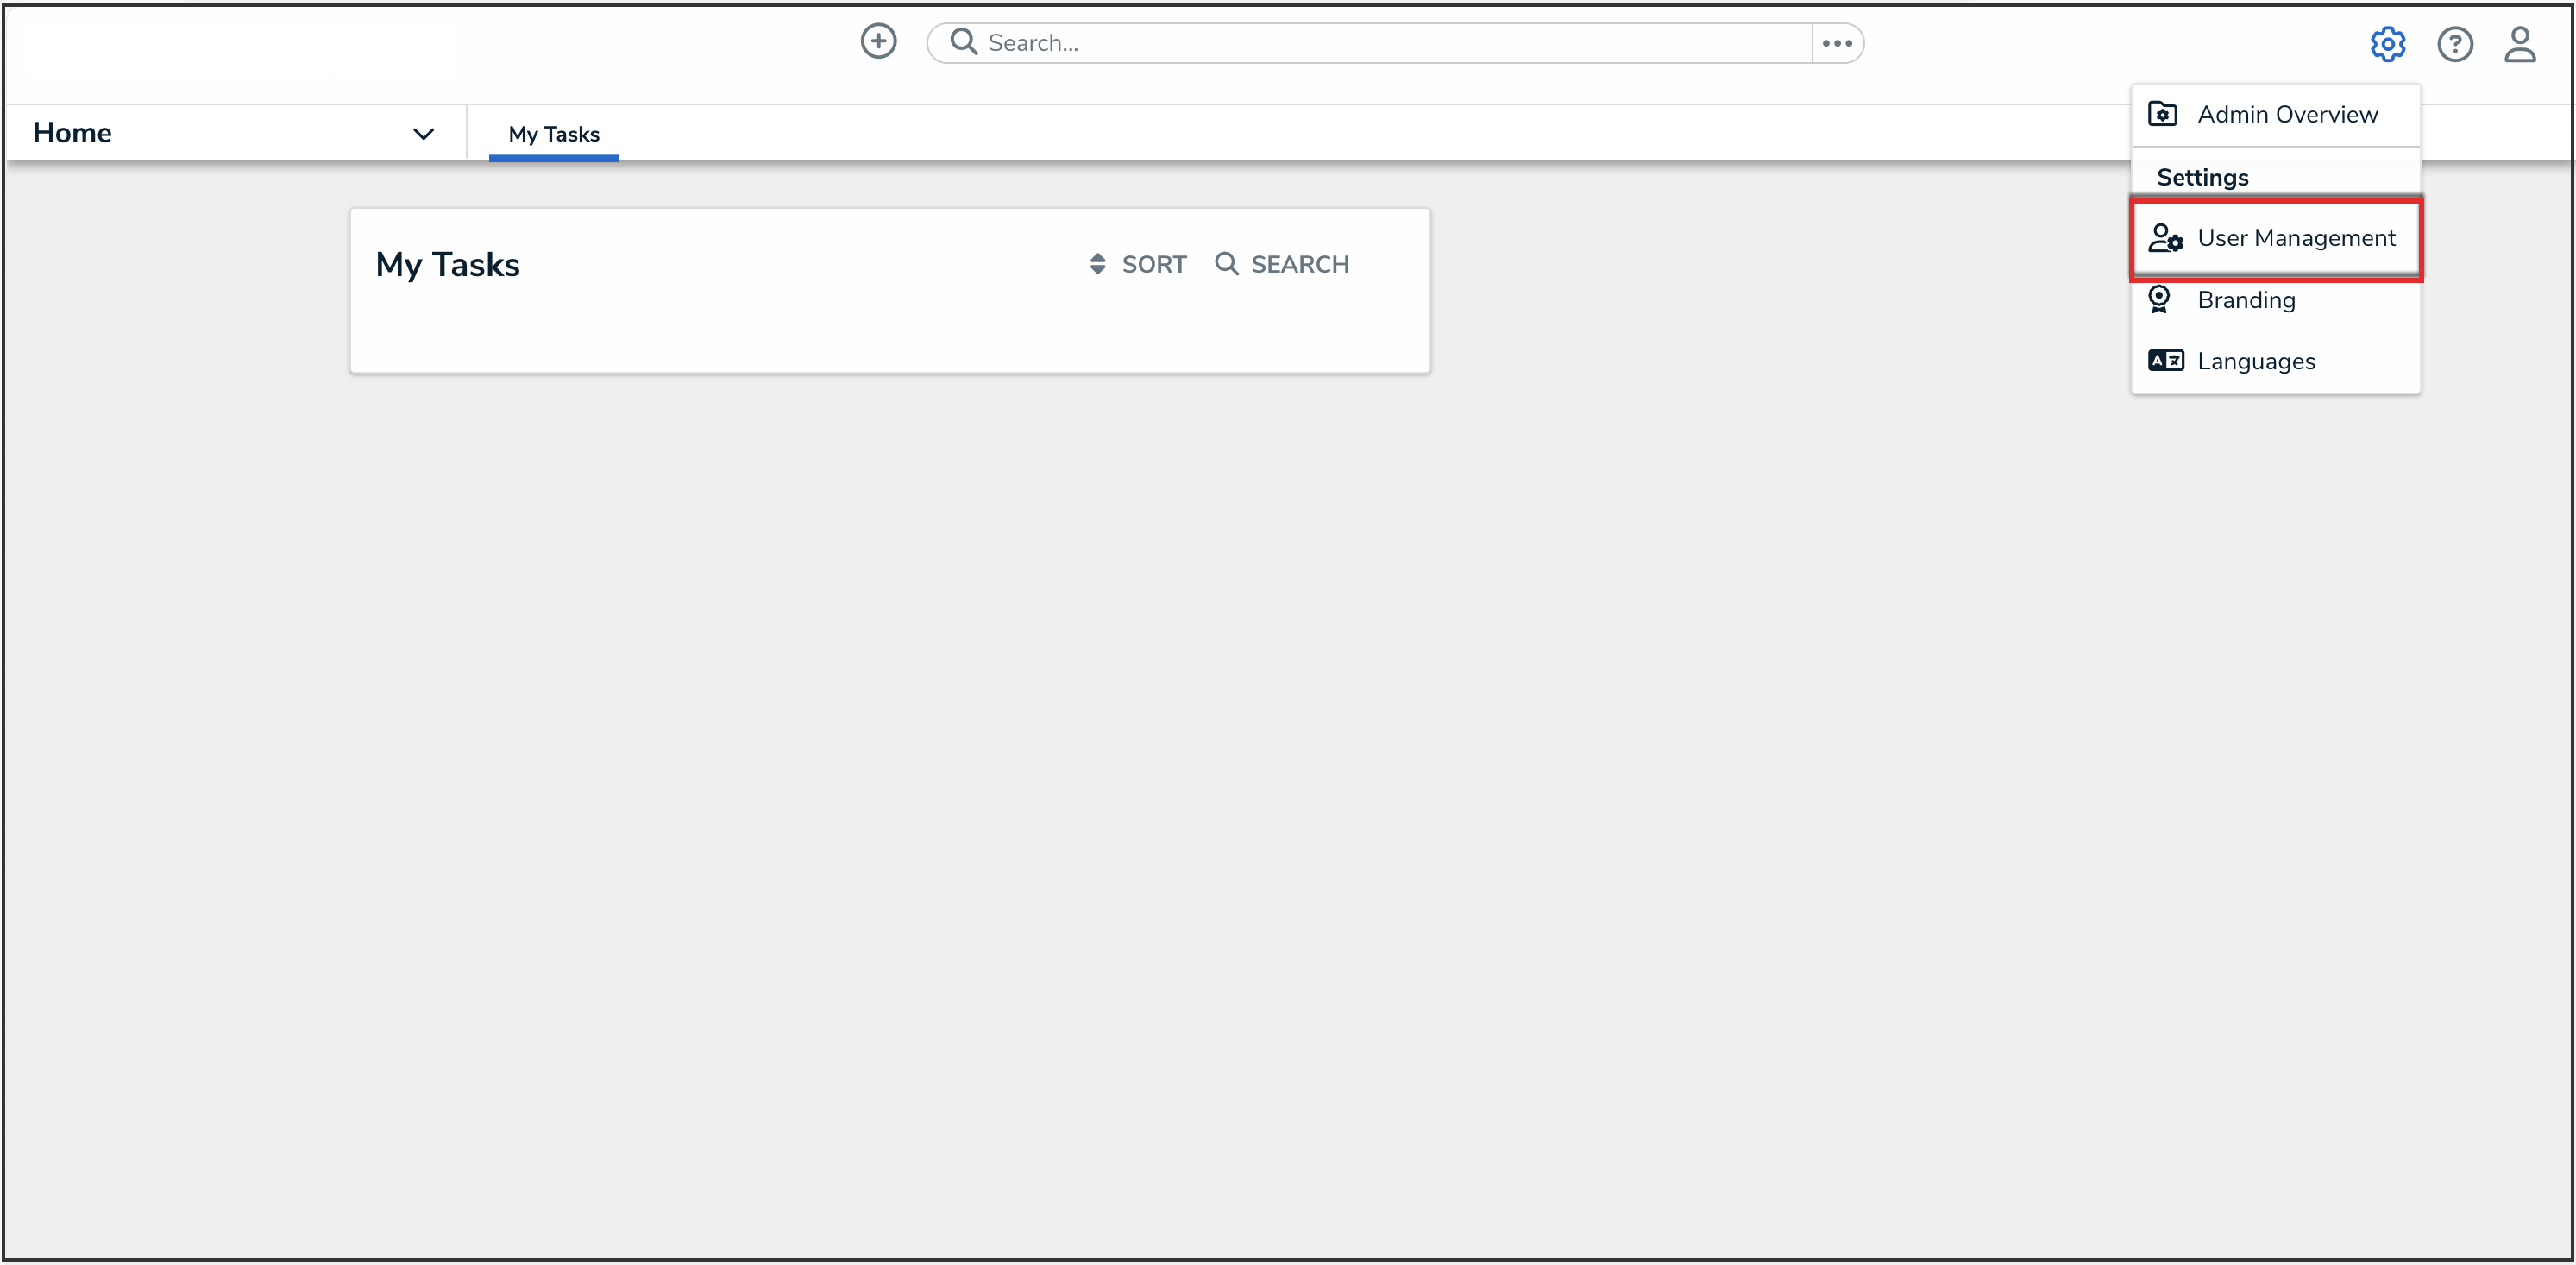
Administrator Settings Menu
- Click the Create User button.

Create User Button


Creating an API Key
For added security, it's recommended that the Admin setting is not enabled for API users unless Administrator privileges are needed to complete the required API calls.
- Follow the steps to create a new user.
- From the Edit User page, record the account's internal ID from the address bar of your browser (e.g., 247595).

Account Internal ID
-
From the Home screen, click the Administration icon.
Administration Icon

- From the Administrator Settings menu, click Admin Overview.
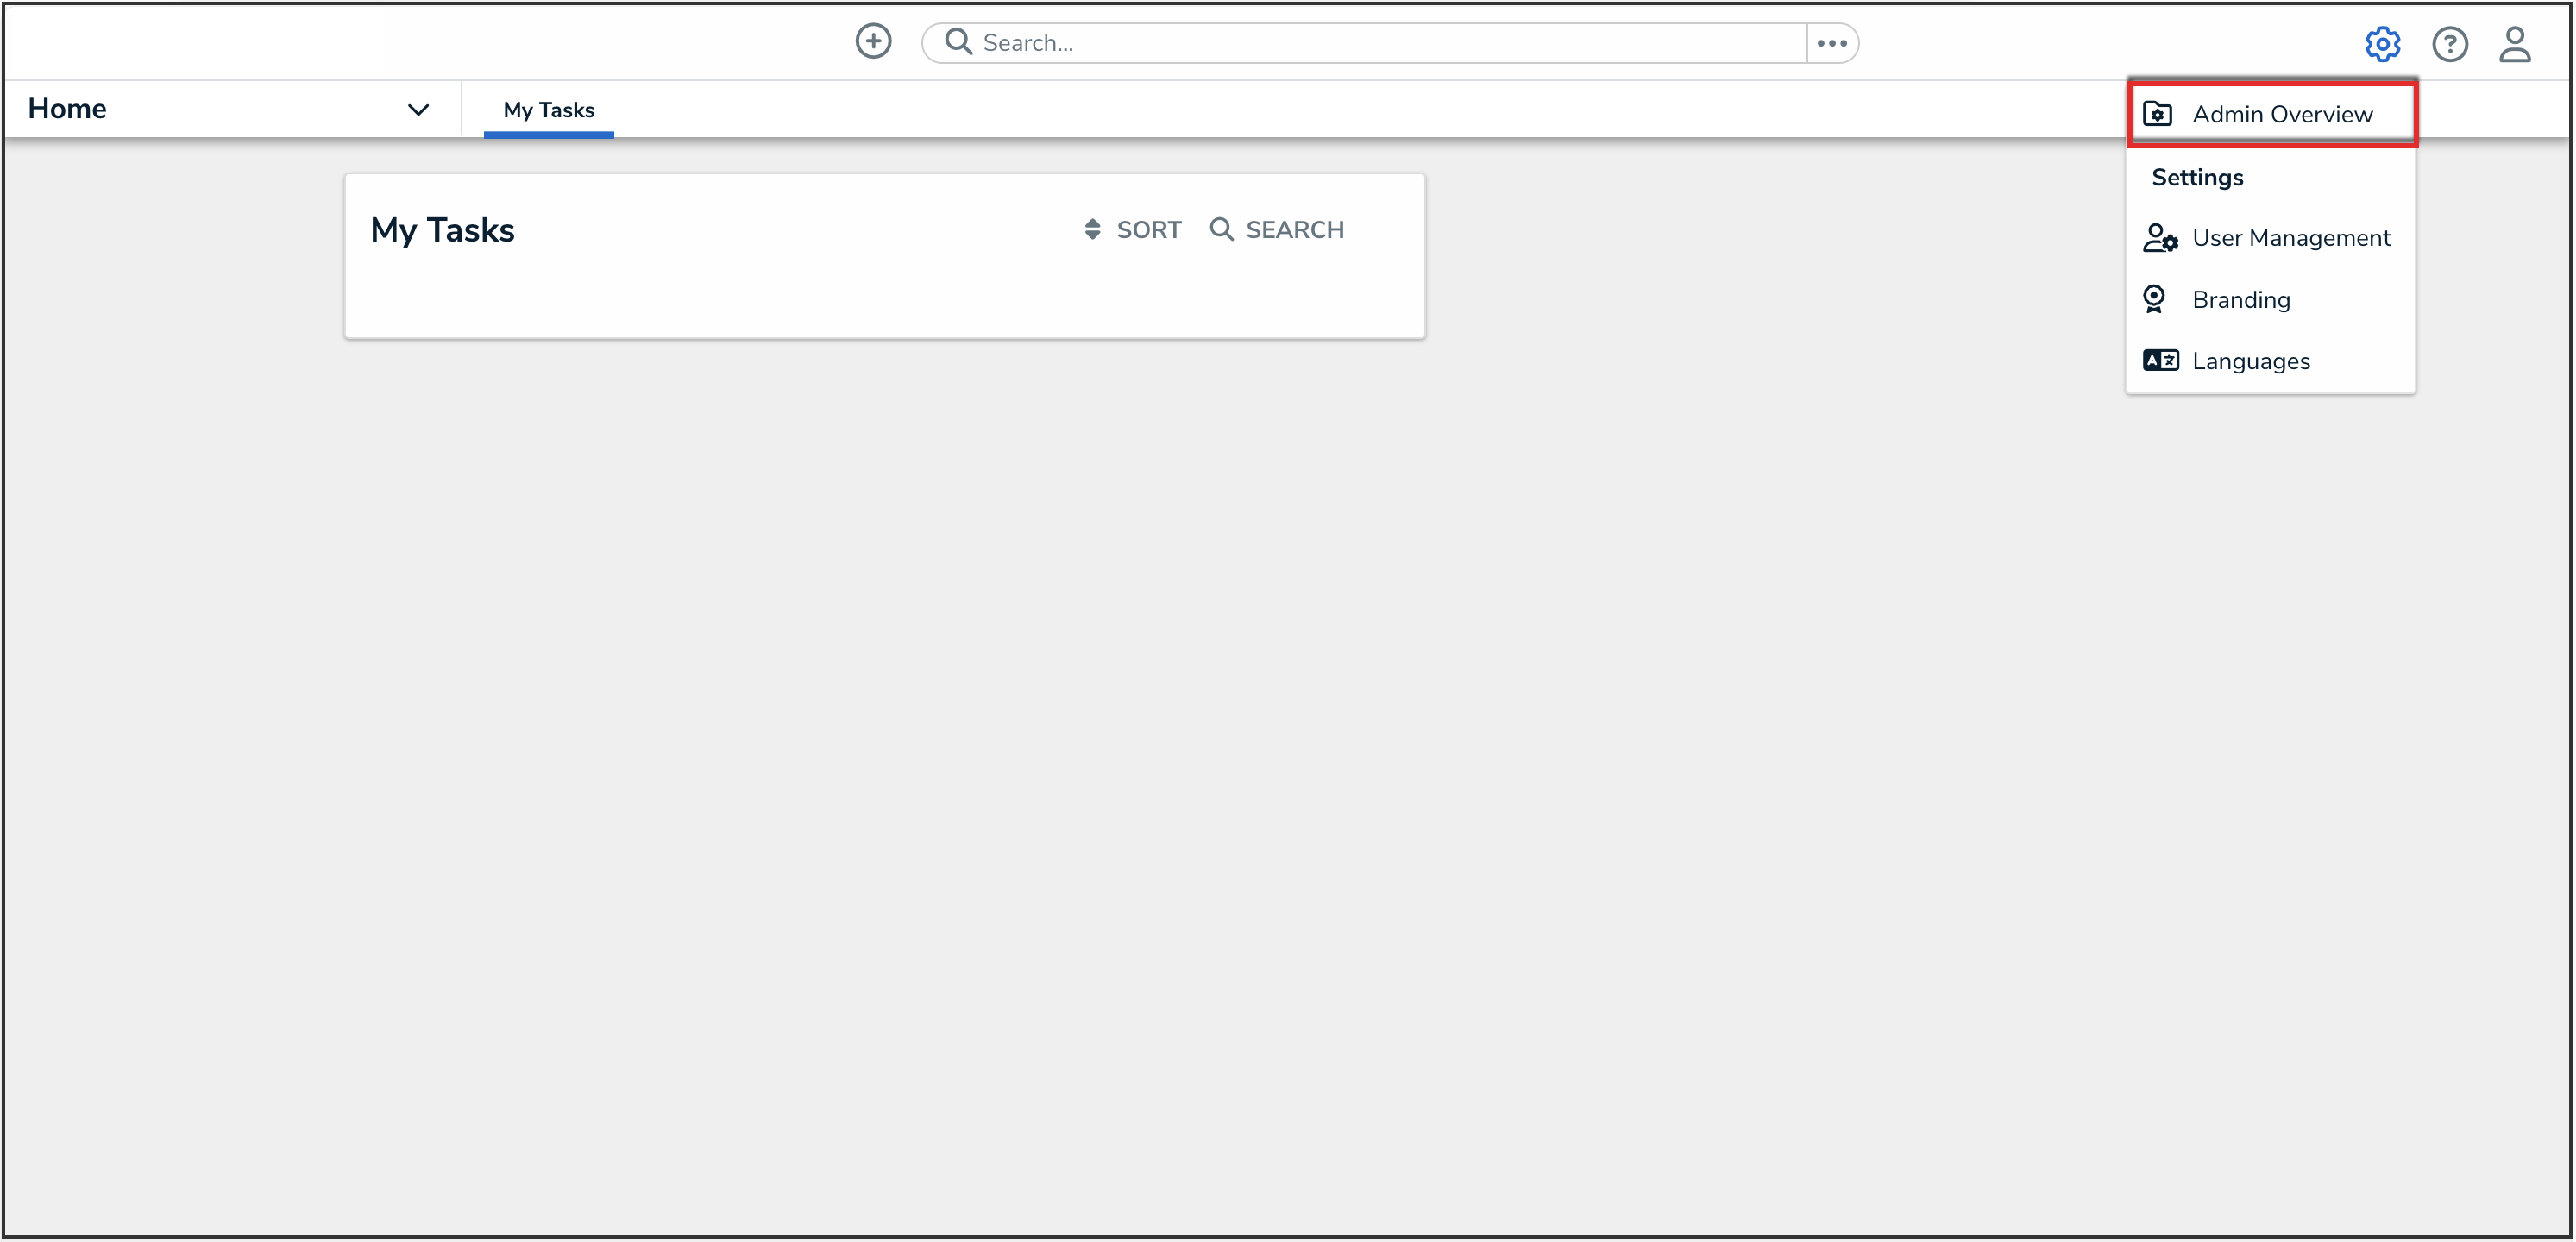
Administrator Settings Menu
- From the Admin Overview screen, click the Swagger Docs tile in the Tools section.
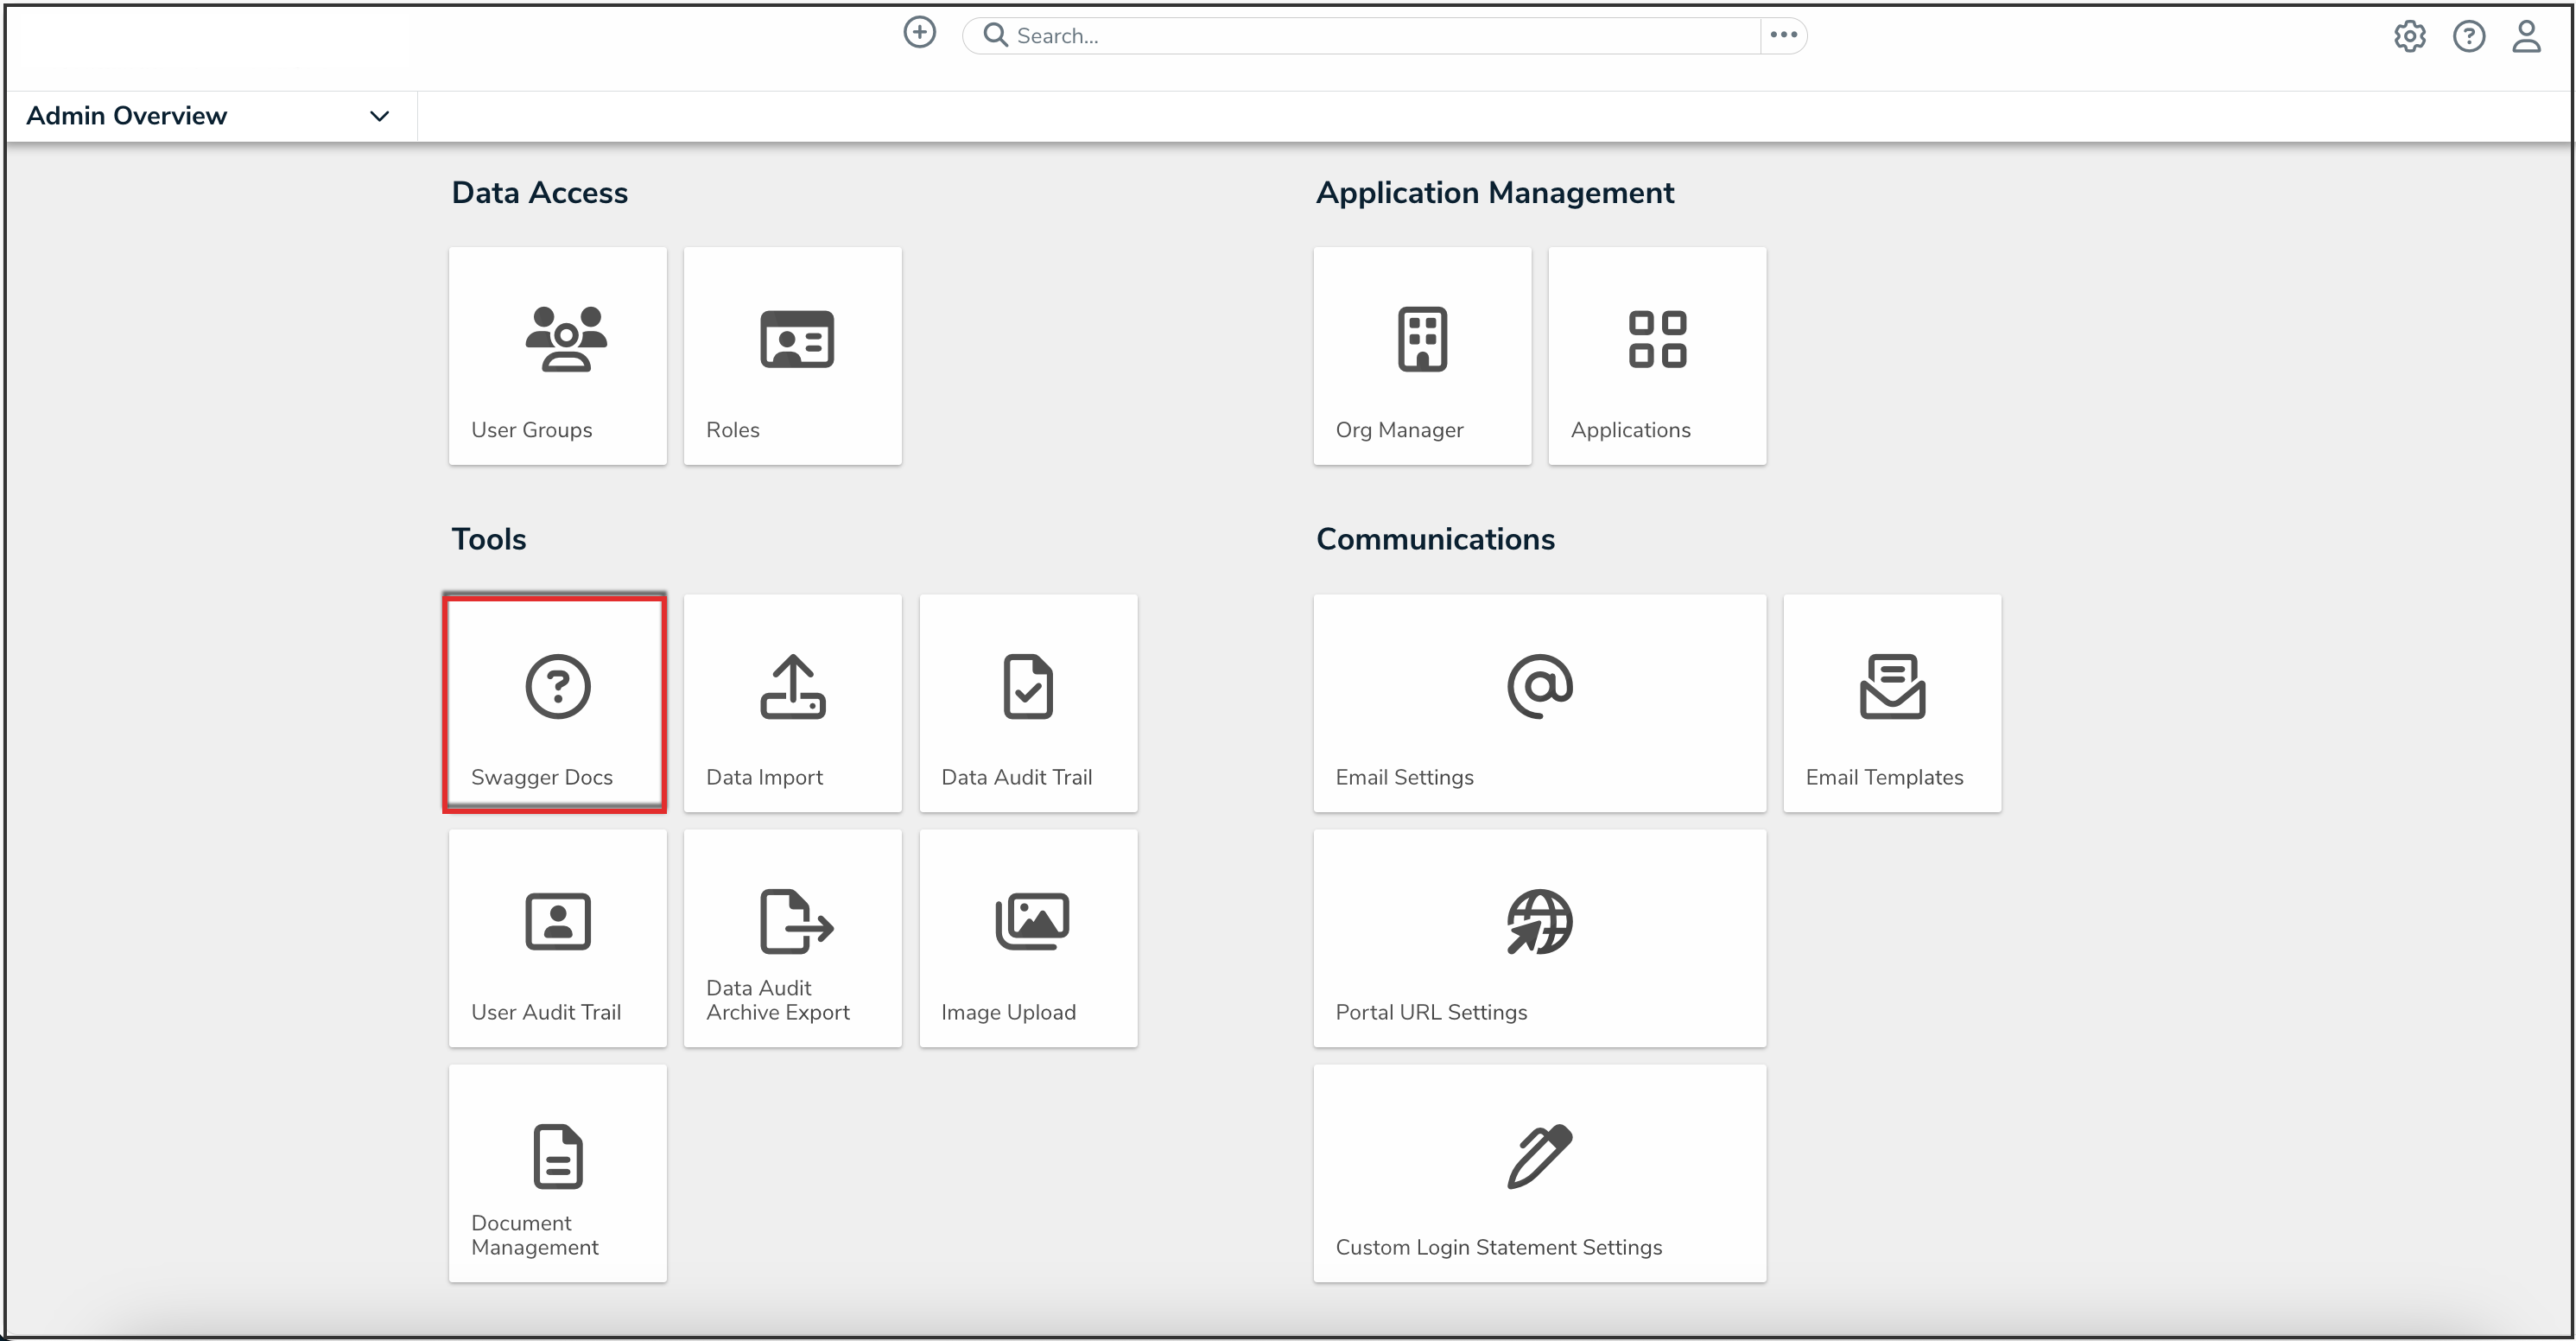
Swagger Docs Tile
- From the Admin: Help screen, enter the keyword user in the search text box, then click the User topic from the results.
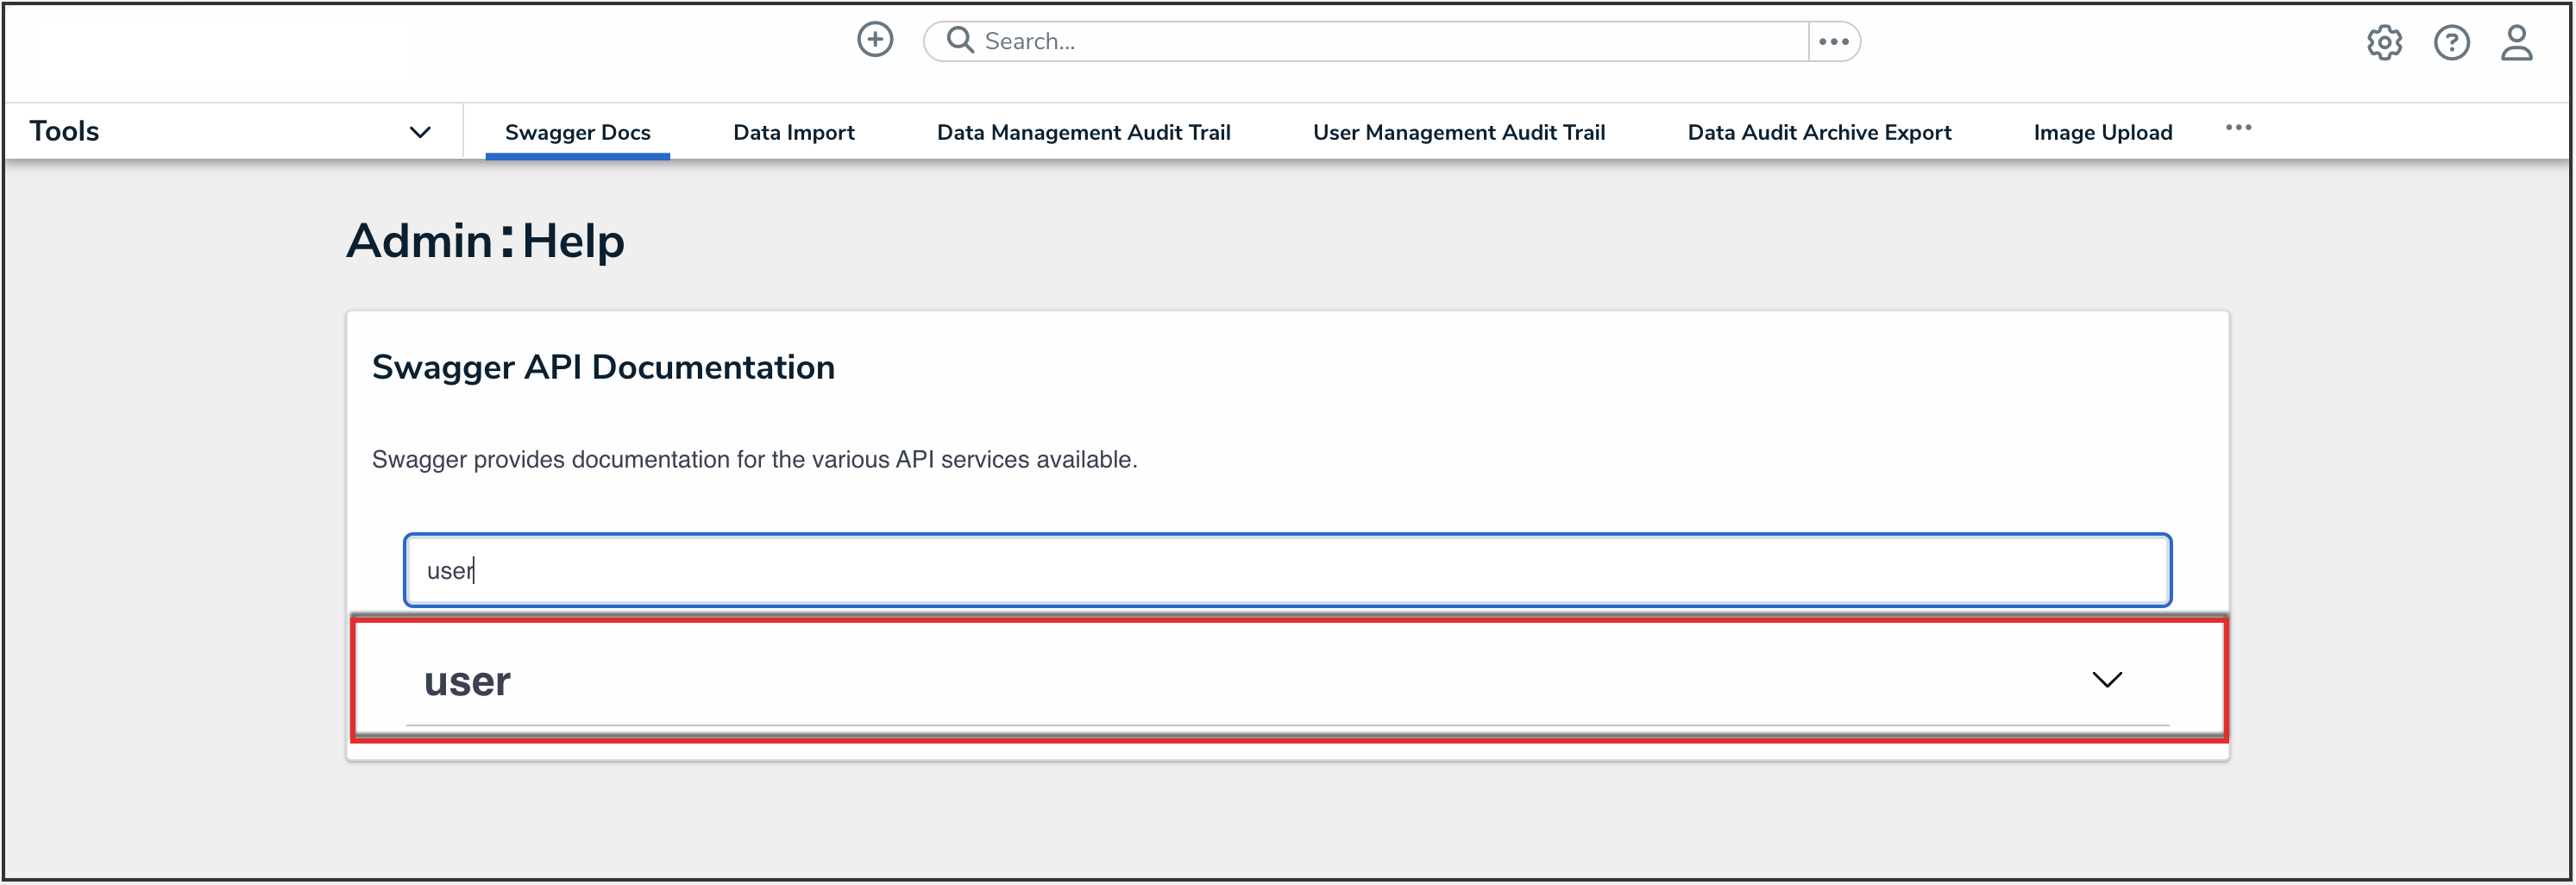
User API Topic
- Click the GET /user/users/me (who am I?) endpoint to open the parameters.
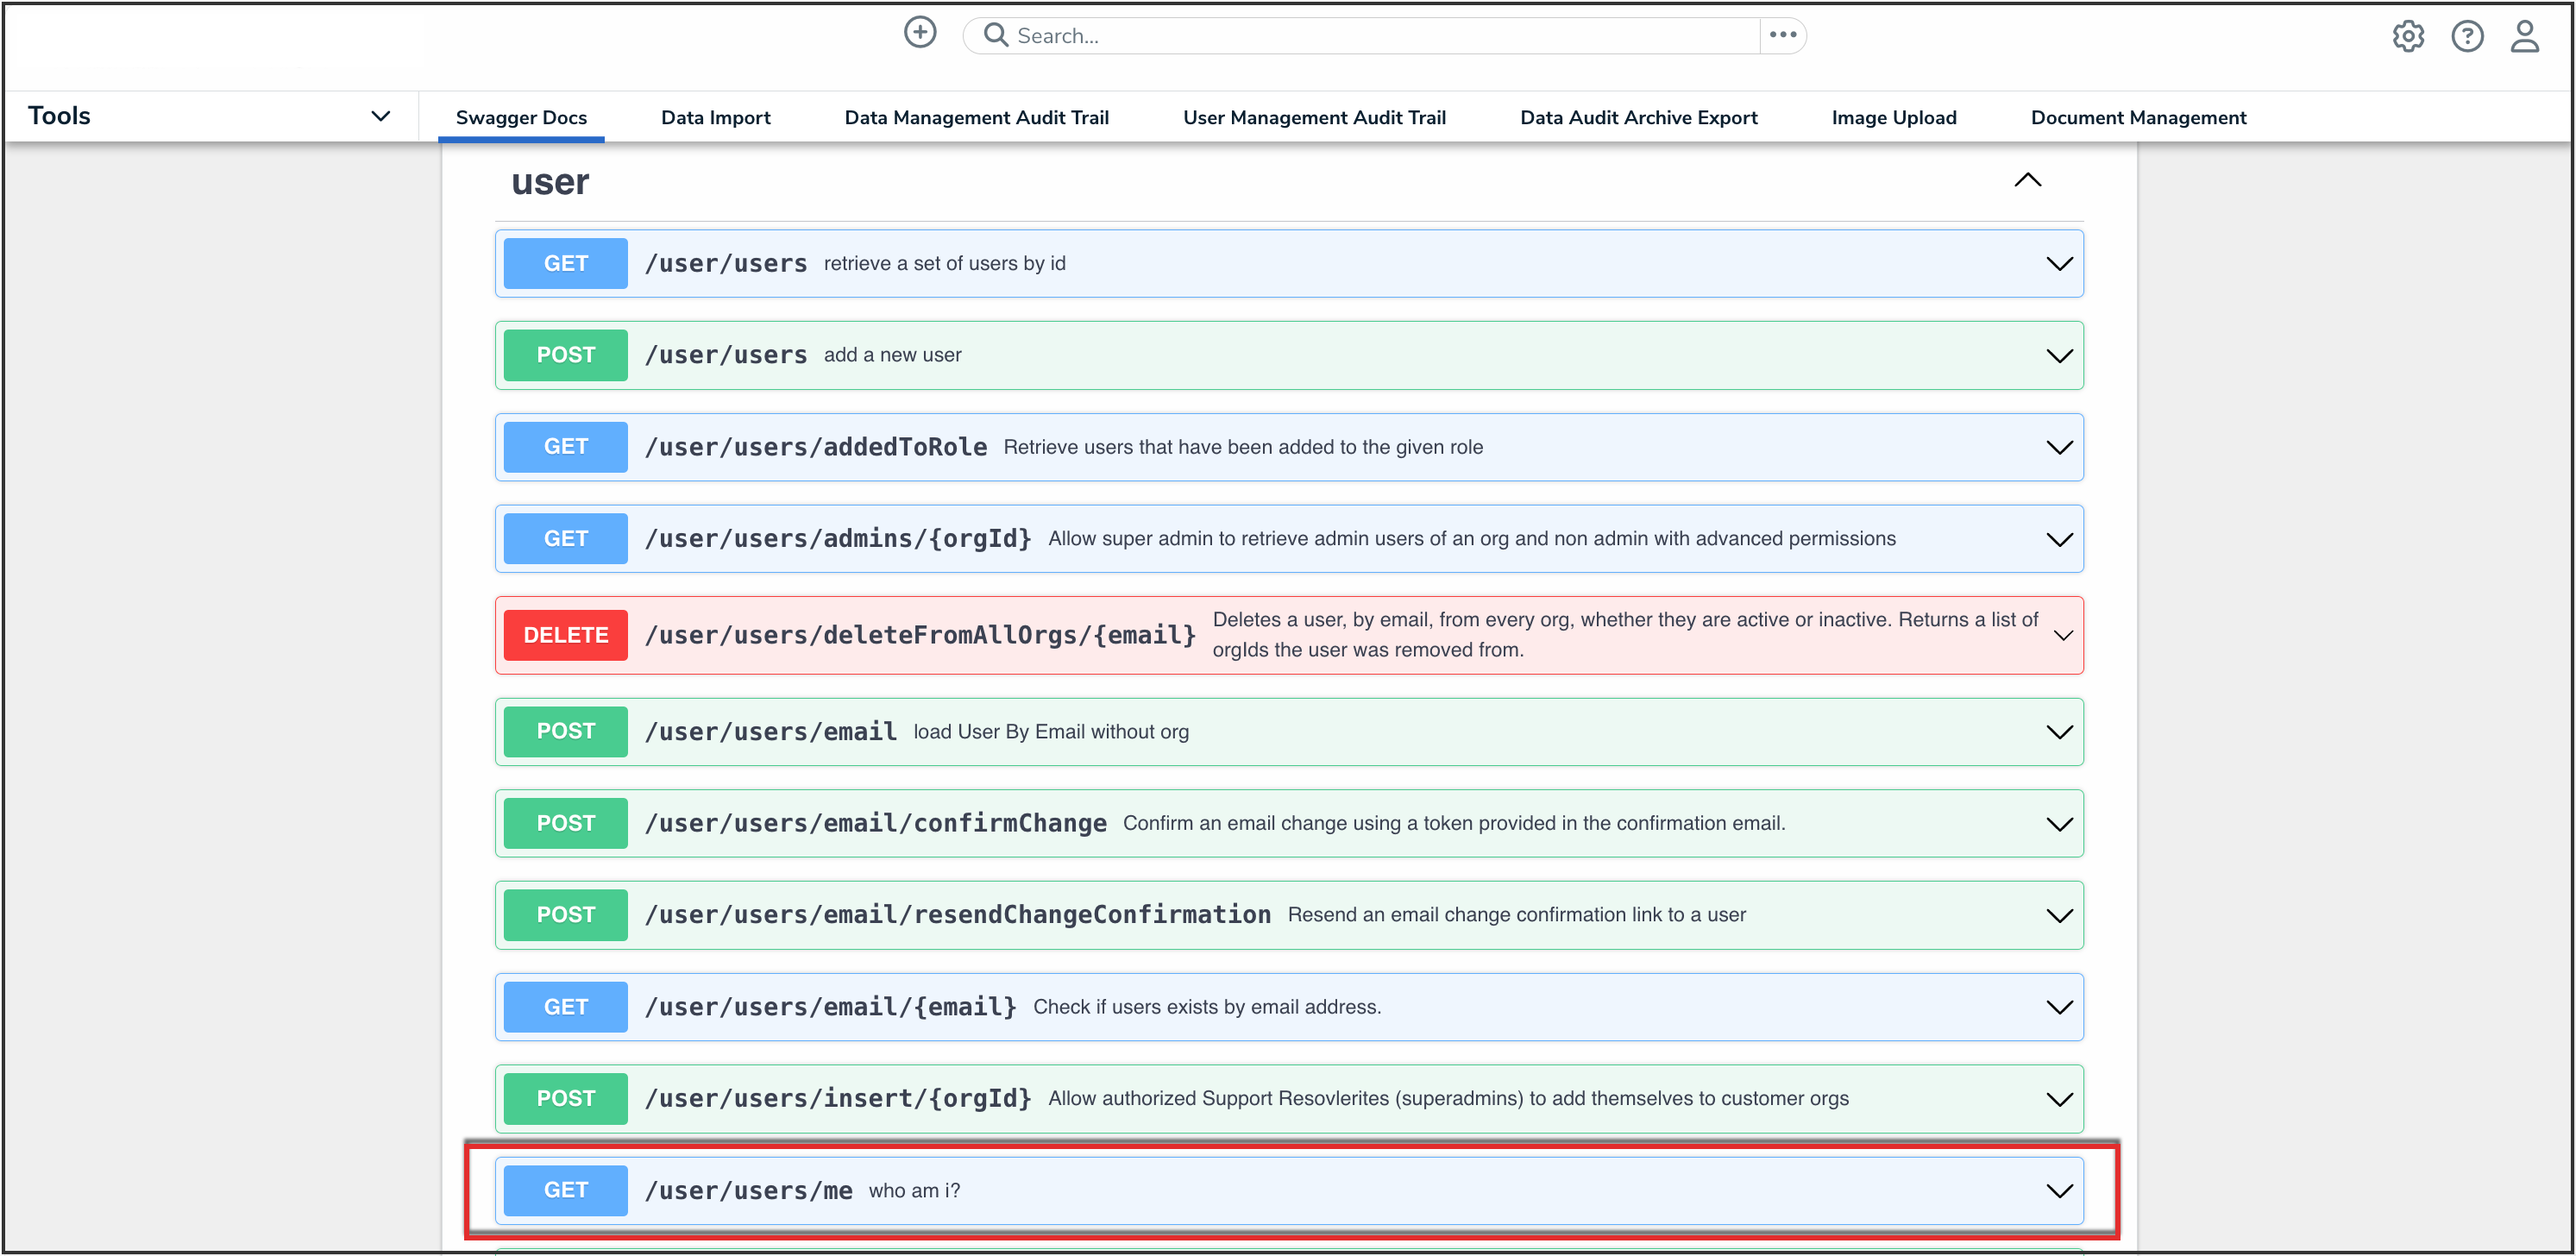
API Endpoint
- Click the Execute button.
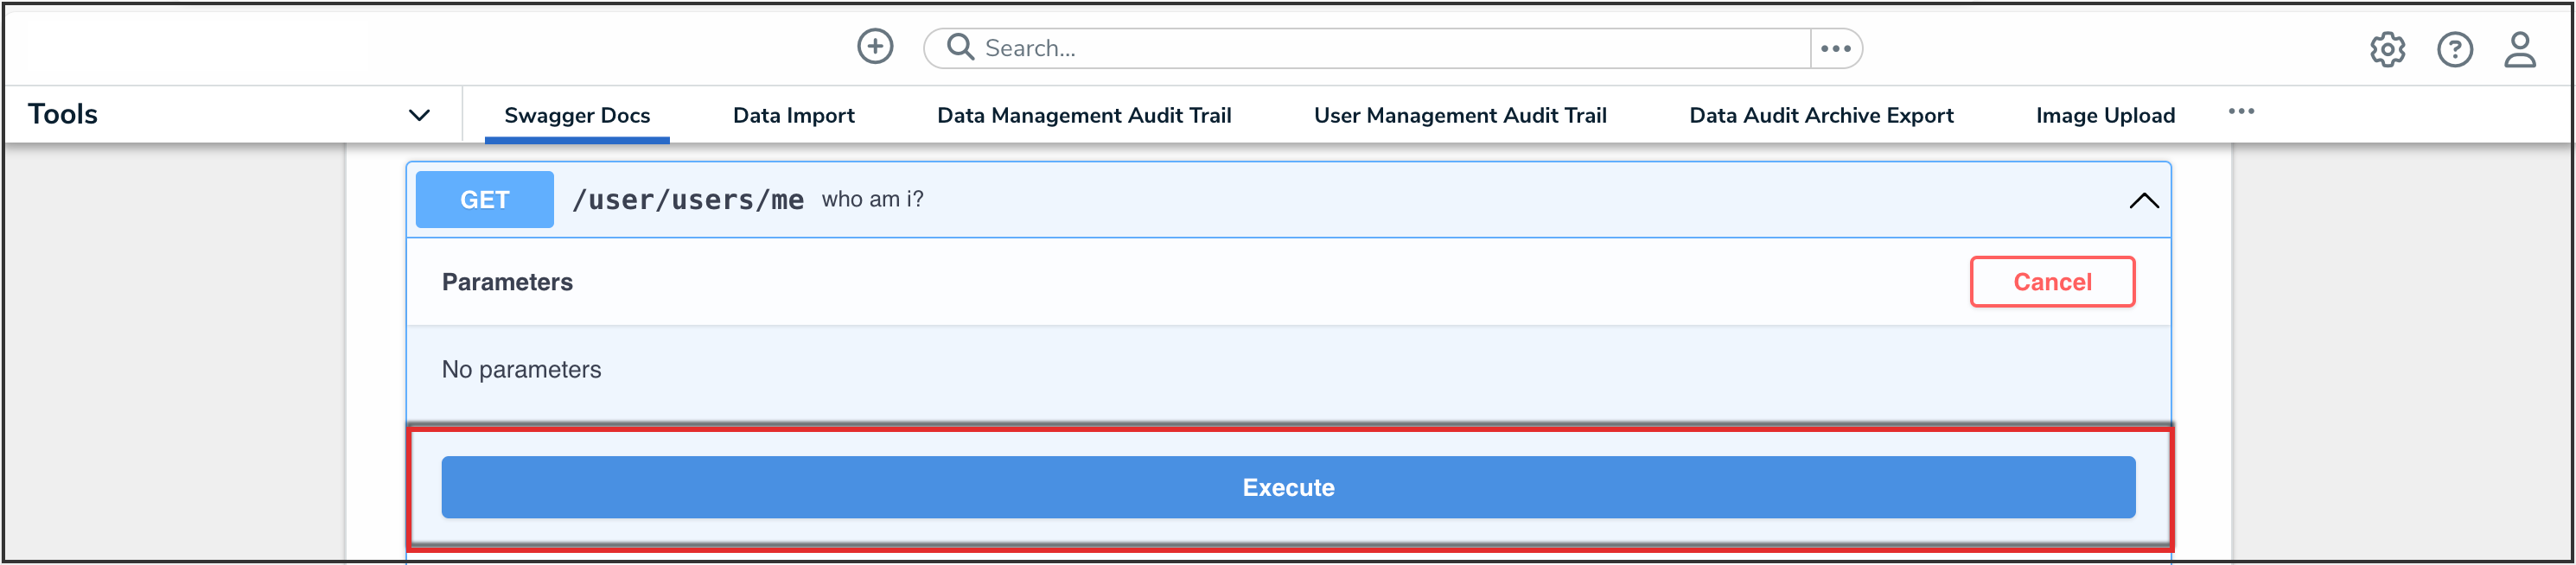
Execute Button
- Record or copy the id number to your clipboard from the currentOrg section. This is the current org's internal ID.
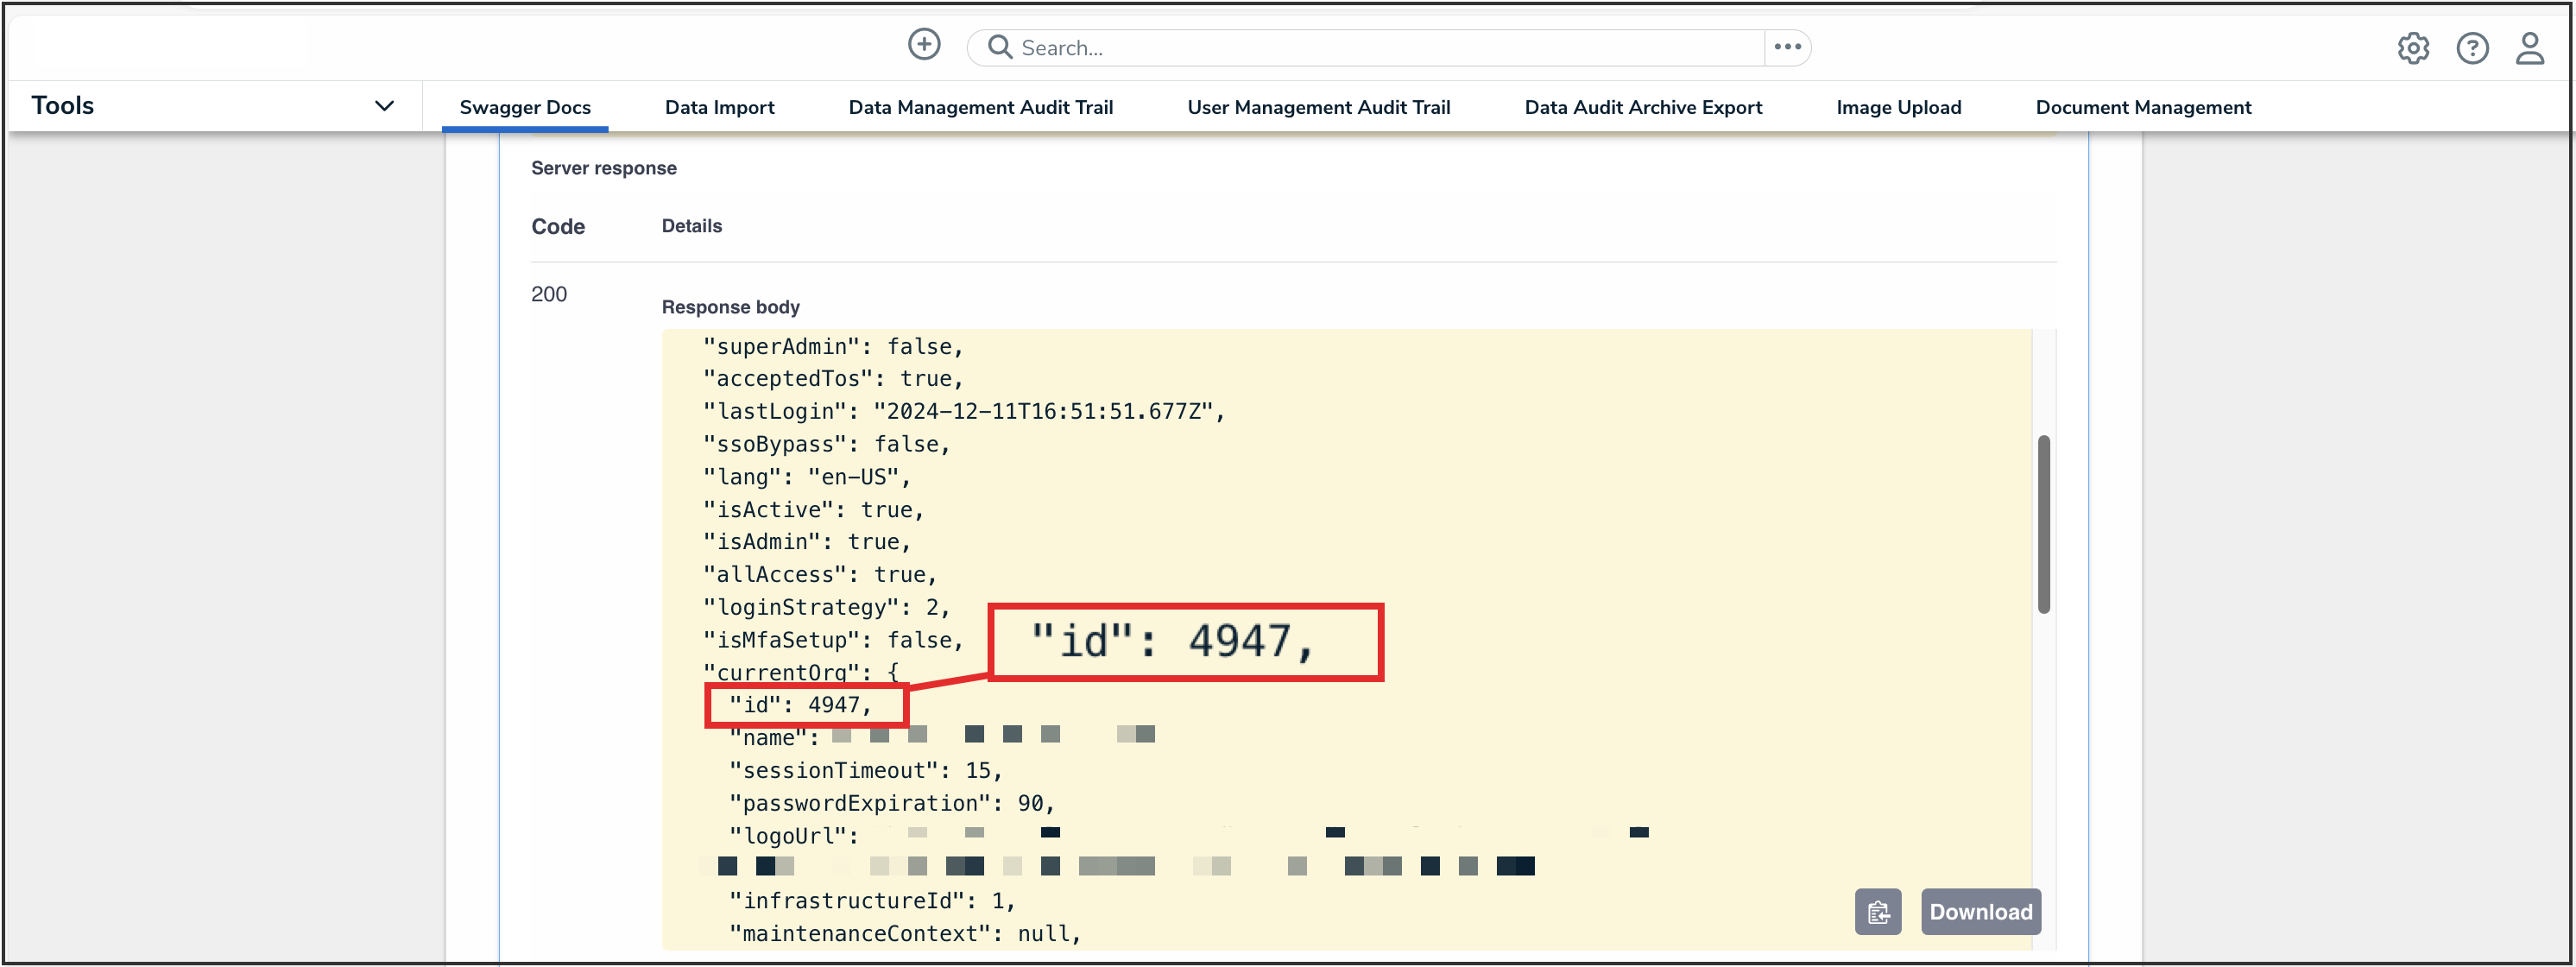
CurrentORG ID Value
- Enter the keyword org in the search text box, then click the Org topic from the results.
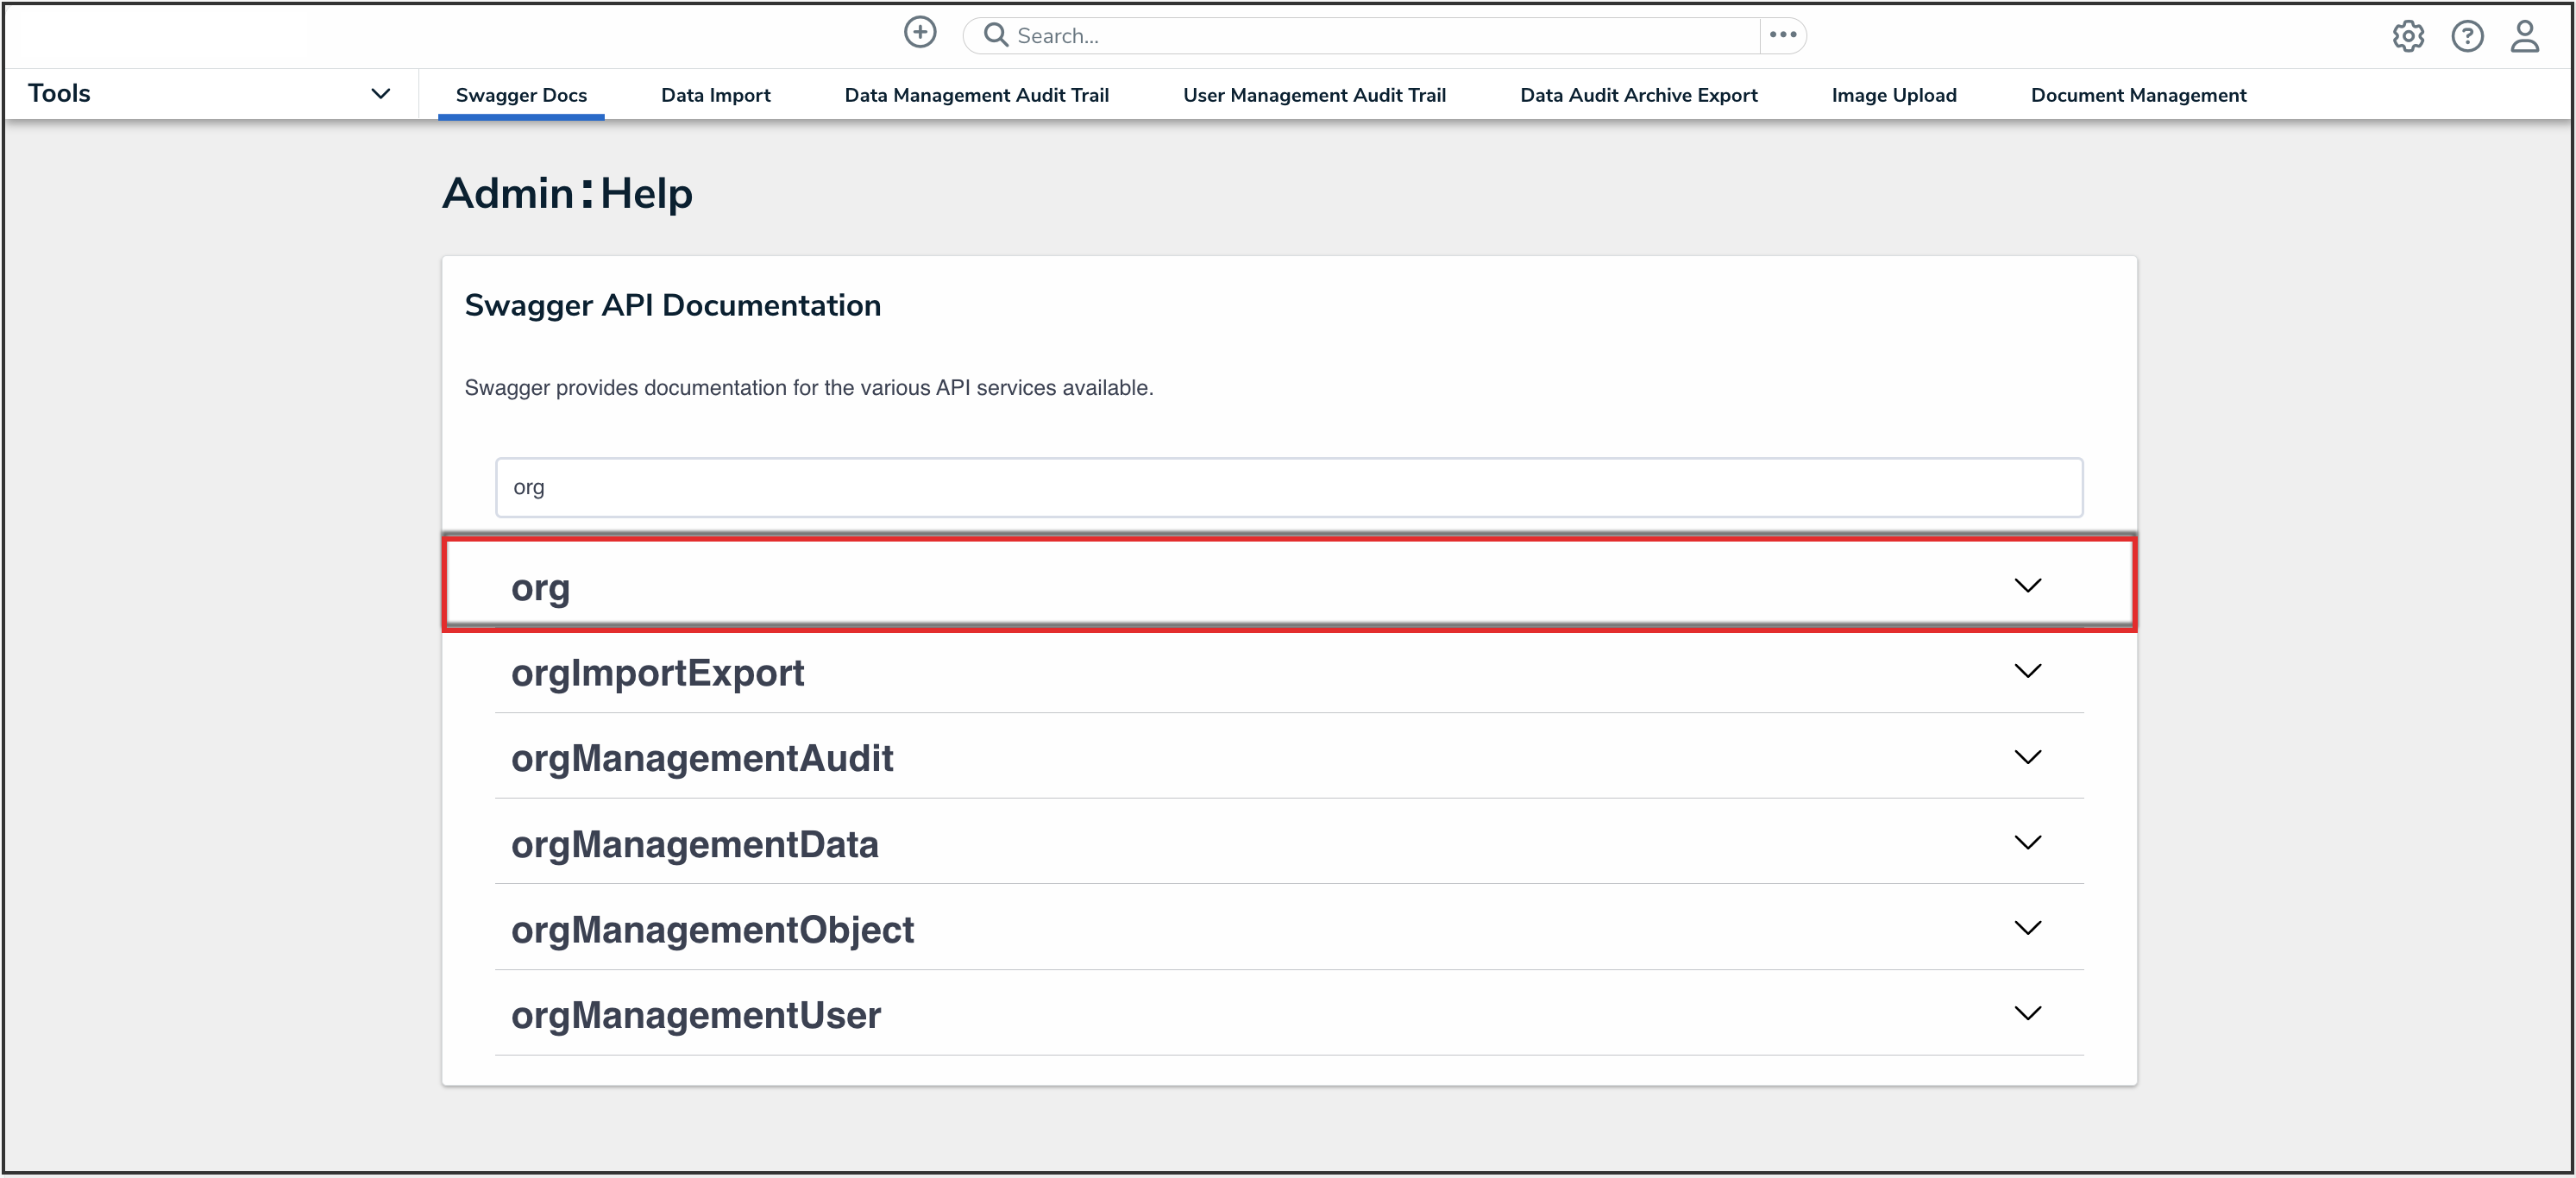
Org API Topic
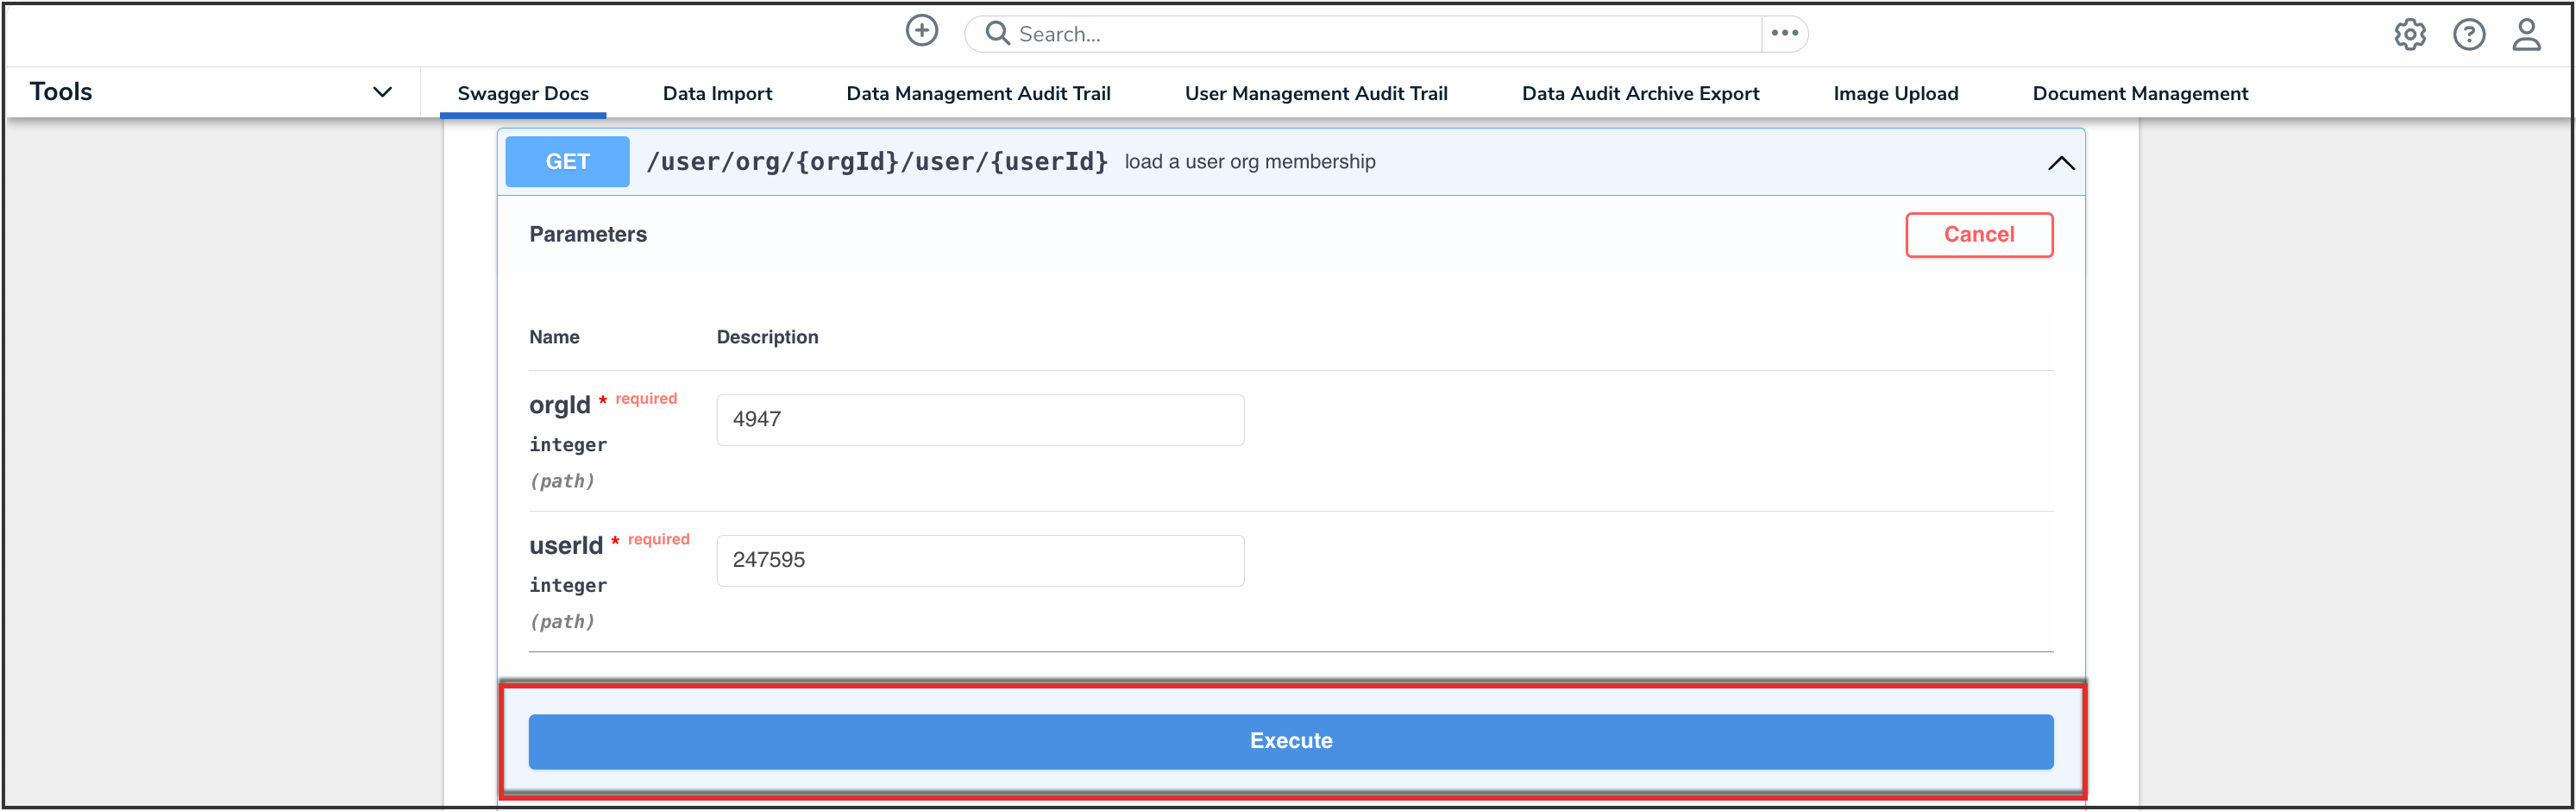
- Click the GET /user/org/{orgId}/user/{userId} (load a user org membership) endpoint to open the parameters.
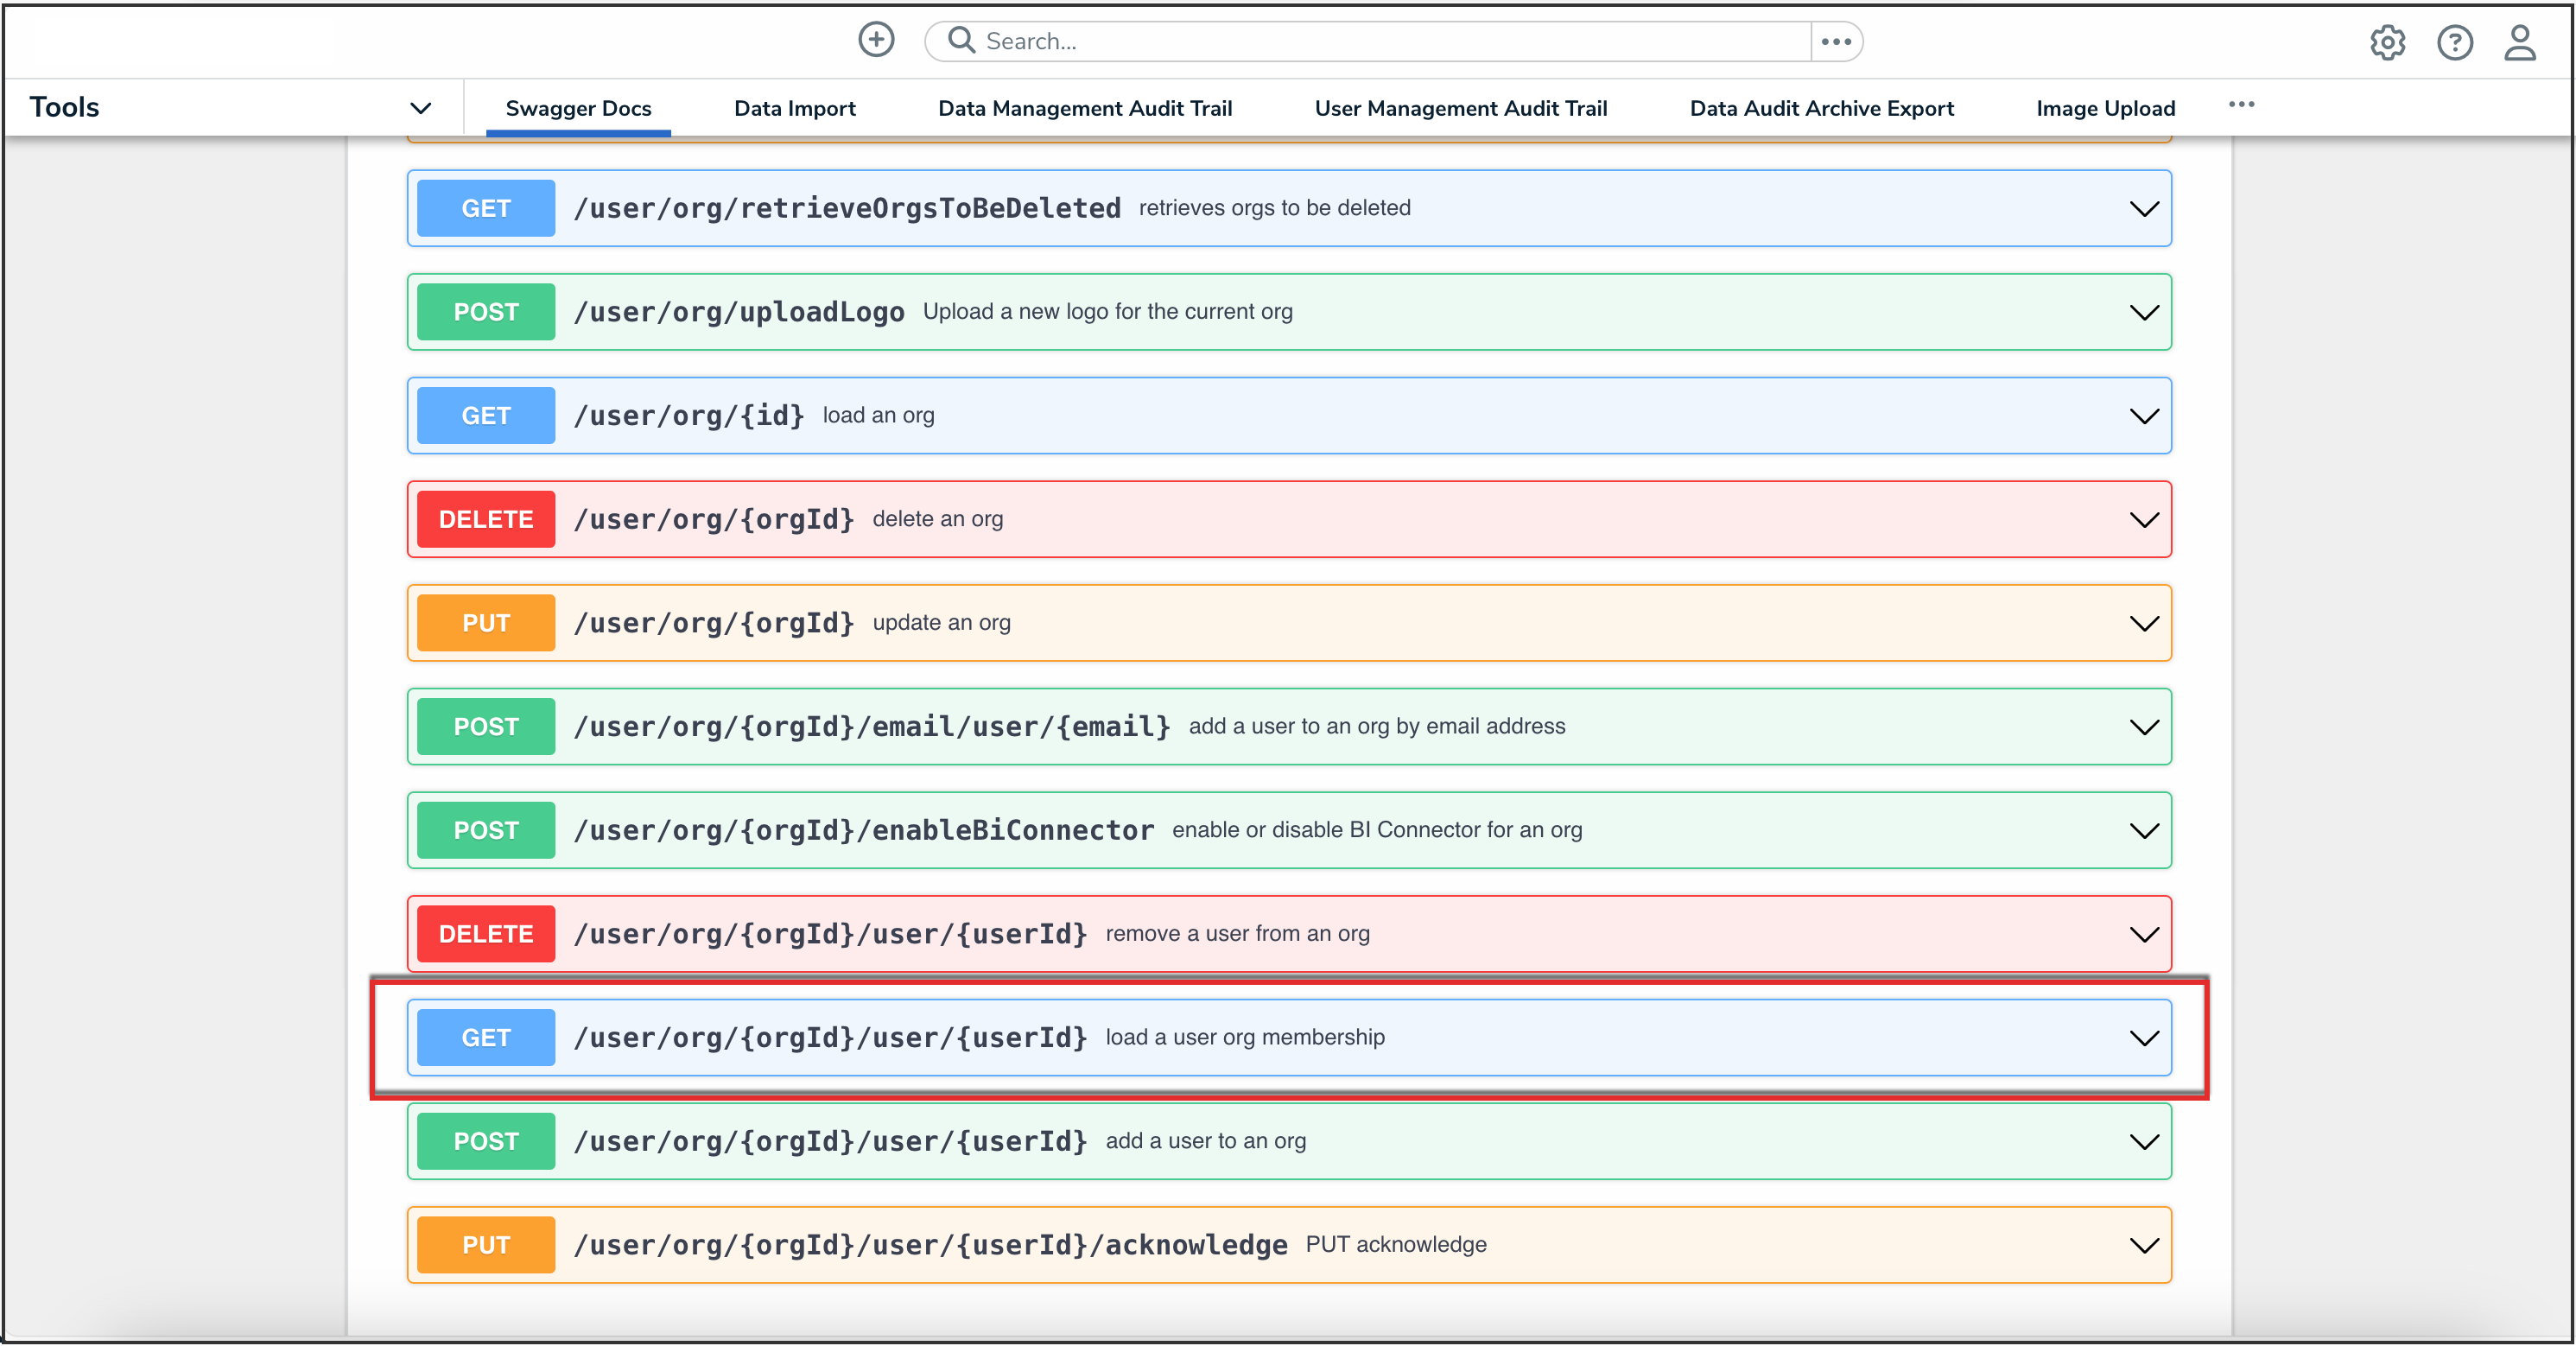
API Endpoint
- Enter the Org ID number copied during step 9 in the orgId field.
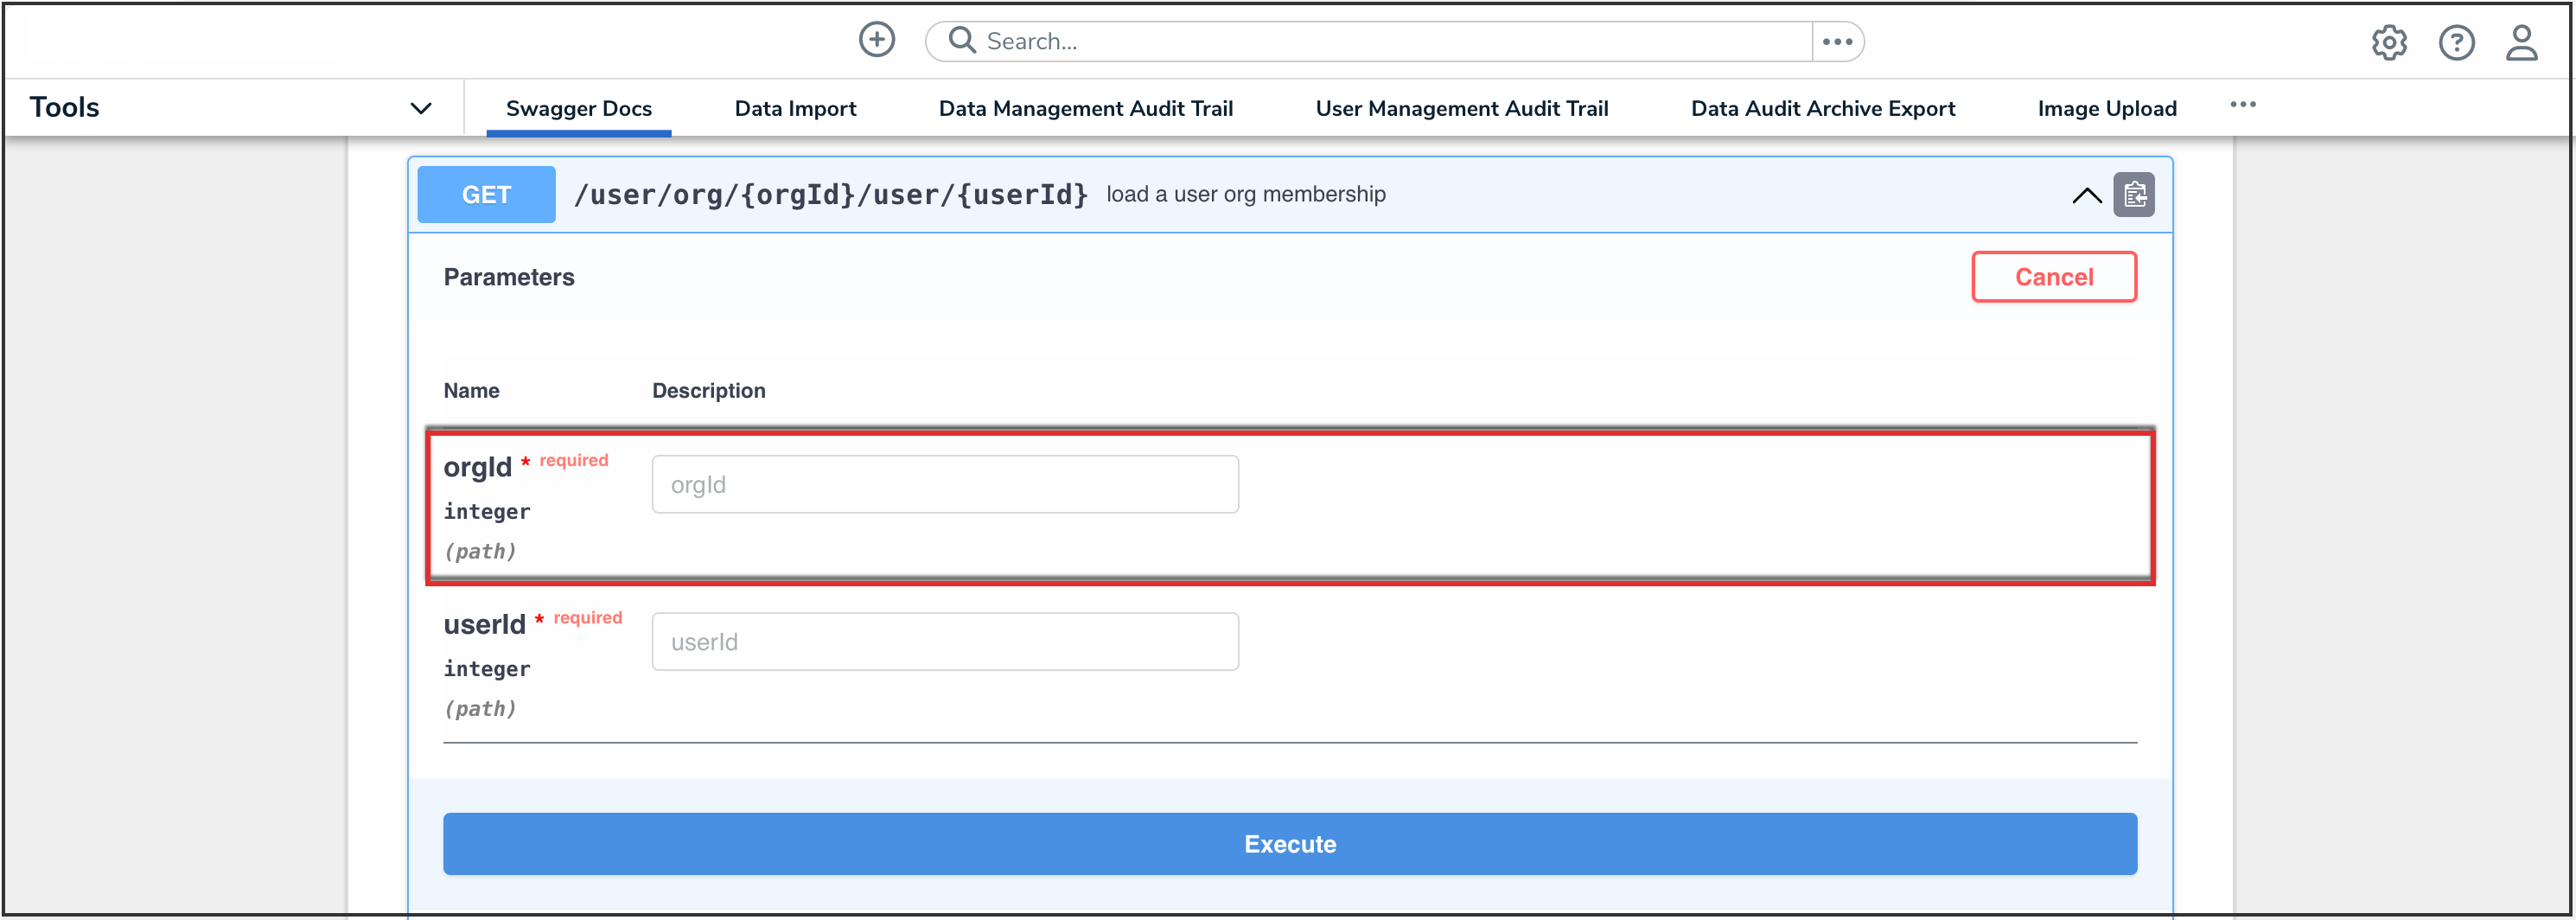
OrgID Field
- Enter the user ID, copied during step 2 from the Edit User page, in the userId field.
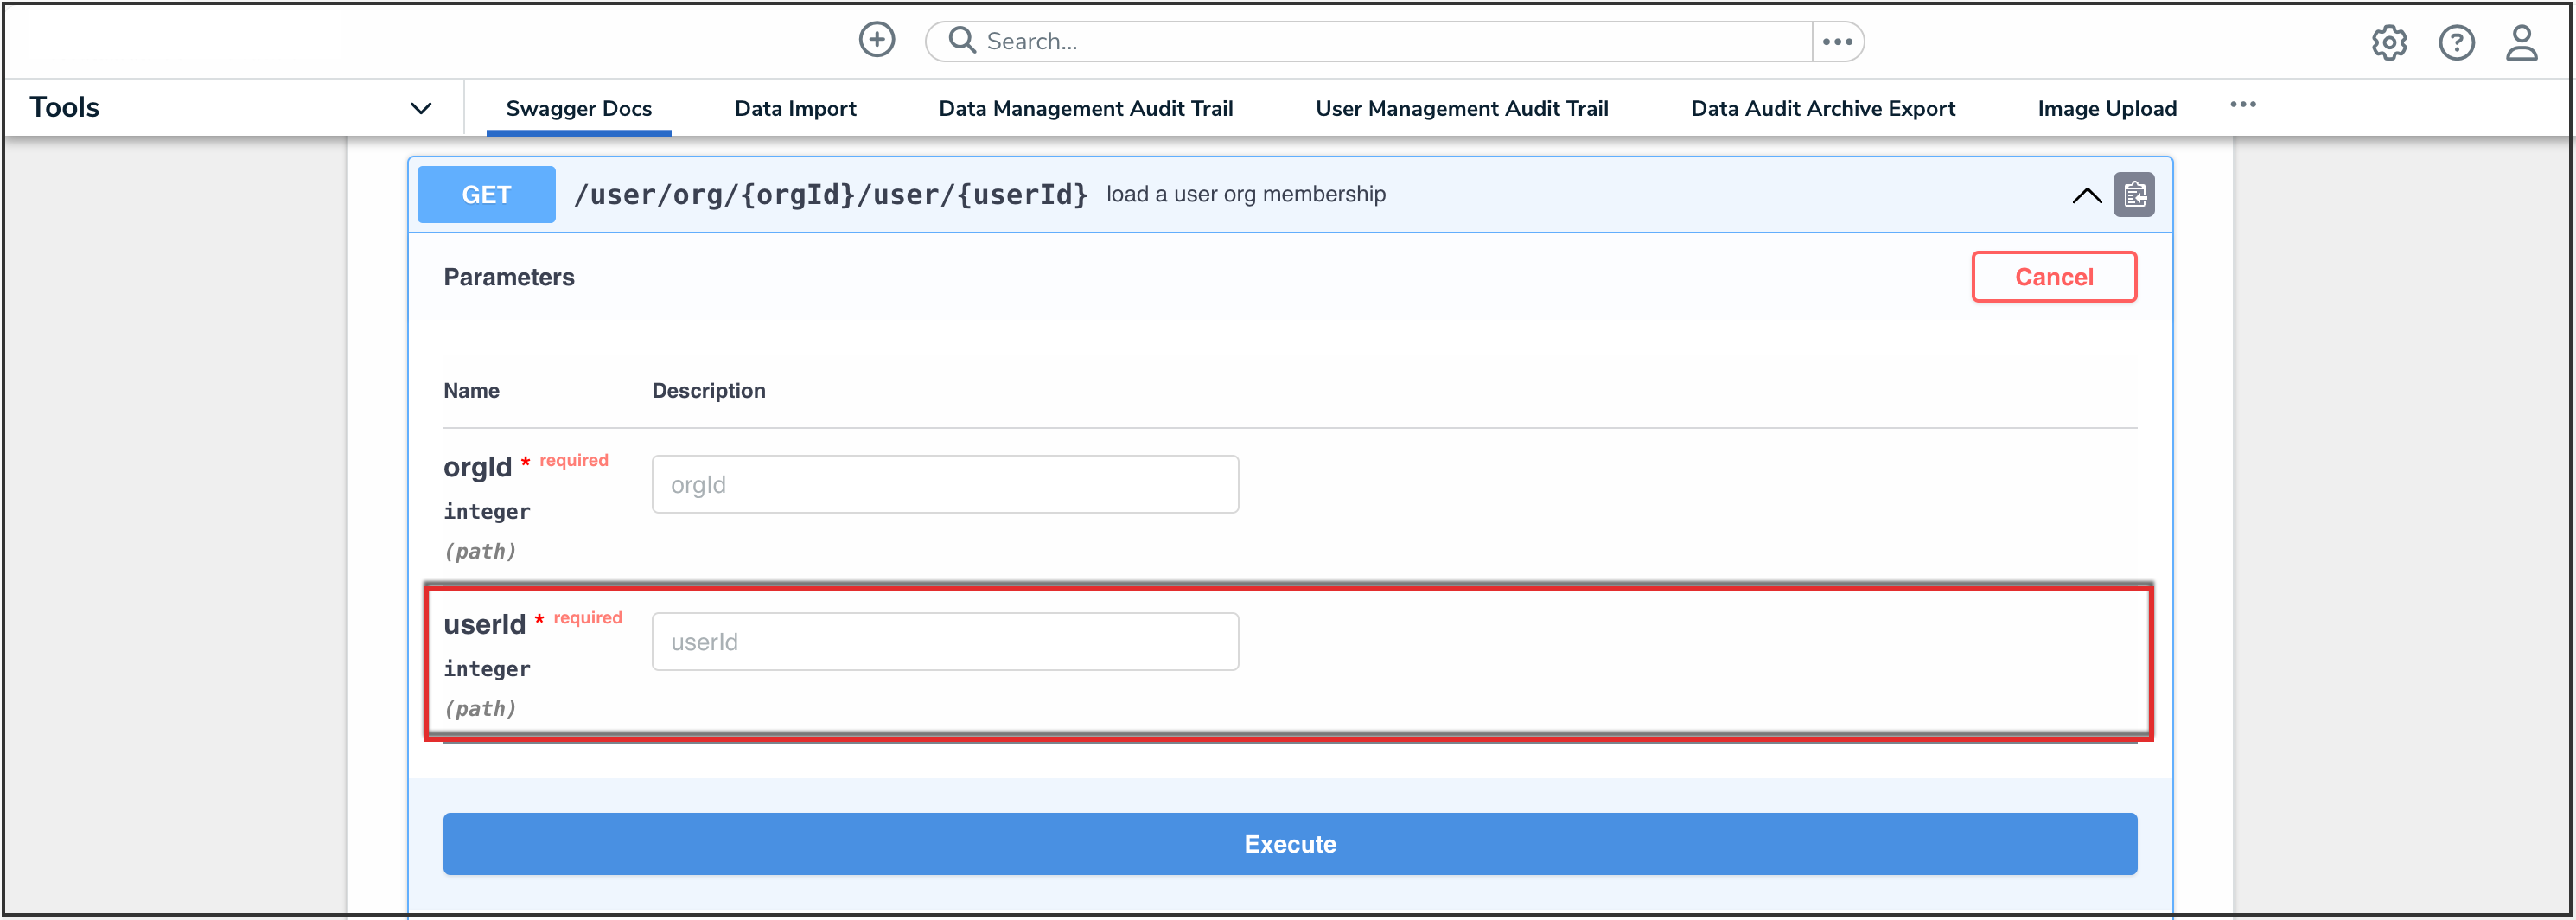
UserID Field
- Click the Execute button.
Execute Button
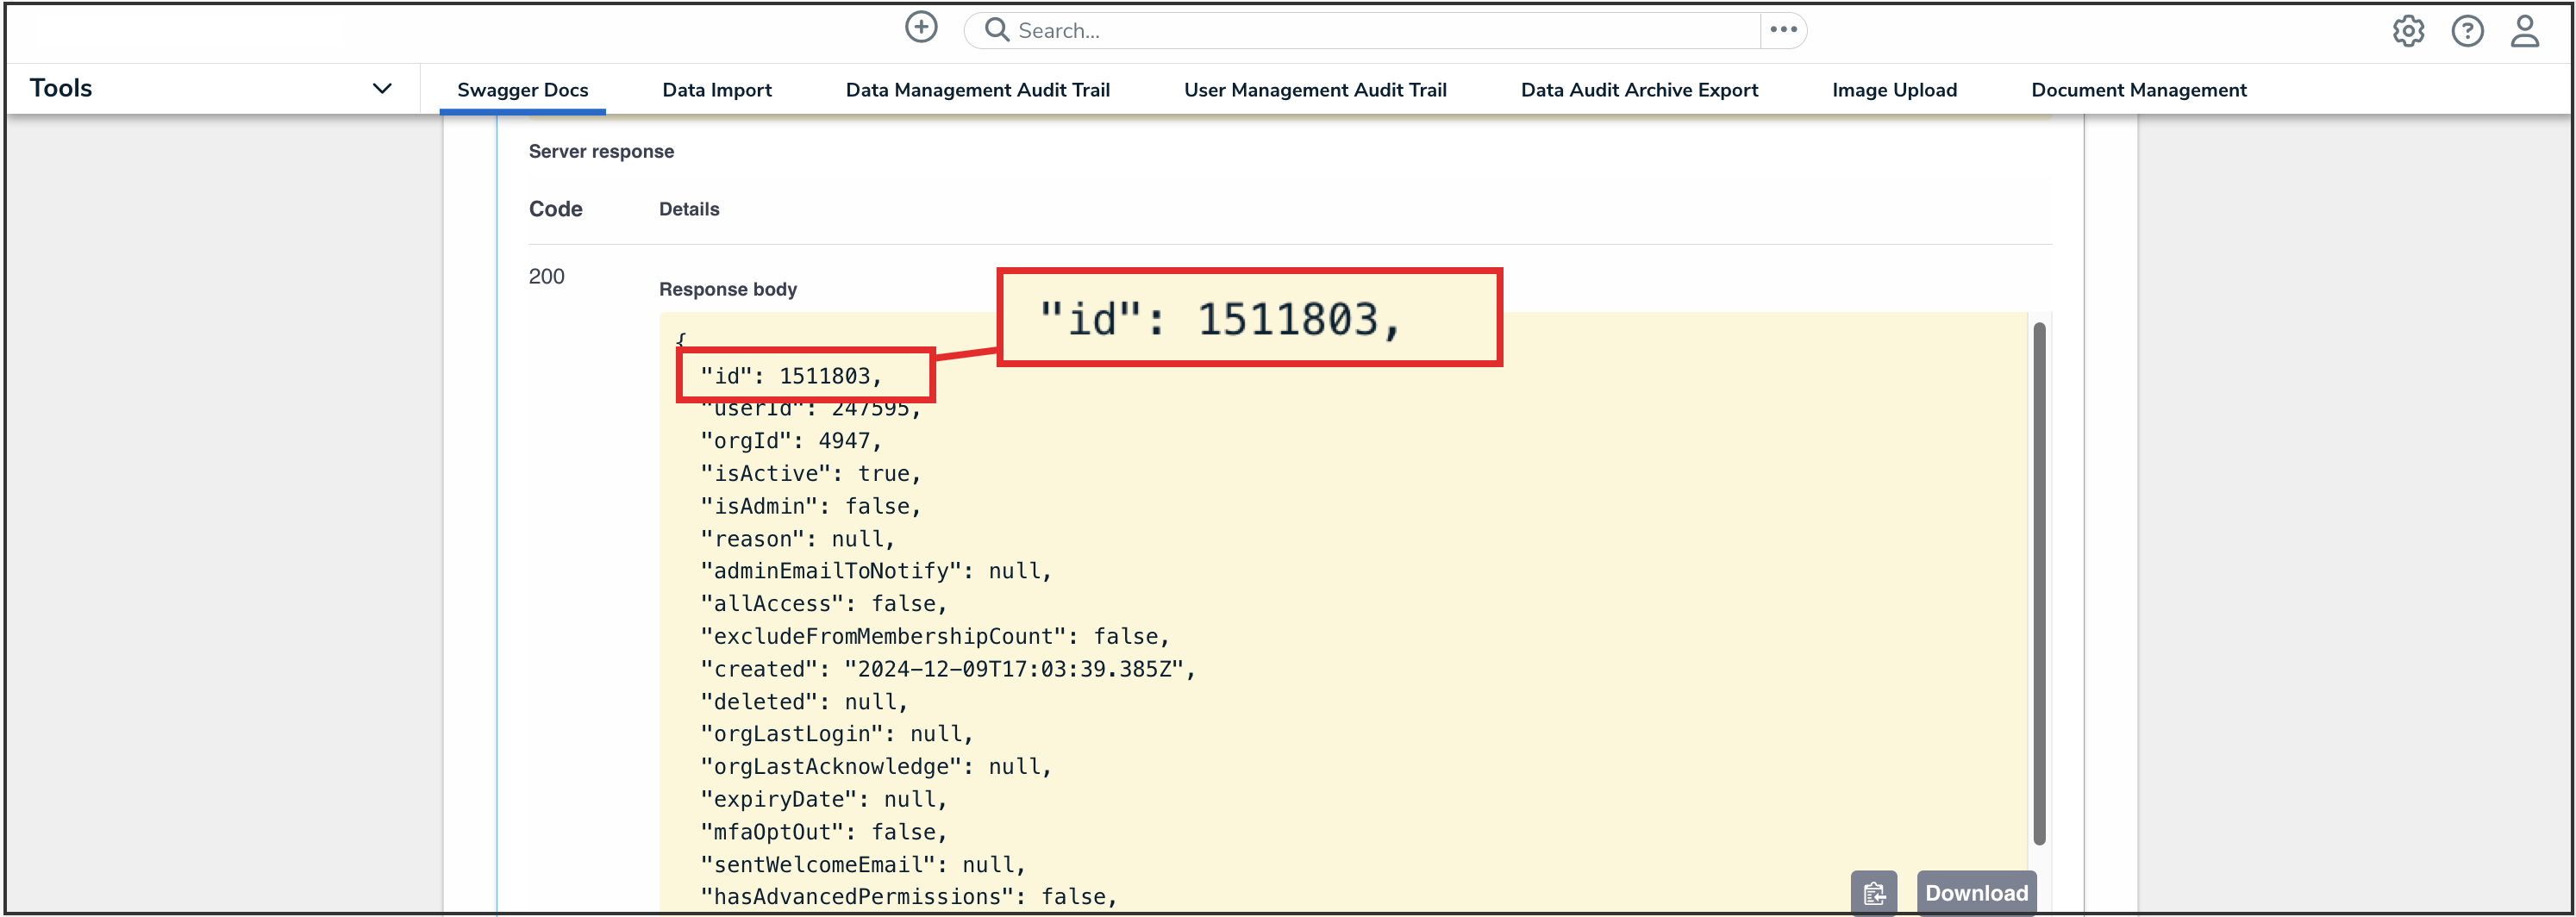
- From the Response Body, record or copy the id number to your clipboard. This is the user's org membership ID number.
ID Value
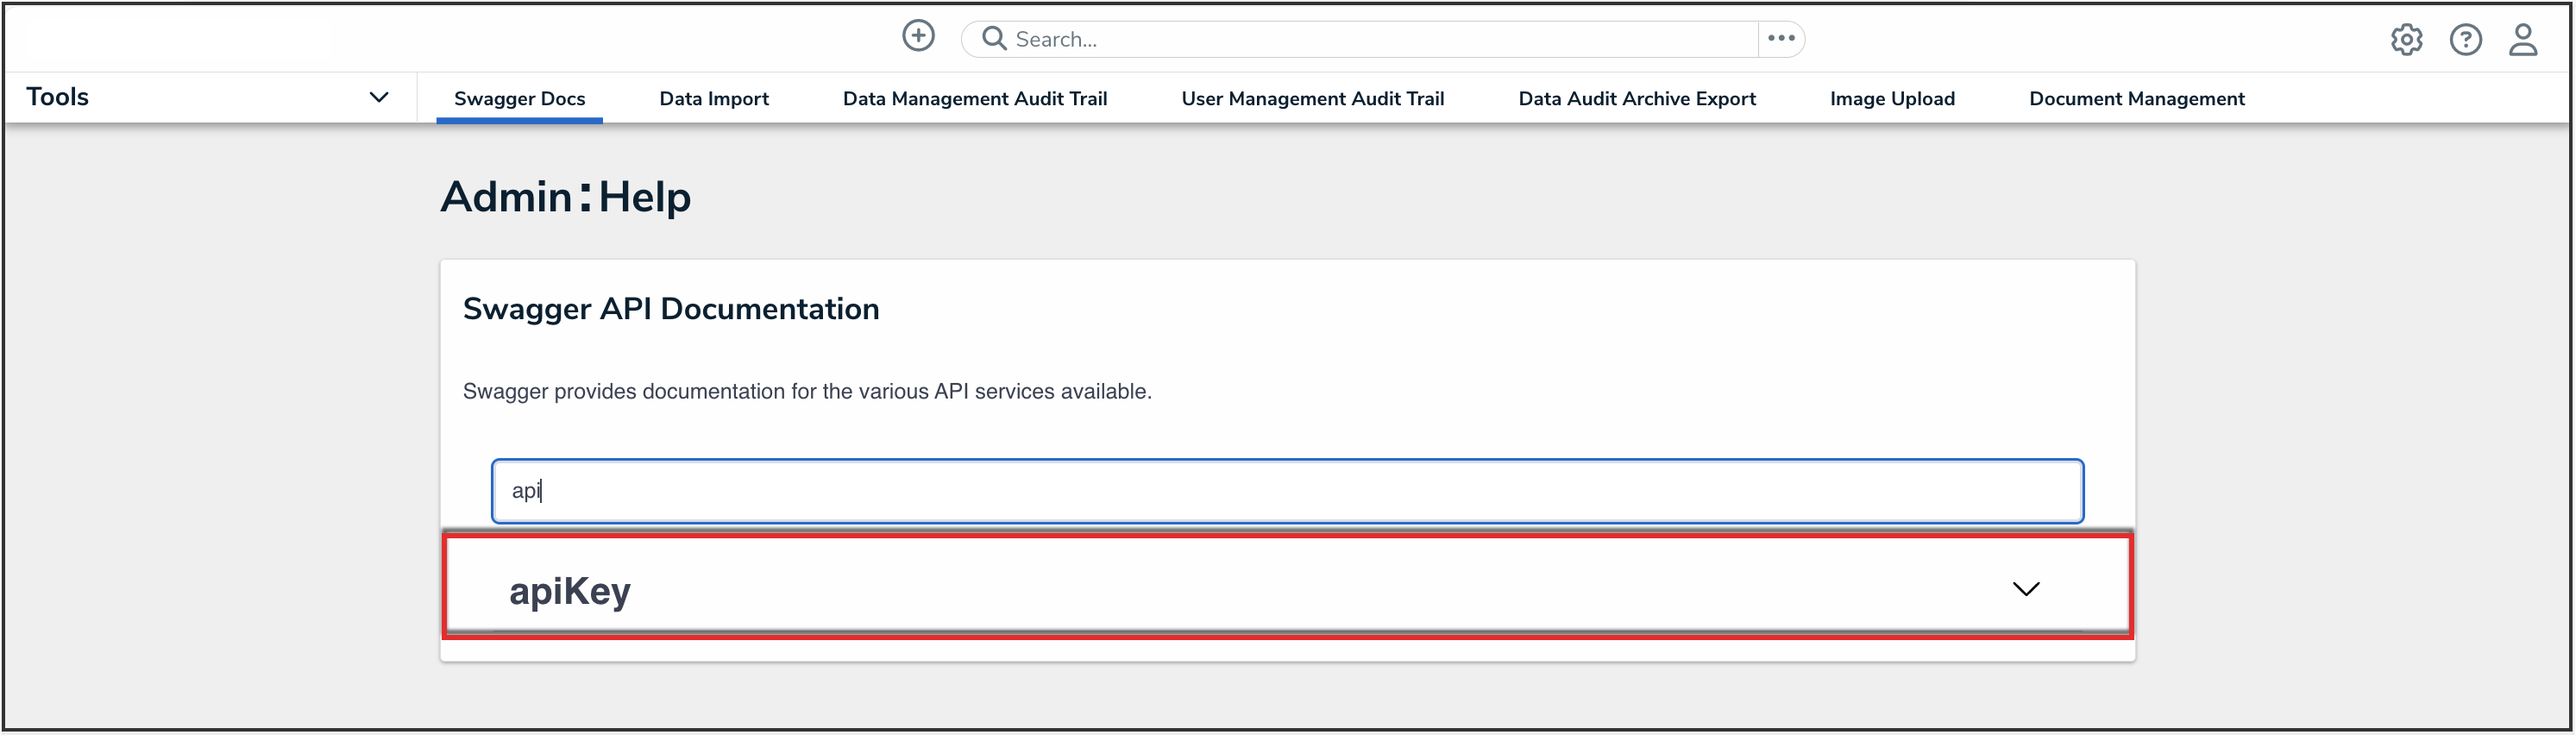
- Enter the keyword apiKey in the search text box, then click the apiKey topic from the results.
APIKey Topic
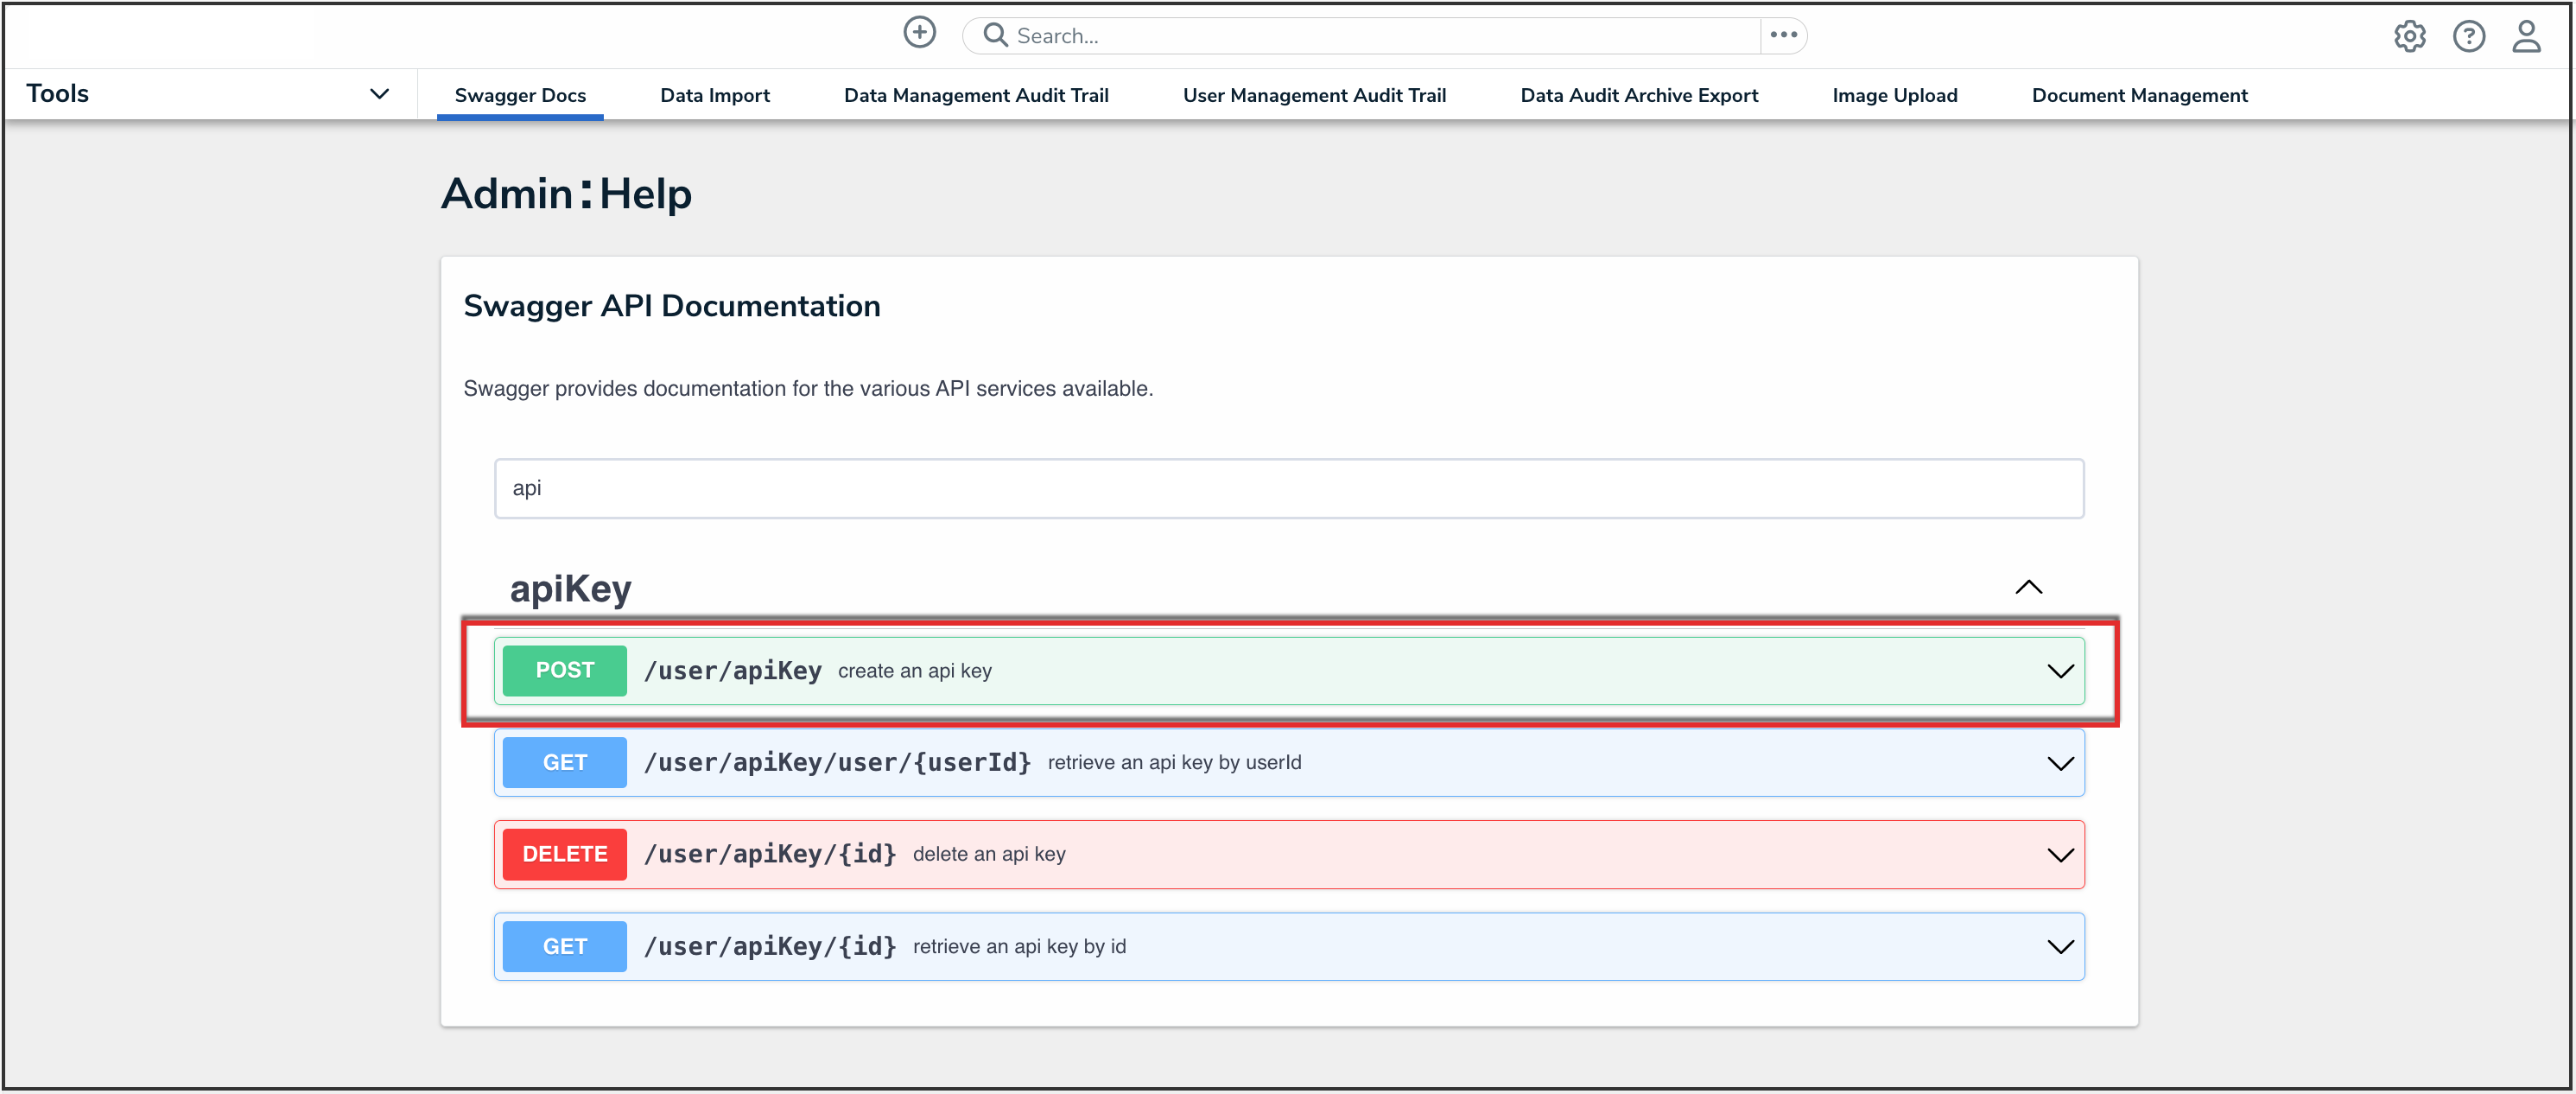
- Click the POST /user/apiKey (create an api key) endpoint to open the parameters.
API Endpoint
- In the Parameters section, click the Click to Populate Example box to populate the template in the body text box.

Click to Populate Example Box
- In the body text box, delete the 0 in the orgUserId attribute, then enter the user's org membership ID number, obtained in step 15. Enter a descriptive name for the API key in the name attribute.
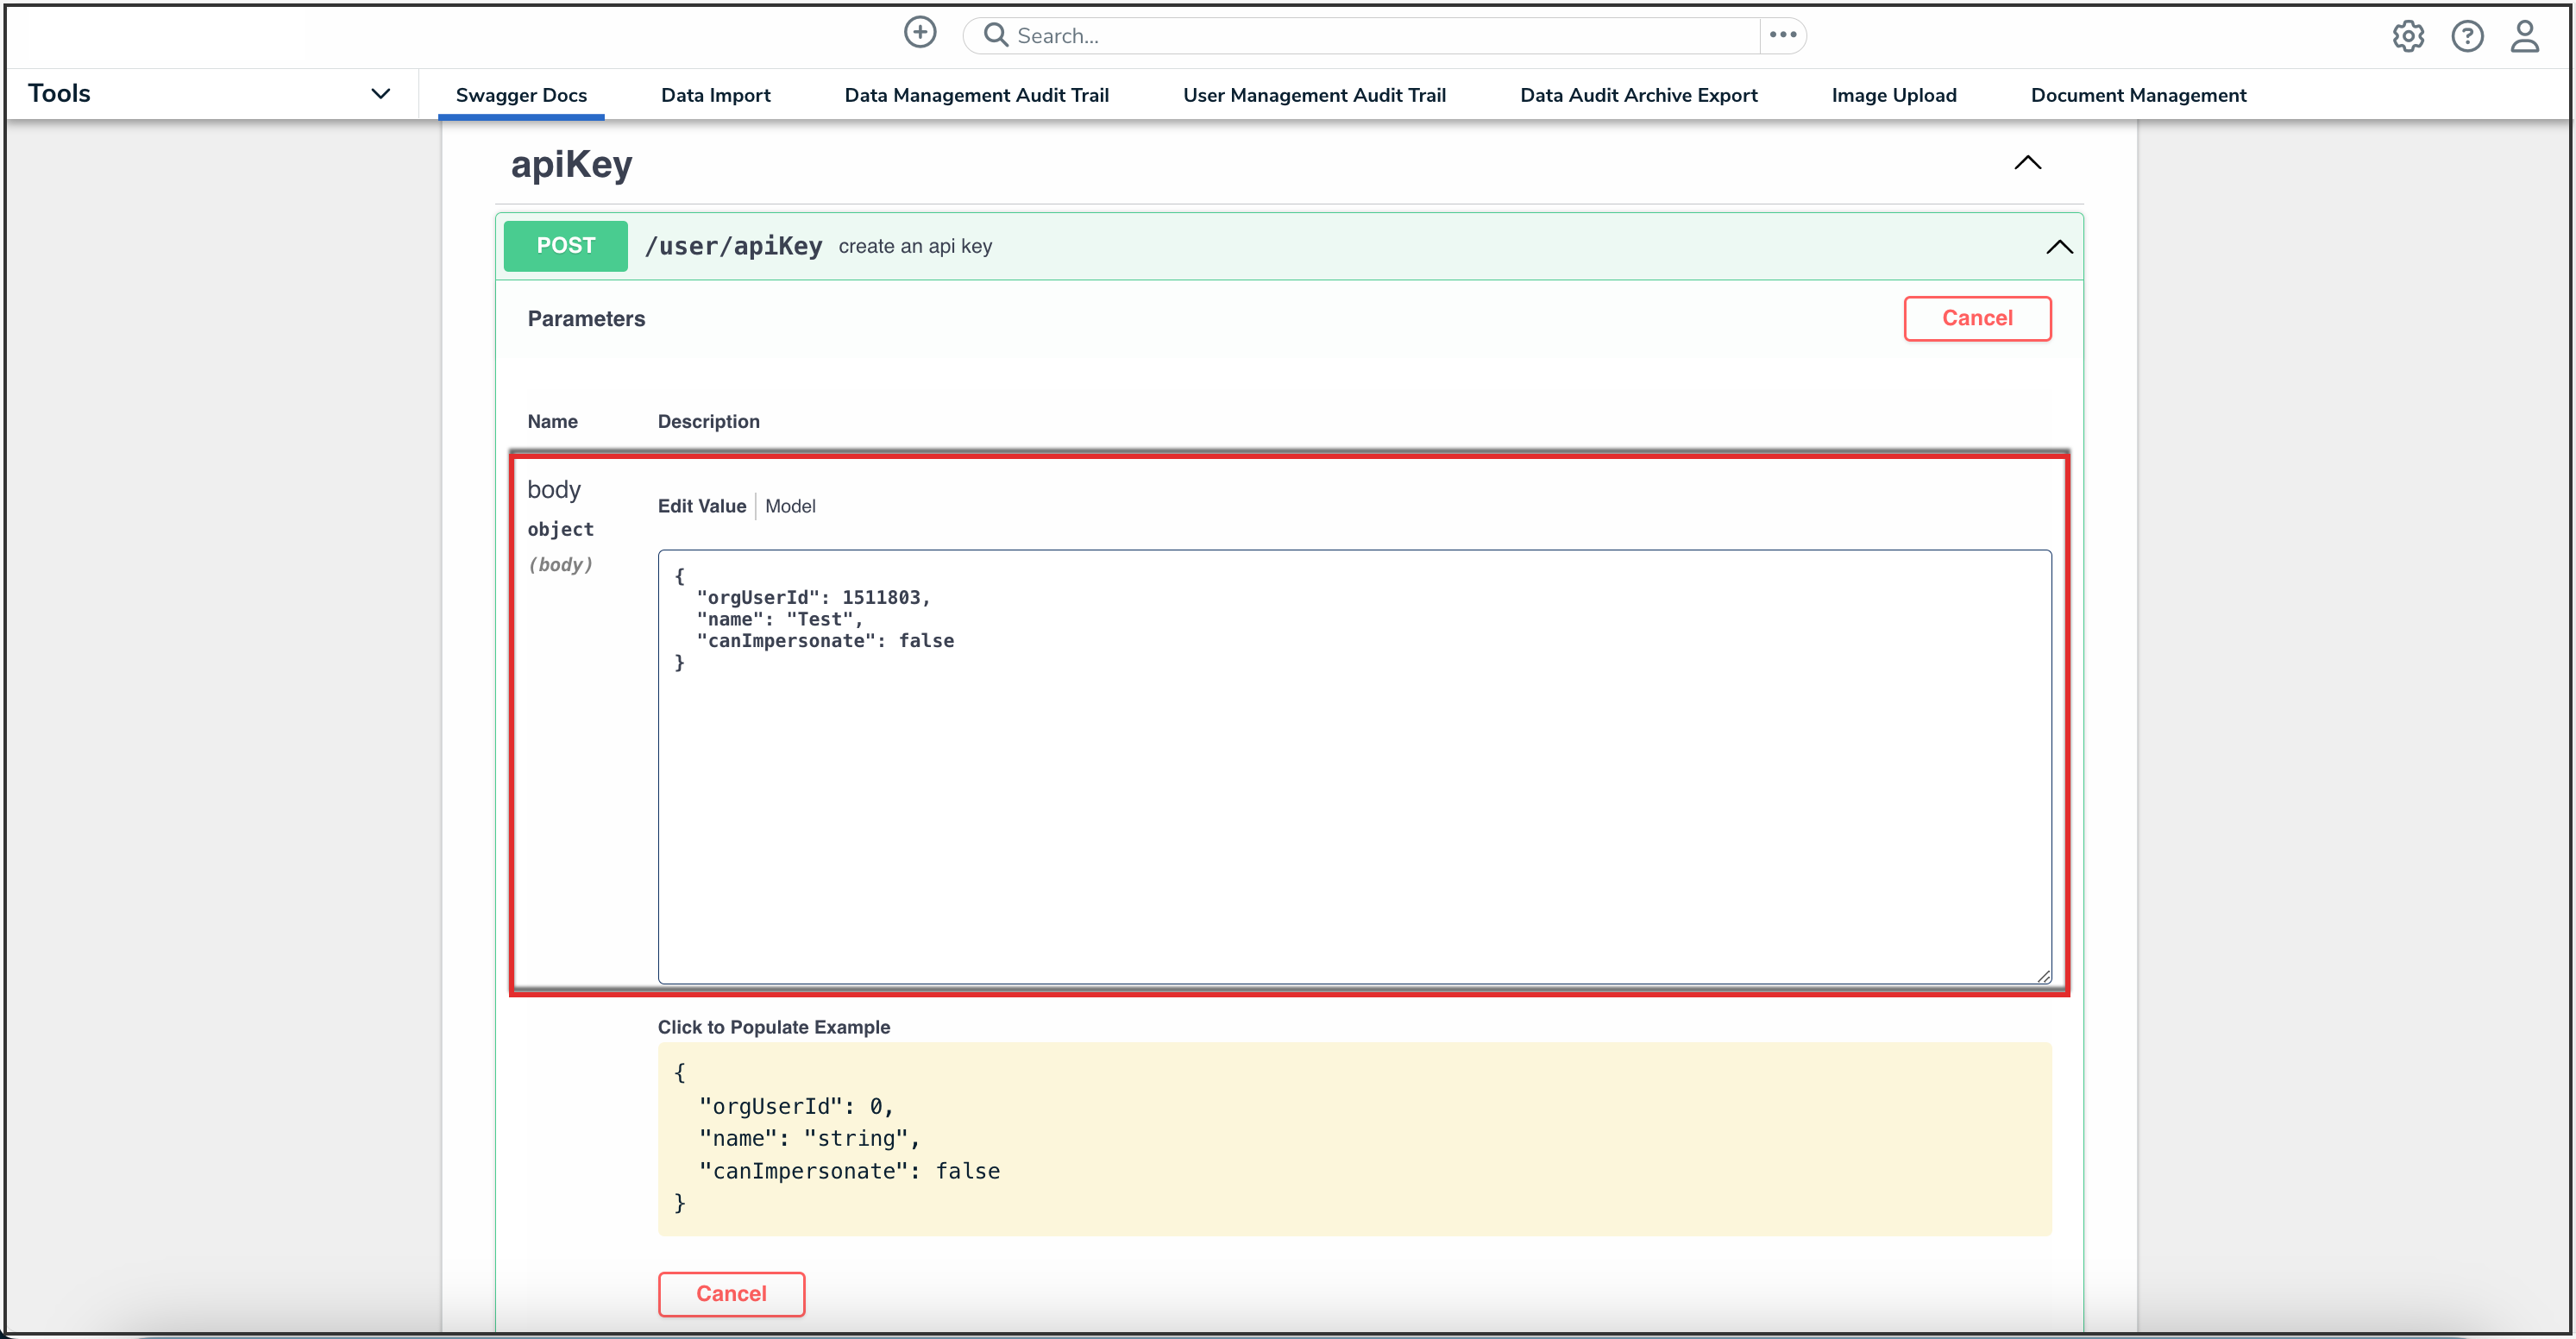
Body Text Box
- Click the Execute button.
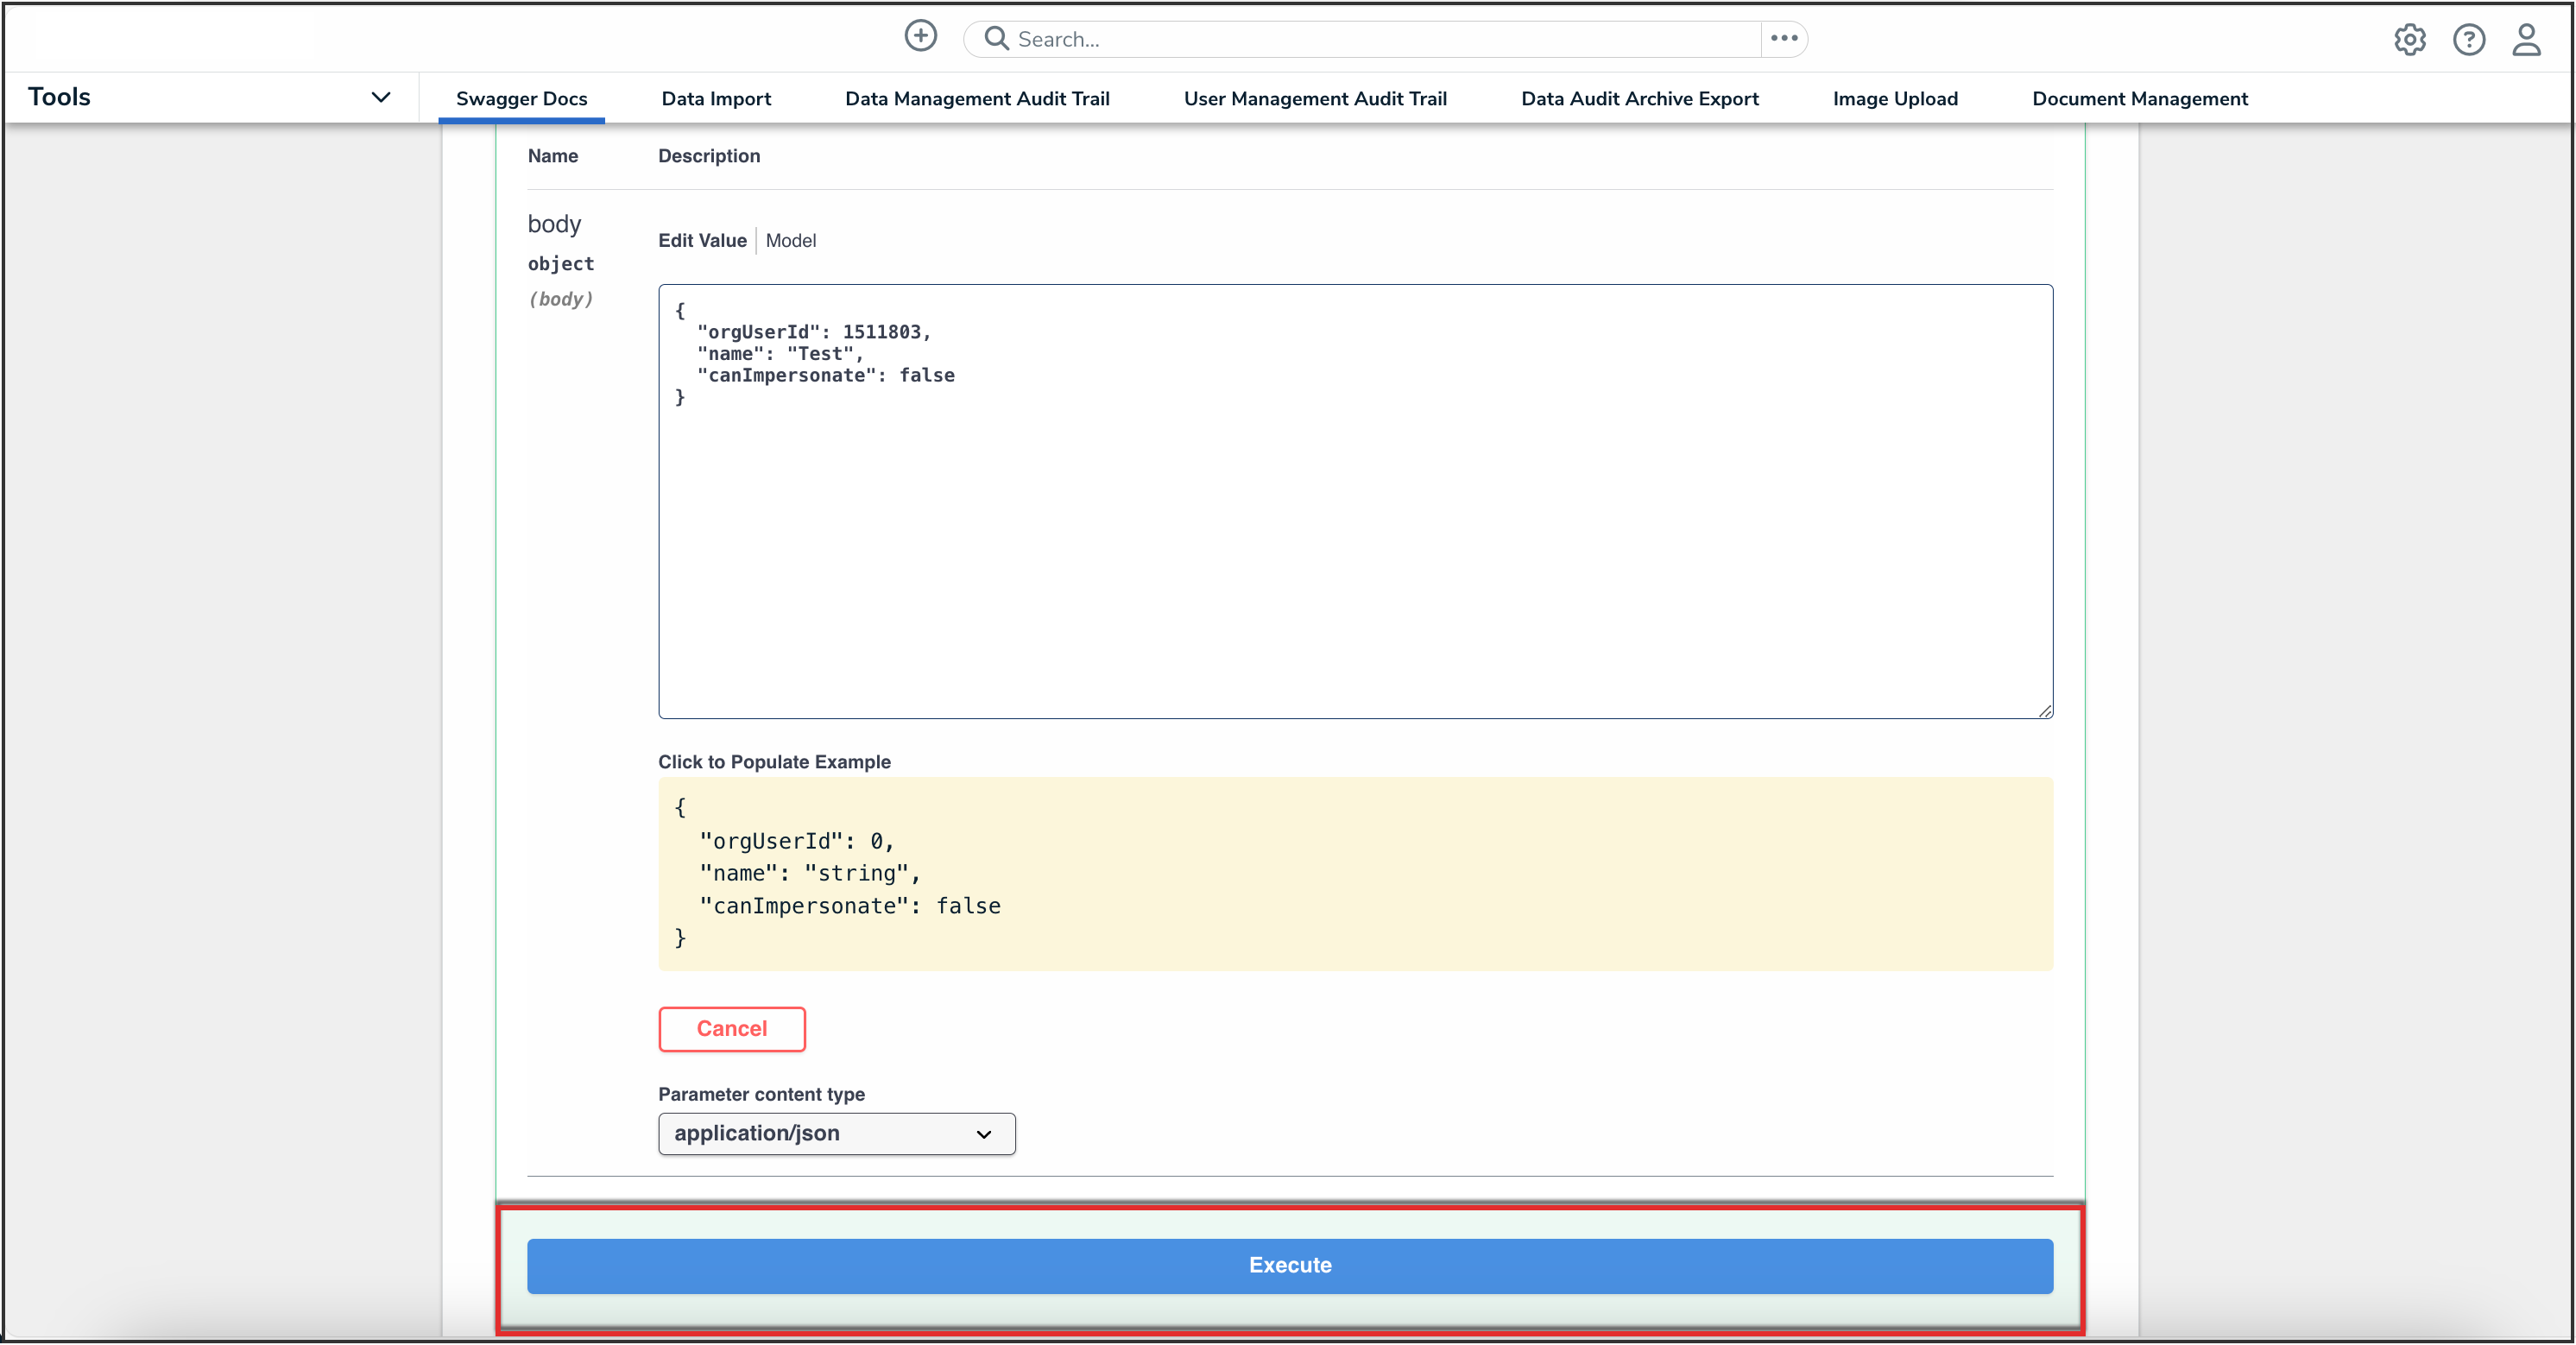
Execute Button
- Copy the apiKey from the Response Body and store it for safekeeping. For security purposes, once an API key is generated, it cannot be retrieved. If you misplace an API key, a new key must be generated.


