Overview
An Administrator or User Management or Setting Management advanced permission user can assign a user to a group when creating or editing a user, without going through the User Groups screen.
User Account Requirements
The user account you use to log into Resolver must have Administrator or the User Management or Setting Management advanced permissions to access the User Management screen.
Related Information/Setup
Please see the Assigning Advanced Permissions to a User article for more information on advanced permissions.
Navigation
- From the Home screen, click the Administration icon.
![]()
Administration Icon
- From the Administrator Settings menu, click User Management.
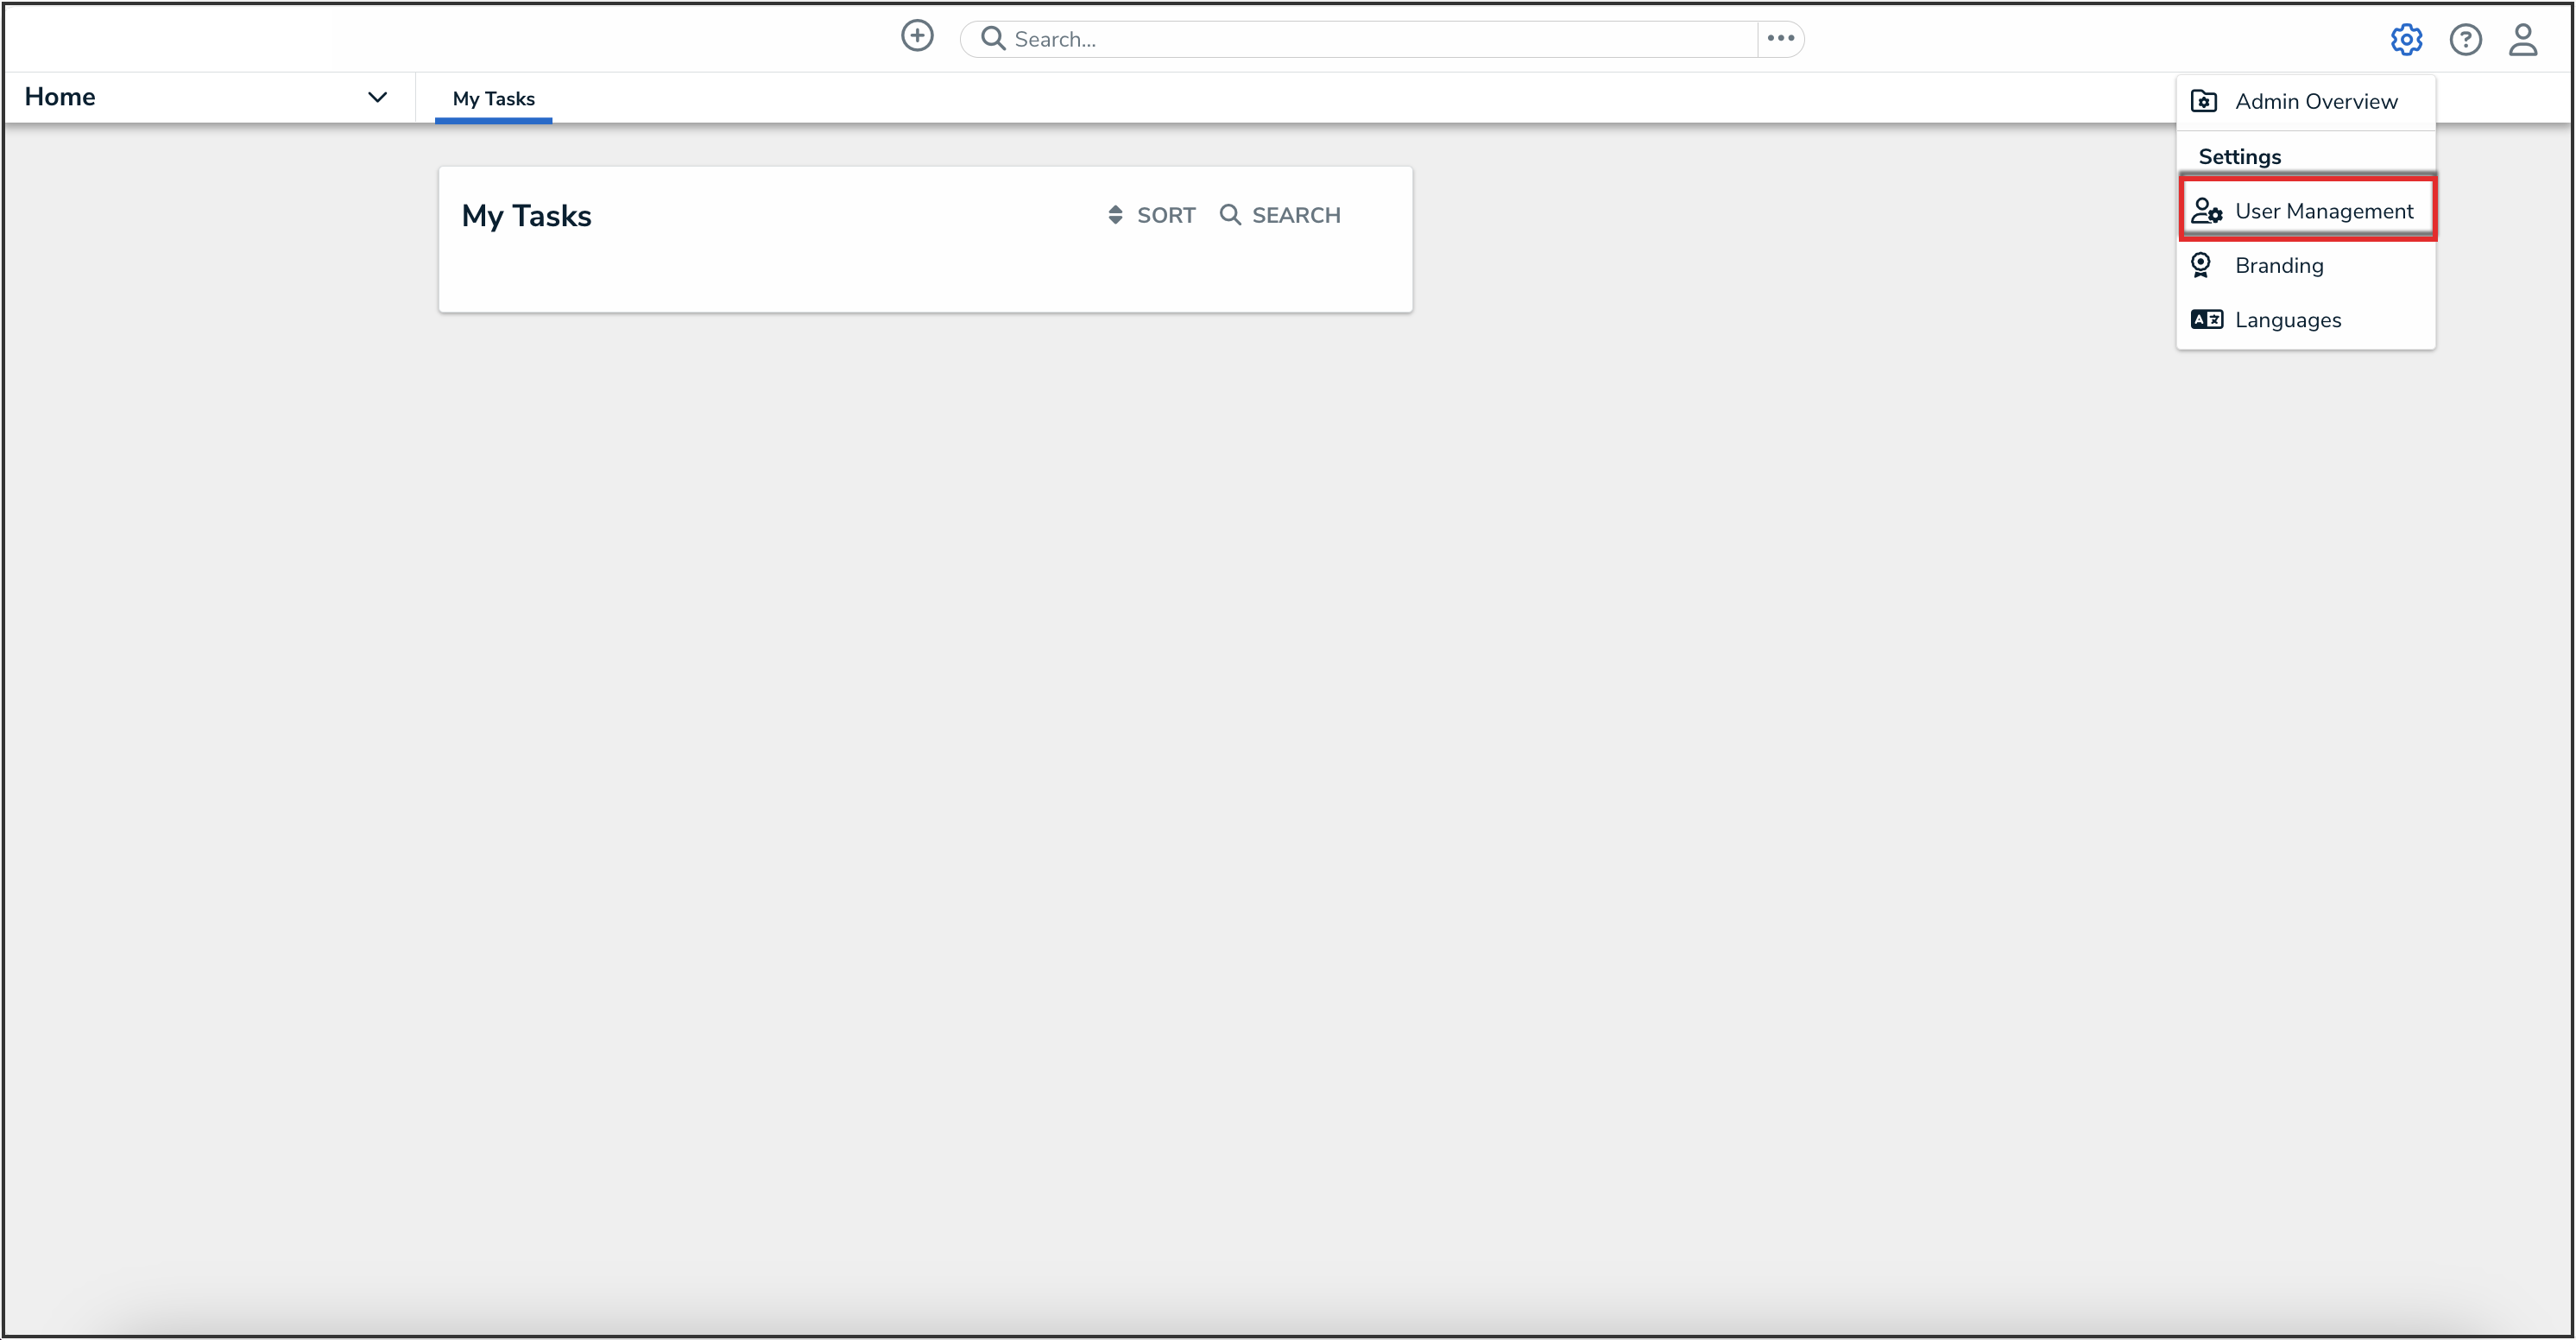
Administrator Settings Menu
- Enter a user's name in the Search field to narrow the search results.
- Click the name of the user you want to assign to a user group.

User Search
Assigning a User to a User Group Through the User Profile
- From the Edit User screen, scroll to the User Groups tab in the User Memberships section.

User Groups Tab
- Select the user group you want to add the user to from the Select which User Groups(s) this user is a member of drop-down.

Select which User Group(s) this user is a member of Field
 Note:
Note:
User Management or Setting Management advanced permission users will only see user groups they have permission to manage.
- Click the Add button to add the user to the selected user groups.

Add Button
- To remove a user from a user group, click the Delete icon next to the user group name.

Delete Icon
- Click the Done button to save your changes.
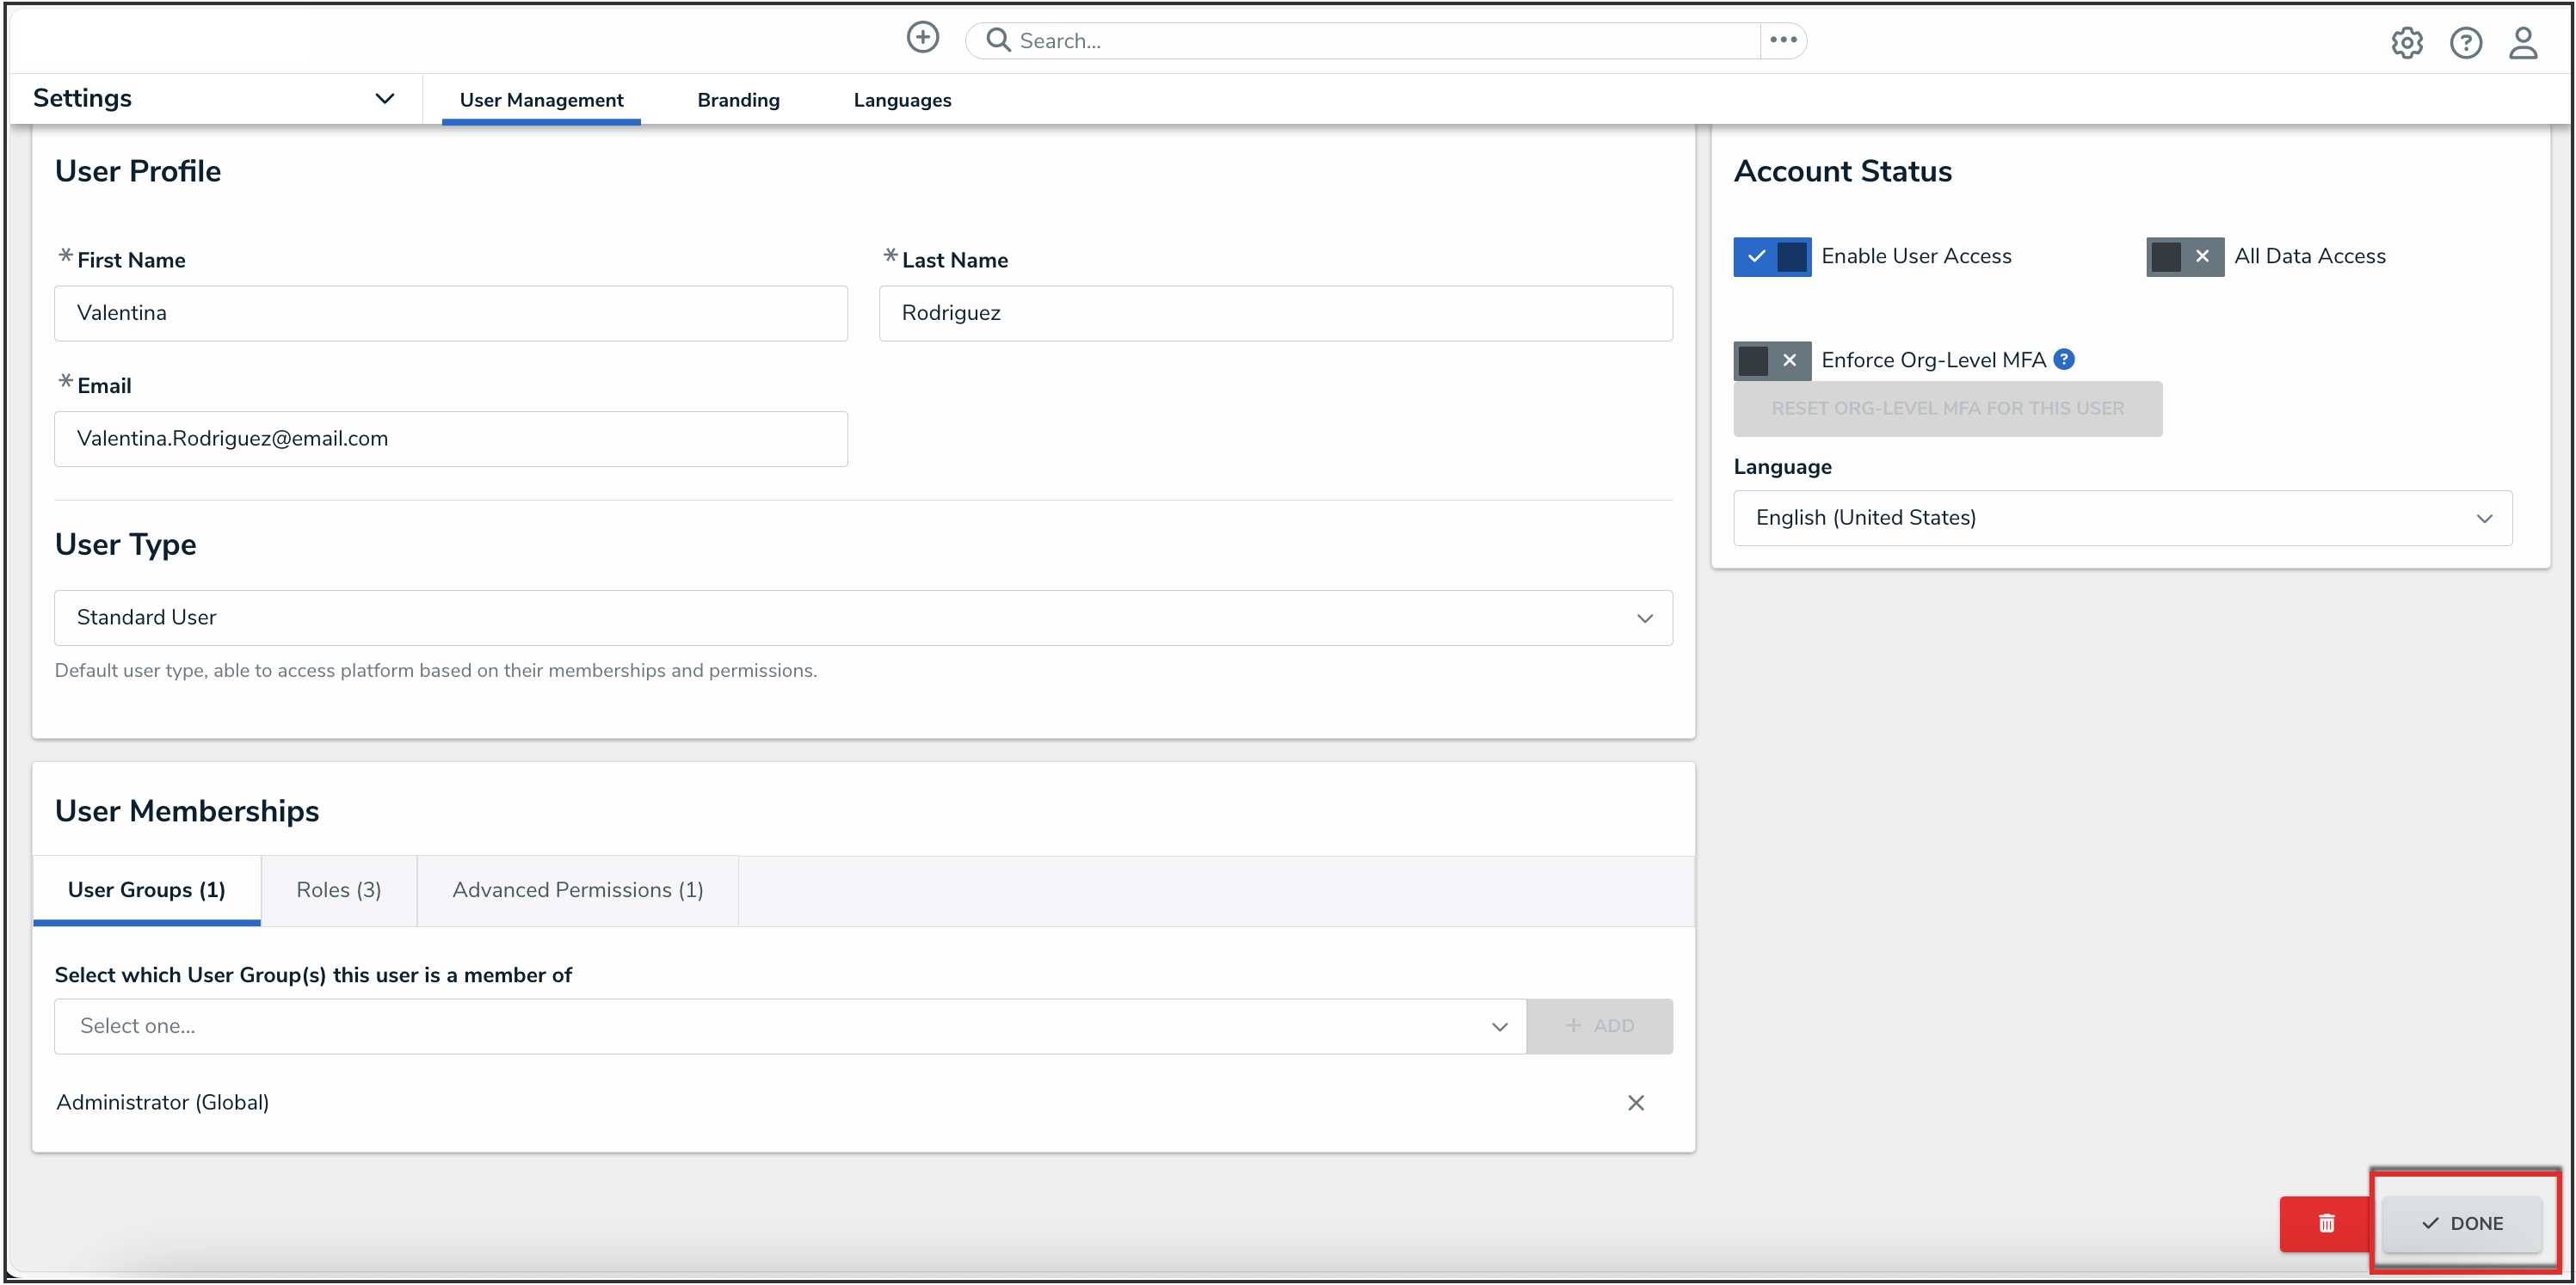
Done Button
