Overview
The Date & Time field allows users to select the date and time from a Calendar pop-up. Users can use the Decrease and Increase arrows (year) and the Previous and Next arrows (month) to select a year and month. Select a day by clicking a day on the Calendar pop-up. To choose a time, use the Increase and Decrease arrows, or enter the hour, minutes, and unit (AM or PM) in the Time fields.

Calendar Pop-up Functionality
Related Information/Setup
Please see the Time Zone Conversions article for more information on time data conversions.
Users can use Markdown to style the text in the Long Name field when adding a new field. Please see the Supported Markdown Styles article for more information.
Navigation
- From the Home screen, click the Administration icon.
![]()
Administration Icon
- From the Admin Overview screen, click the Fields tile on the Data Model section.

Fields Tile
- From the Admin: Fields screen, click the +Create Field button.
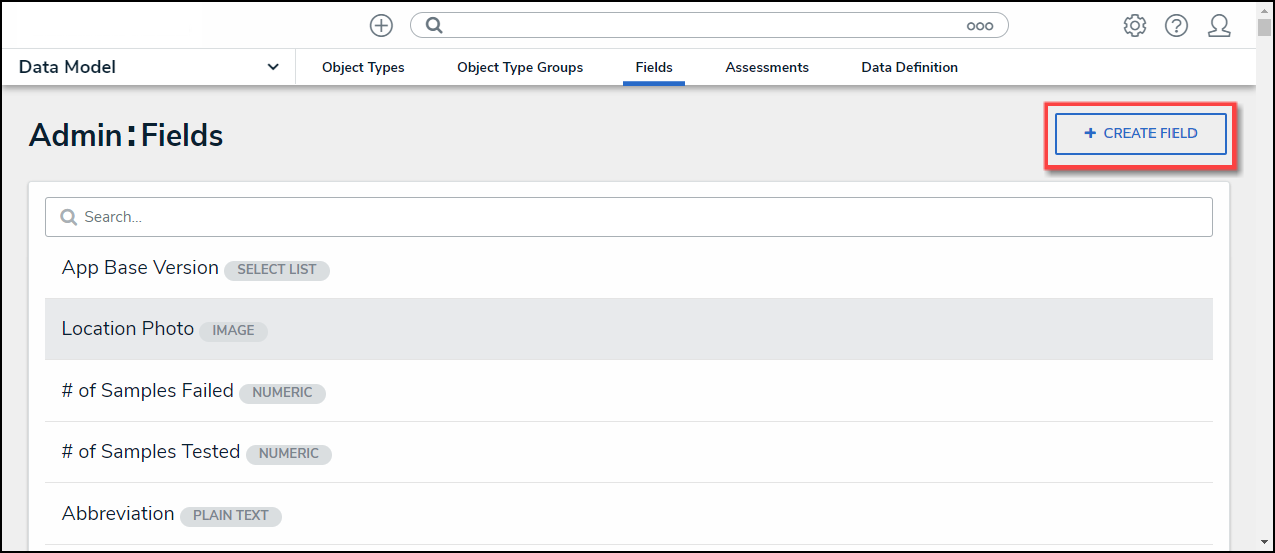
+Create Field Button
Creating a Data & Time Field
When a Data & Time field is created, you can adjust to the date format but not add or remove the time feature without deleting and recreating the field.
- From the Which type of Field would you like to create? pop-up, hover your cursor over the Data & Time field and select the Create Field button.
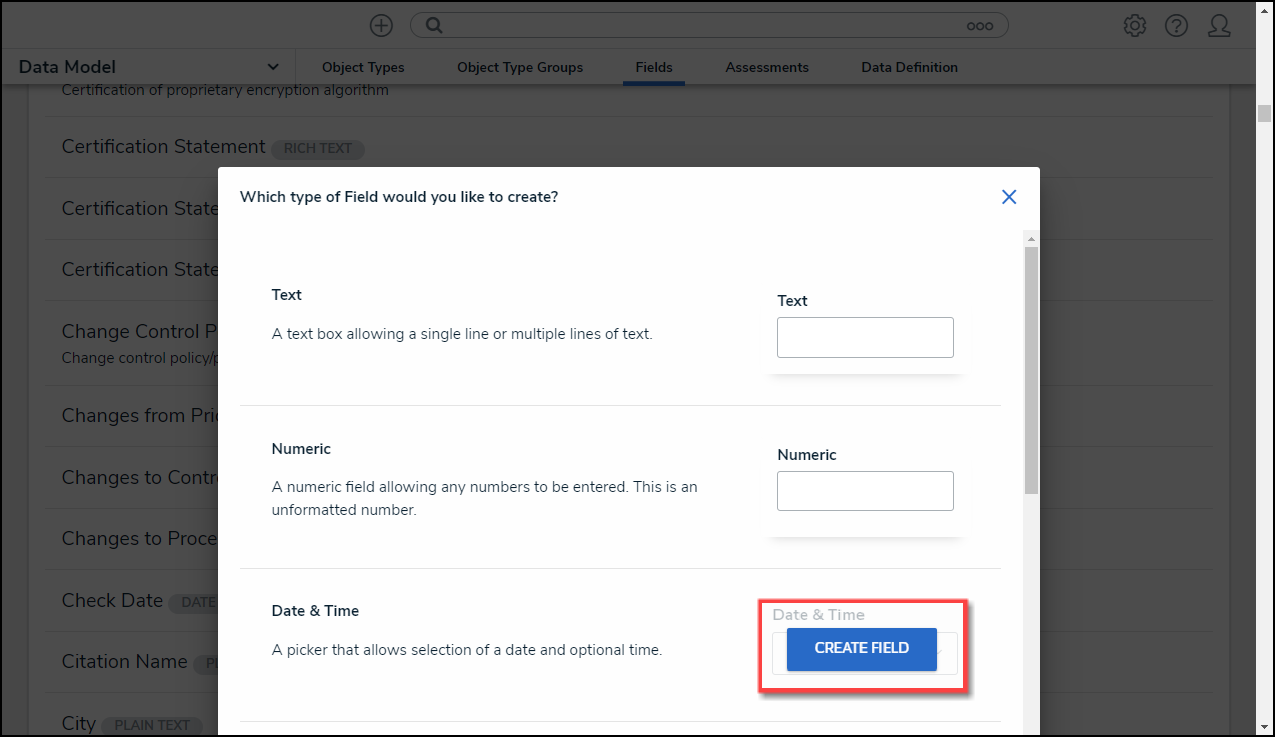
Create Field Button
- From the Admin: Create a Field screen, enter the following information:
- Field Name: Enter a Field Name. The Field Name represents the field throughout the system.
- (Optional) Long Name: Enter a field Long Name. The Long Name provides additional field information or instructions, which can be styled using Markdown. You can choose to display a field’s long name on configurable forms.
- Date & Time Format: Select a Date & Time format. Users must enter date and time information in Date & Time fields according to the format selected from the dropdown menu (e.g., DD/MM/YYYY format entering a date in the 'DD-MM-YYYY' format will be accepted. However, attempting to enter a date in the 'YYYY-MM-DD' format will result in an error.).
- YYYY-MM-DD
- YYYY-MM-DD HH:MM AM/PM
- MM/DD/YYYY
- Month, Day, Year
- Month, Day, Year HH:MM AM/PM
- DD/MM/YYYY
- DD/MM/YYYY H:mm (24 hr)
- DD-MM-YYYY
- DD-MM-YYYY HH:MM AM/PM
- DD.MM.YYYY
- DD.MM.YYYY H:mm (24 hr)

Date & Time Format
- Click the Create button.

Create Button
- The screen will refresh, and the system will automatically populate the Unique Field Name and the Preview section, which displays how the field will appear within the system.

Admin: Editing Field Screen