Overview
Every individual you want to access your Resolver environment requires a user account. A user with the User Management or Settings Management advanced permissions can create user accounts in Resolver. When a user account is created, that user must be assigned to user group and/or roles.
 Note:
Note:
If you are an Administrator creating a new user, please refer to the Create a New User article.
User Account Requirements
The user account you use to log into Resolver must have Administrator or the User Management or Settings Management advanced permissions to create a new user. If you are an Administrator, please refer to the Create a New User article.
Related Information/Setup
For more information on adding a user to a user group, please see the Adding a User to a User Group article.
For more information on using an alternate language setting, please see the Languages Overview article.
Navigation
- From the Home screen, click the Administration icon.
![]()
Administration Icon
- From the Administrator Settings menu, click User Management.
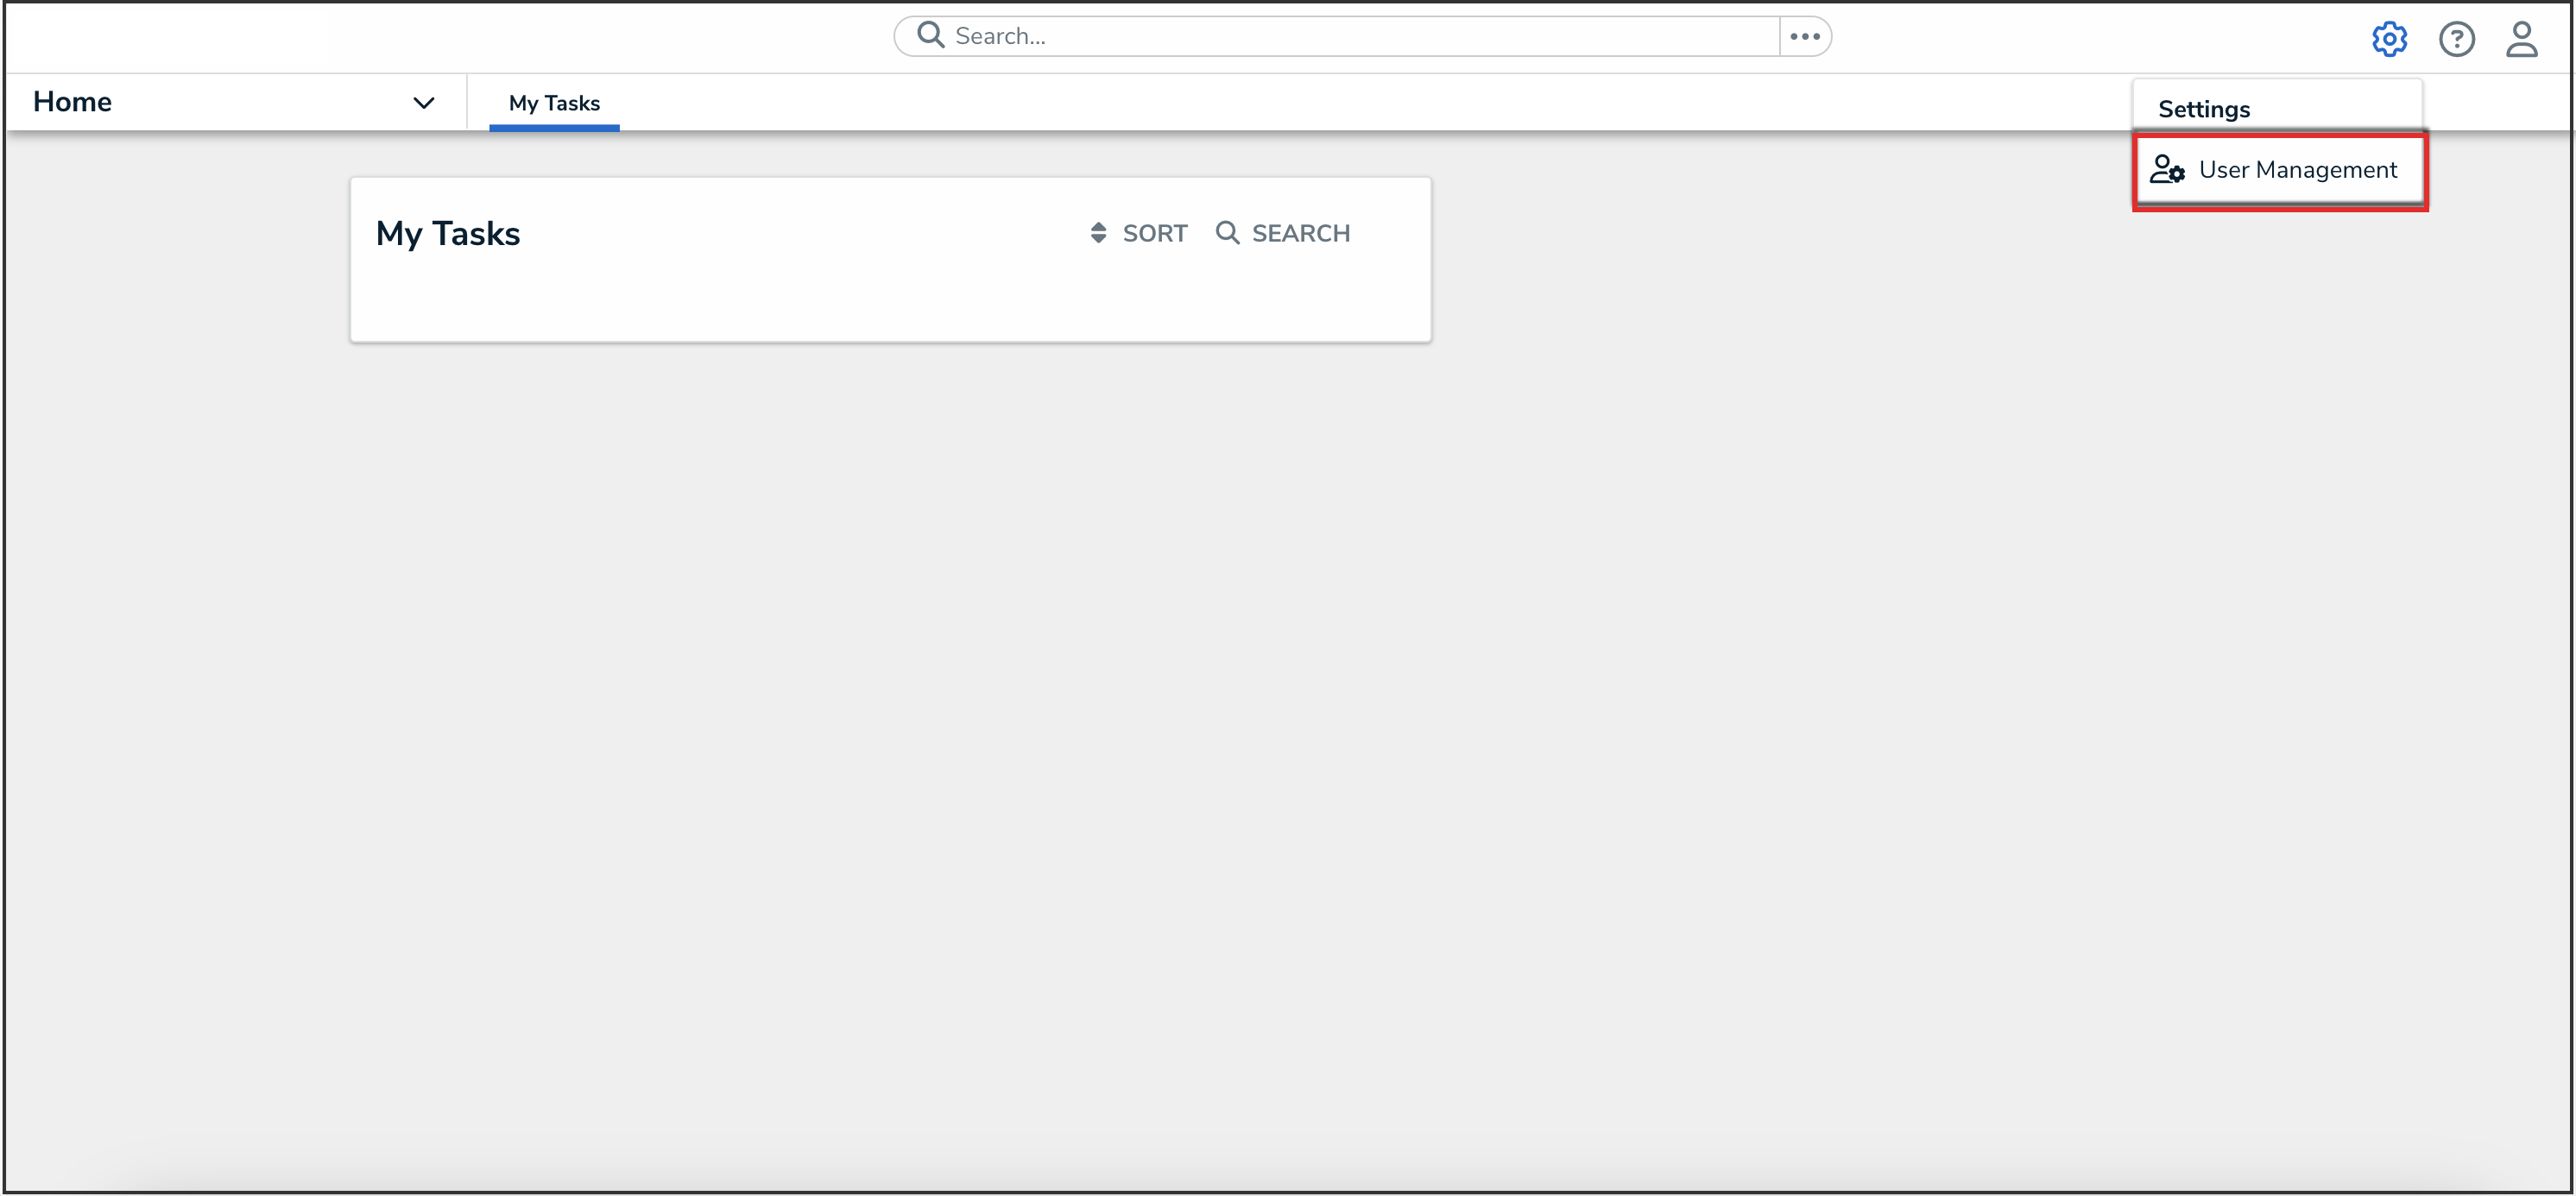
Administrator Settings Menu

Creating a New User
- From the User Management screen, click the Create User button.
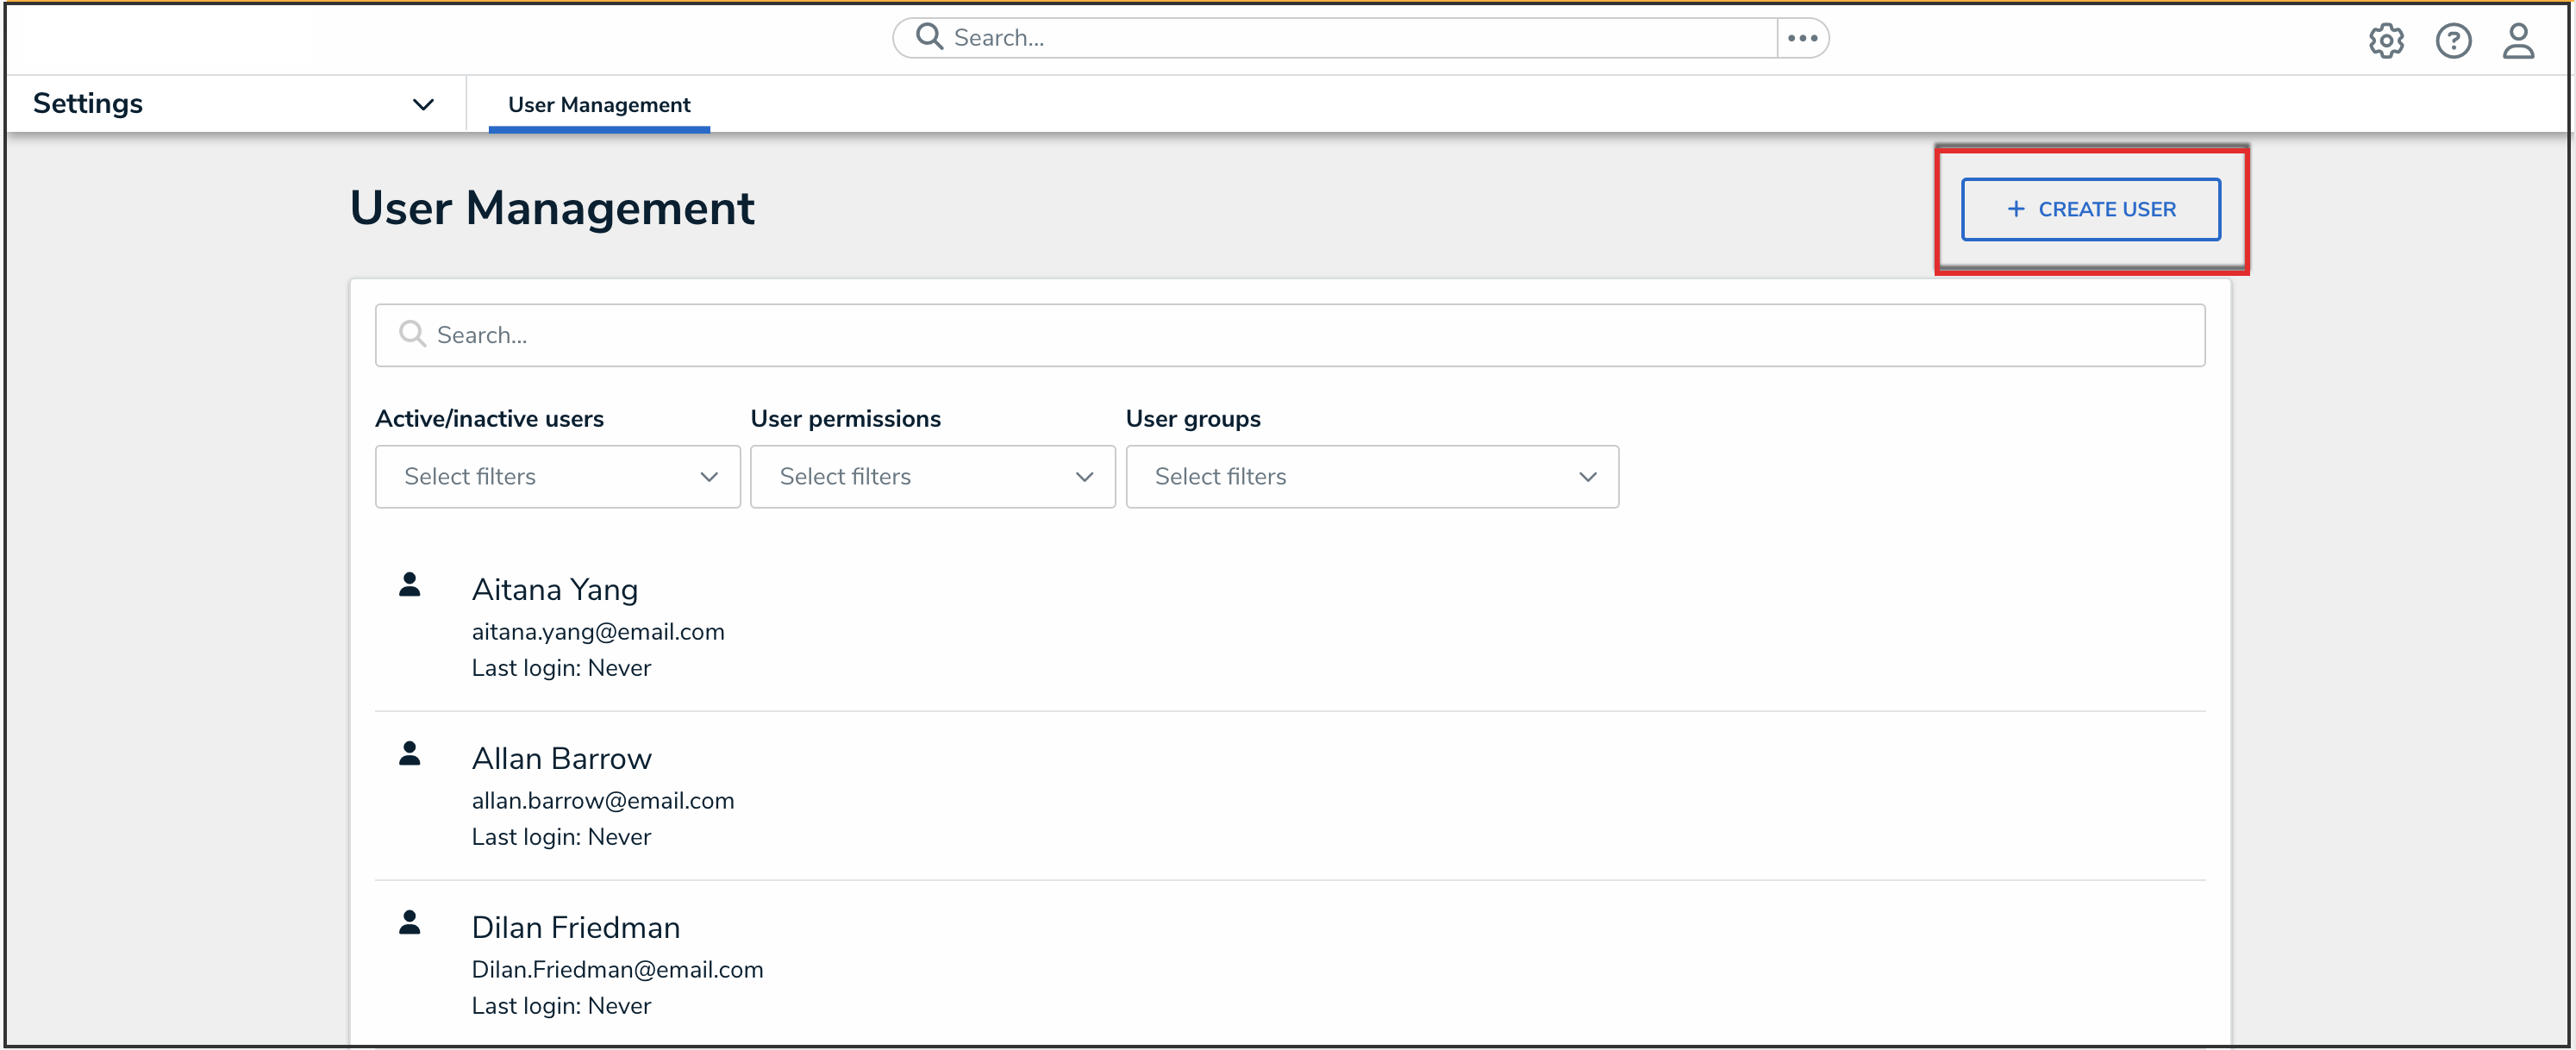
Create User Button
- Enter the user’s name in the First Name and Last Name fields.
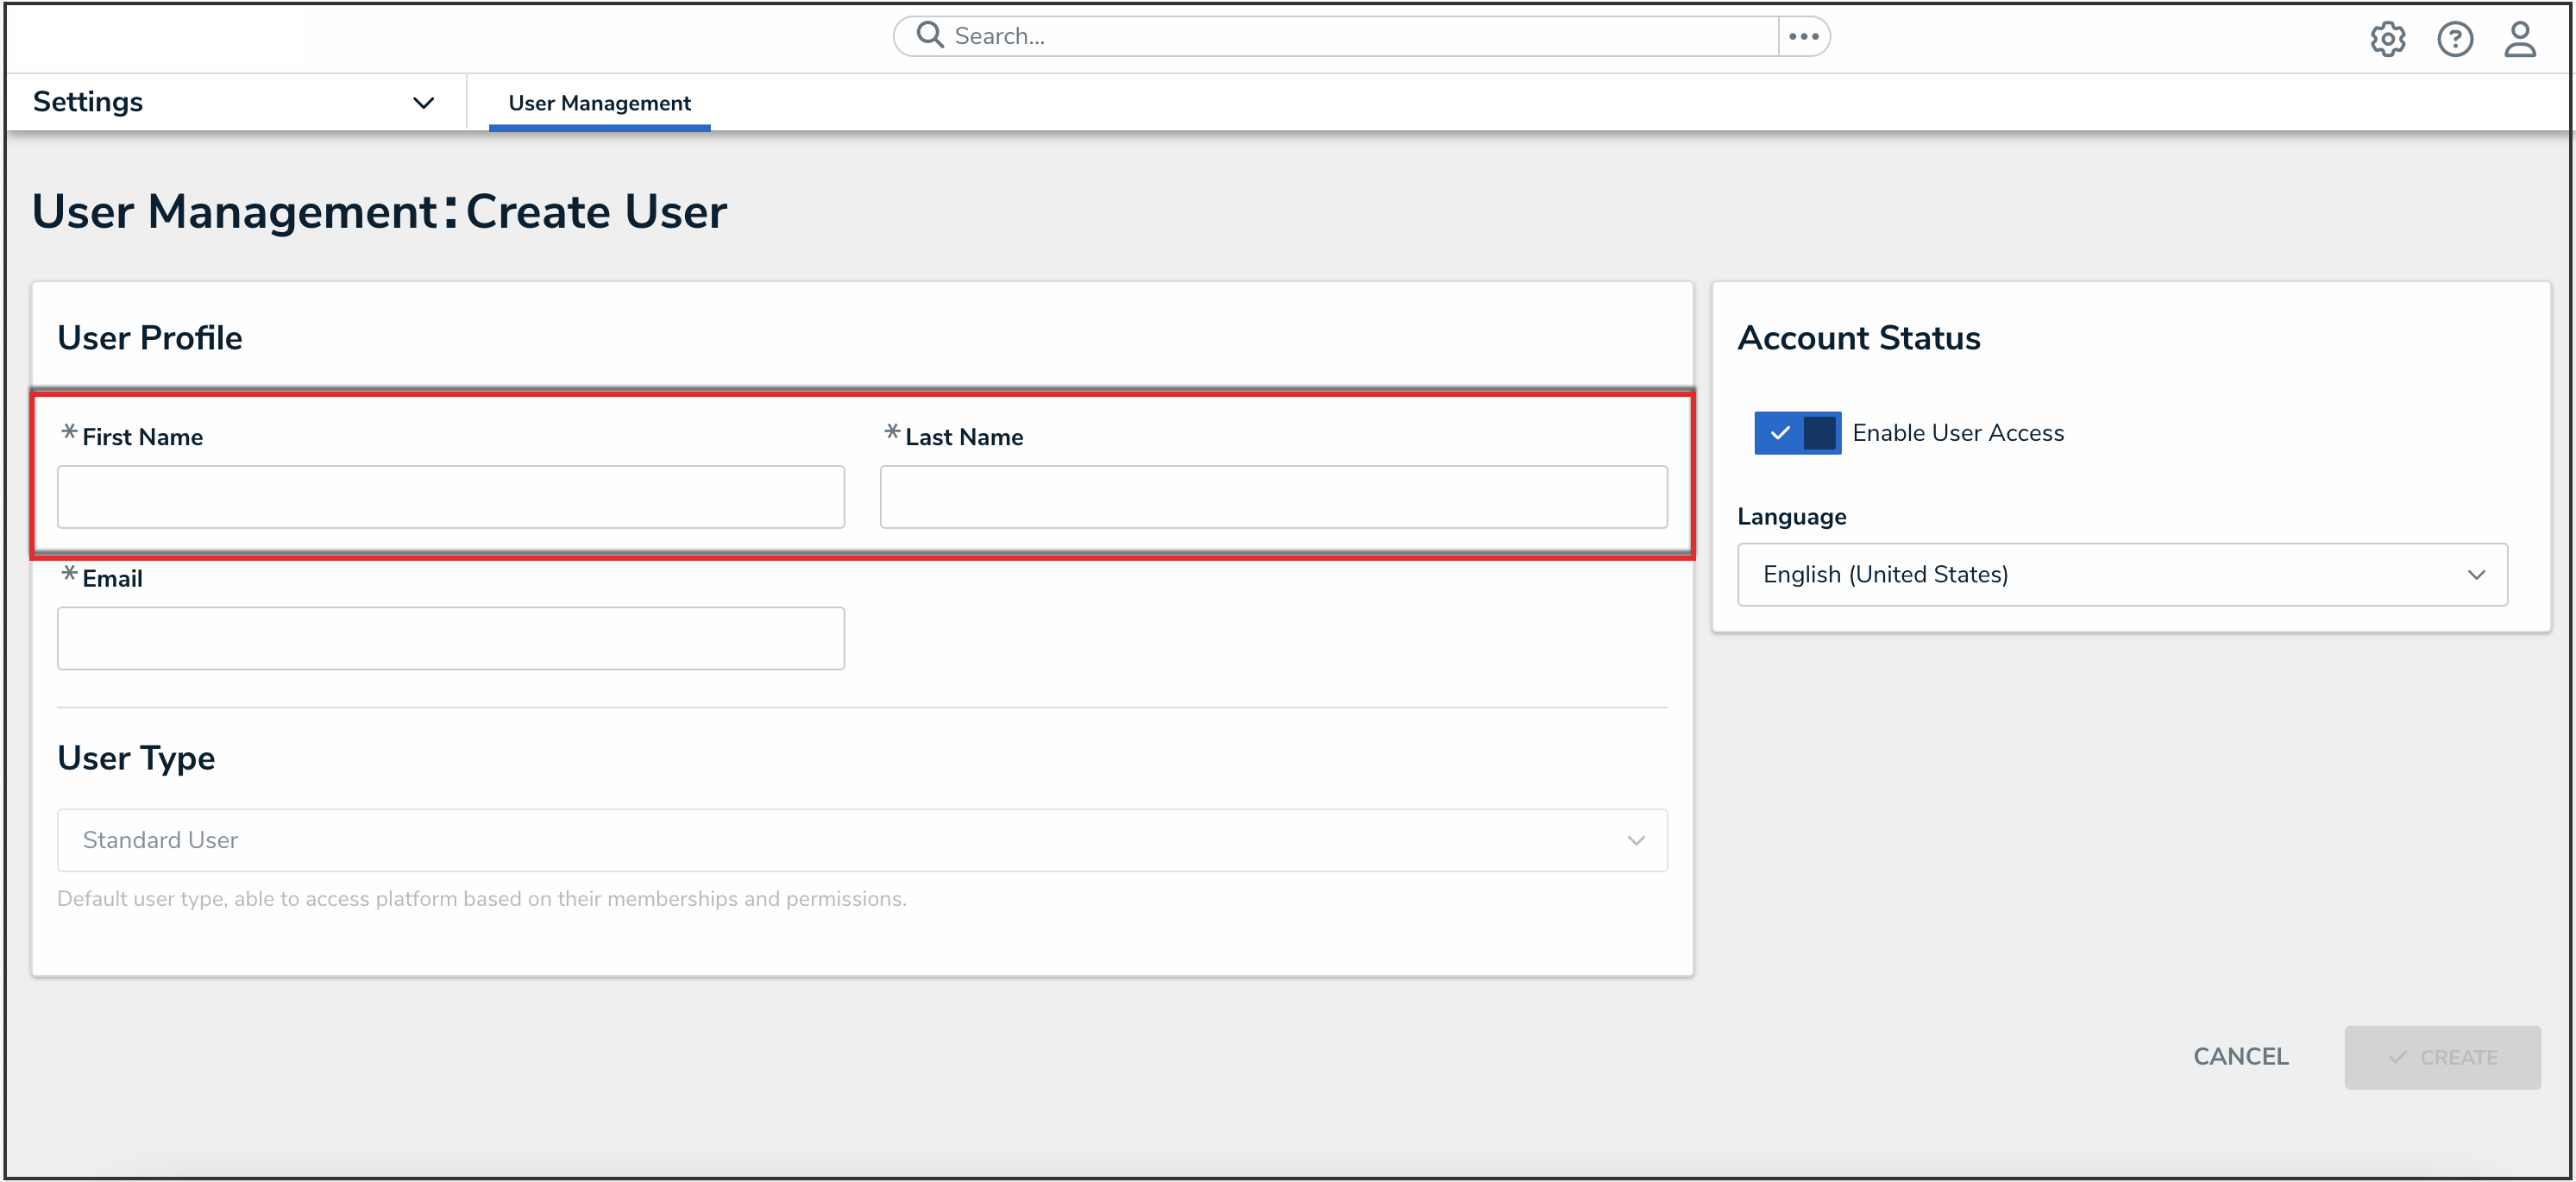
First and Last Name Fields
- Enter the user's email address in the Email field. The email address is used to:


- Receive the Resolver sign-up email containing instructions on creating a new password and signing into Resolver.
- Authenticate the user when logging in to Resolver.

Email Field
- Advanced permission users can only create Standard Users from the User Type drop-down menu. Standard users are granted access to parts of Resolver based on their memberships and permissions.
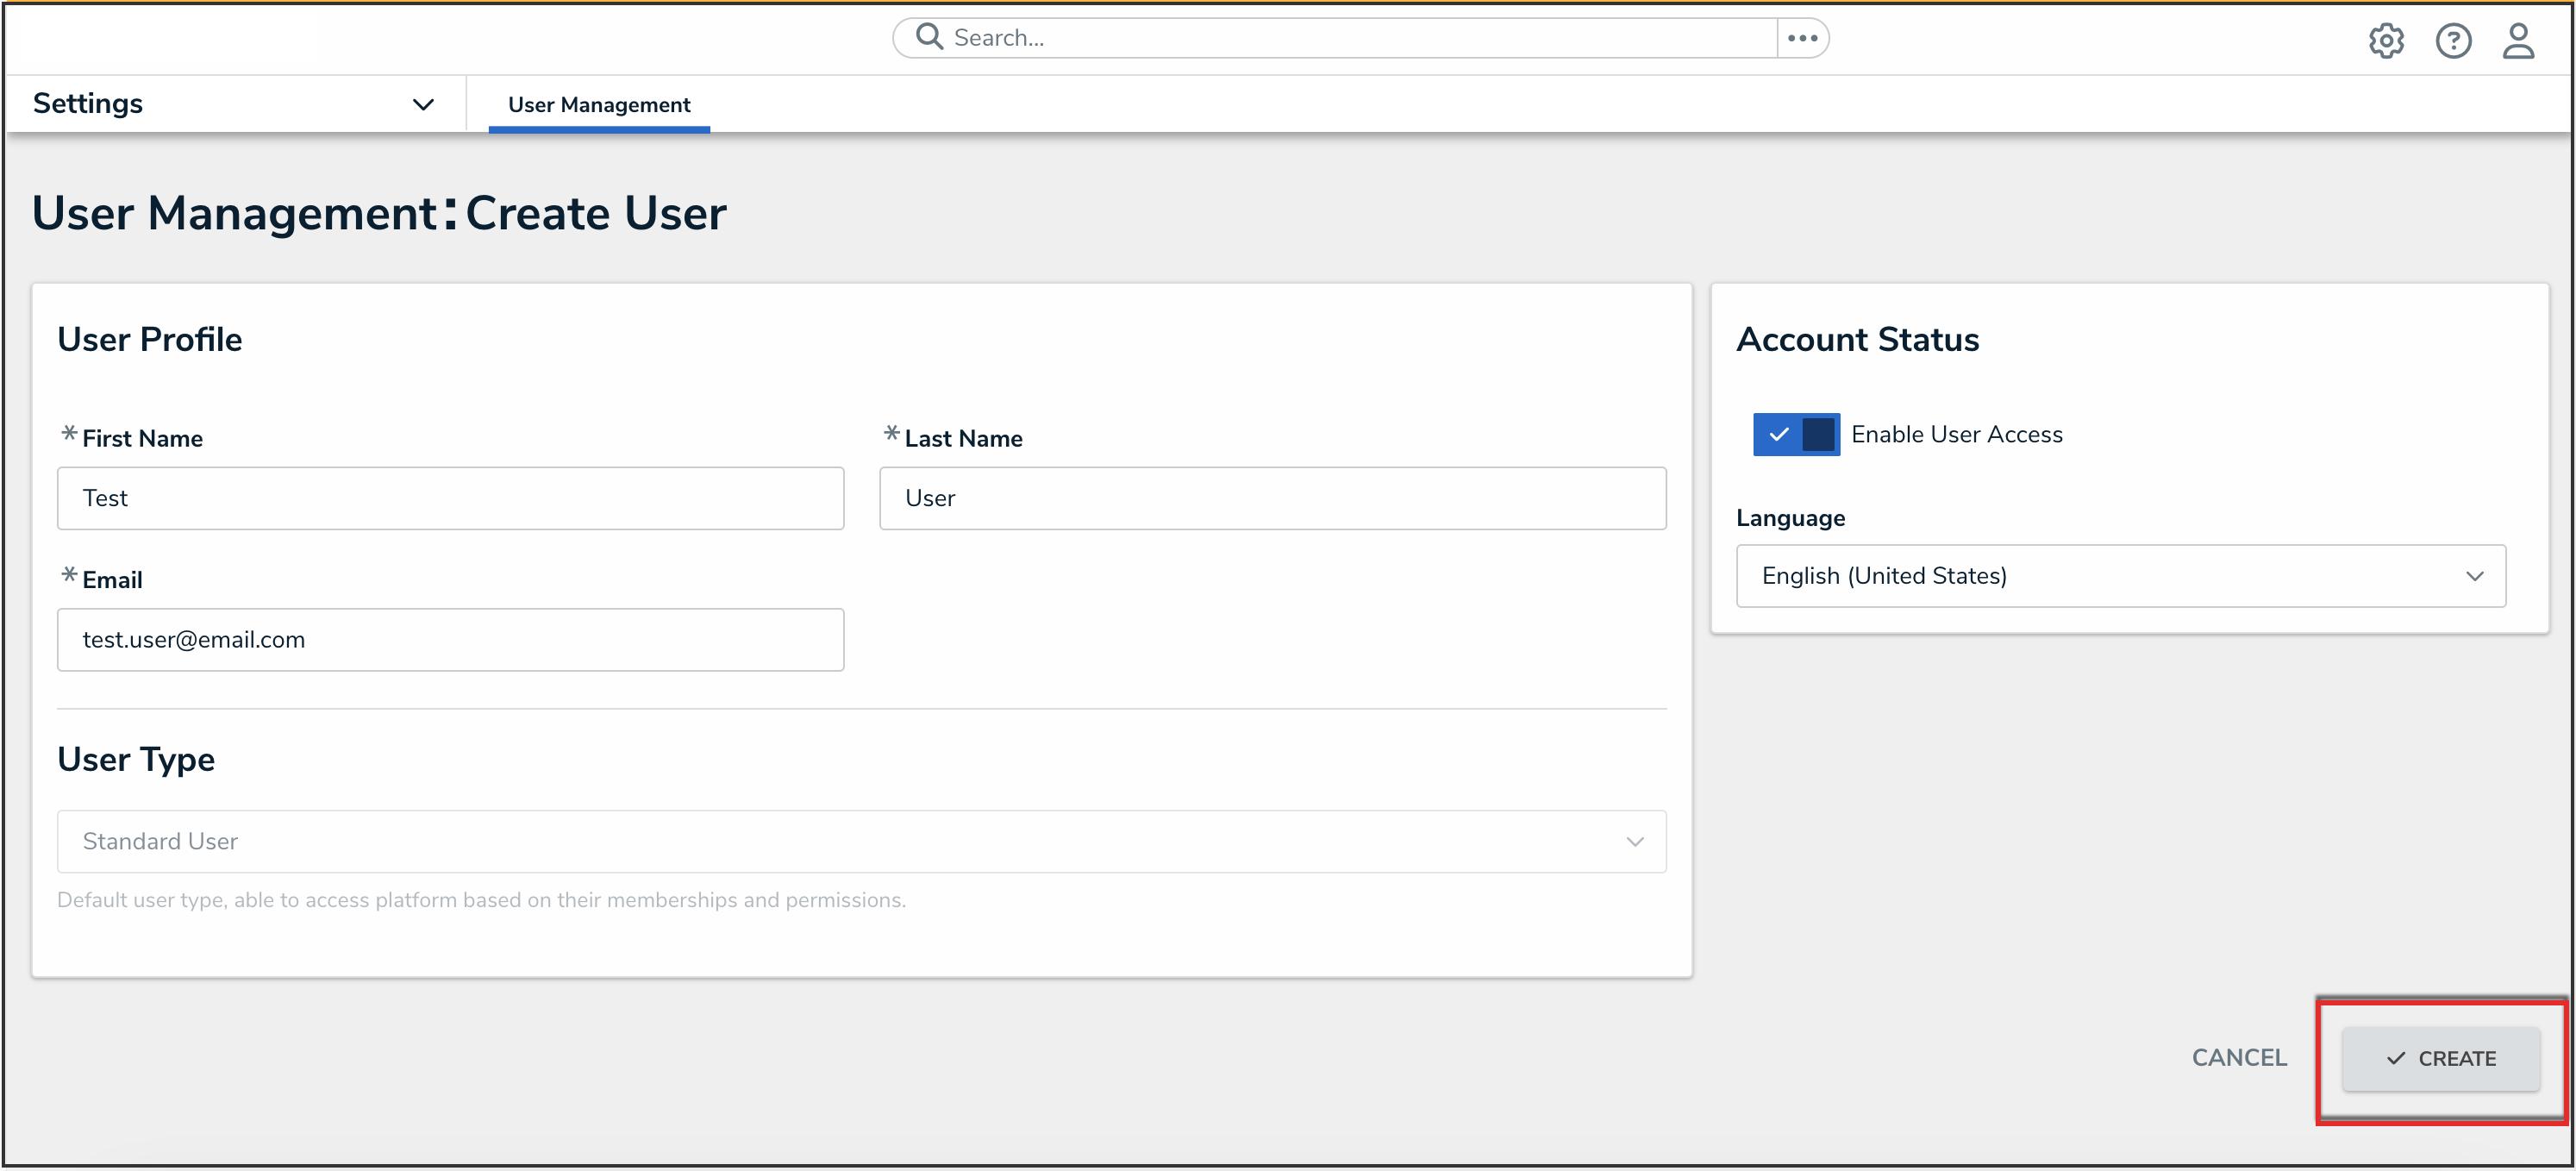
- (Optional): In the Account Status section, click the Enable User Access toggle switch to deactivate the user account. By default, the user account is enabled.

Account Status Toggle Switches
- (Optional): Select a language from the Language field drop-down menu to change the system's language setting. Before you can set an alternate language setting, an Administrator needs to download a Languages CSV file from the system, map language translations to the user interface text, and upload the CSV file for use within Resolver.
-
Click the Create button to create the new user account.
Create Button
