Overview
The Send Orchestration Event action transitions multiple objects in different states or from different object types into another state. For example, when this action is added to the Audit object type, closing an audit object will also close all open issues at the same time because those issues are no longer applicable.
Once an event has been created, it can be added to other states in the same workflow or on other object types as a Consume Orchestration Event trigger. The object types this action can be added to is determined by the data definition selected when the action is created.
Before you can create this action on a workflow state, a transition and Consume Orchestration Event trigger must be created.
User Account Requirements
The user must have Administrator permissions in order to access the Admin Overview screen.
Required Information/Setup
Please refer to the Add a Trigger & Transition to a State article for instructions on how to add triggers and transitions.
Please refer to the Roles and Workflow Permissions sections for more information on configuring roles and workflow permissions.
Navigation
- From the Home screen, click the Administration icon.
![]()
Administration Icon
- From the Administrator Settings menu, click Admin Overview.

Administrator Settings Menu
- From the Admin Overview screen, click the Object Types tile under the Data Model section.

Object Types Tile
- From the Object Types screen, enter an object type name in the Search field to narrow down the object types list.
- Click the object type name you want to edit.

Object Type Name
- From the Edit Object Type screen, click a workflow under the Workflow tab.

Workflow Tab
- If there are no workflows listed, click the Configure Workflow button.

Configure Workflow Button
Add a Send Orchestration Event Action to a Transition
- From the Edit Workflow screen, click the trigger that you want to add the Send Orchestration Event action to.

Workflow Trigger
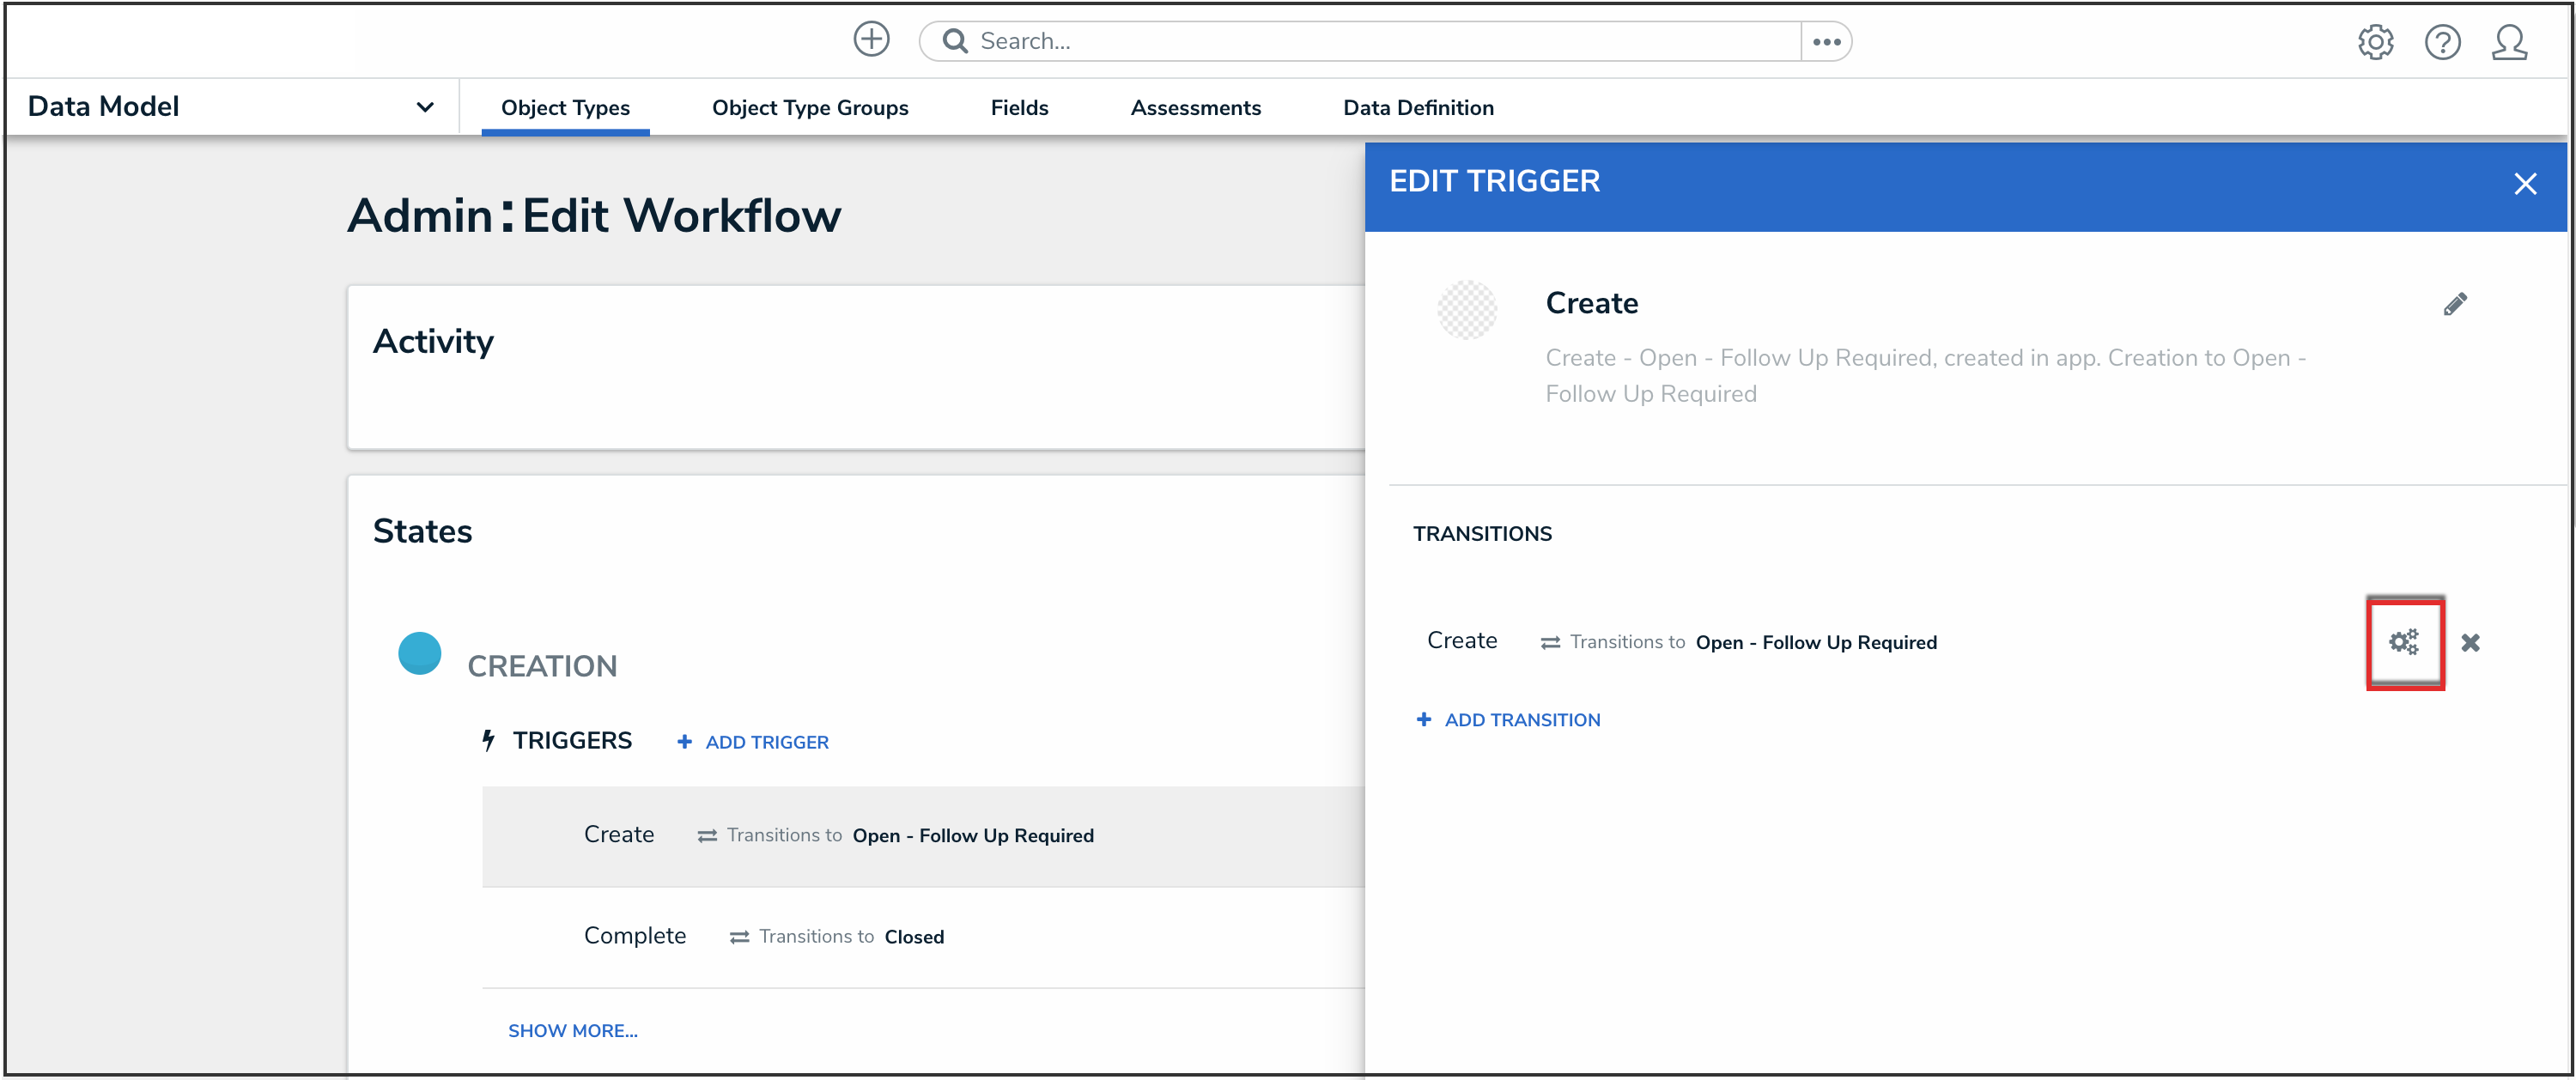
- From the Edit Trigger pop-up, click the Configure icon under Transitions.

Configure Icon
- Click the Add Action button under Actions.

Add Action Button
- Select Send Orchestration Event from the Type dropdown menu.

Type Dropdown
- Enter a name for the action in the Name field.

Name Field
- Choose a data definition from the Select a Data Definition dropdown menu. Ensure the data definition selected includes all other object types you intend to add this action to.

Select a Data Definition Dropdown
- Click the Create button.

Create Button
- From the Edit Trigger pop-up, click the Done button to save your changes.

Done Button
Once successfully created, you can add this action to additional states or object types. You can also use this action to create a trigger on the same object type or additional object types.
 Note:
Note:
You can only add this action or trigger to object types that have been selected in the chosen data definition in step 6 above.