Risk Owners and their delegates are responsible for assessing risks and ensuring that they are properly mitigated by attaching controls, Key Risk Indicators (KRIs), and issues. Once users in the group have completed their tasks, the risks are then sent to the Risk Team for review. All assigned risks appear on the My Tasks page. 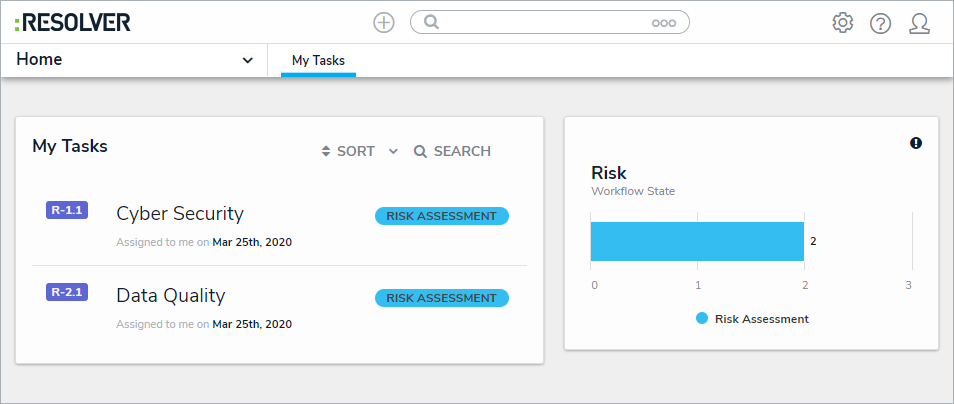 Assigned risks on the My Tasks page.
 | The Risk Team can also complete these steps from the Risk Assessment section of the Assess & Treat tab. However, it's recommended that the Risk Owner is the one who assesses risks. |
To assess risks:
Log into a user account from the Risk Owner & Delegate user group to display the My Tasks page.
- Click the relevant Risk to display it.
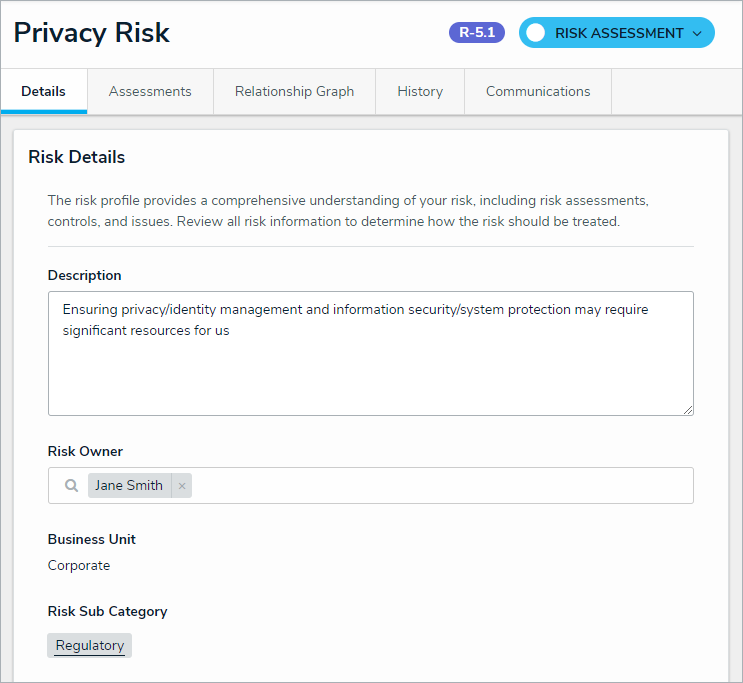 The Risk form in the Inherent Risk Assessment section.
In the Inherent Risk tab, select the relevant ratings from the Inherent Impact and Inherent Likelihood fields to generate an inherent risk score.
Optional: Click the Contributing Factors tab to review any contributing factors currently attached to this risk.
To add an existing contributing factor, click Add Existing Contributing Factor, type its name in the search bar, and select it.
To create a new factor from scratch, click + Create New and fill in the required fields.
Optional: Click the Historical Trending tab to view a chart showing how the inherent risk score has changed over time.
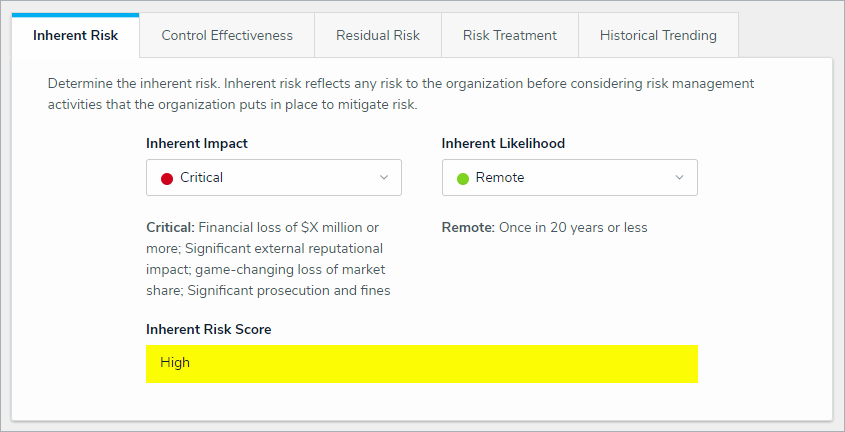 The Inherent Risk section.
- In the Document Controls and Determine Control Effectiveness section:
- Click Add Existing Controls and begin typing in the search bar to search for existing controls.
- Click Add next to each appropriate control to add it to the risk.
- Optional: To add the version of a control used by an assessment in another application or business unit, click Assessments and then Add next to the relevant assessment.
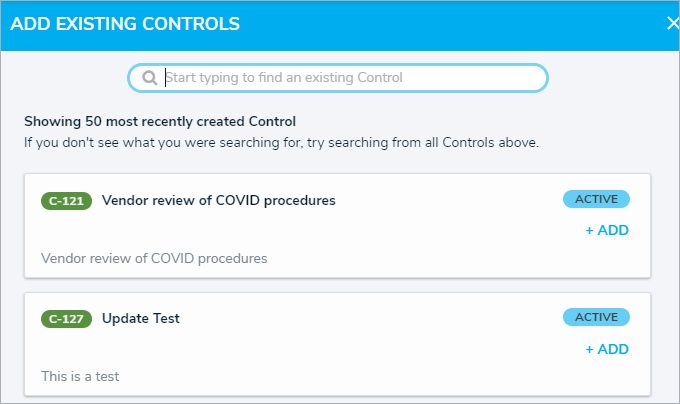 Searching for existing controls in the Add Existing Controls dialog.
If there are no controls appropriate to this risk, a Risk Owner can personally submit a new risk, but the Risk Team must approve it. - Click any controls in this section to display the Control Assessment dialog.
- Begin typing in the Control Owner and Control Delegate fields and click to select the relevant user.
- Fill in the remaining fields as required. Read more here: Assess a Control.
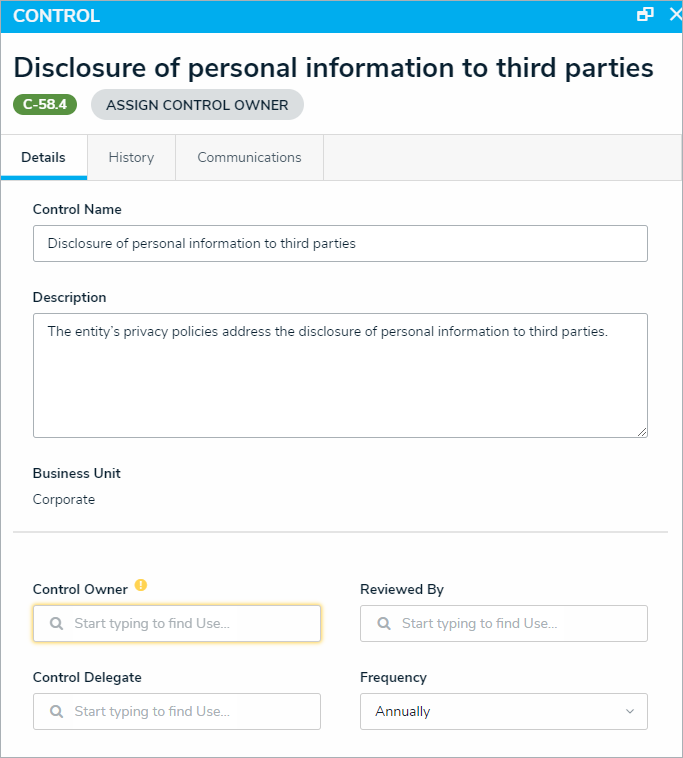 The Control dialog box.
- Select the relevant rating from the Control Self-Assessment list in the Control Effectiveness section.
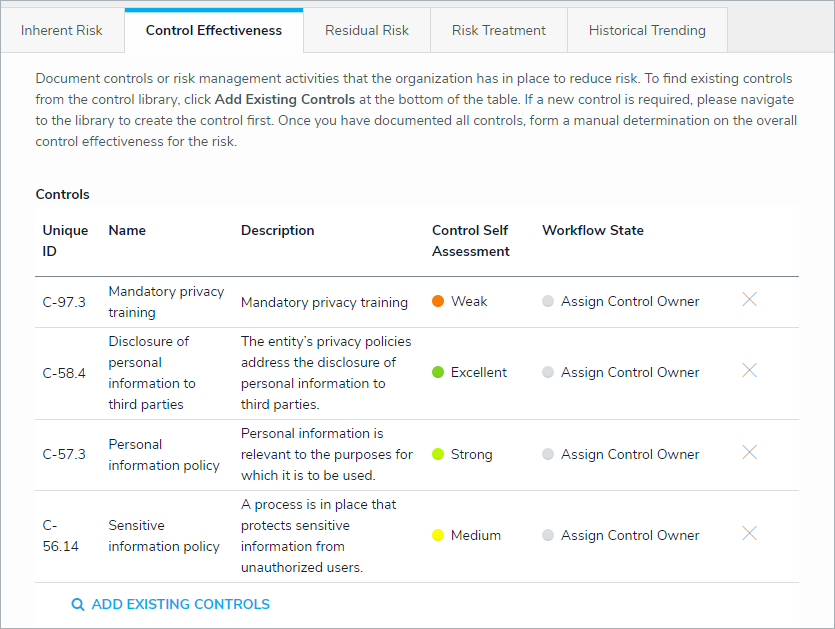 The Document Controls and Determine Control Effectiveness section.
- Optional: Click the Related Incidents tab to review any incident types attached to this risk. An existing incident type can be added by typing its name in the search bar and selecting it.
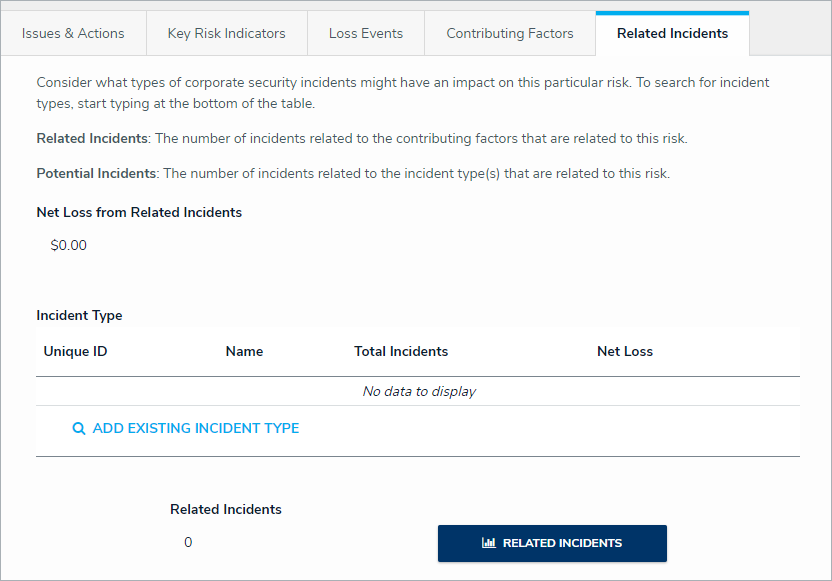 The Related Incidents tab.
Optional: Click the Key Risk Indicators tab to review any KRIs attached to this risk. An existing KRI can be added by clicking Add Existing Key Risk Indicators, or a new one can be created from scratch by clicking Create New. Read more here: Create KRIs.
While this may vary between organizations, it is recommended that the Risk Team create KRIs and assign them to indicator owners. However, the Risk Owner also has this capability. - In the Residual Risk section: Select the relevant ratings from the Residual Impact and Residual Likelihood fields to generate a residual risk score.
- Optional: Click the Loss Events tab to review any loss events attached to this risk. An existing loss event can be added by clicking Add Existing Loss Events or a new one can be created from scratch by clicking Create New. Read more here: Submit a Loss Event.
- Optional: Click the Historical Trending tab to view a chart showing how the inherent risk score has changed over time.
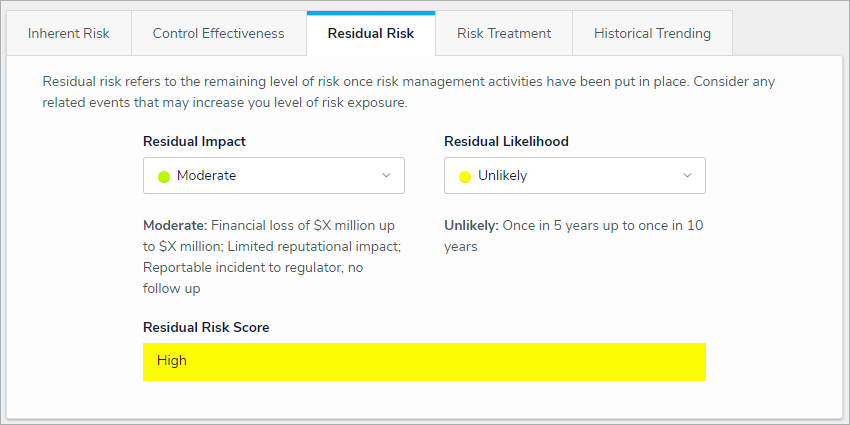 The Residual Risk section.
- In the Risk Treatment section:
Select one of these treatment options in the Risk Response Plan dropdown:
Tolerate - Accept: The risk owner accepts the risk as is and no further action is taken.
Treat - Reduce: Corrective action must be performed on this risk to mitigate its impact on the organization.
Transfer - Share: Corrective action must be performed on the risk, but it must be transferred to or shared with another individual and/or group within the organization.
Terminate - Avoid: This risk can be avoided and should be removed from the library.
Not Applicable: This risk is not applicable to the organization.
Enter a description of the treatment in the Comments on Disposition field.
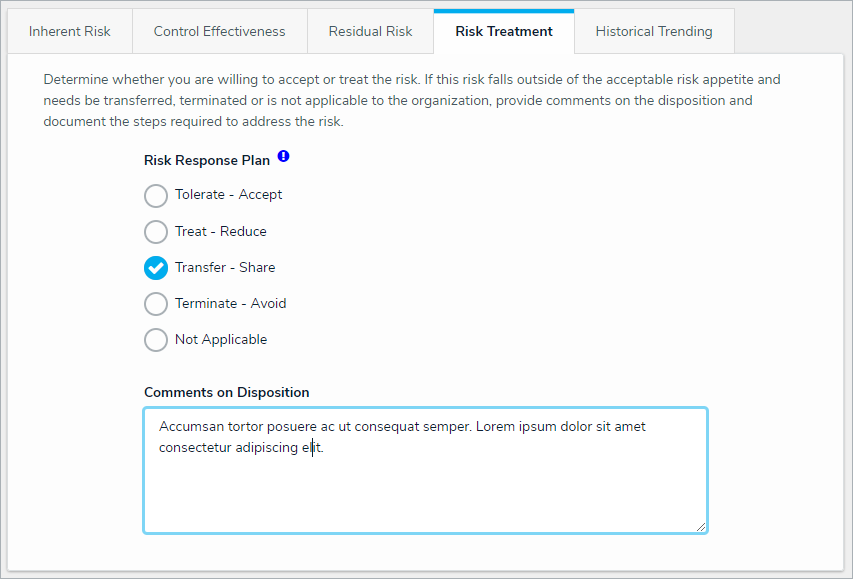 The Risk Treatment section.
The Document Issues and Corrective Actions section will not appear if the user chose Tolerate - Accept or Not Applicable. If either of these options were selected, skip to the next step.
- In the Issues & Actions section, an existing contributing issue can be added by clicking Add Existing Issue, typing its name in the search bar, and selecting it. To create a new issue from scratch, click + Create New and fill in the required fields. Read more here: Review an Issue and Review a Corrective Action.
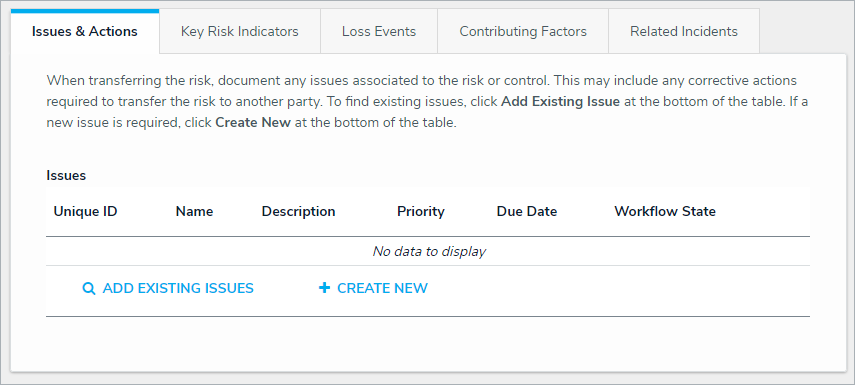 The Document Issues and Corrective Actions section.
 - Optional: Expand the Related Assessments section to view the assessments related to the risk.
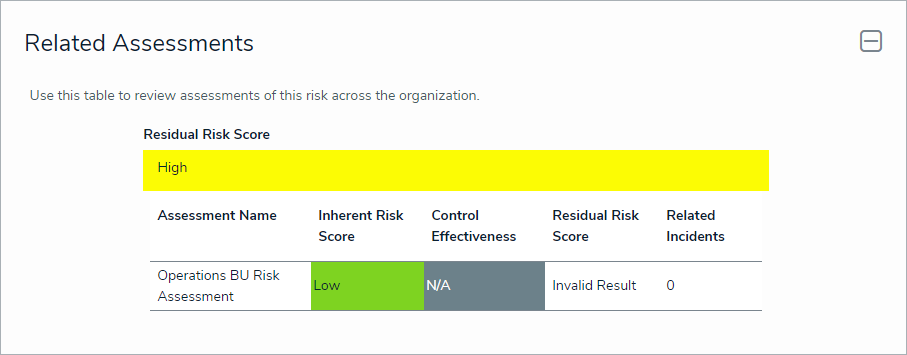 The Related Assessments section.
- Optional: Add comments, as needed.
- Click one of the following buttons:
- View Risk Profile: Opens a report that shows a high-level summary of the risk, including its scores, its trending data, and the controls, issues, and KRI's attached to the risk.
- Escalate Risk: Sends the risk back to the risk team for further review. This button will only appear for the Treat - Reduce and Transfer - Share treatment options.
- Submit For Review: Completes the risk assessment and sends it to the risk team for review.


