The Analyze Text (Intelligent Triage) feature evaluates the contents of the Observation field on an incident form and automatically identifies entities (People, Organizations, Places, Facilities, Dates, and Time). Incident screeners can then confirm each entity and link it to existing objects, manually tag an entity, and/or create new objects, all of which will then create a relationship (involvement) on the incident and auto-populate the associated fields on the form.
To use Intelligent Triage:
Log into a user account that's been added to the Incident Screener user group.
Click the dropdown in the nav bar > Incident Management to display the Triage activity.
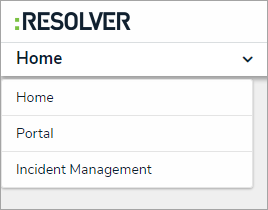 The nav bar.
Click an incident in the Triage state to open the Incident Triage form.
Click the ellipsis icon at the top-right of the form, then click Analyze Text to display the Intelligent Triage screen.
Review the text highlighted in grey, which have been identified as possible entities.
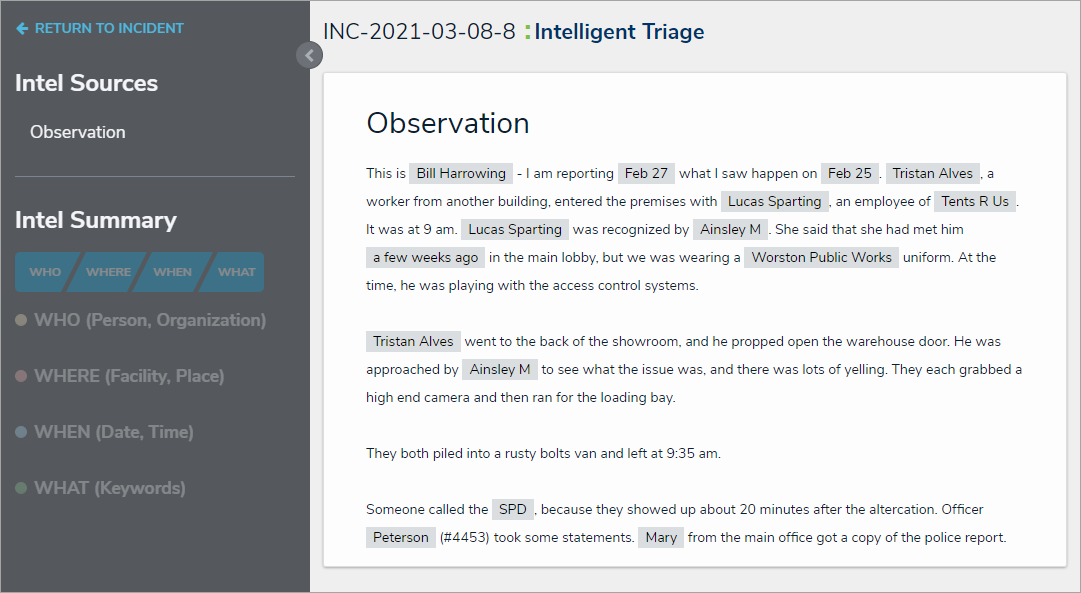 Possible entities, highlighted in grey.
Click the grey-highlighted text to display possible matching objects and the tagged entity type. For example, if you clicked John Doe, it would be tagged as a Person, and would show any exact or partially matching Person objects. If the tag is incorrect, select a different entity from the Tagged As dropdown menu, which will refresh the search results in the palette.
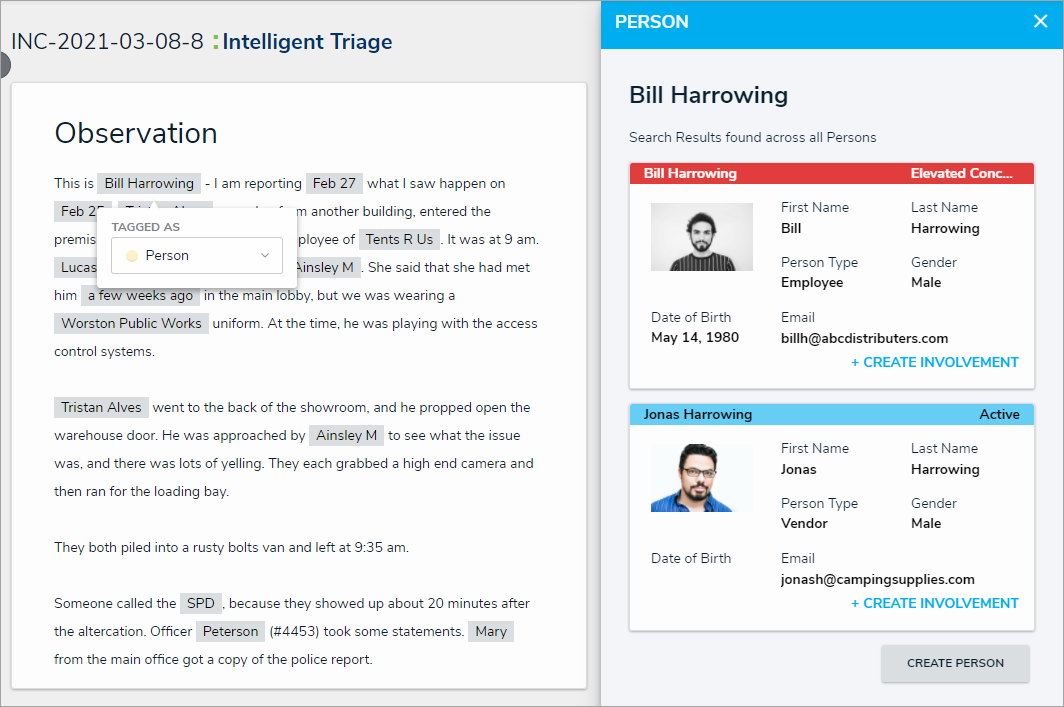 Clicking on a possible entity will display more options in a palette.
For more detailed information on the different entity types and how they're tagged, see Intelligent Triage Entities. If an existing object matches the entity, click Create Involvement below that object. To create a new record, click Create [Entity Type], which will create a new library object with an involvement on the current incident.
For Date and Time entities, there will not be a Create [Entity Type] button. Instead, users will be able to directly edit the date using a calendar picker and will be able to create a timeline by selecting pre-created options. If an entity was not automatically tagged, highlight the text with your cursor, select an entity type from the Tagged As dropdown menu, then repeat step 6.
Continue to repeat the above steps, as needed. Saved involvements appear in the Intel Summary section.
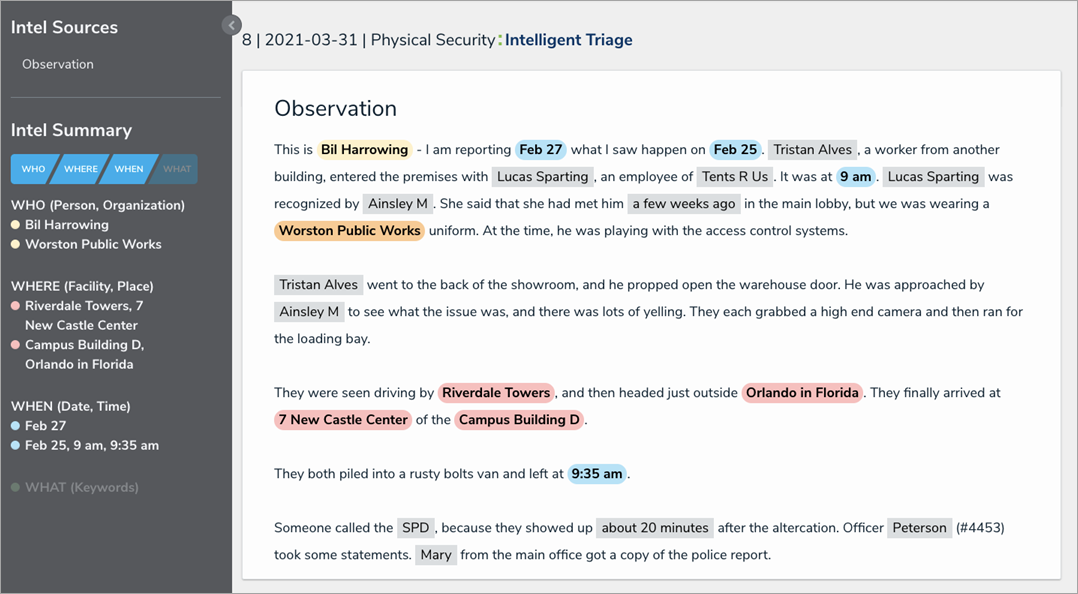 Confirmed entities.
Involvements saved to an incident through Intelligent Triage can only be removed from the Incident form on the previous page. When finished, click Return To Incident to see the identified data on the Triage form.


