Overview
To begin using Playbooks Automation in Resolver, playbook library content must be set up by creating playbooks and templated tasks. Users can add templated tasks to task groups to streamline the playbooks automation and workflow by grouping tasks that are often performed together.
Playbook library content can be set up manually by following the steps in this article.
Playbook library content can also be set up in bulk by using the data import feature. When using this feature, select the Template workflow state on the task template objects that are to be imported.
 Note:
Note:
Using data import is recommended for a quick implementation.
User Account Requirements
The user account you use to log into Resolver must be assigned to the Playbook Manager role to build the Playbook Automation content library.
Related Information/Setup
Please refer to the Playbooks Automation section for more information on using playbooks in Resolver.
Navigation
- From the Home screen, click the Home dropdown.
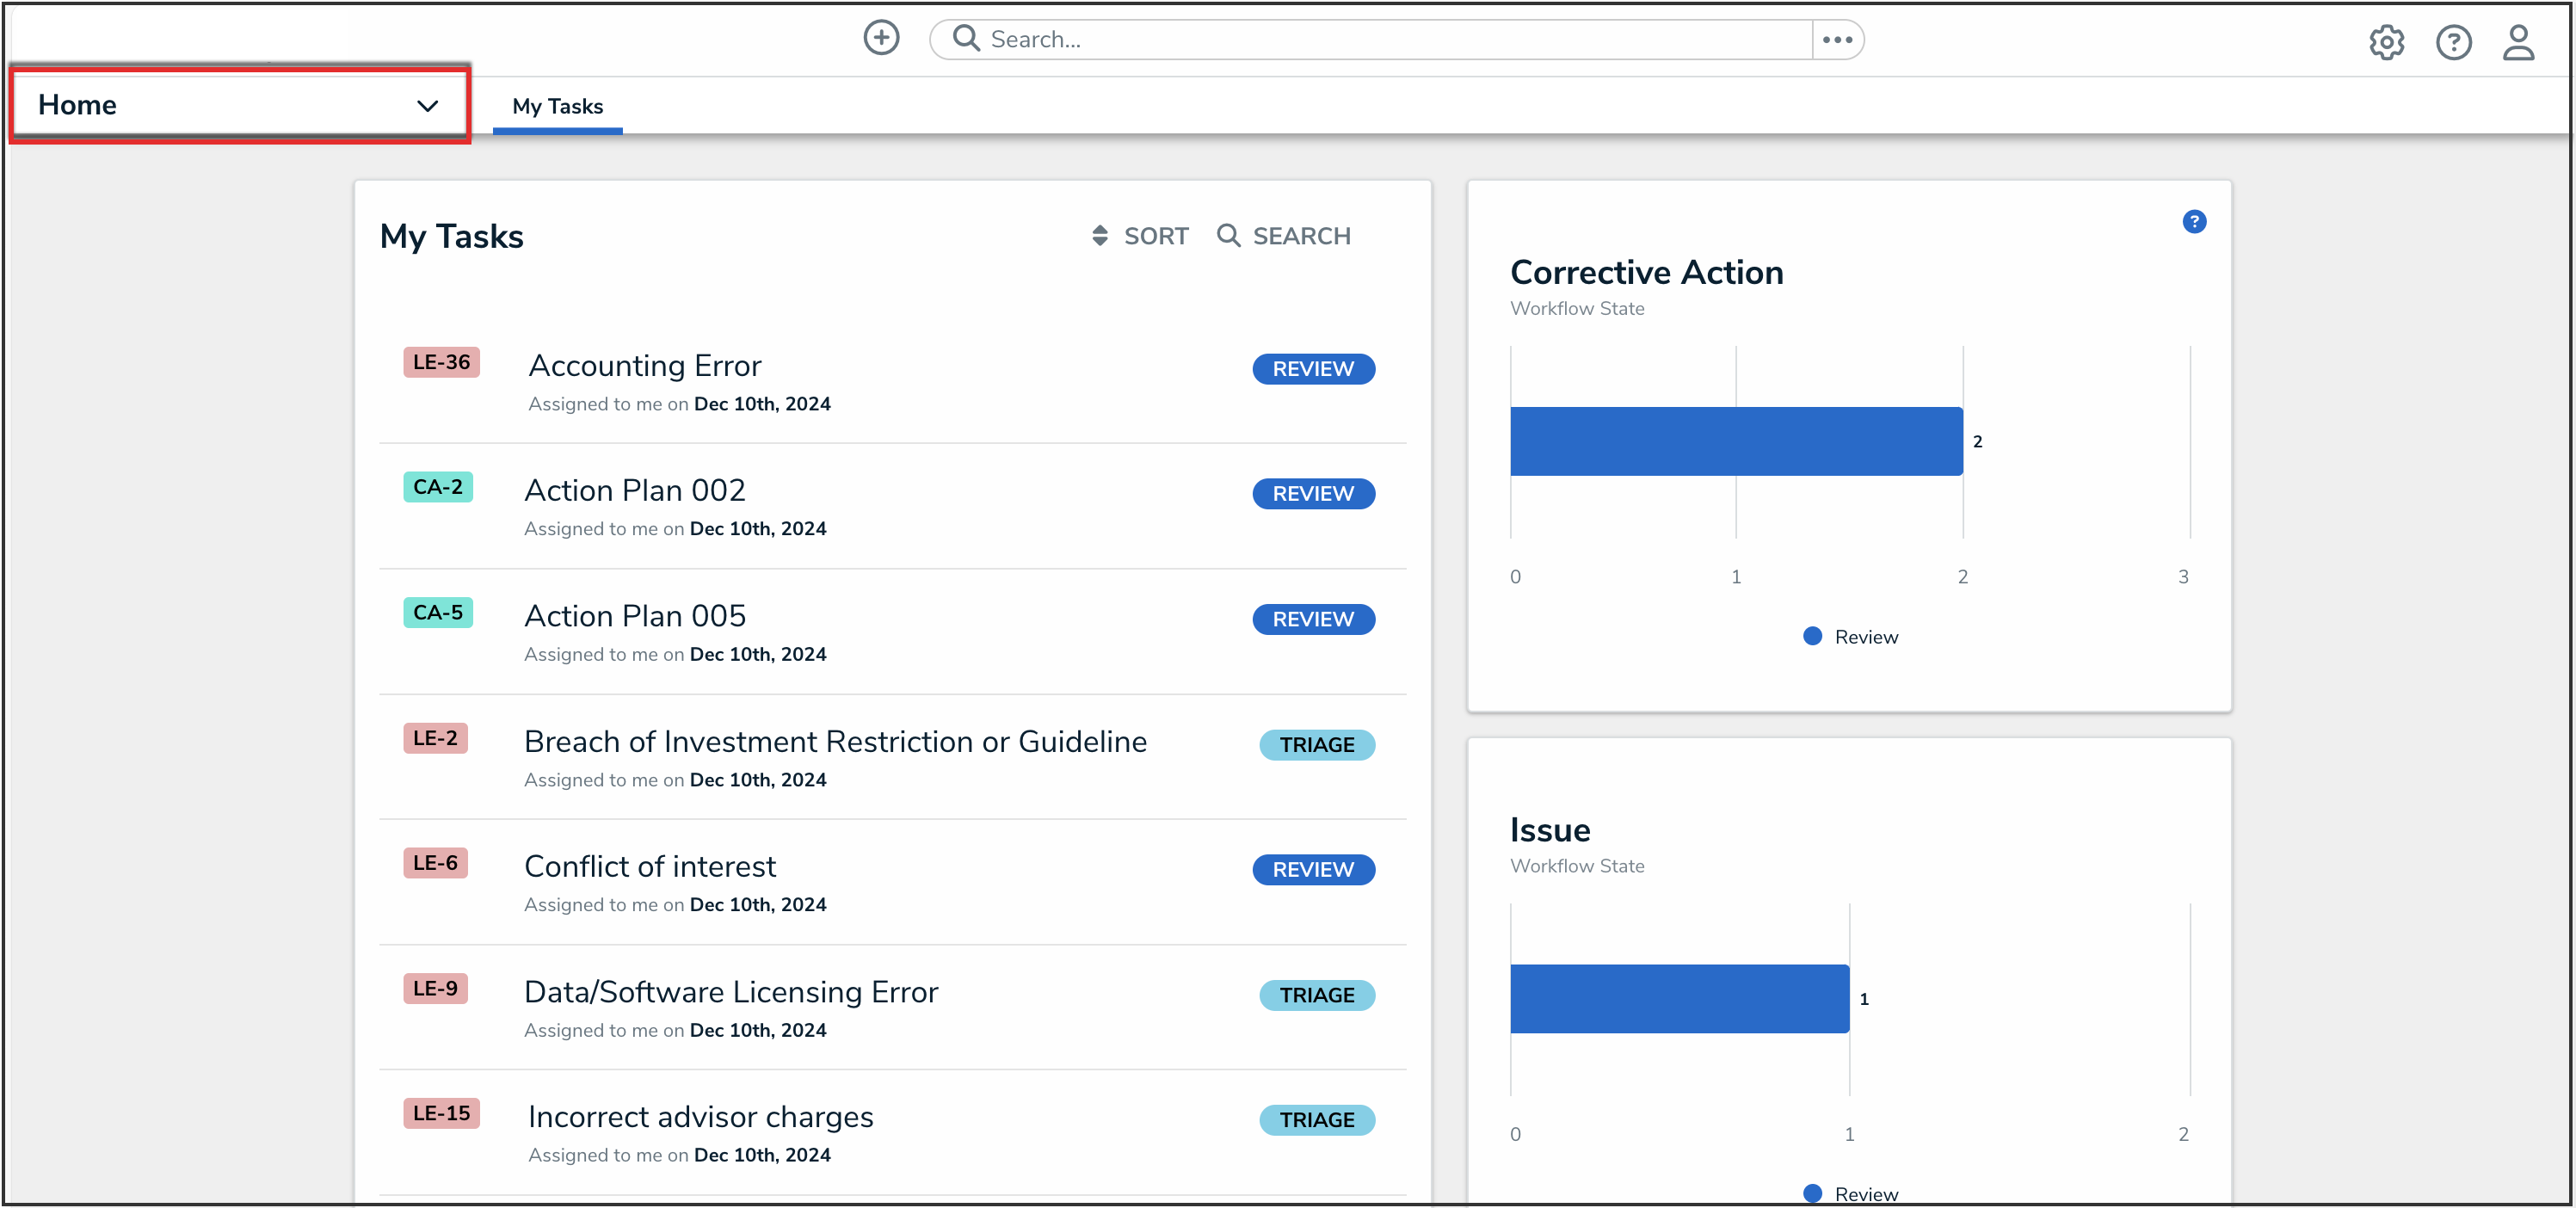
Home Dropdown
- From the Home dropdown, select the Playbook Application application.
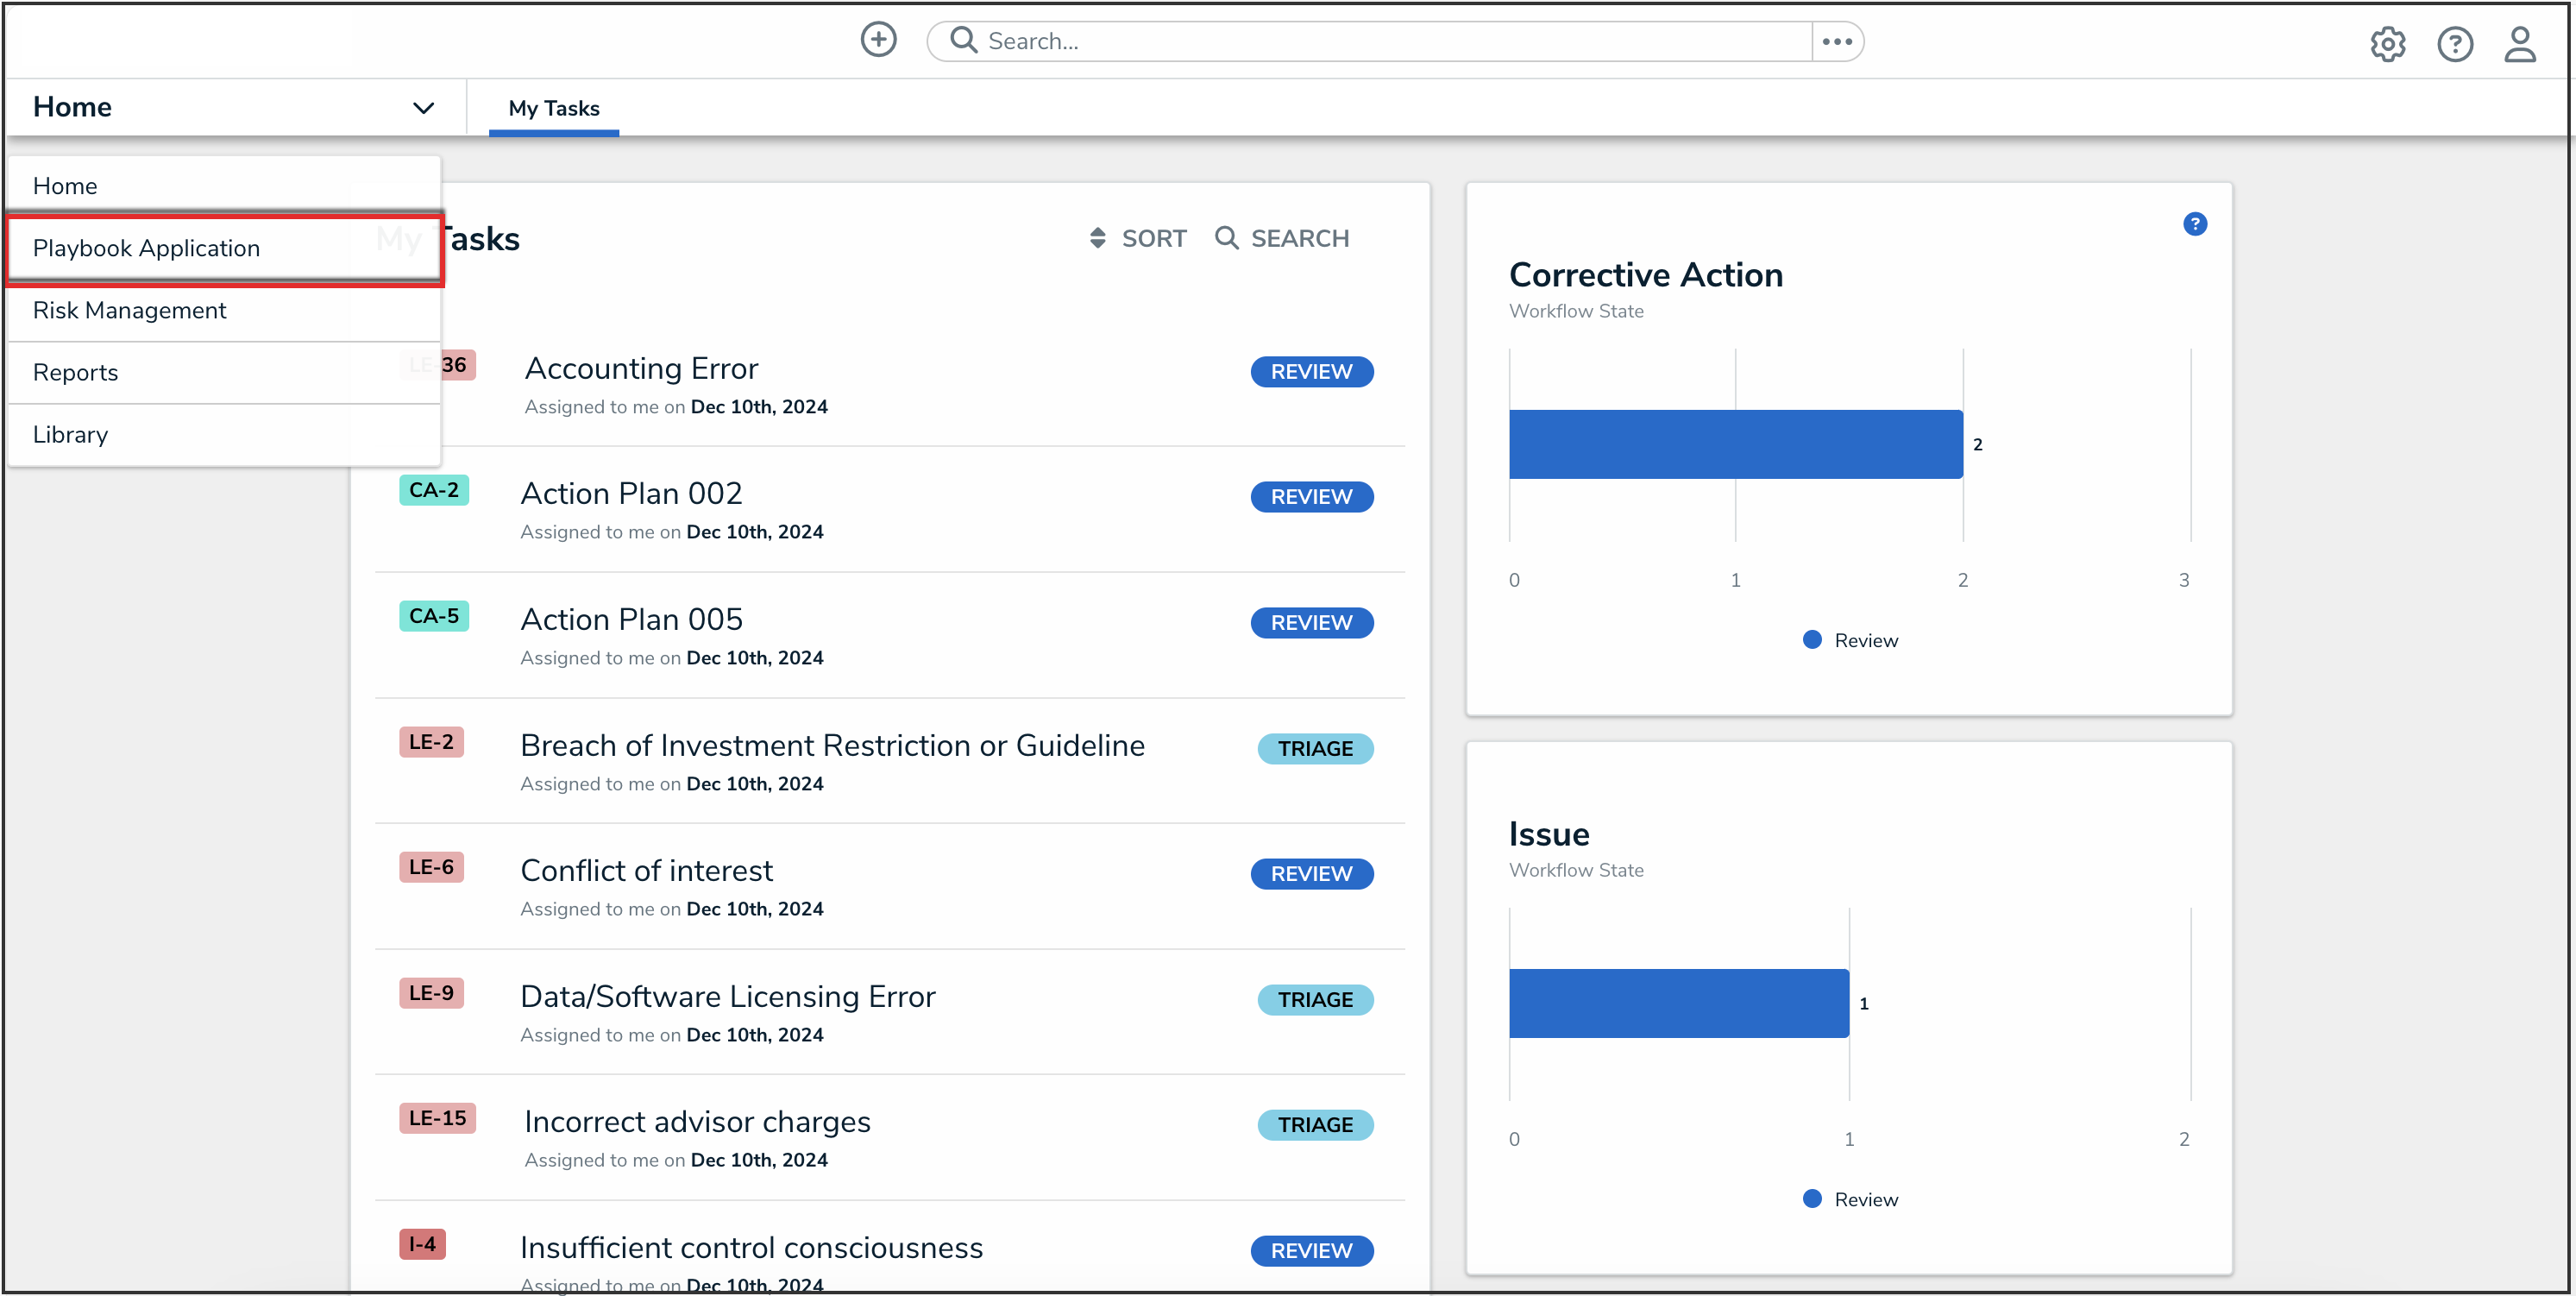
Playbook Application
Adding a New Playbook
- From the Playbook Automation screen, click the New Playbook button.
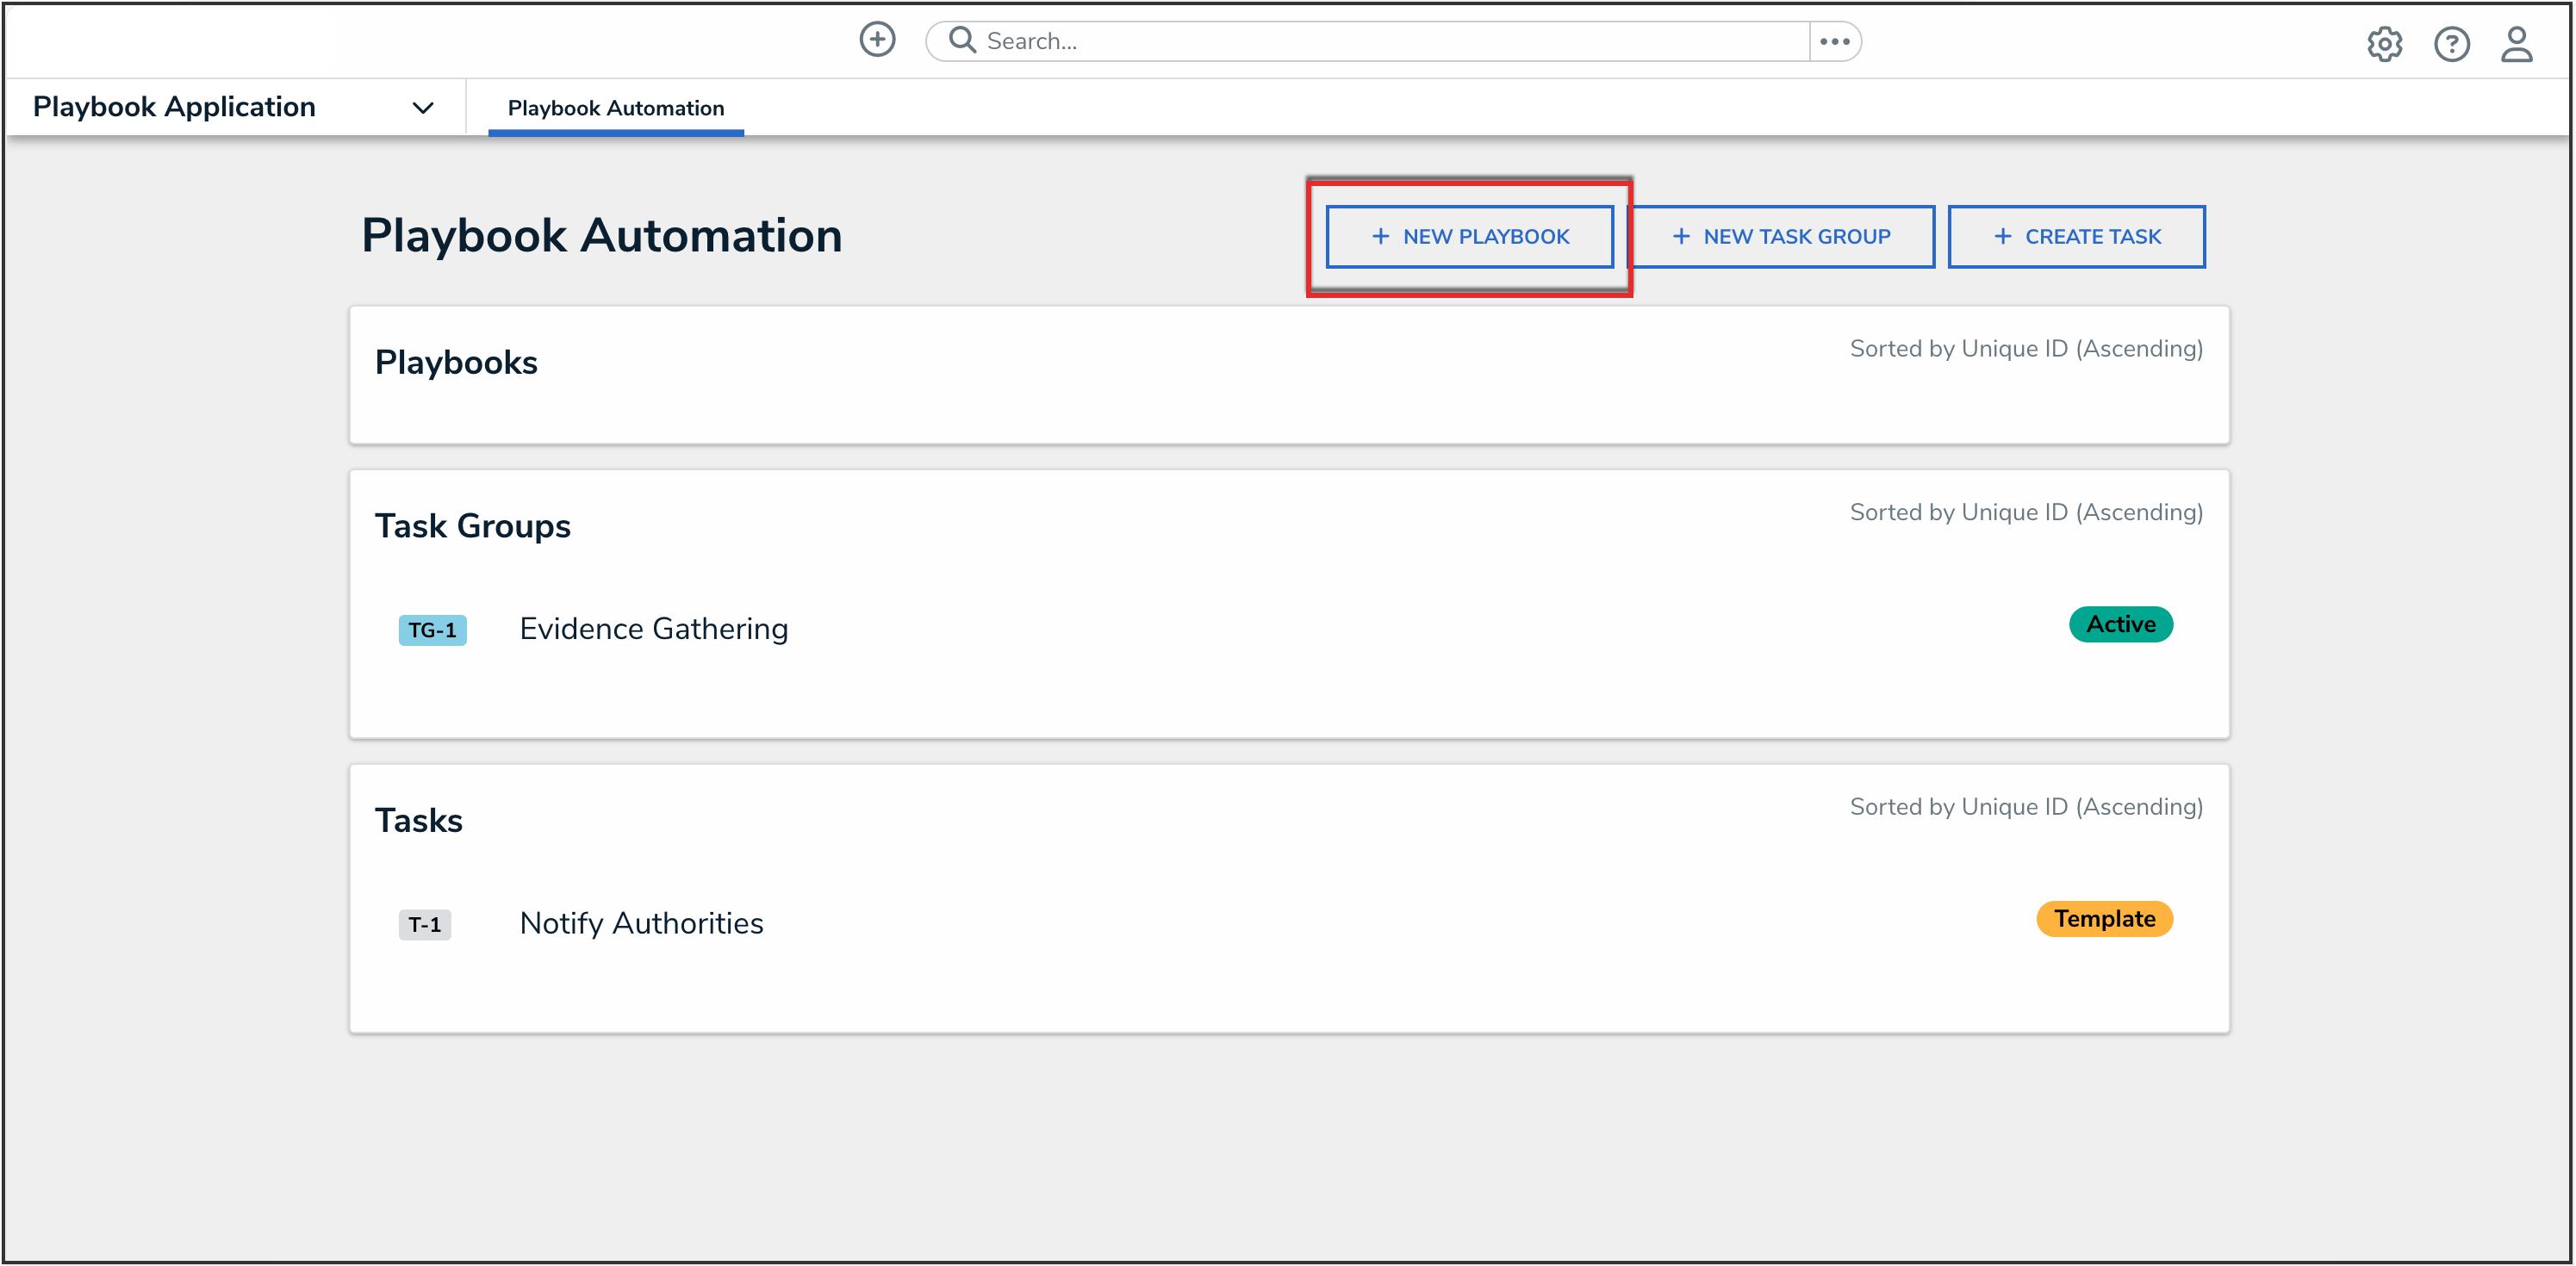
New Playbook Button
- Enter a name for the playbook in the Playbook Name field.
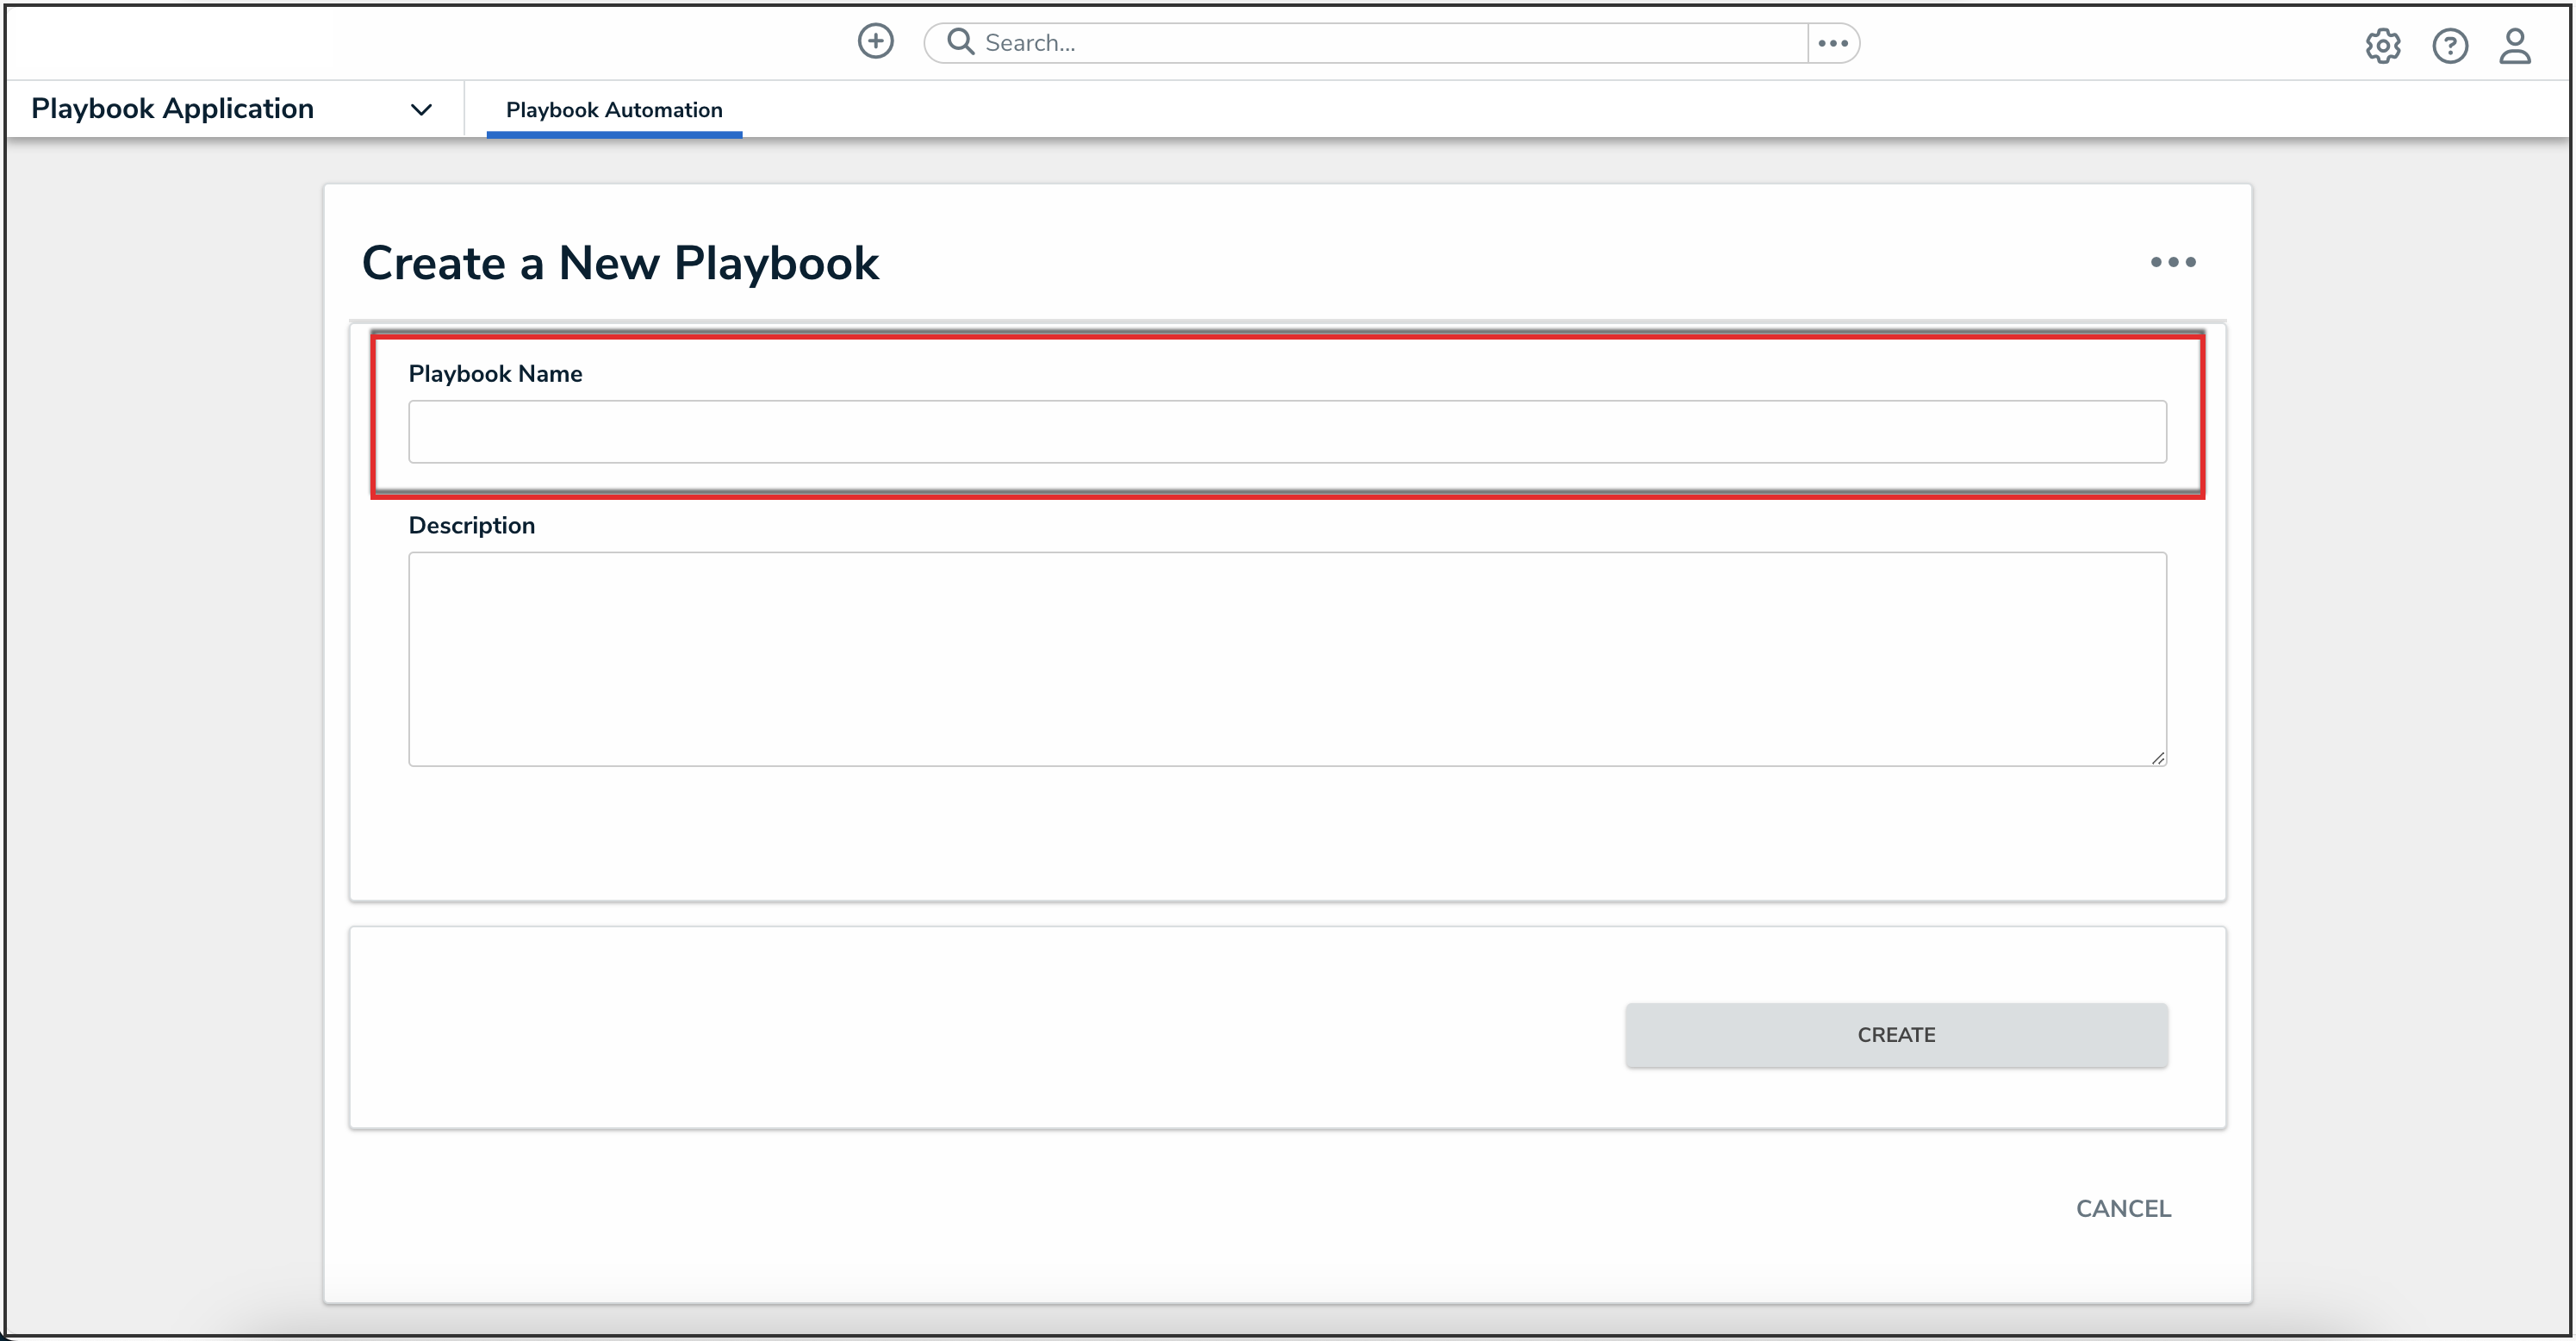
Playbook Name Field
- (Optional): Enter a description of the playbook in the Description field.
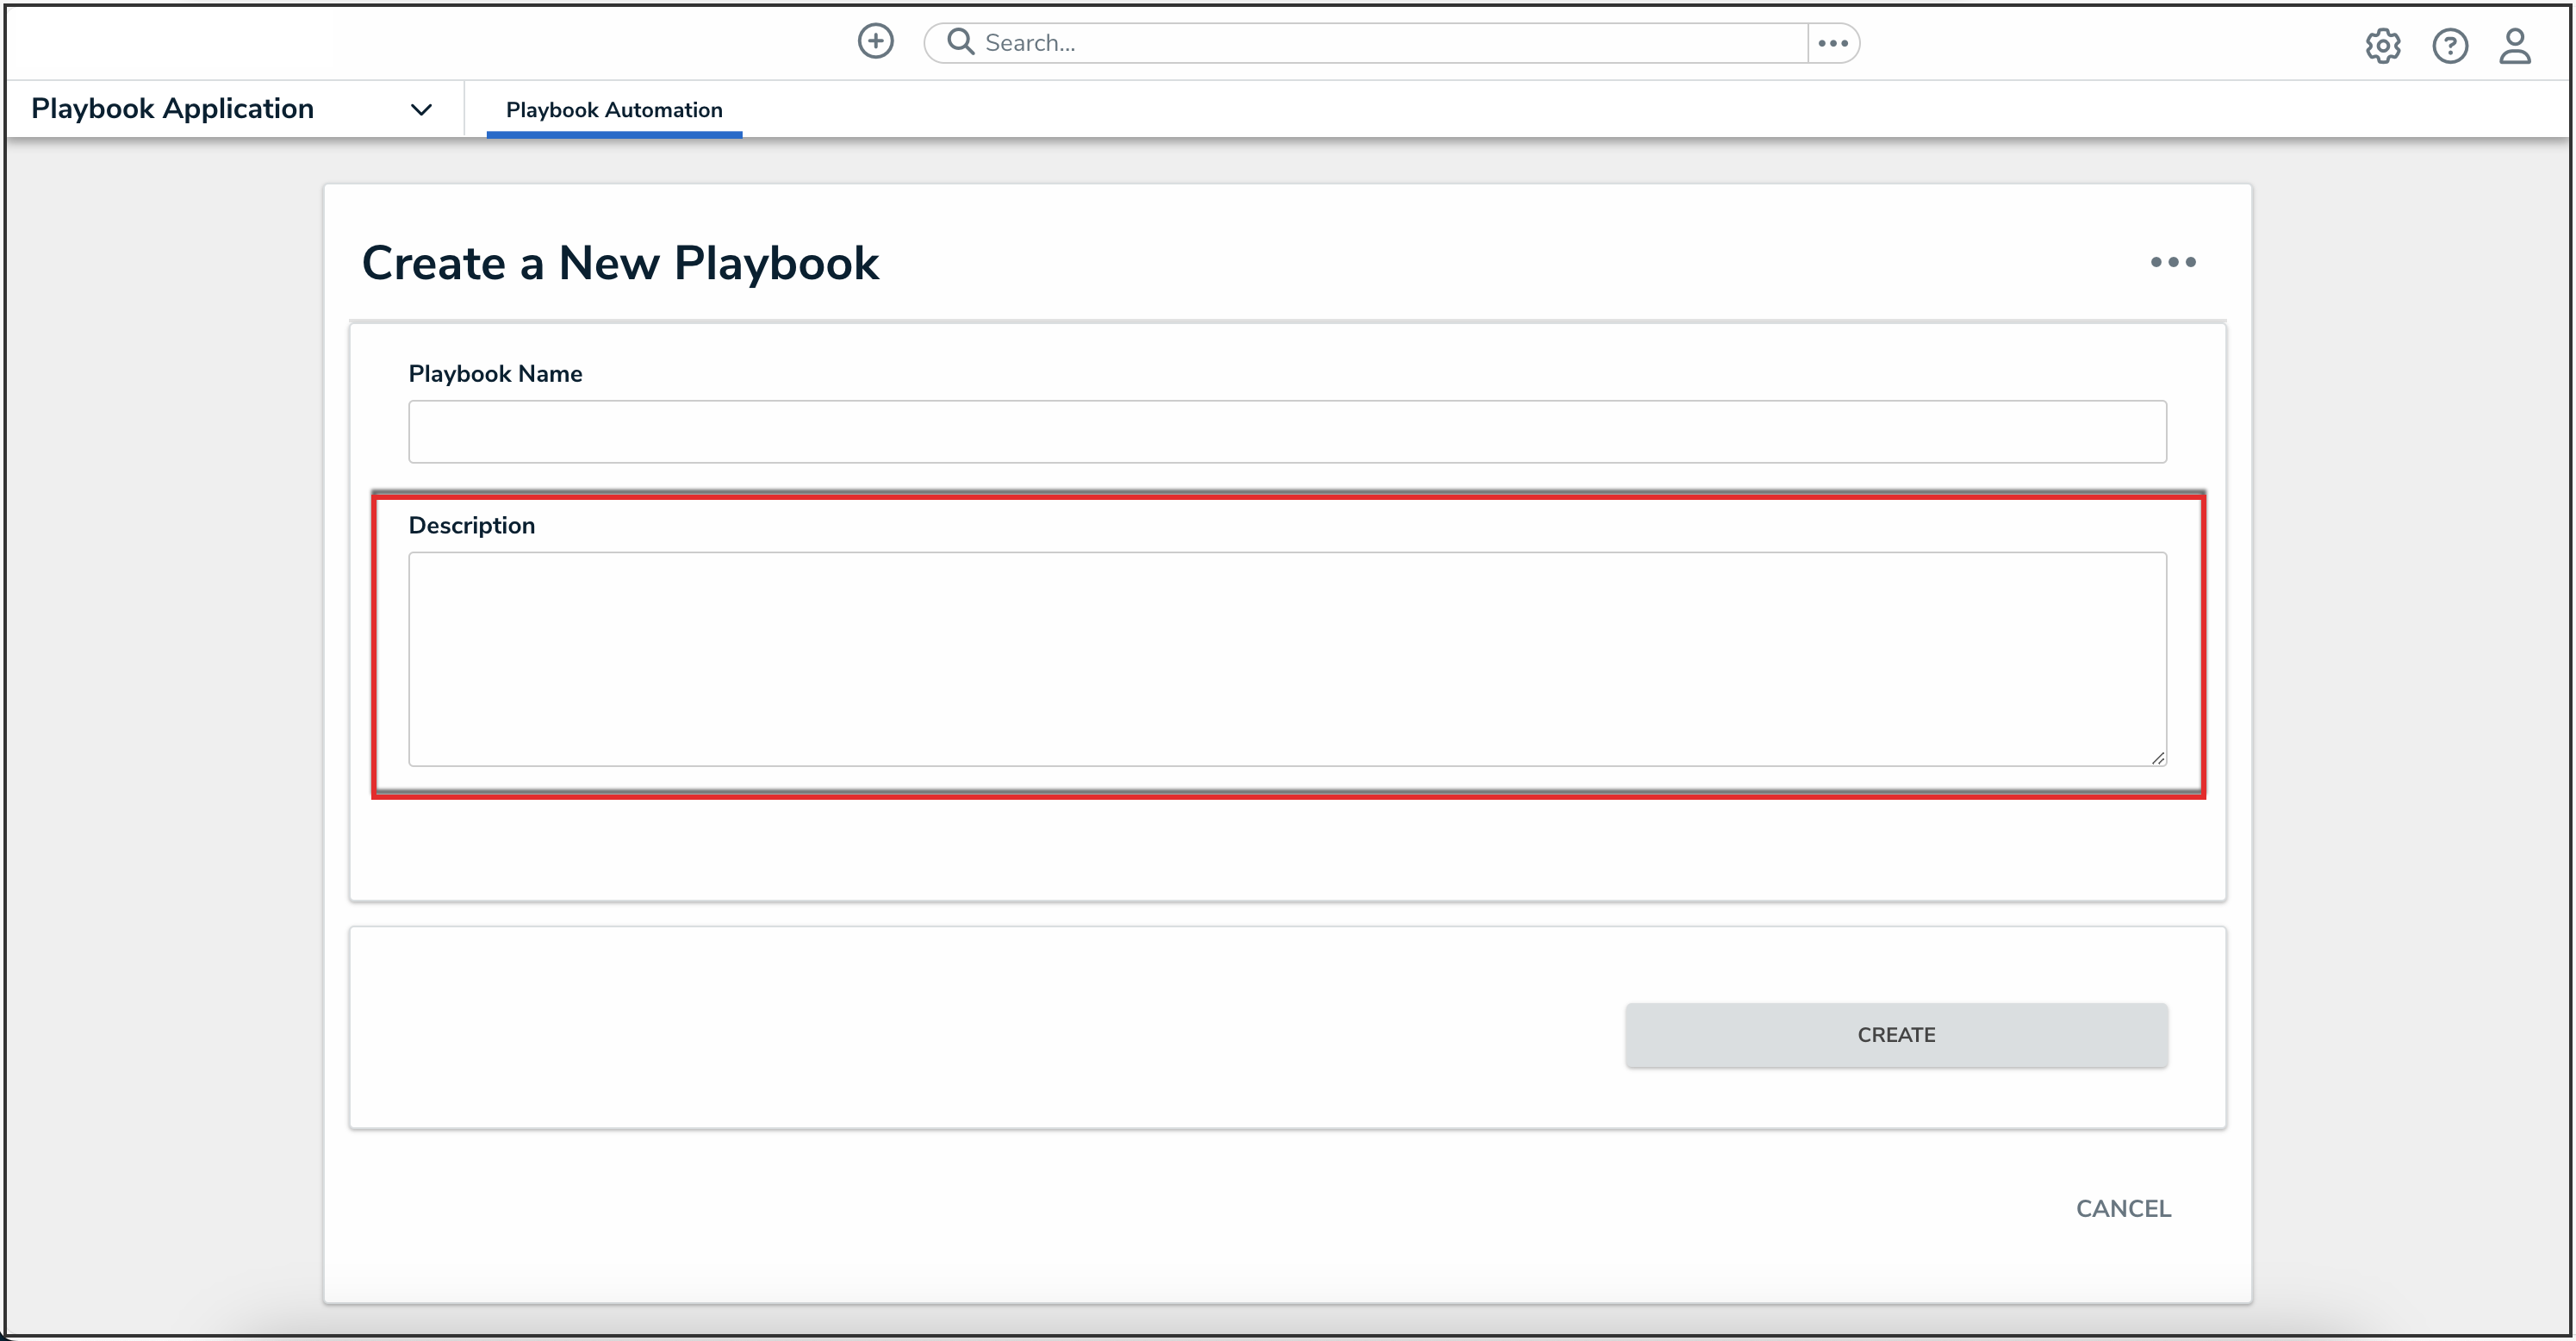
Description Field
- Click the Create button.
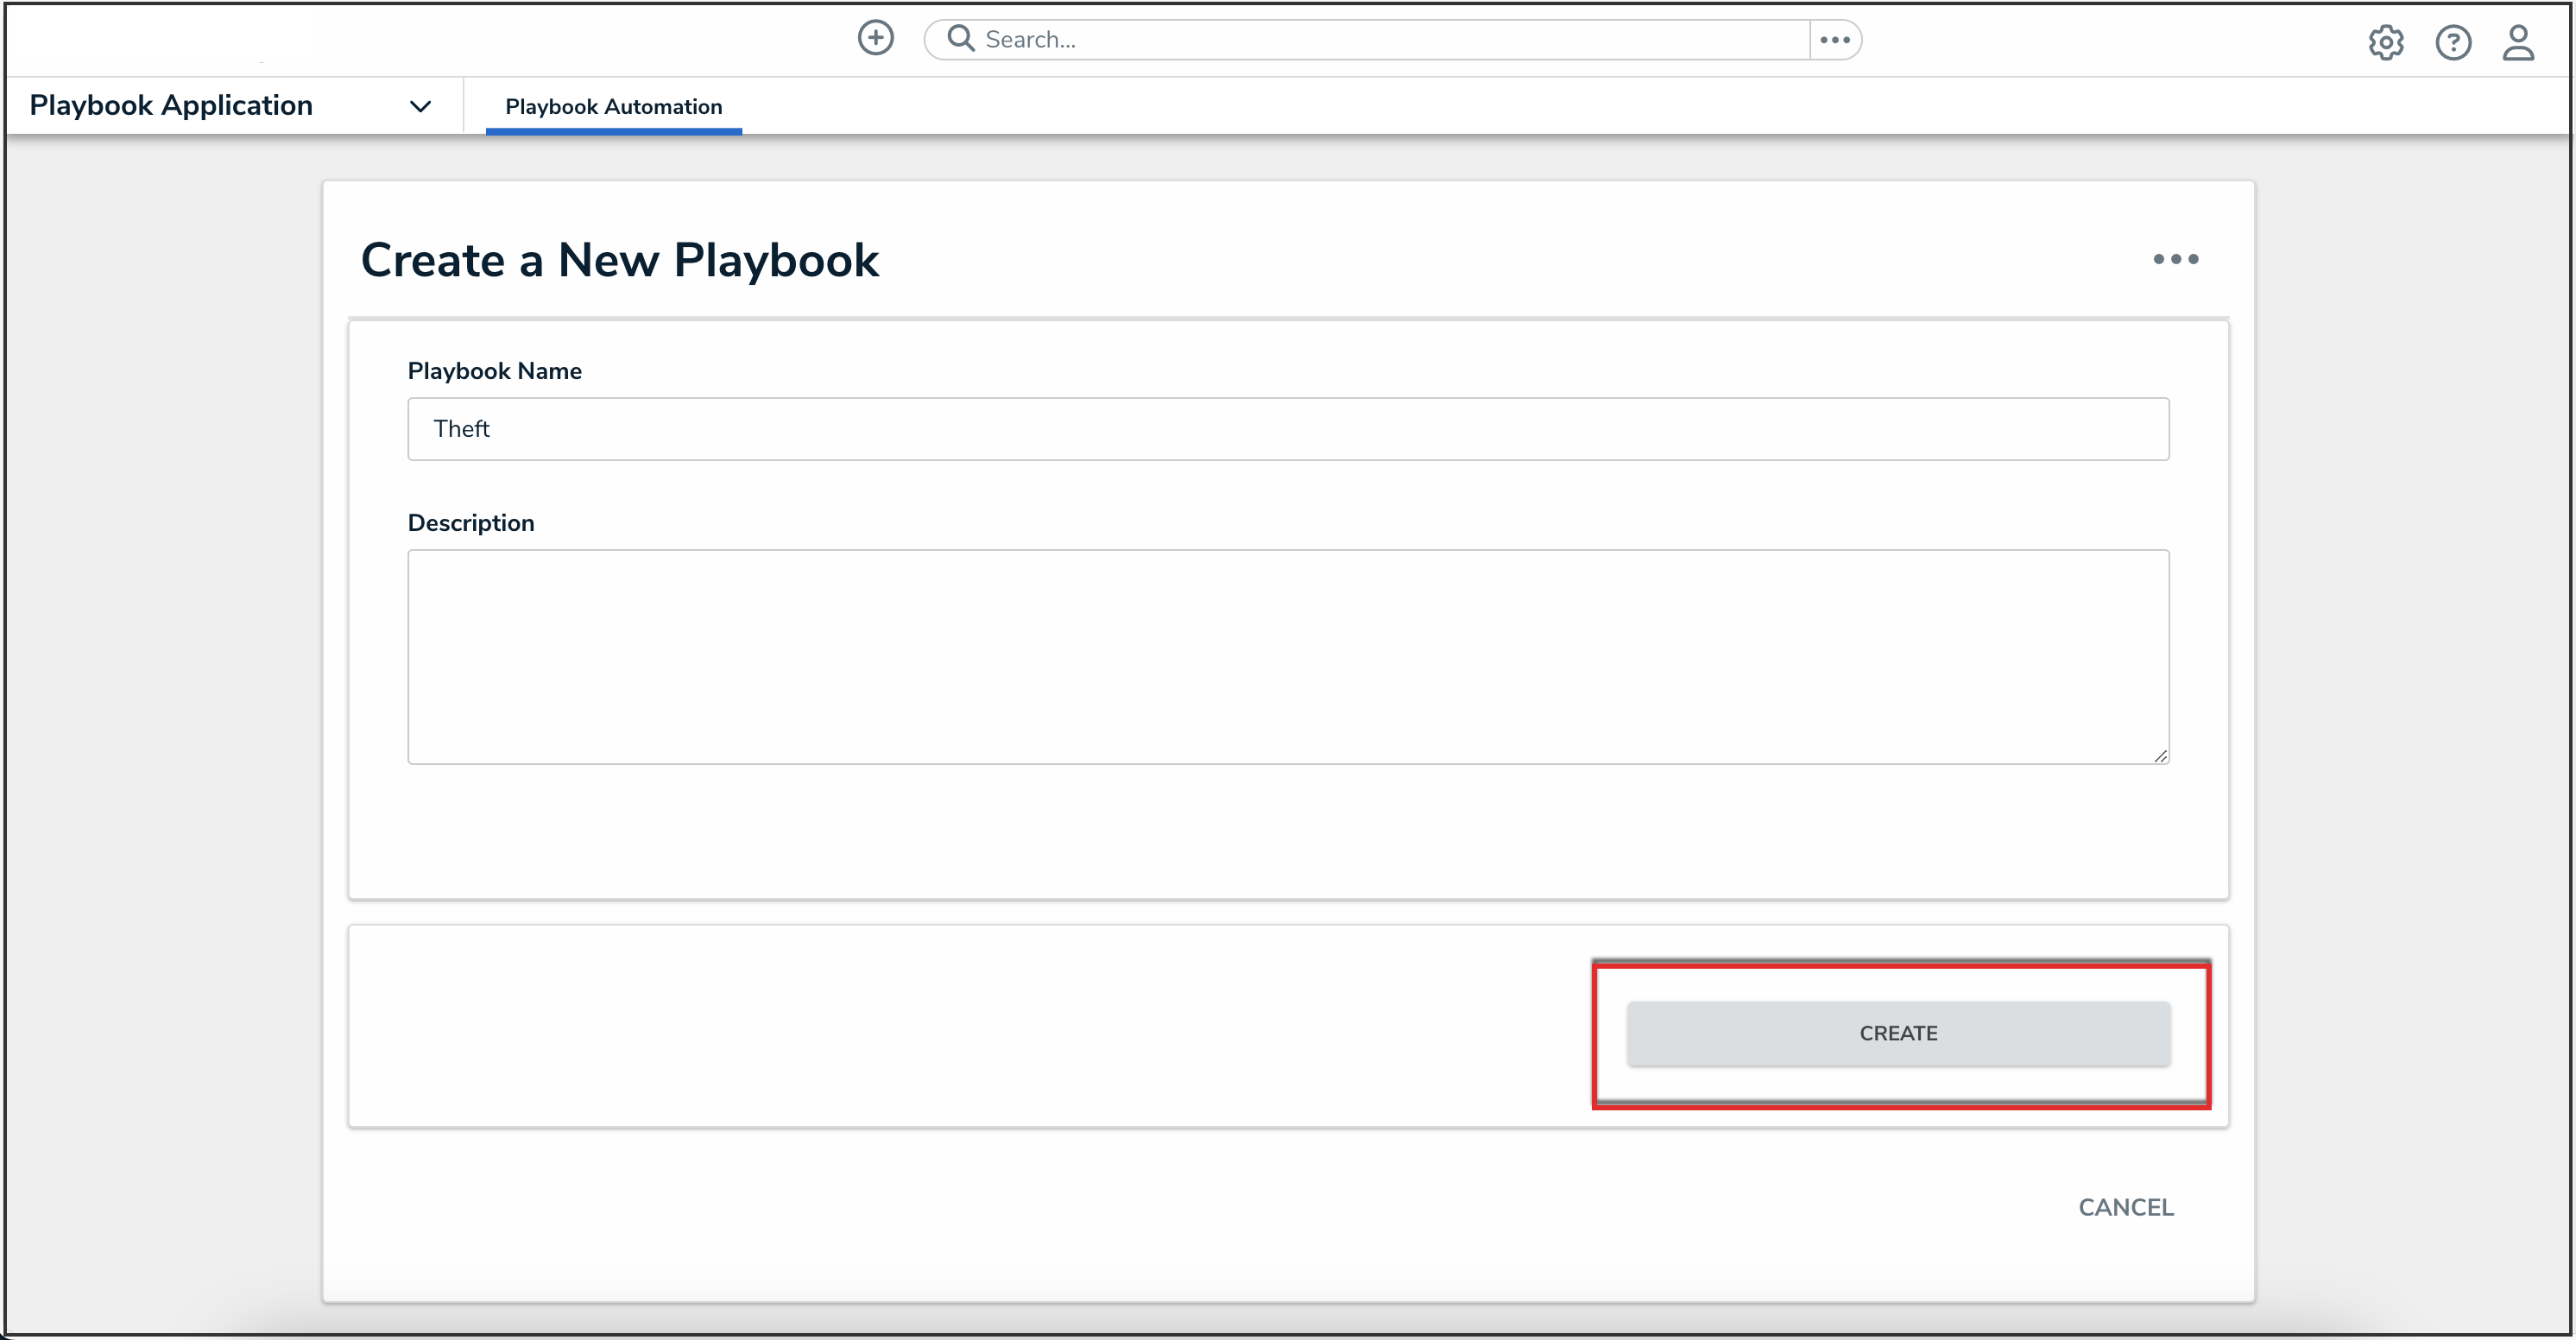
Create Button
Adding a Playbook Task Group
- From the Playbook Automation screen, click the New Task Group button.
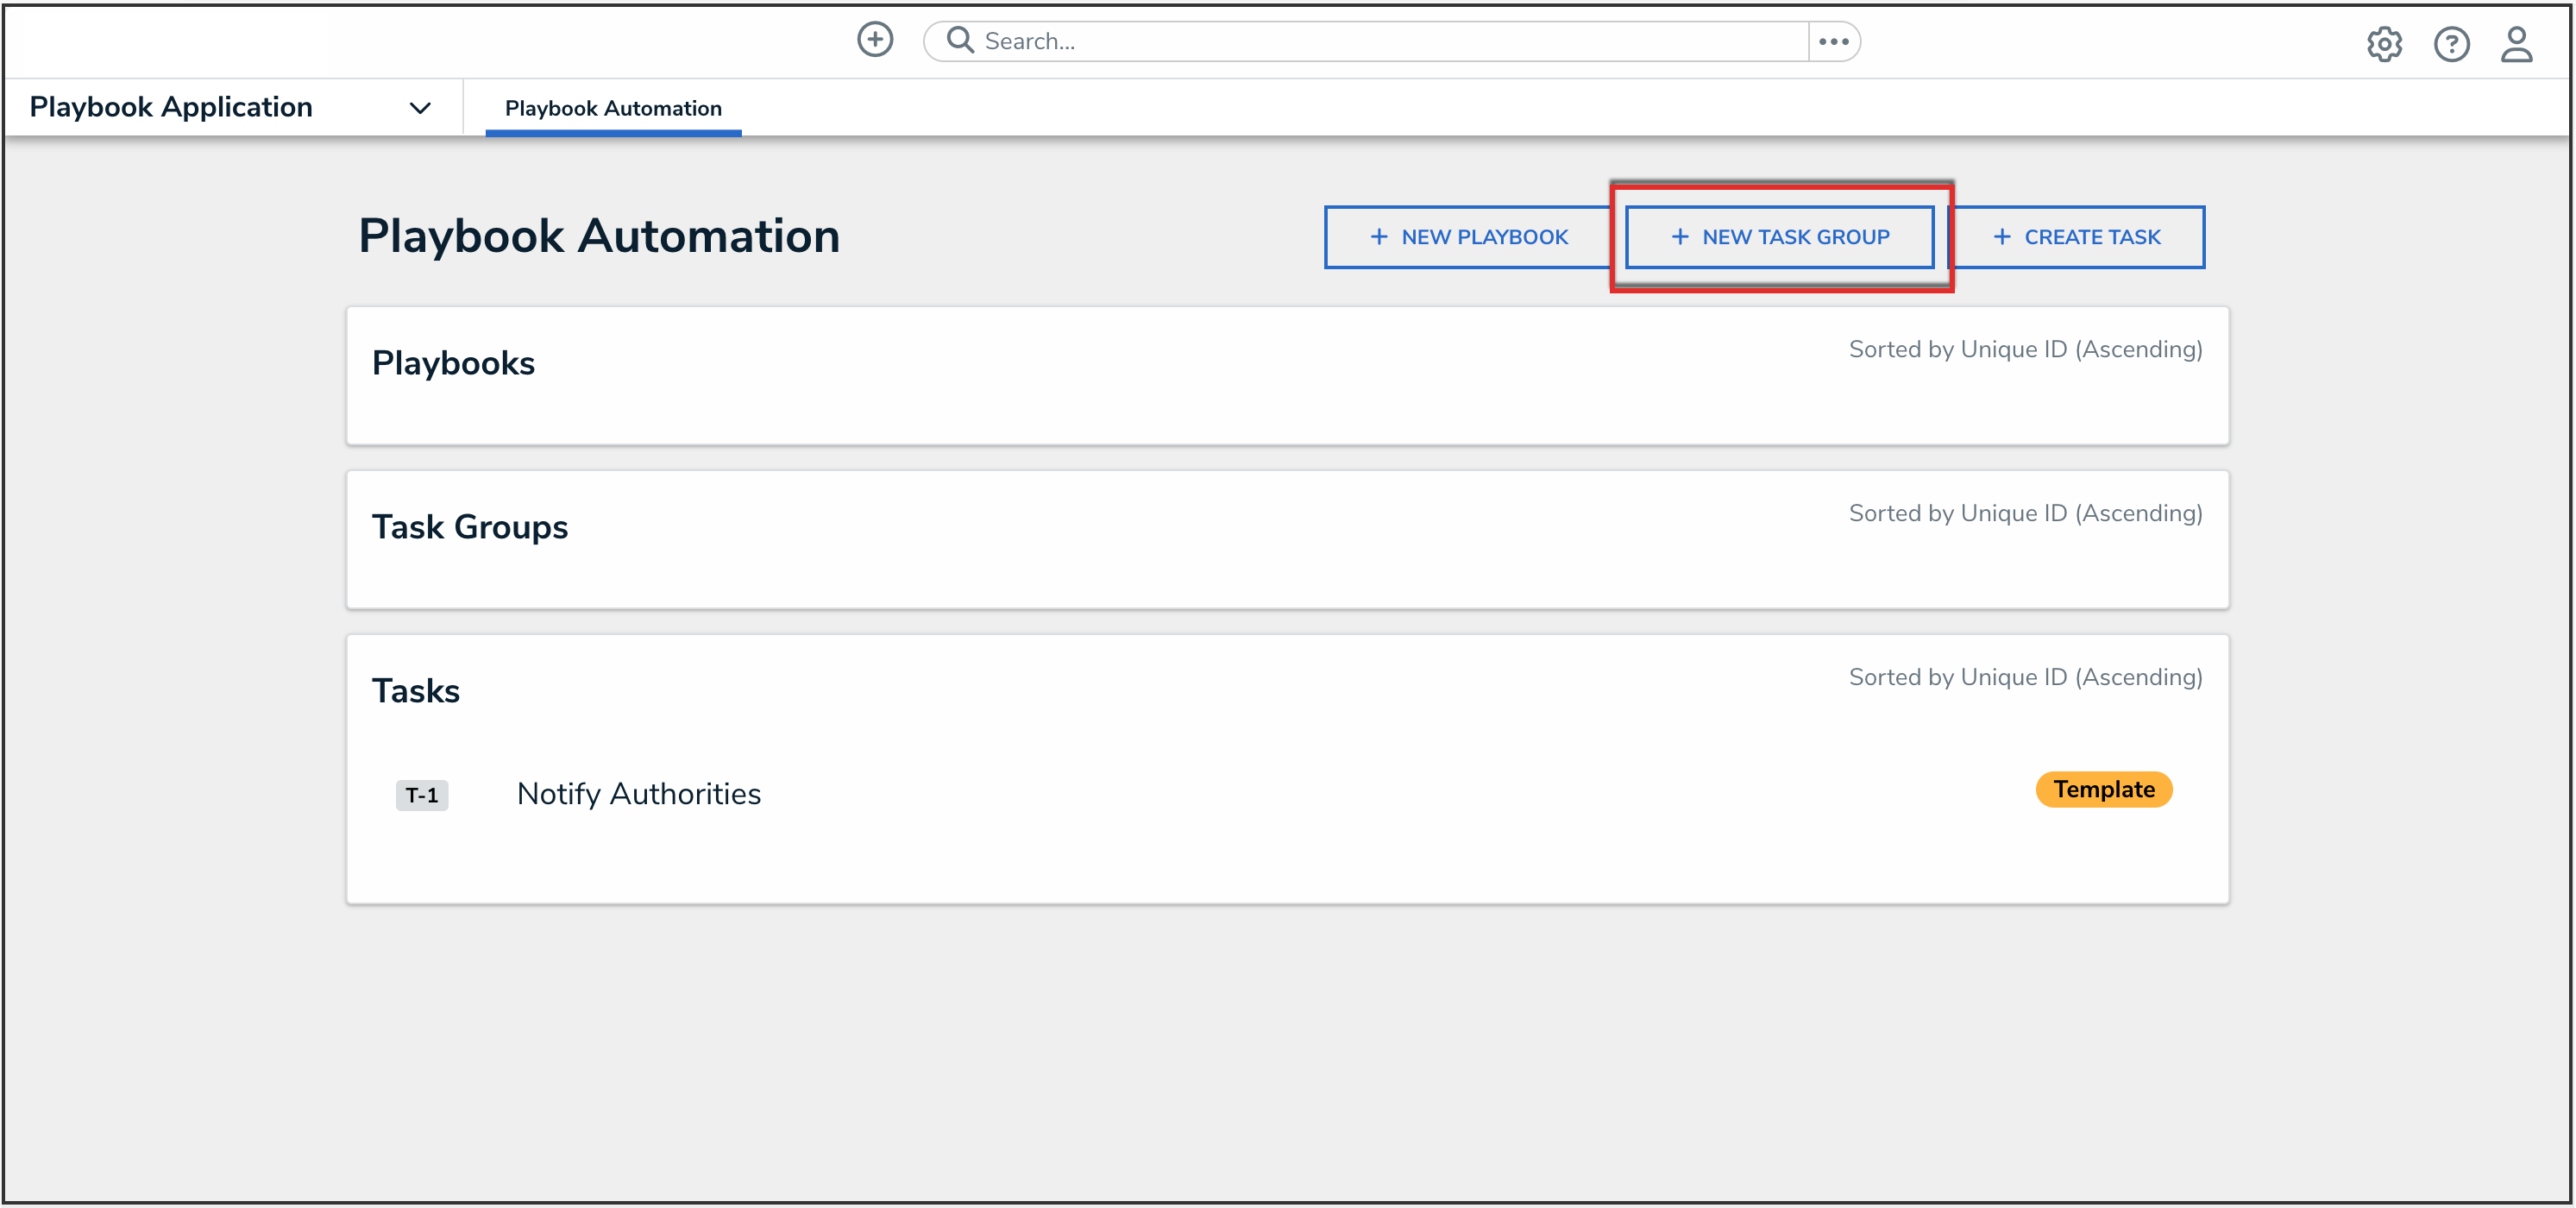
New Task Group Button
- Enter a name for the task group in the Task Group Name field.
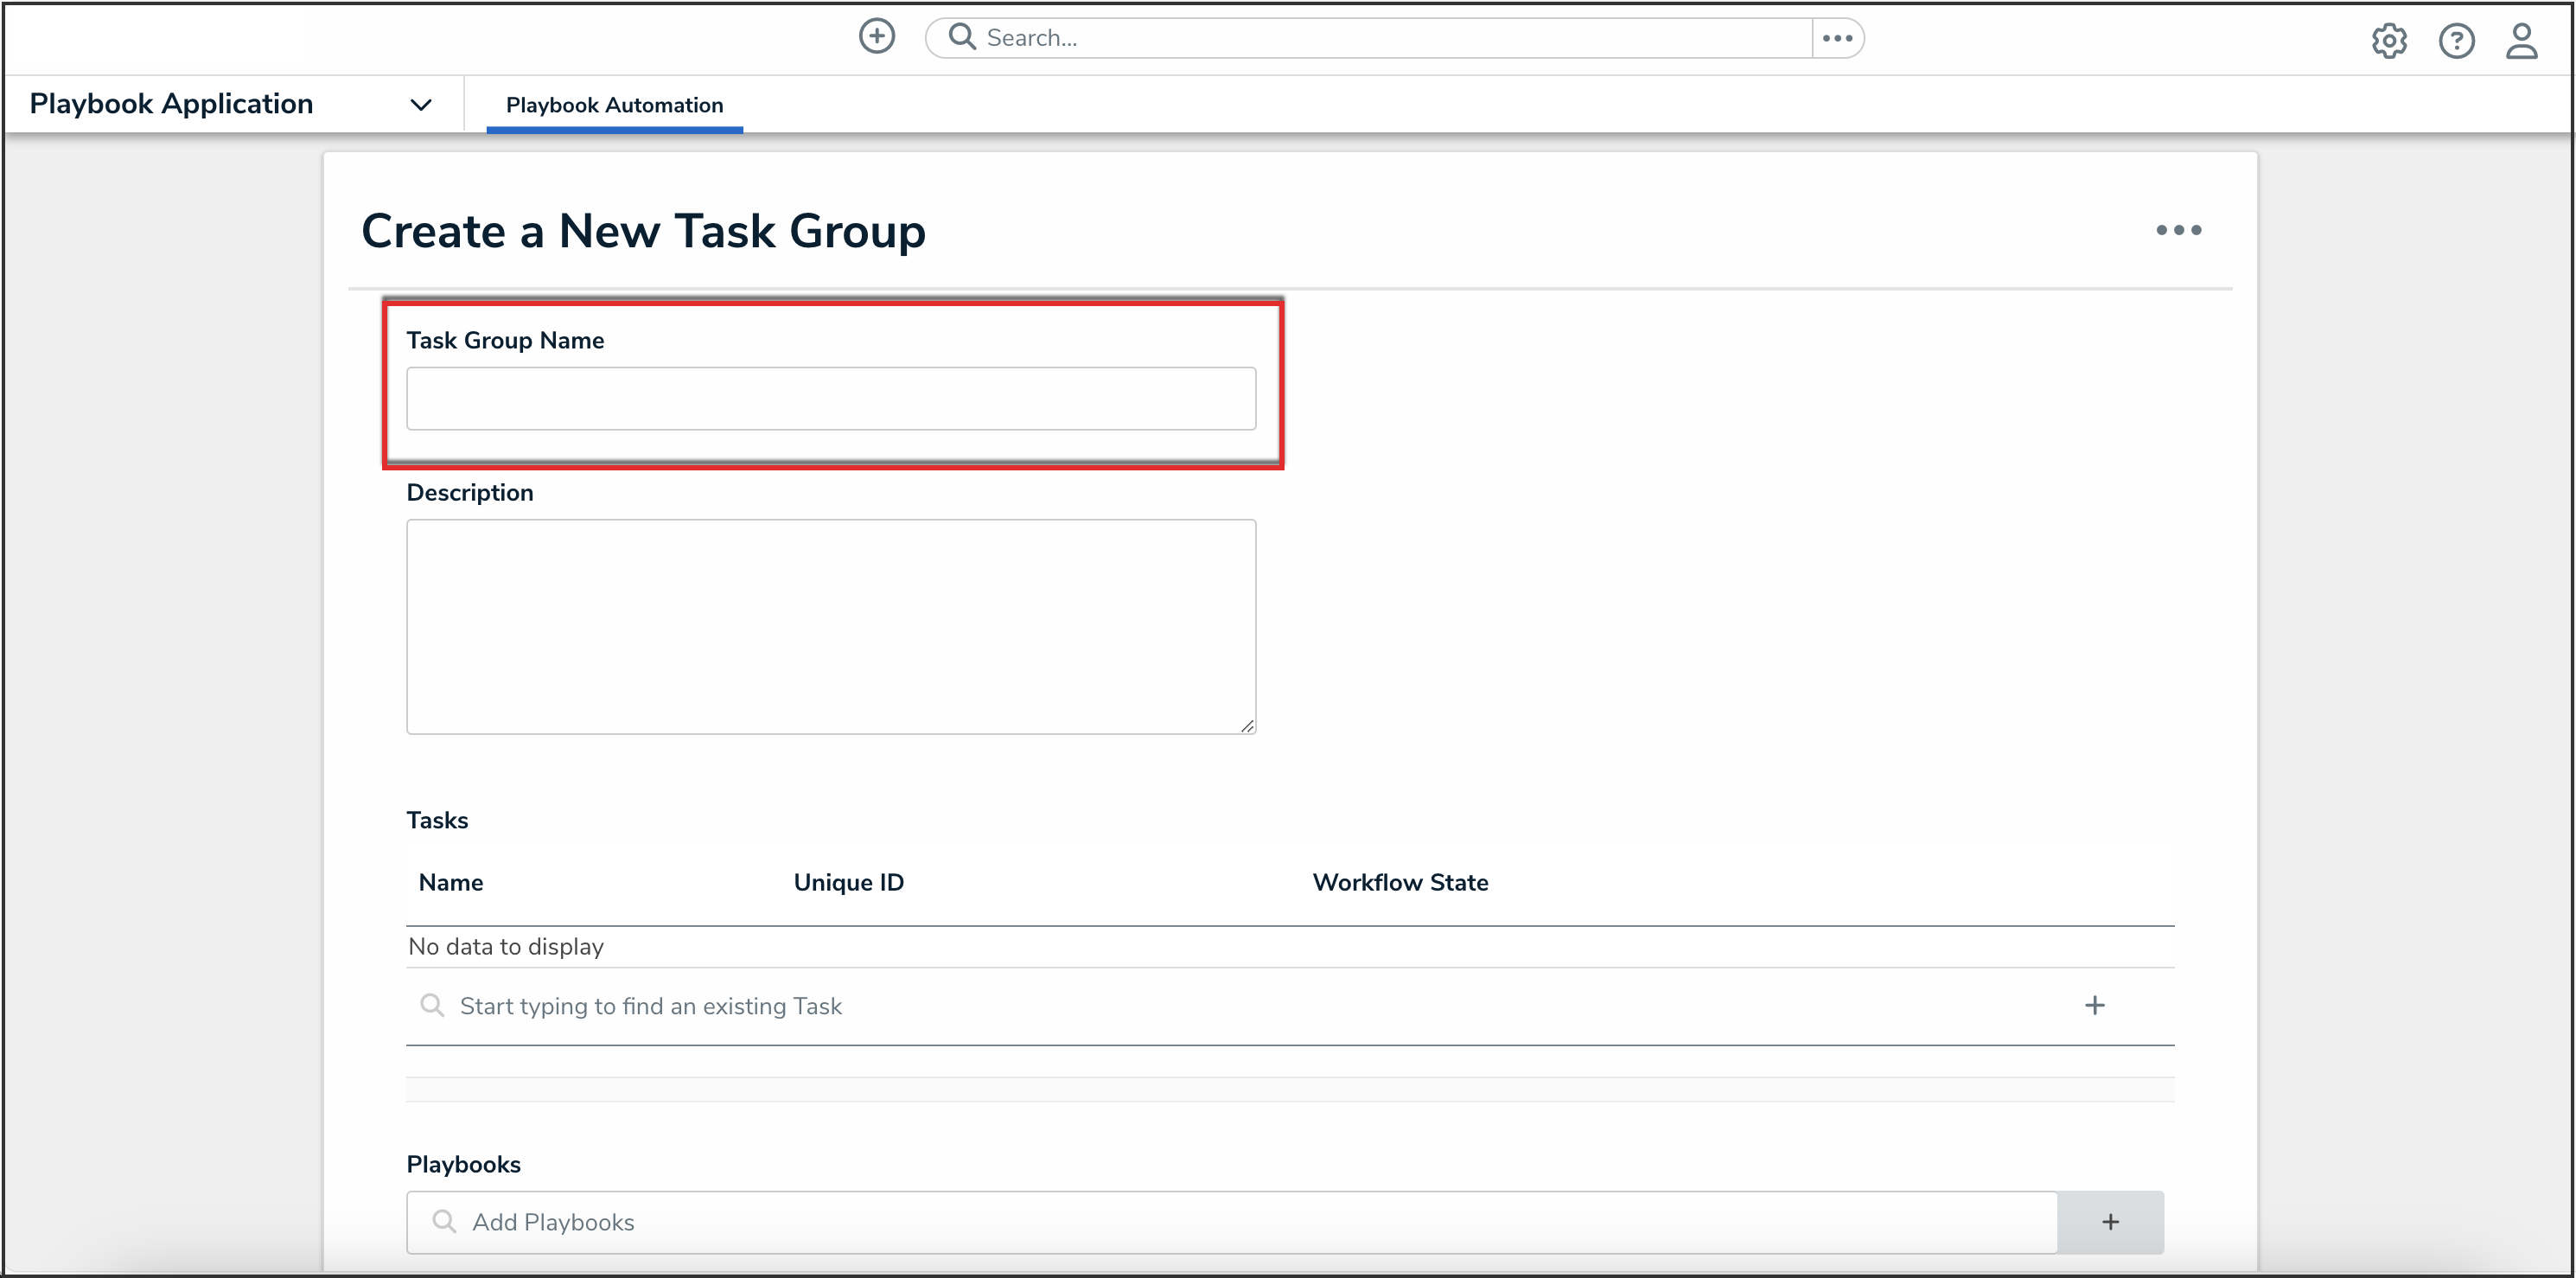
Task Group Name Field
- (Optional): Enter a description of the task group in the Description field.
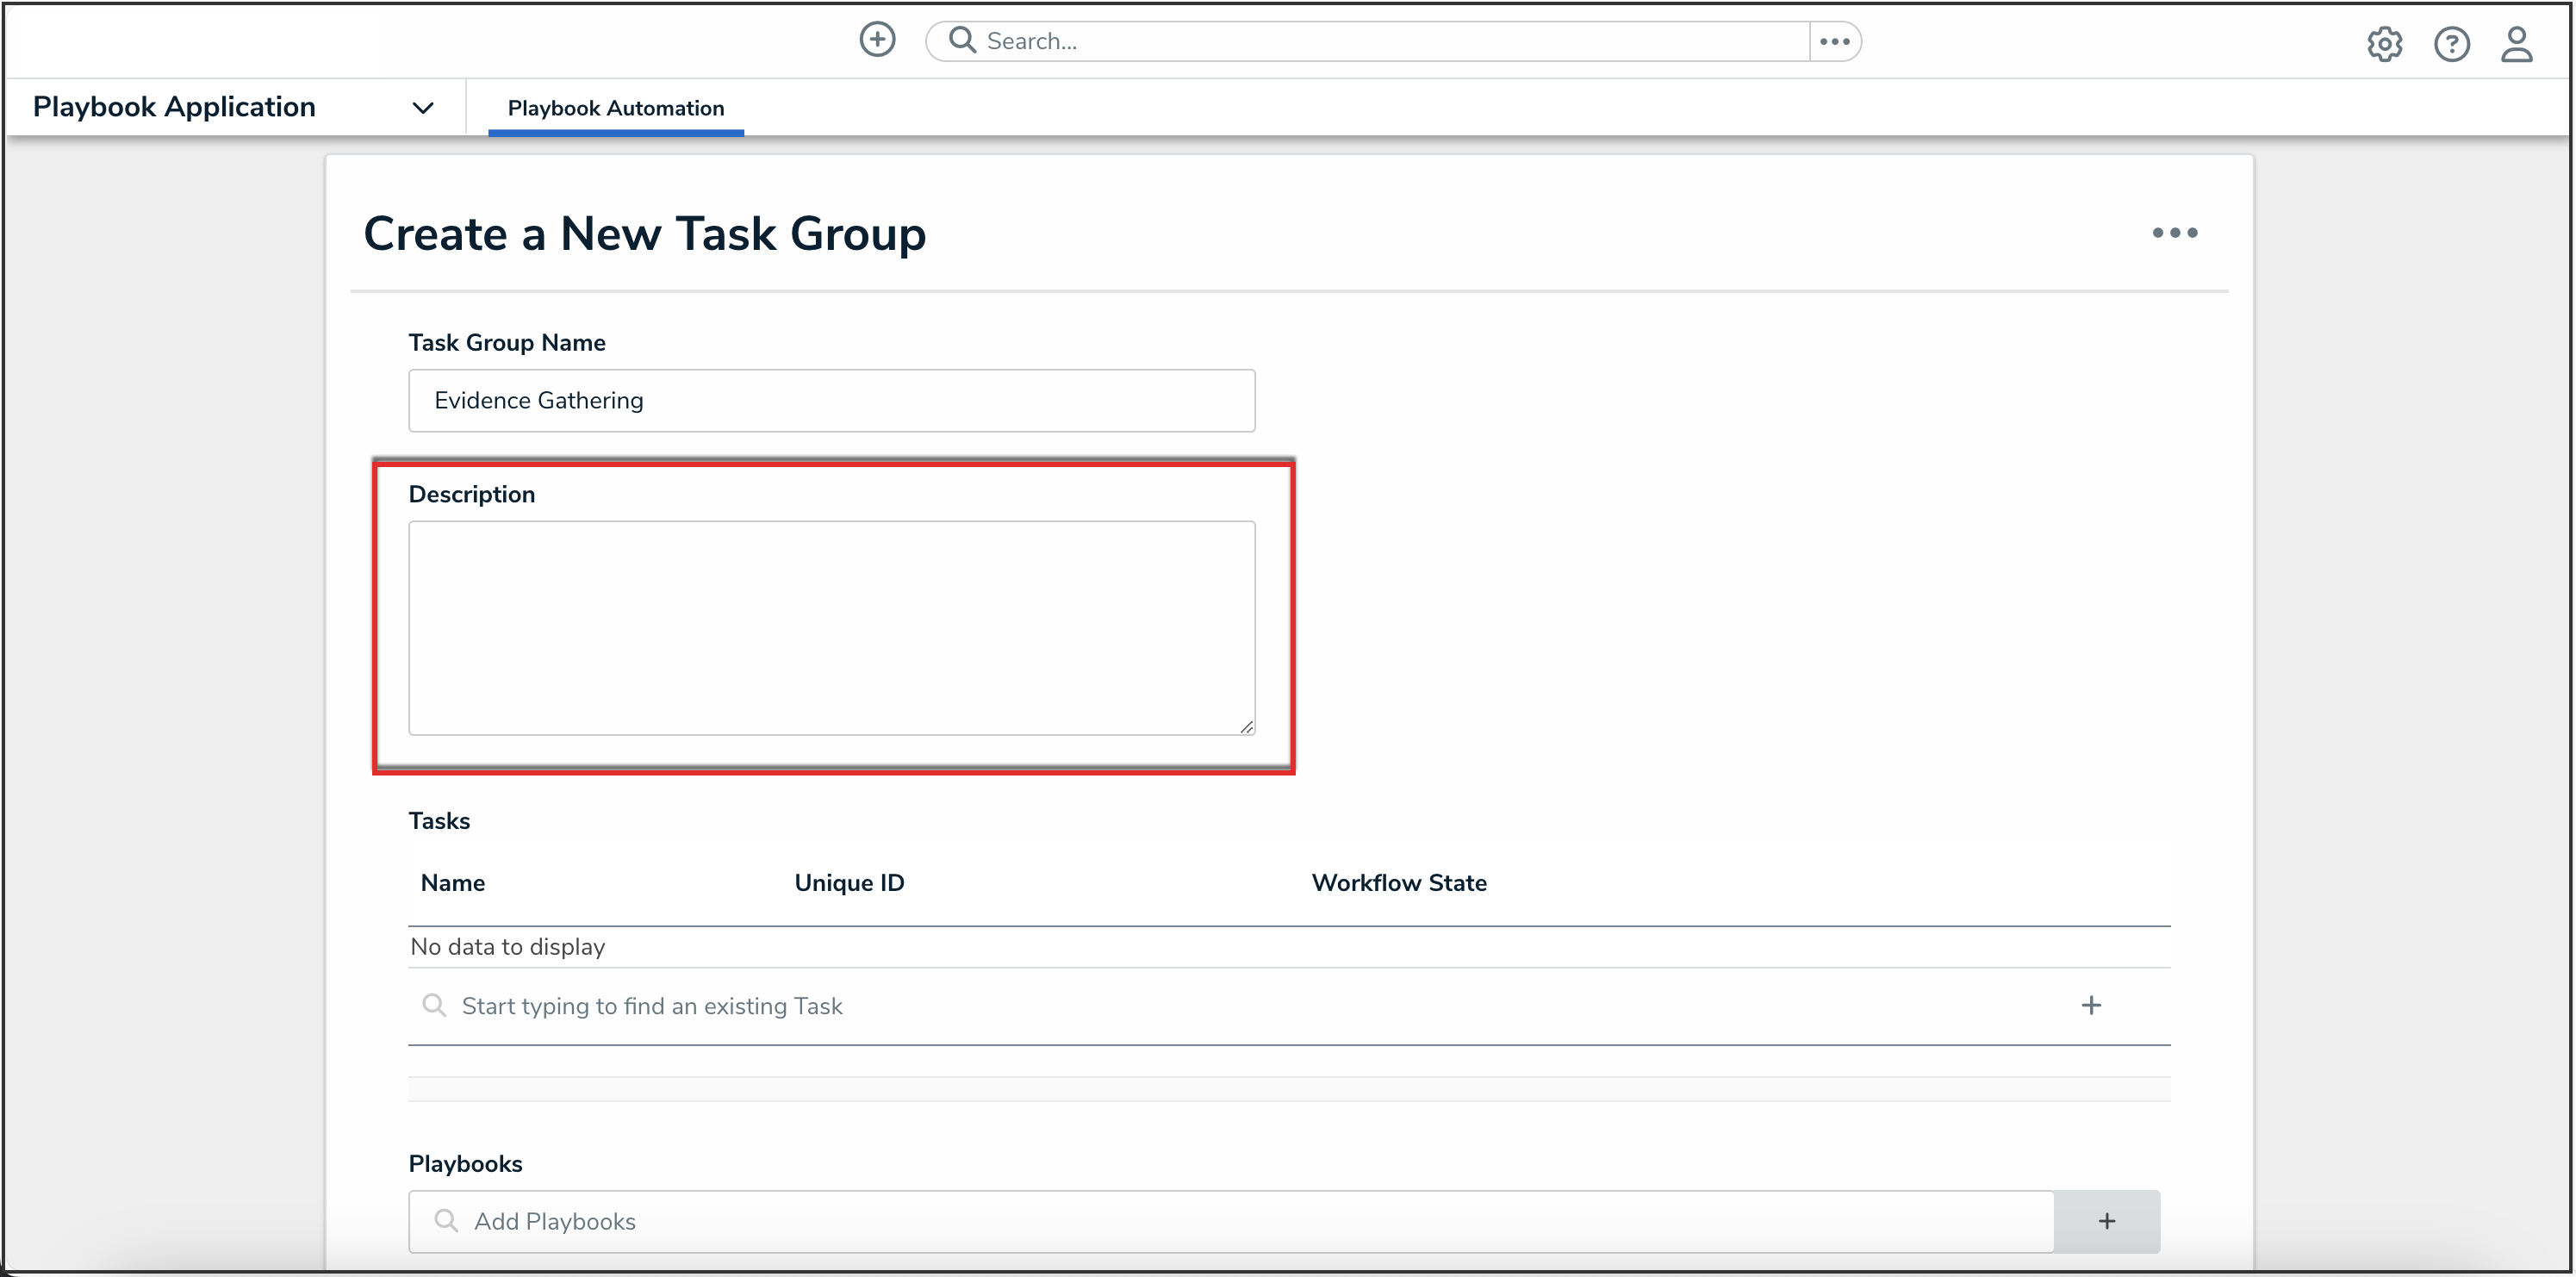
Description Field
- In the Tasks section, add tasks to the task group by searching for the task name. Click the Create New icon to create a new task to add to the task group.
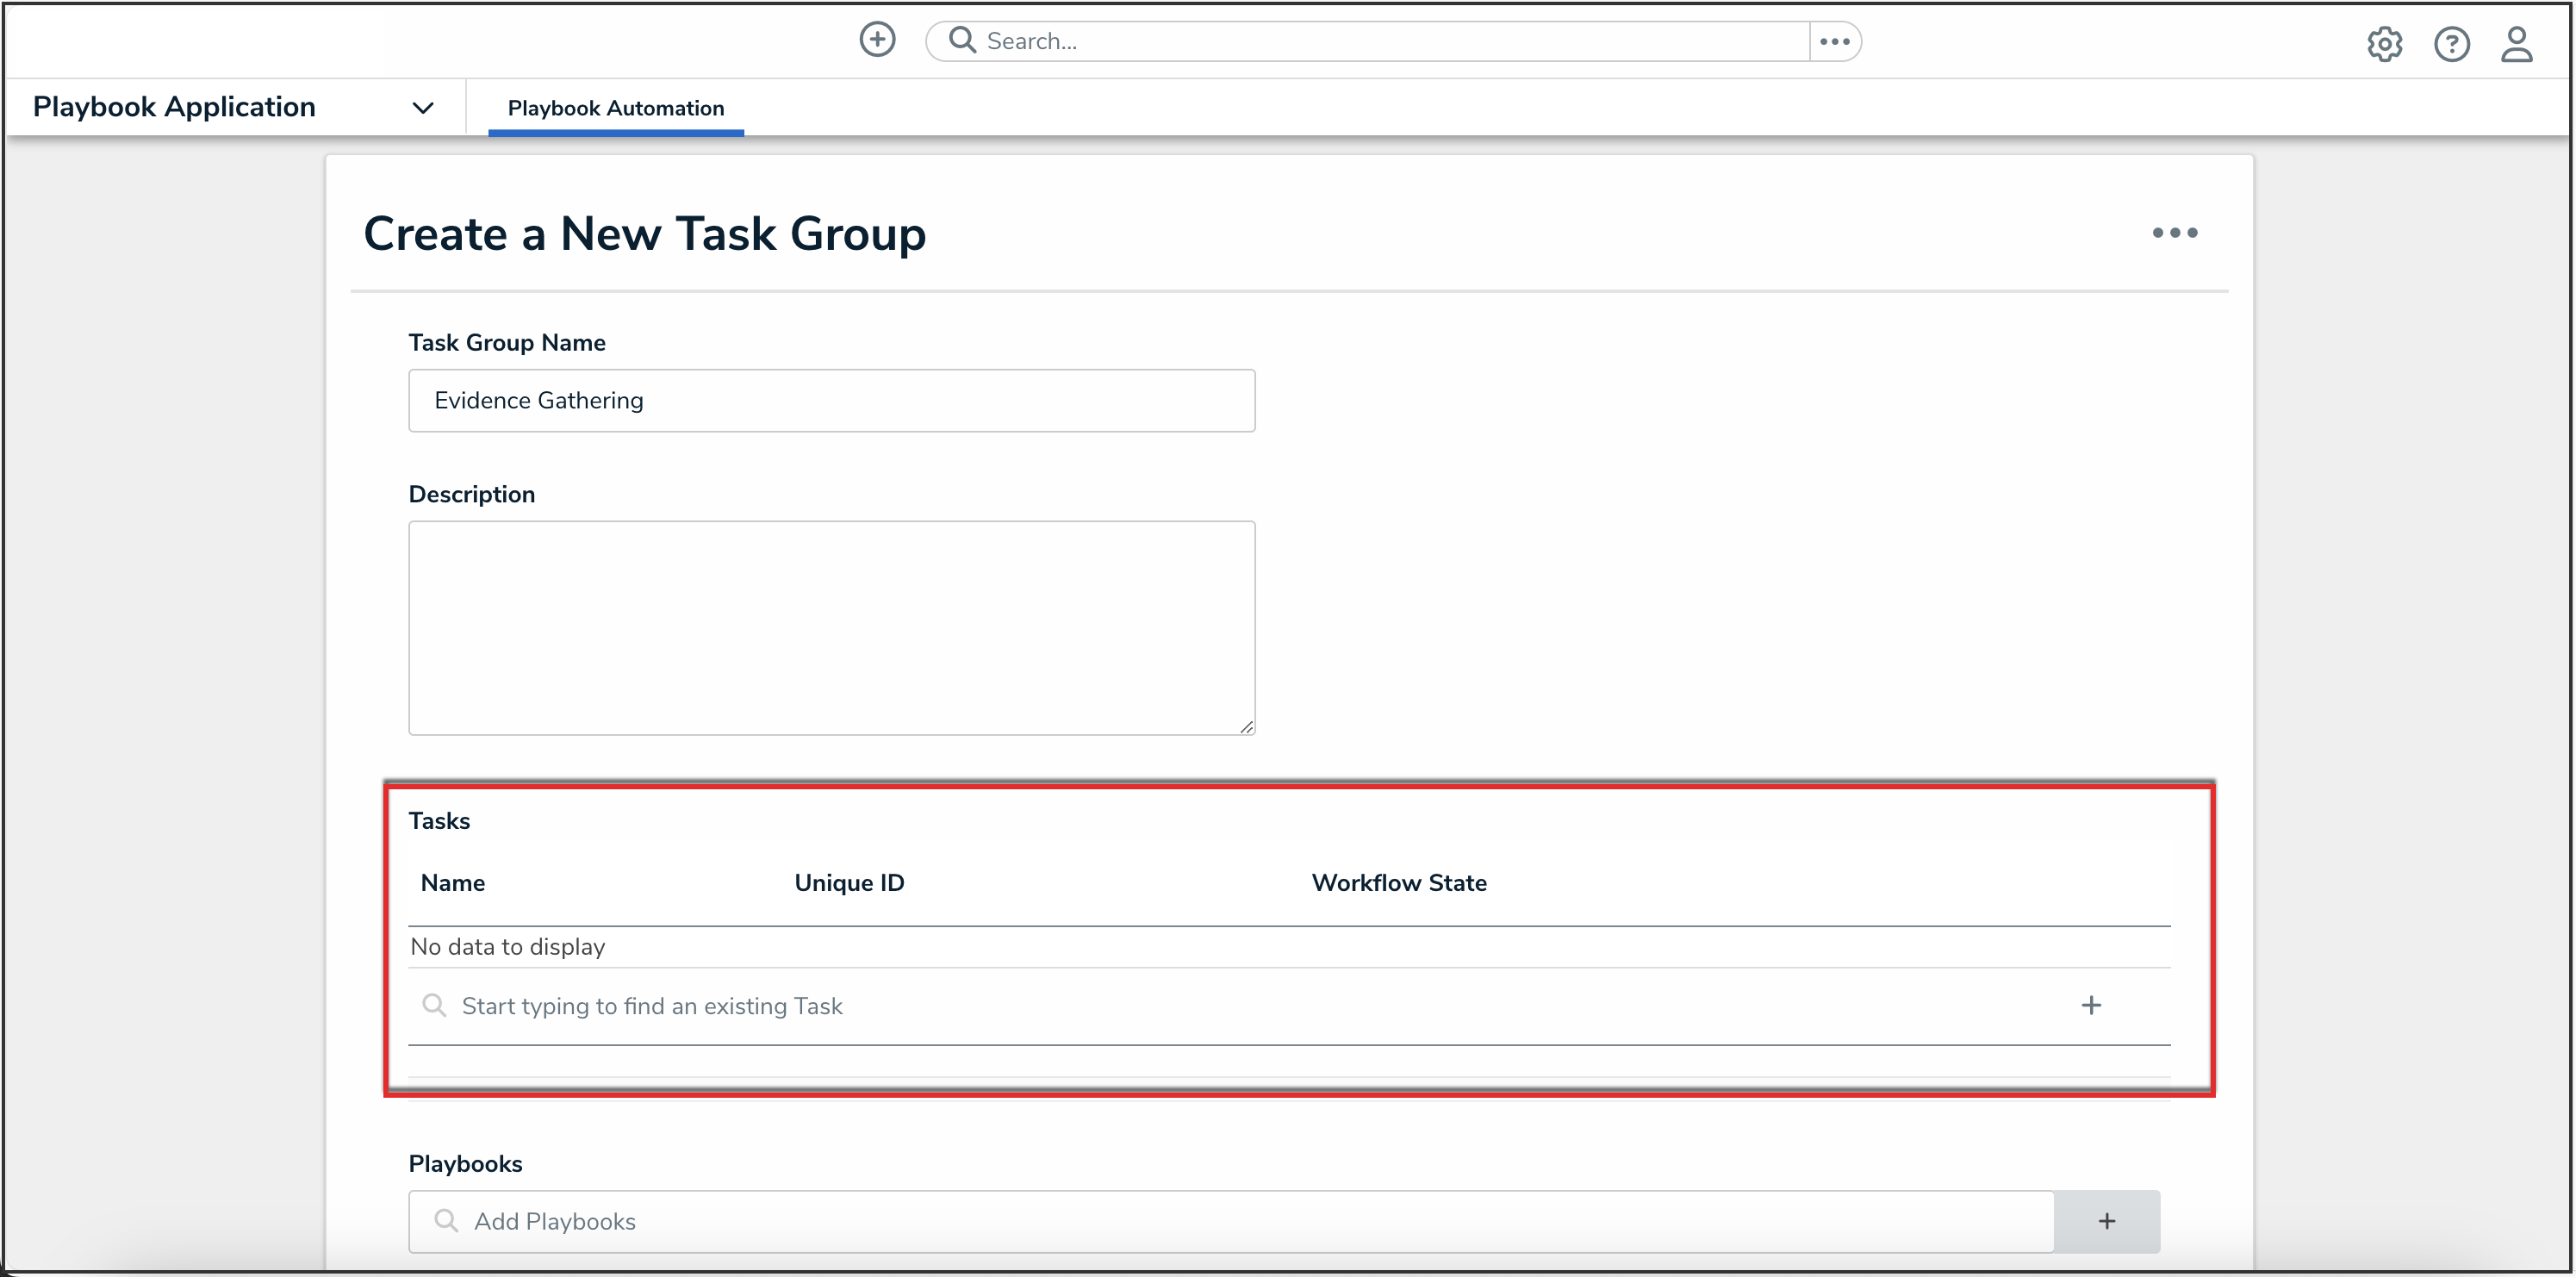
Task Section
- From the Playbooks drop-down, select the relevant playbooks you wish this task group to be added to. Click the Create New icon to create a new playbook to add the task group to.
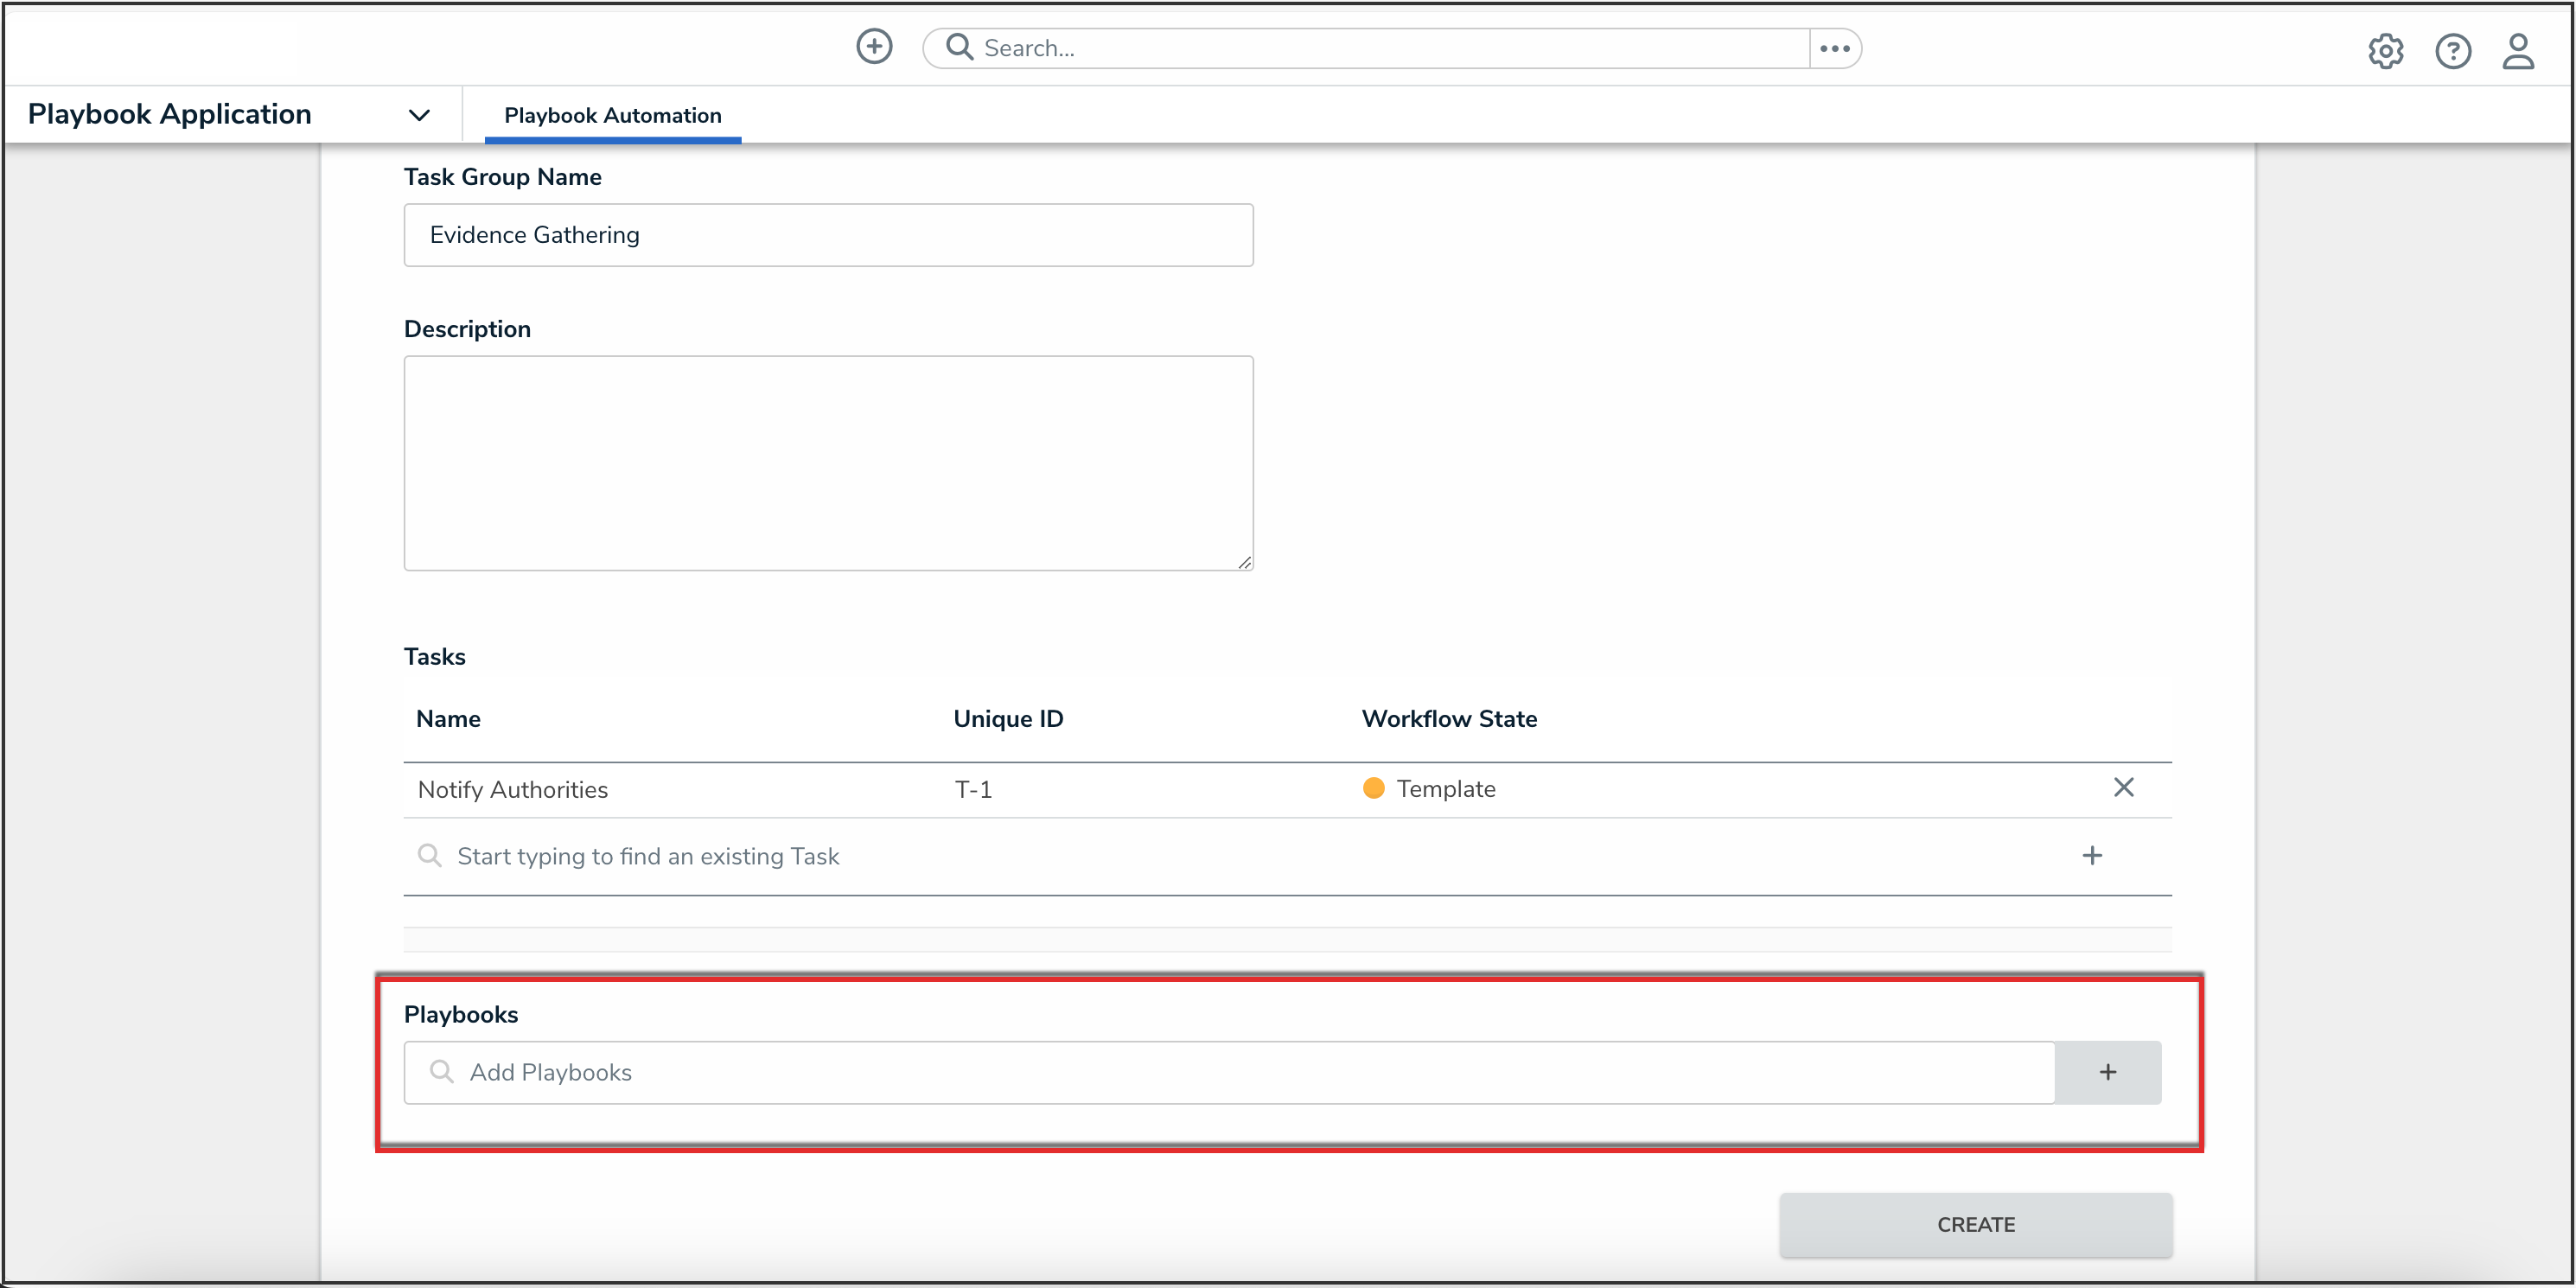
Playbooks Drop-down
- Click the Create button.

Create Button
Creating a Templated Task
- From the Playbook Automation screen, click the Create Task button.

Create Task Button
- Enter a name for the task in the Task Name field.
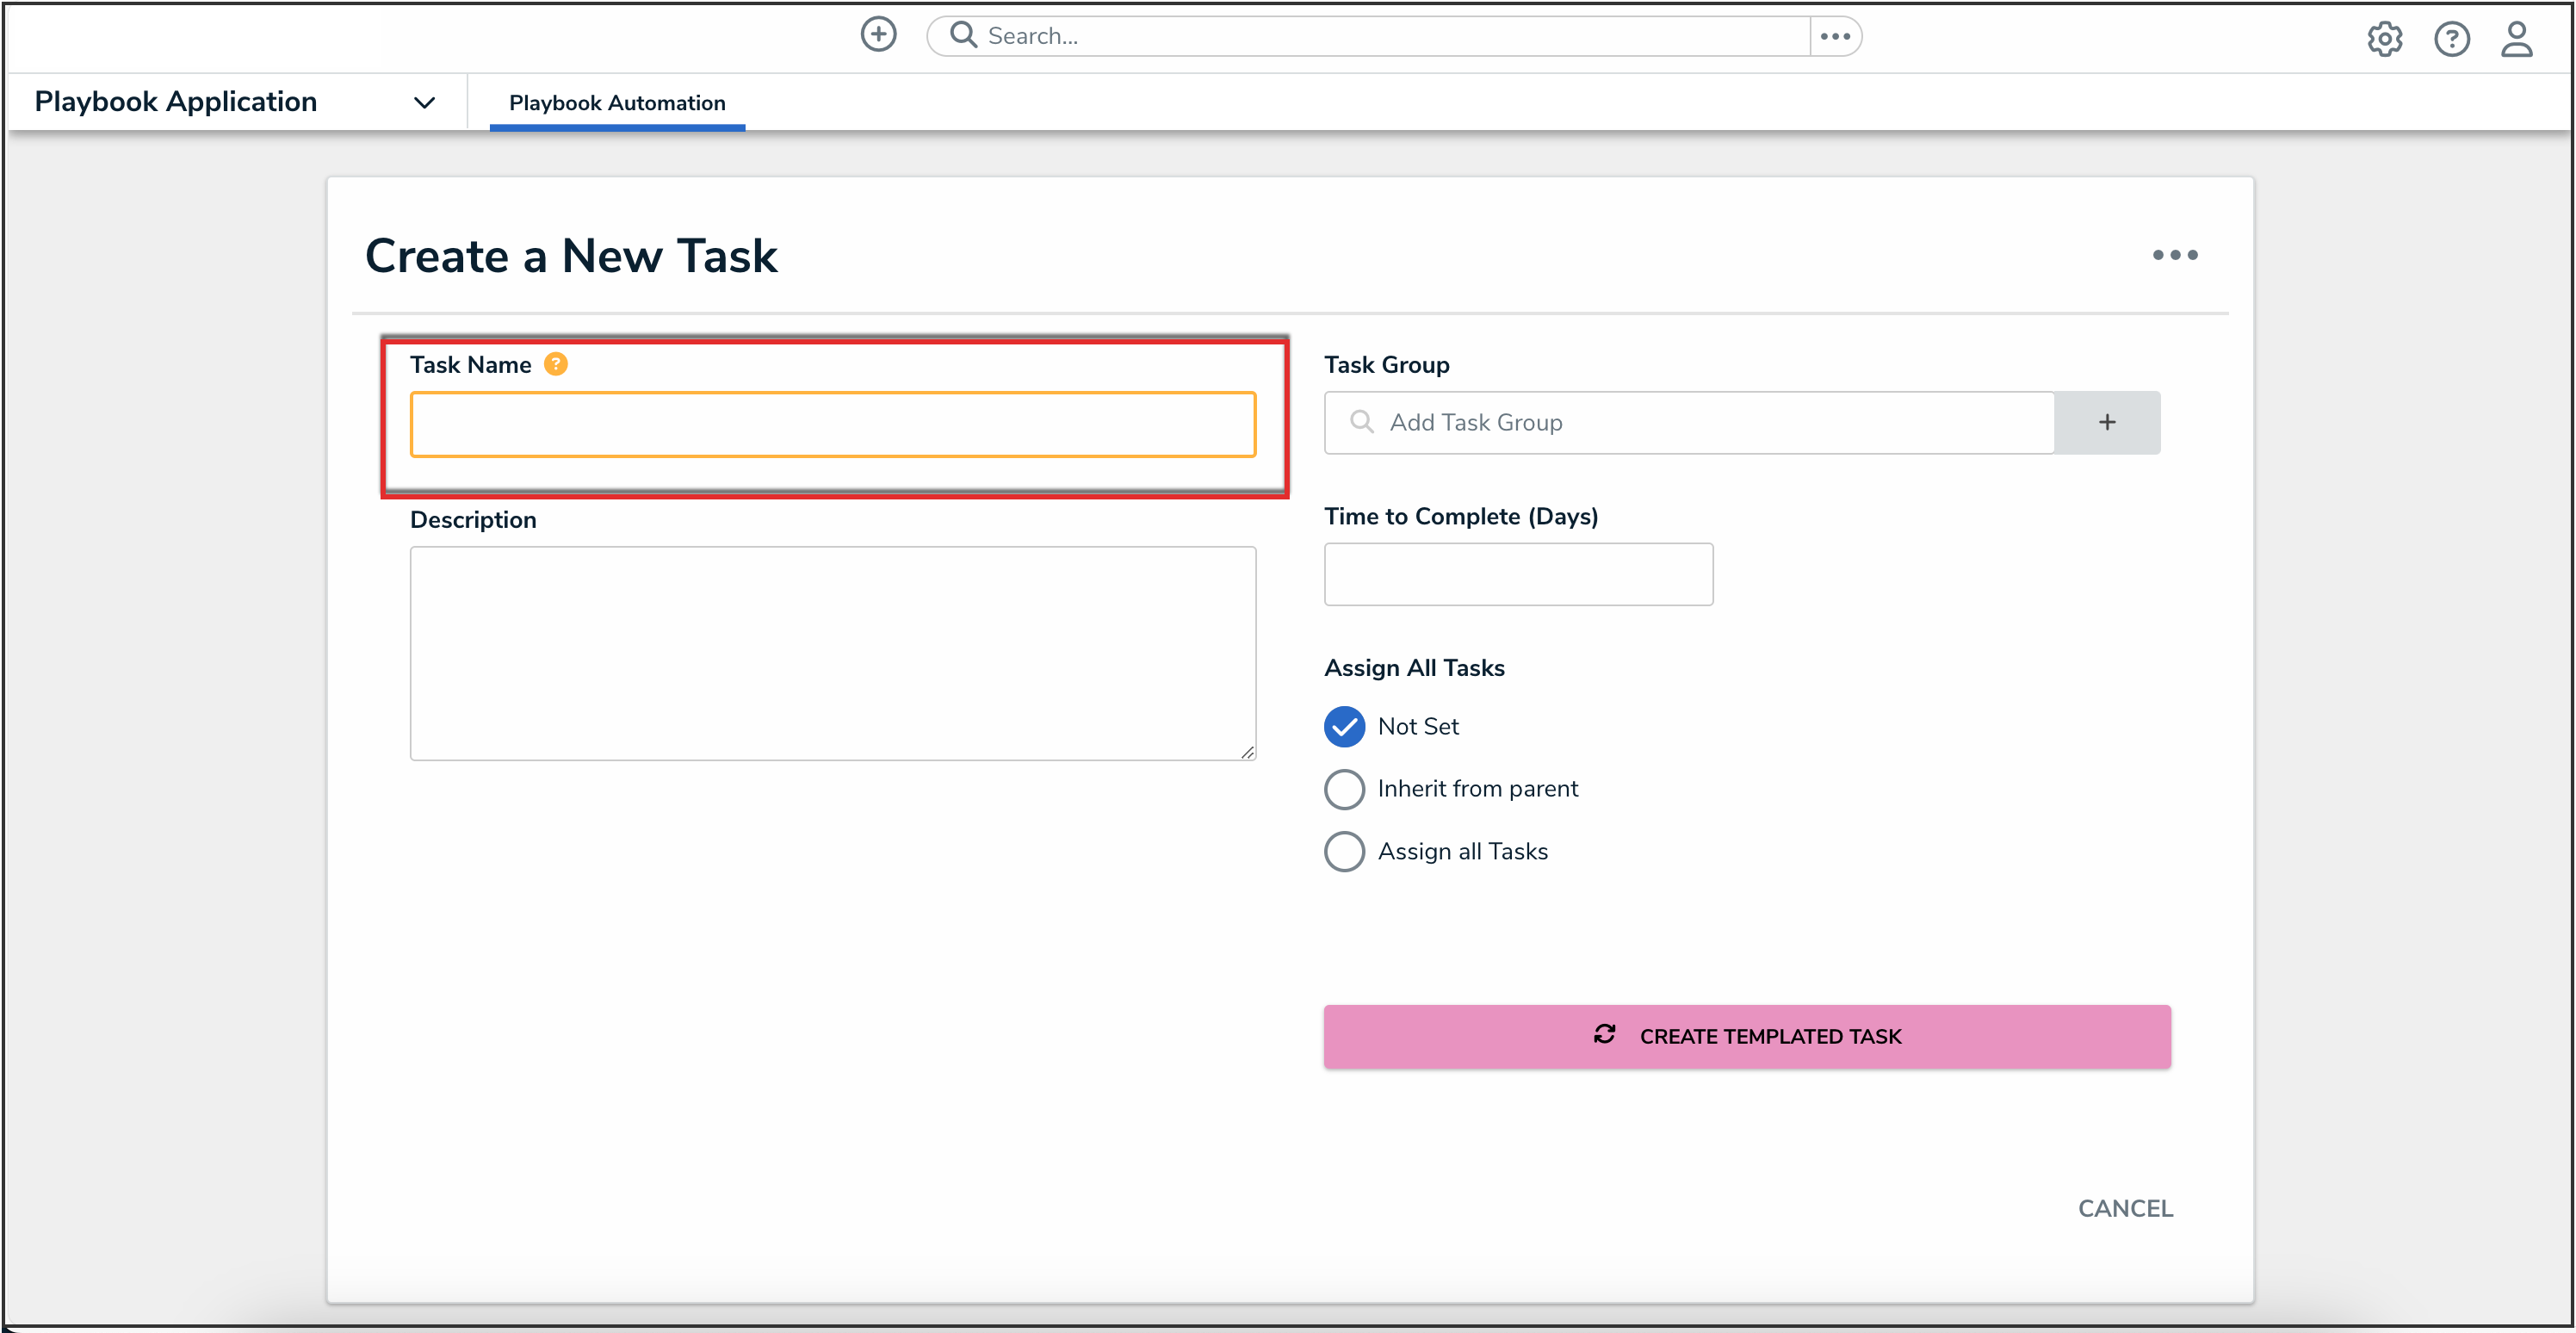
Task Name Field
- (Optional): Enter a description of the task in the Description field.

Description Field
- From the Task Group field, add the task to a task group by searching for the task group name. Click the Create New icon to create a new task group to add the task to.

Task Group Field
- In the Time to Complete (Days) field, enter the number of days required to complete a task. This field requires a specific number of days (e.g., 14 days) and auto-populates a due date.
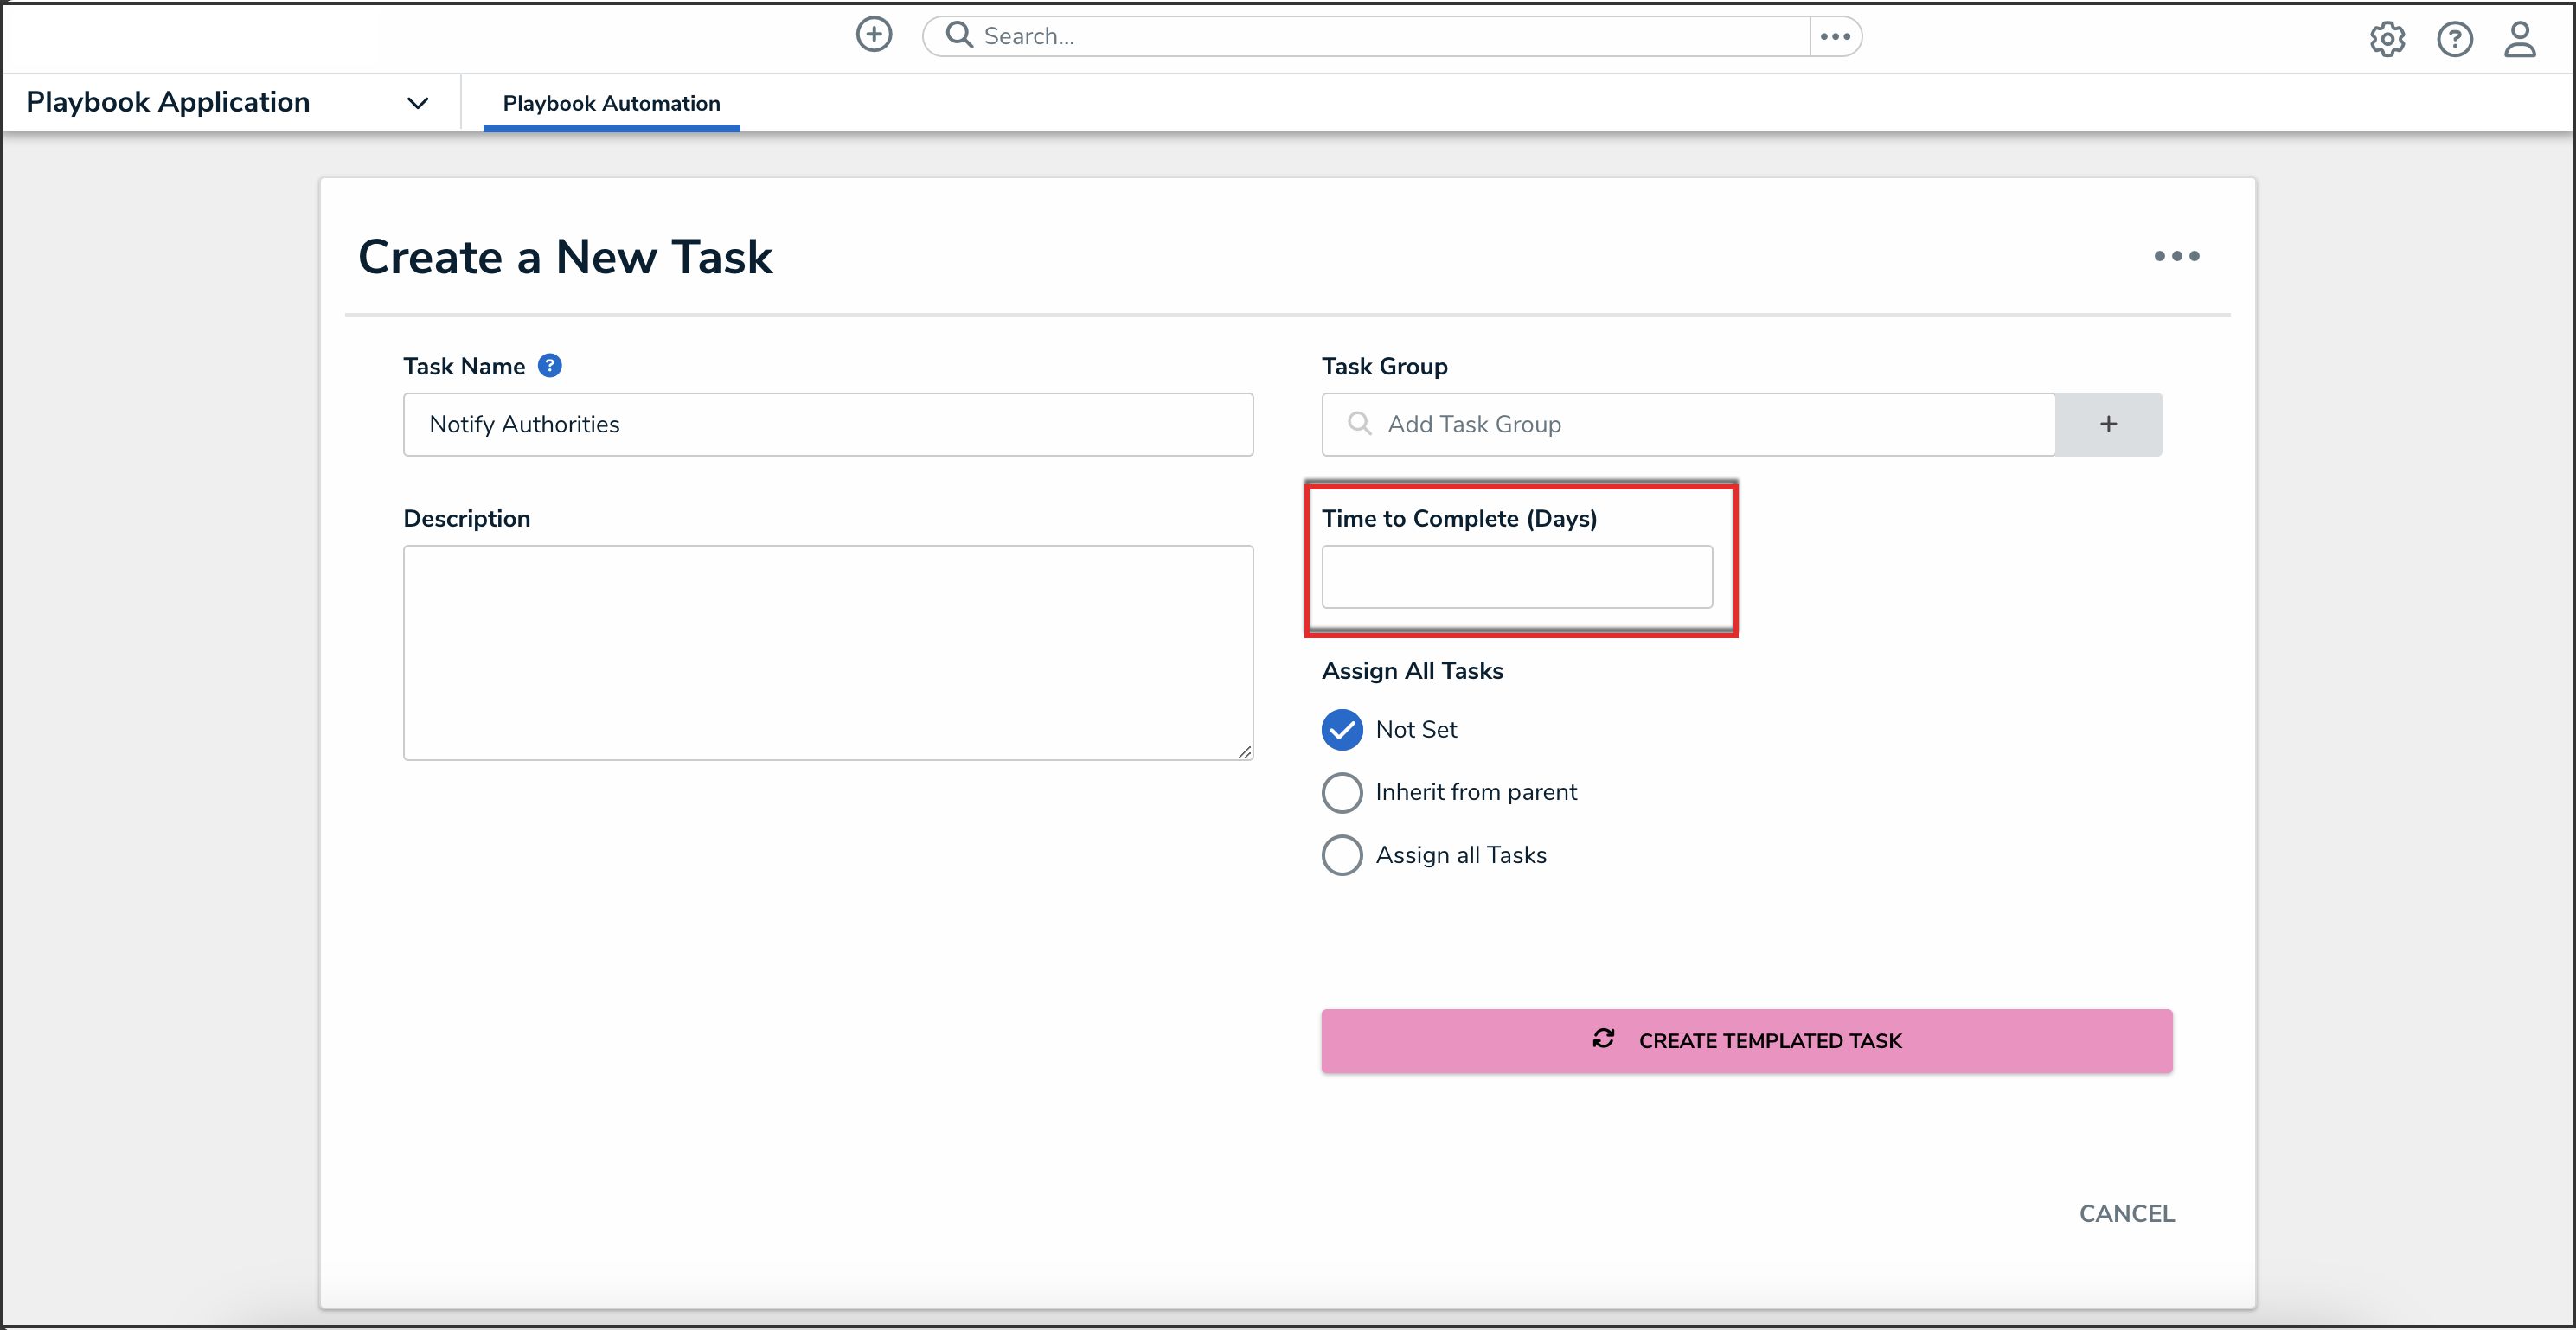
Time to Complete (Days) Field
- In the Assign All Tasks section, select one of the following:
- Not set: With this option, no users are assigned to generated Tasks.
- Inherit from parent: This option inherits user task assignments from the parent object that the tasks are being generated on (applied on). For example, all tasks generated could be auto-assigned to the Incident Owner user linked to the incident that the tasks are being generated on. To pick a role to pull task assignments from for this logic, selections are made when defining the Playbook Automation Rule: Inherit Assignee (Applied Object Type) drop-down.
- Assign all tasks: This option can be used to assign each task out individually to a specific user or user group from the same Org/different team.
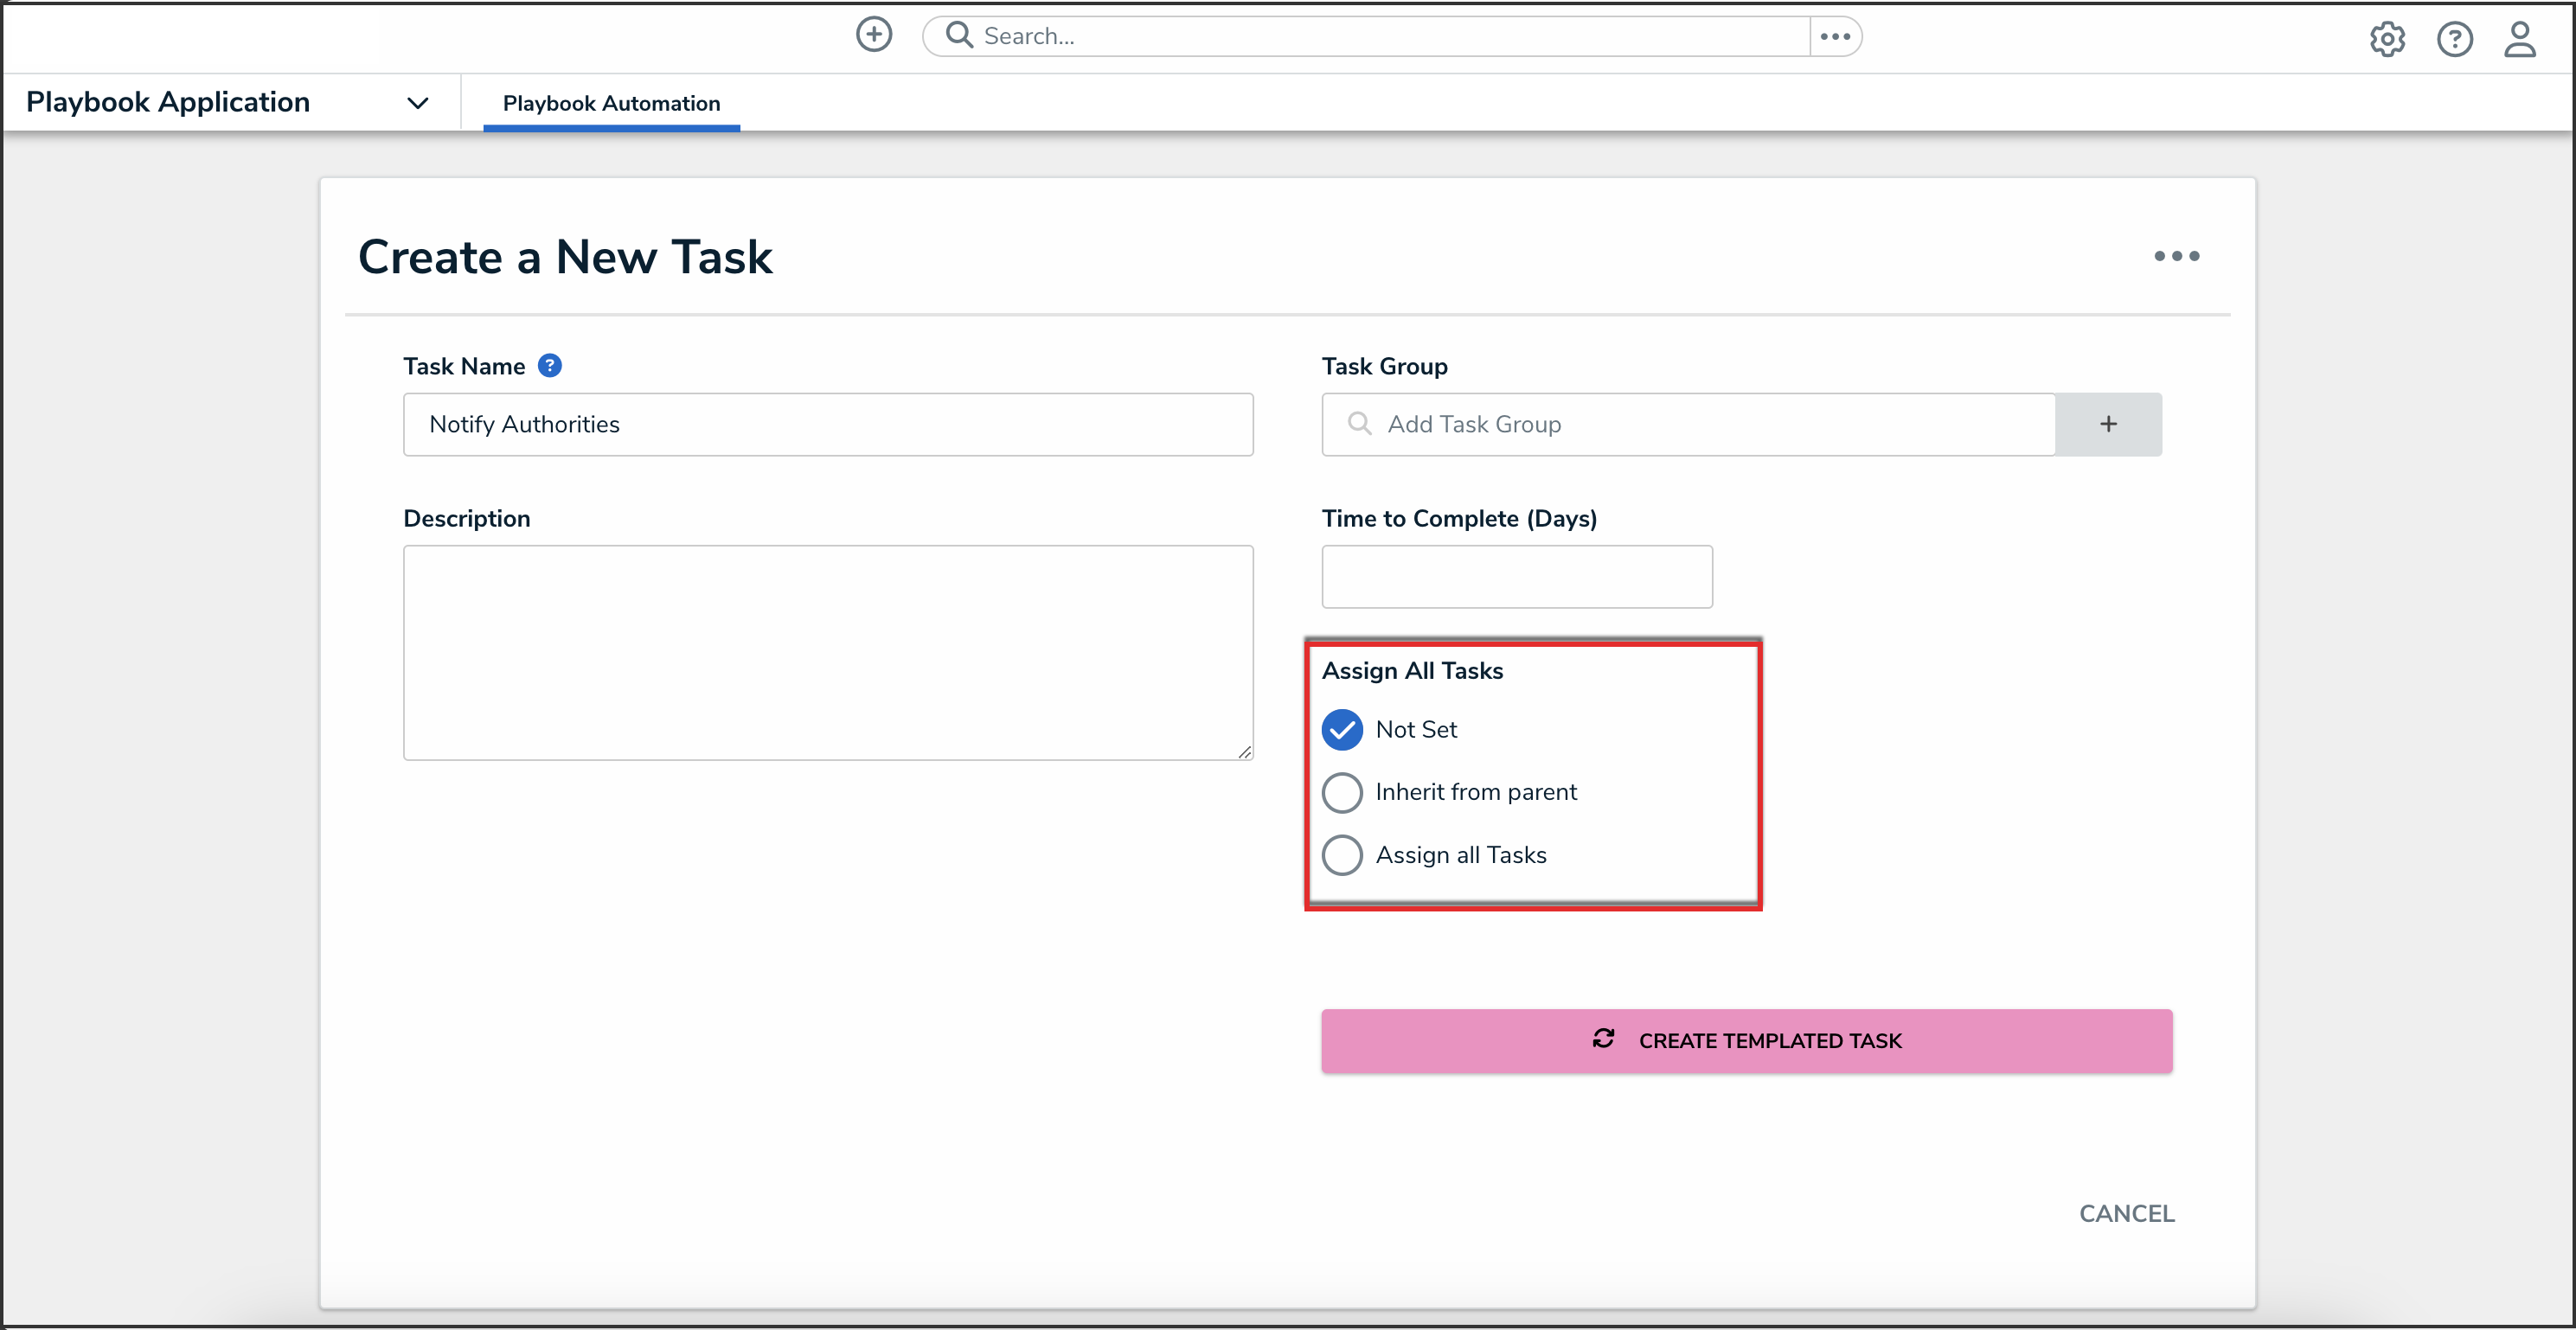
Time to Complete (Days) Field
- Click the Create Templated Task button.
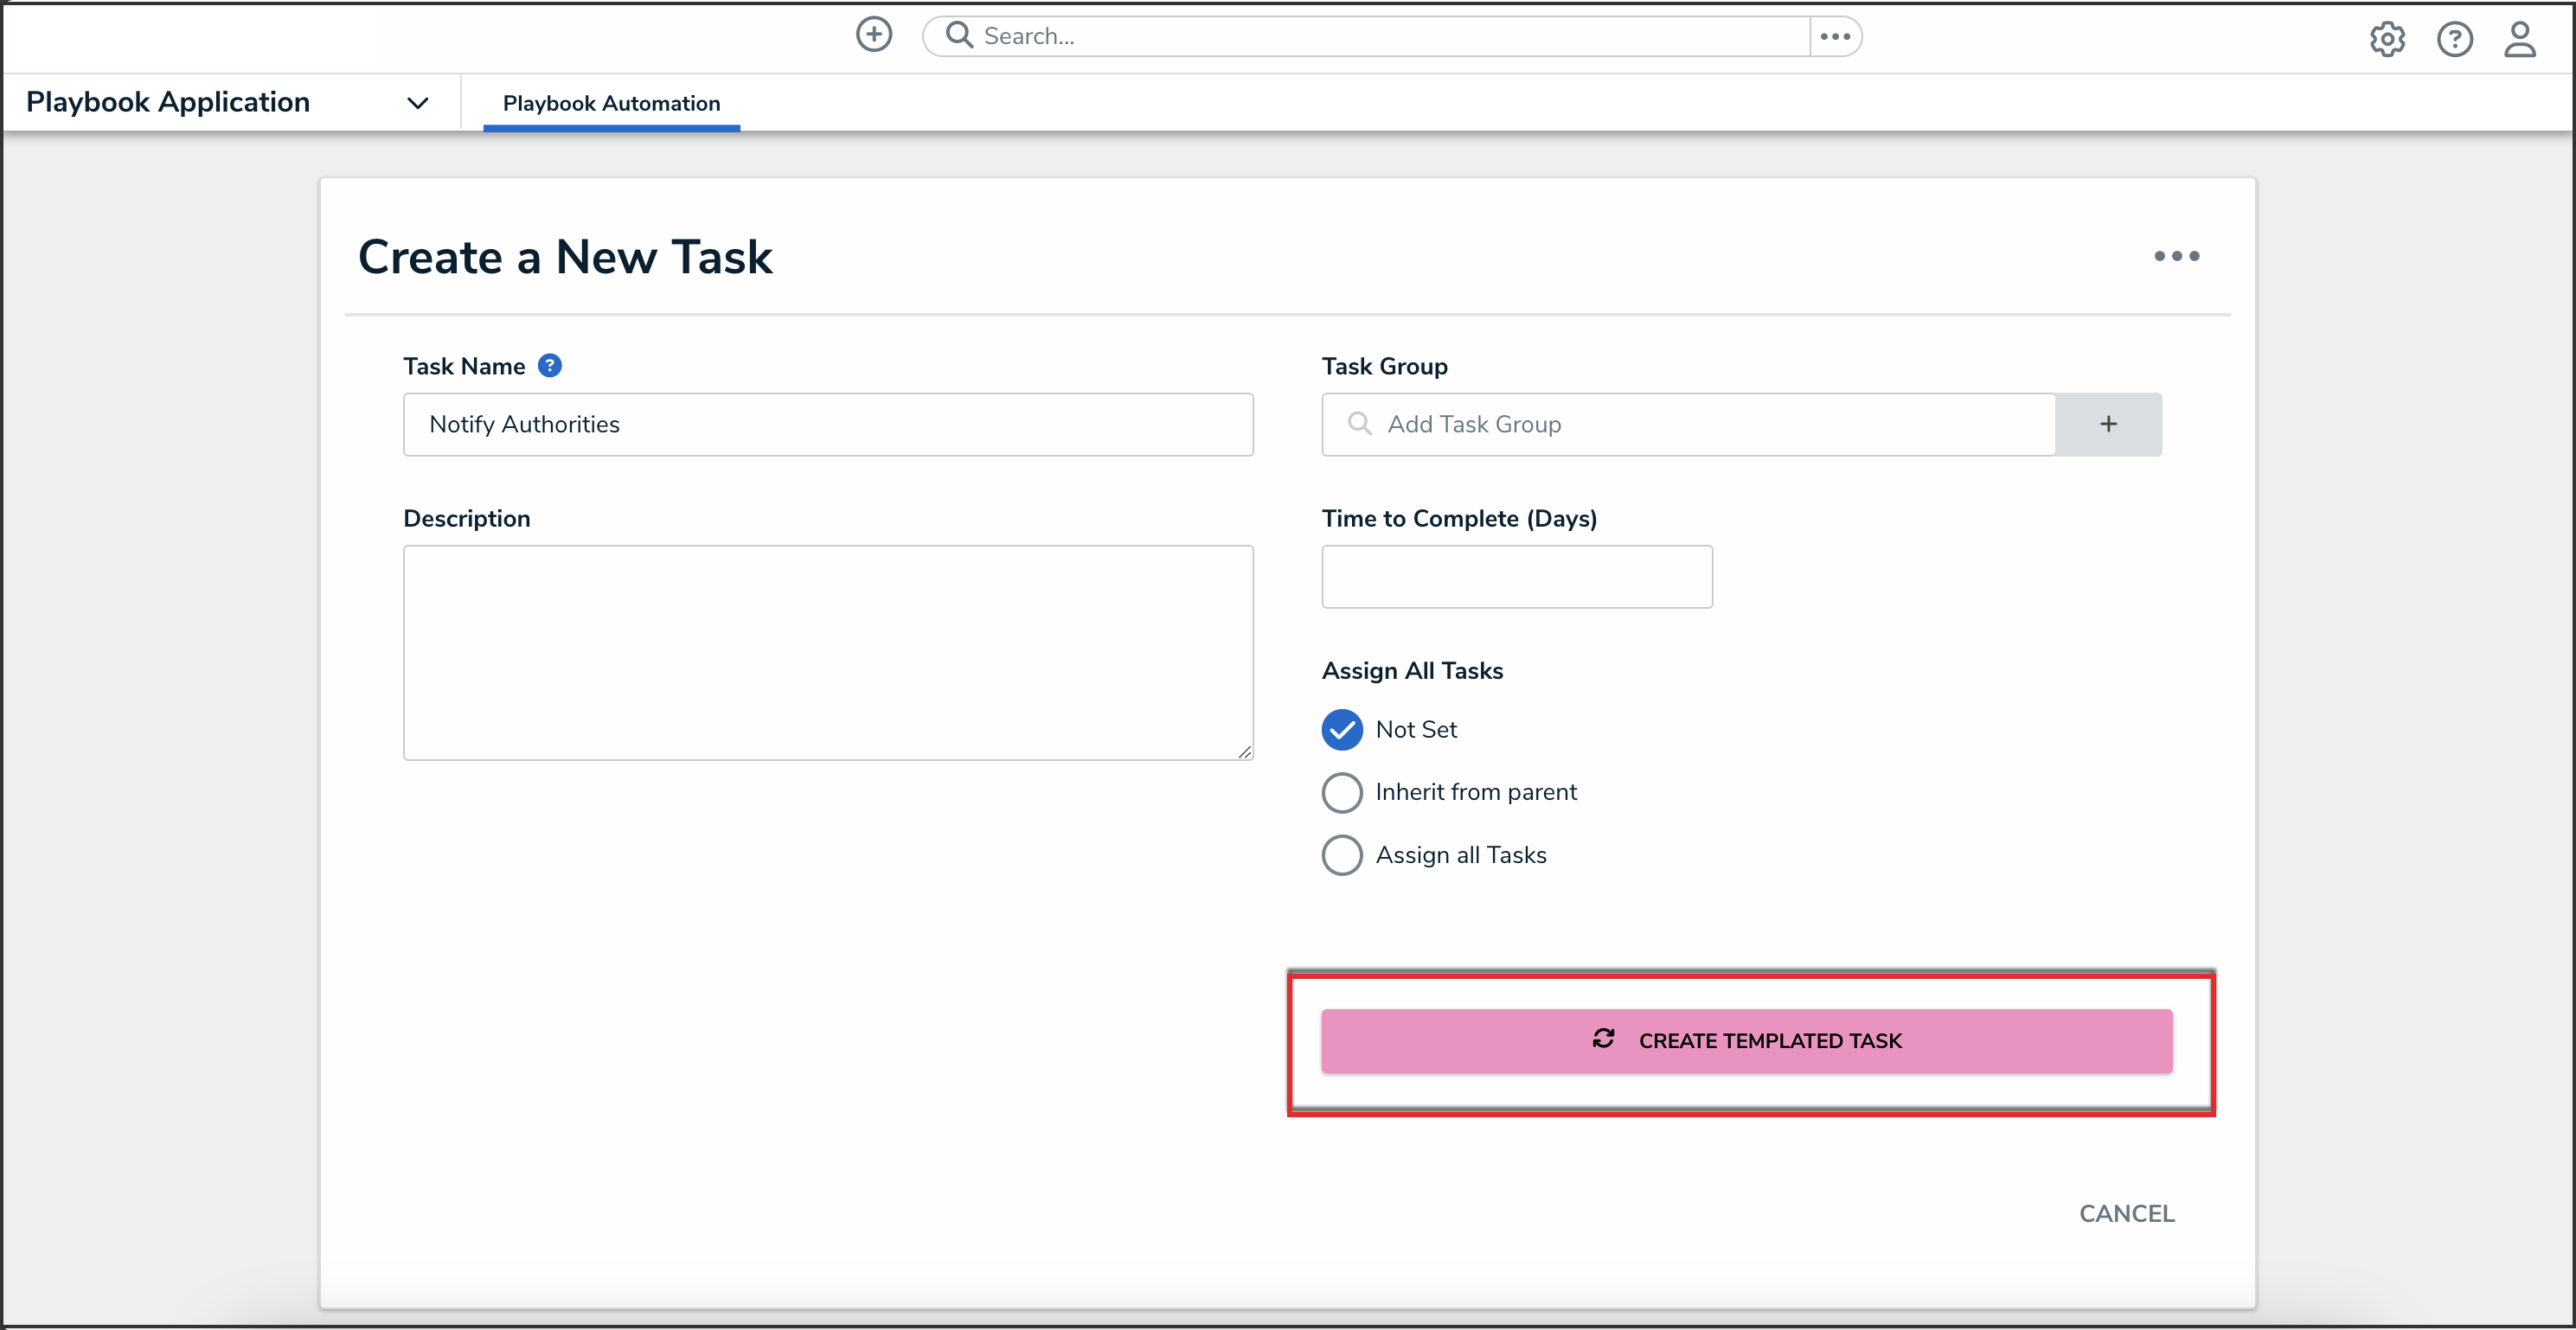
Create Templated Task Button


