Overview
The Pull Data Values action automatically copies values from fields, the Location property, and/or relationships and inserts them into the current object as it moves to the next state in the workflow. For example, if you needed to create an incident object from an activity, this action would automate the process by copying over important field, location, and relationship information.
User Account Requirements
The user must have Administrator permissions to access the Admin Overview screen.
Required Information/Setup
Please refer to the Add a Trigger & Transition to a State article for instructions on how to add triggers and transitions.
Please refer to the Roles and Workflow Permissions sections for more information on configuring roles and workflow permissions.
Important Notes
- Copying field values requires that those fields are added to both object types as components. See Add Fields to an Object Type for more information.
- With the exception of Locations, object type properties, attachments, and image attachments are not supported on this action.
- To copy location information, both the parent and child object types must have the Location element added to a standard form.
- Objects that have inherited location information from another object through this action will appear on any relationship maps for the object types.
- It's strongly recommended that relationships that connect to a maximum of one object are selected in this action. For example, if the Activity object is related to several Person objects through the Person of Interest relationship, the Person of Interest relationship shouldn't be selected for the action. However, if each of those Person objects are related to a single Location object through the Primary Residence relationship, the Primary Residence relationship would be ideal for the action.
- If a relationship that connects to more than one object is selected for the action, data values are pulled from the most recently created object.
- To copy relationships, both the parent and child object types must have relationships with the same name that connect to the same object type group. For example, if both the Incident (child) and Activity (parent) object types have a Person of Interest relationship to the Person object type, that relationship on Activity could be selected in the action. Additionally, both relationships must have the same MaximumAllowedEdges settings (i.e., both relationships have the same maximum number of objects they can connect to). If these settings don't match on a relationship, it will not appear as an option when creating the action.
Navigation
- From the Home screen, click the Administration icon.

Administration Icon
- From the Administrator Settings menu, click Admin Overview.

Administrator Settings Menu
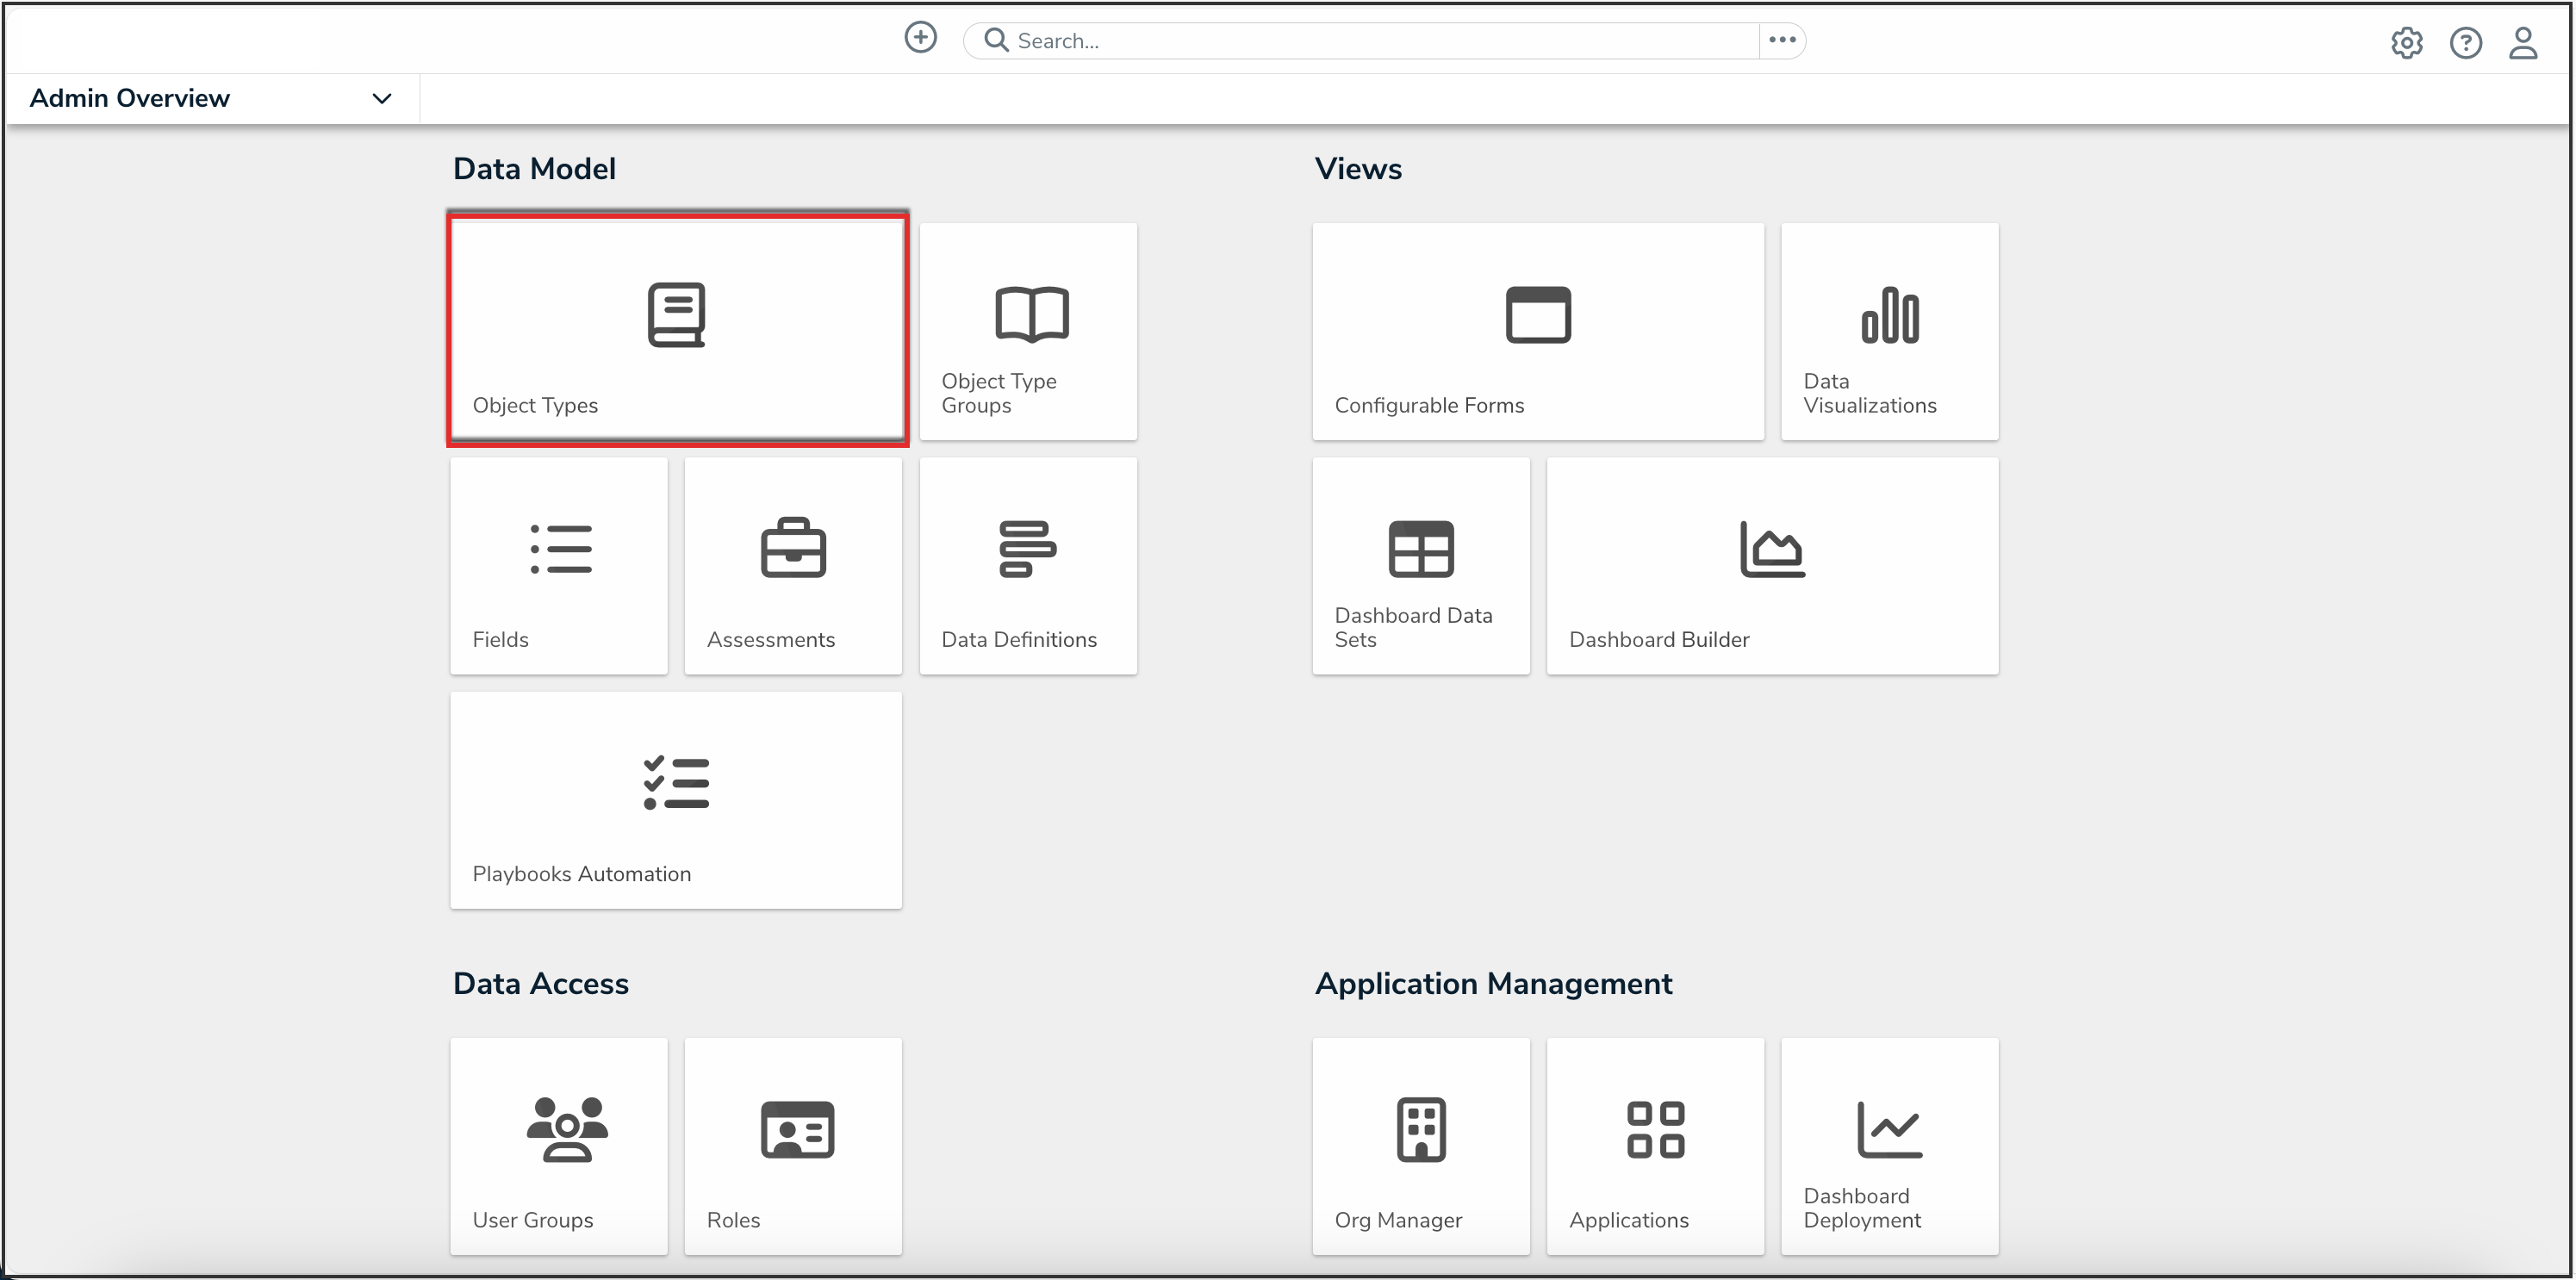
- From the Admin Overview screen, click the Object Types tile under the Data Model section.

Object Types Tile
- From the Object Types screen, enter an object type name in the Search field to narrow down the object types list.
- Click the Object Type name you want to edit.

Object Type Name
- From the Edit Object Type screen, click a workflow under the Workflow tab.

Workflow Tab
- If there are no workflows listed, click the Configure Workflow button.

Configure Workflow Button
Add a Pull Data Values Action to a Transition
- From the Edit Workflow screen, click the trigger that you want to add the Pull Data Values action to.

Workflow Trigger
- From the Edit Trigger pop-up, click the Configure icon under Transitions.

Configure Icon
- Click the Add Action button in the Actions section.

Add Action Button
- Select Pull Data Values from the Type drop-down menu.

Type Drop-down
- Enter a name for the action in the Name field.

Name Field
- Select an object type from the Object Type drop-down menu. Object types are identified by their names to the left and their relationship or reference name to the right. In order for object types to appear in this dropdown menu, they must meet certain criteria. See the Important Notes section of this article for more information.

Object Type Drop-down
- Select the Location property or one or more fields, relationships, or reference to copy from the Data drop-down menu.

Data Drop-down
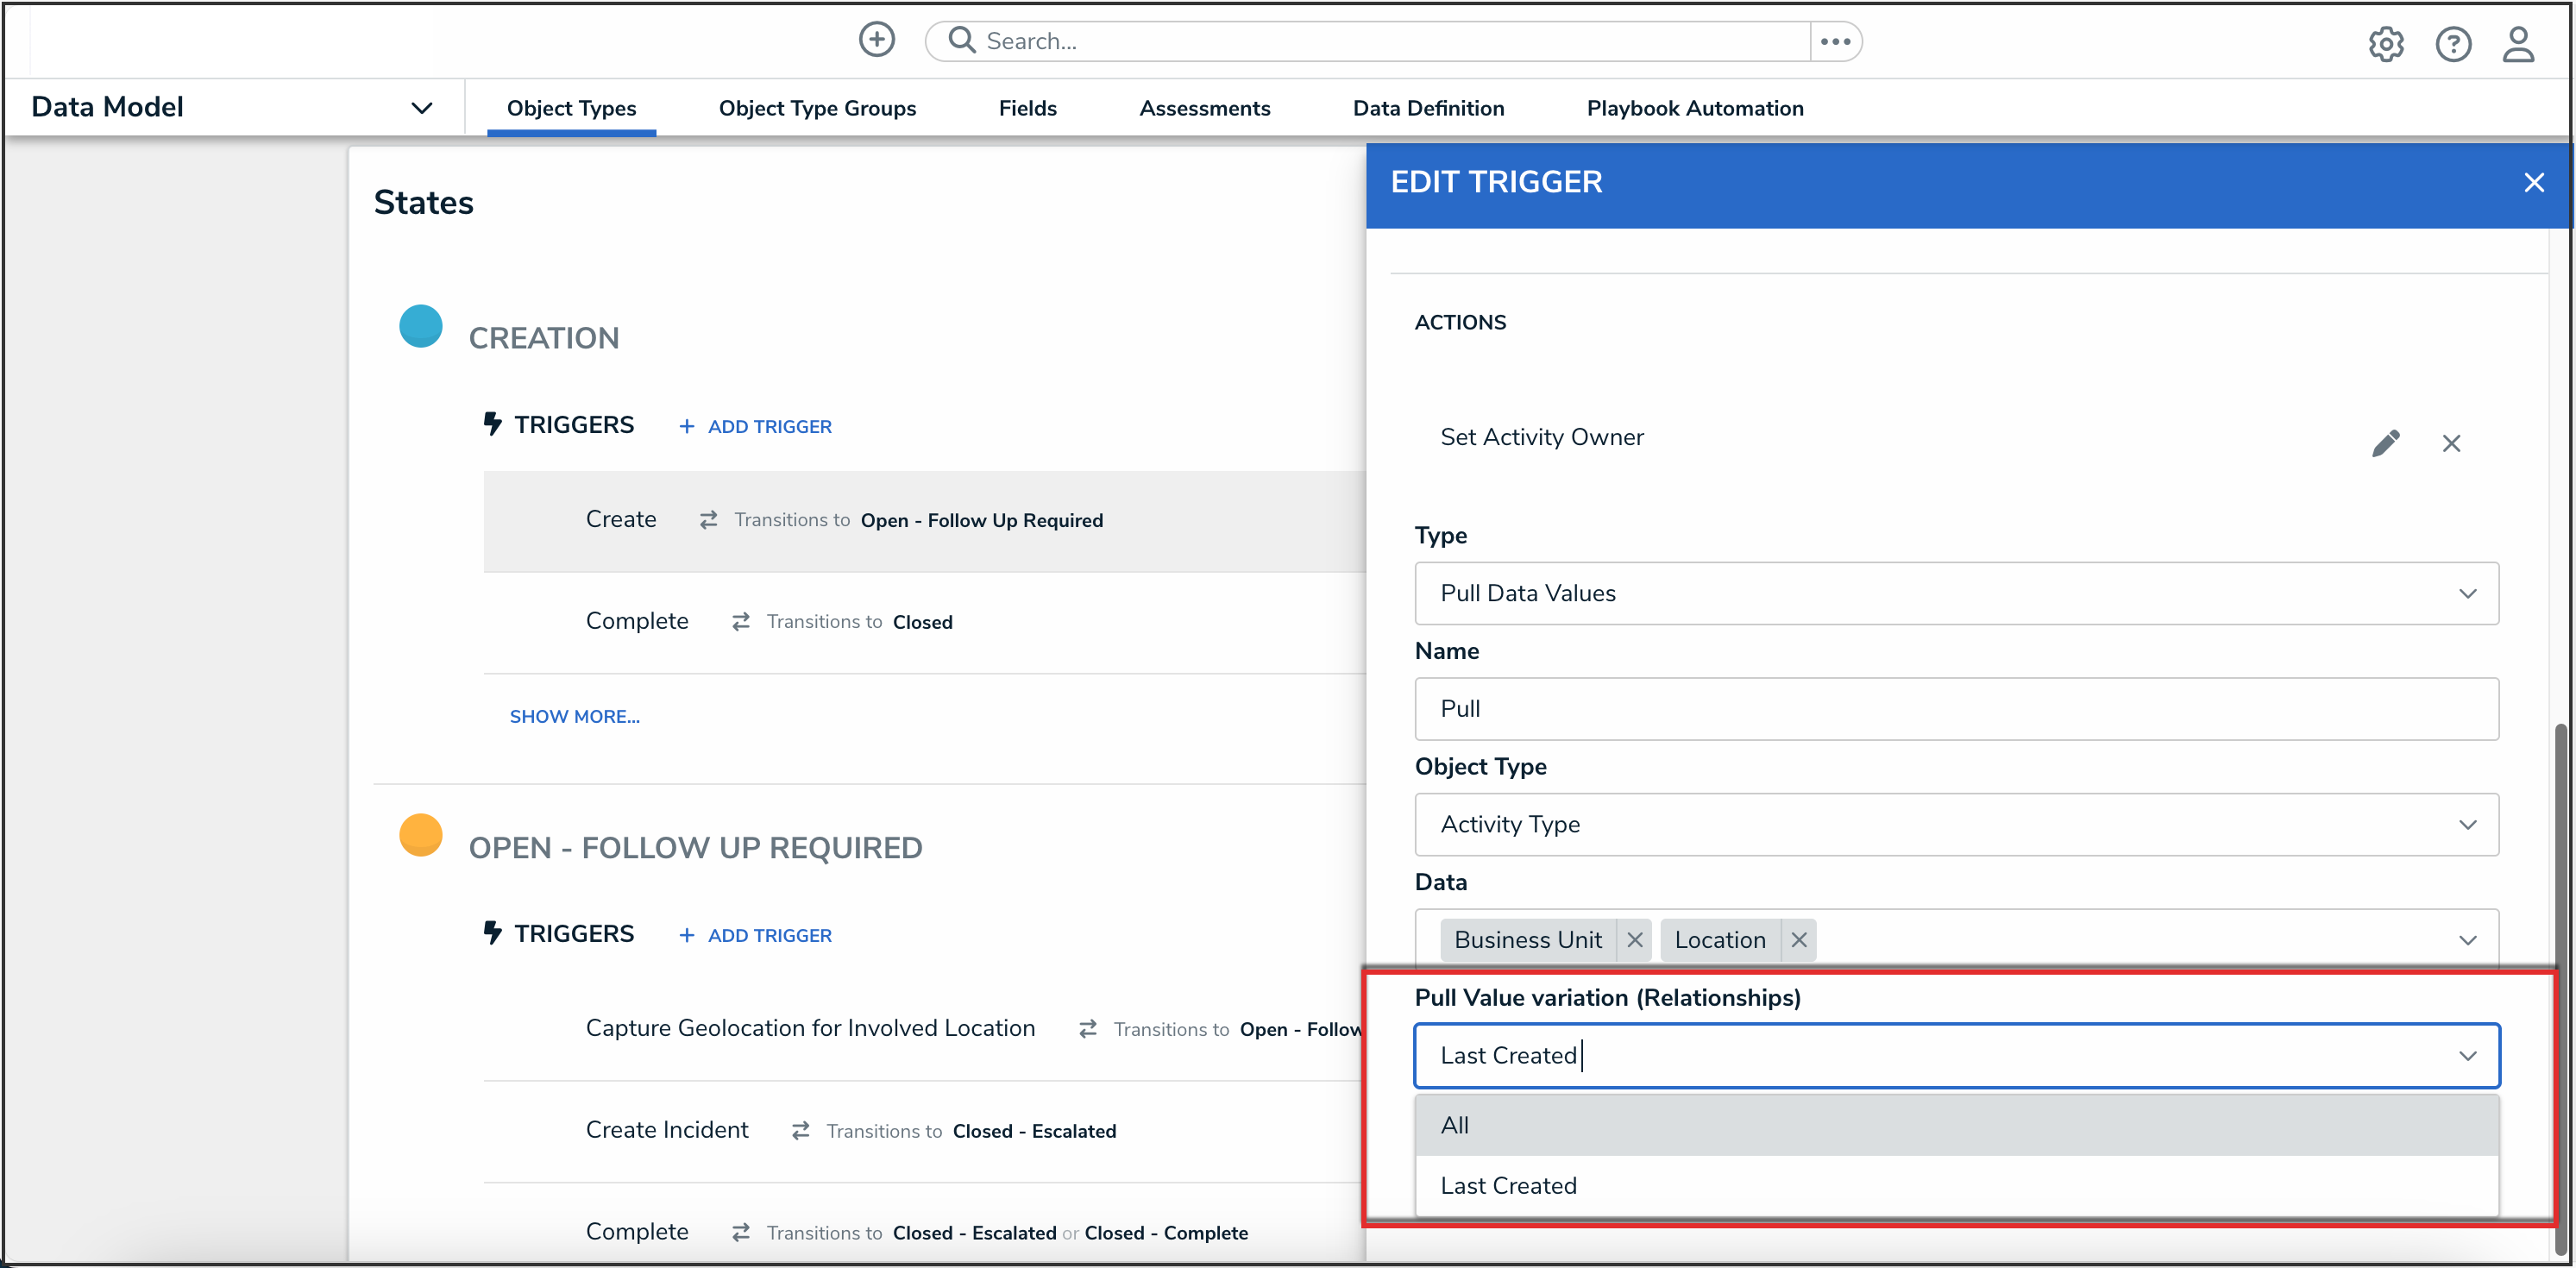
- From the Pull Value variation drop-down menu, select one of the following:
- Last created (default): Pulls data in from the last created related data
- All: Pulls data in from all related data

Pull Value Variation Drop-down
- Click the Create button.

Create Button
- From the Edit Trigger pop-up, click the Done button to save your changes.

Done Button
