Overview
The Page Break element breaks the page based on where an admin placed the element on the report canvas. This element has no effect on reports displayed in view, but it ensures printed and exported reports are displayed as required.
Related Information/Setup
Please refer to the Exporting a Report and the Printing Overview articles for more information on exporting and printing your report.
Once you're done adding elements and configuring your report, you must add it to a report view to make it available to end-users. See the Views Overview and Create a Report View articles for more information.
Navigation
- From the Home screen, click the Home dropdown.
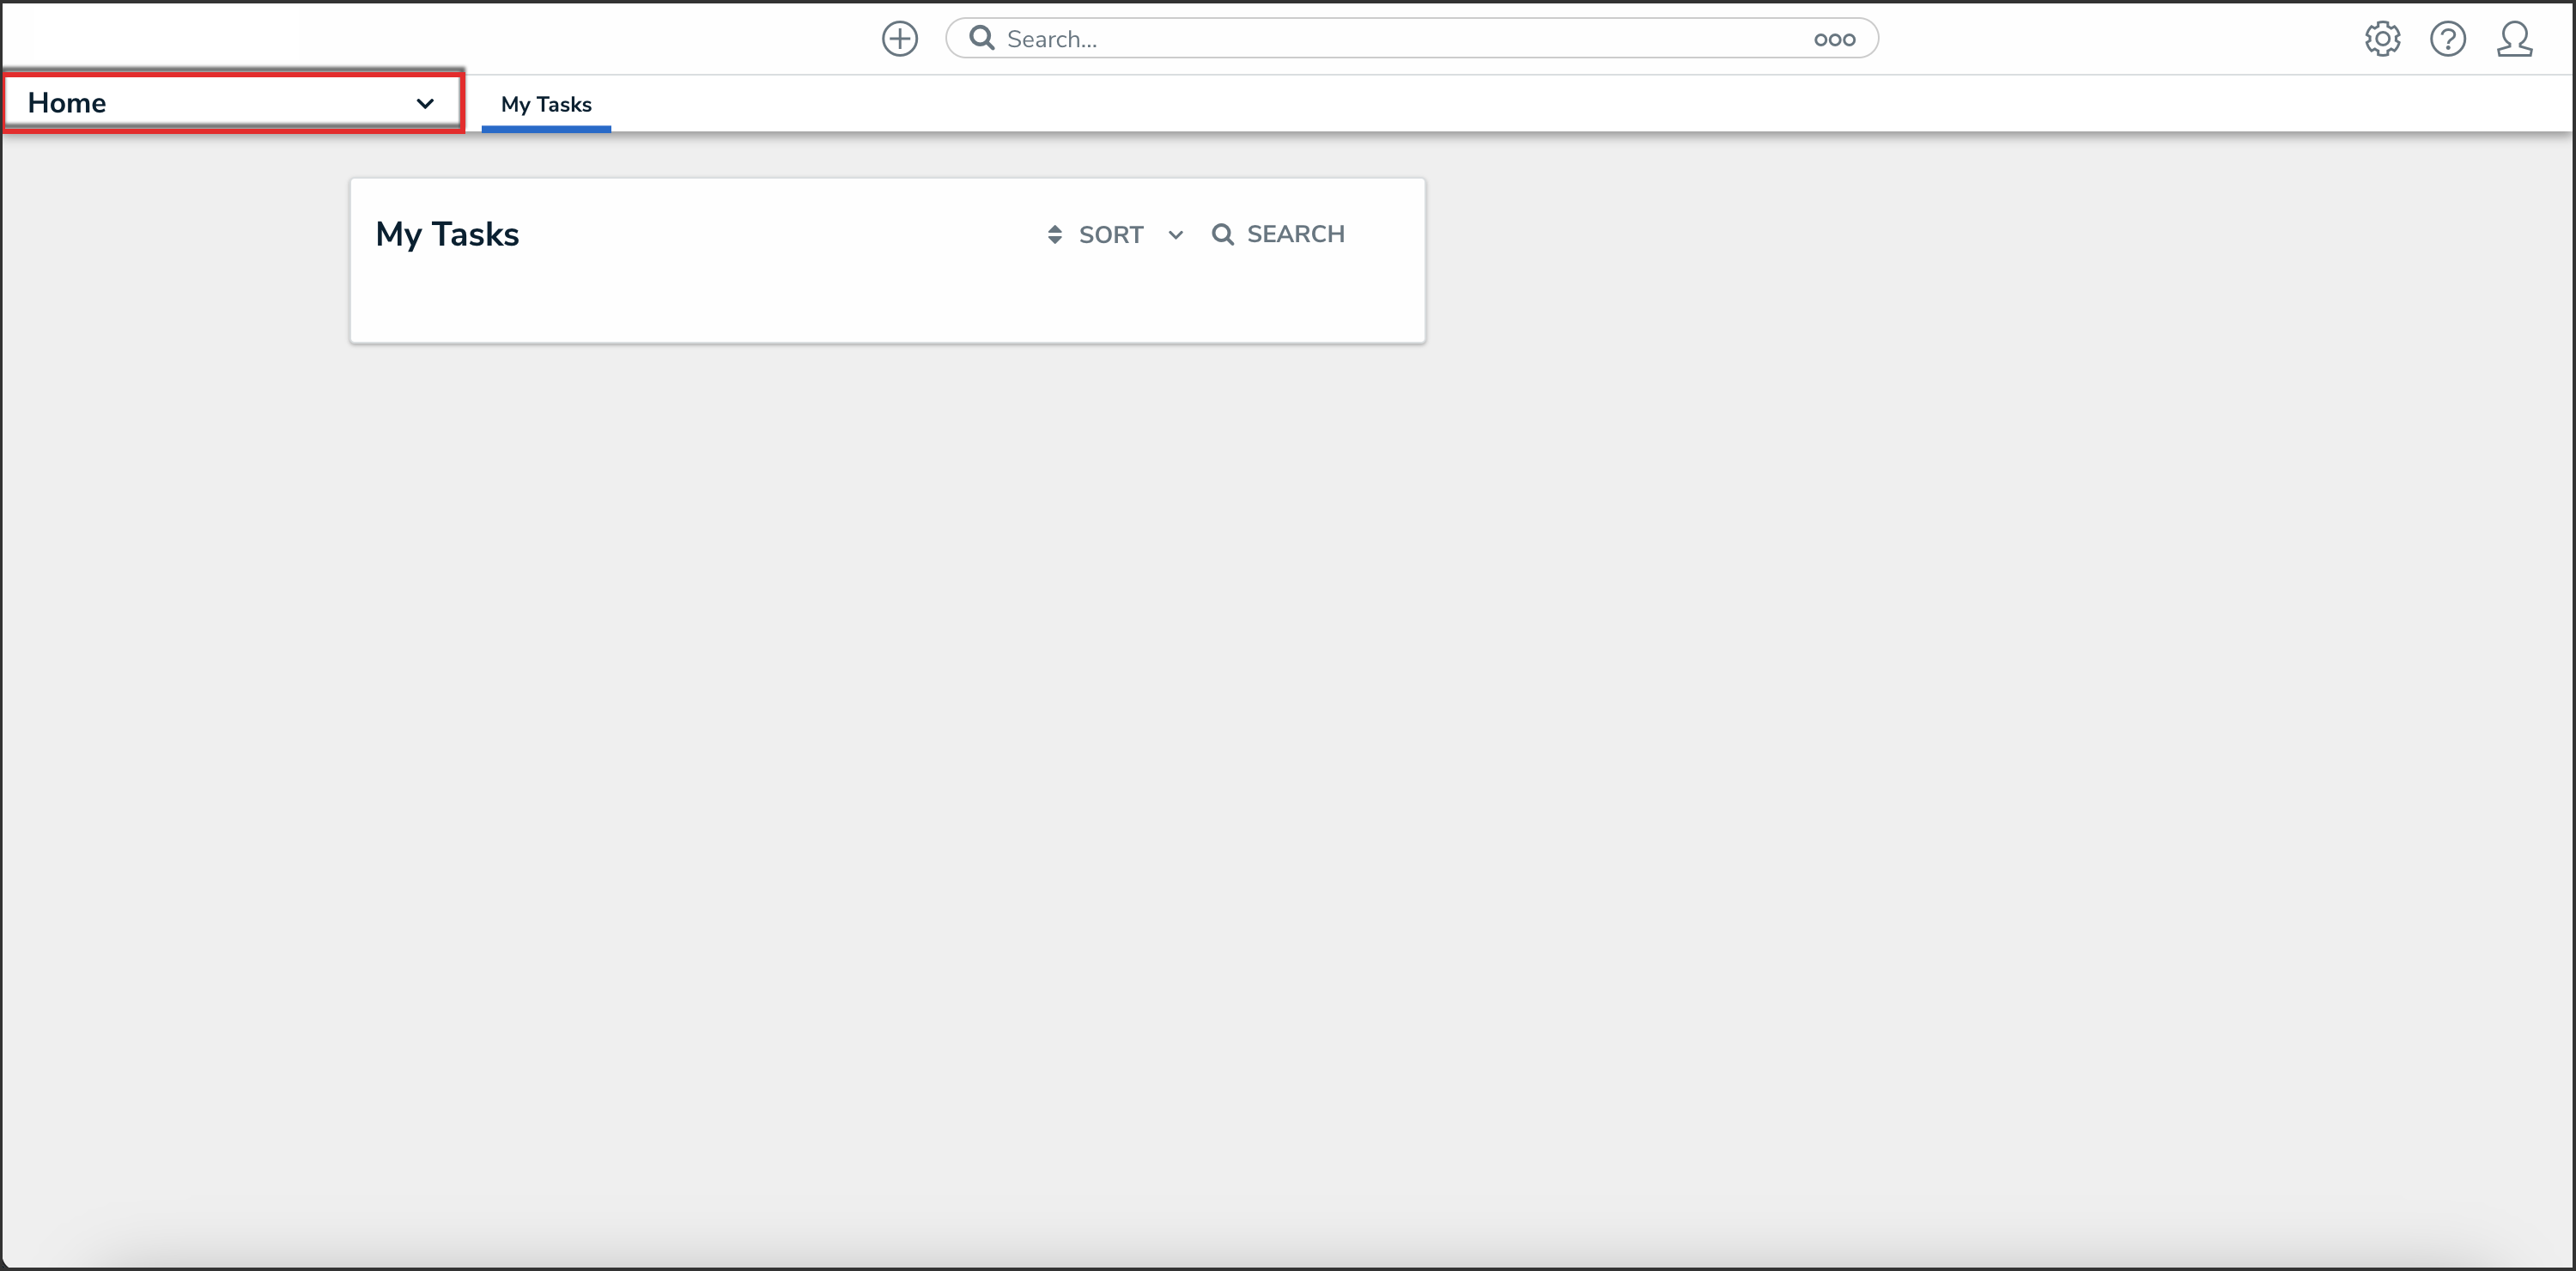
Home Dropdown

- From the Home dropdown, click the Reports application.
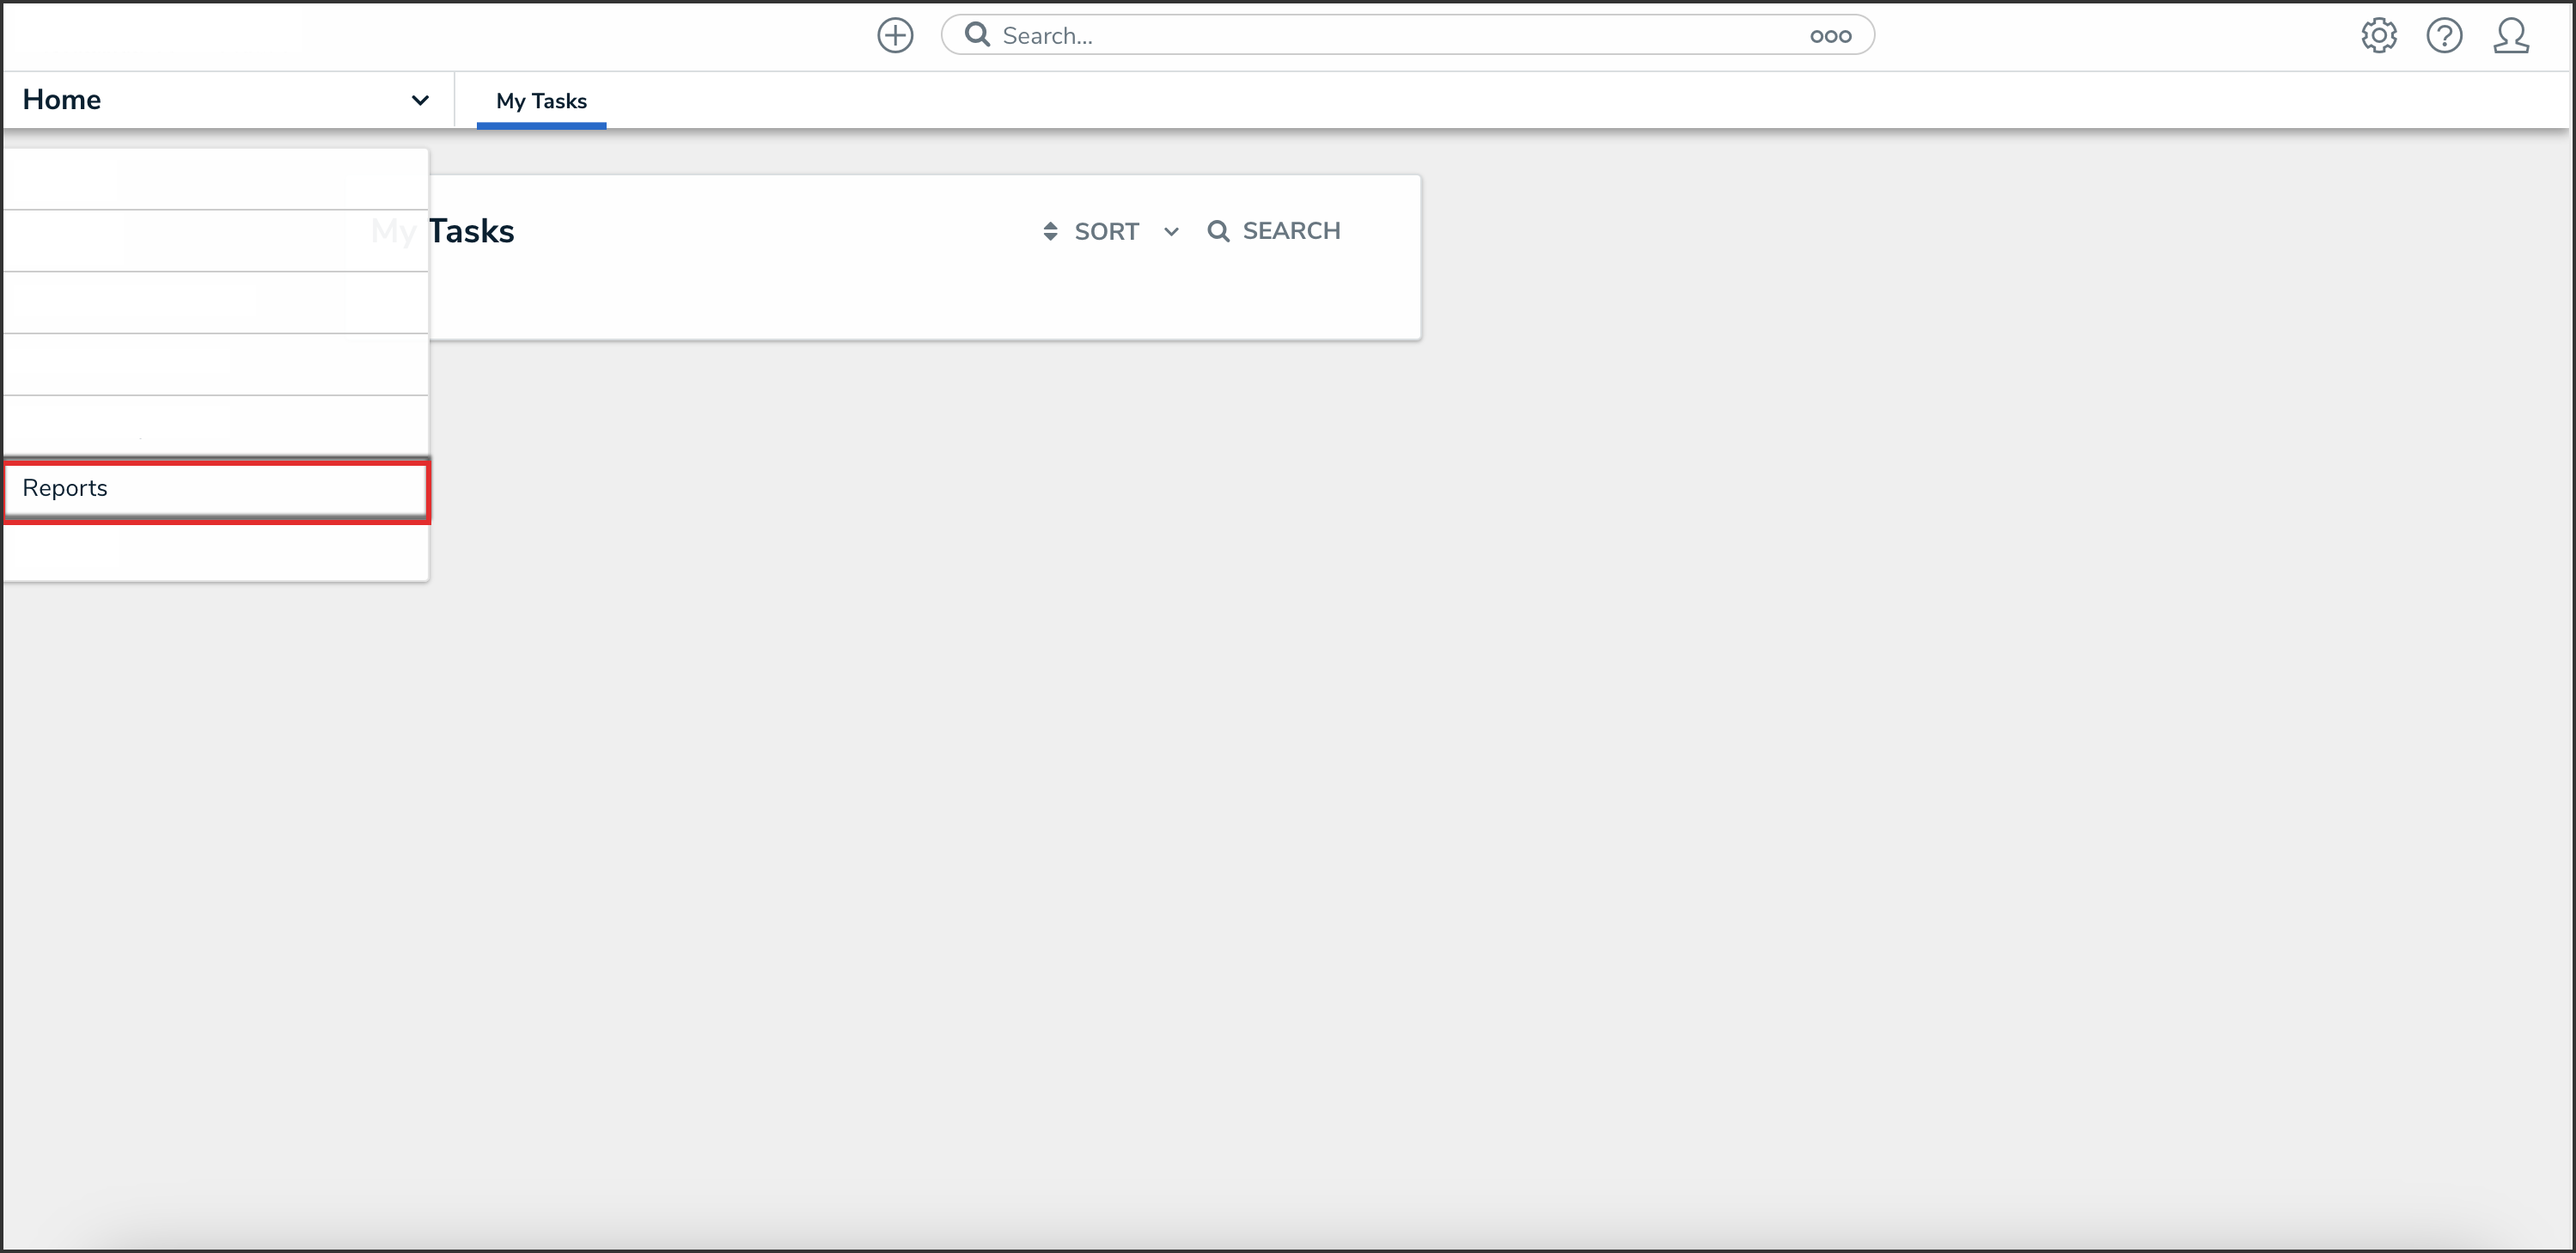

Reports Application
- From the list of reports, click the report you want to add a page break to.
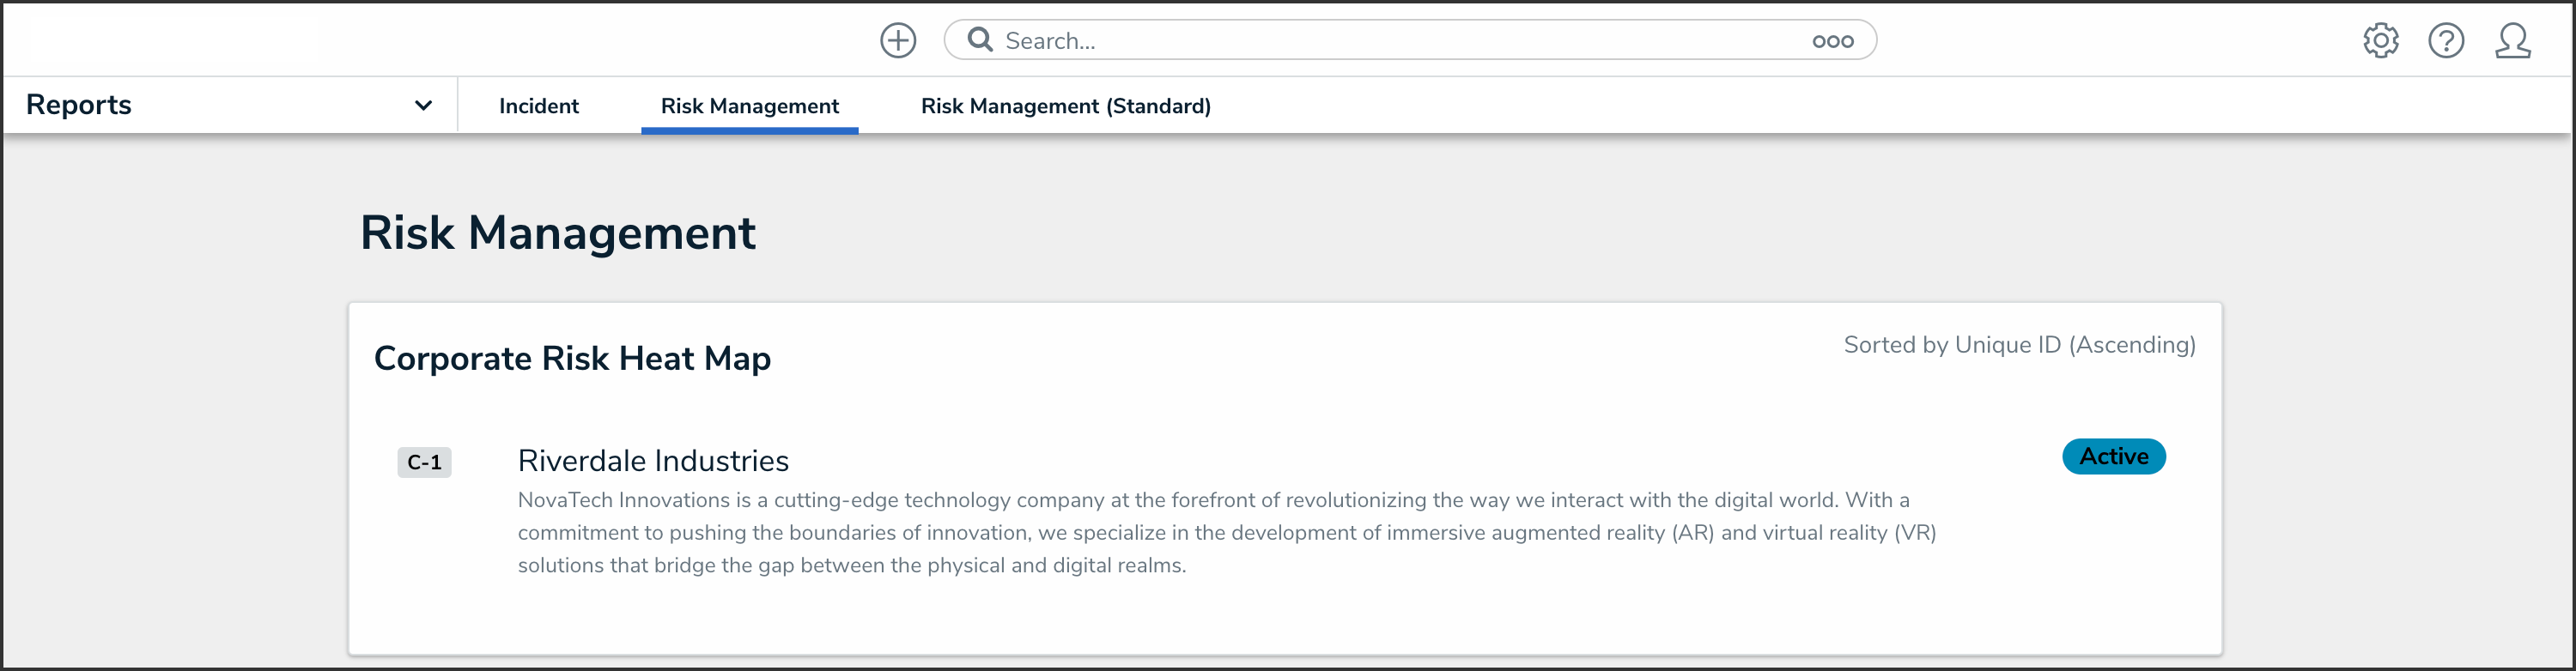

Report Name
Adding a Page Break to a Report
- In the report you want to add a page break to, click the Edit Report Template icon.


Edit Report Template Icon
- Under the Elements section, click the Expand icon beside Display.
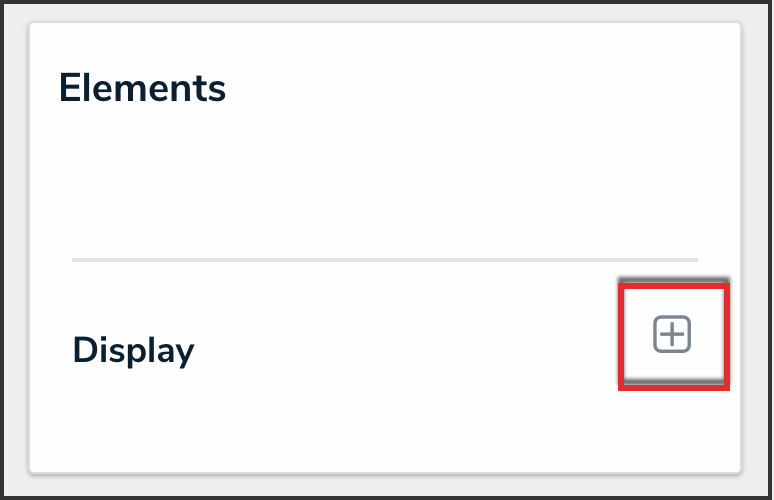

Expand Icon
- Drag and drop the Page Break element to the Report Canvas.
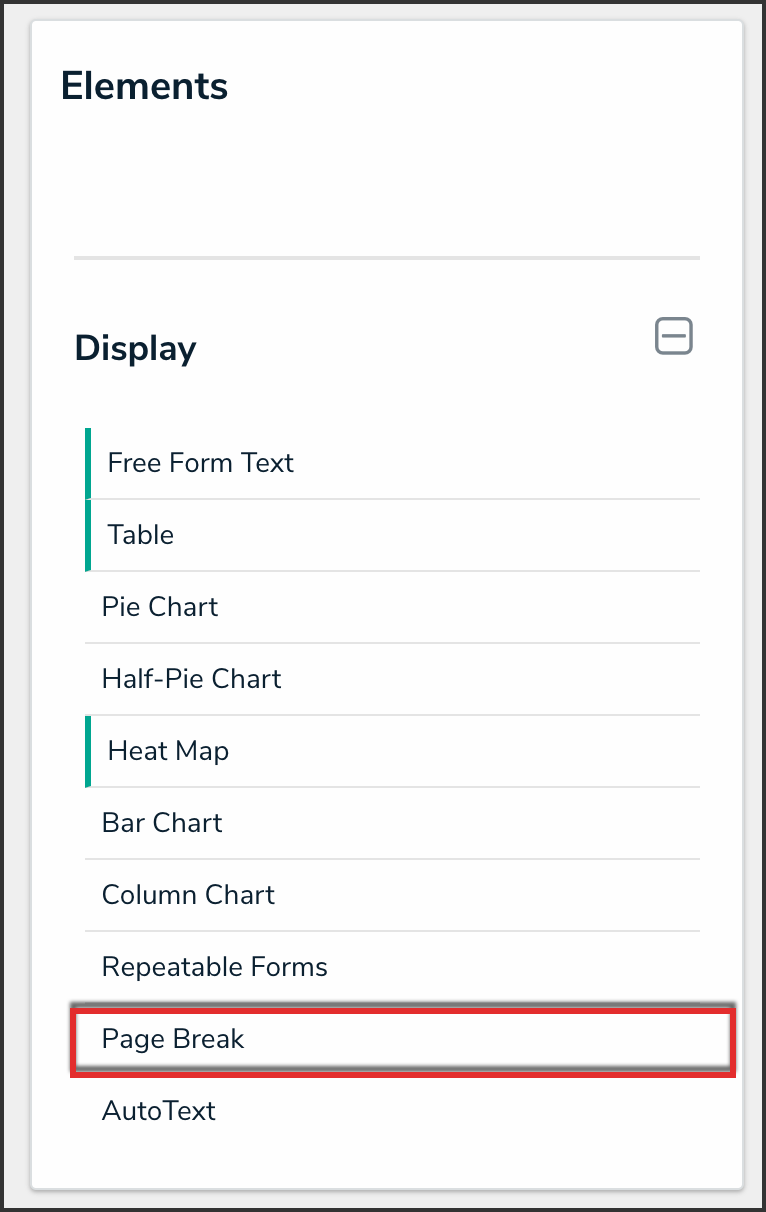
Page Break Element
- To move the page break, hover your cursor over the Page Break element to show the Reorder icon, then click and drag the element to the desired location on the canvas.


Reorder Icon
- To delete the page break, hover your cursor over the Page Break element and click the Delete icon.


Delete Icon