When a new case is created, it's automatically put in the Draft workflow state. The following will show you how to transition a case to the next workflow state. This can be used to move a case from Draft to Open, or Open to Closed. Any case you create will appear on the My Tasks page until is has been closed.
To transition a case to the next workflow state:
Log into a user account from the Case Manager user group.
- Go to the My Tasks page and click a case to open the Case Review form. Cases can also be opened from Incident Management > Cases.
 A draft case on the My Tasks page.
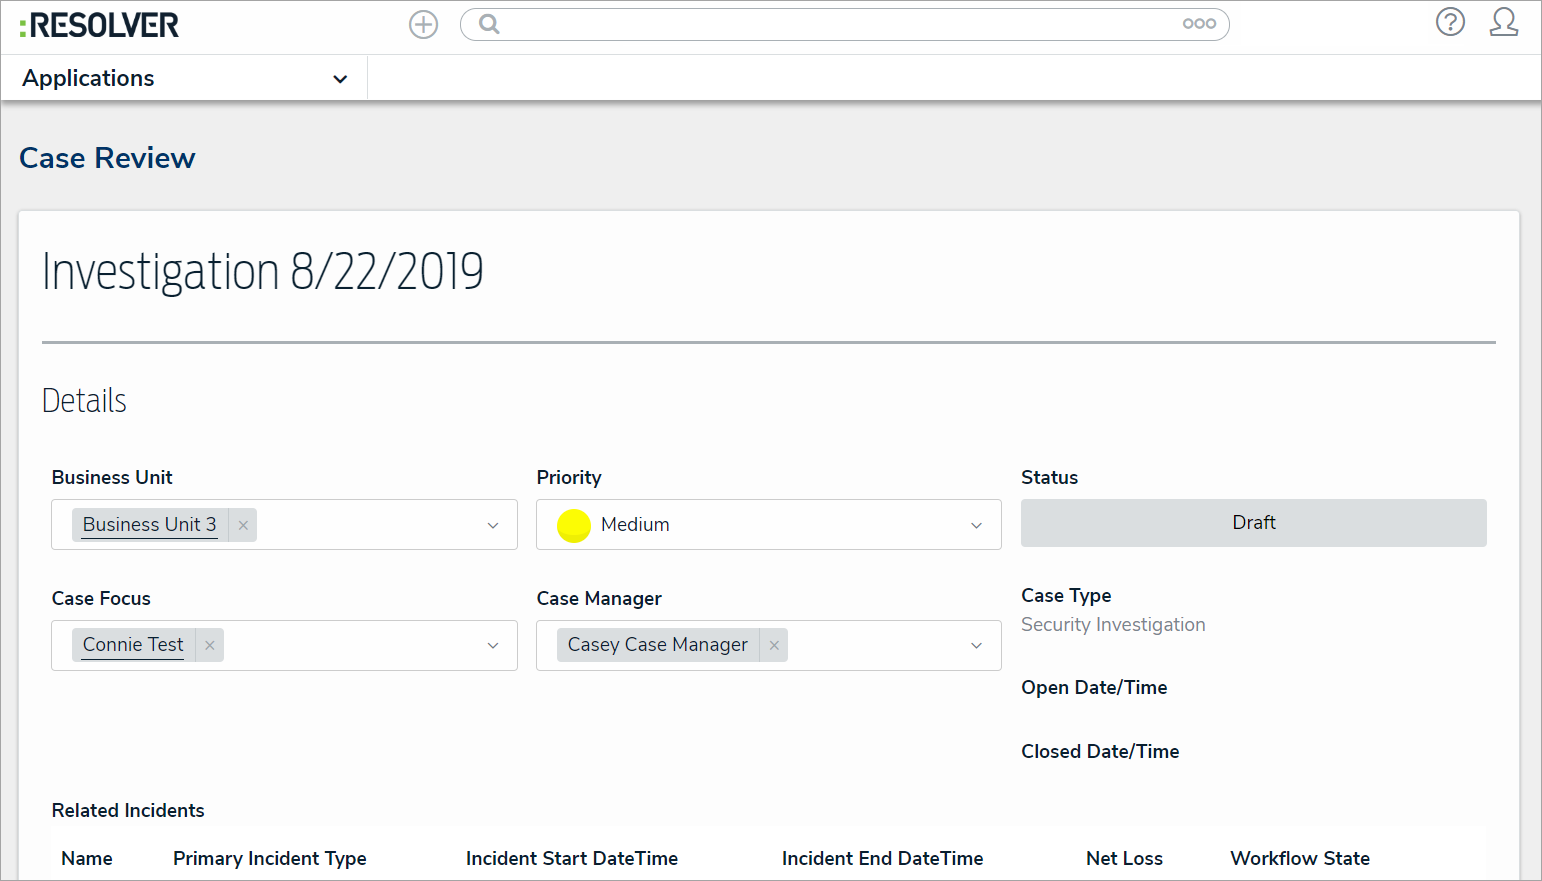
 - Optional: Click the title of the case (e.g., Investigation 8/22/2019) to make changes as needed, then click away from the title to save your changes.
 The Case Review form.
 Add or change the Business Unit, Case Focus, or Case Manager by clicking the field, then typing keywords to display a list of available options, then clicking to select the appropriate option.
Optional: Click Priority to select a different priority level.
Optional: Click the search bar below Related Incidents. Begin typing the name of a related incident, then click to add the incident to the case.
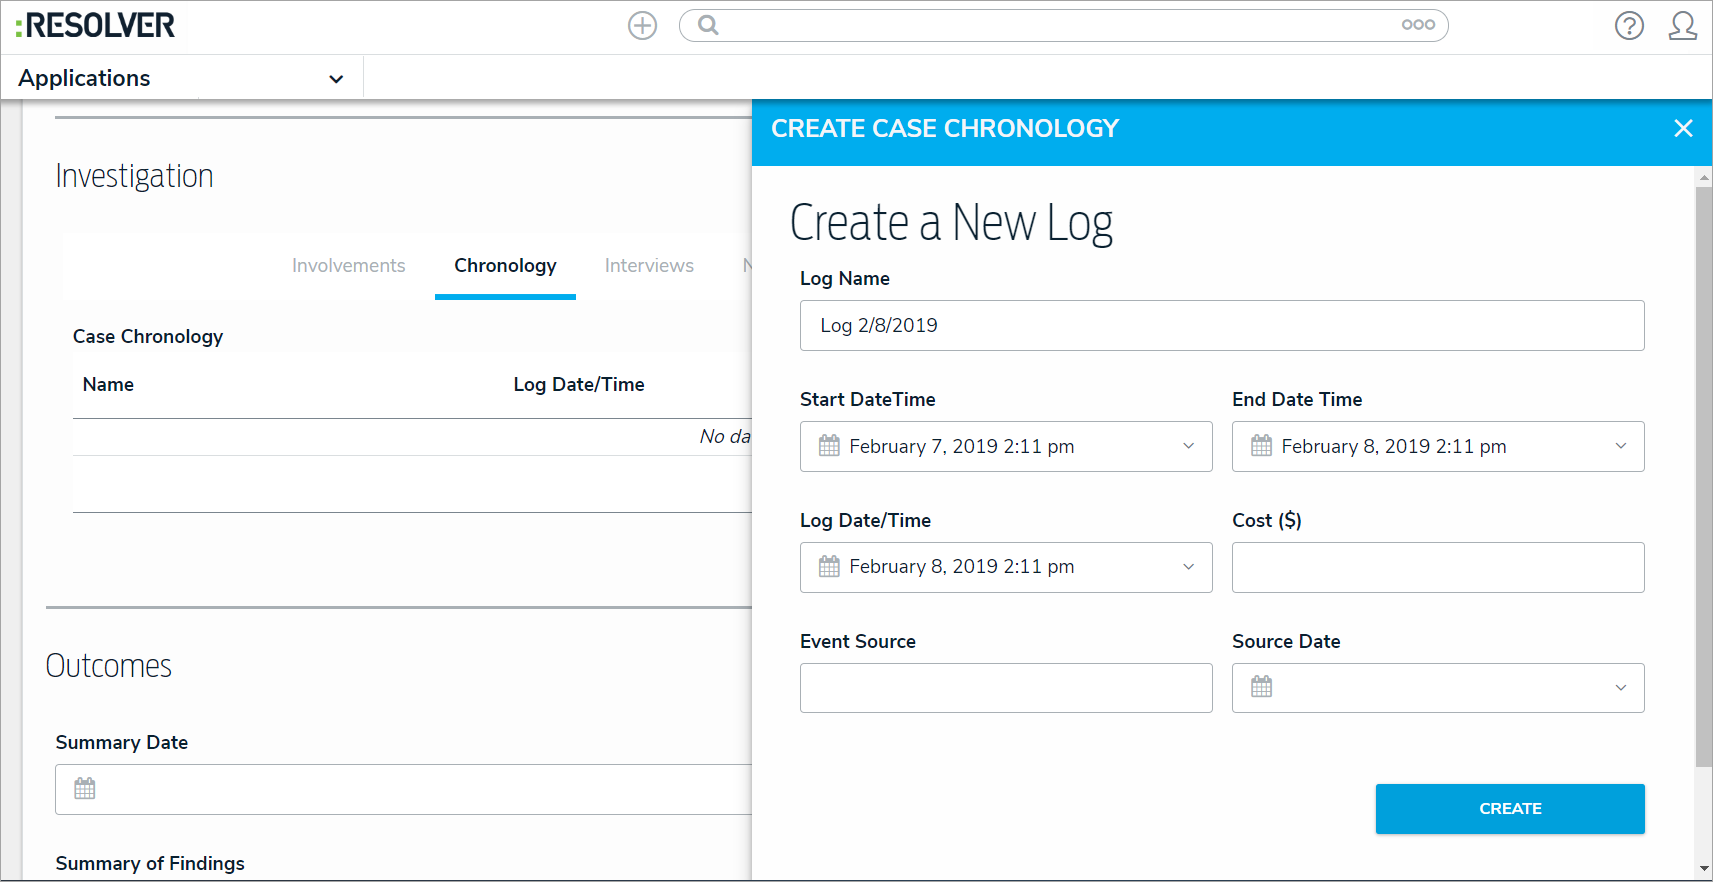
- Click the + icon in the Investigation field, then click the tabs to optionally add new information to the case. Click + to open the creation palette in the desired tab, then complete the fields as required. You may not be able to update certain tabs, depending on your user permissions. To add an attachment, click Attachments, then begin typing in the search bar to find an existing file, or click + to add a new file from your machine.
 Click + in the Chronology tab to open the creation palette.
 Optional: Add a summary of your investigation findings. Click Summary Date to open the calendar and select the correct date. Then click Summary of Findings and add information on the investigation results and case disposition.
Click one of the following buttons:
Open: Move the case to the Open workflow state.
Close: Move the case to the Closed workflow state.
Done: Save your changes without transitioning the case.


