Overview
The Email Ingestion feature allows Administrators to create new email addresses to generate new objects and automatically map data from submitted emails to object fields. Administrators can also customize who is notified when submitters reply via email. To enable the Email Ingestion feature, an Administrator must create new email settings and object types.
User Account Requirements
The user account you use to log into Resolver must have Administrator permission to access the Email Settings tile.
Related Information/Setup
Please refer to the Using Two-way Email article for instructions for enabling that feature on an object type.
Navigation
- From the Home screen, click the Administration icon.
![]()
Administration Icon
- From the Administrator settings menu, click Admin Overview.
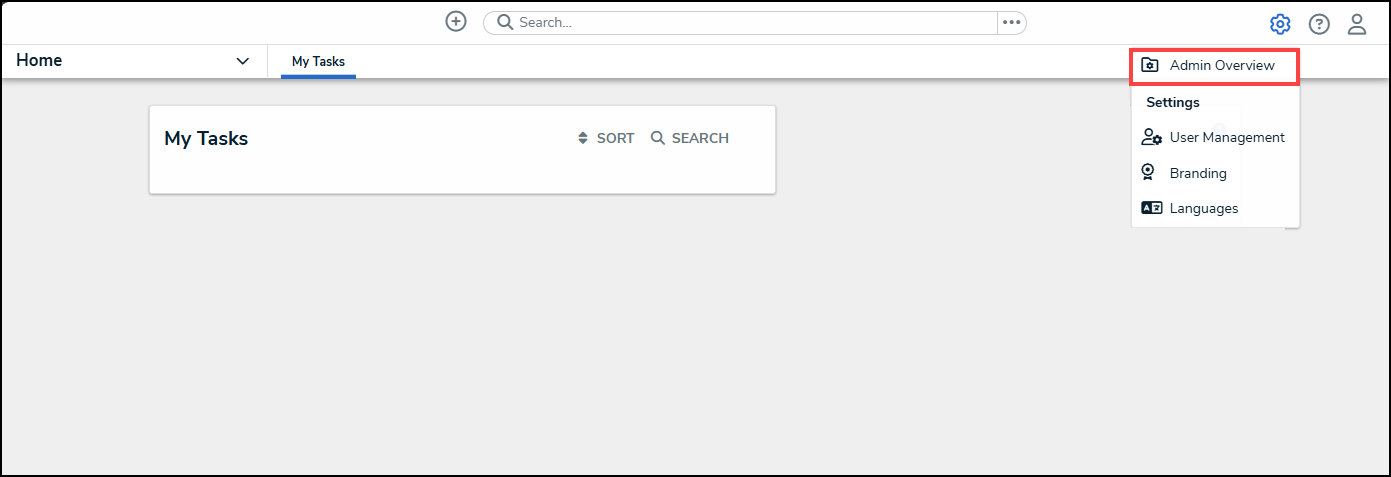
Administrator Settings Menu
- From the Admin Overview screen, click the Email Settings tile under the Communications section.


Email Settings Tile
- From the Email Settings screen, click the Create Email Setting button.

Create Email Setting Button
Creating a New Email Address
An email address can only be generated once an Administrator selects an object type, workflow trigger, role, and user assignment. Entering information into these fields determines what type of object gets generated by this email address and what happens after creation.
- From the Email Settings screen, enter a name for the new email setting in the Name field. The Name field has a maximum character limit of 50 characters.

Name Field
- (Optional): Enter a brief description outlining the email address's intended use in the Description field.

Description Field
- Select an object type from the Object Type drop-down menu. The selected object type determines the type of object (e.g., activity) that is created by the email. You can edit the object type field after the email address is created. Selecting an object type will unlock the workflow trigger, role fields, and the Email Data section.

Object Type Drop-down Menu
- Select a workflow trigger from the Workflow Trigger drop-down menu. The workflow trigger indicates at which workflow state the email is generated (e.g., Submit, etc.).

Workflow Trigger Drop-down Menu
- Select a role from the Role drop-down menu. The role selected is assigned the object generated by the incoming email. The Auto Assign to field will unlock after a role is selected.

Role Drop-down Menu
- From the Auto Assign to drop-down menu, select a user or user group that will be assigned to the created object. Objects can be assigned to multiple users or user groups.

Auto Assign To Drop-down Menu
- The Email Data section allows Administrators to map email data to applicable fields on the generated objects. The following are optional fields for additional configuration:
- From the Sent Date drop-down menu, select a sent date option to be used as the date the email was sent (e.g., Expiry Date, Start Date, etc.).
- From the From Address drop-down menu, select a from address option for the email.
- From the To Address drop-down menu, select a to address option for the email.
- From the Subject drop-down menu, select an email subject option. The email subject field will be populated using the content from the selected subject option.
 Warning:
Generating an email without mapping the email's Body and Subject will result in a blank object, and the report content may not be saved. - From the Attachment drop-down menu, select an attachment option to include the attachments within the email.
- Observational attachments
- Outcome attachments
Please adhere to the following attachment restrictions:
- Only one attachment field can be used.
- An Org can have a maximum of 100 email settings.
- Emails have a maximum of 30 MB, including all content, headers, attachments, etc.
- Emails can only be exchanged on an object originated by email between Resolver users <> submitter.
- Attachment fields are the only fields that will continue to map values in subsequent submitter replies.
- From the Attach Message as EML File field, select the Yes button to attach attachments to the email using the EML (Electronic Mail or Email) file extension that uses the Internal Message format protocol.
Note:
If this email is in response to a two-way communication, the message EML file will not be attached when the submitter opts to remain confidential, even if Yes is selected. - From the Email Confirmation Template drop-down menu, select an email template to return an automatic confirmation message back to the sender using the selected template.
- The Body field is the only mandatory field which must be mapped. Select an email body option from the Body drop-down menu. The body of the email will be created using information from the option selected.

Body Drop-down Menu
Warning:
Generating an email without mapping the email's Body and Subject will result in a blank object, and the report content may not be saved.
 Warning:

- Scroll back to the Email Settings section and click the Generate button to generate a system-assigned email address. The system-generated email address cannot be edited. The email will be created using the Name field value and a unique 16-character string of random alphanumeric values.

Generate Button
- After the email address is generated, the Generate button will become a Copy button, allowing users to copy the email address to the PC clipboard.
- Scroll to the Notification for New Replies section to customize a state's action and indicate which workflow trigger is initiated based on email replies from a submitter. The state fields on the Notification for New Replies section will differ based on the object type selected in the Object Type field.
- To configure a state field, click the drop-down menu and select an action for the state.
- After adding actions to states, click the Done button to save your changes and return to the previous screen.

Done Button
- Click the Delete icon to delete the email settings. Deleting an email setting prevents further communications between the email submitter and an Administrator.
Warning:
Resolver recommends never deleting an email setting once it's in use. For additional guidance, please contact Resolver Support.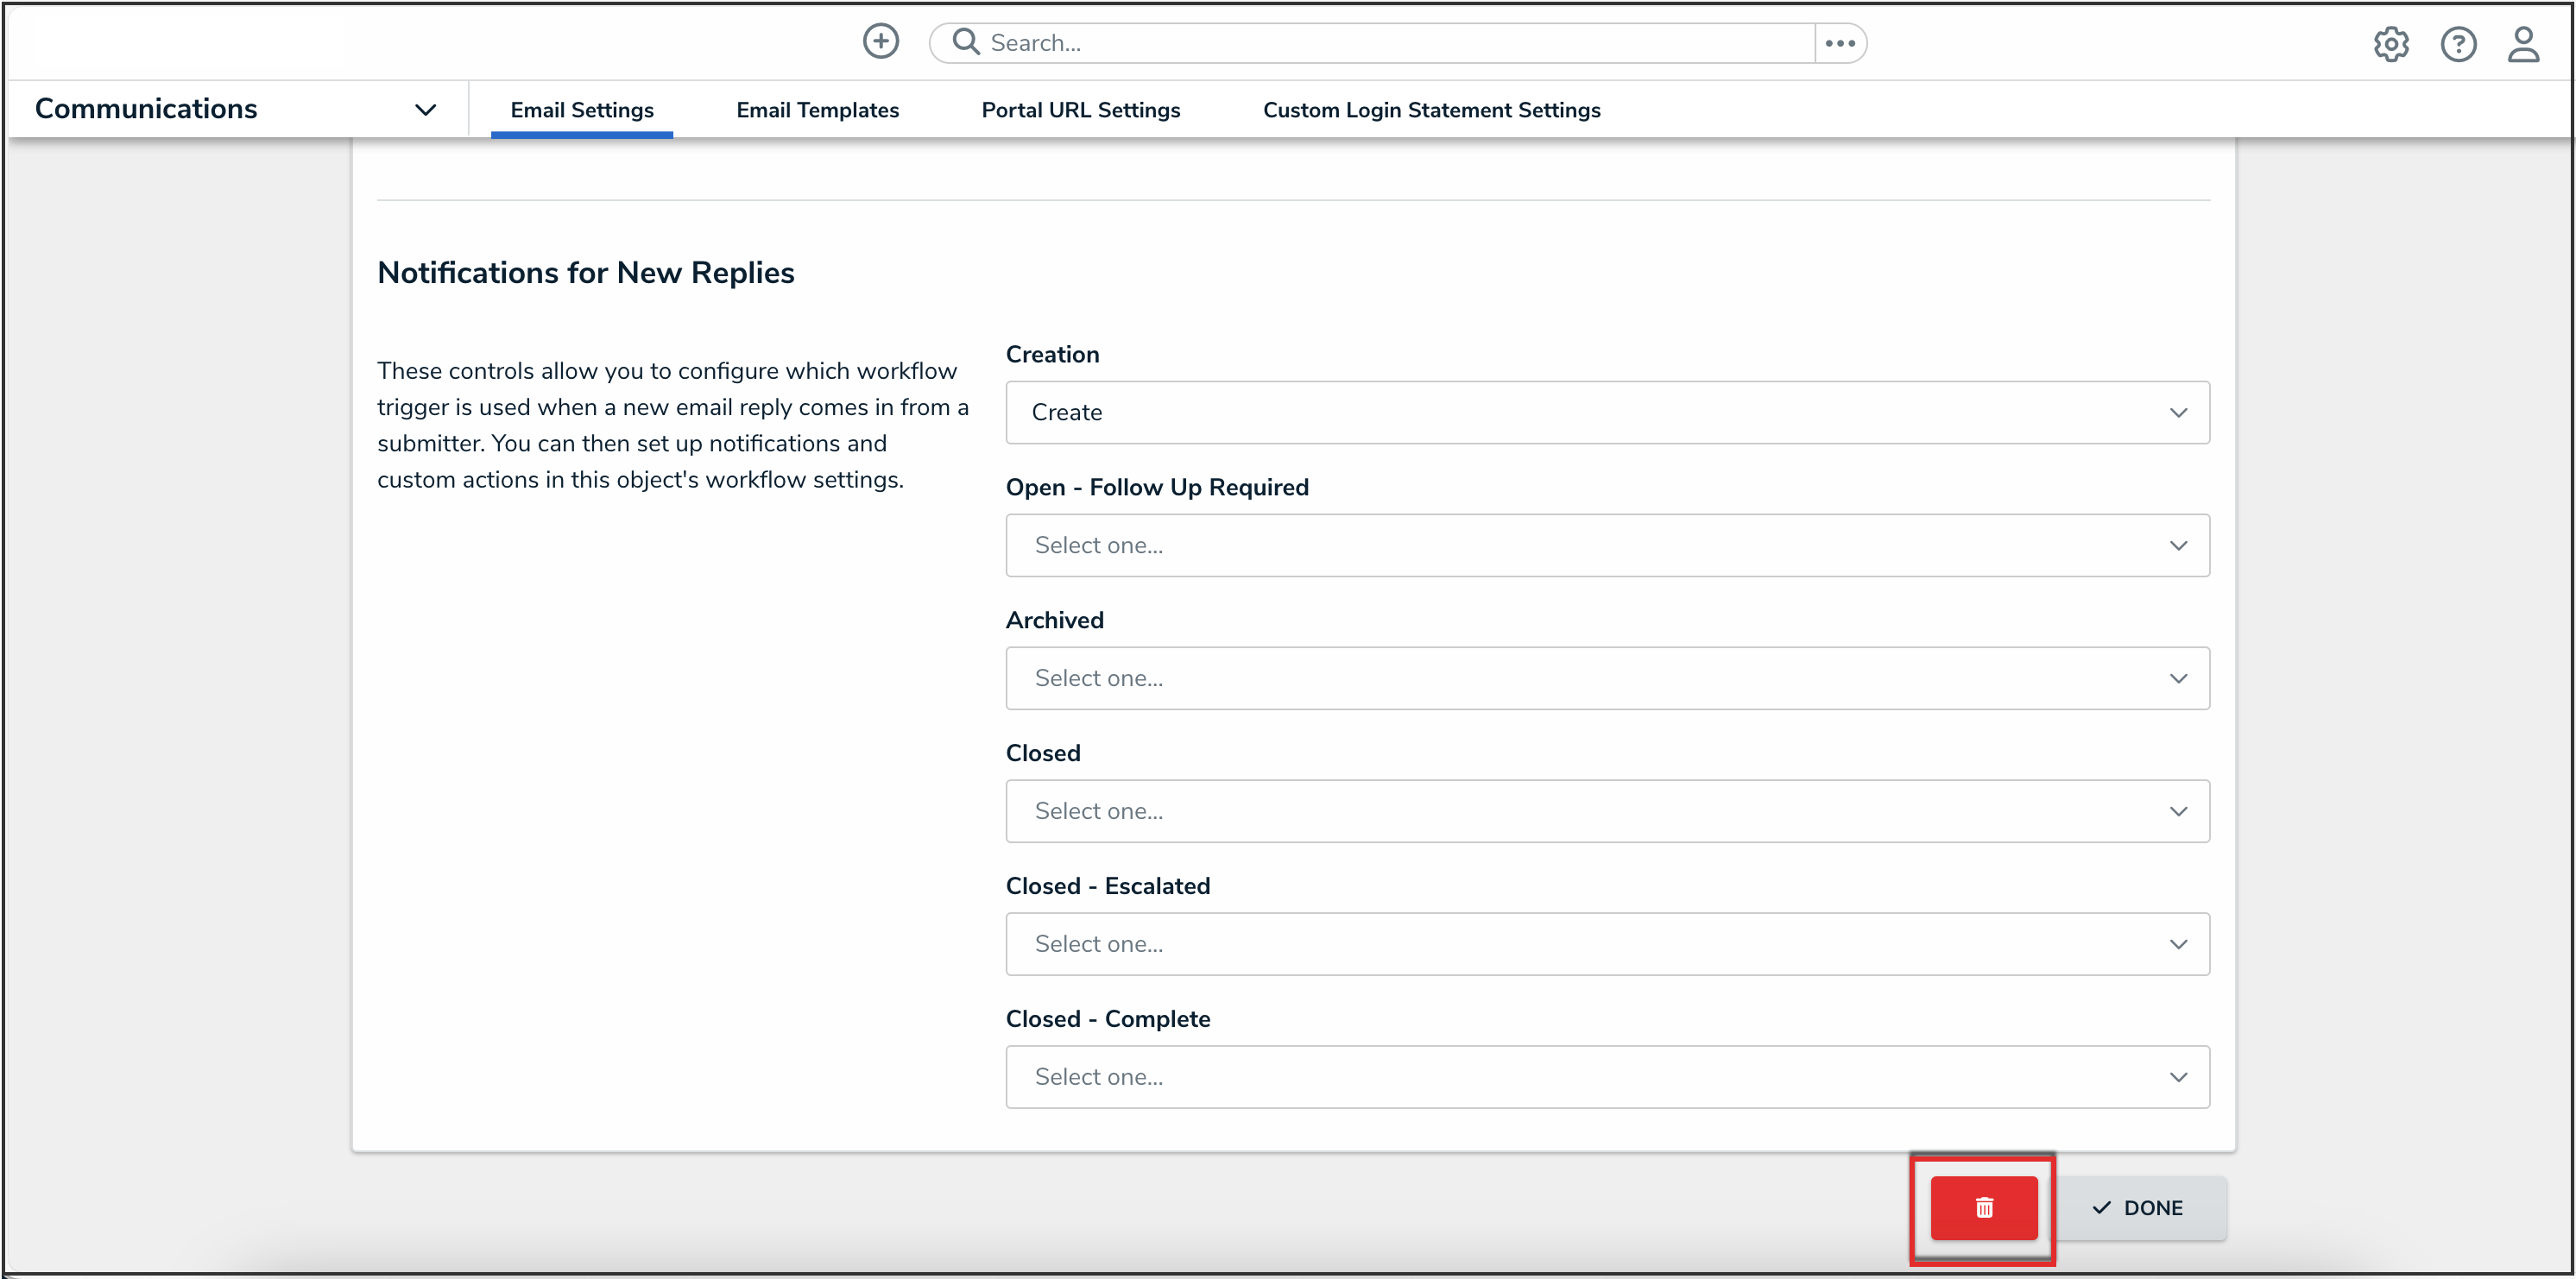
Delete Icon
