Overview
Administrators now have greater control over how filters are displayed during assessment scoping by configuring which filters appear for each object type, helping users focus on the most relevant items when confirming the scope of an assessment.
Related Information/Setup
For further information on scoping an assessment, refer to the Scope and Launch an Assessment article.
User Account Requirements
The user must have Administrator permissions to access the Assessments tile.
Navigation
-
From the Home screen, click the Administration icon.
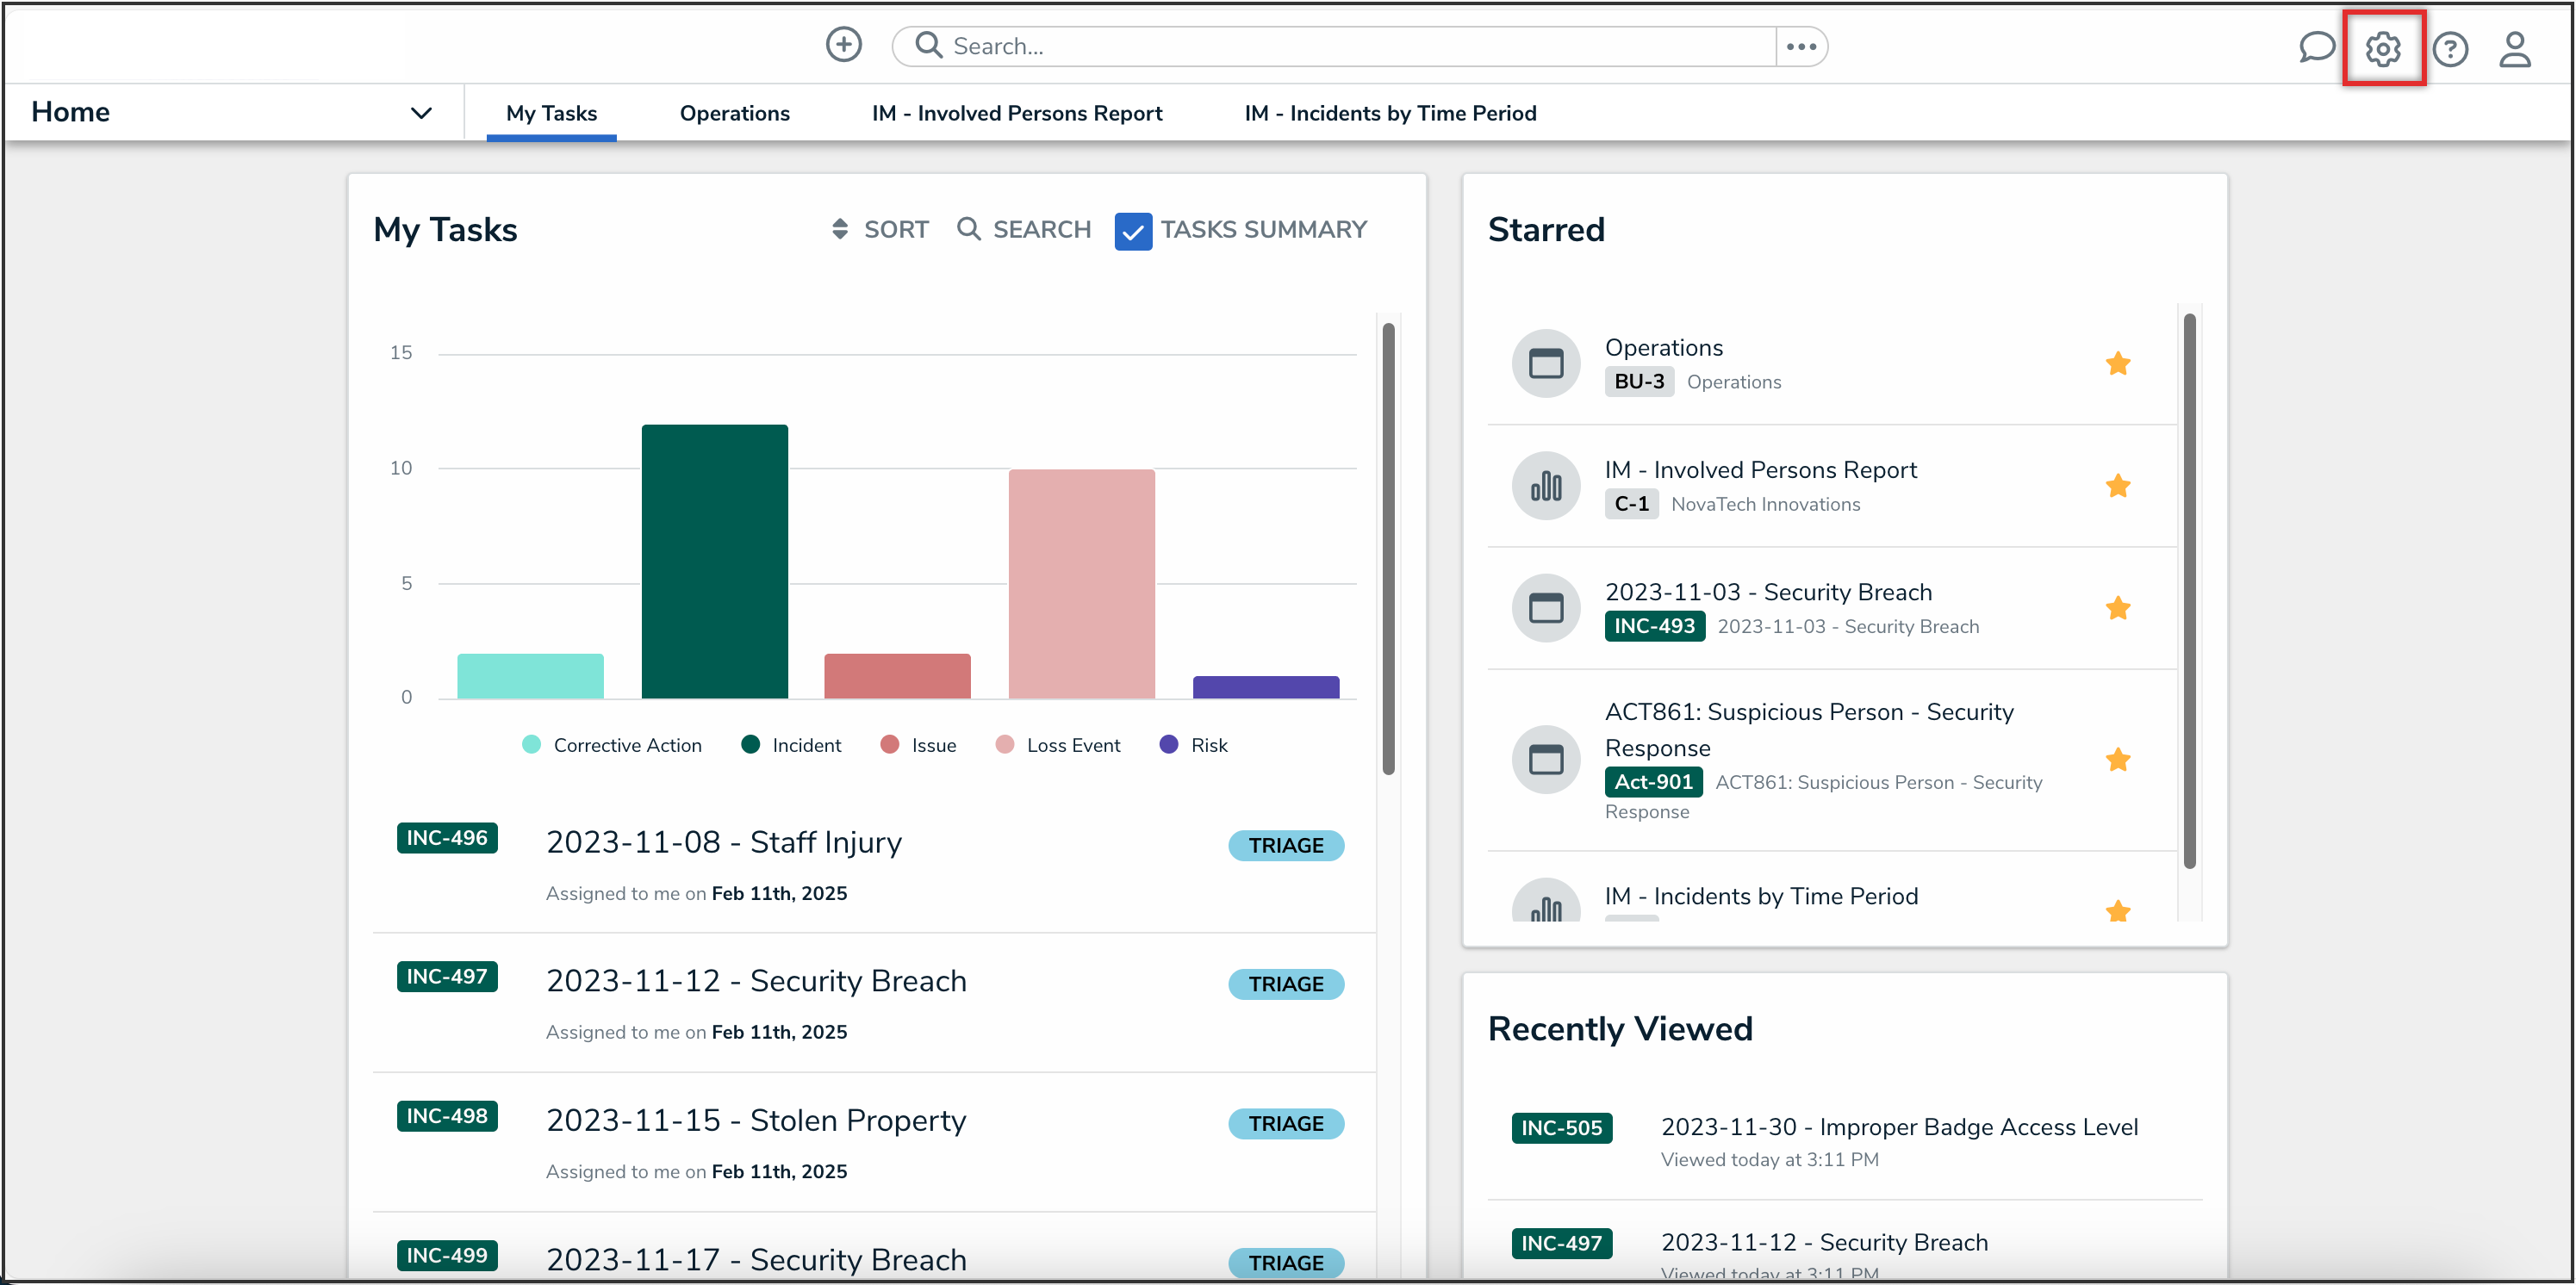
Administration Icon

- From the Administrator settings menu, click the Admin Overview link.
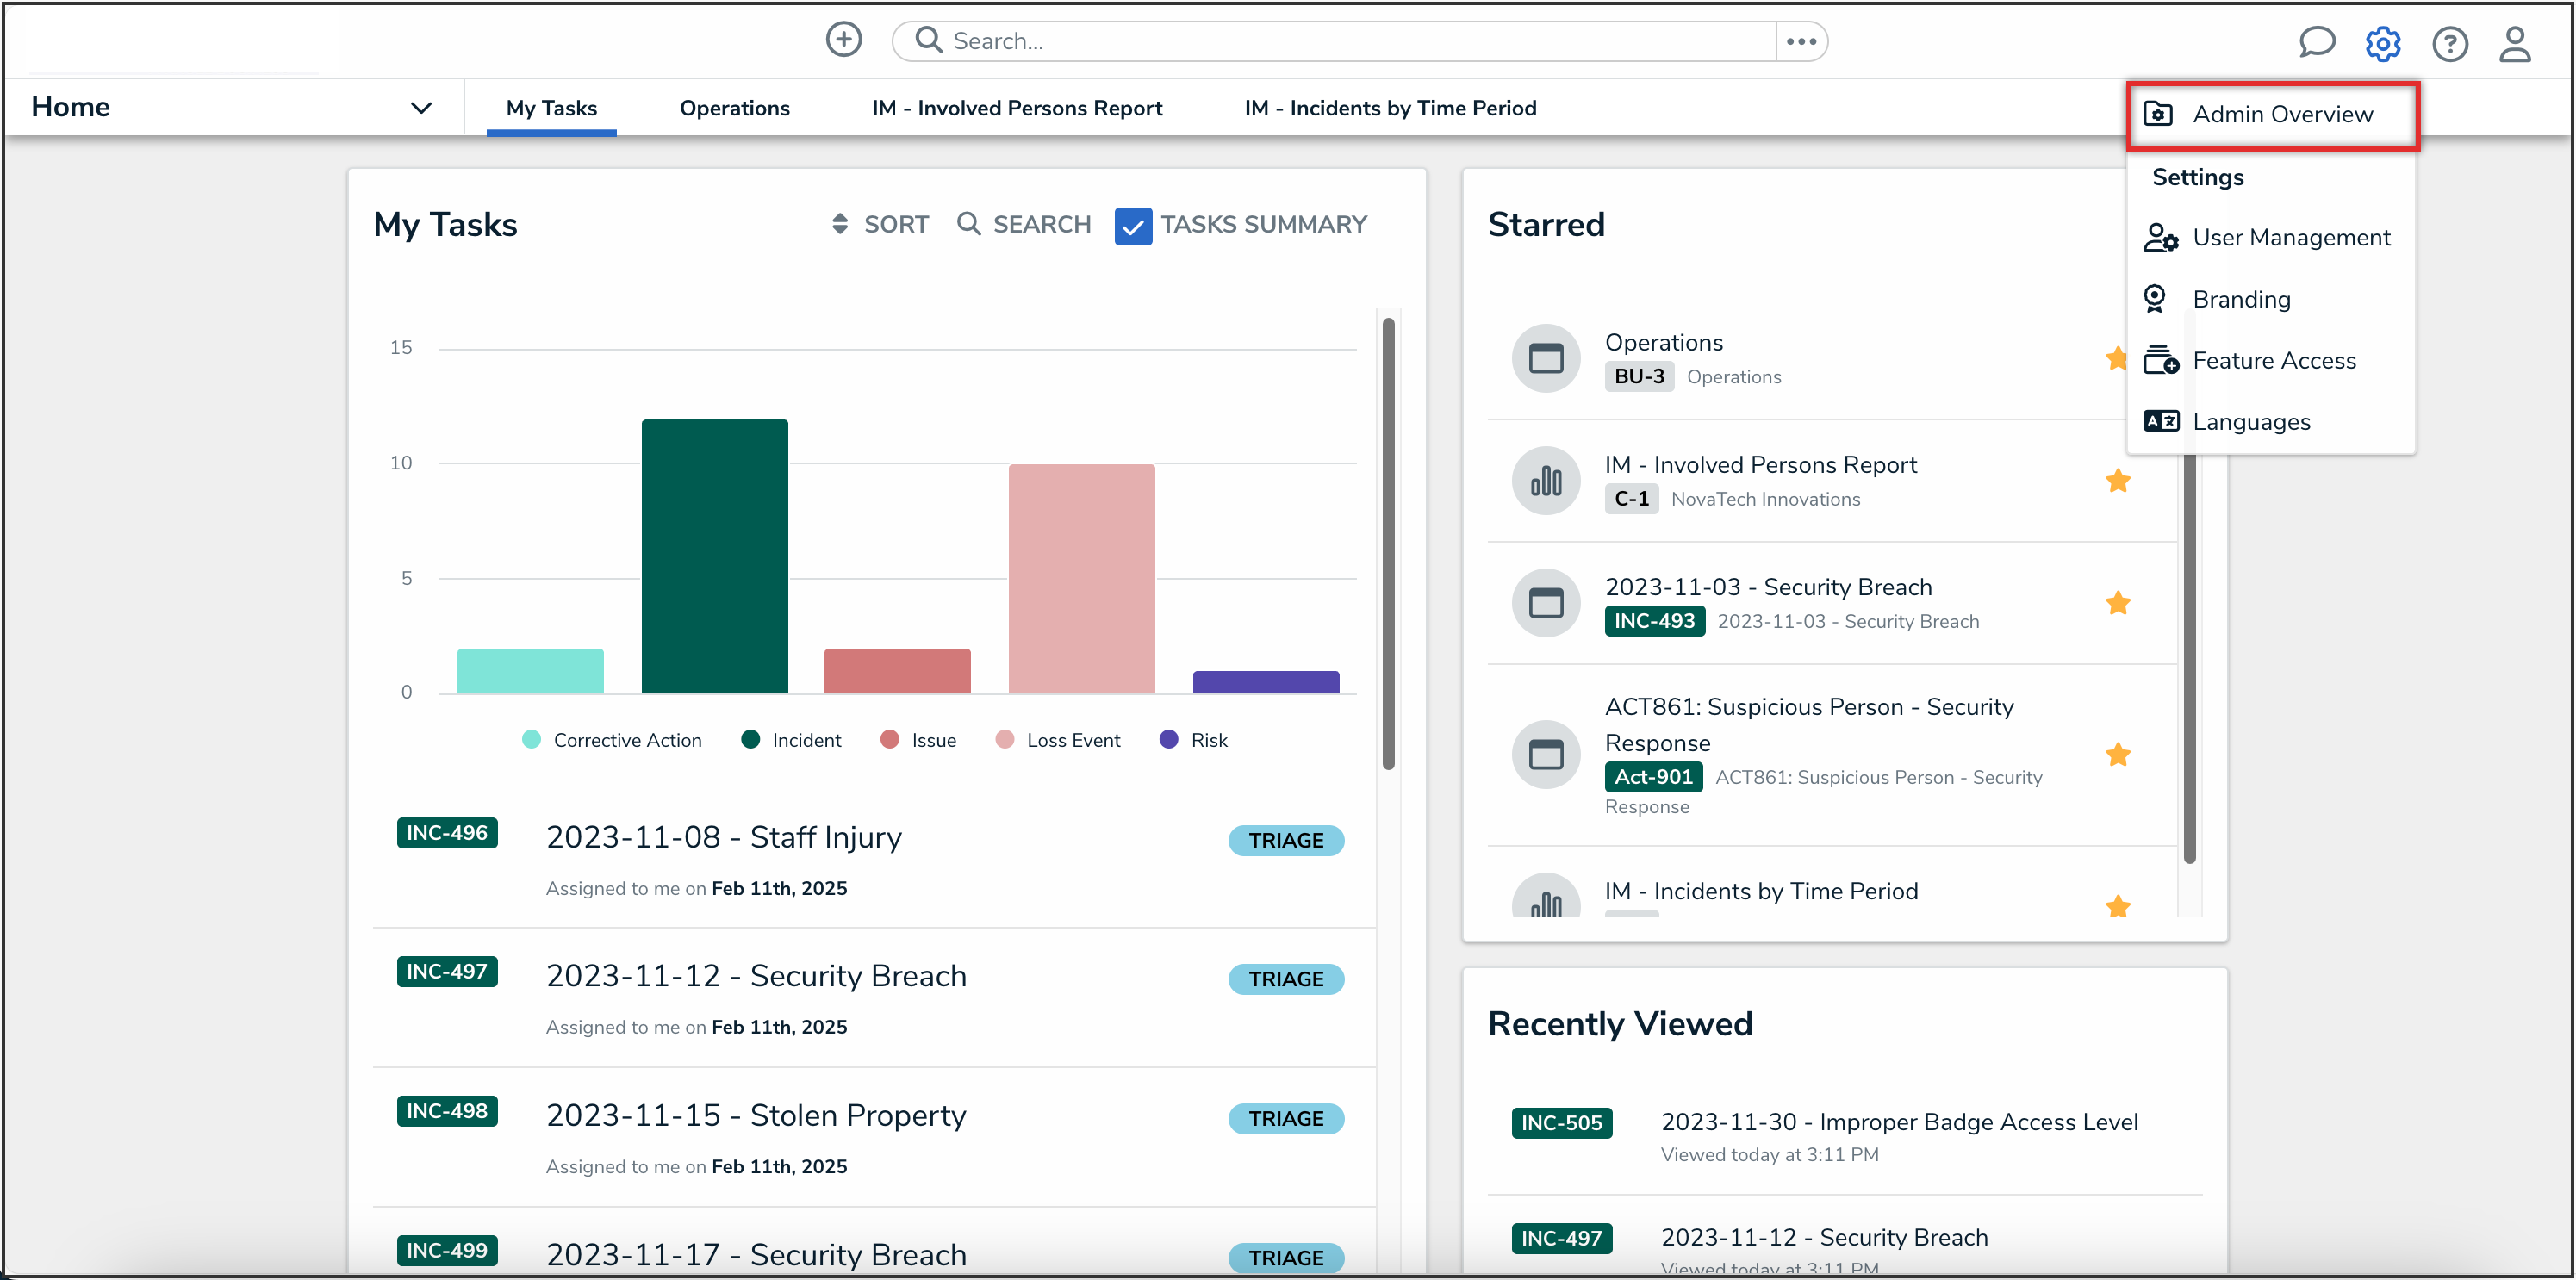
Admin Overview Link

- From the Admin Overview screen, click the Assessments tile under the Data Model section.
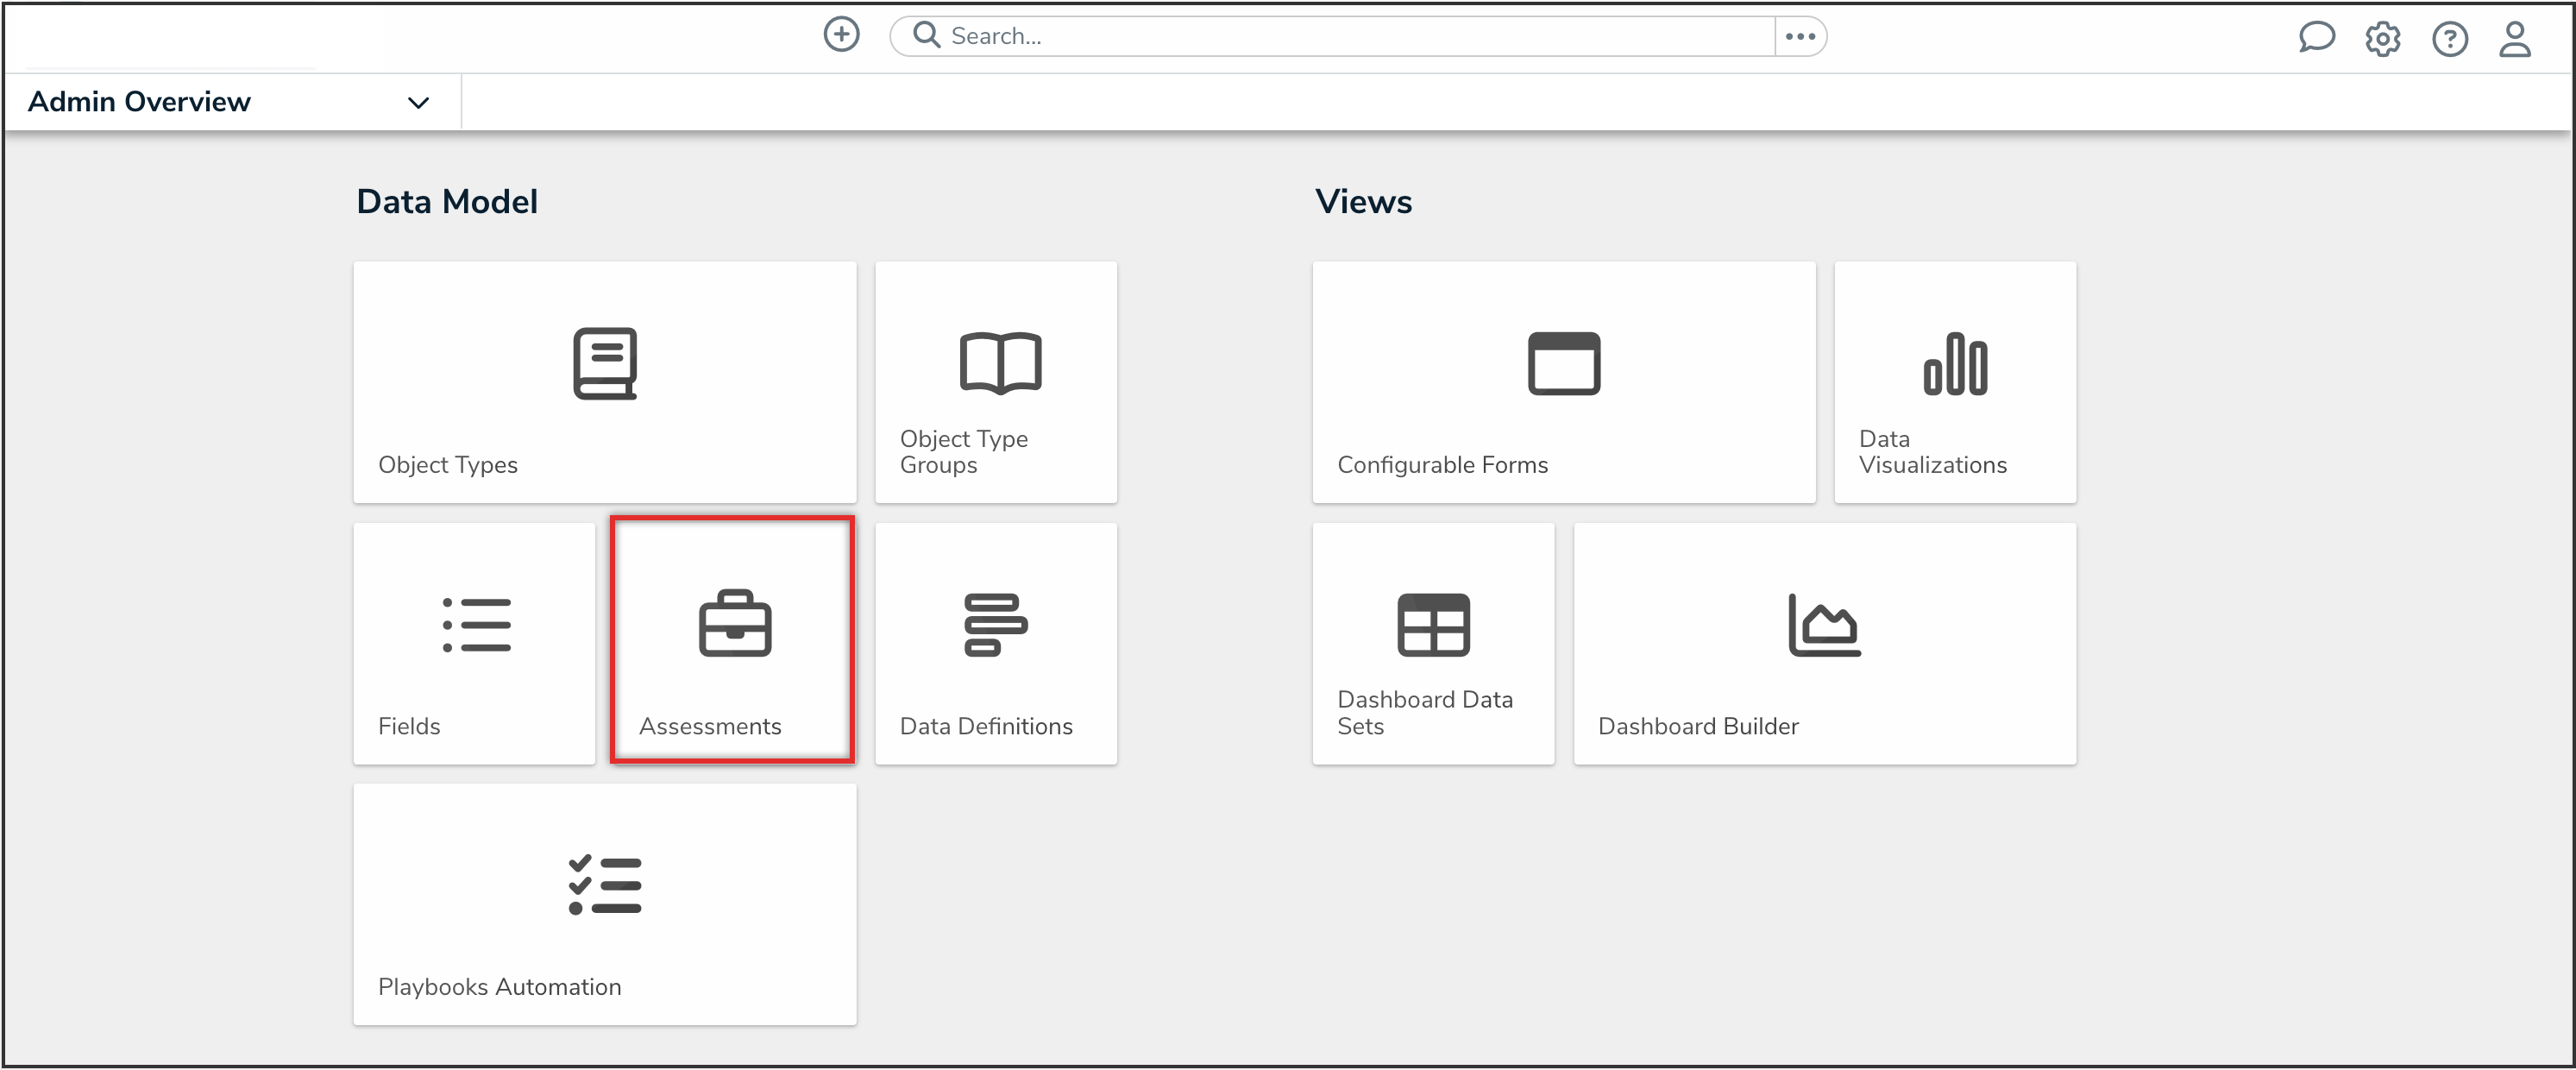
Assessments Tile

- From the Admin: Assessments screen, from the list of assessment types, click the assessment type that you want to scoping filters to.
Configuring Filters for Scoping Assessments
-
On the Admin: Edit Assessment screen, from the Configuration tab, click the Edit Filtering Options icon under the Filtering Options column.
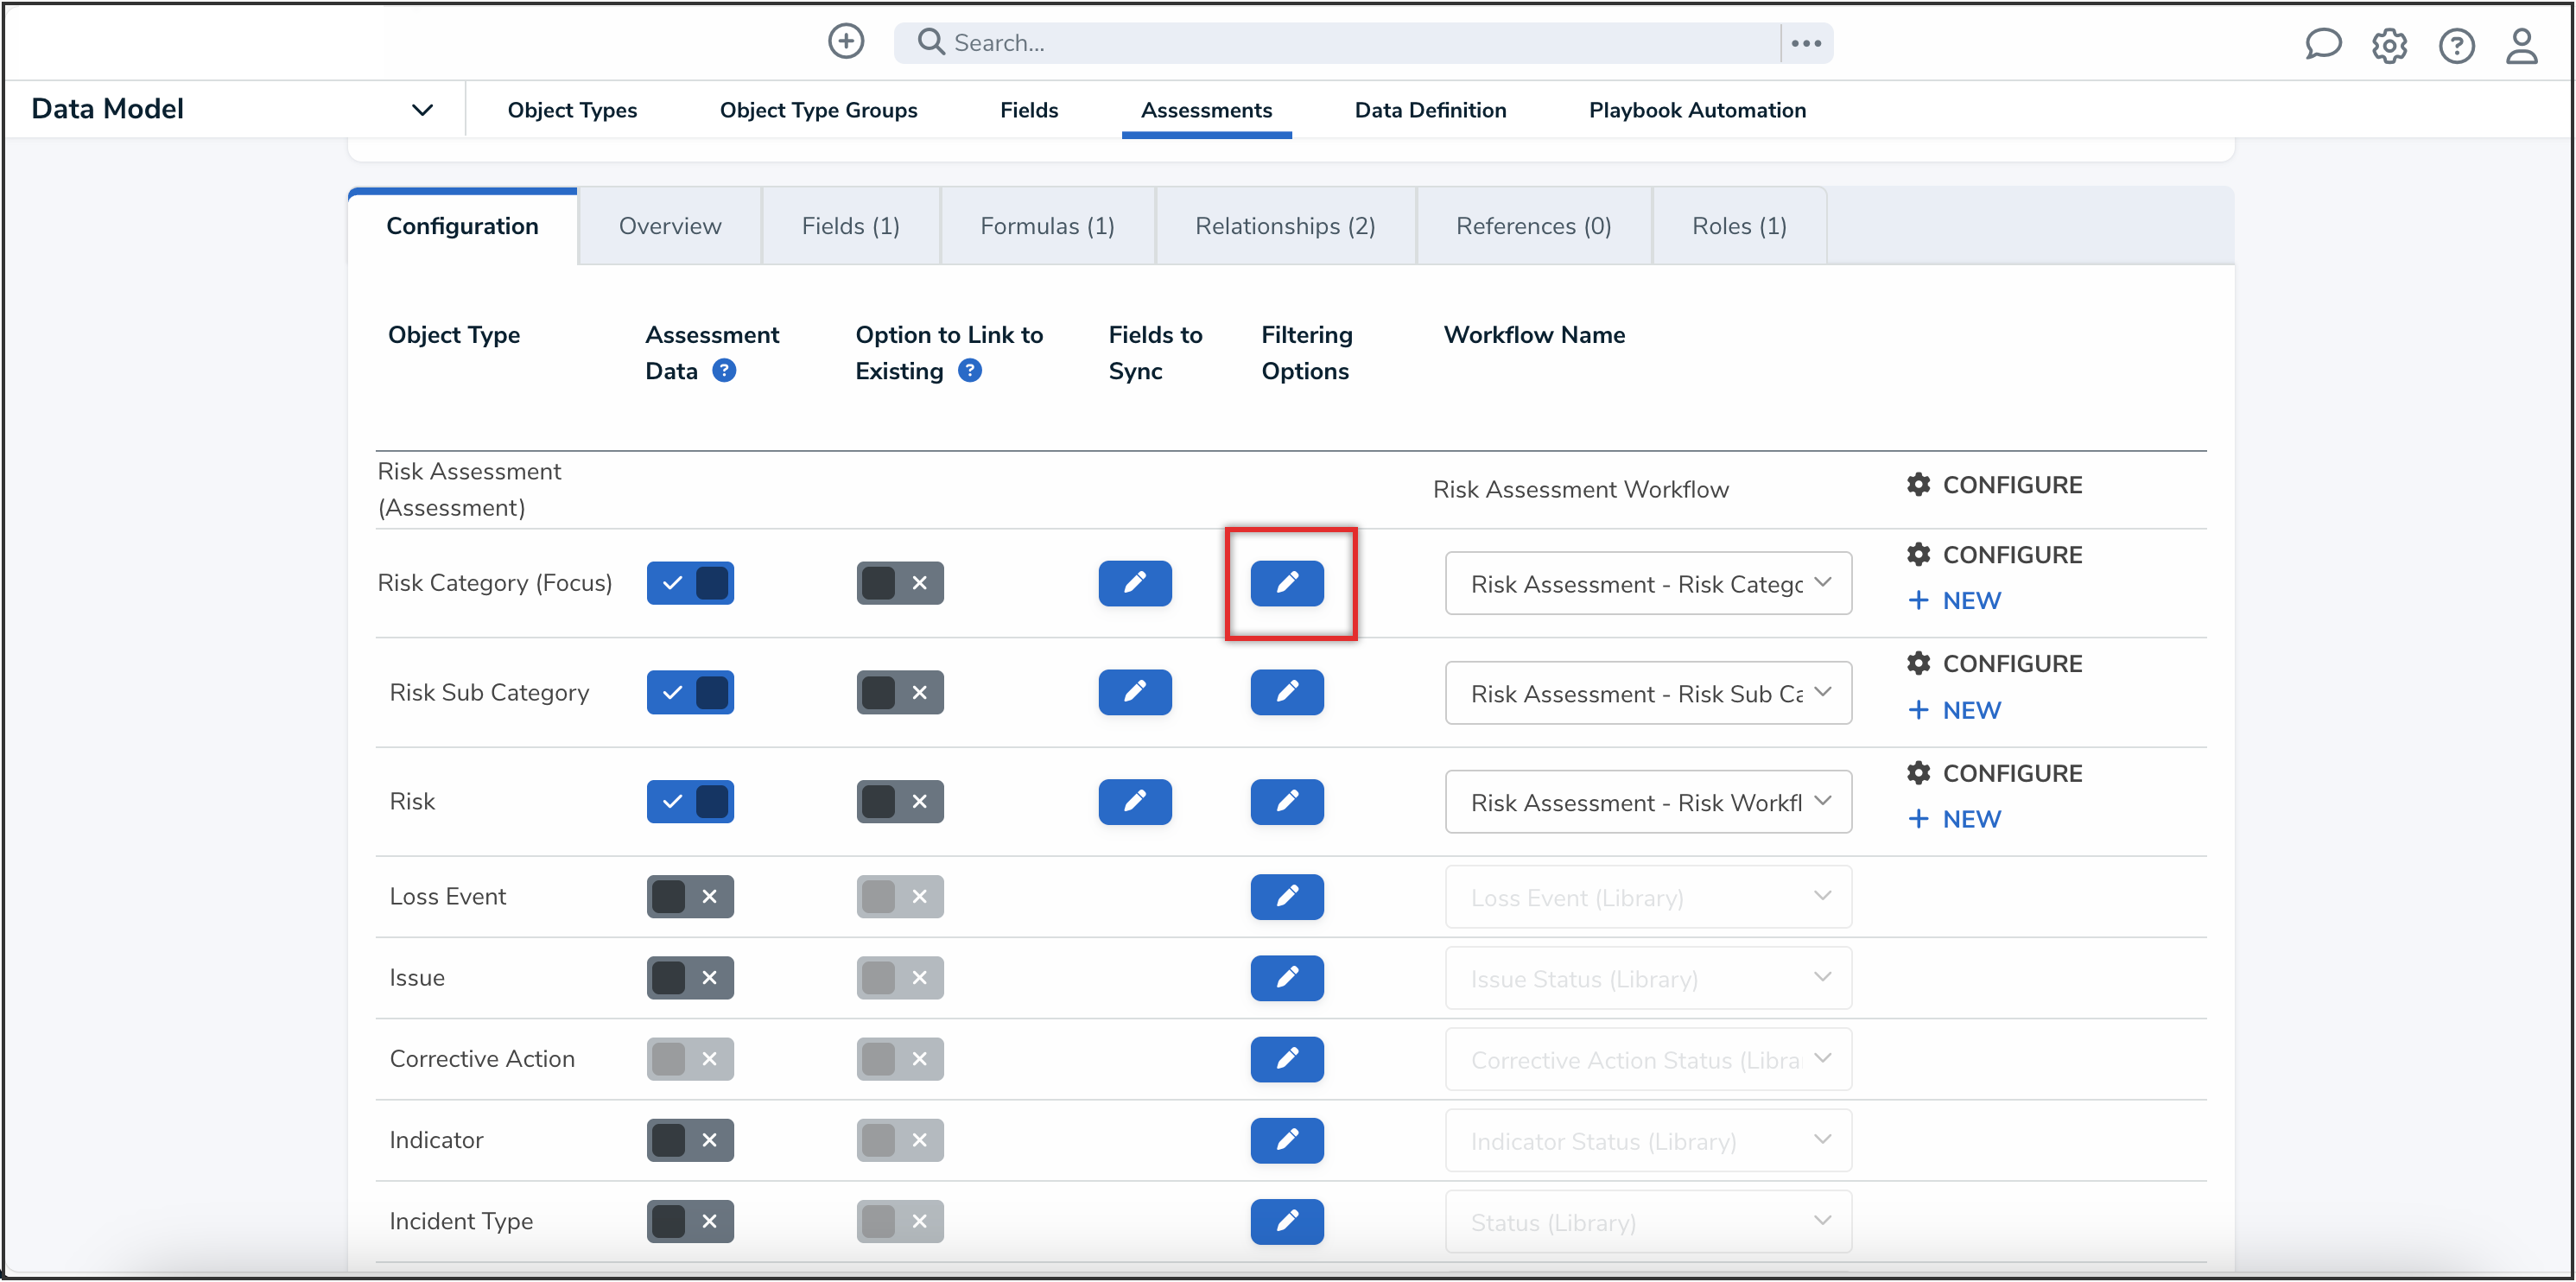
Edit Filtering Options Icon
- From the Pick Filter Options to Add dropdown, search and select filters to add to the assessment scope.
- To remove a filter from the assessment scope, click it again to deselect the filter.
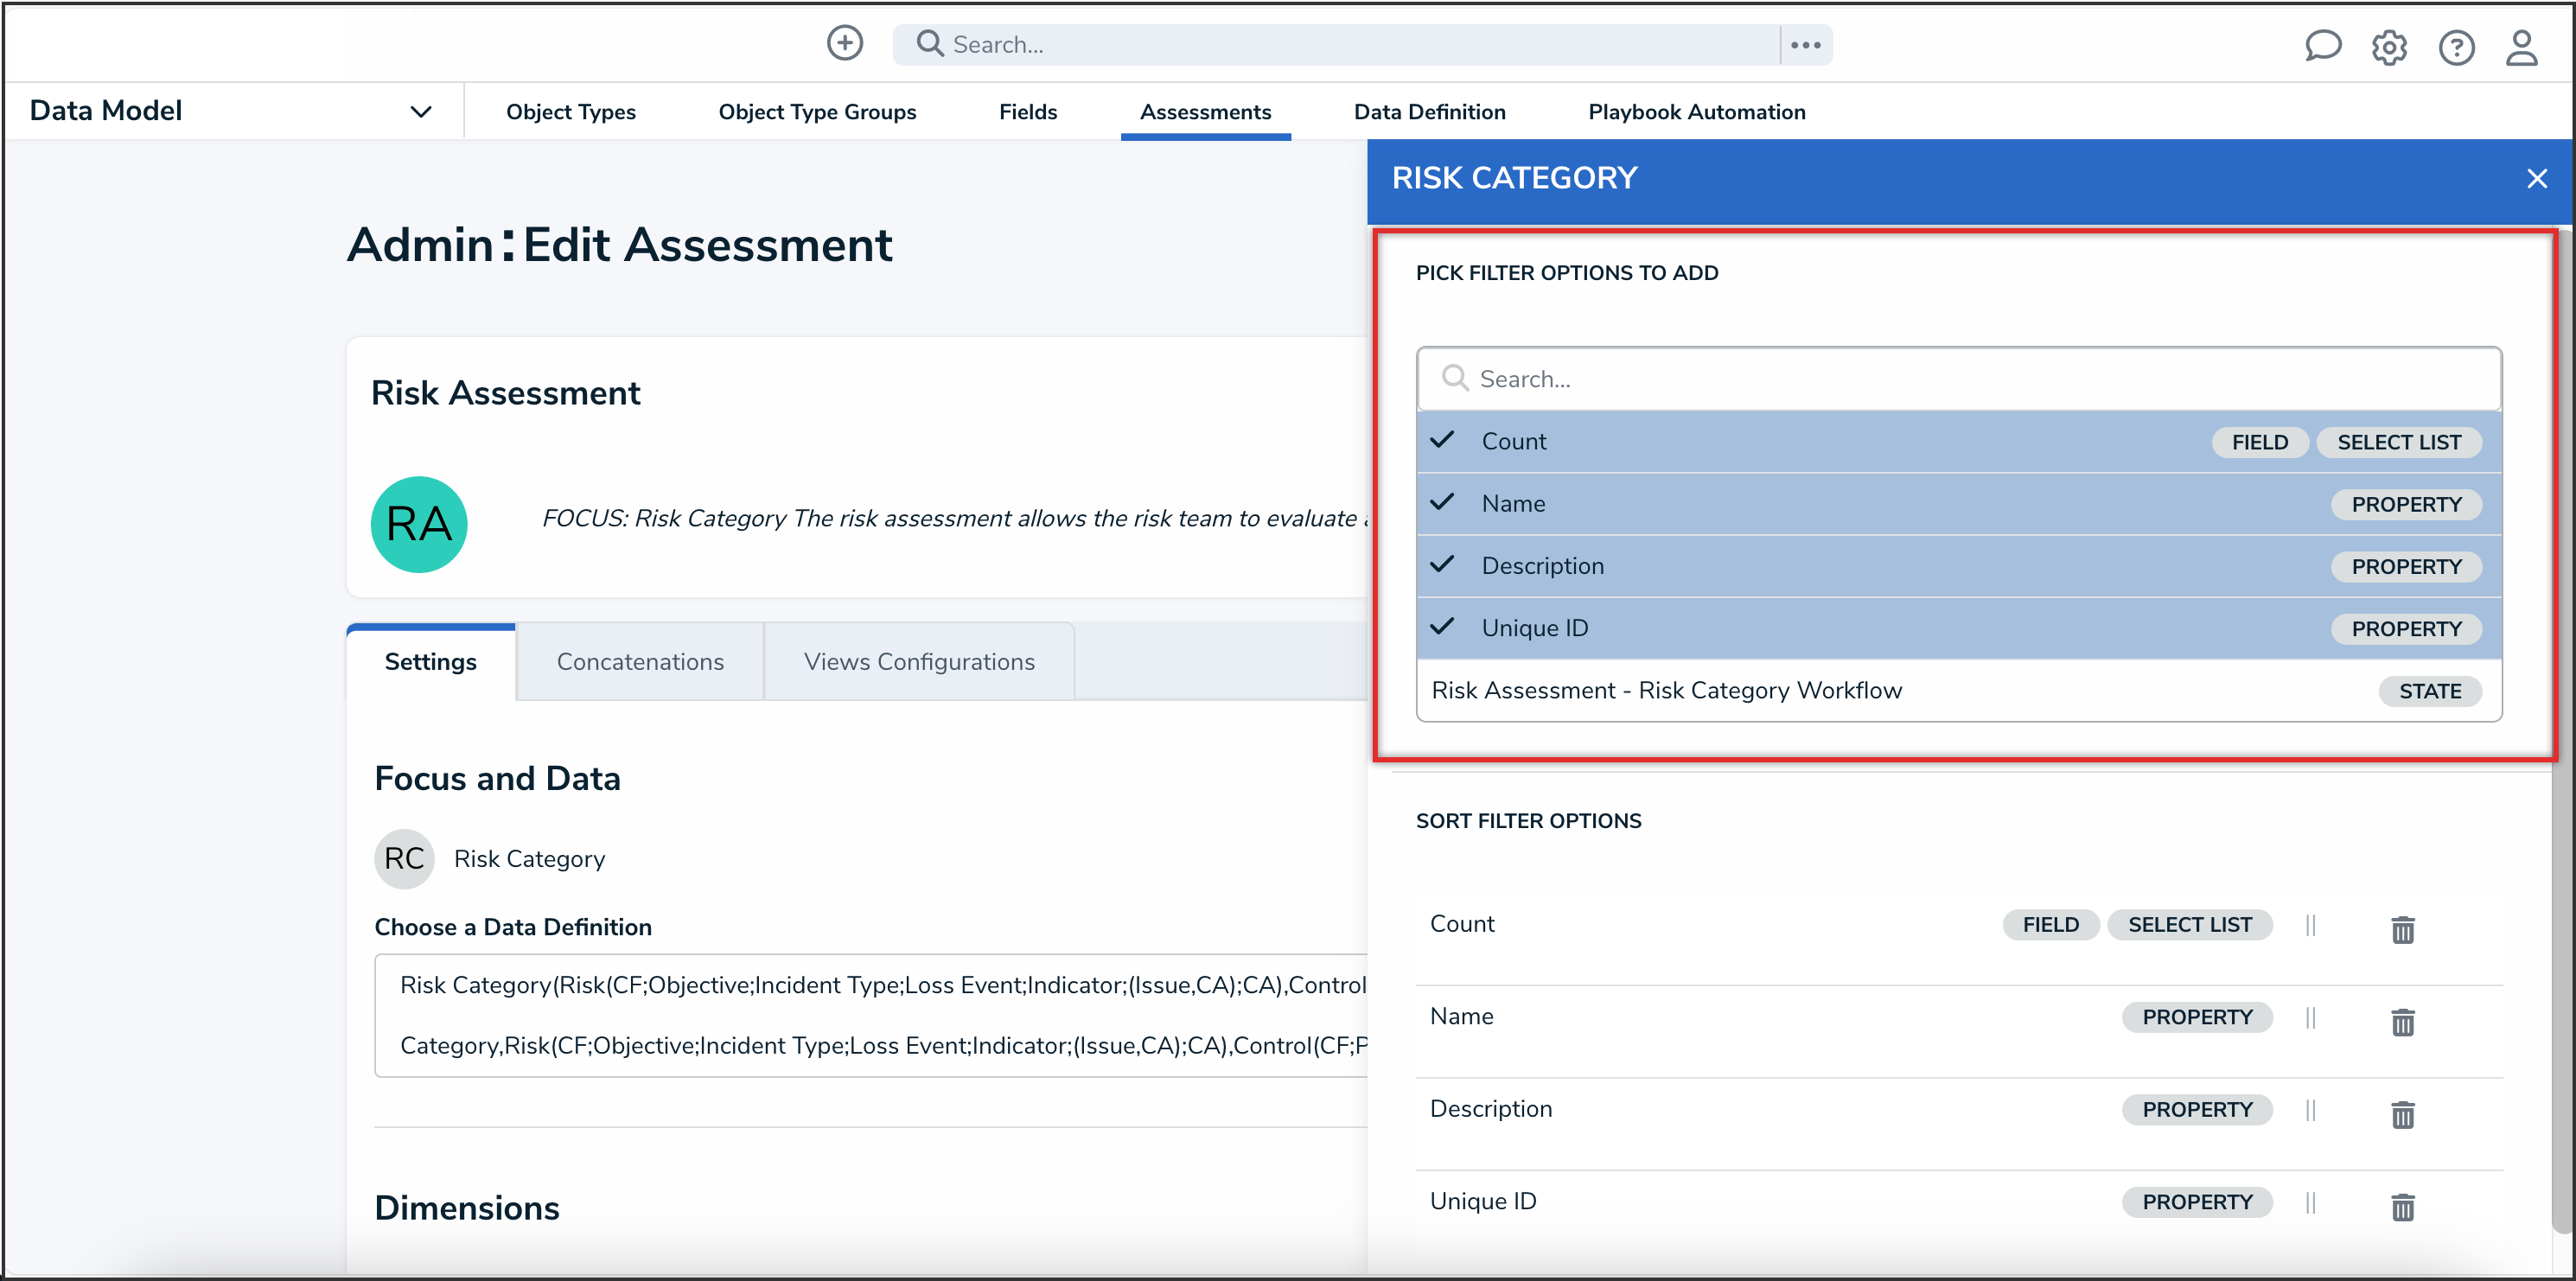
Pick Filter Options to Add Dropdown

- (Optional): From the Sort Filter Options section, click the Reorder icon to drag the filters into the order you would like them to appear on the assessment scope.
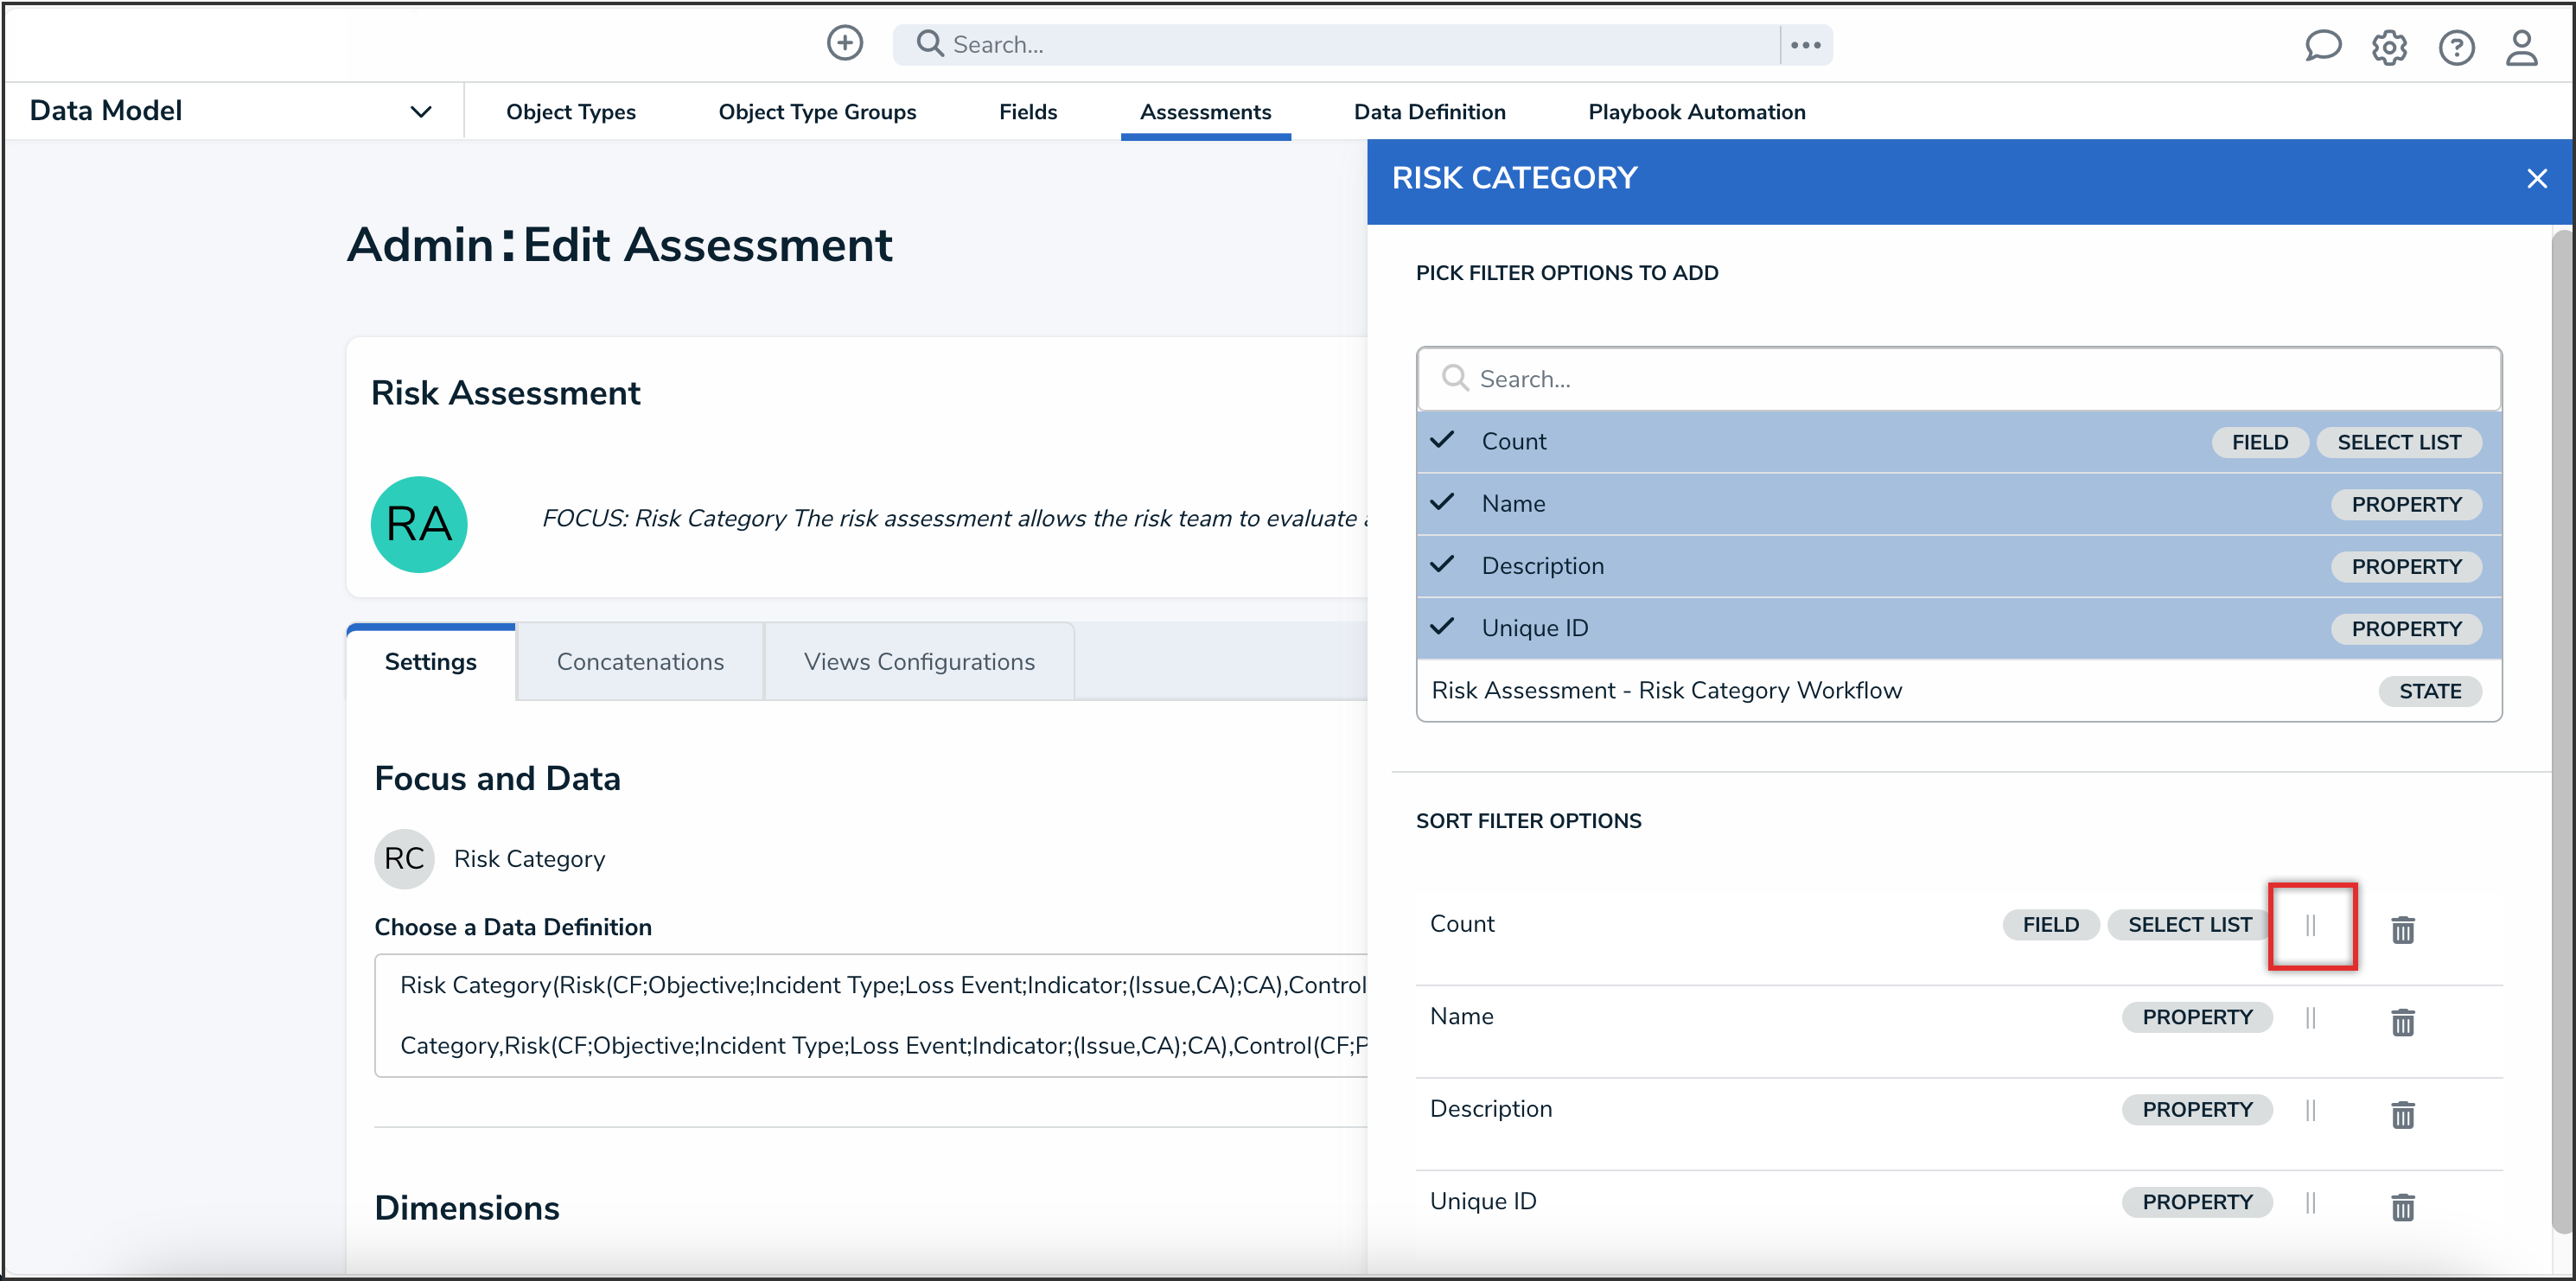
Reorder Icon

- (Optional): From the Sort Filter Options section, click the Delete icon to delete the filter from the assessment scope.

Delete Icon
