After a Risk Owner submits a risk, it will be moved to the Triage workflow state and must be either accepted or rejected by a member of the Risk Team user group. As a member of the Risk Team, risks that have been submitted for your review will appear either on the My Tasks page or the Risks section of the library's Risks tab. 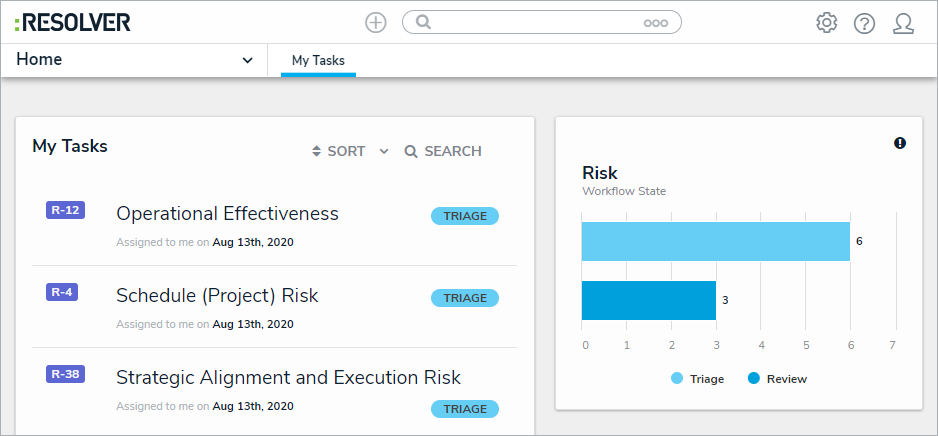 Triaged risks on the My Tasks page.
To review risks in the Triage state:
Log into a user account that's been added to the Risk Team user group to display the My Tasks page.
Click a risk in the Triage workflow state to display the Risk Triage form.
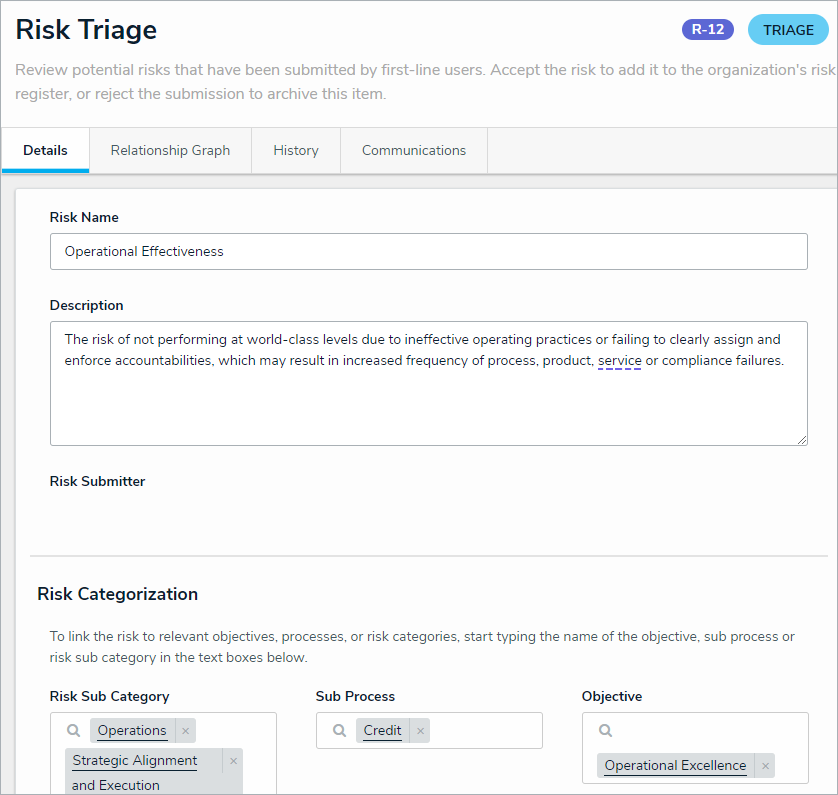 The Risk Triage form.
Optional: Edit the Risk Name and Description fields as required.
In the Risk Categorization section, begin typing keywords in the Risk Sub Category, Sub Process, and Objective fields and select an appropriate object in each. A risk can be linked to multiple risk sub categories, sub processes, and Objectives.
In the Controls section, perform one or both of the following actions:
Click Add Existing Controls, begin typing keywords in the search field, then click Add on the controls you wish to attach this risk to.
Click + Create New Control to open the Create a New Control dialogue and fill in the fields as required.
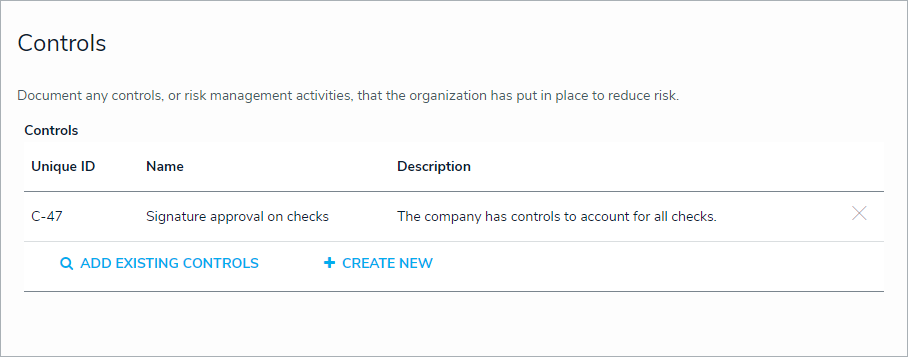 The Controls section.
Optional: Add comments, as needed.
When you have finished reviewing the risk, perform one of the following actions:
Click Archive to send the risk to the Archived workflow state without approving it.
Click Accept Risk to approve the risk and make it selectable on risk assessments.

