Overview
The Data Management Audit Trail feature lists all object changes made in an Org.
User Account Requirements
The user account you use to log into Resolver must have Administrator or advanced permissions to use the Data Management Audit Trail feature.
Related Information/Setup
Please refer to the Exporting Data Management Audit Trail Records article for information on exporting records from the Data Management Audit Trail.
Navigation
- From the Home screen, click the Administration icon.
![]()
Administration Icon
- From the Administrator settings menu, click Admin Overview.
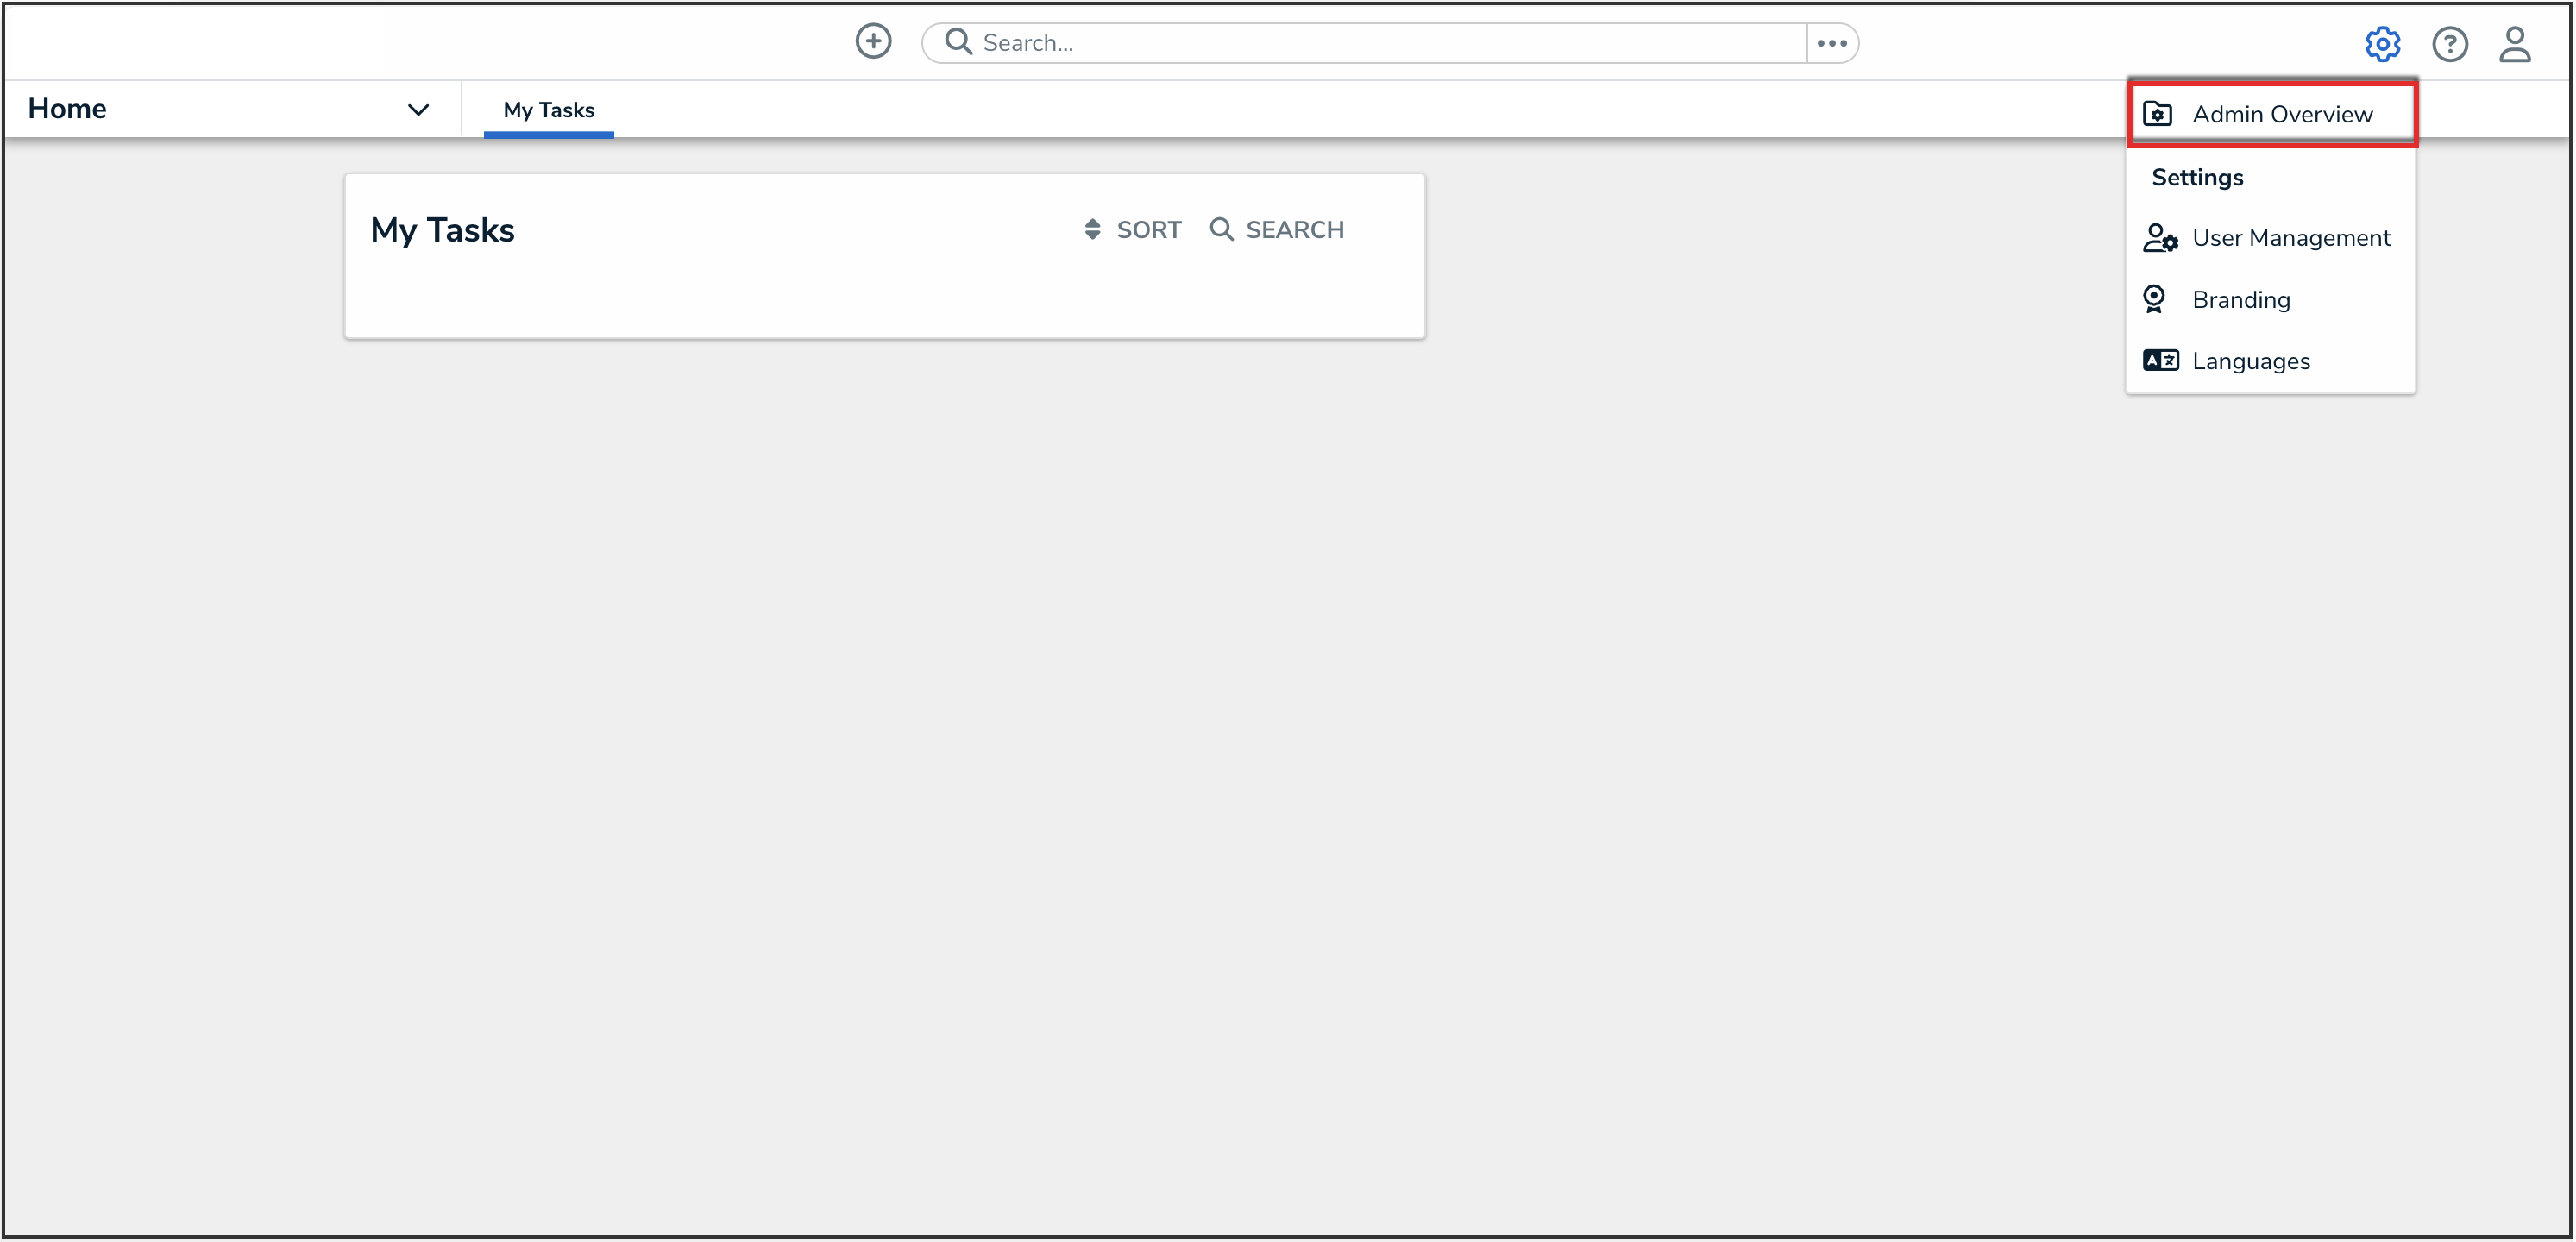
Administrator Settings Menu

- From the Admin Overview screen, click the Data Audit Trail tile under the Tools section.

Audit Data Trail Tile
Filtering the Data Management Audit Trail
By default, the Data Management Audit Trail displays an Org's changes in reverse chronological order. Follow these steps to create a more targeted Data Management Audit Trail view.
- From the Data Management Audit Trail screen, click the Filter and Export button to expand the drop-down menu.

Filter and Export Button
- Using the Filter fields, narrow the Data Management Audit Trail list.
- Date: Select a date range using the From and To date fields by clicking a date from the Calendar pop-up. The system will return records within the data range specified.
- Performed By: Select the user that performed the action from the drop-down menu.
- Object Unique ID: Enter an Object's Unique ID in the field.
- Object Name: Enter the Object's Name in the field.
- Object Type Name: Select the Object Type from the Object Type Name drop-down menu.
- Action: An Action is a user or system-driven behavior that accesses or applies changes to data.
- Event: An Event is the result of an action and drives a specific change to the data.
- After you have applied search filters, click the Search button to return the search results.

Search Button
 Note:
Note:
A system-generated message will appear if there are more than 1,500 event records. Please use or adjust your filters to narrow down your results.
- The following information will be returned as part of the search results:
- Time: The time the action occurred displayed in local time according to the user's settings.
- Performed By: The user who performed the change. A flag appears next to the value if an Administrator impersonates a user when changes are made. You can see the Administrator impersonating the user by hovering over the flag.
- Object Unique ID: The alpha-numeric ID Resolver automatically assigns to identify an object throughout the Org.
- Object Name: The object's name.
- Object Name Type: The object's category type.
- Action: The change to the object initiated by a user or the system (e.g., Nightly Trigger).
- Event: The object's data change that occurred due to the action (e.g., State Change).
- Value: The Value details the changes performed on the object.
- Click within a row to open extended object details.

Object Search Result
- The following additional information is displayed on the Object Details pop-up:
- Object ID: The Object ID is a numeric ID that the system automatically assigns to an object when it is created.
- Object External Reference ID: The Object's External Reference ID is an alpha-numeric ID that identifies the object throughout the Org.
- Object Type ID: The Object Type ID is a numeric ID assigned by a user to identify object types throughout the Org.
- Object Type External Reference ID: The Object Type External Reference is an alpha-numeric code automatically assigned by the system to identify an object type within the Org.

Object Details Pop-up
Actions and Events
The following table outlines the actions and all the corresponding events that can occur within that action:
| Action Name | Event Name |
|---|---|
| Add Comment | Add Comment |
| Add Relationship | Add Relationship |
| Assign Role | |
| Create Object | |
| State Change | |
| Update Field | |
| Update Formula | |
| Update Property | |
| Assessment Sync | Add Relationship |
| Assign Role | |
| Create Object | |
| State Change | |
| Update Field | |
| Update Formula | |
| Update Properties | |
| Assign Role on Object | Assign Role |
| Calculate Formula | Update Formula |
| Create Object | Add Relationship |
| Assign Role | |
| Create Object | |
| State Change | |
| Update Field | |
| Update Formula | |
| Update Properties | |
| Create Object from Email | Add Relationship |
| Assign Role | |
| Create Object | |
| State Change | |
| Update Field | |
| Update Formula | |
| Update Properties | |
| Data Import | Add Relationship |
| Assign Role | |
| Create Object | |
| Remove Relationship | |
| State Change | |
| Update Field | |
| Update Formula | |
| Update Properties | |
| Delete Object | Delete Object |
| Remove Relationship | |
| Unassign Role | |
| Update Formula | |
| Delete User Group | Unassign Role |
| Delete State | State Change |
| Update Formula | |
| Update Properties | |
| Download Attachment | Download Attachment |
| Download Report | Download Report |
| Edit Object | Discard Changes |
| Edit Online | |
| Update Field | |
| Update File Name | |
| Update File Version | |
| Update Formula | |
| Update Properties | |
| Launch Assessment | Add Relationship |
| Assign Role | |
| Create Object | |
| State Change | |
| Update Field | |
| Update Formula | |
| Update Properties | |
| Nightly Trigger | Add Relationship |
| Create Object | |
| Remove Relationship | |
| State Change | |
| Unassign Role | |
| Update Field | |
| Update Formula | |
| Update Properties | |
| Playbook Automation | Add Relationship |
| Create Object | |
| Remove Relationship | |
| State Change | |
| Update Field | |
| Update Property | |
| Preview Attachment | Preview Attachment
|
| Reassign Role on Object | Assign Role |
| Unassign Role | |
| Remove Relationship | Remove Relationship |
| Update Formula | |
| Remove User | Unassign Role |
| Trigger Object | Add Relationship |
| Assign Role | |
| Create Object | |
| Remove Relationship | |
| State Change | |
| Unassign Role | |
| Update Field | |
| Update Formula | |
| Update Properties | |
| Unassign Role on Object | Unassign Role |
| Update Comment | Comment State Change |
| Update Comment | |
| Update Field Option | Update Field |
| Update Formula | |
| Update State | Update Properties |
| View Report | View Report |