Overview
Relationships can be displayed on Forms as dropdown menus or tables, where end users can search for and/or create new objects through that relationship, depending on the element's settings. Before the relationship element can be added to a form, it must be added to the object type as a component.
User Account Requirements
The user account you use to log into Resolver must have Administrator permission to use the Configurable Forms feature.
Related Information/Setup
Please refer to the Add Relationships to an Object Type article for further information on adding a Relationship to an Object Type.
Please refer to the Adding Form Elements to a Standard Form article for further information on adding a Relationship to a Form.
Navigation
- From the Home screen, click the Administration icon.

Administration Icon
- From the Administrator Settings menu, click the Admin Overview link.

Administrator Settings Menu
- From the Admin Overview screen, click the Configurable Forms tile under the Views section.

Configurable Forms Tile
- From the Configurable Forms screen, enter a form name in the Search field to narrow down the forms list.

Search Field
- Click the form that you want to edit.
Configuring Relationships on a Form
- From the Admin: Edit Configurable Form screen, scroll to a relationship and hover your cursor over the relationship and click the Edit icon.
![]()
Edit Icon
- From the Edit Component Display pop-up, select one of the following options from the Header Display section:
- Display Name: The Display Name option displays the relationship's name on the form. The Display Name value is pulled from the relationship's Name field on the Edit Relationship pop-up.
- Display Long Name: The Display Long Name option displays the relationship's long name on the Form. The Display Long Name value is pulled from the Long Name field on the Relationship's Edit Relationship pop-up.

Display Long Name Radio Button
- Select formatting options from the Format section:
- Enable Search: Users can search for existing relationship objects.
- Include Archived Data in Search Results: Users can search for or view archived objects through the form element. This option will only be visible if the Enable Search option is enabled. See the Archived Data section for more information.
- Enable Create: Users can create new objects through the relationship.
- Enable Unlink: Users can remove objects from the relationship on the form and unlink them from the relationship object.
- Enable Advanced: Displays the advanced user interface for the form relationship. When this option is enabled, clicking Add Existing [Object] will open a palette that allows users to search for and select one or more objects or assessment objects (if any) to add to the relationship.

Format Section
- Select a View Relationship as option:
- Dropdown: The Dropdown option display the relationship as a dropdown menu. This option is selected by default.
- Table: The Table option displays the relationship as a table.
- Build the Relationship Table: When selecting this option, the Build the Relationship Table section will appear. Click data points (properties and fields) from the list on the Select Relationship tab, to include them on the table as columns (e.g., if the Vehicle object type is referenced in a relationship on the Incident object type, you can display properties and fields from Incident in the table).

Build the Relationship Table Section
- Reorder Table: Click the Reorder Table tab and use the Move icon to rearrange the order of the columns as they appear on the table.
- Relationship tables with more than 1000 rows of data will not load correctly. For larger data sets, it's recommended that a Form Action element is added to a form to redirect users to view the data in a report.

Reorder Table Tab
- Display: The Display section will appear when selecting the Table option.
- Display colored cells: Displays formula and select list cells as text with a background color.
- Display colored ovals: Displays formula or select list cells as text with colored circles instead of a background color.
- Display no color: Displays formula and select list cells as text with no background color.

Display Options
- Map: The Map option displays the relationship as a map. This option will display a map with pins representing any recorded locations of the relationship object or reference objects. If location data is not enabled or recorded, the map will not display any data. For more information on locations, refer to the Locations section.
 Note:
Note:
Selecting the Map option disables the Enable Create and Enable Advanced format options.
- From the Default Sort By drop-down menu, choose which column you want to have the table default sort by.
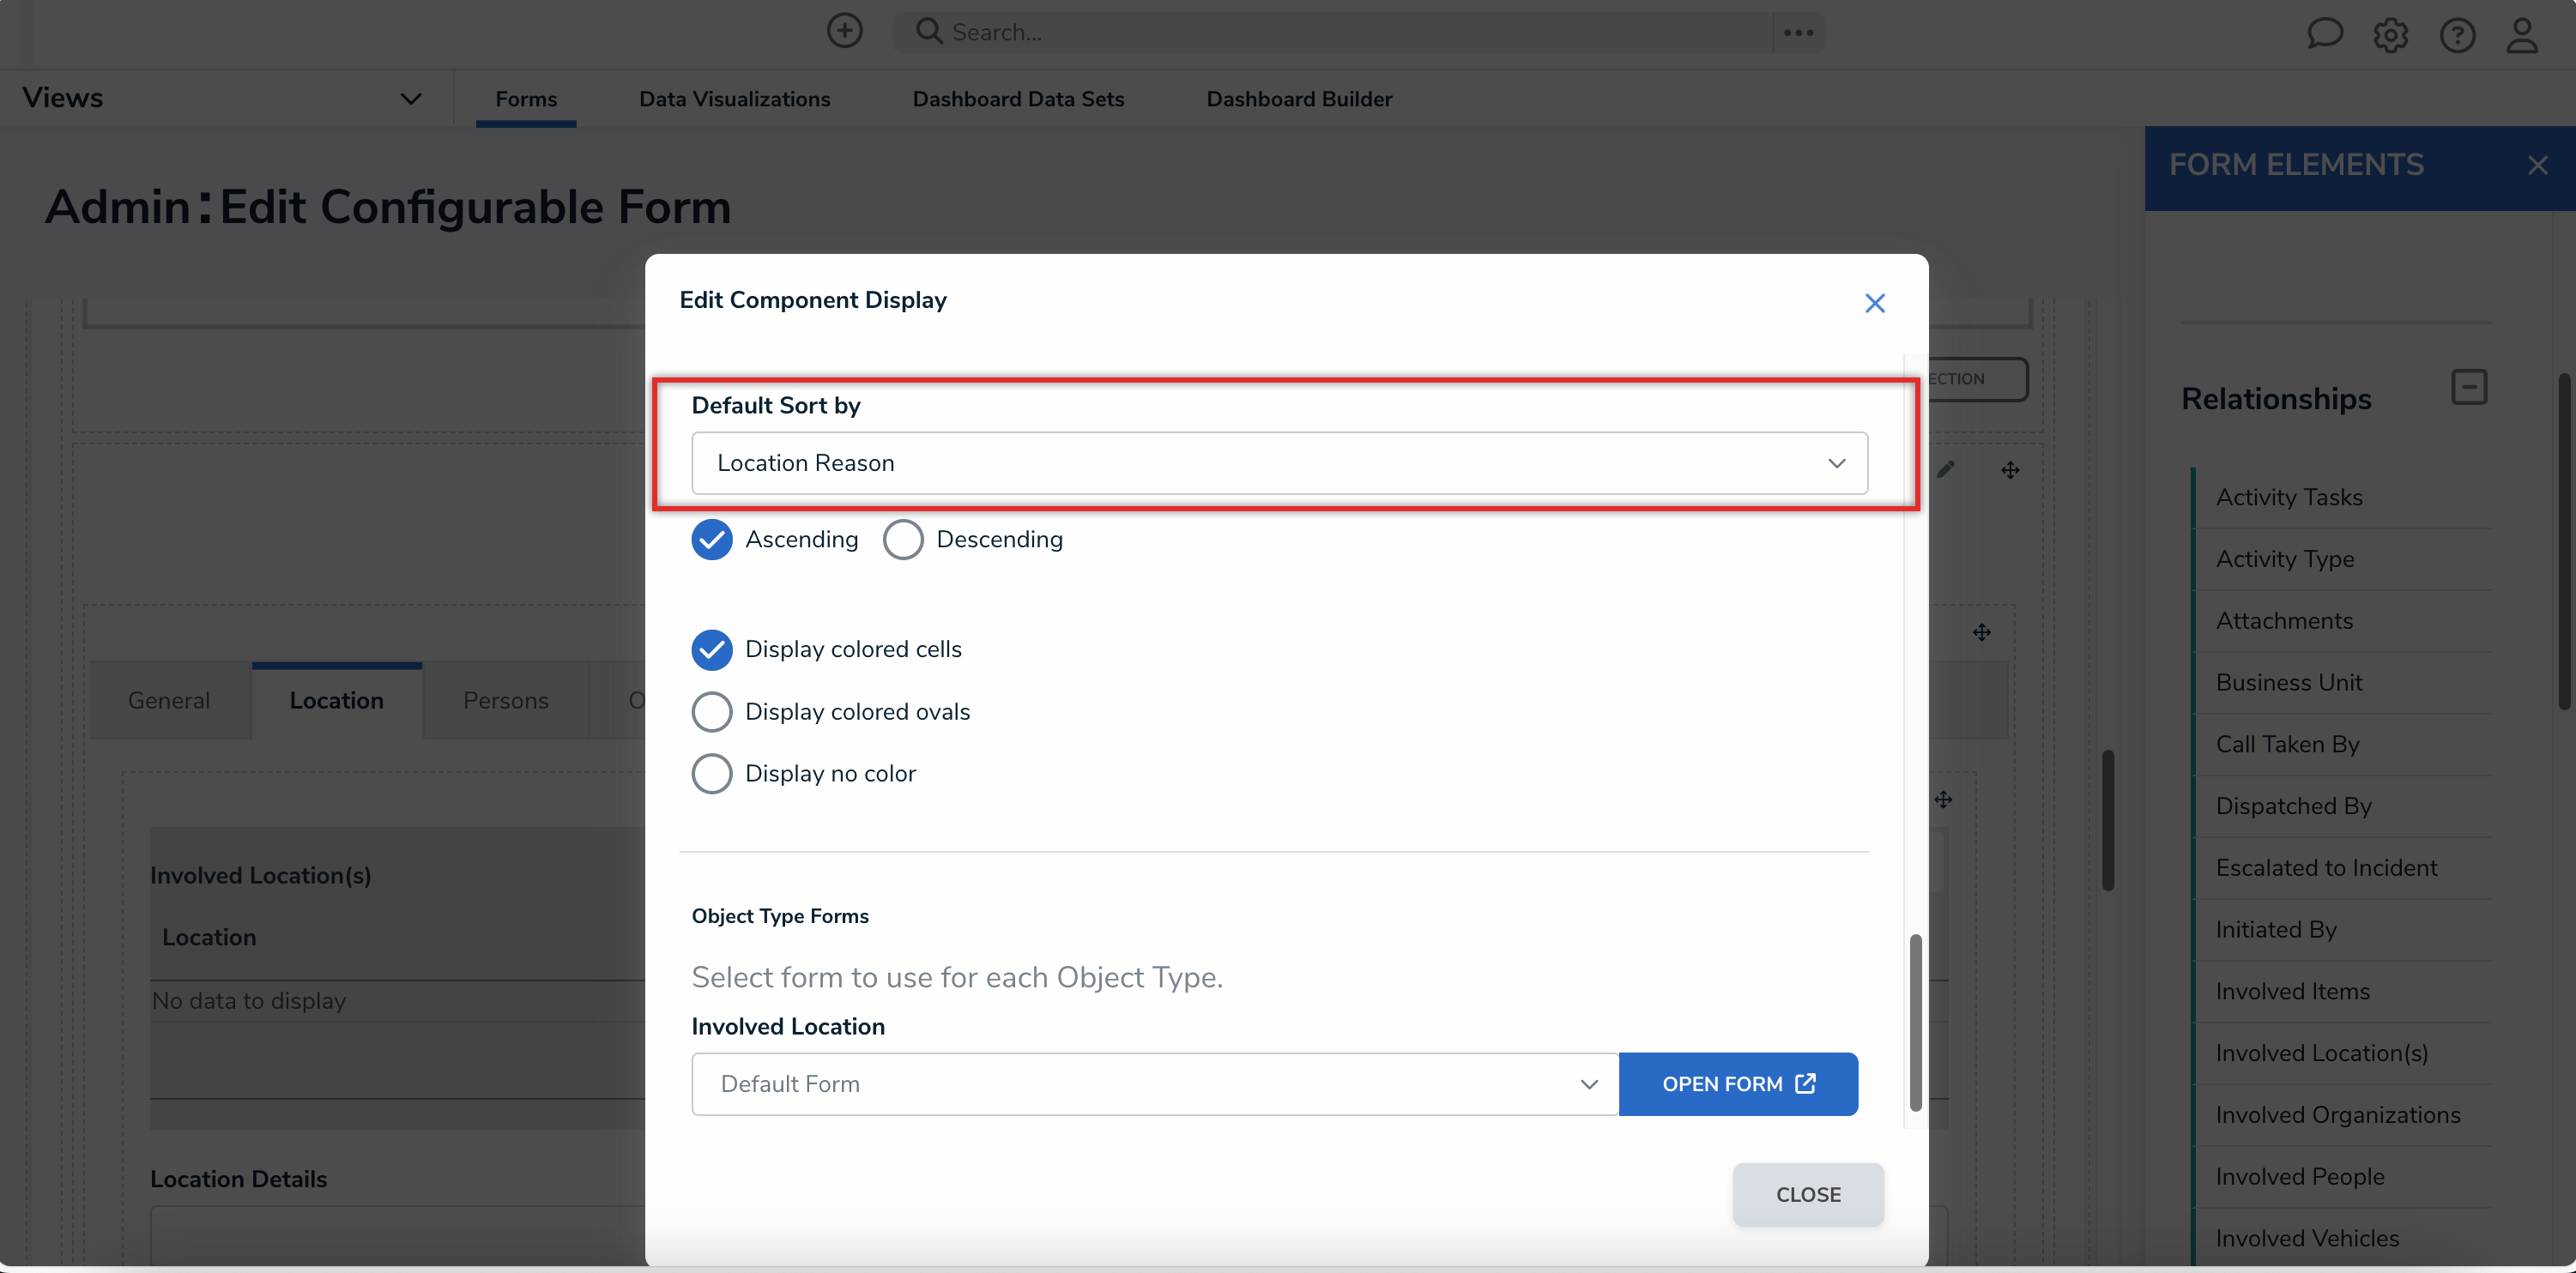
Default Sort By Dropdown Menu
- Select Ascending or Descending to choose which sort order the columns will appear as.
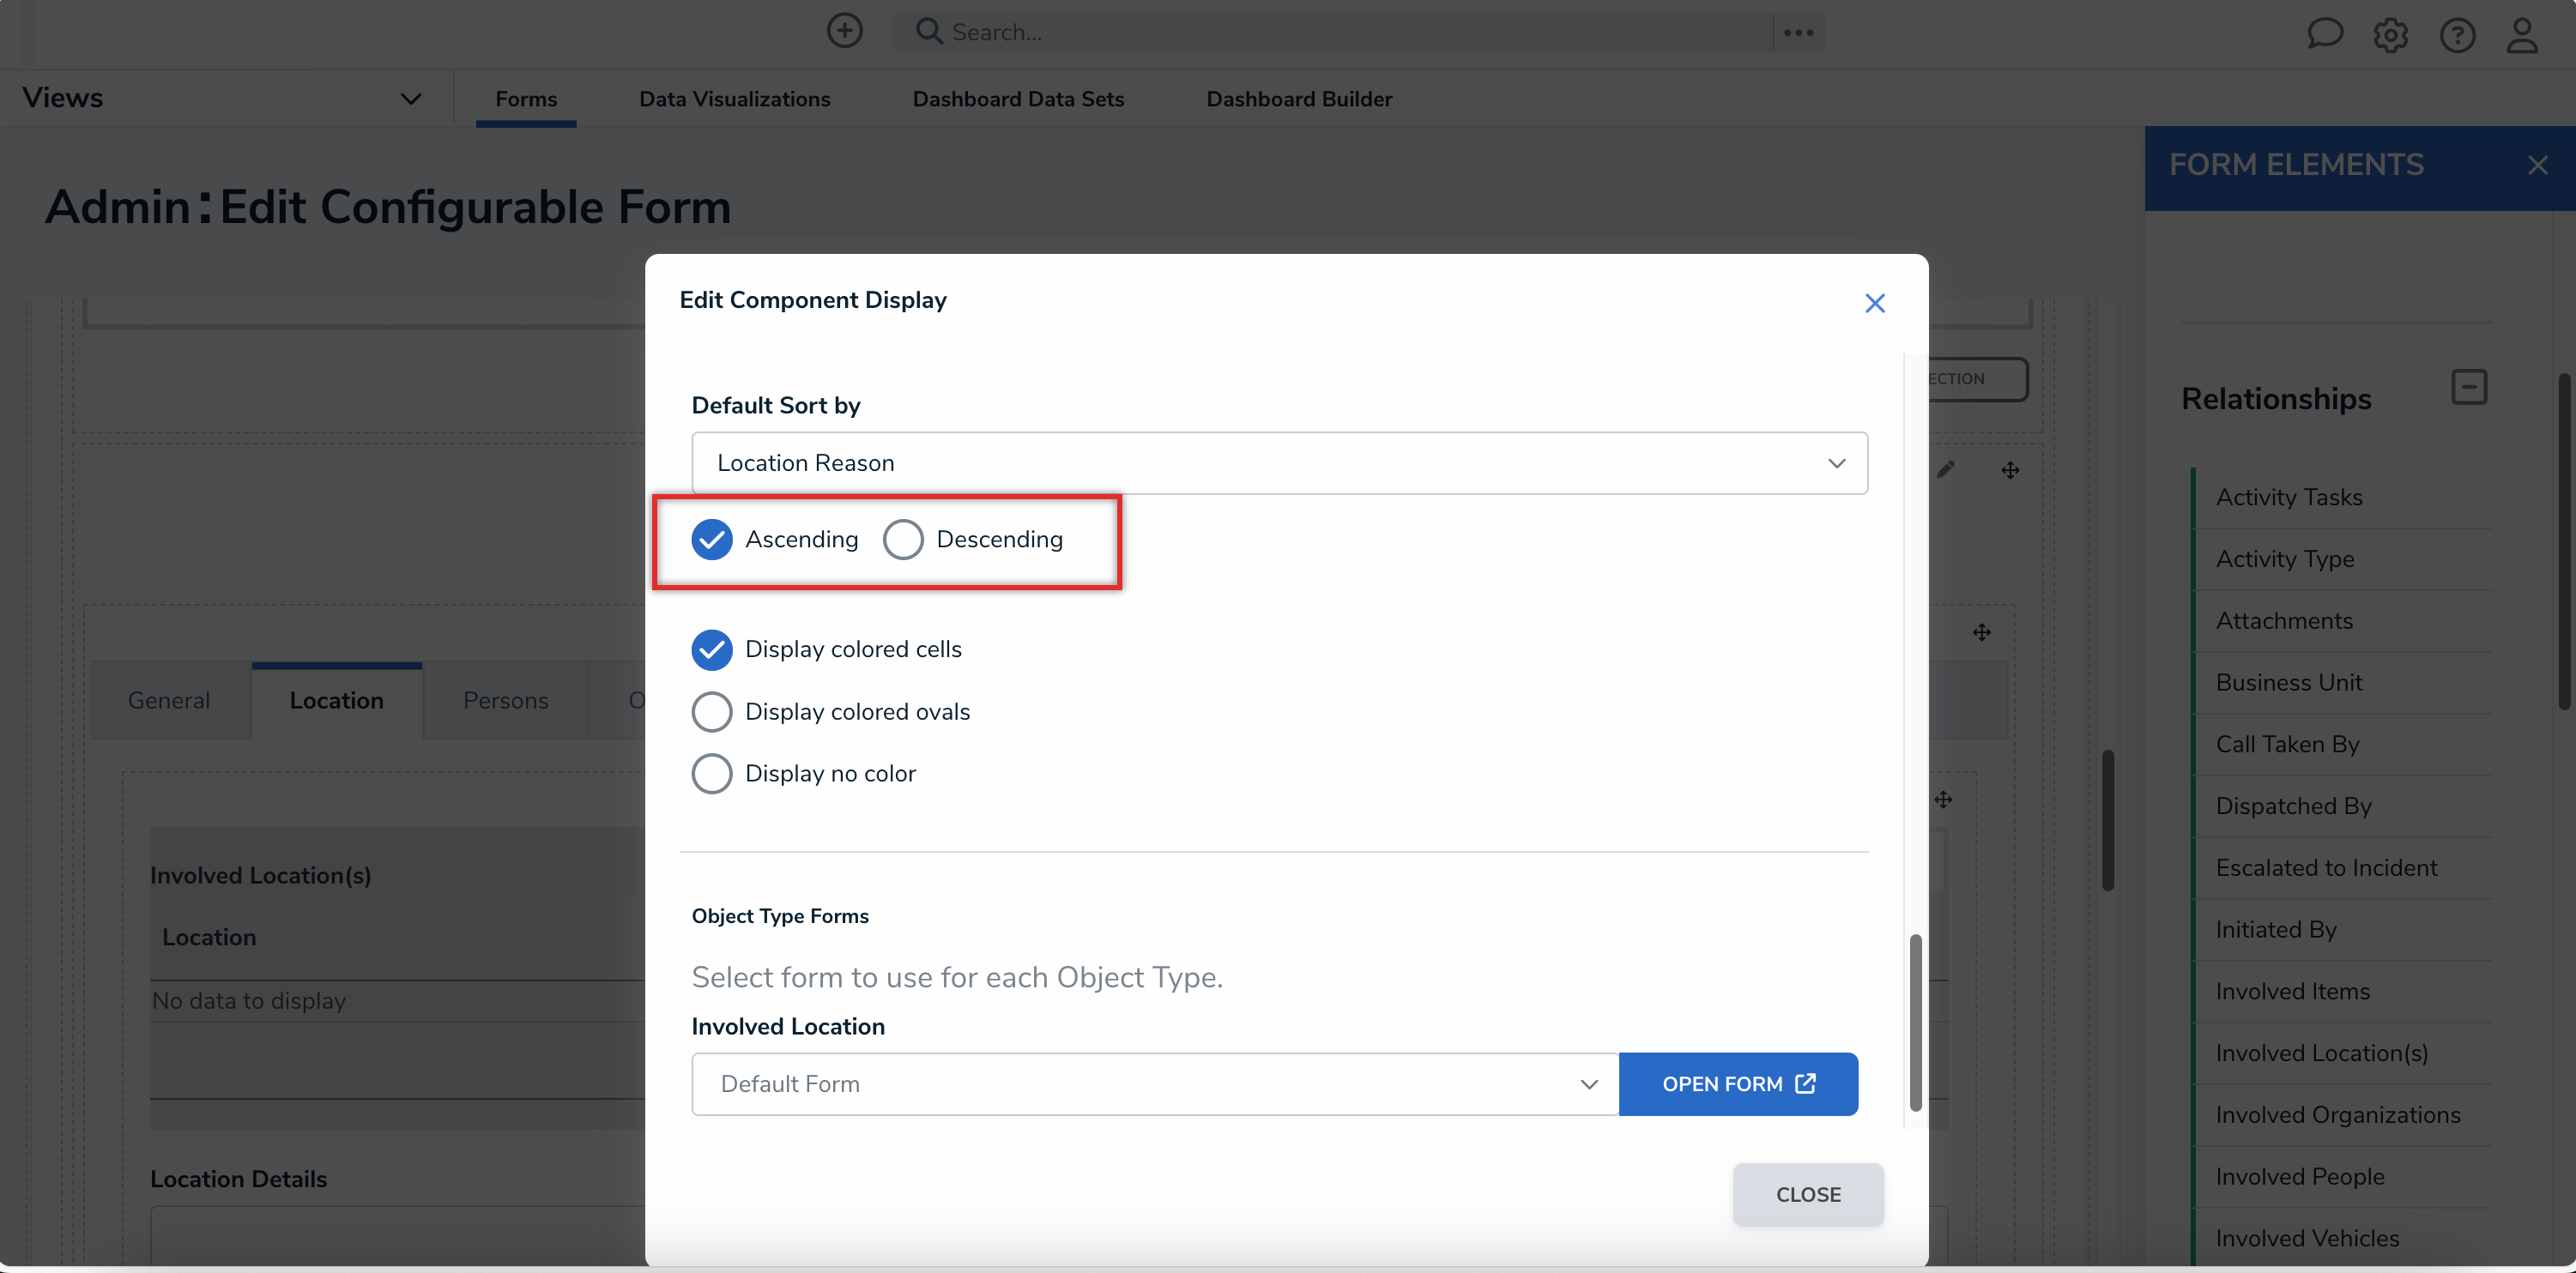
Ascending or Descending
- The Object Type Forms section will appear when selecting either the Dropdown or Table options under the View Relationship as section. Select the form the users will complete from the dropdown list.


Object Type Forms Dropdown
 Note:
Note:
If no configurable form(s) have been created for the relationship's object type(s), the default form will be selected automatically.
- Click the Close button when finished.