Overview
Every individual you want to access your Resolver environment requires a user account. An Administrator can create user accounts in Resolver. When a user account is created, that user must be assigned to user group and/or roles.
 Note:
Note:
If you are a User Management or Settings Management advanced permissions creating a new user, please refer to the Create a New User as an Advanced Permissions User article.
User Account Requirements
The user account you use to log into Resolver must have Administrator or the User Management or Settings Management advanced permissions to create a new user. If you are an advanced permissions user, please refer to the Create a New User as an Advanced Permissions User article.
Related Information/Setup
For more information regarding Administrator user privileges, please see the Administrator Overview article.
For more information on adding a user to a user group, please see the Adding a User to a User Group article.
For more information on adding advanced permissions to a user, please see the Assigning Advanced Permissions to a User article.
For more information on using an alternate language setting, please see the Languages Overview article.
For Orgs that have Data Warehouse enabled, please see the Access Your Data Warehouse Settings article.
Navigation
- From the Home screen, click the Administration icon.
![]()
Administration Icon
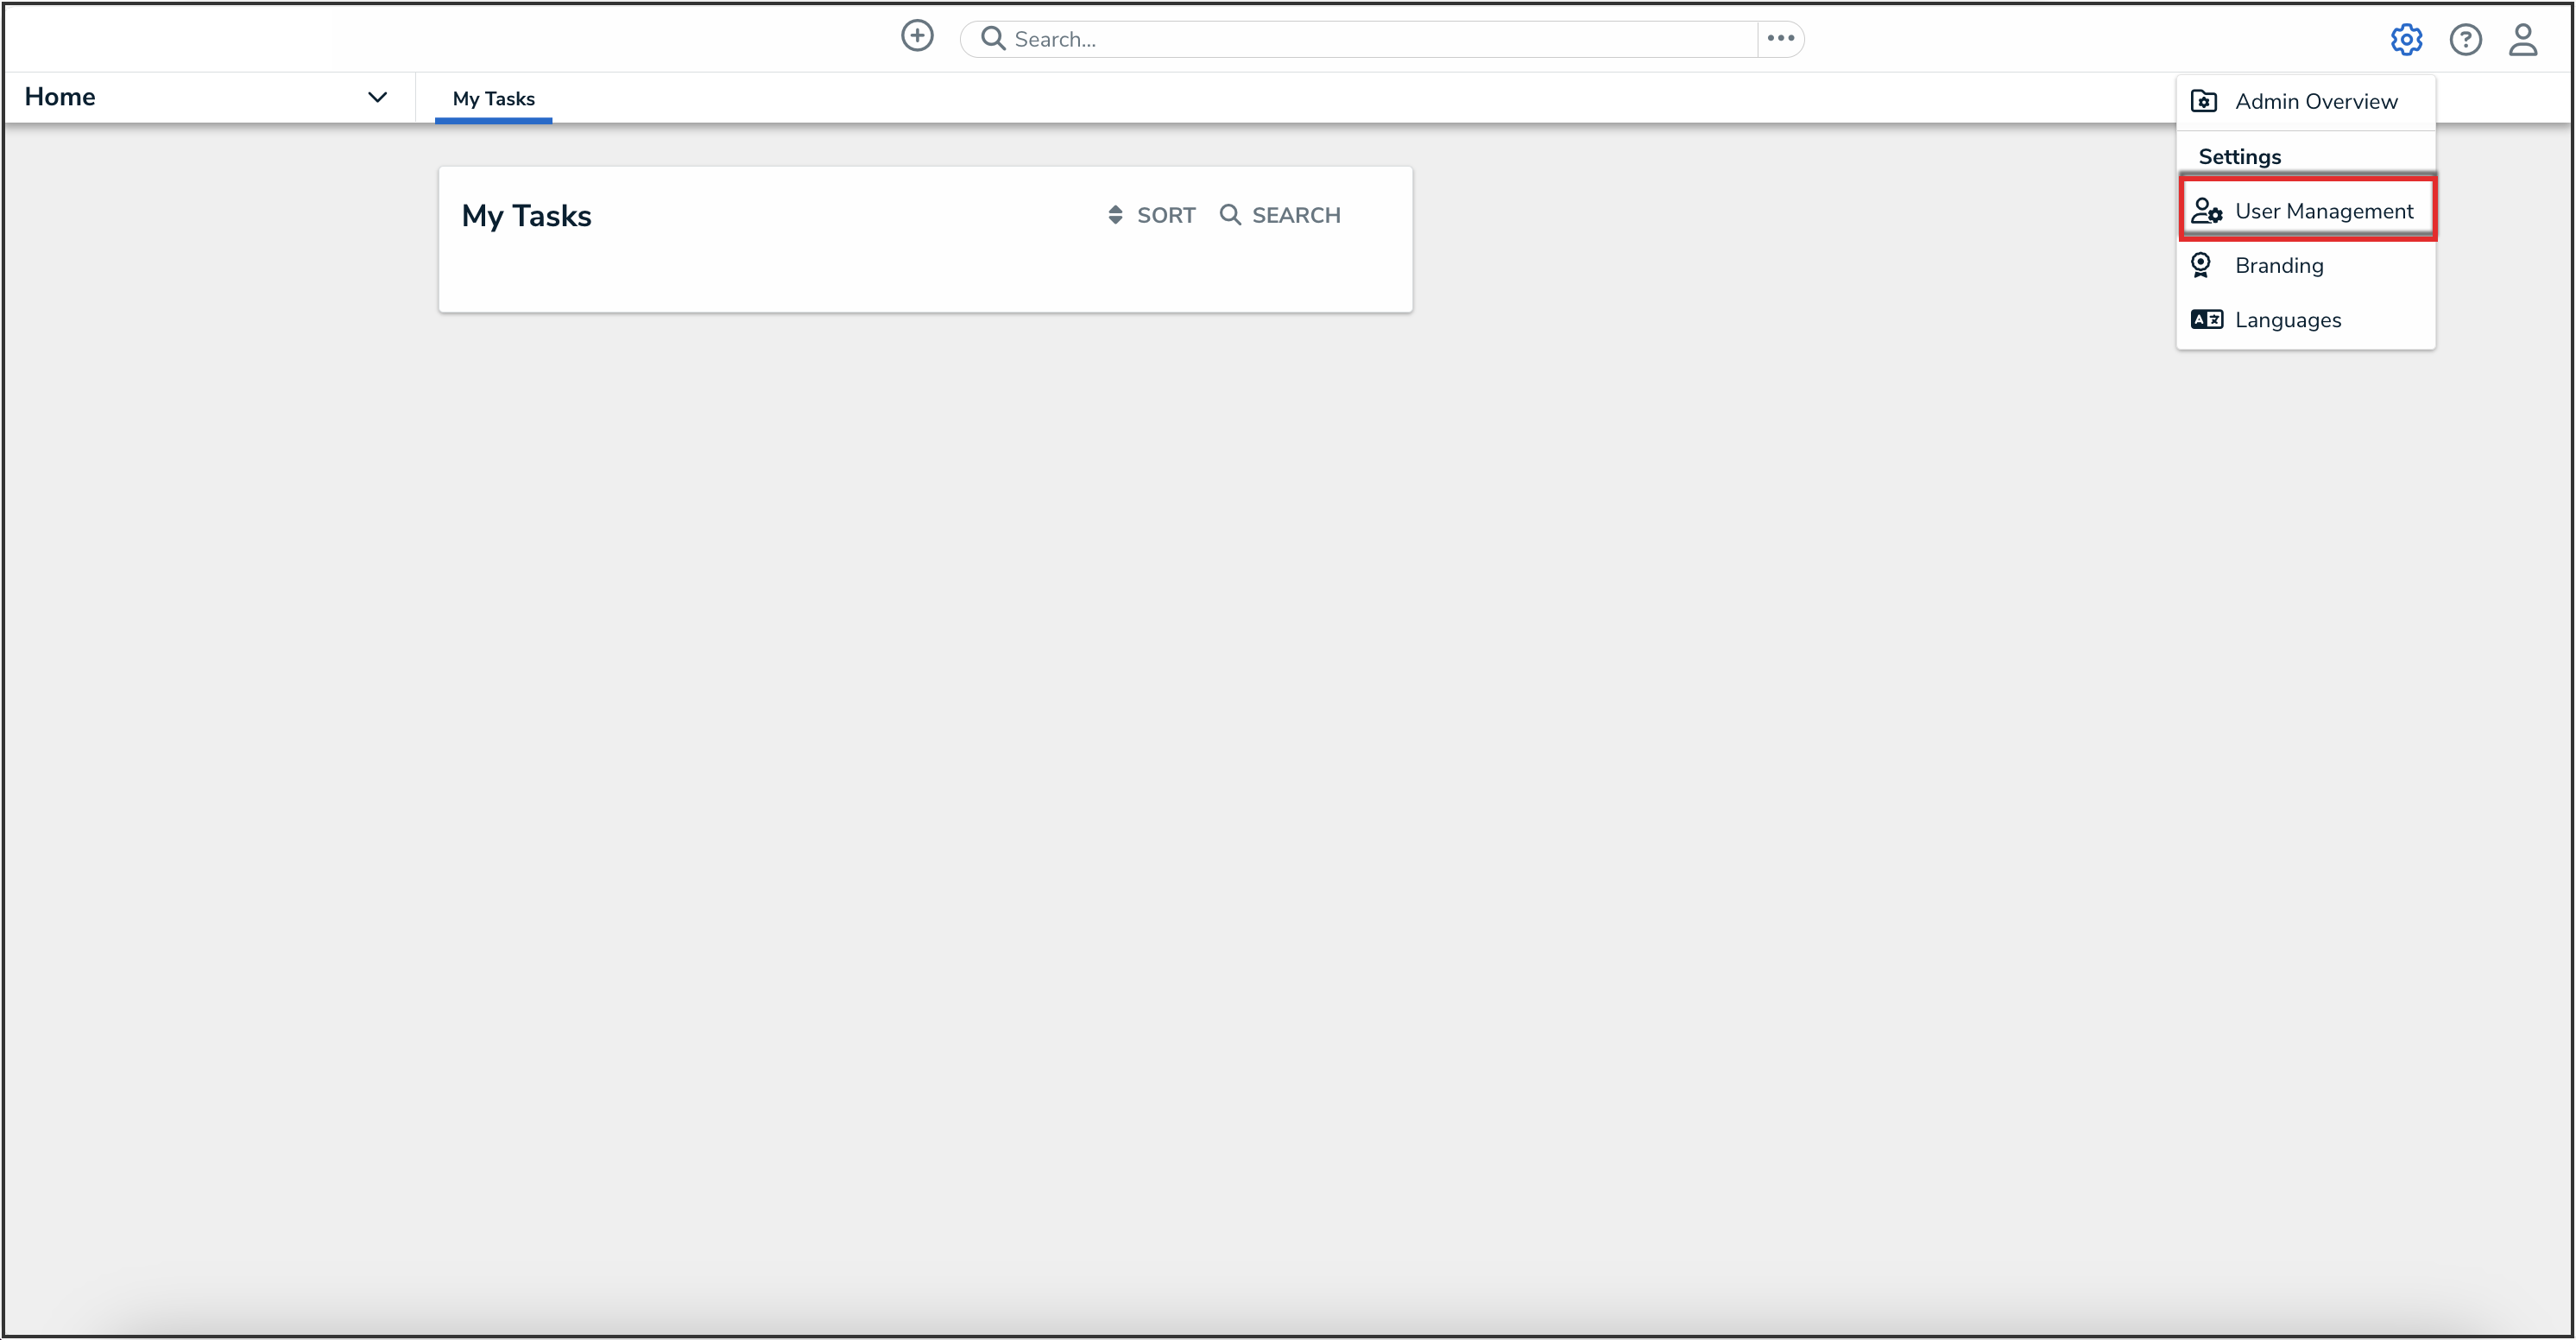
- From the Administrator Settings menu, click User Management.
Administrator Settings Menu
Creating a New User
- From the User Management screen, click the Create User button.

Create User Button
- Enter the user’s name in the First Name and Last Name fields.
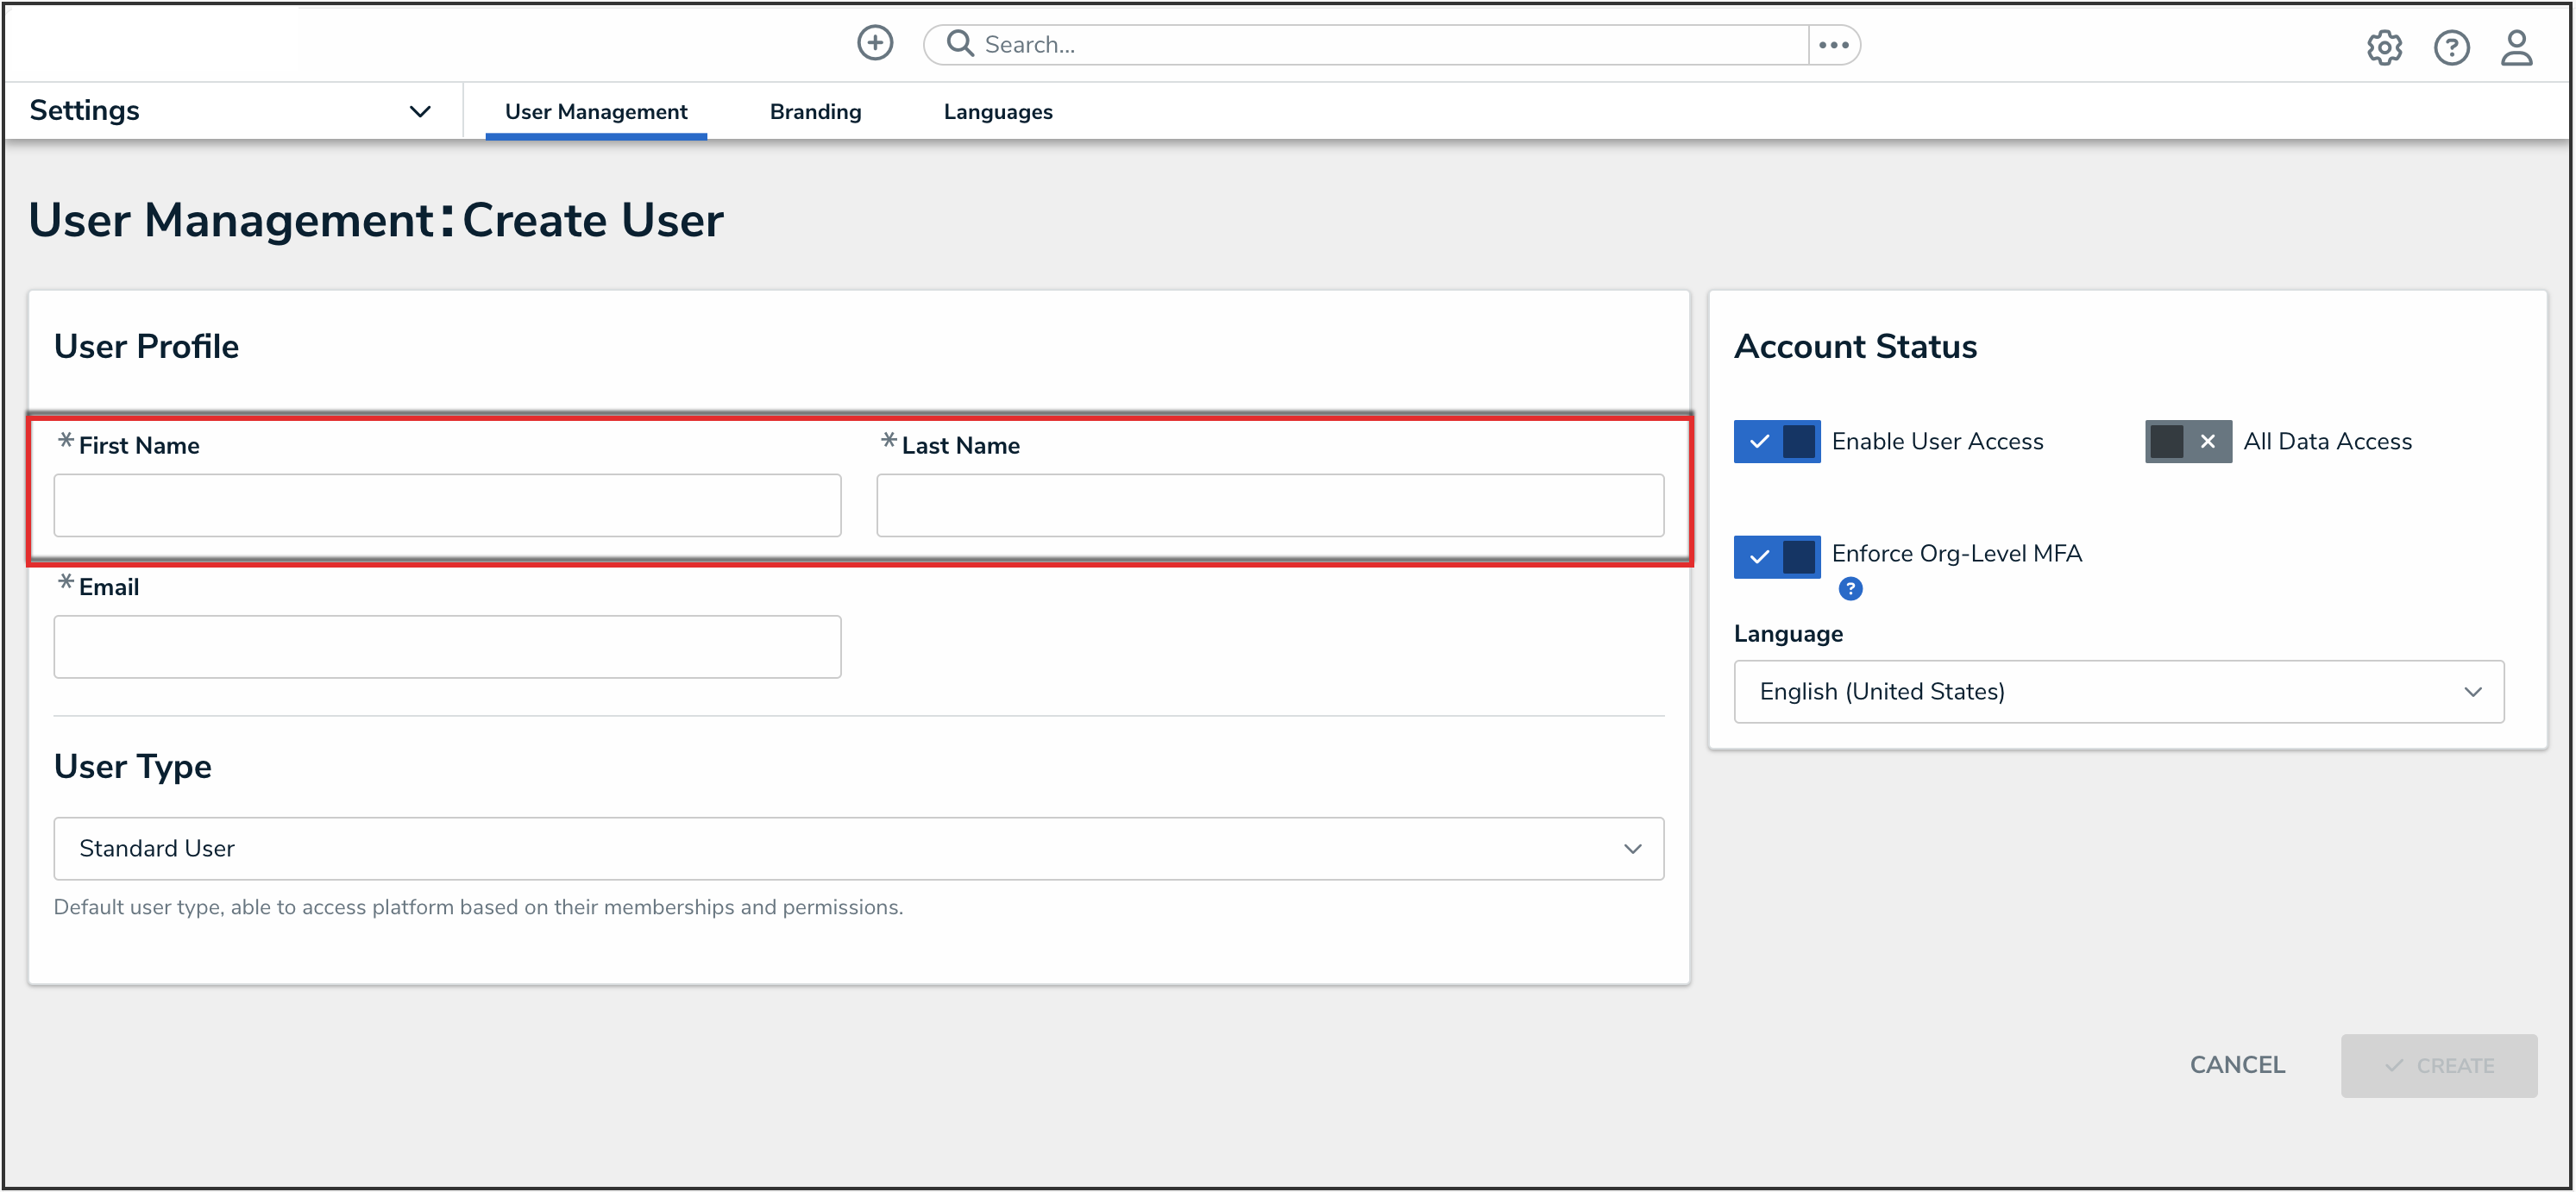
First and Last Name Fields
- Enter the user's email address in the Email field. The email address is used to:


- Receive the Resolver sign-up email containing instructions on creating a new password and signing into Resolver.
- Authenticate the user when logging in to Resolver.

Email Field
- From the User Type drop-down menu, select one of the following user types for the user:
- Standard User: The default user type, standard users are granted access to parts of Resolver based on their memberships and permissions. A user must be a Standard User to be granted advanced permissions. For more information on advanced permissions, please refer to the Assigning Advanced Permissions to a User article
- Administrator: This user type provides system administrative rights, and the ability to access the Admin Overview screen and the Administrator Settings menu.
- Portal URL User: This user type enables users to be assigned to Portal URLs, and the ability to authenticate access to assigned Portals.
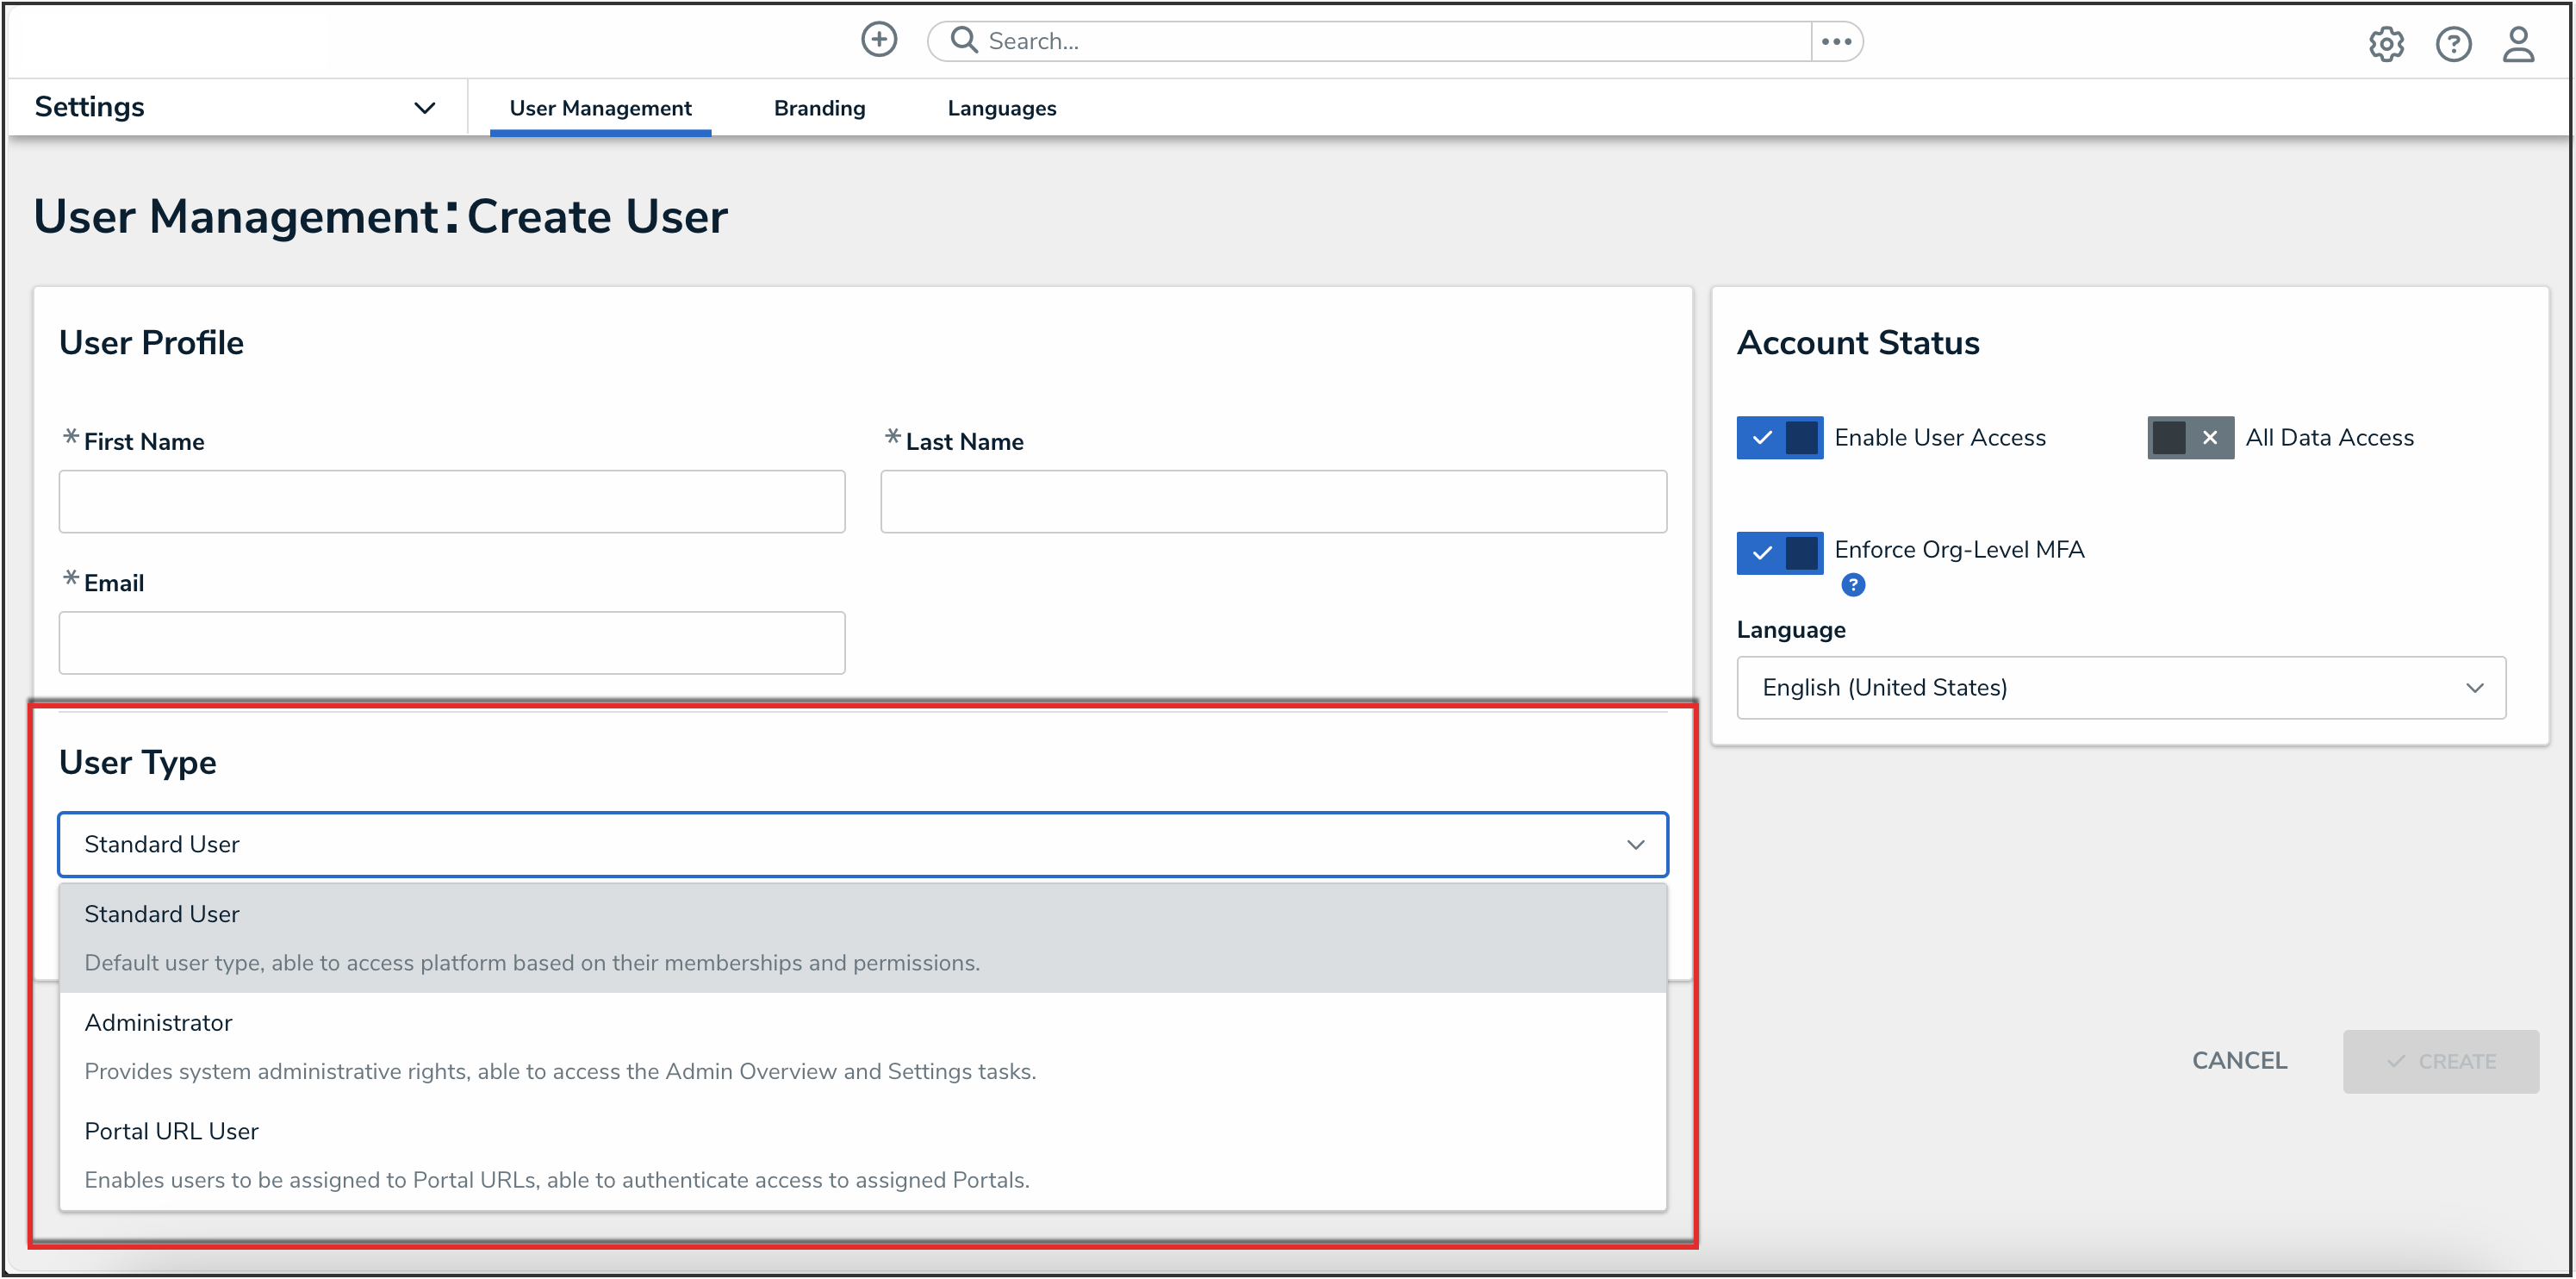
User Type Drop-down
 Note:
Note:
The options displayed in the Account Status section and User Memberships cards will change based on the user type selected. - (Optional): The following toggle switches are options settings and can give users absolute access or visibility in the system:

 Note:
Note:- Enable User Access: Click the Enable User Access toggle switch to deactivate the user account. By default, the user account is enabled.
- All Data Access: The All Data Access toggle switch allows users to view, edit, and delete objects. The All Data Access toggle switch overrides object type workflow permissions.
 Note:
Note:
Resolver recommends not enabling the All Data Access toggle switch for new user accounts.

Account Status Toggle Switches
- (Optional): Select a language from the Language field drop-down menu to change the system's language setting. Before you can set an alternate language setting, an Administrator needs to download a Languages CSV file from the system, map language translations to the user interface text, and upload the CSV file for use within Resolver.
-
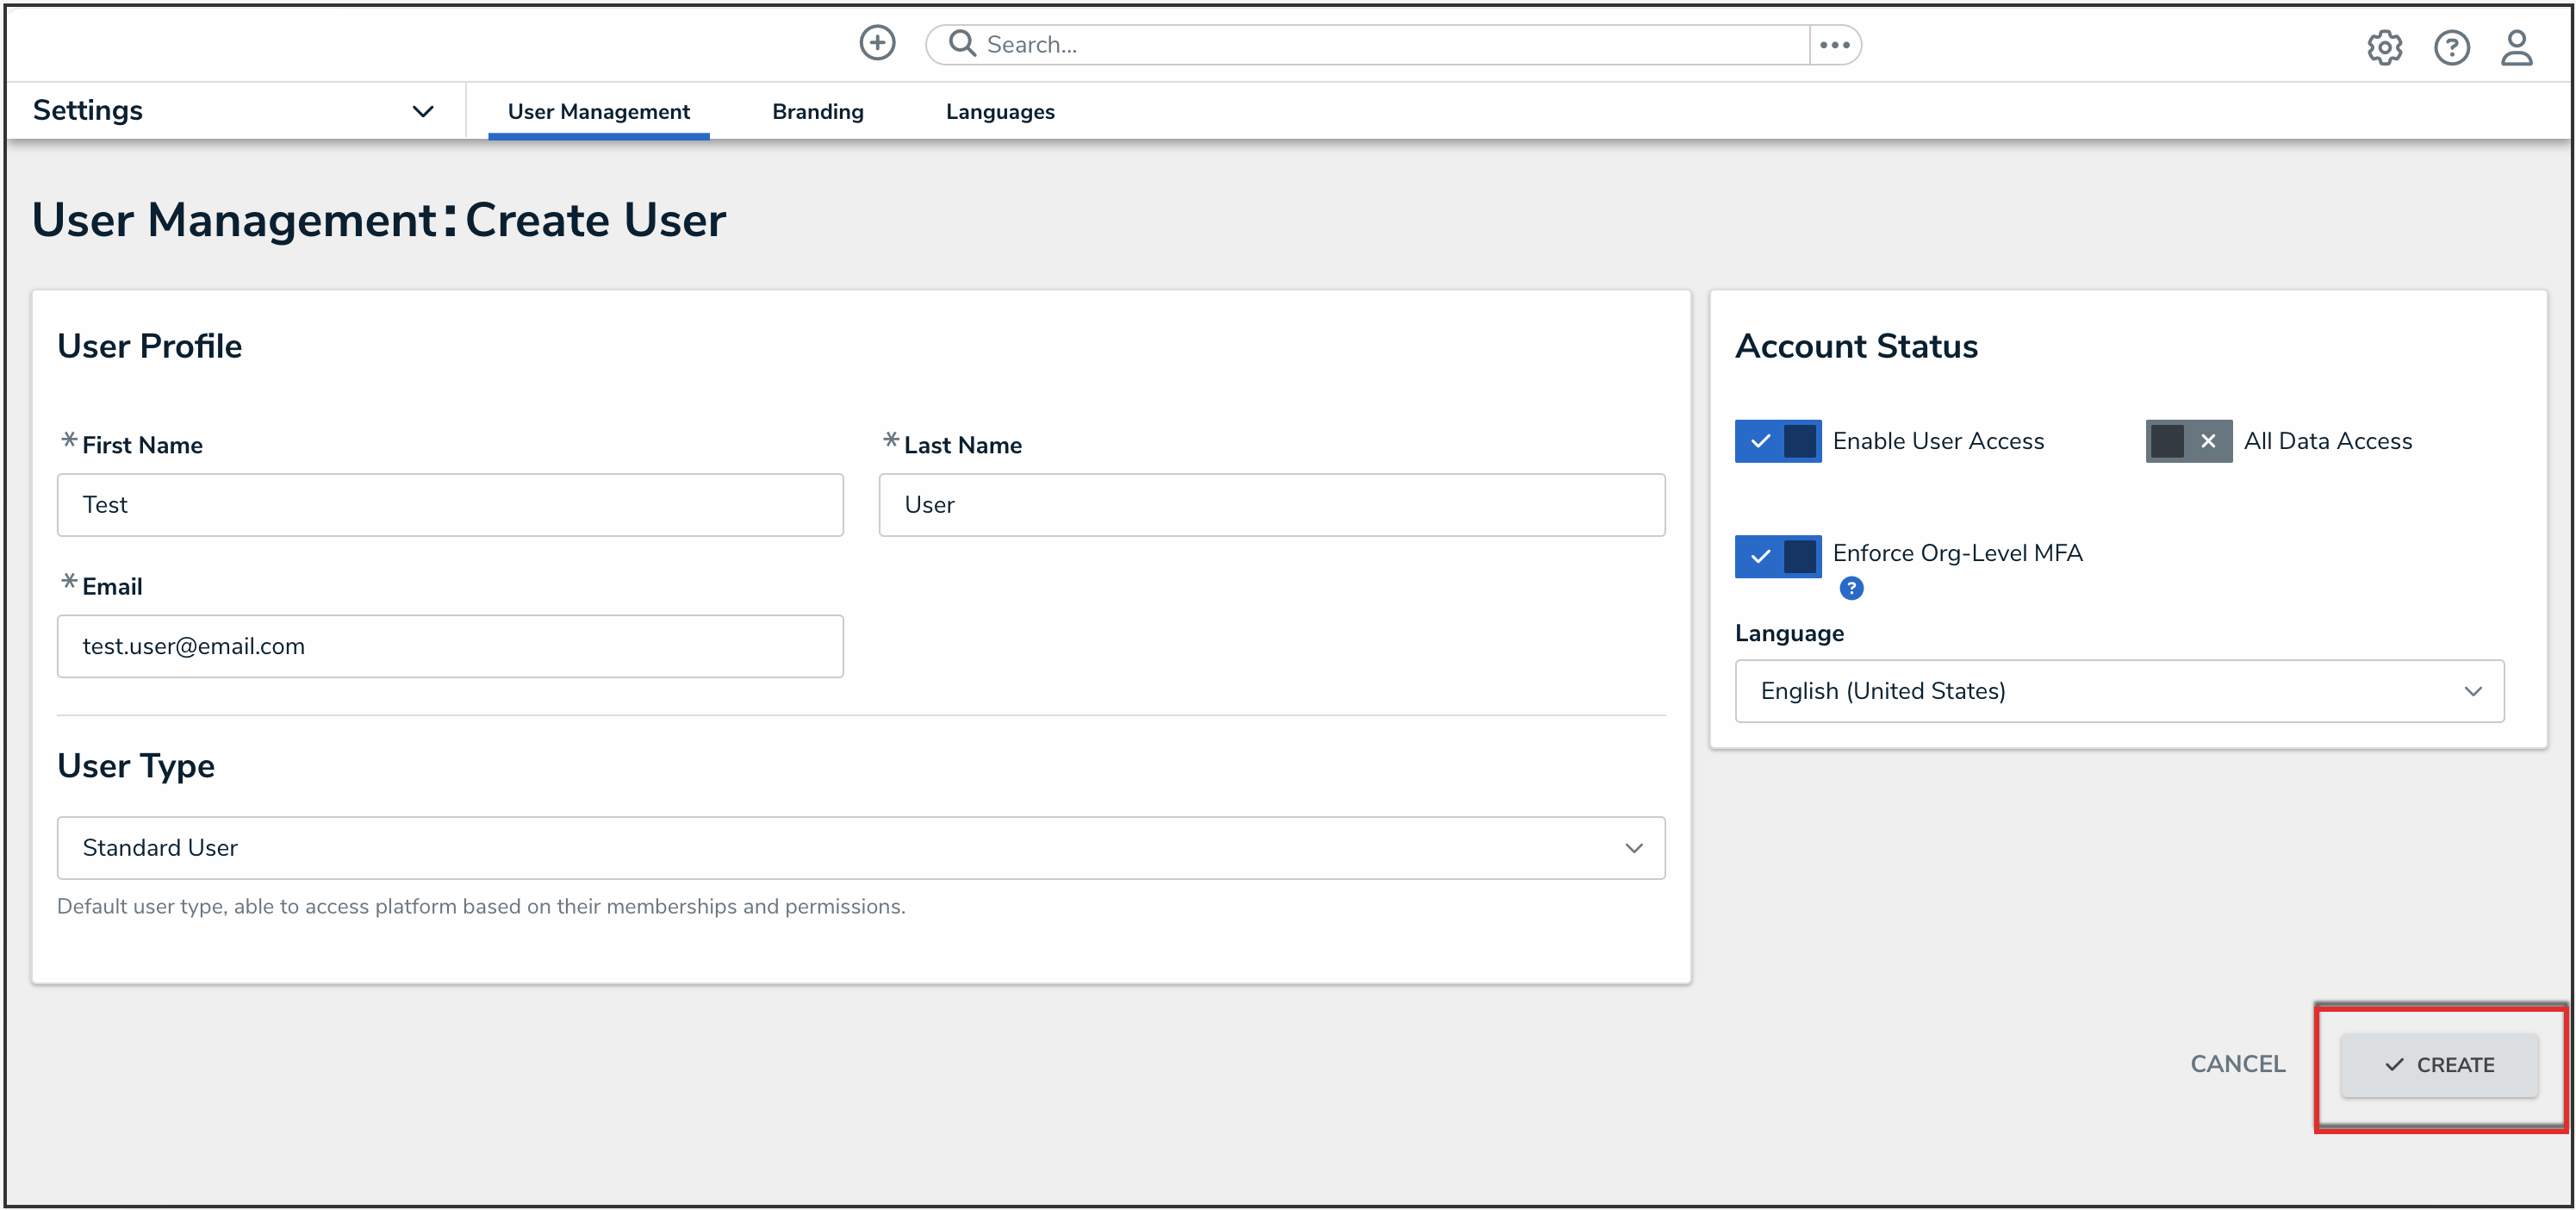
Click the Create button to create the new user account.
Create Button
