To aid organizations in monitoring the status of risks, Risk Management allows for the creation of Key Risk Indicators (KRIs). A KRI tracks the levels of specific aspects of a risk (e.g., profit loss, percentage of employees who completed training) and sends an alert when these risk levels cross acceptable thresholds. The Risk Team can create KRIs for risks in the Review and Monitoring workflow state.
 | KRIs can also be created by Risk Owners for risks in the Assess Risk workflow state. While the exact procedure will vary from organization to organization, it is recommended that the risk team creates KRIs. |
To create a KRI:
- Click the dropdown in the nav bar > Risk Management.
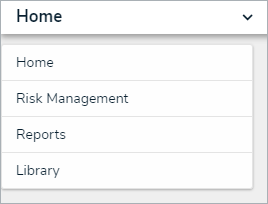 The nav bar.
 - Log into a user account from the Risk Team user group.
Navigate to the Review & Monitor tab and click a risk in the Review Risks or Risk Monitoring section.
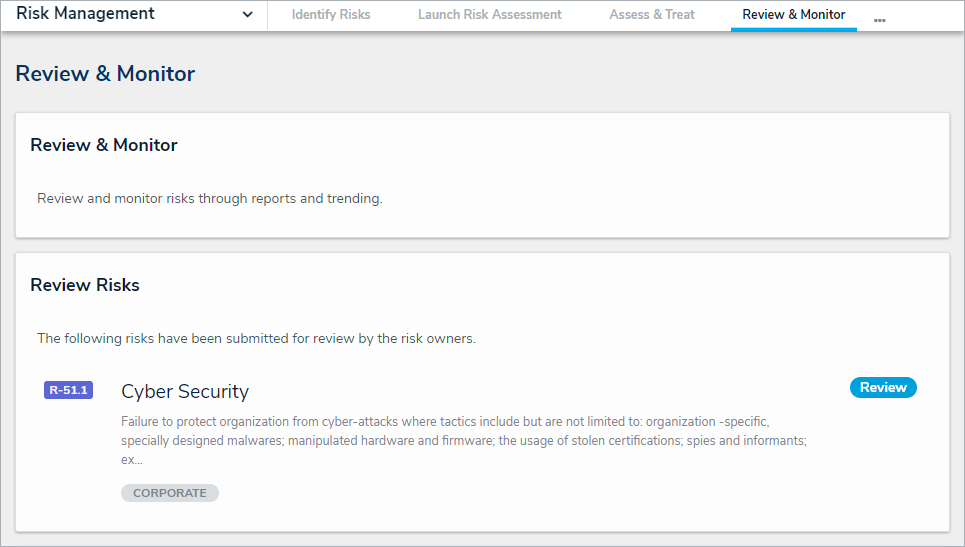 The Review & Monitor tab.
Scroll the form to click the Key Risk Indicators tab.
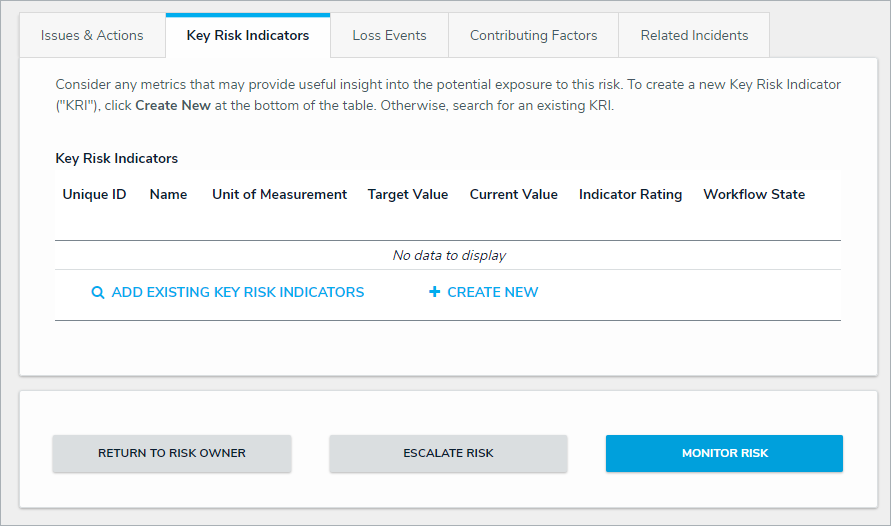 The Key Risk Indicators tab.
Click + Create New to open the Create a New Indicator dialogue.
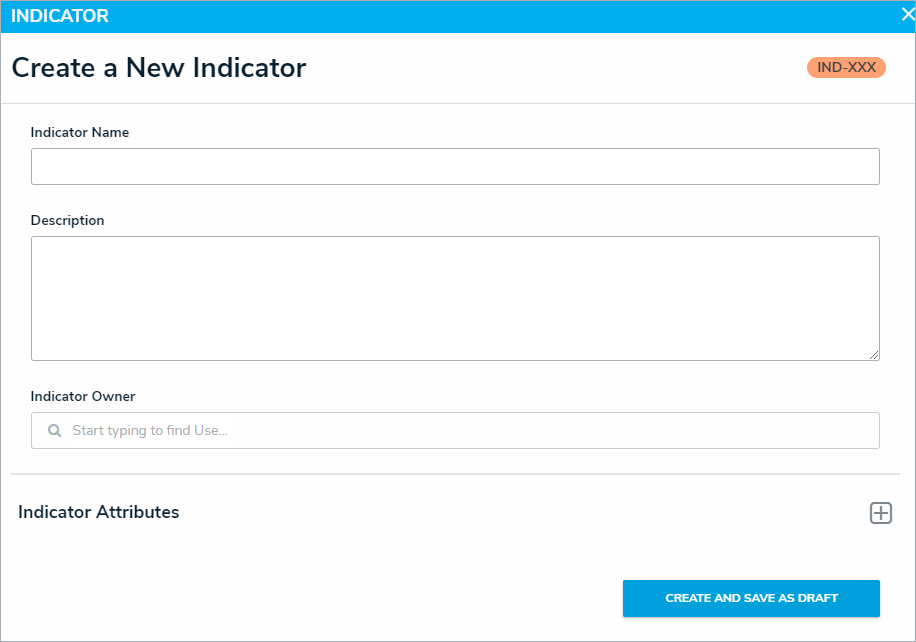 The Create a New Indicator dialogue
Enter a name in the Indicator Name field and a description in the Indicator Description field.
Begin typing keywords in the Indicator Owner field, then click to select the relevant user. Multiple Indicator Owners can be assigned to a single KRI.
In the Key Dates section, select the:
Due Date: when the entry is due (should be before the Reporting Date).
Reporting Date: the reporting cutoff date for the Indicator Owner. Note: Any values entered after the Reporting Date will be recorded in the following time period for historical trending.
Click Create and Save as Draft.
In the Residual Risk section, click the KRI in the Draft workflow state to open the Draft Indicator dialogue.
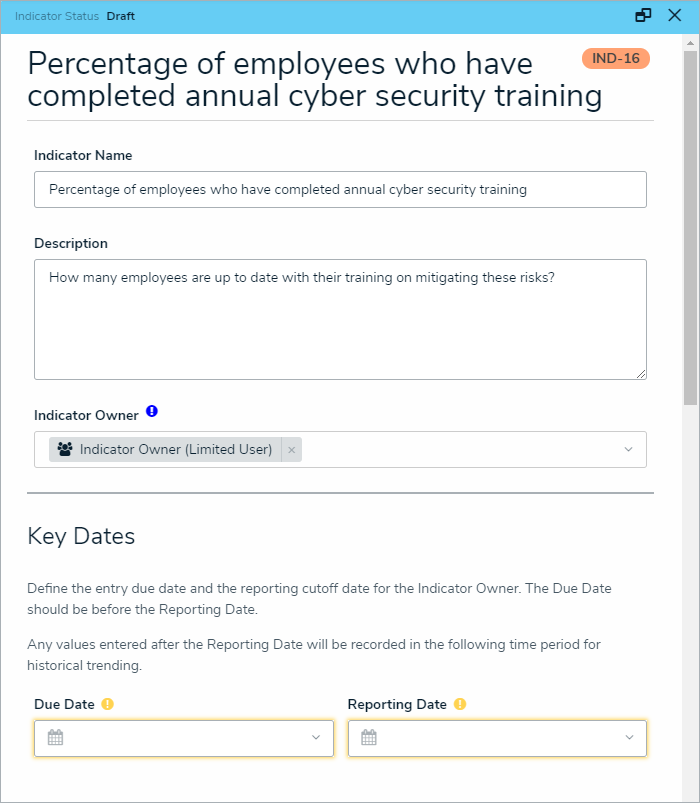 The Draft Indicator dialogue.
In the Key Dates section:
Due Date field: Enter the date by which the indicator should be updated.
Reporting Date field: Enter the date by which the indicator update should be finalized.
In the Indicator Attributes section:
Frequency of Update select list: Select how frequently the indicator should be updated.
Classification select list: Select what the indicator is current, leading, or lagging.
Unit of Measurement select list: Select how the indicator should be measured.
Type select list: Select what kind of limit range the indicator should have.
If the indicator's value cannot go above a certain level, select Increasing Range
If the indicator's value cannot go below a certain level, select Decreasing Range
If the indicator's value must stay between two levels, select Range.
If the user selects Increasing Range or Decreasing Range, the Indicator Limits section below will only have the Target Limit and Threshold Limit fields available. 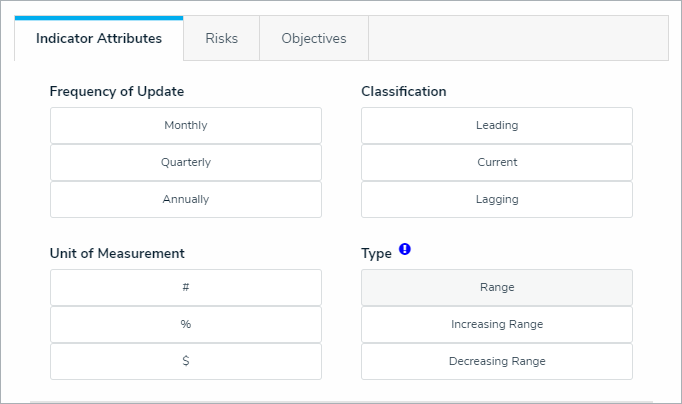 The Indicator Attributes section.
In the Indicator Limits section:
Target Value field: Enter the ideal value that the indicator should have by default.
Lower Limit and Upper Limit fields: Enter how low or high the value can go before being out of tolerance.
Target Lower Limit and Target Upper Limit fields: Enter how low or high the value can go before being considered off-target, but still within tolerance.
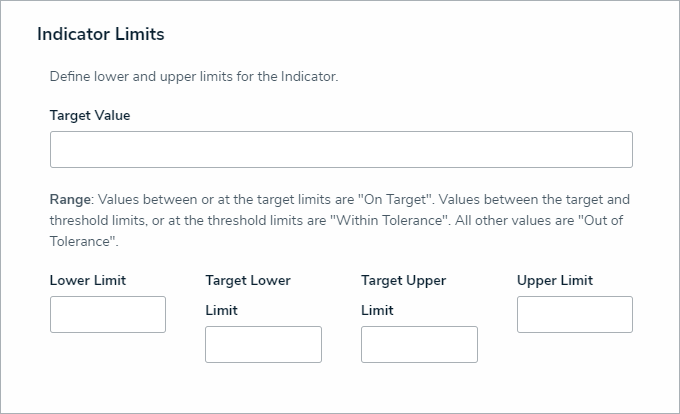 The Indicator Limits section.
Click Send to Indicator Owner.
Once the Risk Indicator Owner has updated the KRI, it is moved to the Monitoring workflow state. Risk Team members can then monitor and ensure the KRI is still being followed and can be returned to the Indicator Owner for further updates.


