Overview
A navigation form is a configurable form that provides visual context for objects and assessments and helps users understand how each object relates to one another.
 Note:
Note:
Data grids are not currently supported in navigation forms.
User Account Requirements
The user must have Administrator permissions in order to access the Admin Overview section.
Related Information/Setup
Please refer to the Navigation Form Overview article for more information on using navigation forms.
Navigation
- From the Home screen, click the Administration icon.
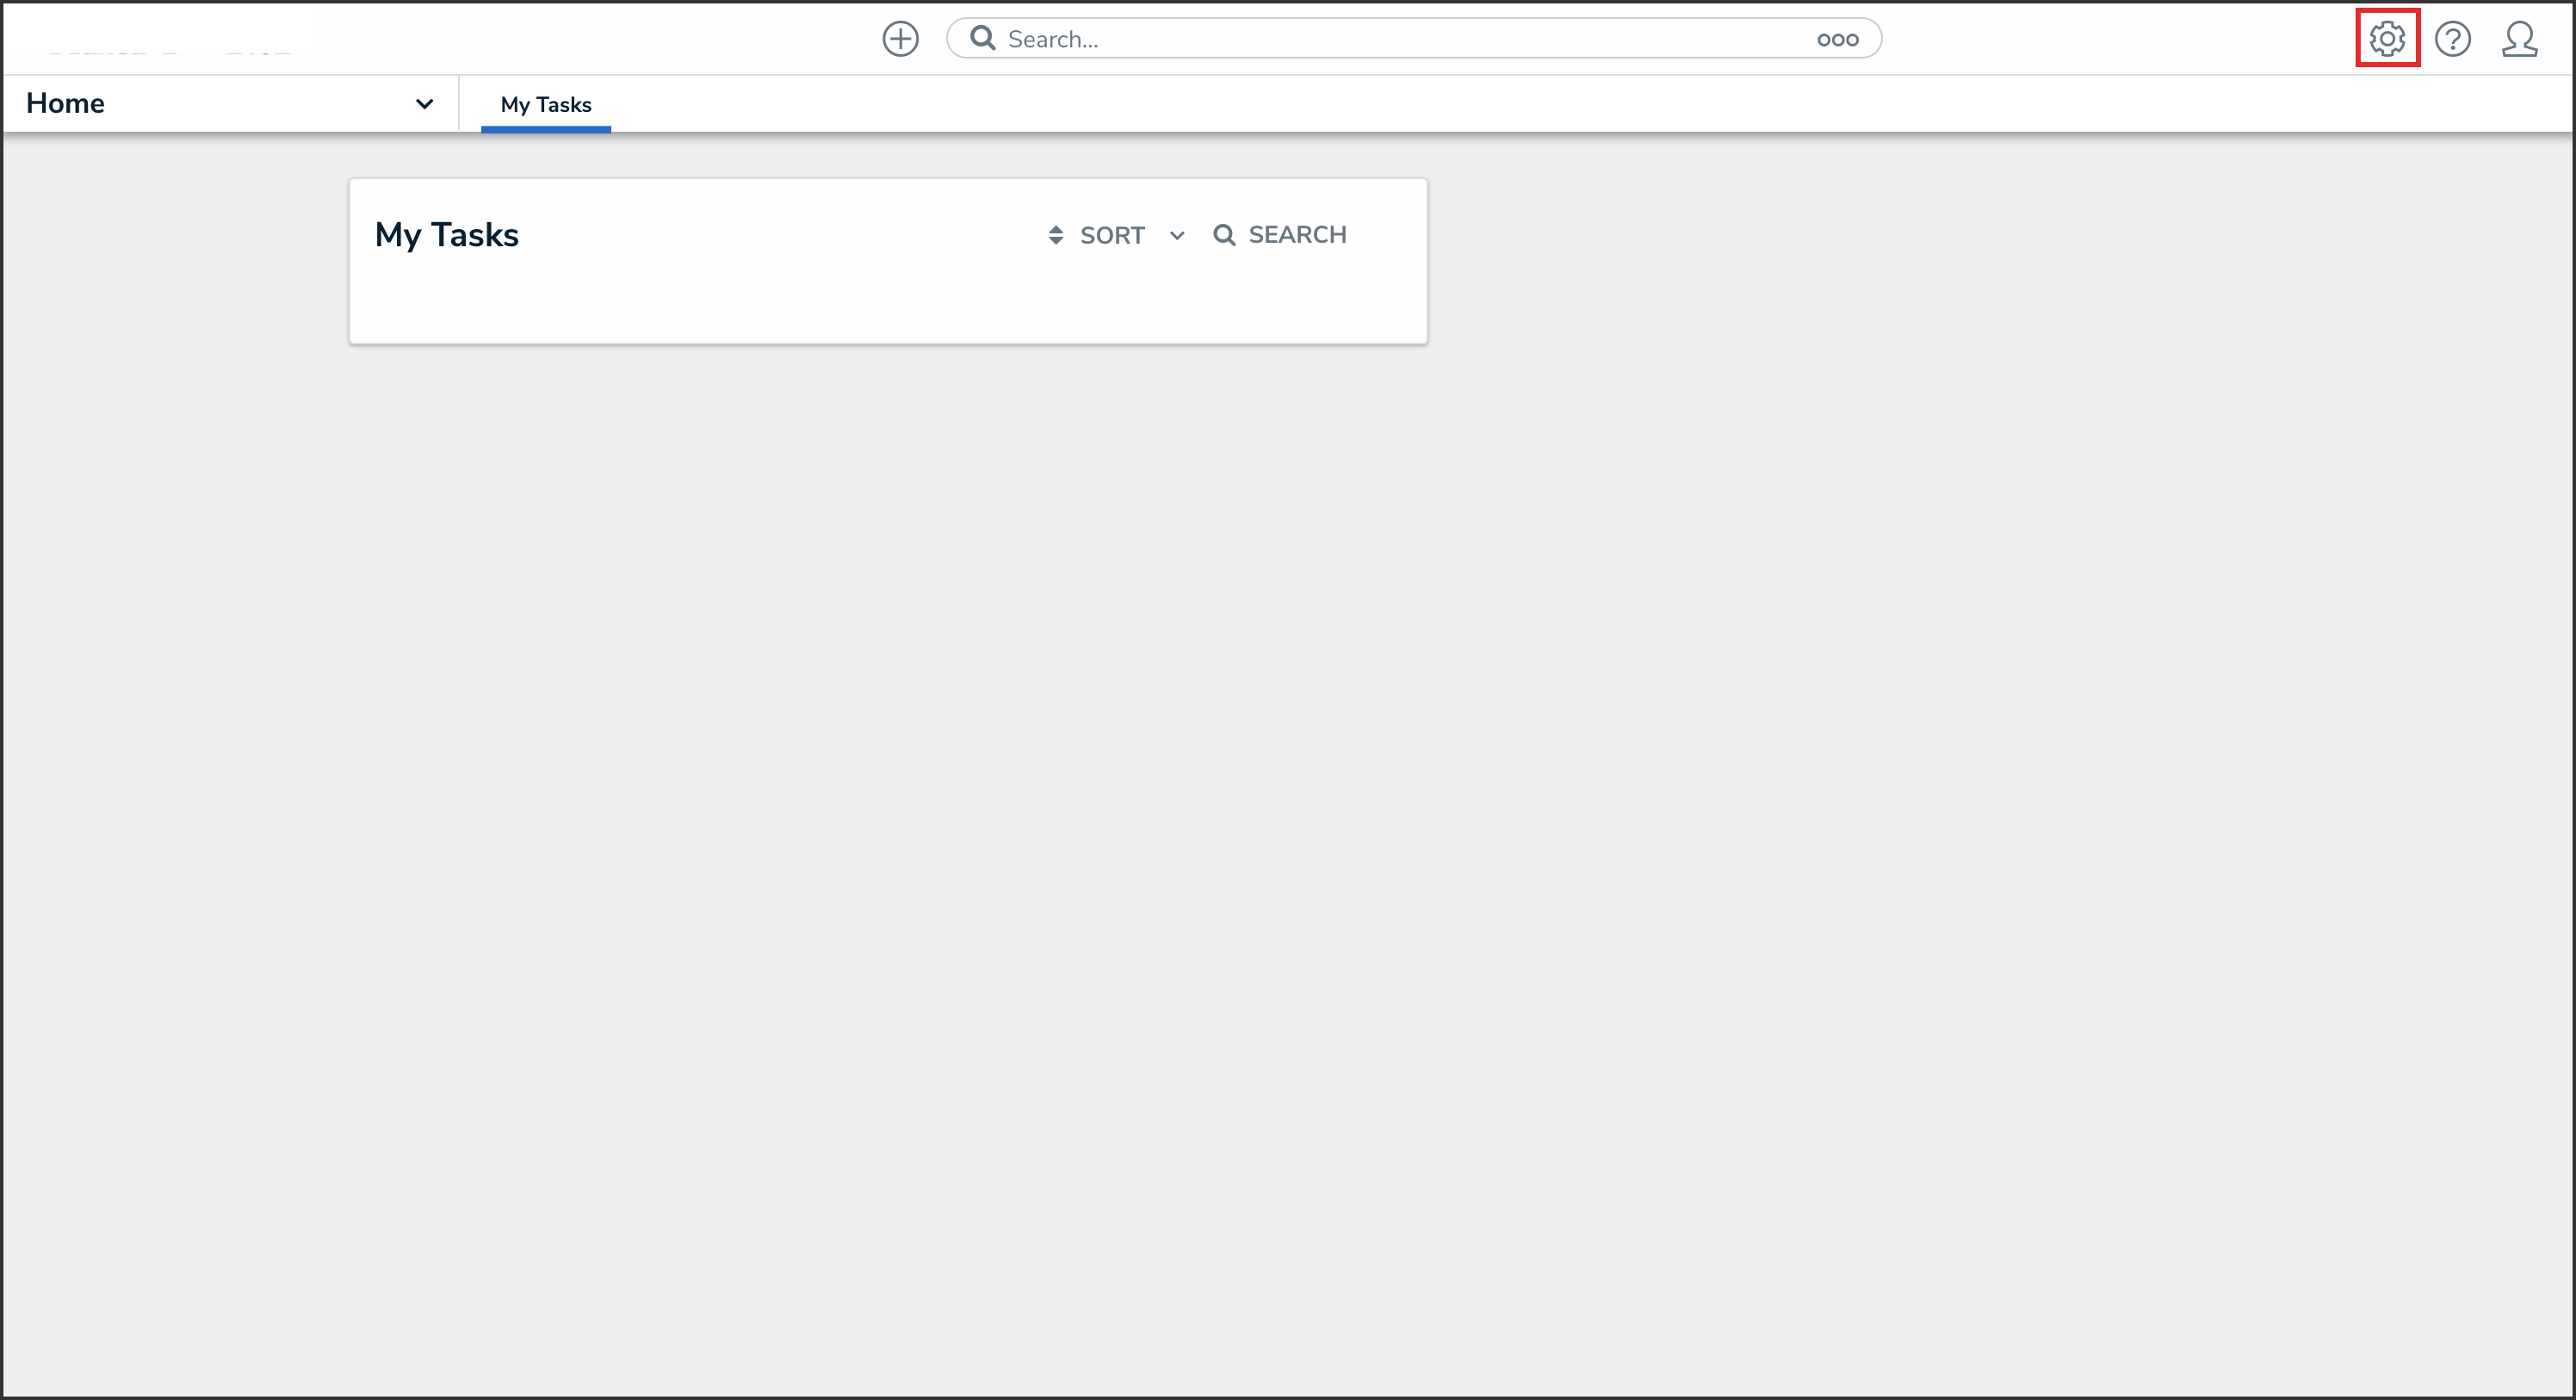
Administration Icon
-
From the Admin Overview screen, click the Configurable Forms tile under the Views section.
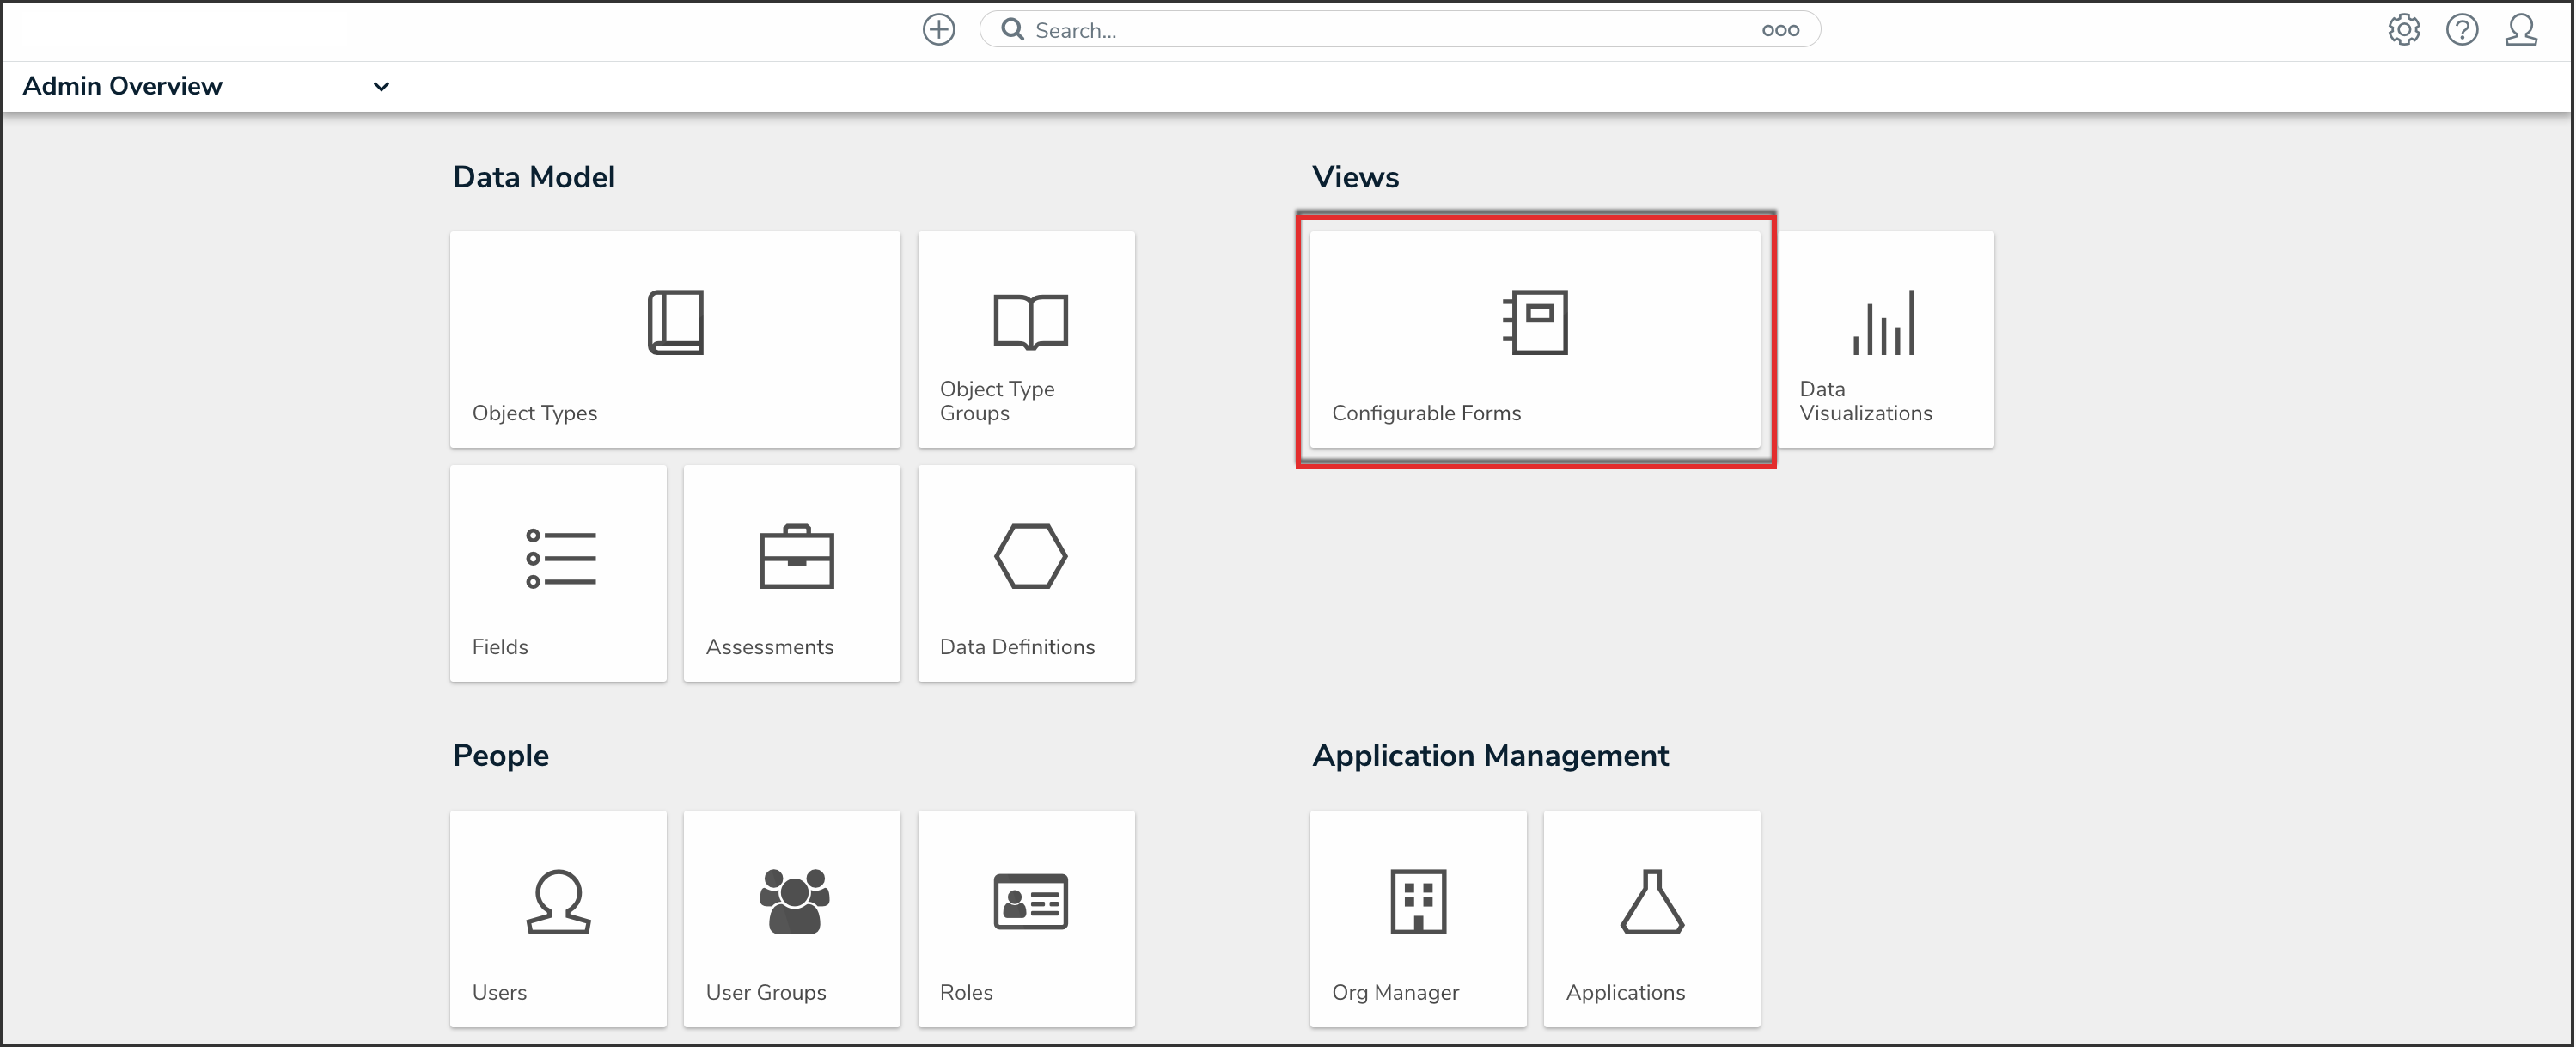
Configurable Forms Tile
-
From the Admin: Configurable Forms screen, click the Create Configurable Form button.

Create Configurable Form Button
Creating a New Navigation Form
- From the Admin: Create Form screen, enter the name of the form in the Name field.
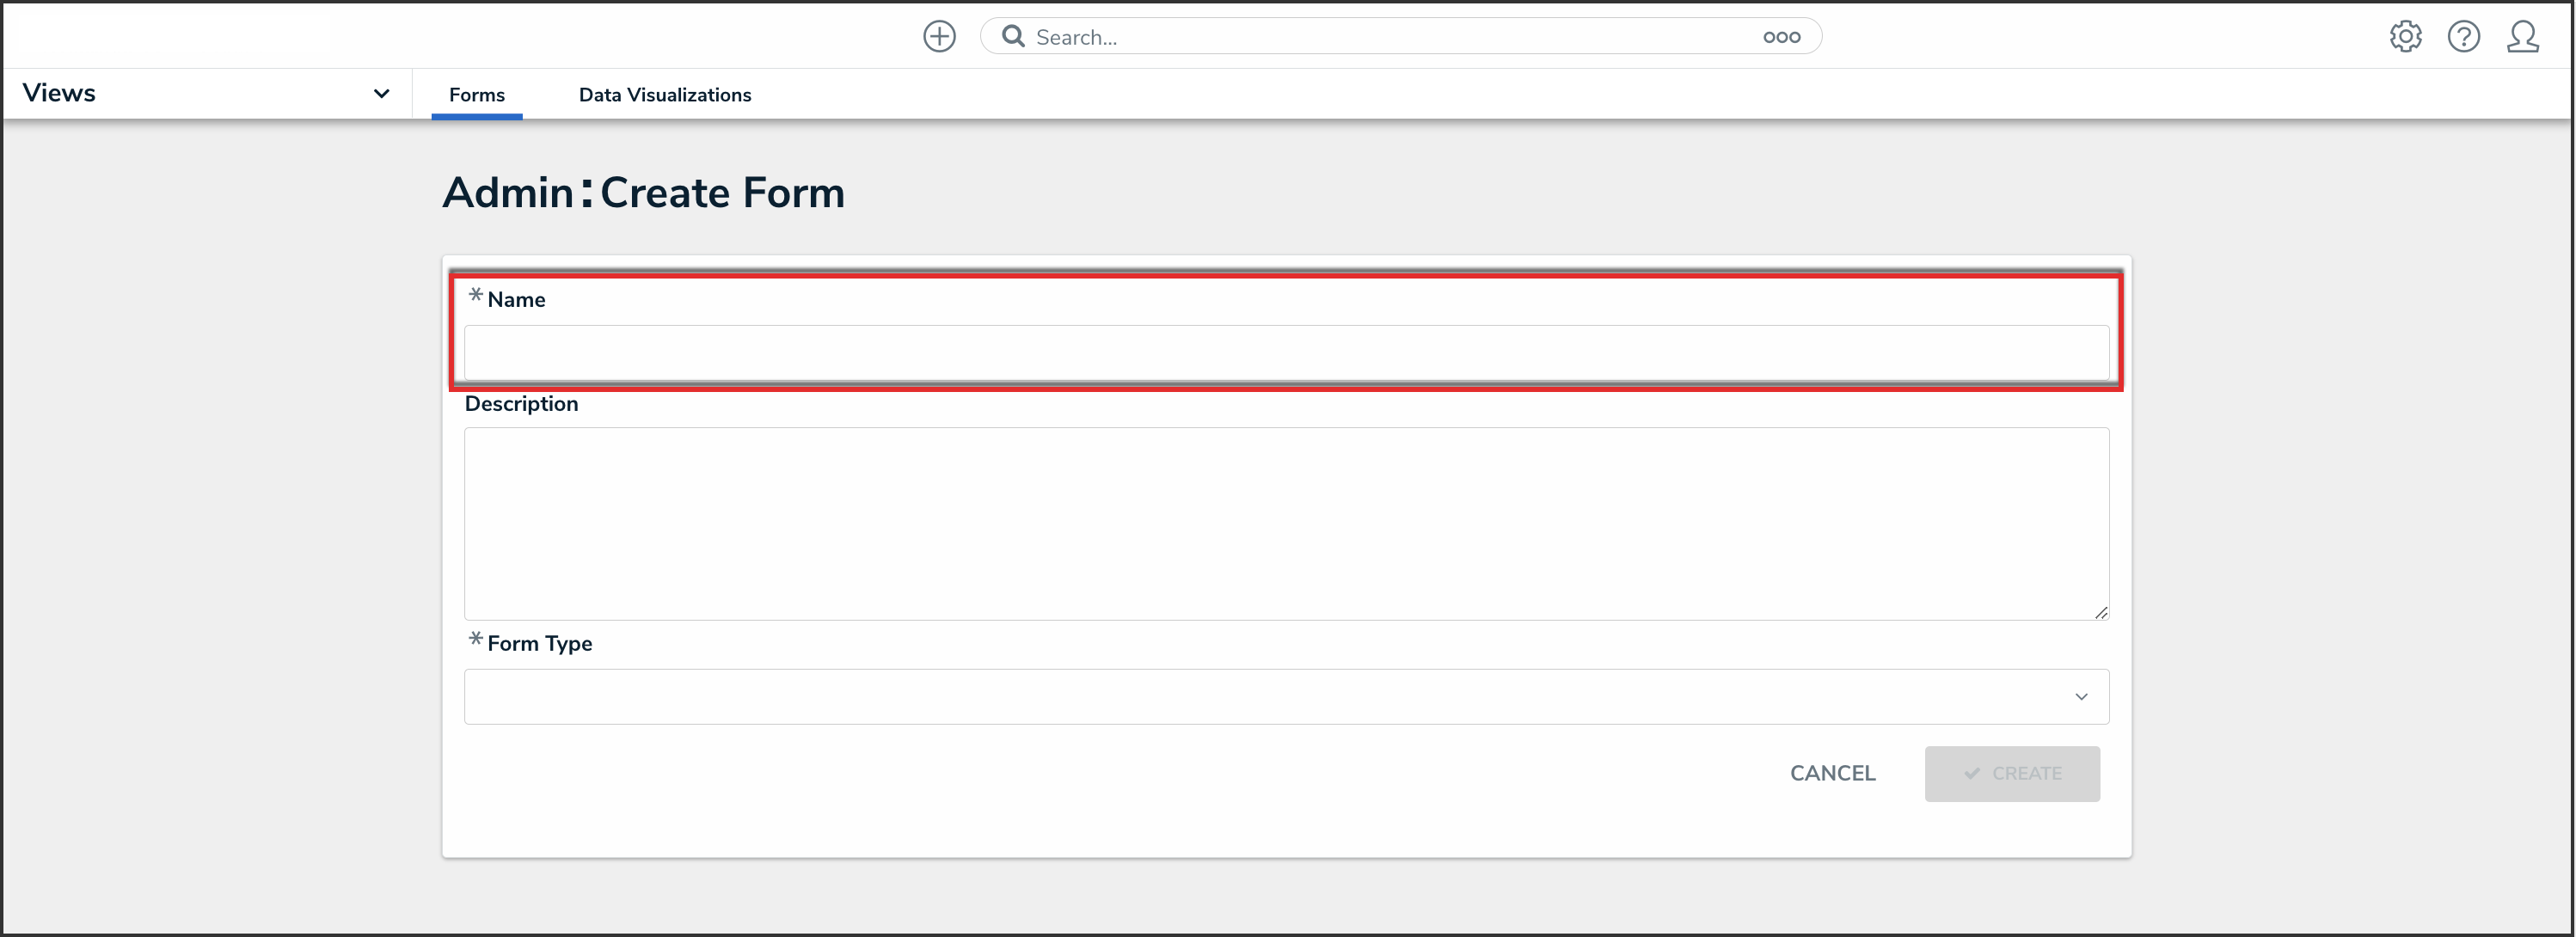
Name Field
- (Optional): Enter a brief description of the form in the Description field, which will appear below the form’s name while editing the form and on the Configurable Forms landing page.

Description Field
- Select Navigation Form from the Form Type dropdown menu.
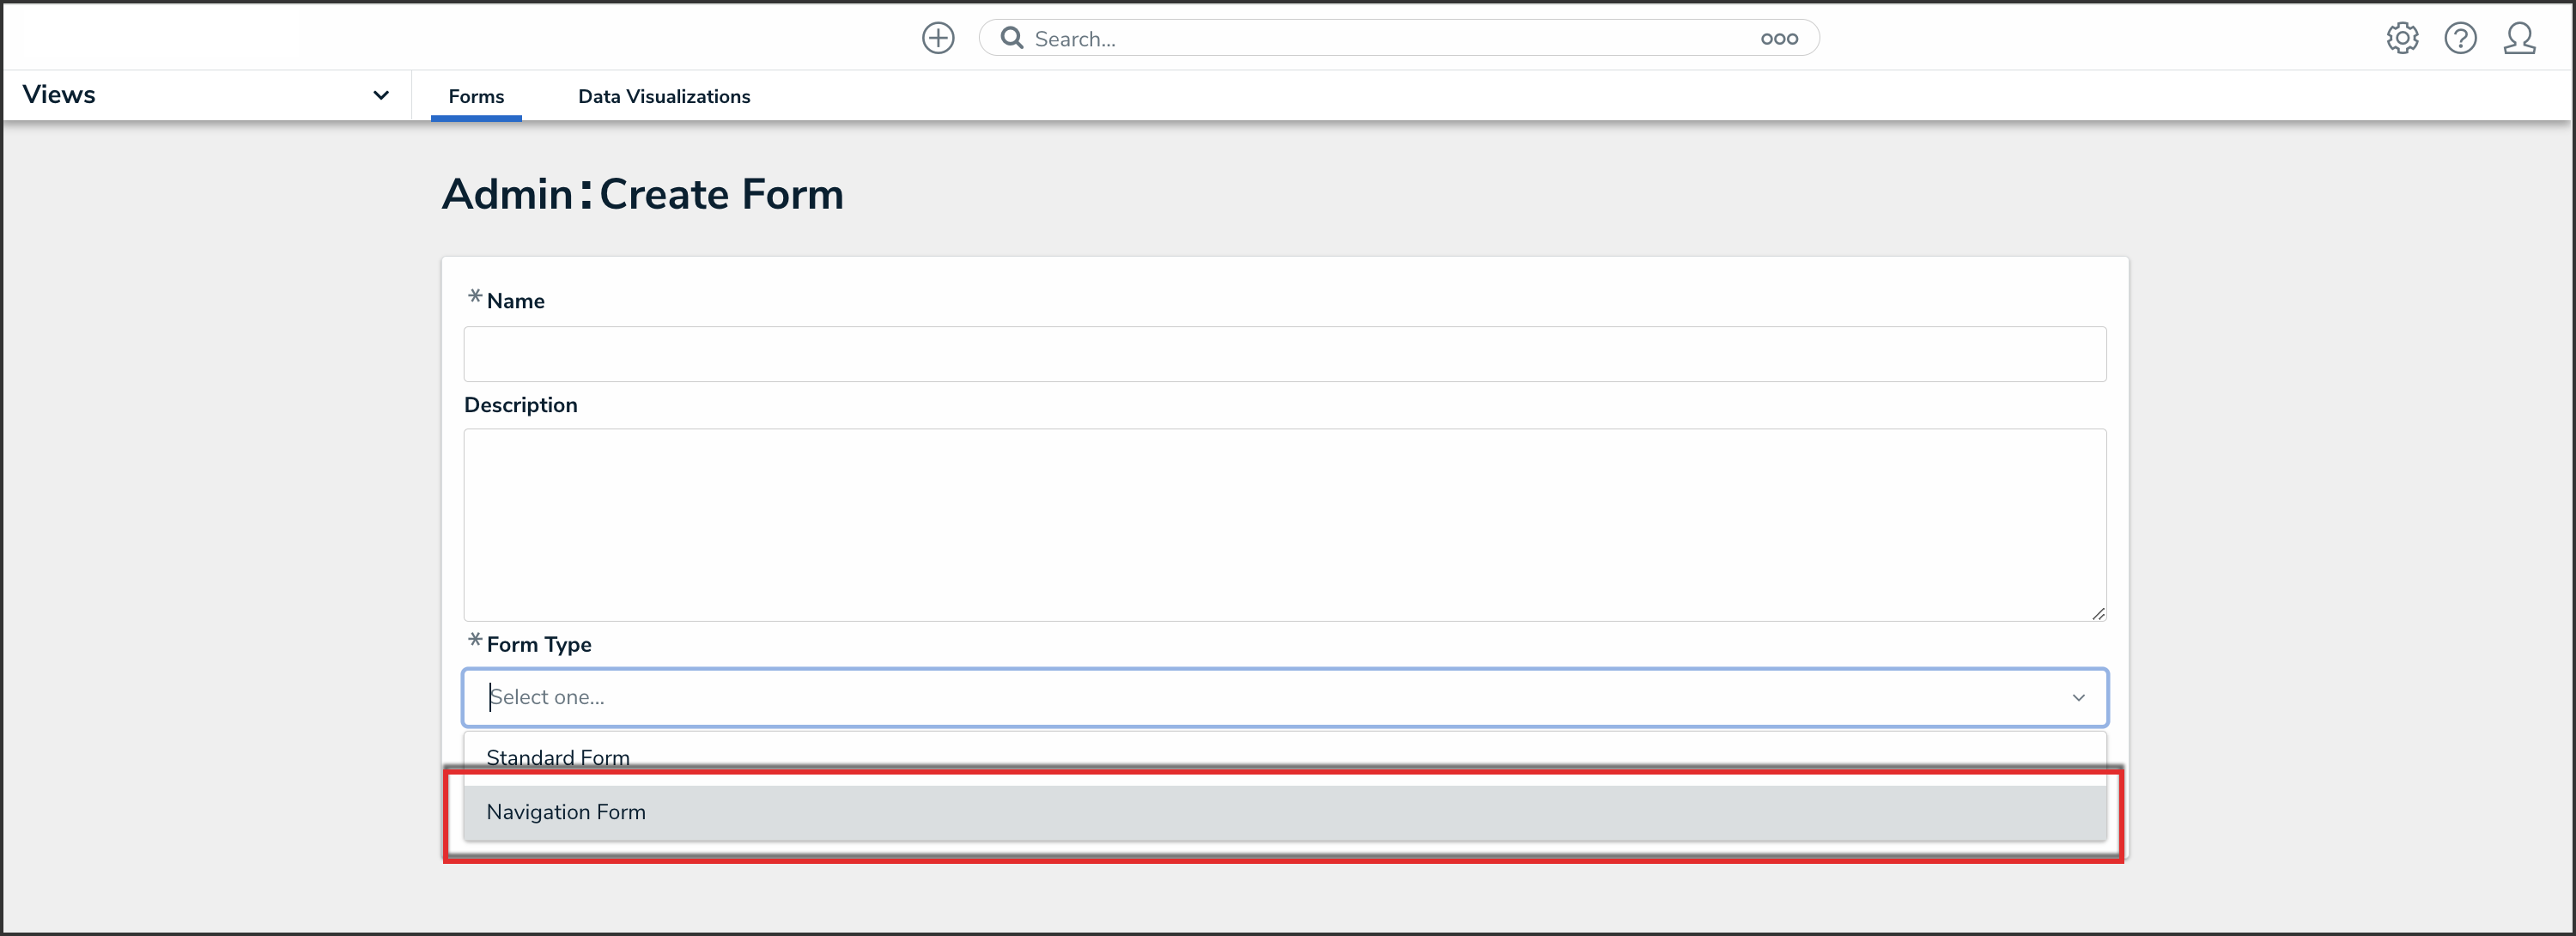
Form Type Dropdown
- Select a data definition from the Data Definition dropdown menu. This will determine which objects will appear in the tree on the form. If a user doesn't have permission to view an object, that object and any others below it in the tree will not be visible. See Data Definitions for more information.
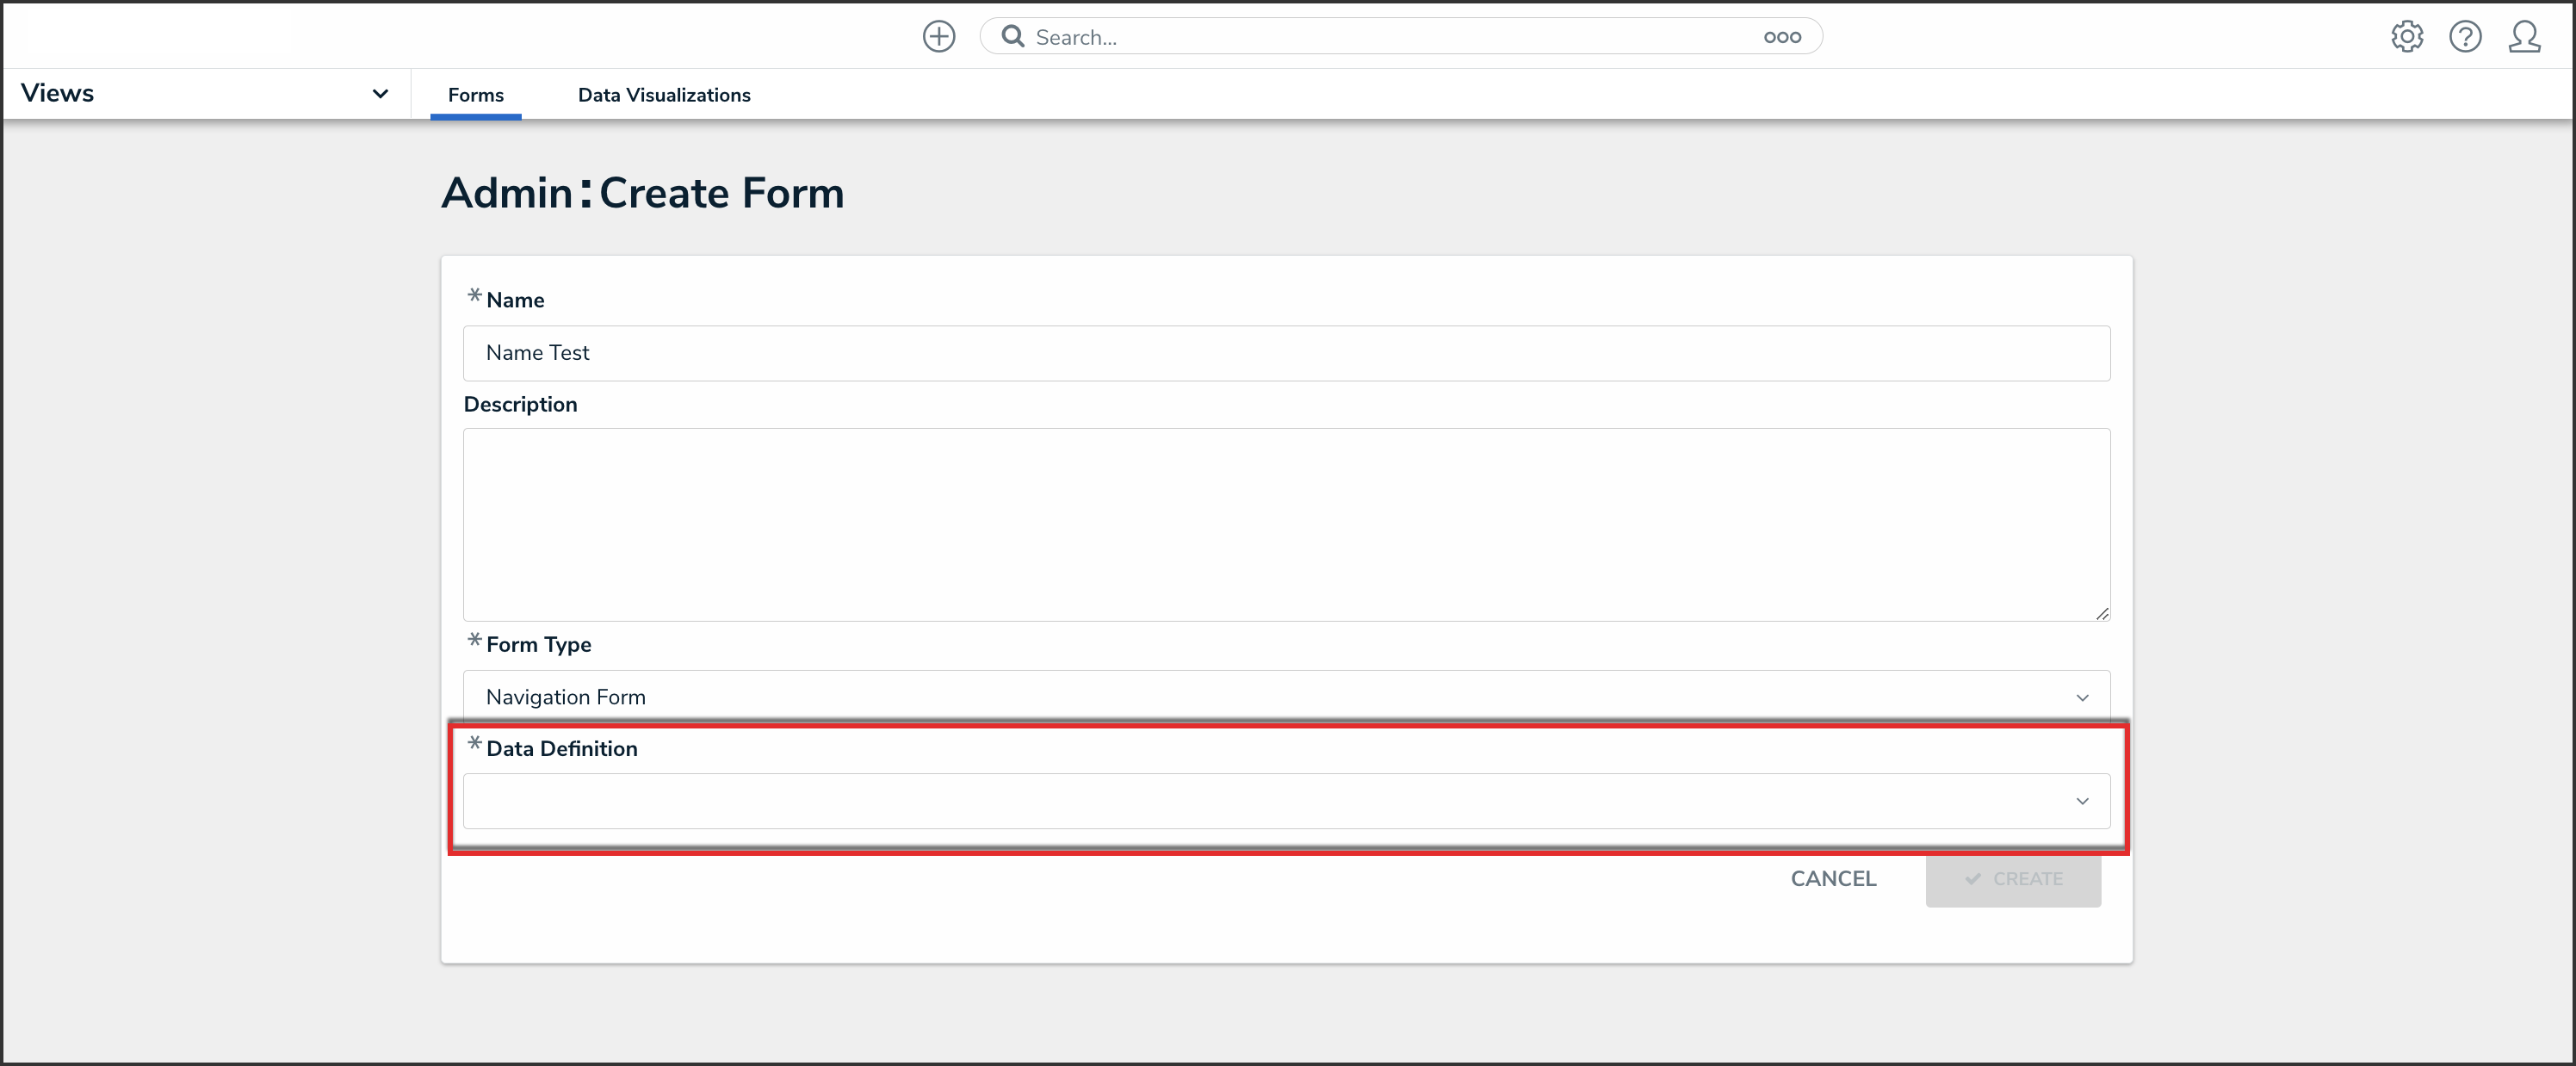
Data Definition Dropdown
- Click the Create button.

Create Button
- To include archived data in the tree view, click the Include Archived Data checkbox.
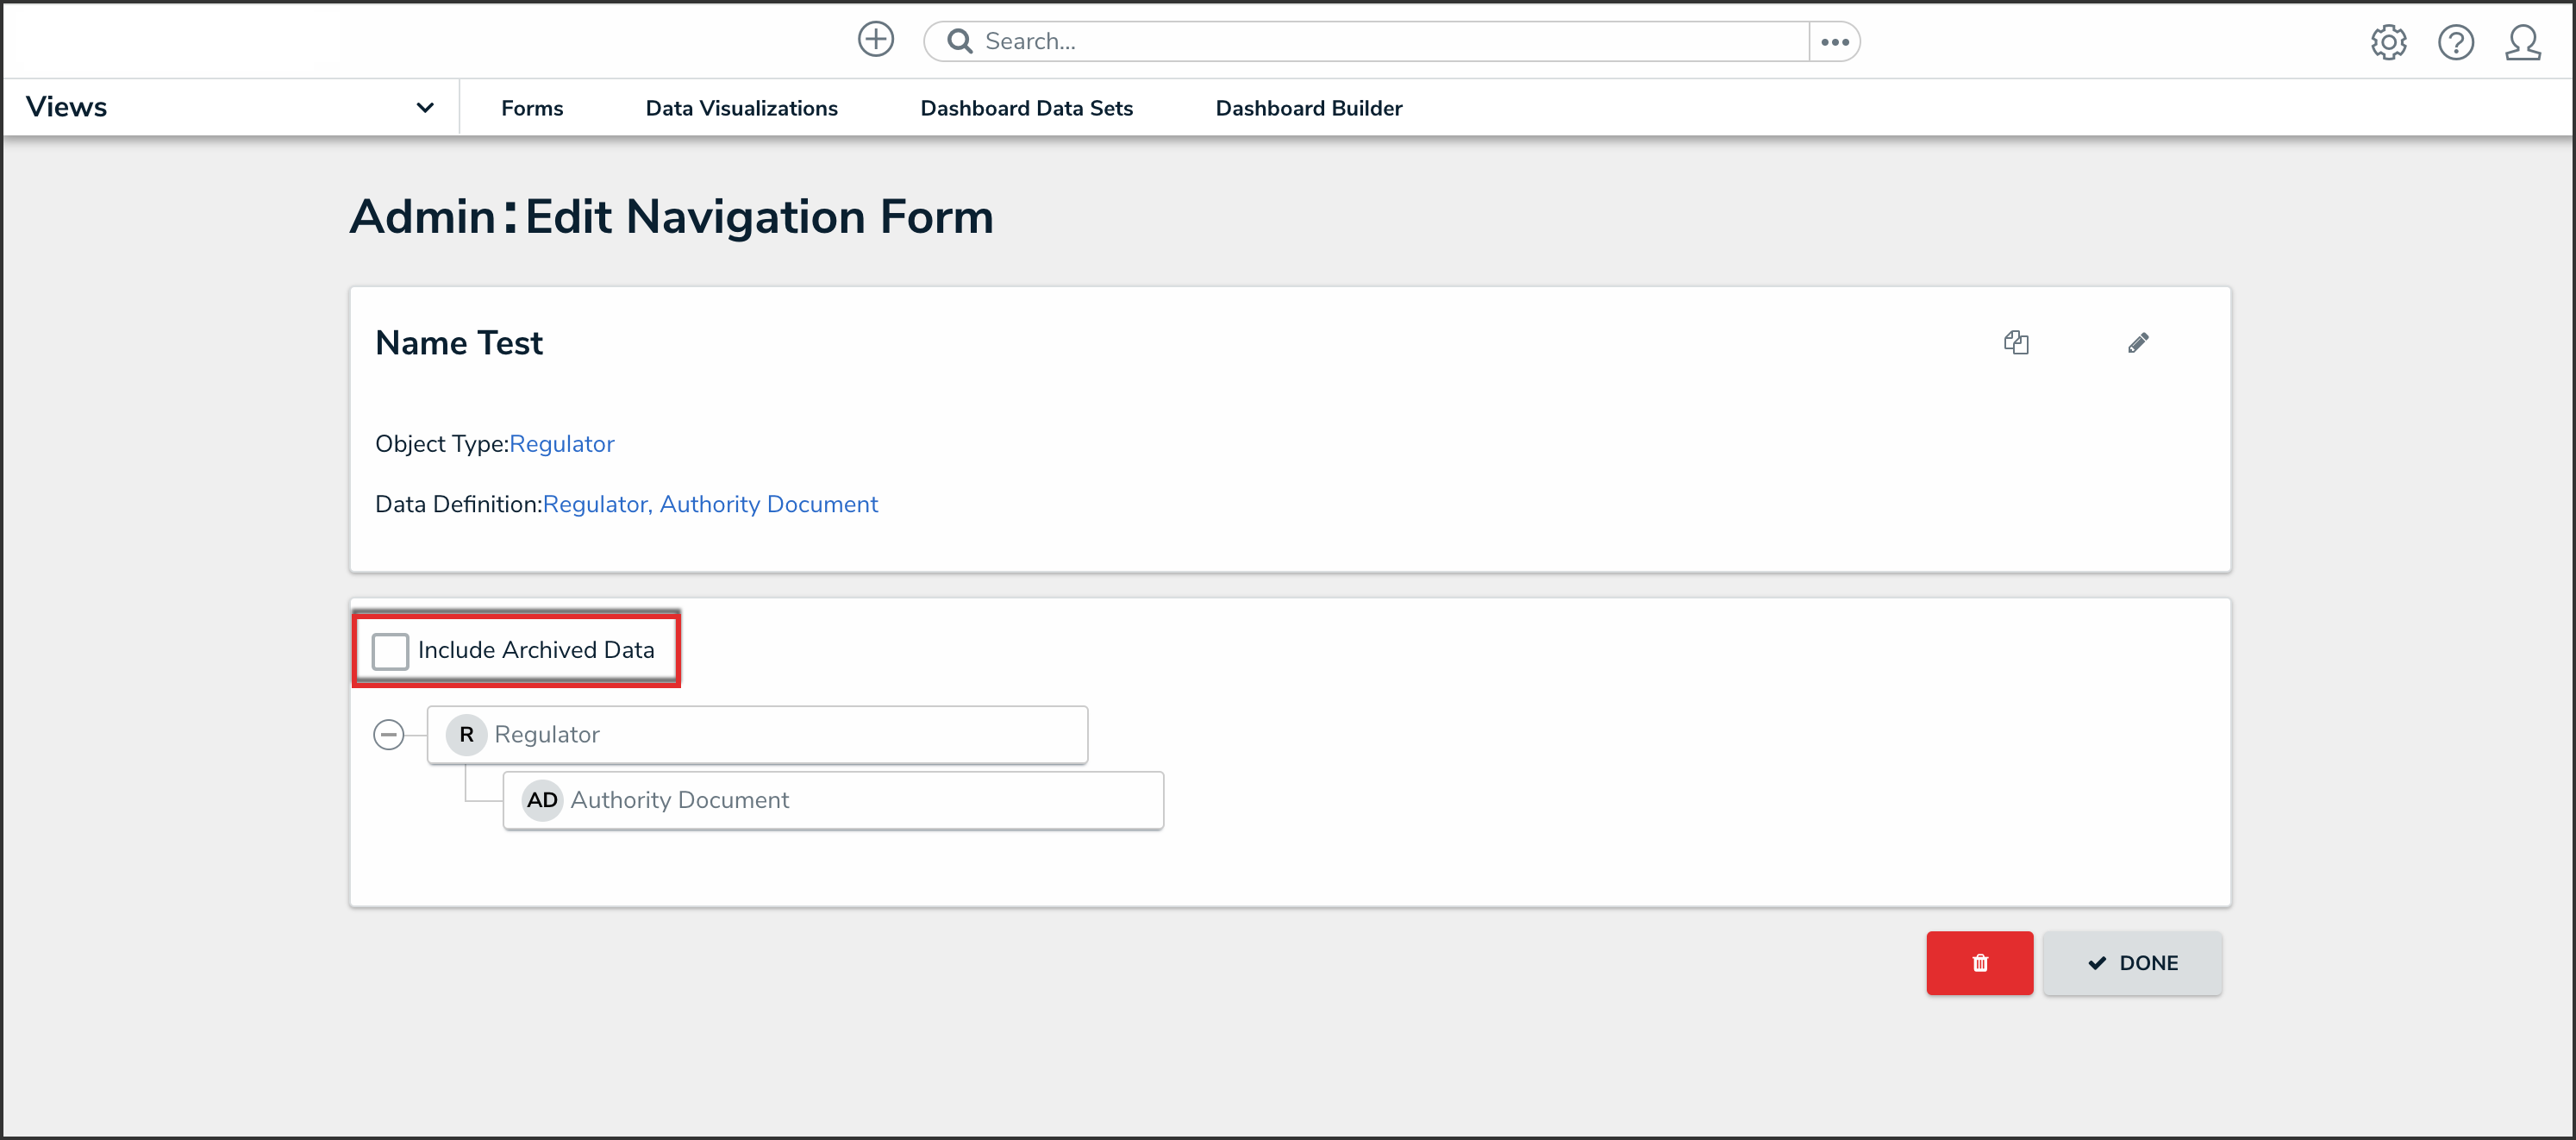
Include Archived Data Checkbox
- Click the first object type in the tree (this is the anchor object type) to configure it.
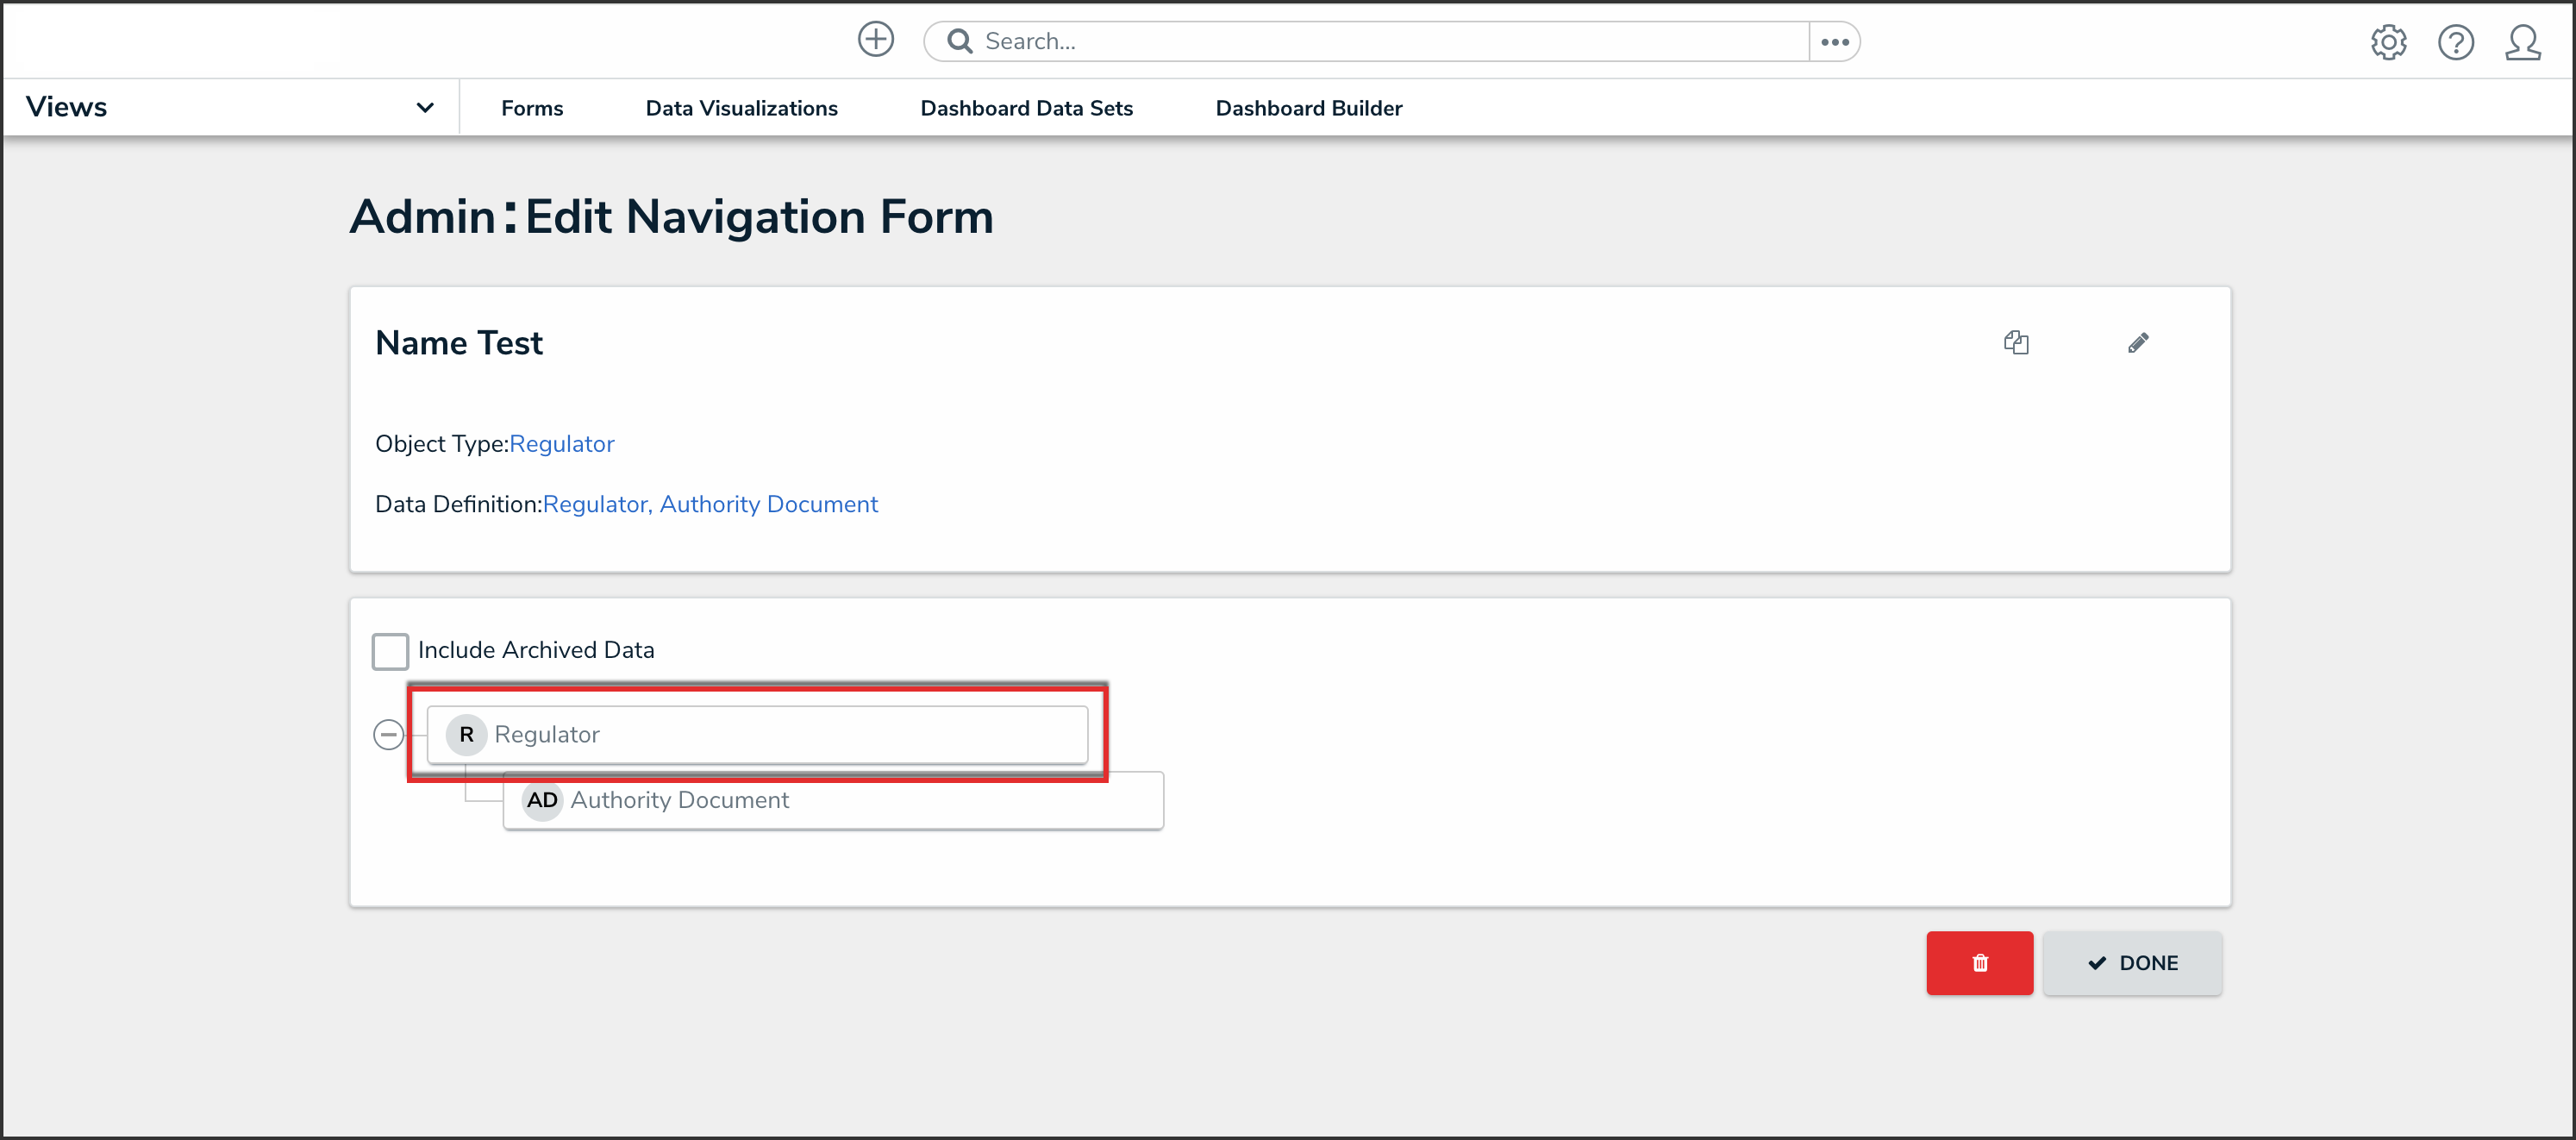
Anchor Object Type
- Select either Form or Data Visualization to choose what's displayed to a user (a standard form or report) when they click an object type node in the tree.
- If you selected Form:
- Select a form for the object type from the dropdown.

Object Type Form
- (Optional): Deselect the Use this form for all workflow states checkbox if you wish to specify which form to display for each state in the object type's workflow. If you deselected this checkbox, select a form from the dropdown.

Use This Form for all Workflow States Checkbox
- Select a form for the object type from the dropdown.
- If you selected Data Visualization:
- Choose a report for the object type from the Select a data visualization to render dropdown.
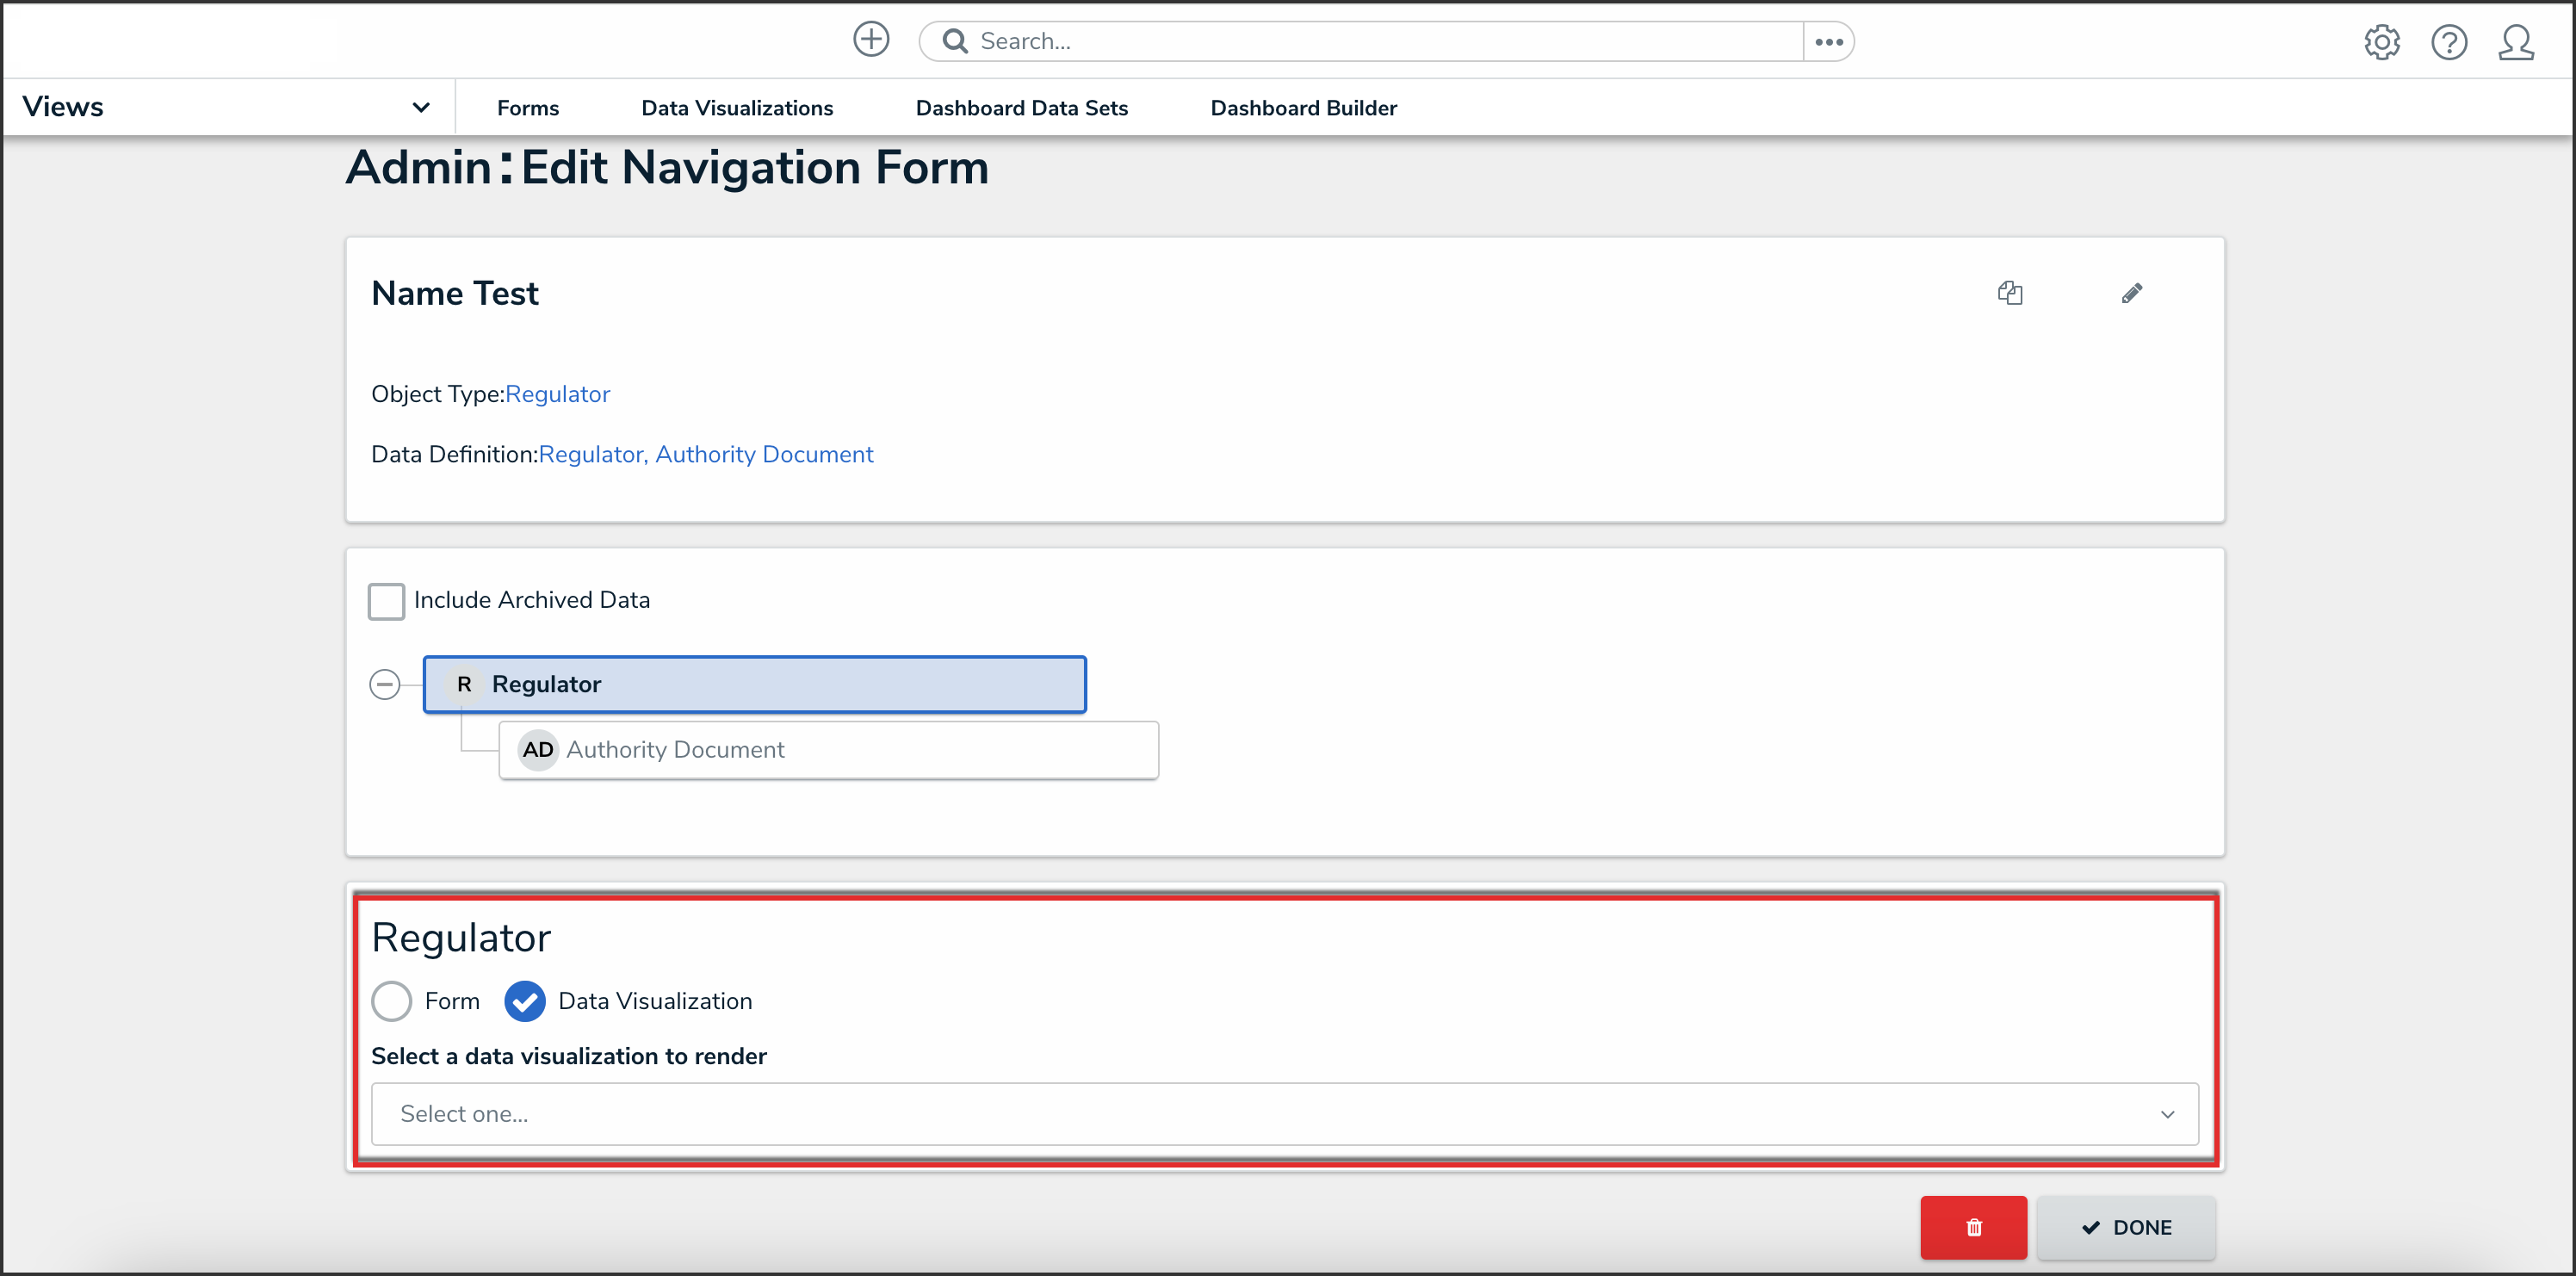
Object Type Data Visualization
- Choose a report for the object type from the Select a data visualization to render dropdown.
- If you selected Form:
Note:
If you do not select a specific form or report to display, any form selected in the object type's workflow permissions for its current state will display by default.
Warning:
It's recommended that repeatable form reports are not added to navigation forms as doing so may cause performance issues, depending on the amount of data displayed in the form or report.
- Continue clicking through each object type in the tree to choose which form or report is displayed to the user.
- Click the Done button to save your changes.

Done Button
Once the form is successfully created and configured, it can be added to a view, the Messaging action in a workflow, or when clicking an object on the My Tasks page.


