Overview
An Administrator must create a URL Portal before you can allow external and occasional stakeholders access to the Confidential Portal.
An Administrator must create a non-administrative user account for the login, and assign it to a role with access to the appropriate object type(s) and activity before they can create a Portal URL.
User Account Requirements
The user account you use to log into Resolver must have Administrator permissions.
Required Information/Setup
For more information on using a Portal URL, please refer to the Portal URL Overview article.
To edit or delete a Portal URL, please refer to the Edit or Delete a Portal URL article.
An Administrator must create a non-administrative login for use with the Confidential login, please refer to the Create a New User article.
Navigation
- From the Home screen, click on the Administration icon.
![]()
Administration Icon
- From the Admin Overview screen, click the Portal URL Settings tile under the Communications section.

Portal URL Settings Tile
- From the Portal URL Settings screen, click the Create Portal URL button.

Create Portal URL Button
Create a Portal URL
An Administrator must create a non-administrative user account for the login and assign it to a role with access to the appropriate object type(s) and activity before they can create the Confidential Portal Login. For more information, please refer to the Create a New User article.
- From the Create Portal URL screen, enter a name in the Name field.

Name Field
- (Optional): Enter a login description in the Description field. This description will appear below the login’s name on the Portal URL screen.
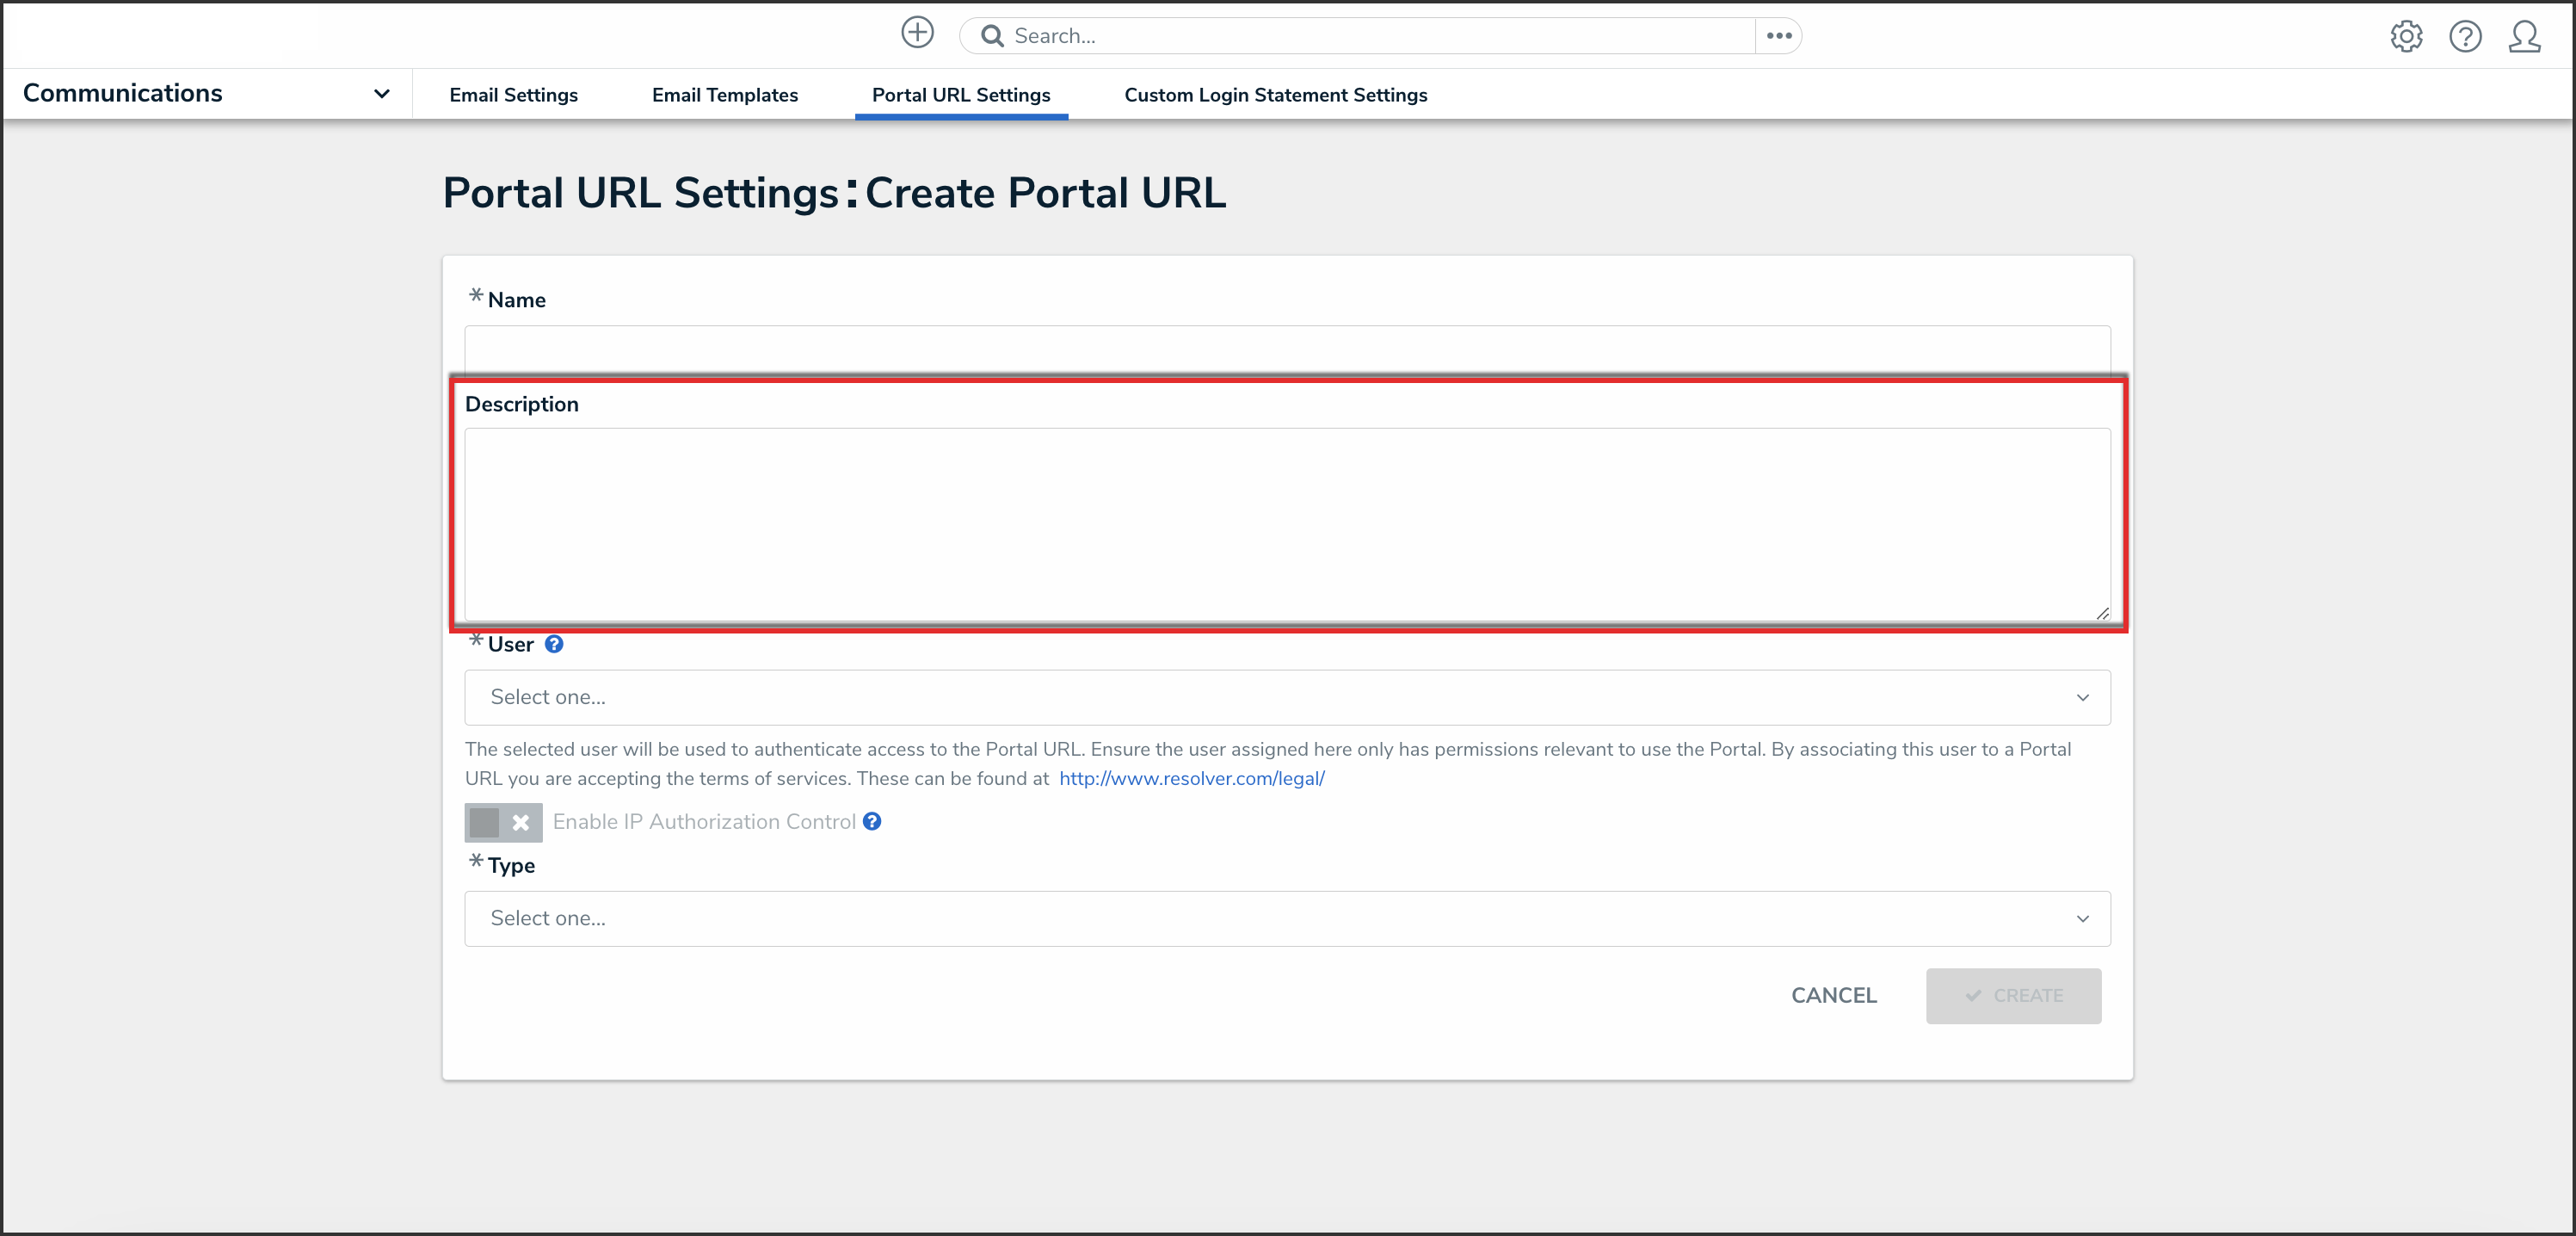
Description Field
- Select a Portal User from the User dropdown menu. This list will only show users with the Portal URL User option selected on the User Type field on the User Management: Edit User screen.


User Dropdown Menu
- (Optional): Click the Enable IP Authorization Control toggle switch to restrict who can access this URL (based on the entries in the IP allow list). The toggle switch will be greyed out if IP authorization control is not enabled for the Org. For more information, please refer to the IP Authorization Control article.
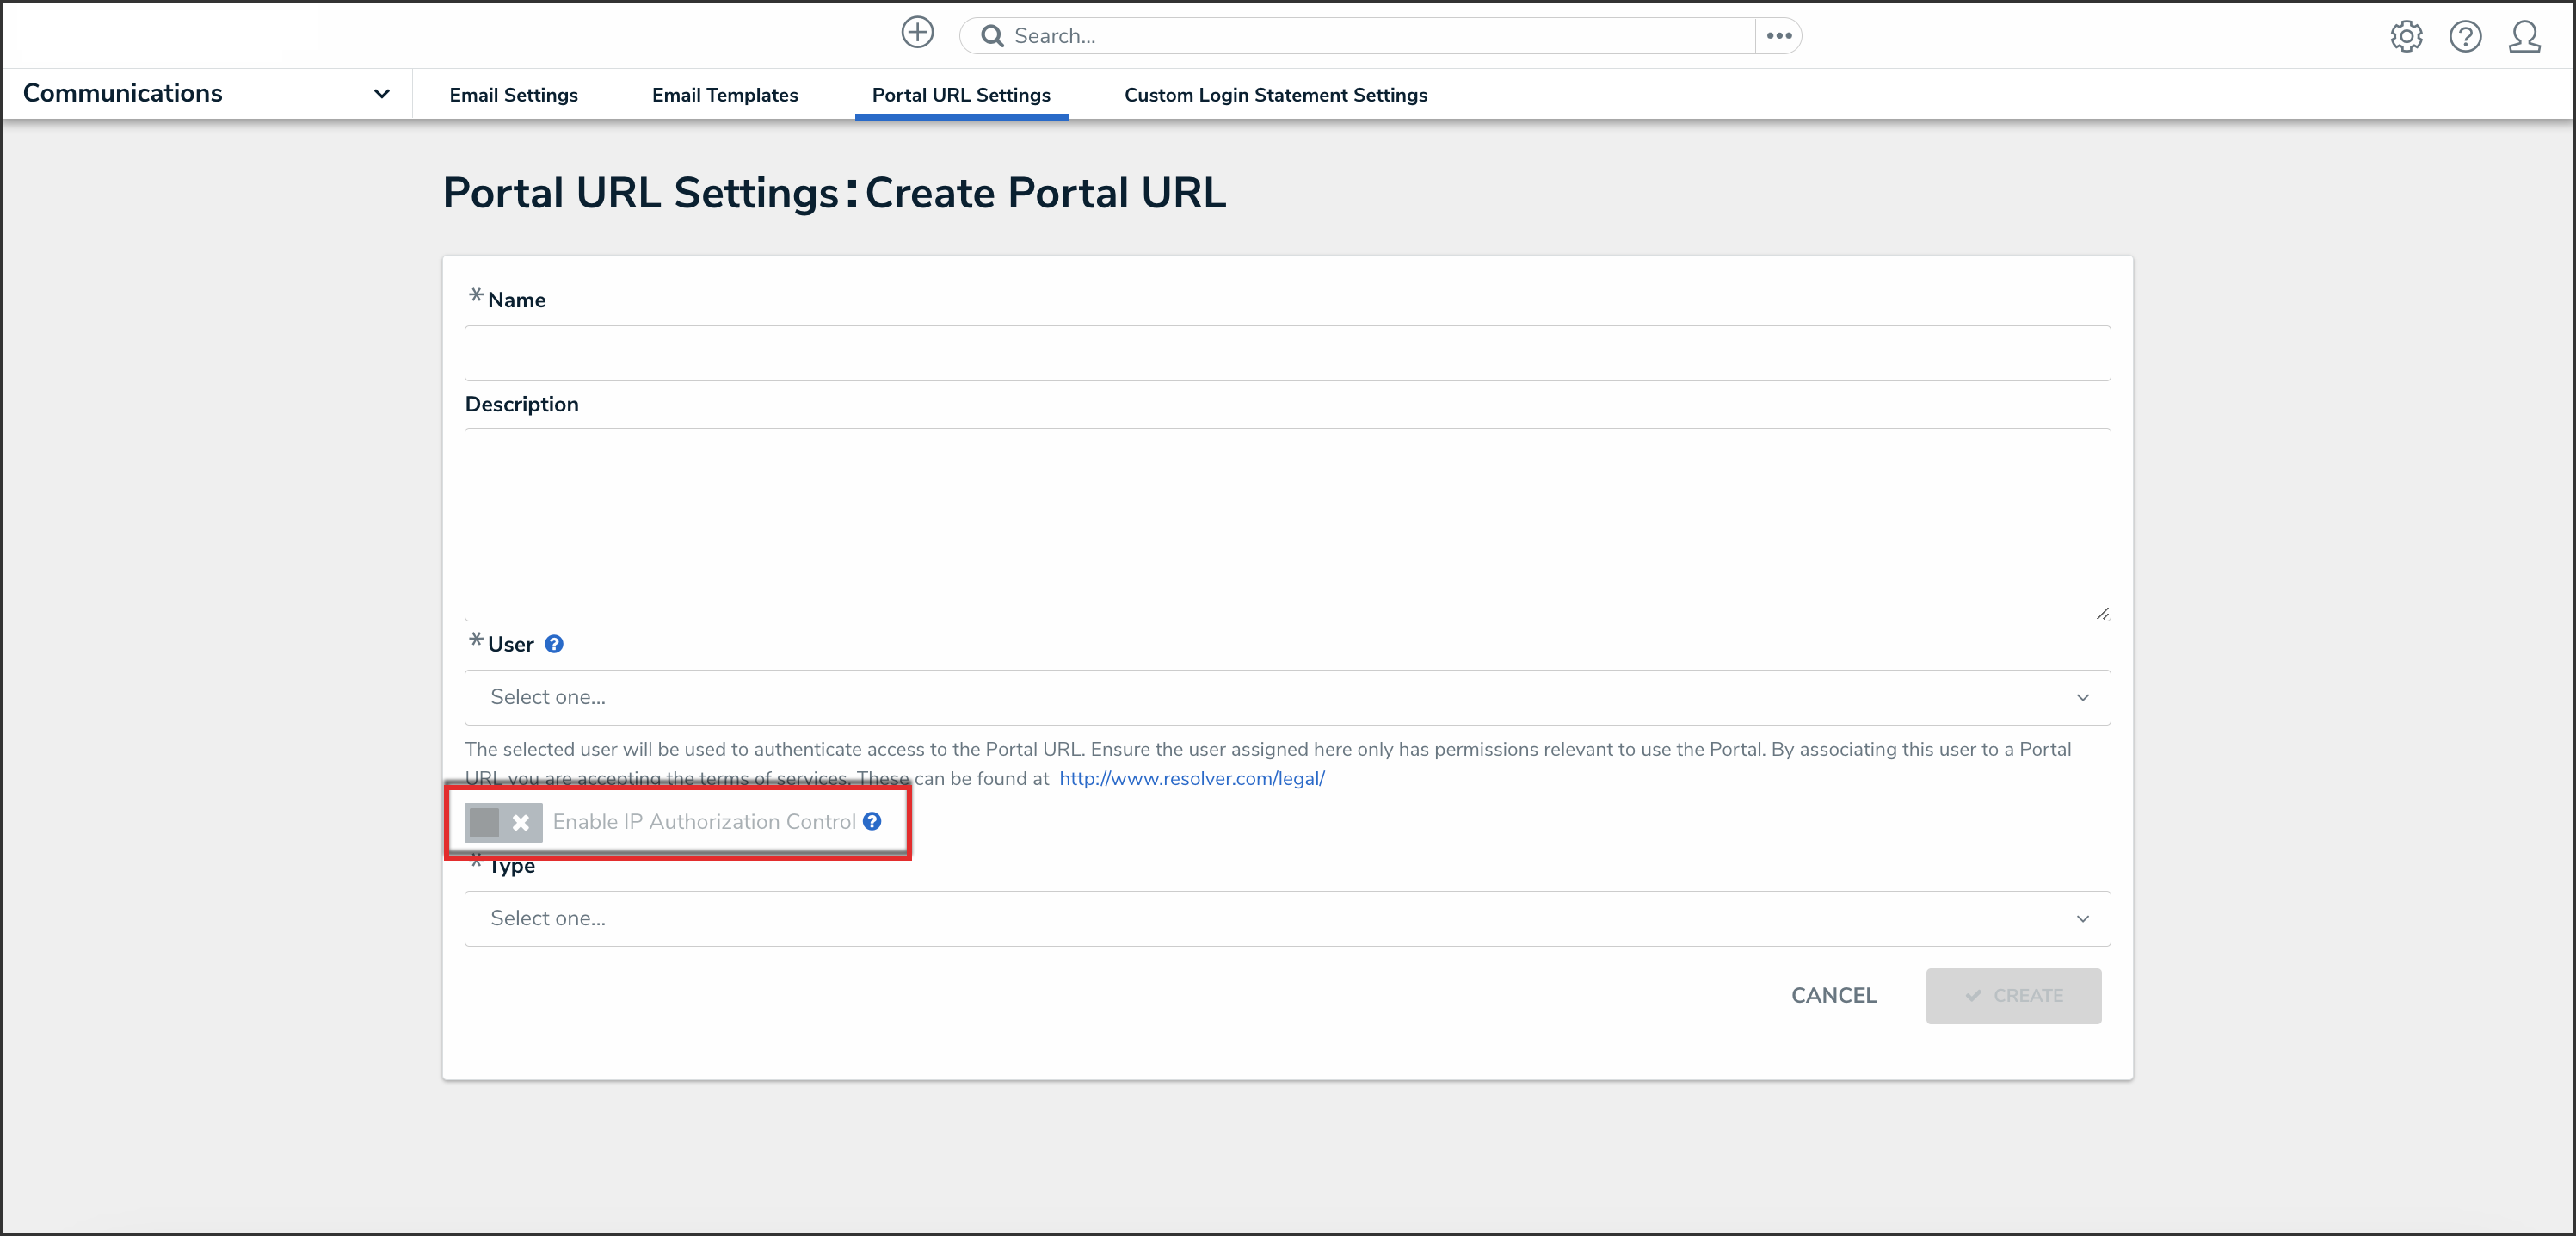
Enable IP Authorization Control Toggle Switch
- Select one of the following Type options from the dropdown menu:

- Form: The Form type displays a configurable form only.
- Object Type: Select an Object Type from the Object Type dropdown list. The Object Type dictates which Forms will be available to select on the Forms dropdown menu.
- Form: Select a Form from the Form dropdown menu. The Form selected will appear when accessing the Confidential Portal.

Form Additional Fields
- Activity: The Activity type displays the actions and views within an activity.
- Application: Select an Application (e.g., IT Risk Management) from the Application dropdown list. The Application dictates which Activities will be available to select on the Activity dropdown menu.
- Activity: Select an Activity from the Activity dropdown menu. An Activity is the part of an application where users can create, edit, and view data. The Activity selected will appear when accessing the Confidential Portal.
- (Optional) Pendo® Guide:

Activity Additional Fields
- Click the Create button.
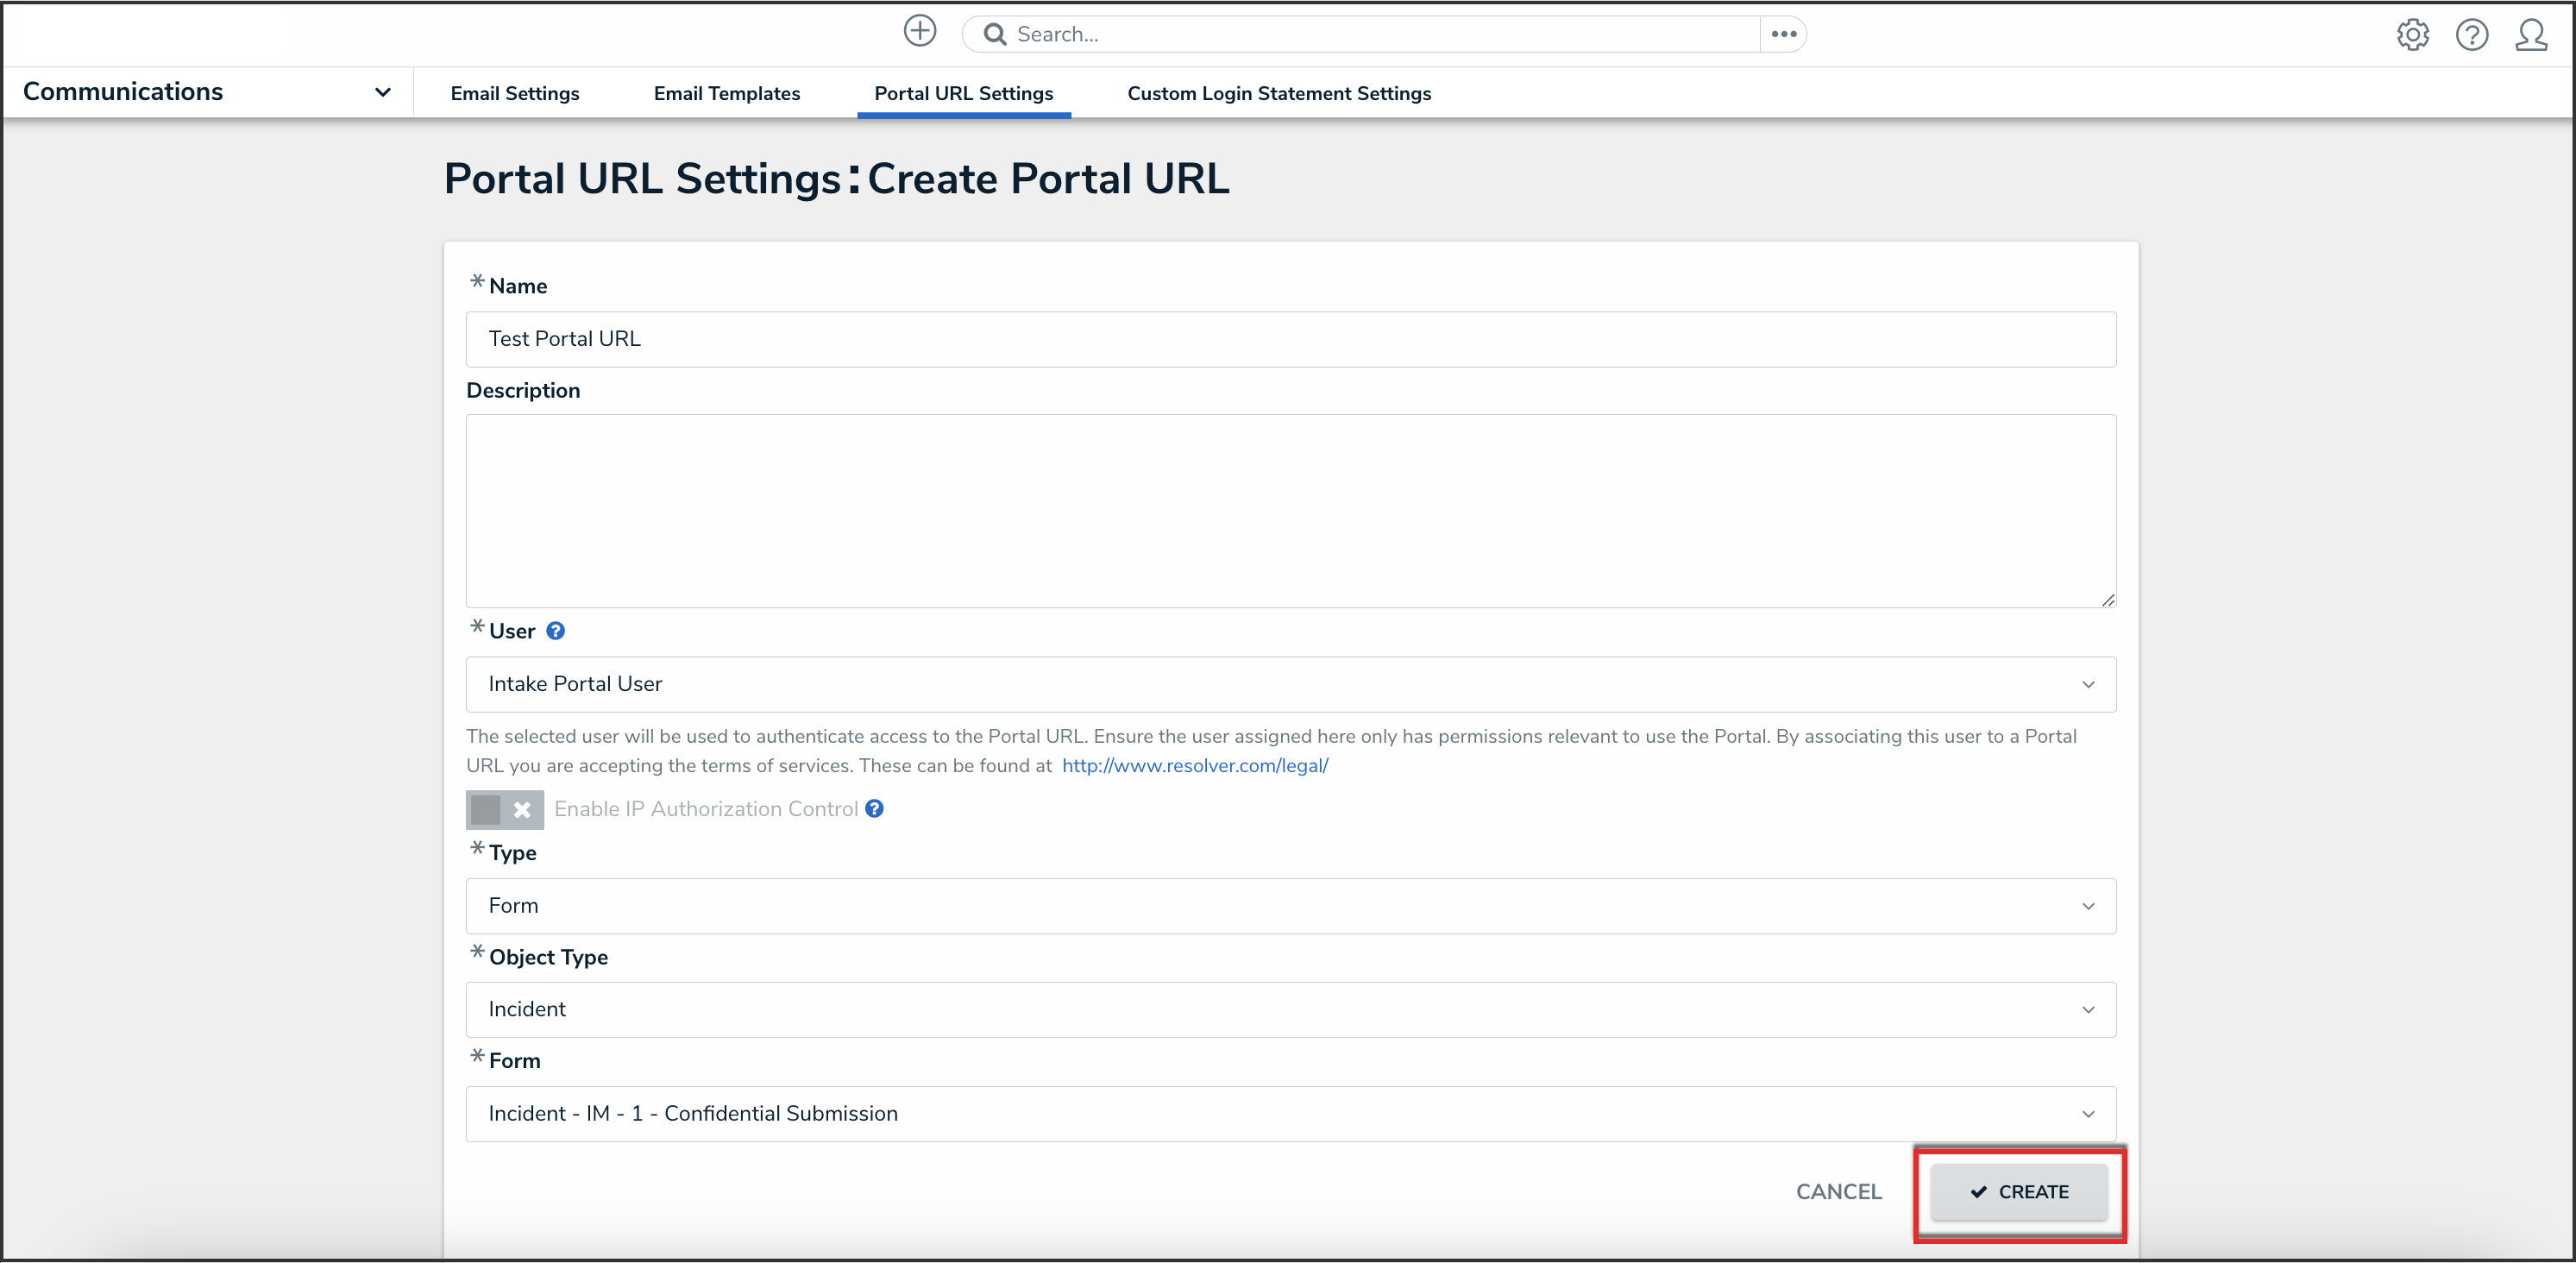
Create Button

- The Login URL field will appear with the Confidential Portal login URL. Click the Copy icon to copy the login URL.
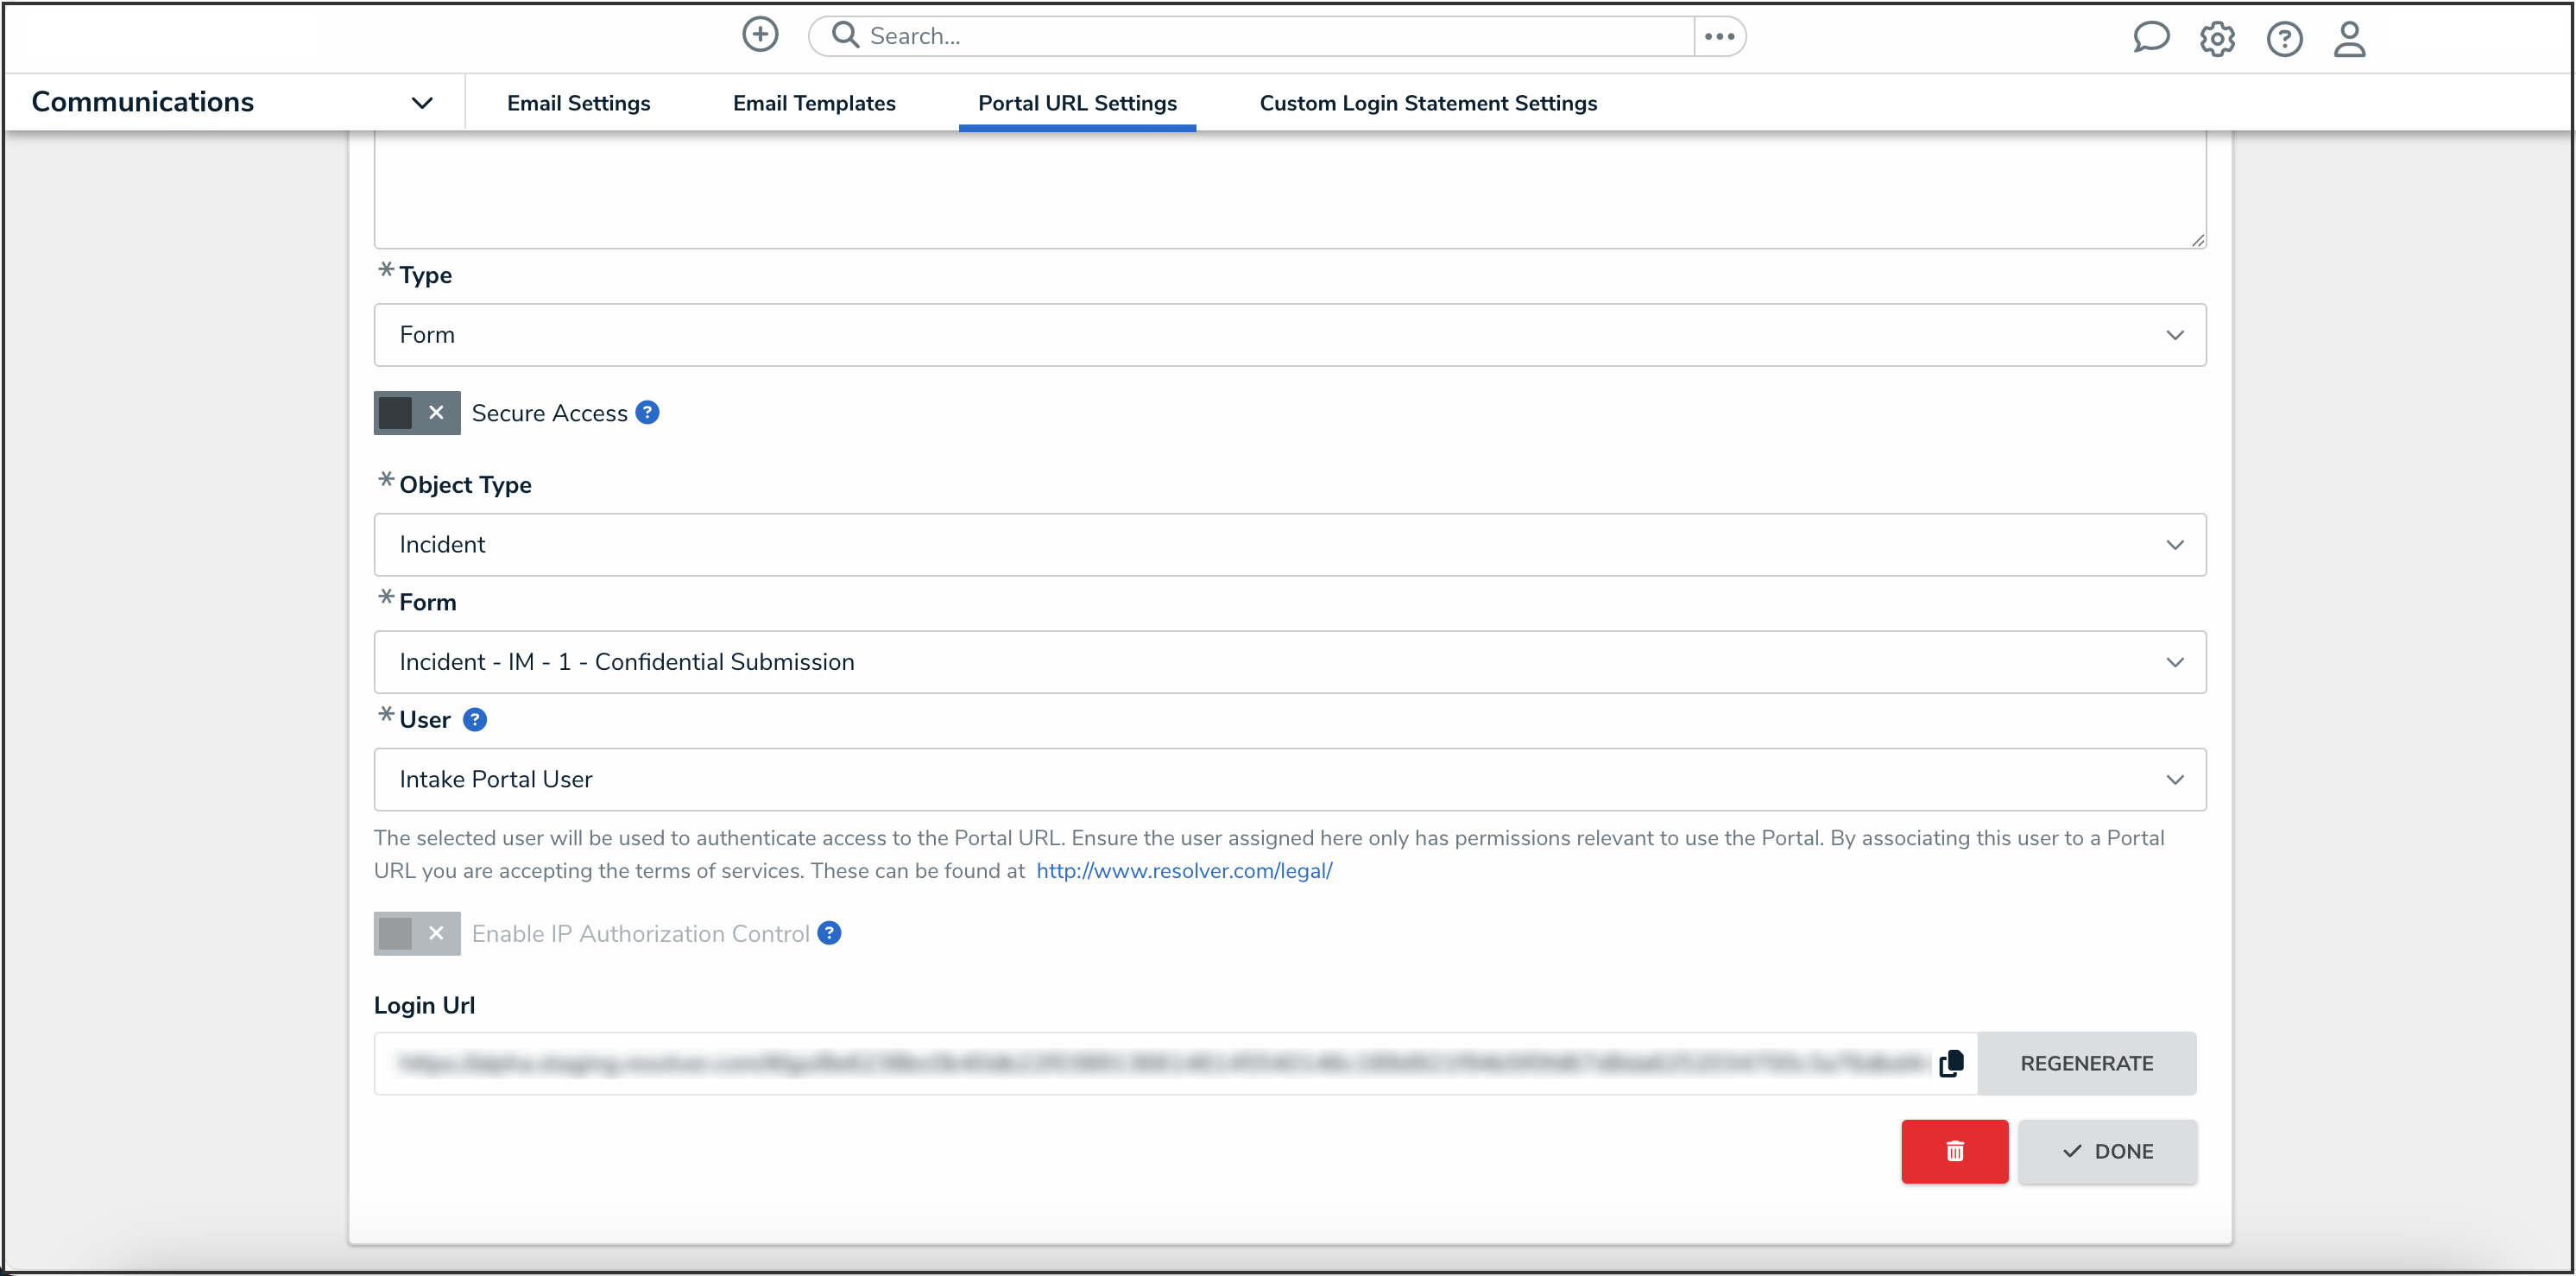
Login URL Field
