Overview
You can export the User Audit Trail in Resolver.
User Account Requirements
The user account must have Administrator permission to access the User Audit Trail and Swagger™.
Related Information/Setup
Review the list of important notes in the User Audit Trail Overview article for more information regarding the User Audit Trail.
For details on the events captured in the audit trail, see the User Audit Trail Events & Filters article.
Navigation
- From the Home screen, click the Administration icon.
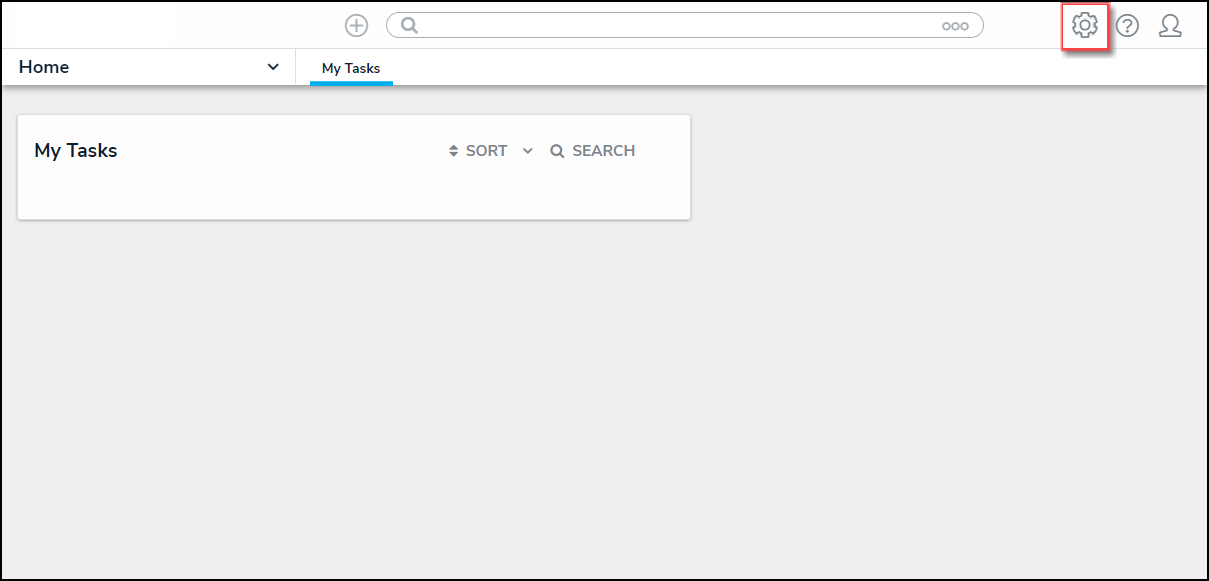
Administration Icon
- From the Administrator Settings menu, click Admin Overview.
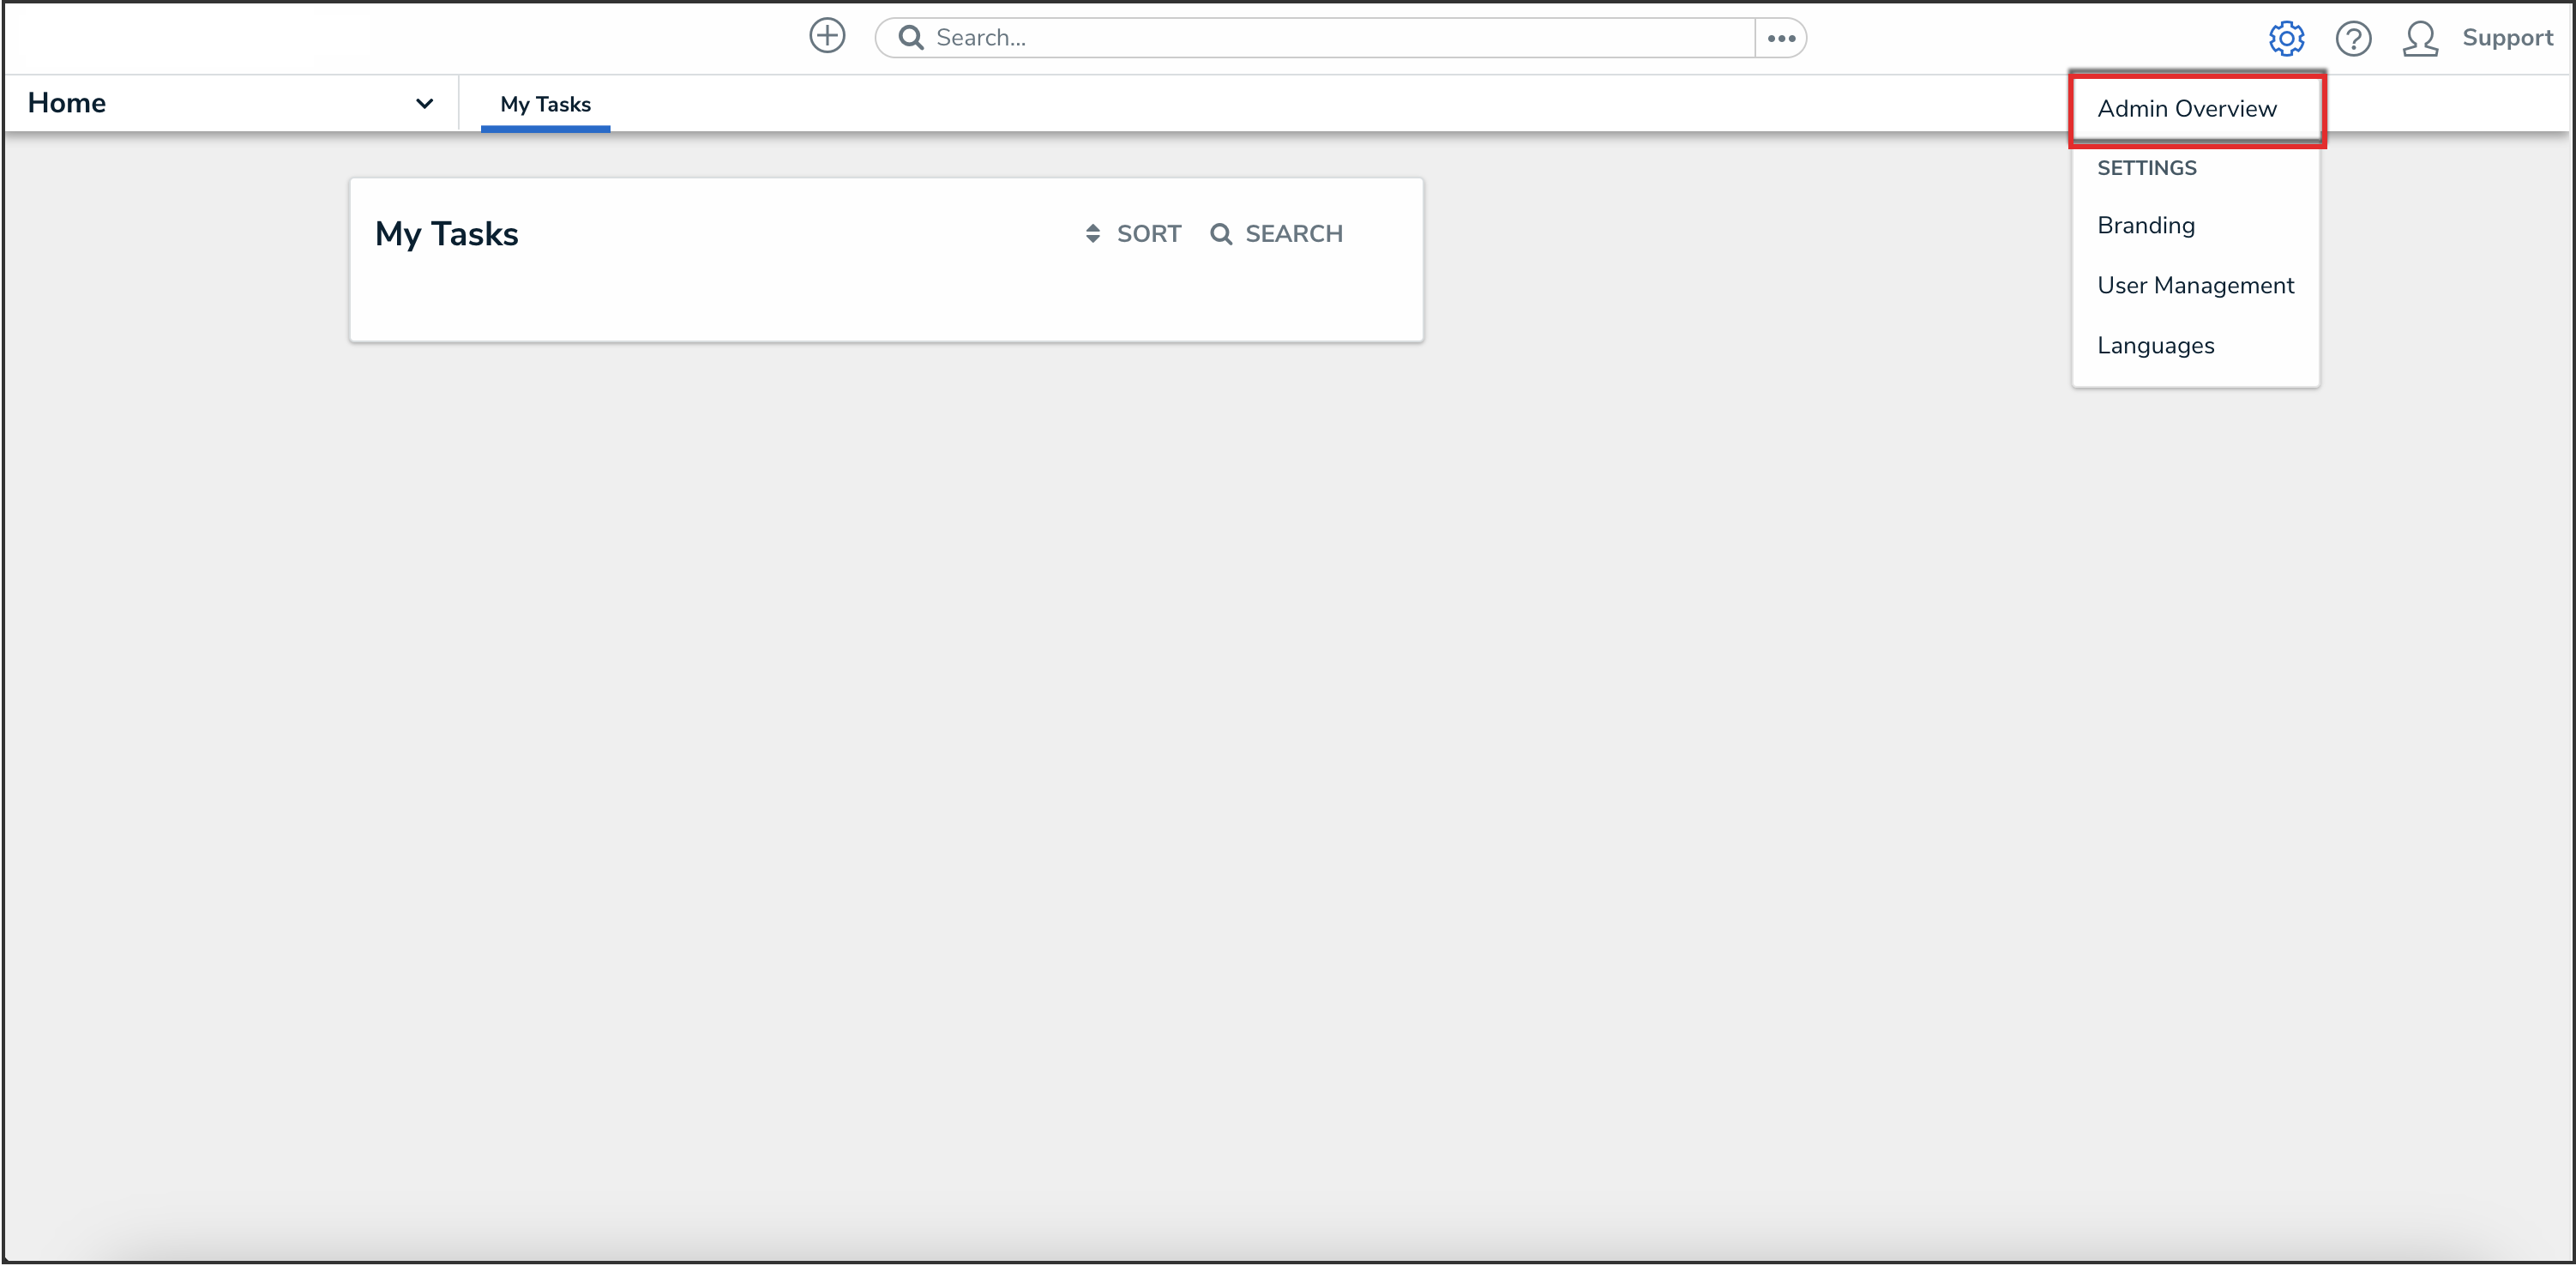
Administrator Settings Menu

- From the Admin Overview screen, click the Swagger Docs tile under the Tools section.
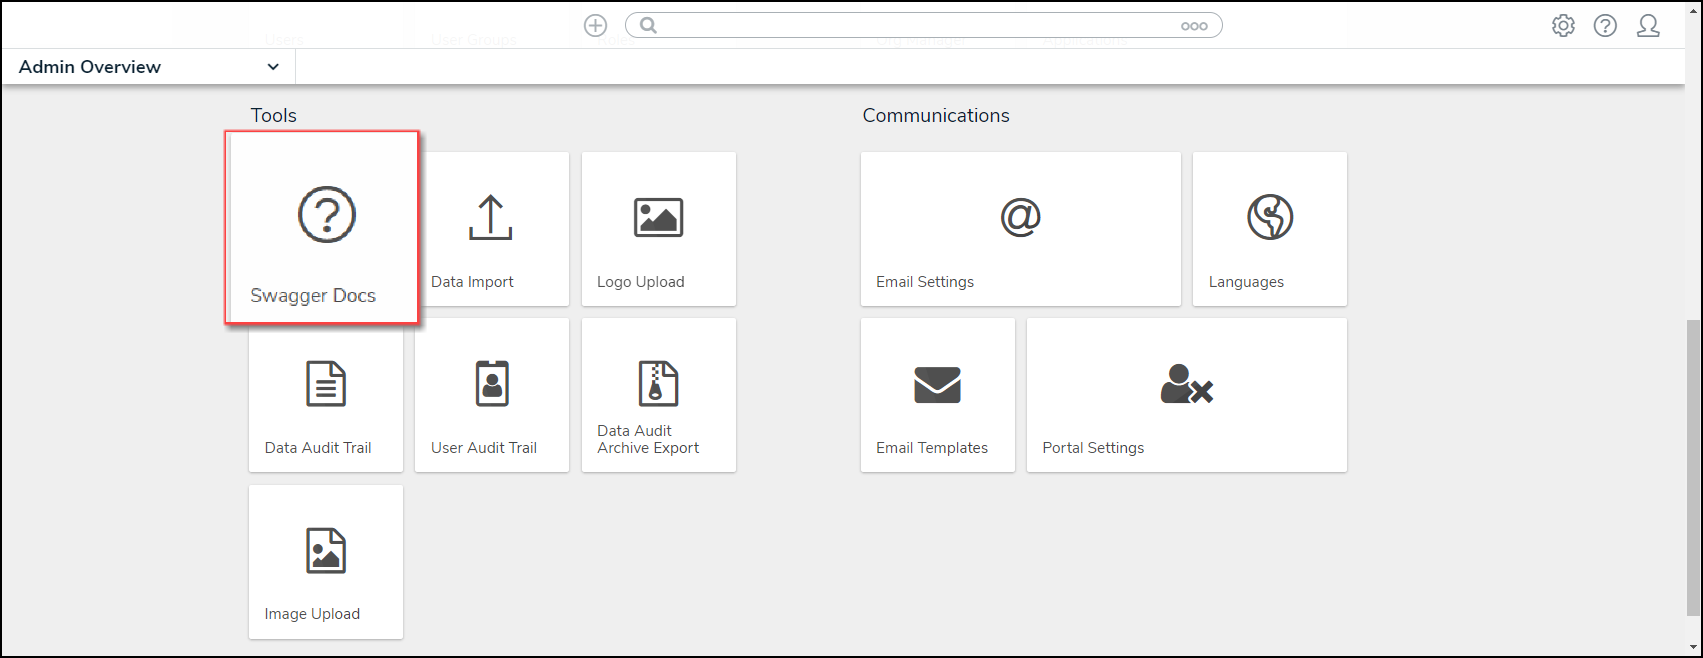
Swagger Docs Tile
Export the User Audit Trail
Administrators can export data from any time range; however, the API only returns the most recent 50,000 results. You can make an additional API request using the last event row's date in the .csv file as the dateEnd value to obtain any truncated data.

Note:
Recent events will appear in the audit trail after a few minutes of processing time.
- From the Swagger API Documentation screen, click auditTrail to open the API options.

Audit Trail API
- Click POST /audit/user/export (Export User Audit Trail Data) to expand.

POST /audit/user/export
- Click the example value to load the call into the body.

Example Value
- Delete the 0 beside the dateStart attribute and enter an audit trail data start date in Unix timestamp format. Repeat the process to enter an end date for the dateEnd attribute.

Swagger Value
- Click the Execute button to run the API call.
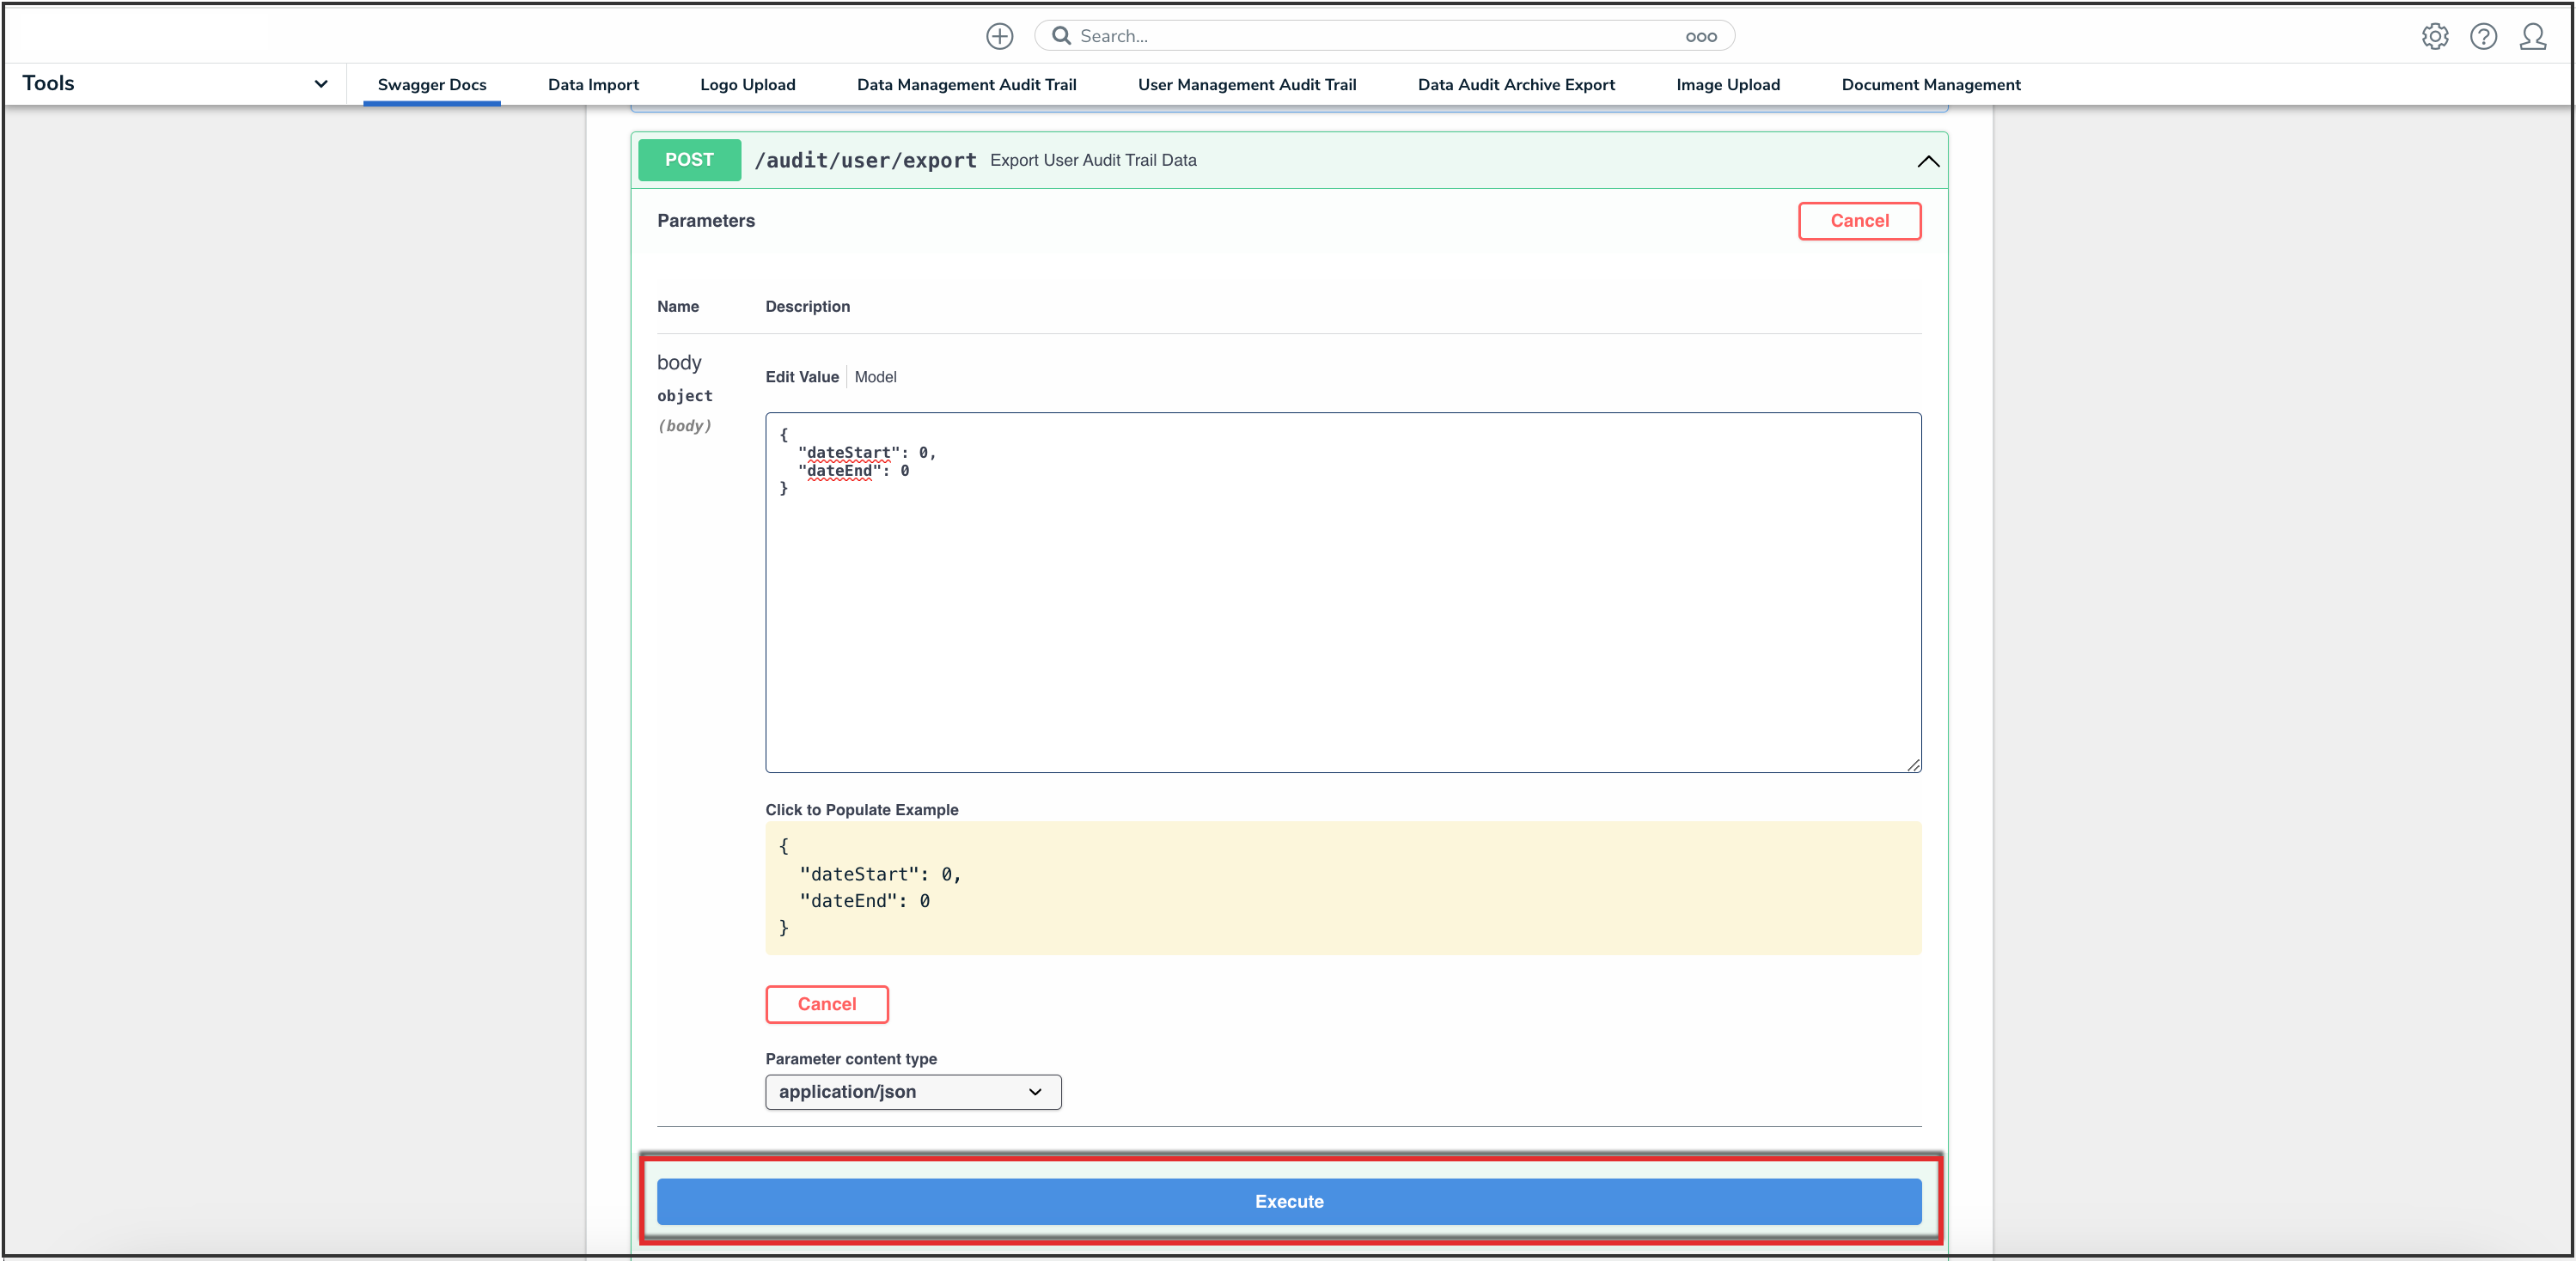
Execute Button

- Copy the Job ID from the Response Body section.
- From the Swagger API Documentation screen, click job to open the API options.

Job API
- Click GET /object/job/{id} (Poll for status of job) to expand it.

Get/object/job/{id}
- Paste the Job ID from step 8 into the id field.

ID field
- Click the Execute button to run the API call.
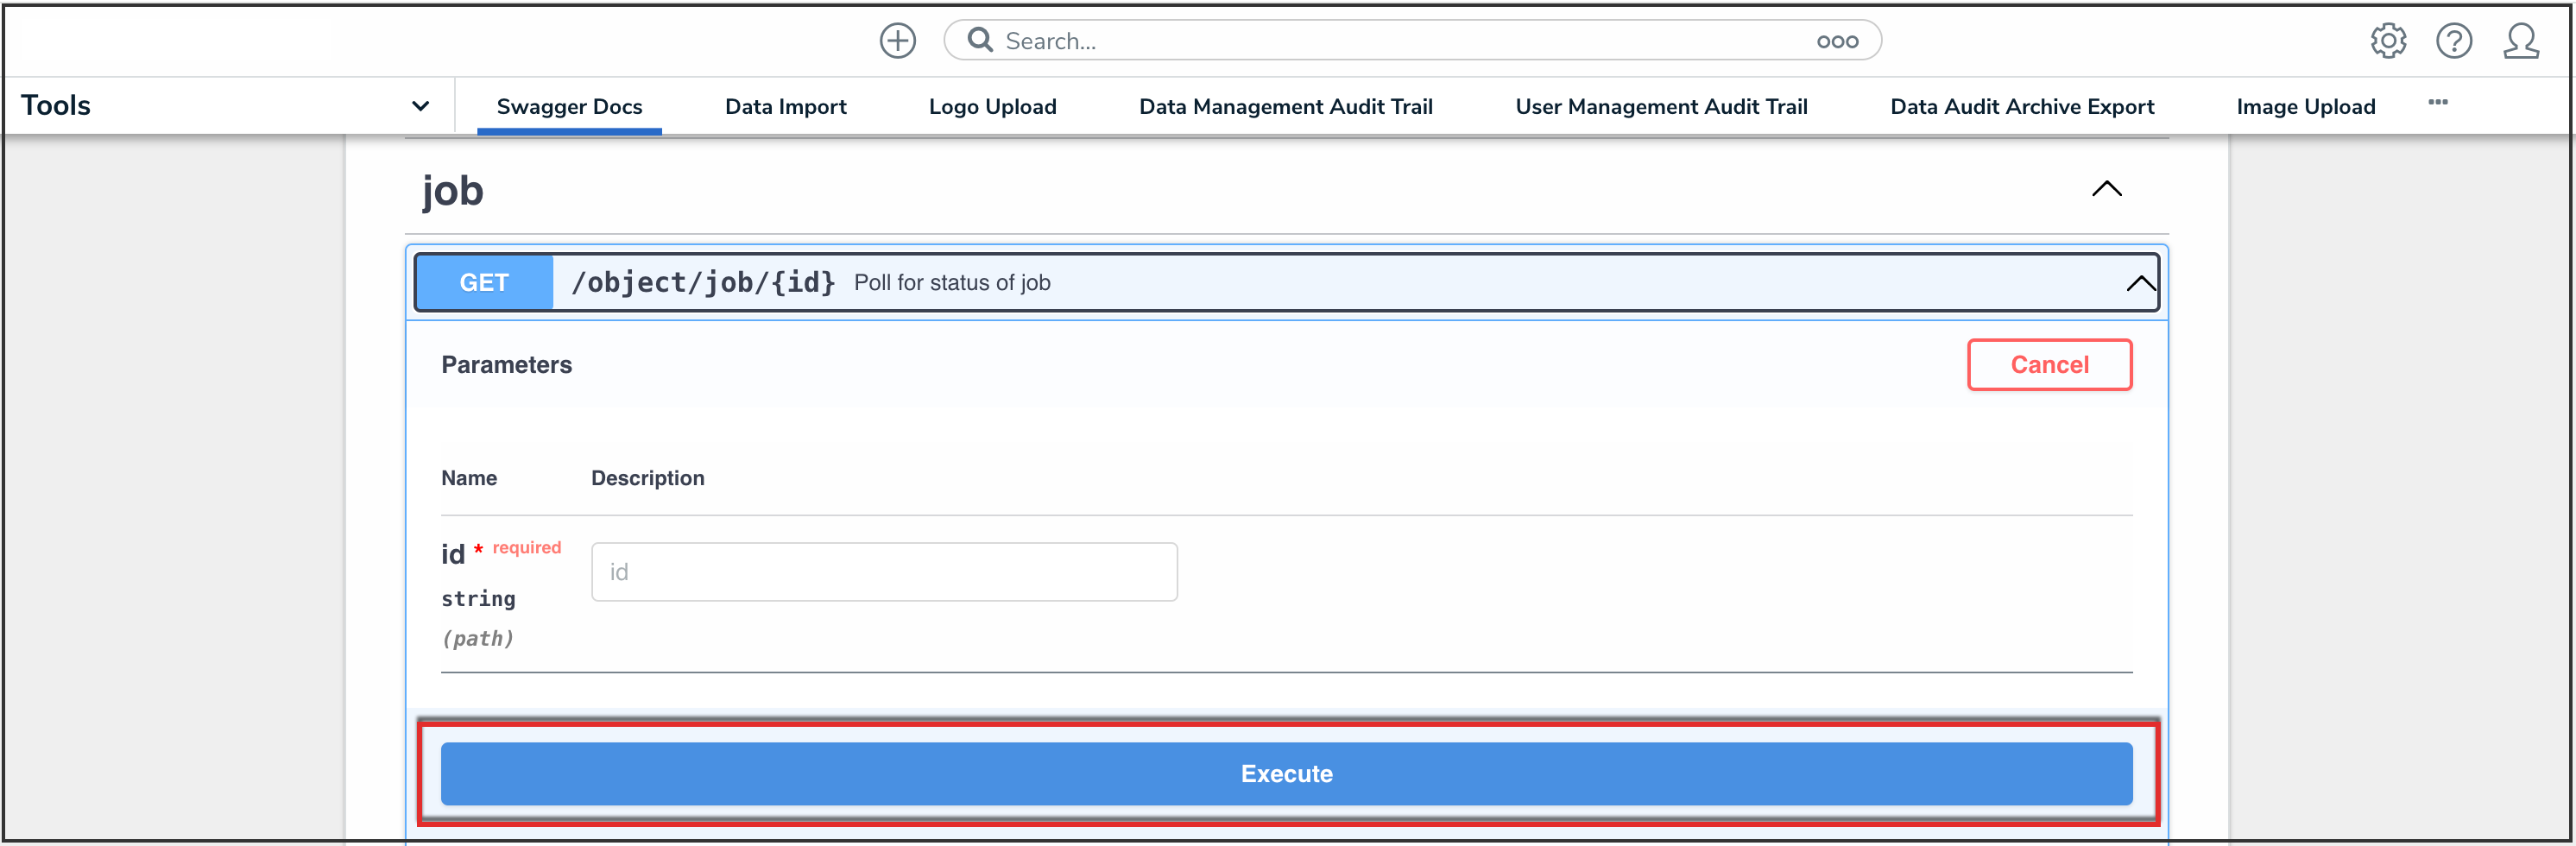
Execute Button
- Copy the URL next to the signedURL attribute in the Response Body section.
- Open a browser and paste the URL in the address bar to begin downloading the CSV file. Up to 50k records are returned per file.
- To export more than 50k records within the selected time frame:
- Review the last row of the .csv file to confirm it contains a maximum of 50k rows.
- Convert the date in the Date and Time column for the last row to Unix timestamp format.
- Make a new API request using the Unix timestamp from the last row as the new dateStart value but keeping the dateEnd the same.
- Continue the process until fewer than 50k rows are retrieved.


Exported User Audit Trail Data
 Note:
Note:
Multiple events can occur at the same time. Rows may share the same Date and Time value. If the oldest event (last row on the CSV file) occurred on the same date as other events, all these events would be repeated in the next generated CSV file.