As part of the connector configuration process, you will need to log into Connect and register the connector to obtain a connector ID. As such, ensure you have login credentials for a Dispatch user account that’s authorized to access Connect prior to completing the steps below. See the Dispatch Administrator’s Guide for more information on creating user accounts.
 | For hosted customers, the server hosting the connector must have a firewall rule enabled to allow outbound communication to Resolver's hosted environment. |
| Resolver recommends installing the connector on the Lenel source server where possible. If outbound connections from that server are not possible, the connector will require a standalone server. |
 | Before installing the connector, ensure that your computer meets the System Requirements. |
To install the Lenel connector:
Double-click the Connect Setup folder in the Perspective download package.
Double-click the Connector-Lenel.exe file to open the InstallShield Wizard.
Follow the steps in the wizard until the installation is complete.
Using Google Chrome, navigate to https://<servername>/session.
Enter your Dispatch user name and password in the User Name and Password fields.
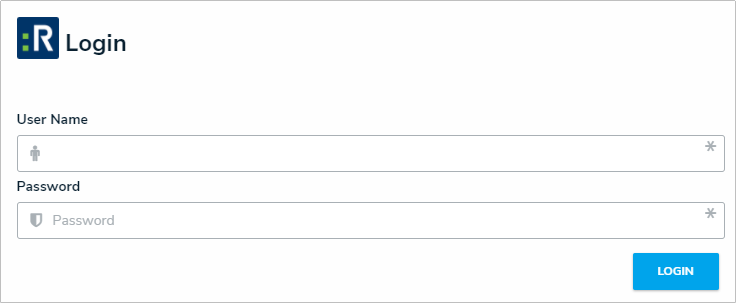 The Connect login screen.
Click Login to display the Connectors page.
Click Register Connector.
Enter a name for the connector in the Connector Alias field, then click Save.
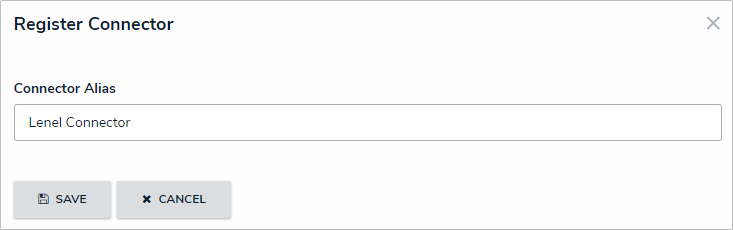 The Register Connector screen.
Highlight the code in the Connector ID column beside the new connector, right-click it, then select Copy to copy the code to your clipboard.
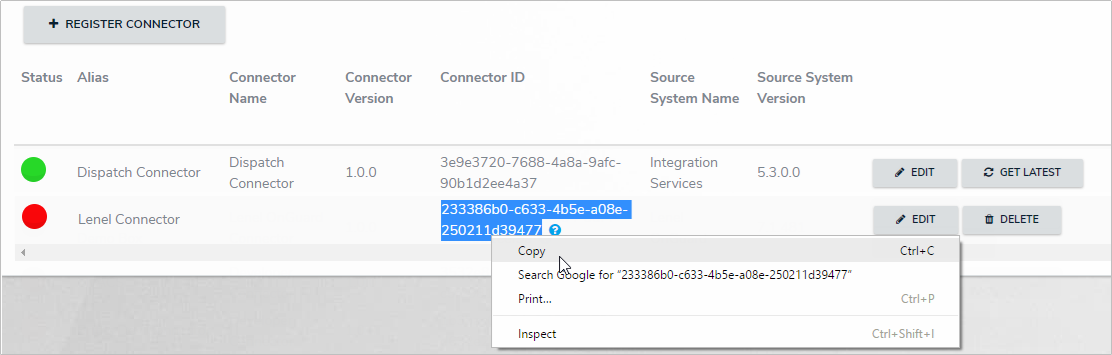 Copying the Connector ID to the clipboard.
Navigate to the location where the connector was installed. By default, it can be found at C:\Program Files\Resolver Inc.\Connect\Connector Lenel.
Right-click the appsettings.json file, then select Open with to open the file with Notepad.
Paste the Connector ID obtained from step 9 between the quotation marks after “ConnectorID”:
 Pasting the Lenel Connector ID in the appsettings.json file.
Ensure your changes match the settings configured in the Connect appsettings.json file and are entered within the quotations marks after the semi-colon for each setting (e.g. “VirtualHost”: “00.00”,). Make edits to the remainder of the settings in the file:
QueueClient:
VirtualHost: Enter the name of the RabbitMQ Virtual host name.
HostName: Enter the host name of the server where RabbitMQ is installed.
UserName: Enter the username of the RabbitMQ user that has full access to the RabbitMQ virtual host instance.
Password: Enter the password of the RabbitMQ user.
Logging (optional):
LogLevel: Enter one of the following log levels for Default, System, and Microsoft (note that if no values are entered for System and/or Microsoft, the values entered for Default will be applied):
Debug: The highest log value. This value is often used by developers and for troubleshooting.
Information: Useful to support staff by providing context to errors.
Error: Displays critical error logs.
Application Insights (optional):
Instrumentation Key: Enter the Azure ID to output the logs. This optional configuration allows you to include a monitoring tool for the Connect and connectors.
Click File > Save to save your changes, then close the file.
If you need to create an another instance of the connector, make a copy of the appsettings.json file and change the InstanceID to 2. If additional connectors are required, continue making copies of the file and changing the InstanceID to next sequential number (3, 4, 5, etc.). Return to Connect and log back in if necessary.
From the Connectors page, click Edit beside the new connector to open the Edit Connector screen.
If necessary, edit the connector name in the Connector Alias field. The remainder of the fields in the Details tab display additional connector information and are read only.
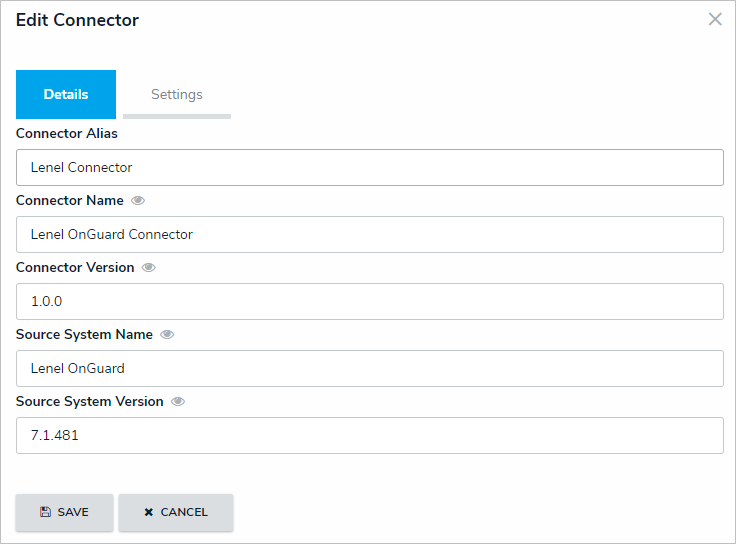 The Details tab of the Edit Connector screen.
Click the Settings tab.
Enter the name of the computer with ConduIT and OnGuard installed on it in the WMI Server field.
Enter the username of the user who has access to the Lenel server and WMI rights enabled in the Username field.
Enter the password of the user in the Password field.
Enter either true or false in the Use Process Identity field. If true is entered, Lenel will use the credentials of the current identity running on the process. If false is entered, Lenel will use the credentials specified in the Username and Password fields.
Enter a name for the system in the WMI Name Space field.
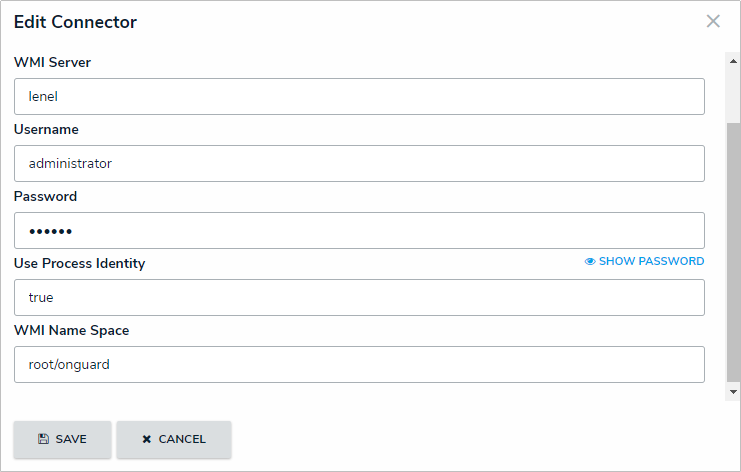 The Settings Tab of the Edit Connector screen. The required information for these fields can be obtained from the source (Lenel) system.
Click Save to close the screen.
Refresh the browser. The circle in the Status column beside the new Lenel connector should be green to indicate the connector is currently running and should now display a Get Latest button. If the circle is yellow, it means the connector is running, but there are errors in the settings. If the circle is red, it means the connector is not running.
Click Get Latest to generate a list of devices and event types from the Lenel system in Connect.

For information on generating, registering, or editing devices or creating rules, see the Connect User’s Guide.


