Overview
The Document Management feature displays attachments using the Card format, enabling document management features (Version Number, File Type Icon, File Name, Upload Date, Create By, etc.).
User Requirements
The user account you use to log into Resolver must have Administrator permission to access the Admin Overview screen.
Related Information/Setup
For more information on Document Management functions, please refer to the articles below:
- Manually Uploading a New File Version
- Editing an Attachment Using Microsoft Office Web Applications
- Previewing a File
- Discarding File Changes
- Viewing a Files Version History
- Deleting a File from a Form
- Renaming a File Attached to a Form
- Downloading a File
Navigation
- From the Home screen, click the System icon.
![]()
System Icon
- From the Admin Overview screen, click the Document Management tile under the Tools section.

Document Management Tile
Opting into the Document Management Feature
Before enabling the Document Management feature, please review all forms with Attachment fields to understand how the format change may impact the form layout. You must also ensure that all Attachments are set to 25% Width on the Section Width field on the Edit Form Section screen within the form.

Selection Width
- From the Admin: Document Management screen, click the Enable Document Management toggle switch to enable the Document Management feature.
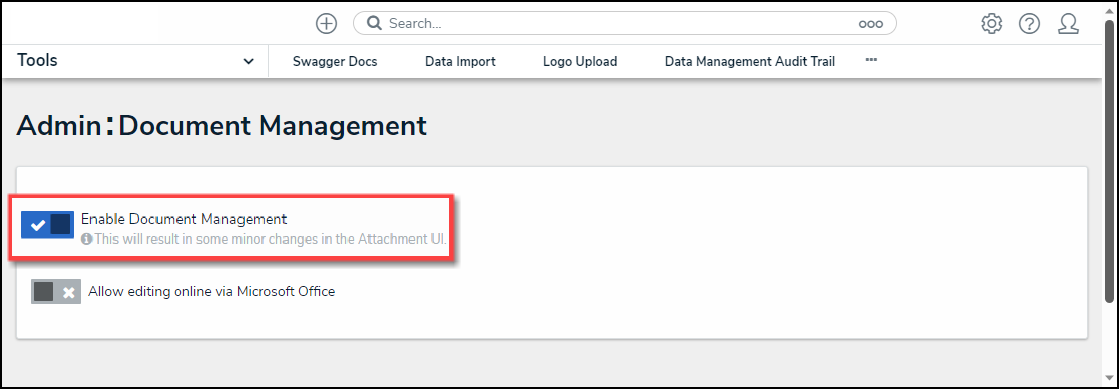
Enable Document Management Toggle Switch
- Click the Allow Editing Online via Microsoft Office toggle switch to be able to edit and preview files through Microsoft Office web applications.
 Note:
Note:
The first time you attempt to edit or preview a file, you will be prompted to log into Microsoft Office web applications using your Microsoft username and password.
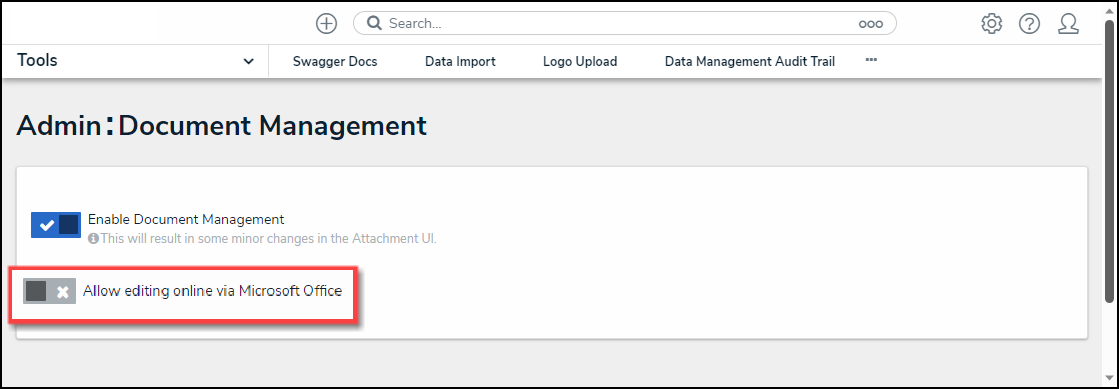
Allow Editing Online Via Microsoft Office Toggle Switch
- From the Terms of Service pop-up, read through and understand the Terms of Service.

Terms of Service pop-up
- Click the Accept button to accept the Terms of Service and enable the editing feature.
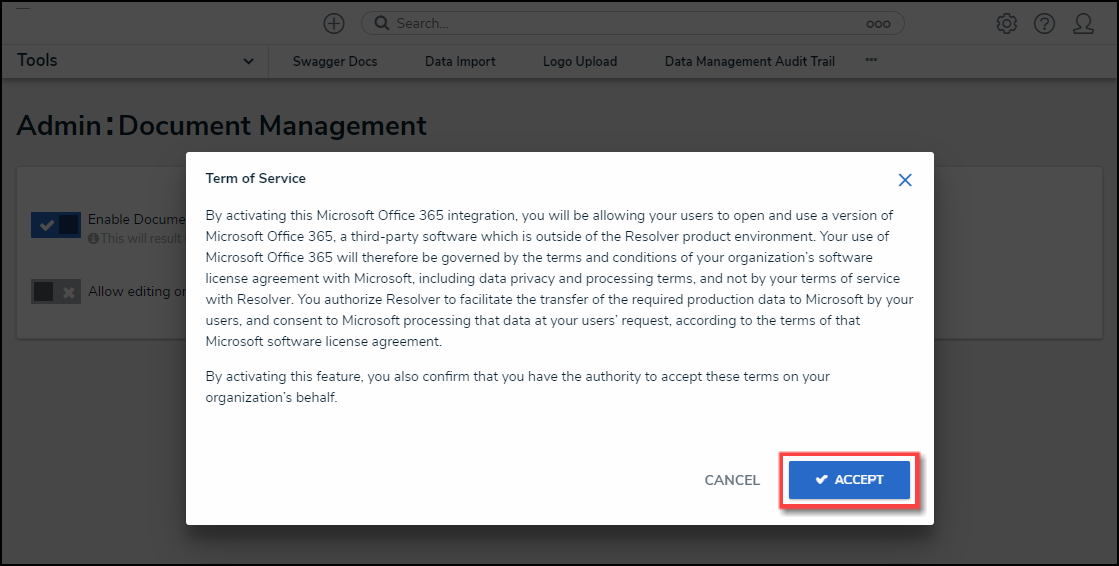
Accept Button
 Note:
Note:
Attachments on reports and repeating forms will remain in Table format.